New Jersey Drops Emissions Testing for 1995 and Older Vehicles

Sometime last year, a story made the news in New Jersey, which seemed to garner little attention in the press. The State Government announced that during calendar year 2017, “older vehicles” would no longer be subject to mandatory emissions inspection.

A quick refresher for those who do not reside in the Garden State: for years, NJ subjected passenger cars to an annual inspection, consisting of both safety-related items such as tires, lights, horn, etc., and emissions testing, covering both a tailpipe sniff and a fuel filler cap integrity check. A few years ago, the law changed from an annual inspection to a biannual one. A few years after that, the safety portion of the inspection was dropped.

The announcement from the New Jersey Motor Vehicle Commission allowed that 1995 and older cars would no longer require any type of inspection. Model year 1996 and newer cars would continue as before, needing an emissions test every two years.

Was the 1995-1996 cutoff arbitrary? Not at all. The Federal Government requires that 1996 and newer passenger cars possess “On Board Diagnostic” (OBD) testing capability with a standardized access plug, and standardized Diagnostic Trouble Codes (DTCs). The 1996 nationwide requirement was actually a Phase Two level. So-called OBD I was a California requirement, but never a Federal requirement. Even if not mandatory, most 1991-1995 cars have some sort of rudimentary ability to read DTCs through an OBD system.

What does this technical discussion have to do with the State of NJ? Simple: cost. For a NJ inspection station to test emissions, two sets of equipment were needed: one to read OBD I (1995 and older), and one to read OBD II (1996 and newer). There is no compatibility between the two. The State Government saw this as nothing more than a money-saving decision. By eliminating testing for the older cars, only one set of test equipment must be purchased.

The newest vehicles which no longer need to pass an inspection are 22 years old. Since the average age of light-duty vehicles on the road today is 11 years, one can rationalize that as a percentage of the highway population, there are relatively few cars which may become “gross polluters”. (For what it’s worth, the NJ law as written still requires vehicle owners to maintain their cars, and further states that drivers can be cited for “malfunctioning or missing equipment”.)

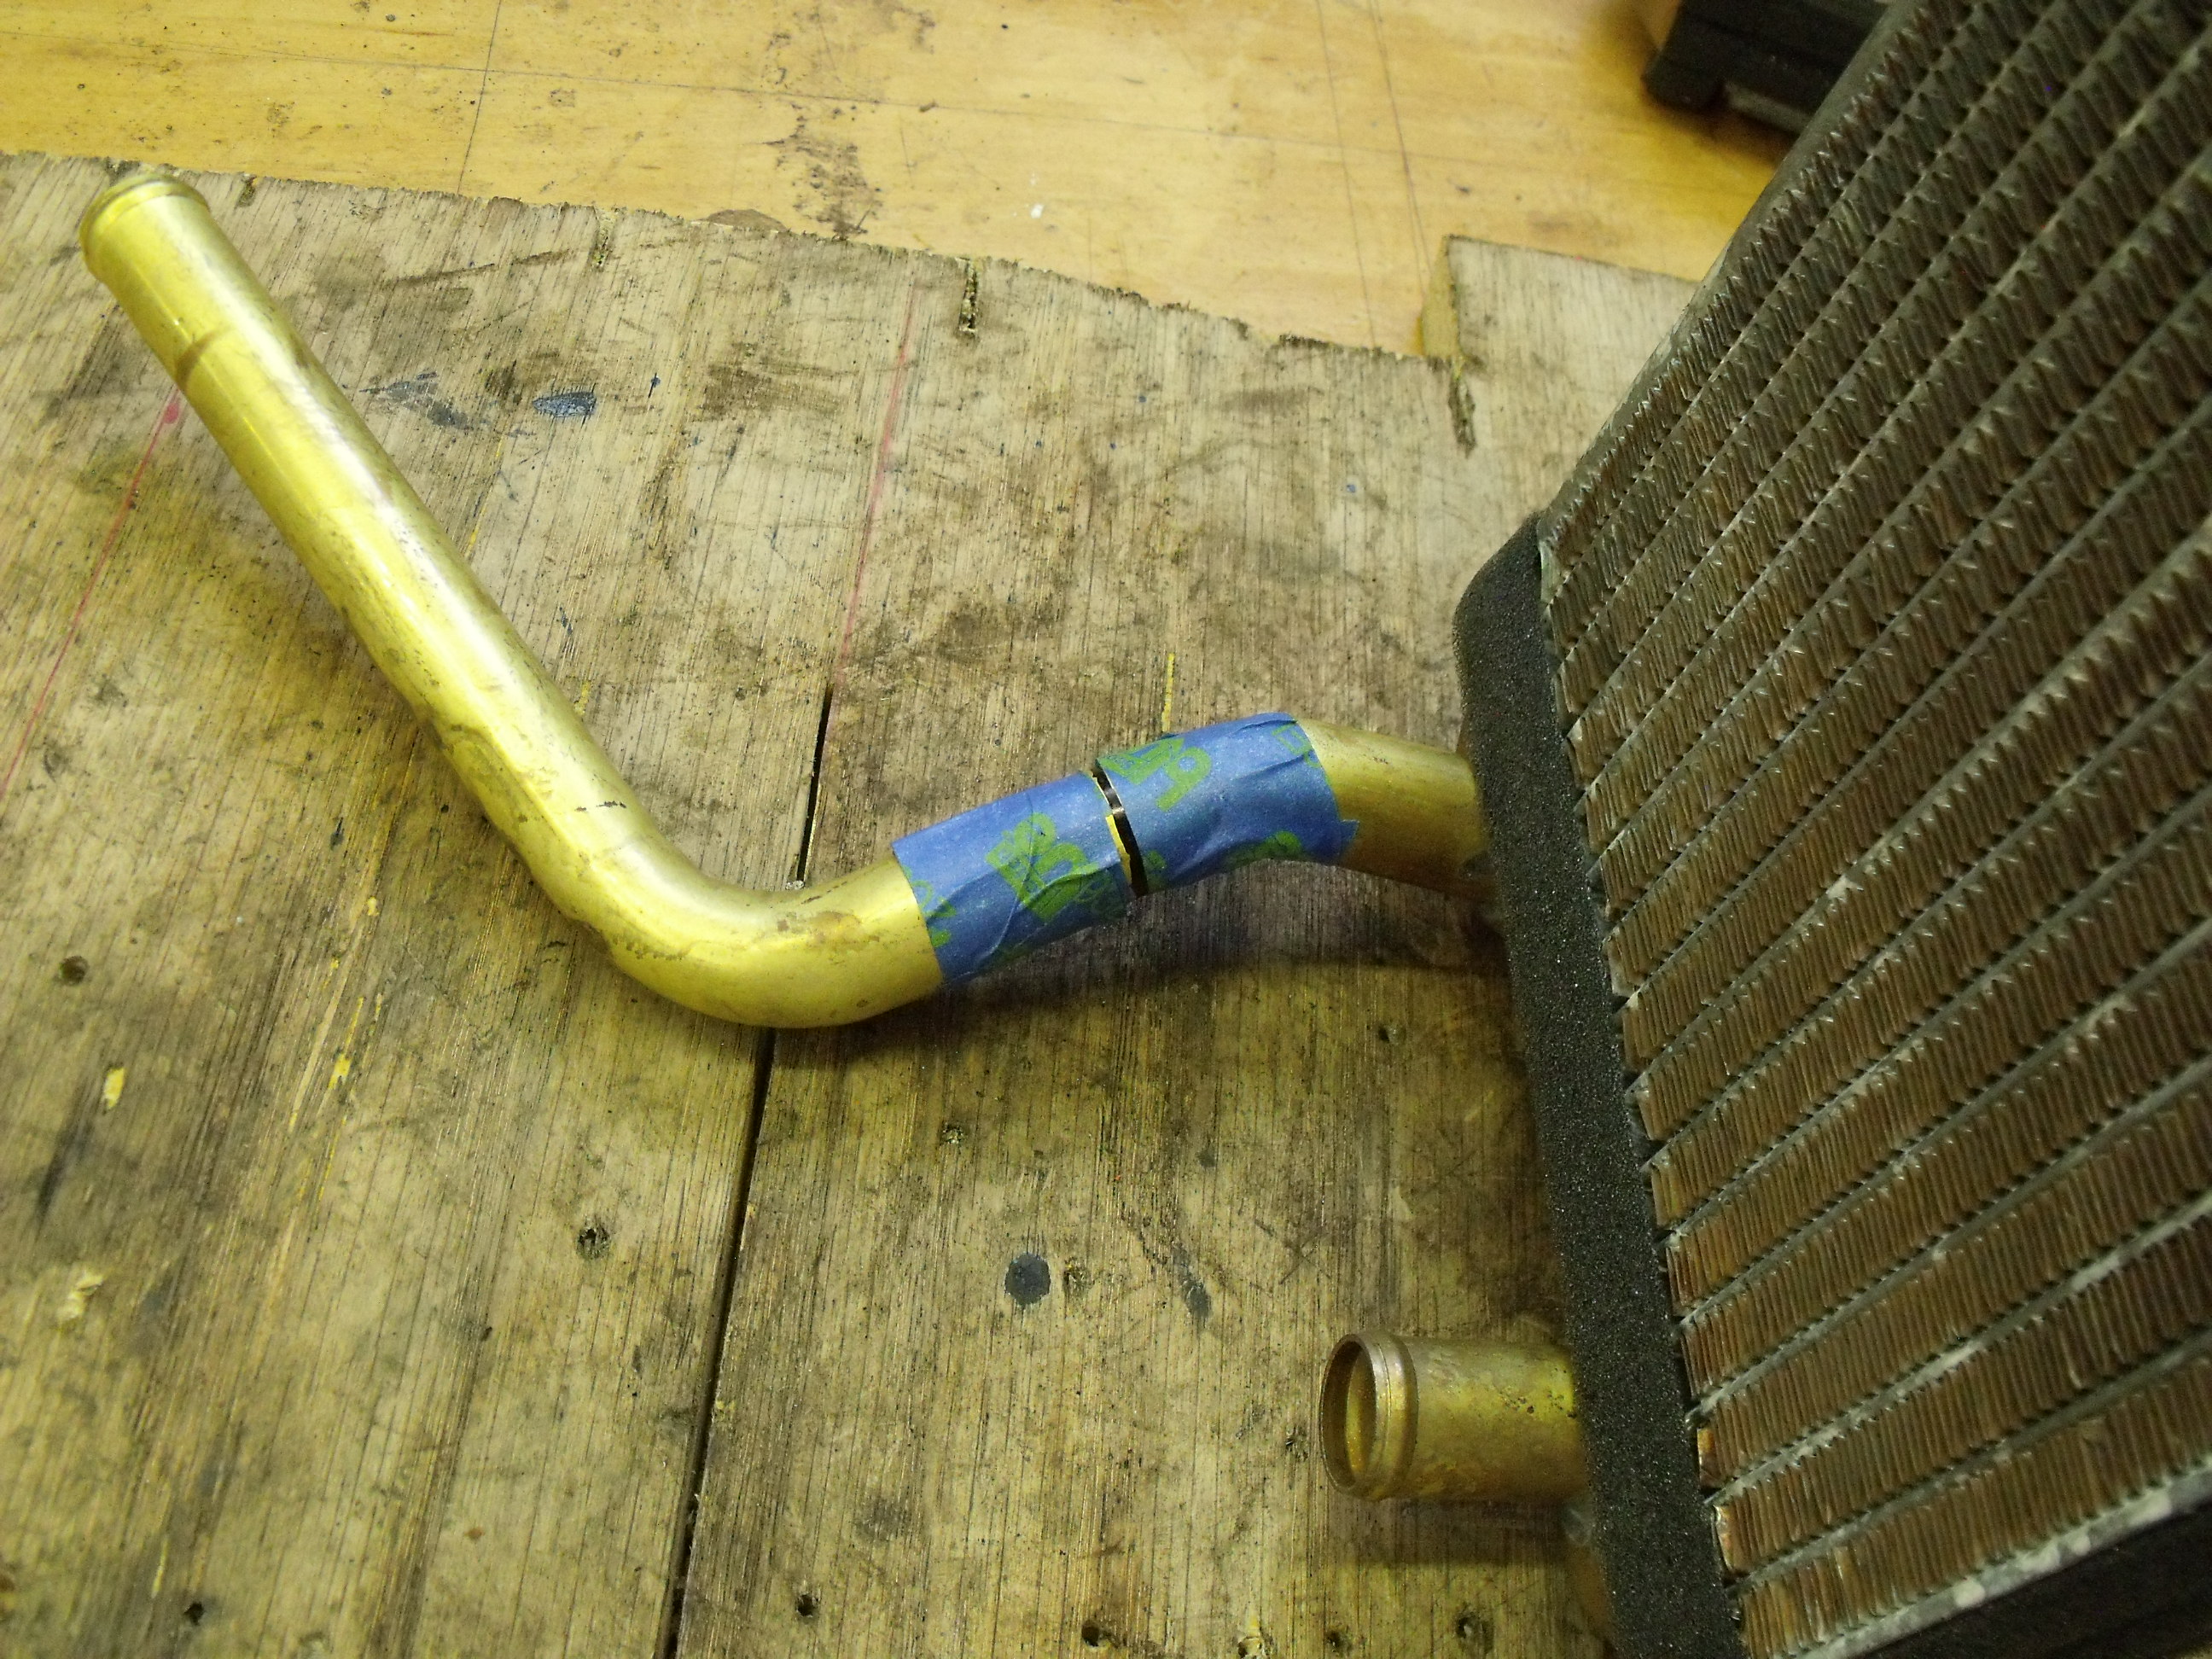
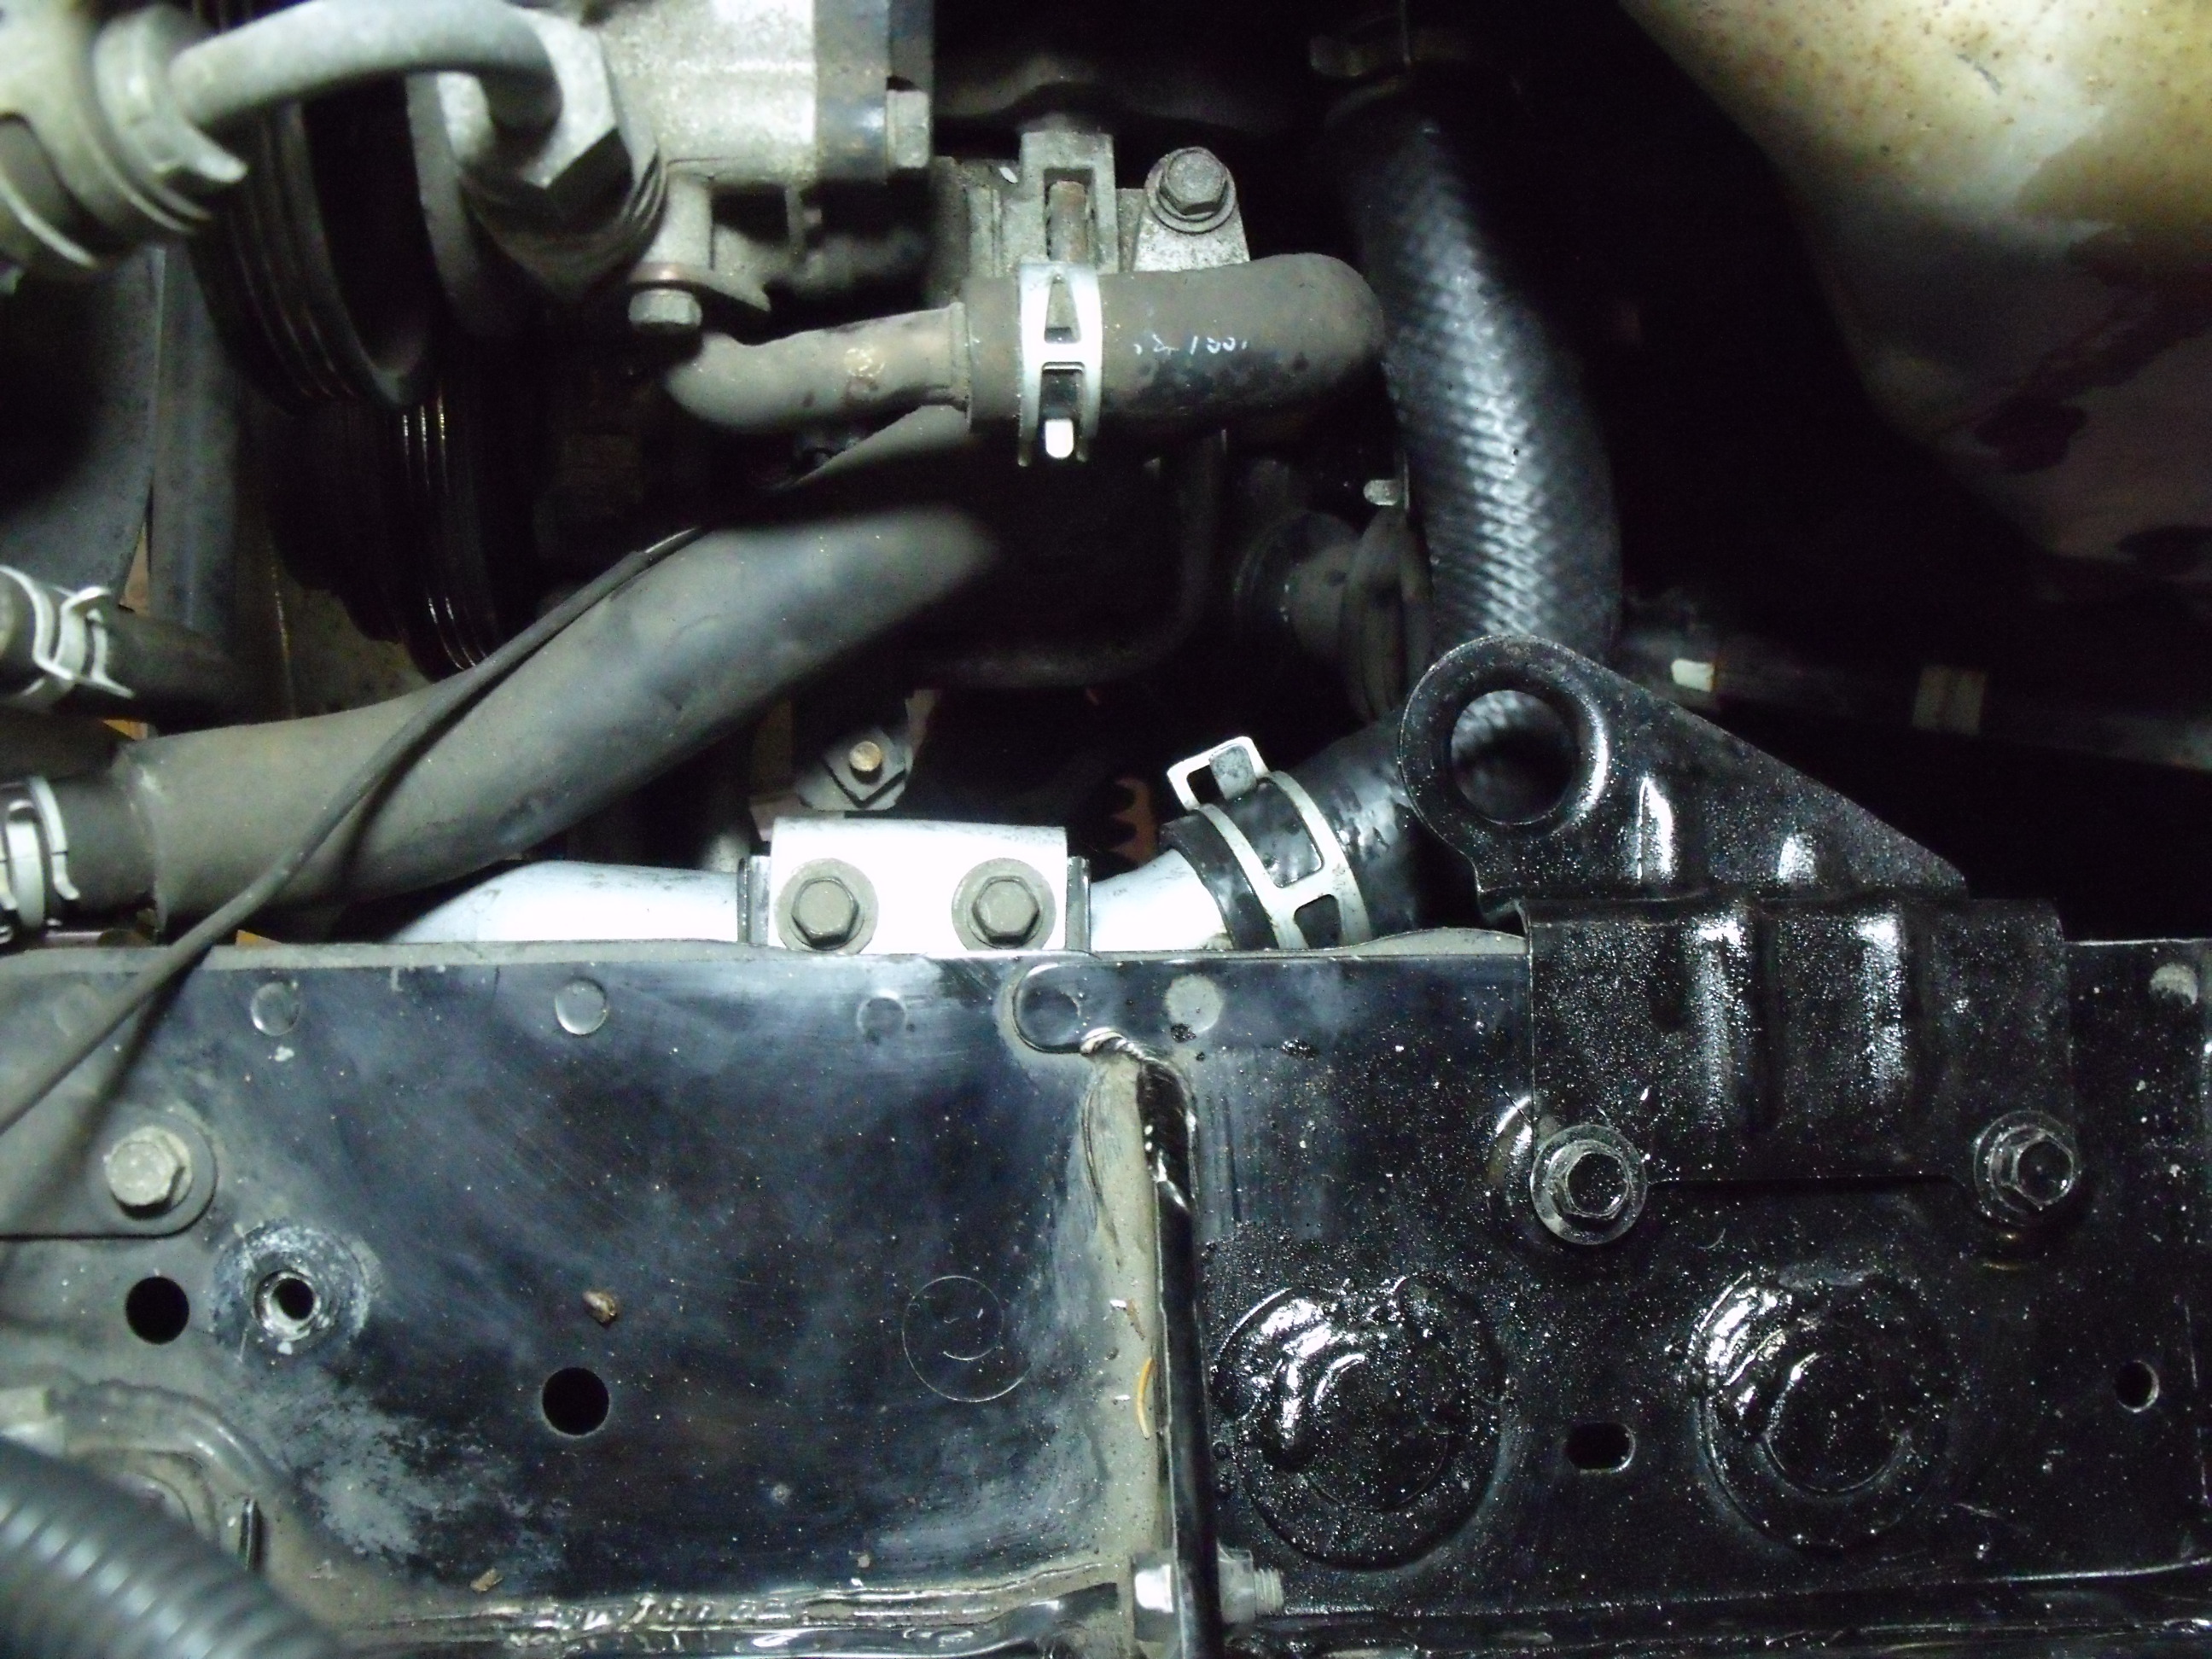
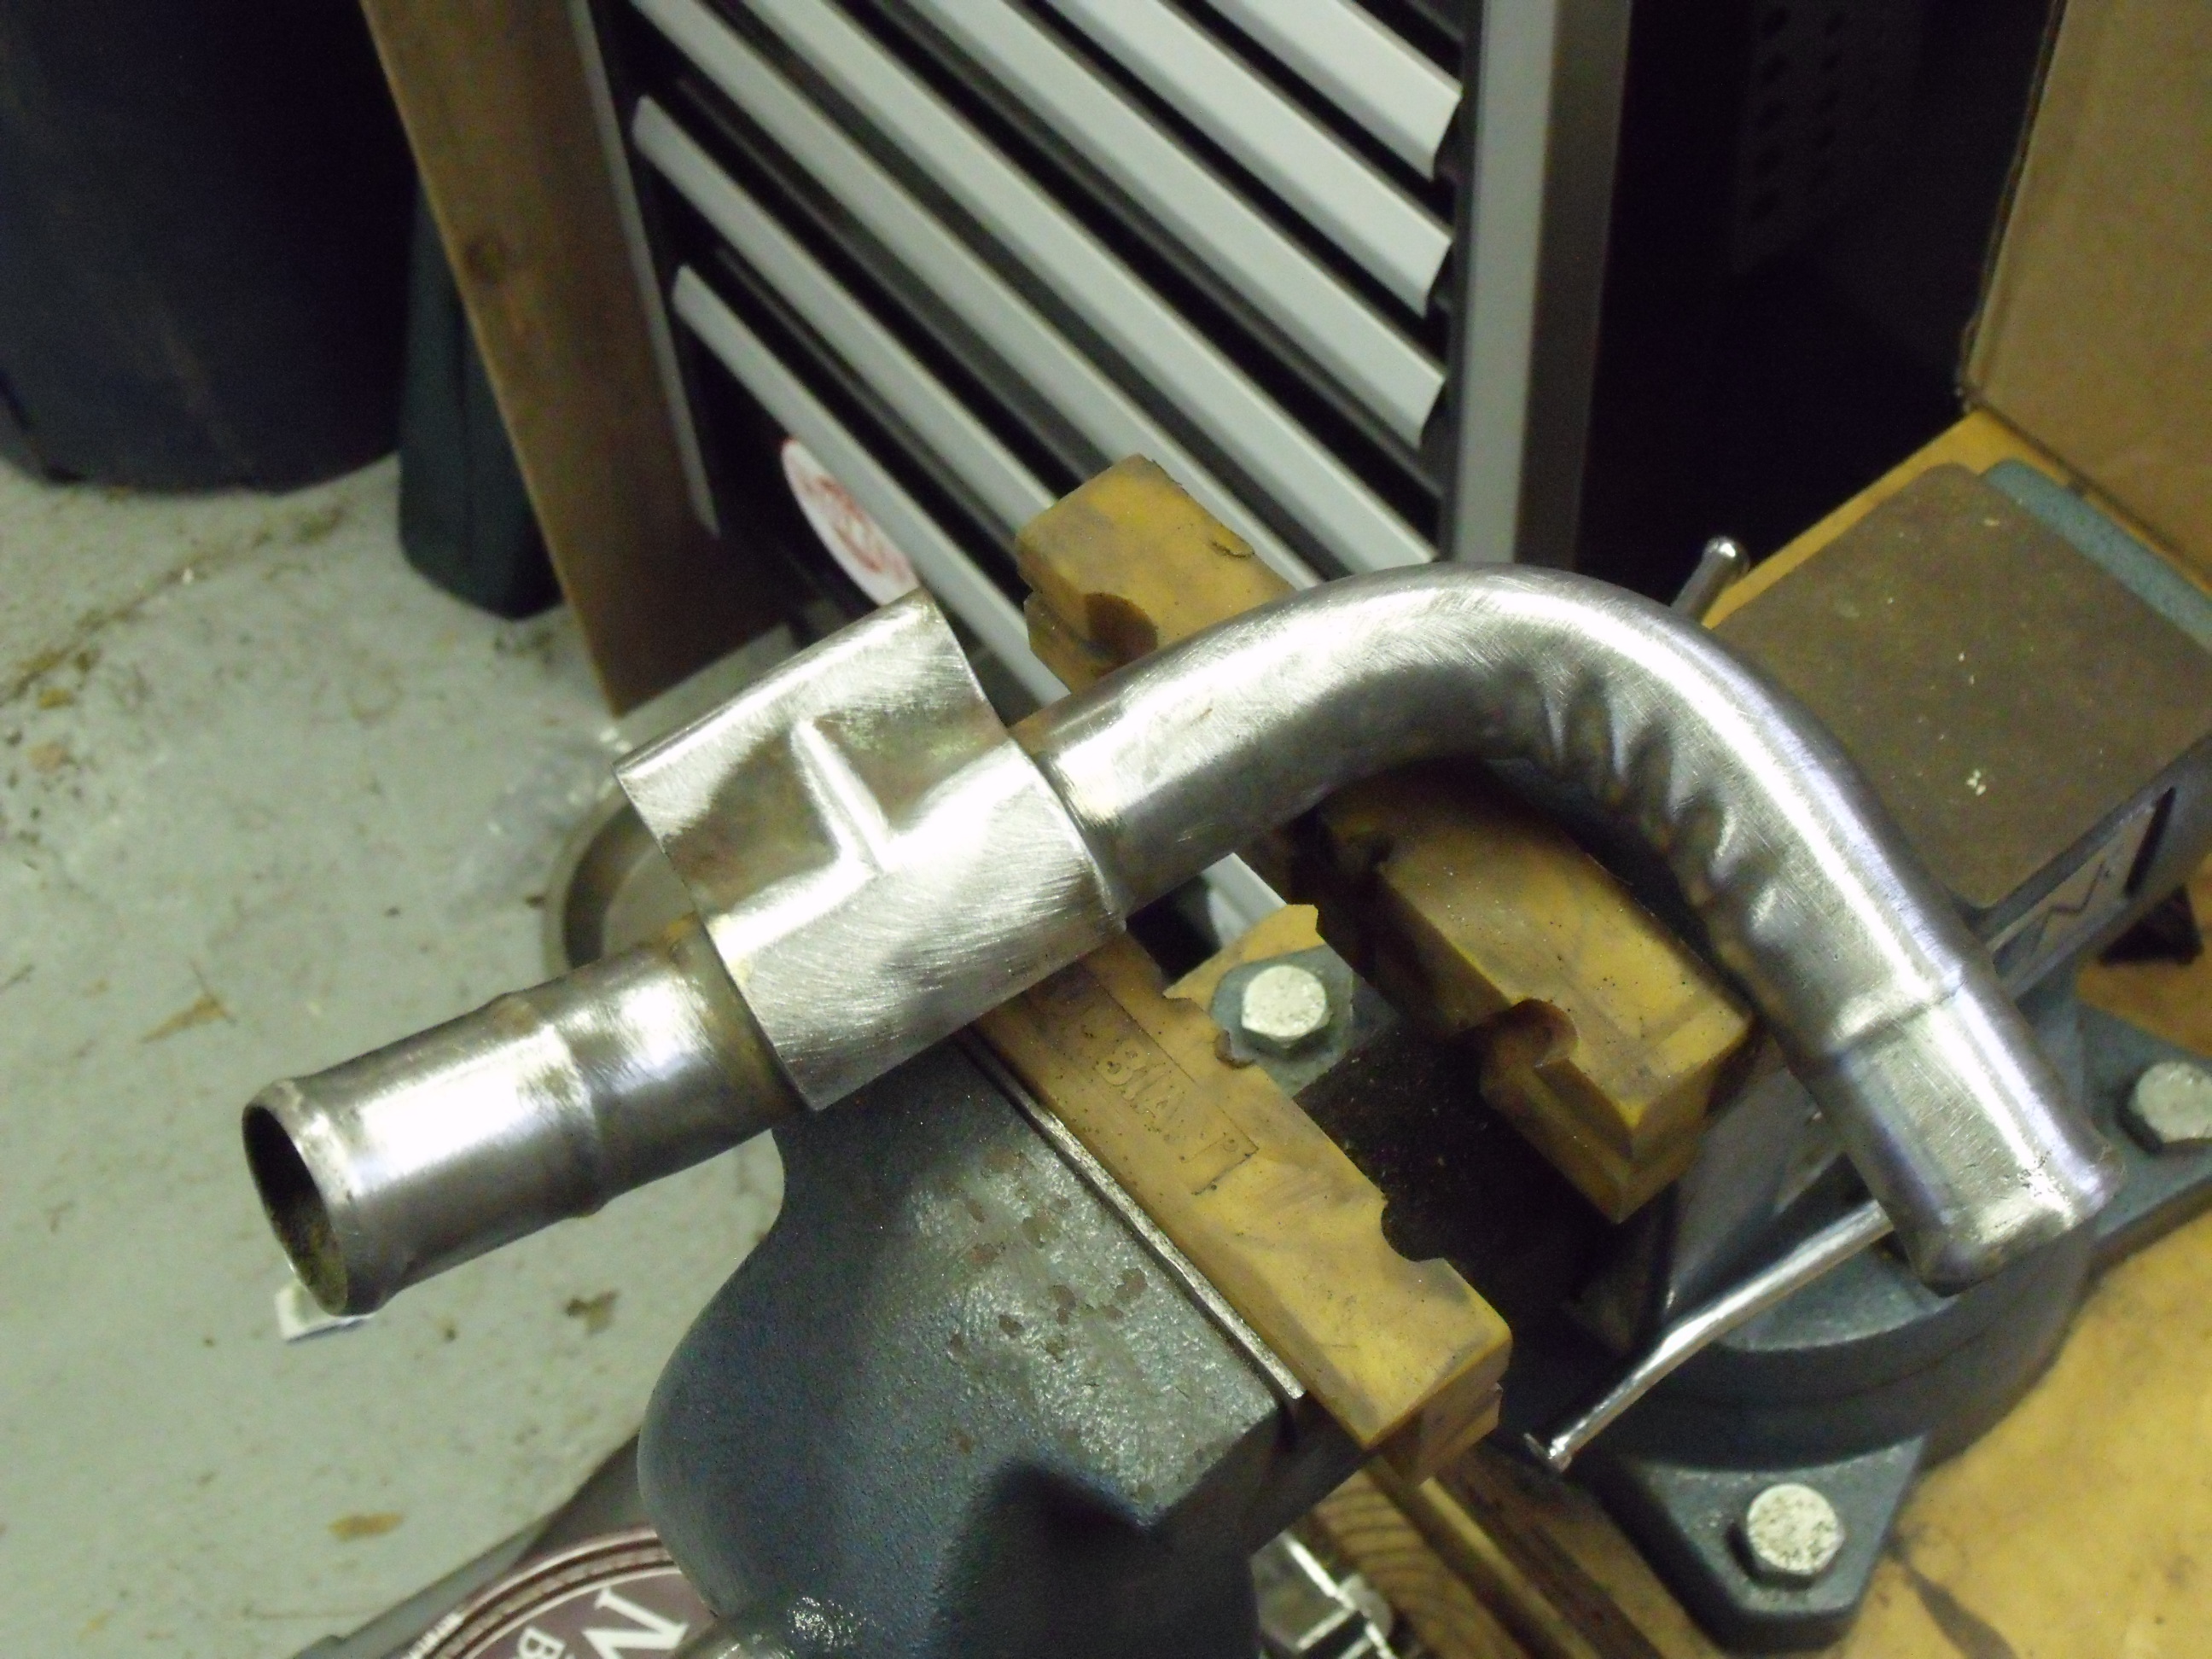
Speaking from personal experience: my 1993 Mazda Miata, which I’ve owned since 1996, had always passed NJ emissions, until it failed in 2015. There were no warning lights, nor did the car behave any differently. It turned out that the car needed an oxygen sensor (for which there is no regular replacement interval). Had I not had the vehicle inspected, how would I have known?

Without getting too political, this comes down to a difference of opinion between those who believe in greater individual responsibility, versus those who believe that our government does occasionally need to act in order to protect the greater good. In this case, I see both sides. I actually have a bigger issue with the removal of all safety inspections. Cars alongside me on the road may have bald tires, worn-out brakes, and inoperative headlights, but are still operating legally (and yes, as stated above, they can be cited for obvious defects. When is the last time that happened in New Jersey?).

The new law regarding the emissions testing for 1995 and older vehicles went into effect on May 1, 2017. Owners of affected vehicles were told that the state would be mailing notices. As the owner of such an affected vehicle, I got my notice last week:


It’s in the glove box, but I didn’t check to be certain that the VINs match!


Yesterday, I took a razor blade to the inspection sticker, scraped it off for the last time, and spent quite a few minutes cleaning 24 years’ worth of adhesive residue. The new notice went into the glove box (thank goodness the state didn’t require that it be displayed on the dashboard), and I stood back to admire the newly-bare windshield glass.

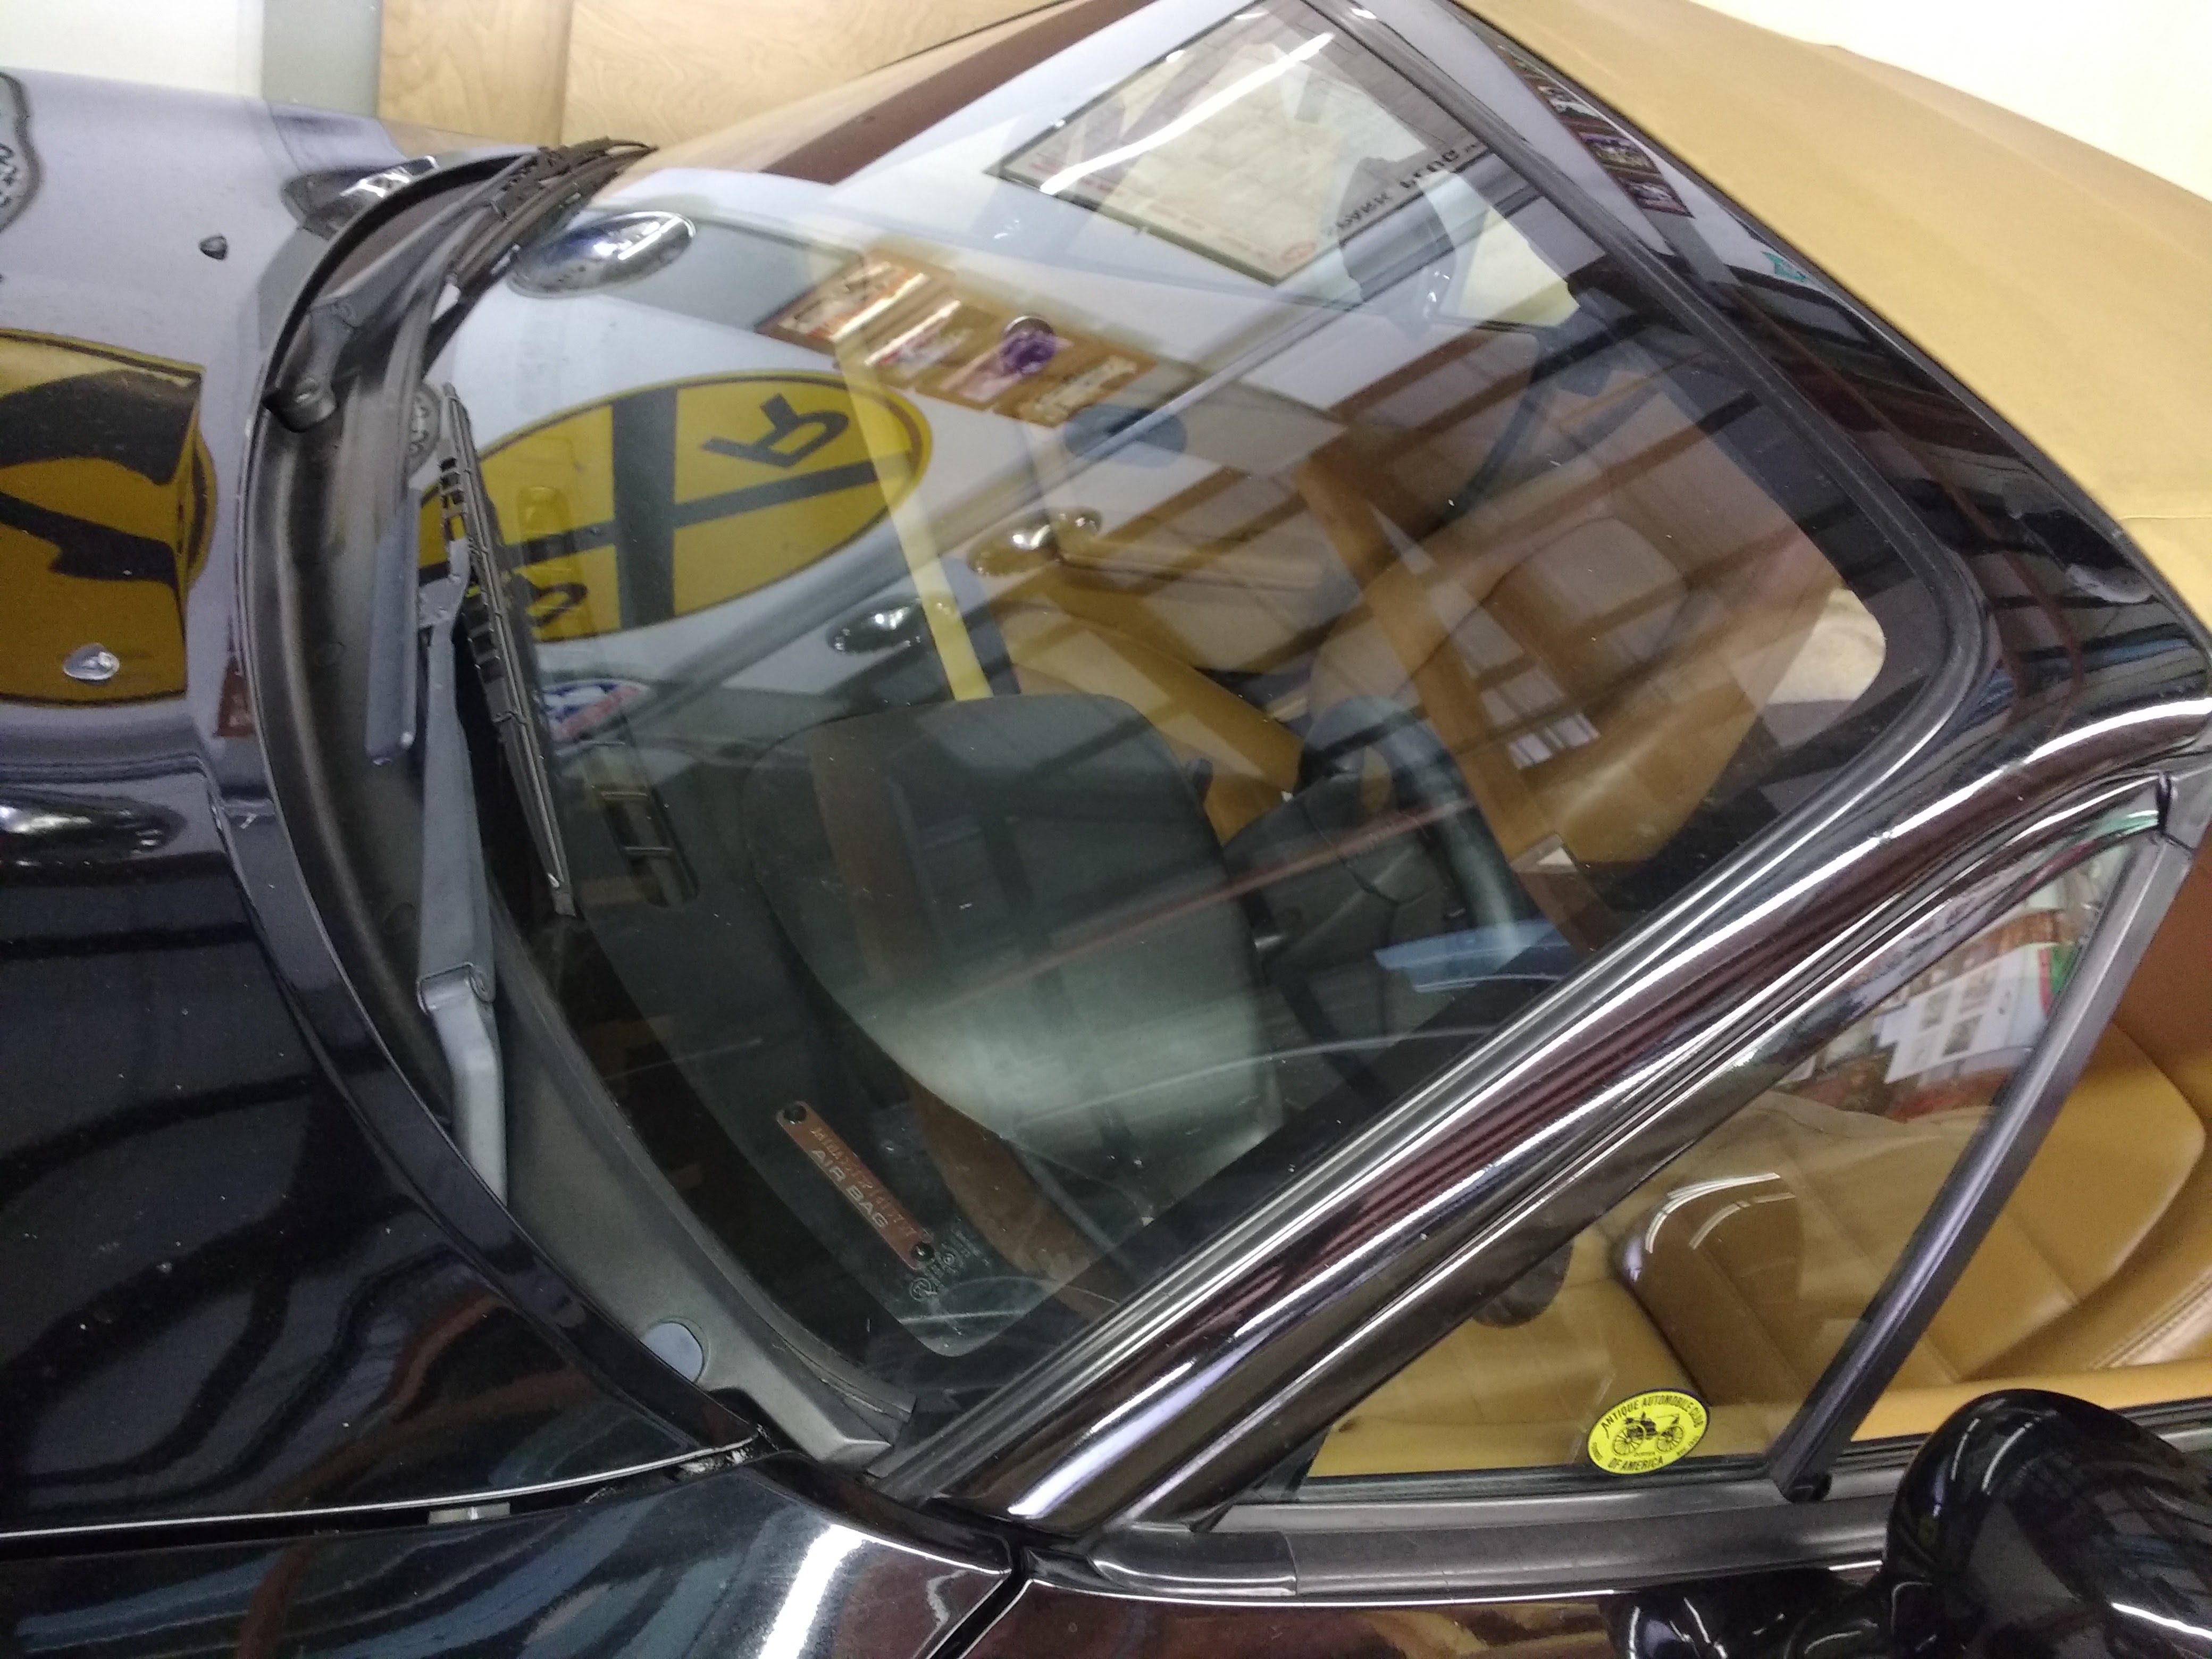
My 1993 Miata looks just like all Miatas built from 1990 through 1997. How long might it be before I’m stopped for driving with a missing inspection sticker?

My ’93 next to one of Mazda’s newest, the CX-5; note the relative heights!


All photographs copyright © 2017 Richard A. Reina. Photos may not be copied or reproduced without express written permission.


Heater Core Replacement in the ’93 Mazda Miata: Third and final part

My Mazda Miata workshop manual is an aftermarket publication, not the official factory book, but it’s been very helpful. It’s well researched and written, and the photography is adequate. It’s written in the style of “we’re in a shop with an example of this car, and we are documenting our actual repair procedures”. This approach certainly lends an air of credibility to the book.

In reading the section on heater core replacement, this service manual states (and I’m paraphrasing): “the entire dashboard must be removed from the car. We know of no work-around”. The manual was published in the mid-1990’s, at the dawn of the public’s access to the Internet, and it is obvious that were it to be updated today, information gleaned from various online forums would be incorporated, including a heater core work-around.

I was able to remove and reinstall my Miata’s heater core WITHOUT removing the entire dashboard. In fact, an underdash panel held in place with two screws, a heater box cover held in place with two screws, and several hose clamps were the totality of what was removed for successful heater core retraction. (The driver’s seat was also unbolted and taken out, only to provide greater comfort when working under the dash.)

Old (foreground) and new (background) heater cores. Old one has been cut; new one, not yet.

The secret to this success came from an online forum, www.miata.net. For those who dismiss the Internet (especially automotive forums) as a waste of time, populated by flamers and trollers, one must wade through the waste to find the gems. And this was a gem: a poster at the Miata forum had discovered that cutting one heater core pipe would reduce total work time by hours (in my case, days). I used a Dremel tool to cut the pipe, and I had the old core out and in my hands, dashboard intact.

The concept is this: Mazda built this heater core with one short pipe and one long pipe, soldered to the core itself. The short pipe uses a piece of hose and a clamp to connect to a pipe running through the firewall. The long pipe goes directly through the firewall, and it’s this long pipe which necessitates dashboard removal, so that you have room to swing the core around and maneuver the long pipe out.  However, if you cut this long pipe, then join the two pieces together with a hose and clamps, there’s no need for the major disassembly and reassembly.

Hoses and clamps on pipes will be connected once core is in place

(Interesting sidenote: for the NB (2nd generation) Miata which started in 1998, the factory switched to TWO short pipes, for easier removal of the core.)

The tricky part during reinstallation was determining the EXACT best place to cut the new pipe. First, it is not in my nature to take a hacksaw to a new $150 part. Should that part be defective, its warranty would be, as they say, over. The goal was to cut the pipe as short as possible while still leaving room for two hose clamps. I temporarily installed one hose clamp to ensure that I’d have room for it, then drew a line along it, which became the cut line. It worked.

Permatex 300: non-hardening sealant designed to work with antifreeze

In the interest of doing this job so that it would not ever leak, I spent an additional $4 on another factory heater hose so that I would have the perfect ID hose for the job. I also bought a $3 jar of Permatex sealant designed to work with cooling systems (and waited 12 days for its arrival) to be absolutely sure that I’d get no drips. I hate drips. It was overkill, but I’m glad I used it.

Auxiliary drive belt, in spite of looking pristine, was replaced

The new heater core slipped into place easier than I anticipated. Working in the tight quarters under the dash was a pain, but a #2 Philips screwdriver bit in a ¼” ratchet wrench (instead of a screwdriver) was the trick to get to all the Philips screws. While this was going on, all the underhood work was wrapped up, including all new coolant hoses, new thermostat, and two new auxiliary drive belts. As recommended in the forum post, the car was started and run before buttoning everything up, to make sure it was all dry. It was.

Friday of last week, the job was completed, and I drove the Miata for the first time this season. It welcomed me like an old friend. It’s nice to know that I can look forward to a summer’s driving season without worrying  about cleaning the windshield after every drive.

All photographs copyright © 2016 Richard A. Reina. Photos may not be copied or reproduced without express written permission.

Heater Core Replacement in the ’93 Mazda Miata: Part 2

Last we left off, your intrepid garage hack was somewhere in the process of replacing the engine compartment coolant hoses, as part of a heater core replacement on his 1993 Mazda Miata. In this installment, we will provide an update on the progress of said hoses.

You may be saying to yourself, “the blog post is entitled ‘heater core replacement’, but there are nary few words so far about the actual core”. This would be an accurate observation, as in fact, the heater core has been removed from the vehicle, but I am not quite ready to begin the installation of the new part. Instead, I’m documenting the work that’s been done most recently (the hoses), and will soon be writing more about the core. At least I certainly hope I will be, as it’s almost June and I haven’t driven this car since last fall.

Intermediate pipe, painted with high-temp paint, was cured with heat gun

Back to the hoses. In Part 1, I gave mention to a “heater hose kit” from Moss Motors. The kit comprises of 7 hoses: 3 larger-diameter pieces, and 4 smaller-diameter ones. The larger hoses are your typical radiator-to-engine coolant hoses, excepting the fact that Mazda has a 3-part lower setup, with a rubber hose running to a metal intermediate pipe, followed by another rubber hose. But it was the 4 small ones which threw me the curve ball, as I had no idea that the car had these additional coolant hoses. As Moss did not provide a diagram, I also had no idea where in the engine compartment they were.

The two hoses, running parallel between intake and valve cover, are coolant hoses

Poking around the area of the thermostat housing, I found two; the other two were over at the intake manifold. The function of these hoses seems to be to provide a “warm engine temperature” signal to the idle control and the radiator fan control. I didn’t research it further as I wanted to devote the time to getting the spring-loaded hose clamps off.

Note clamps under and to the right of thermostat housing

These clamps were not only difficult to reach; the clamps ears in some cases were rotated away from what might be the most accessible positions. It is possible that these were built up as subassemblies before the engine was dropped into the car. In any event, they had not been touched since the car was built, and I needed to get them off. Using various shaped pliers, including needle-nose, curved nose, and slip-joint, most of them eventually came loose. One clamp in particular, under the thermostat housing, was twisted back and forth until it broke off (I was very mad at it). Like many other underhood jobs, components which were in the way were removed for better access.

Old and new hoses side-by-side. Old ones were hard but not leaking (yet)

Besides the clamp which was twisted to death, there were two other casualties: the A/C-power steering belt was removed with a hacksaw, because I intend to replace it anyway; and the fan temperature sensor switch in the top of the thermostat housing fell victim to an errant wrench. New parts have been ordered and are on their way.

Switch is NOT designed to be removed in this fashion
Switch is NOT designed to be removed in several pieces

As of today, the upper radiator hose, lower rear hose, and all four smaller hoses have been replaced. On the smaller hoses, several spring clamps were replaced with screw clamps for easier installation. With this part of the job basically done, we’re soon moving back to the heater core.


All photographs copyright © 2016 Richard A. Reina. Photos may not be copied or reproduced without express written permission.


Heater Core Replacement in the ’93 Mazda Miata: Part 1

The '93 Miata as it looked in August of 2014
The ’93 Miata at the 2014 Lime Rock Vintage Fall Festival

August of 2016, three months from the time of this writing, will mark 20 years that I’ve owned my black Mazda Miata. Aside from its incredible driving characteristics, it has been a typical Japanese-car ownership experience, which is to say, the vehicle has needed almost no repairs during the 65,000 miles I’ve put on it.

Of course any car needs maintenance and consumables, so tires, brakes and batteries have been changed out. The engine oil is replaced once or twice a year regardless of mileage. The typical tune-up items such as plugs, wires, and filters are changed regularly. Light bulbs? One headlight bulb went out a few years ago. The convertible top was replaced around 2002.

The upholstery, stereo, exhaust, clutch, shocks, springs, and U-joints are all the pieces which the factory installed in 1993. The R-12 A/C still blows cold, but did need one top-up (I still have 12 oz. cans of Freon).  The one repair which almost put the car off the road was a leaky clutch slave cylinder. It’s a common Miata failure, and the new one took about 30 minutes to install.

However: last summer, I began to notice a slight film at the base of the inside of the windshield. At first, I chalked it up to a typical dirty window. Then I noticed that using the heater made the film cover a greater area of the glass. I swiped a finger through it, and it had an oily feel. Uh-oh, said I; could this be the dreaded heater core? Each time I thoroughly cleaned the inside of the windshield, the film came back. Even with the heat completely off, it appeared. At 98,000 miles and 23 years, I knew it was time.

Heater core replacement on ANY car is not easy. My 1968 Mustang (with factory air) got its core replaced by me, and it involved disassembling most of the dash and center console. During my brief time professionally wrenching on Volvos, I did my share of heater cores on 240s. (The Volvo 240 heater core is infamous: Click and Clack, the Tappet Brothers, had a running joke on their show, in which they said that Volvo would assemble a 240 by taking a heater core, putting it on the assembly line, and building up the rest of the car around it.)

The entire air filter box must be removed to gain access to the lower rear hose (at right)

Besides a new core, it seemed to be a good idea to also replace all the original coolant hoses. The hoses are available as a kit from Moss Motors, so with said kit in hand, I drained the system and began with the engine compartment hoses. They were all hard as rocks, and most needed to be cut off their metal pipes.

From L to R: lower radiator hose, intermediate pipe, lower rear hose

The Miata lower radiator hose does not connect to the front of the engine. Rather, it passes through a metal intermediate pipe, then another rubber hose, connecting to the engine at the rear. This pipe looked terrible, so I removed it to give it a closer look. The corrosion on it was superficial, but in the interest of longevity, it is getting cleaned and painted.

Happened to have this in the garage cabinet; my experience with Hirsch products has been excellent
Had this from a previous project; my experience with Hirsch products has been excellent

The main hoses are off; there are 5 smaller hoses which also need replacing, and these clamps look like some knuckles will bleed. More to follow.

All photographs copyright © 2016 Richard A. Reina. Photos may not be copied or reproduced without express written permission.