Enzo’s Alfa, and Allen’s Invention

My buddy Enzo drove his 1991 Alfa Romeo Spider Veloce to my house this past weekend. He had requested my assistance with changing the transmission and rear axle oil in his car, and I’m always more than willing to assist a fellow Alfisti in need. This is not the first time I’ve worked on Enzo’s car, and in fact, we are both readying our Italian stallions in preparation for the trip to Pittsburgh in July for the AROC (Alfa Romeo Owner’s Club) annual convention.

Saturday was an almost-perfect weather day in NJ, sunny, warm, with low humidity. The sun was perhaps a bit too warm, as I pulled my ’67 GT 1300 Junior out of its stall so that we could work on the Spider in the cool shade of the garage.

The flag indicates that the middle bay is reserved for Alfas only

Enzo had the correct oil with him, 75W-90 GL-5 gear oil, so we decided to start with the gearbox. Jacking up the front of the car under the front spring perches, sturdy jack stands were placed under the jacking points just behind each front wheel. For some reason only known to Alfa engineers, the transmission case drain and fill plugs are on the same side as the exhaust (the driver’s side), so I found it easier to slide under the car from the passenger side and avoid contact with the still-hot exhaust pipes.

Enzo read the printout he had with him from his electronic service manual: “Remove the drain plug; allow the oil to drain out until you see just a drip. Reinstall the drain plug. Remove the fill plug, and add the appropriate oil until it reaches the top of the fill plug; reinstall the fill plug”. It sounded too easy.

Front is raised, drain pan is empty and ready

On my ’67, I knew that the fill and/or drain plugs required Allen wrenches, as I had done this job on my own car a few years back. I also knew that I had a rather good assortment of metric Allen sockets. I grabbed my drain bucket and positioned it under the tranny. At this point, I related a lesson I had learned a long time ago, and possibly had witnessed during my own repair travels.

This is my ’67, showing the rear axle fill plug, requiring an Allen wrench

While the instructions were clear enough, I said, they should not be taken so literally. What if the car owner removed the drain plug, drained all the oil, reinstalled it, and then found out that s/he could not remove the fill plug? ROOKIE MISTAKE!

An experienced mechanic would always remove the fill plug first, just to ensure that it could be unscrewed and reinstalled. Having done that, the repair person would have the assurance that fresh oil could be added after the old oil had been drained. So that is what we planned to do.

Peering at the side of the case, flashlight in hand, I saw that the drain (lower) plug required a regular socket, perhaps 19mm or 22mm. But the fill (upper plug) would need an Allen (hex) wrench. I asked Enzo to hand me an assortment of metric Allen sockets from my toolbox.

None of them fit. Most were too small; one was too large. (This too-large one was 14mm, and I’m certain that I purchased it specifically for my car.) So much for my presumption that my ’67 and his ’91 would use the same size tools. I slid out from under the car, and opened a drawer which consisted mainly of Allen keys, in both SAE and metric sizes. I grabbed a bunch, got back under the car, and tried them one by one. None fit. That’s it, I said. We are finished before we even begin.

My hex key drawer


All metric, none correct

With that, Enzo opened his car’s trunk and rummaged through the tool kit that came with the Alfa. He pulled out a hex wrench. “Try this one” he said. I did. It worked. Voila! His Craftsman 12mm Allen wrench he just happened to have with him was the “key”.

“There’s an Allen wrench in here somewhere”

This wrench was about 5 inches long, and working on my back, I didn’t have a lot of leverage to crank counter-clockwise on this thing. “Get me a breaker bar” I shouted. “There are some black iron pipes in the same drawer as my hammers”. Enzo gave me a pipe about a foot long. STILL could not budge the upper plug. I’m not the strongest guy to have turned wrenches, which is why I keep an assortment of breaker bars on hand. But this fill plug was F.T.

Enzo works the breaker bar for a better fit

Enzo said “I have an idea – you hold the wrench and the breaker bar, and I’m going to extend my foot under the car”. Before I could ask him exactly what he had in mind, Enzo pushed hard with his leg against the pipe, and we both heard that satisfying “crack” sound when something that’s uber-tight breaks free. We did it. With the upper plug out, the lower plug was quickly removed with a 22mm socket and ½” drive wrench, and the old, possibly original, gearbox oil was flowing out and into my catch can.

I had forgotten to mention to Enzo the need for fresh copper washers, but I just happened to have a few new ones on hand. I think that every drain plug on every ‘60s/’70s Alfa uses the same size copper washer! The magnetic drain plug had a bit of sludge on it, but it didn’t look like anything to worry about to me. I cleaned off the sludge, and gave the threads a quick gentle scrub with a brass brush.

The drain plug was reinstalled, and Enzo snaked a rubber hose from the engine compartment, down toward the transmission. I held the hose in place at the fill plug, while Enzo poured in about 2 quarts of the gear oil. Once it started flowing out of the top hole, indicating a full tranny, I reinstalled the fill plug. This transmission drain-and-fill, with the jacking, prying, and filling, took us over an hour and a half.

Pan, hose, and rag, after the job

The rear axle, by comparison, was relatively easy. Besides, we were now experts. The jack stands were removed from the front. The floor jack was placed directly under the differential drain plug, and both sides of the car were lifted at the same time. With the jack stands in place at the rear, I noted that we needed the same two tools: a 12mm Allen for the upper fill plug, and a 22mm socket for the lower drain plug. We again needed Enzo’s muscular right leg (probably built up from years of playing soccer) to loosen both the fill plug AND the drain plug, but with that. the rear axle oil was flowing.

This magnetic drain plug had the same amount of sludge, and it too was cleaned and fitted with a fresh copper washer. With the drain plug back in, we were ready to add new gear oil.

To route the fill hose, Enzo pulled the spare tire from its well, and unbolted a drain cap, which then provided excellent access to the fill hole. About 1.5 quarts of oil were added. We buttoned up, cleaned up, and started it up. A short test drive confirmed no untoward noises, and with that Enzo was safely on his way. Let’s hope there isn’t too much more to do between now and our mid-July departure for Pittsburgh.


SIDEBAR: THE ALLEN MANUFACTURING COMPANY
Most technicians are familiar with a tool that’s commonly called a “hex key” or “Allen key” or “Allen wrench”: it’s a six-sided hexagonal shape that’s inserted INTO a screw head or bolt head, as opposed to the more-common socket or wrench, also 6- (or 12-) sided that’s placed OVER the outside of a bolt head. The hex/Allen design offers the advantage of a smaller head that can fit in tighter places, and can even be designed to thread down and into a threaded hole or shaft.
A vinyl pouch from the Allen Manufacturing Co. Note use of the word “key”.
“Hex” of course means “six”. But why is this tool also called an “Allen wrench/key”? You can thank Mr. William G. Allen, who, in 1909-1910, patented the design, and began manufacturing both the screws and the tools via the Allen Manufacturing Company of Hartford, CT.
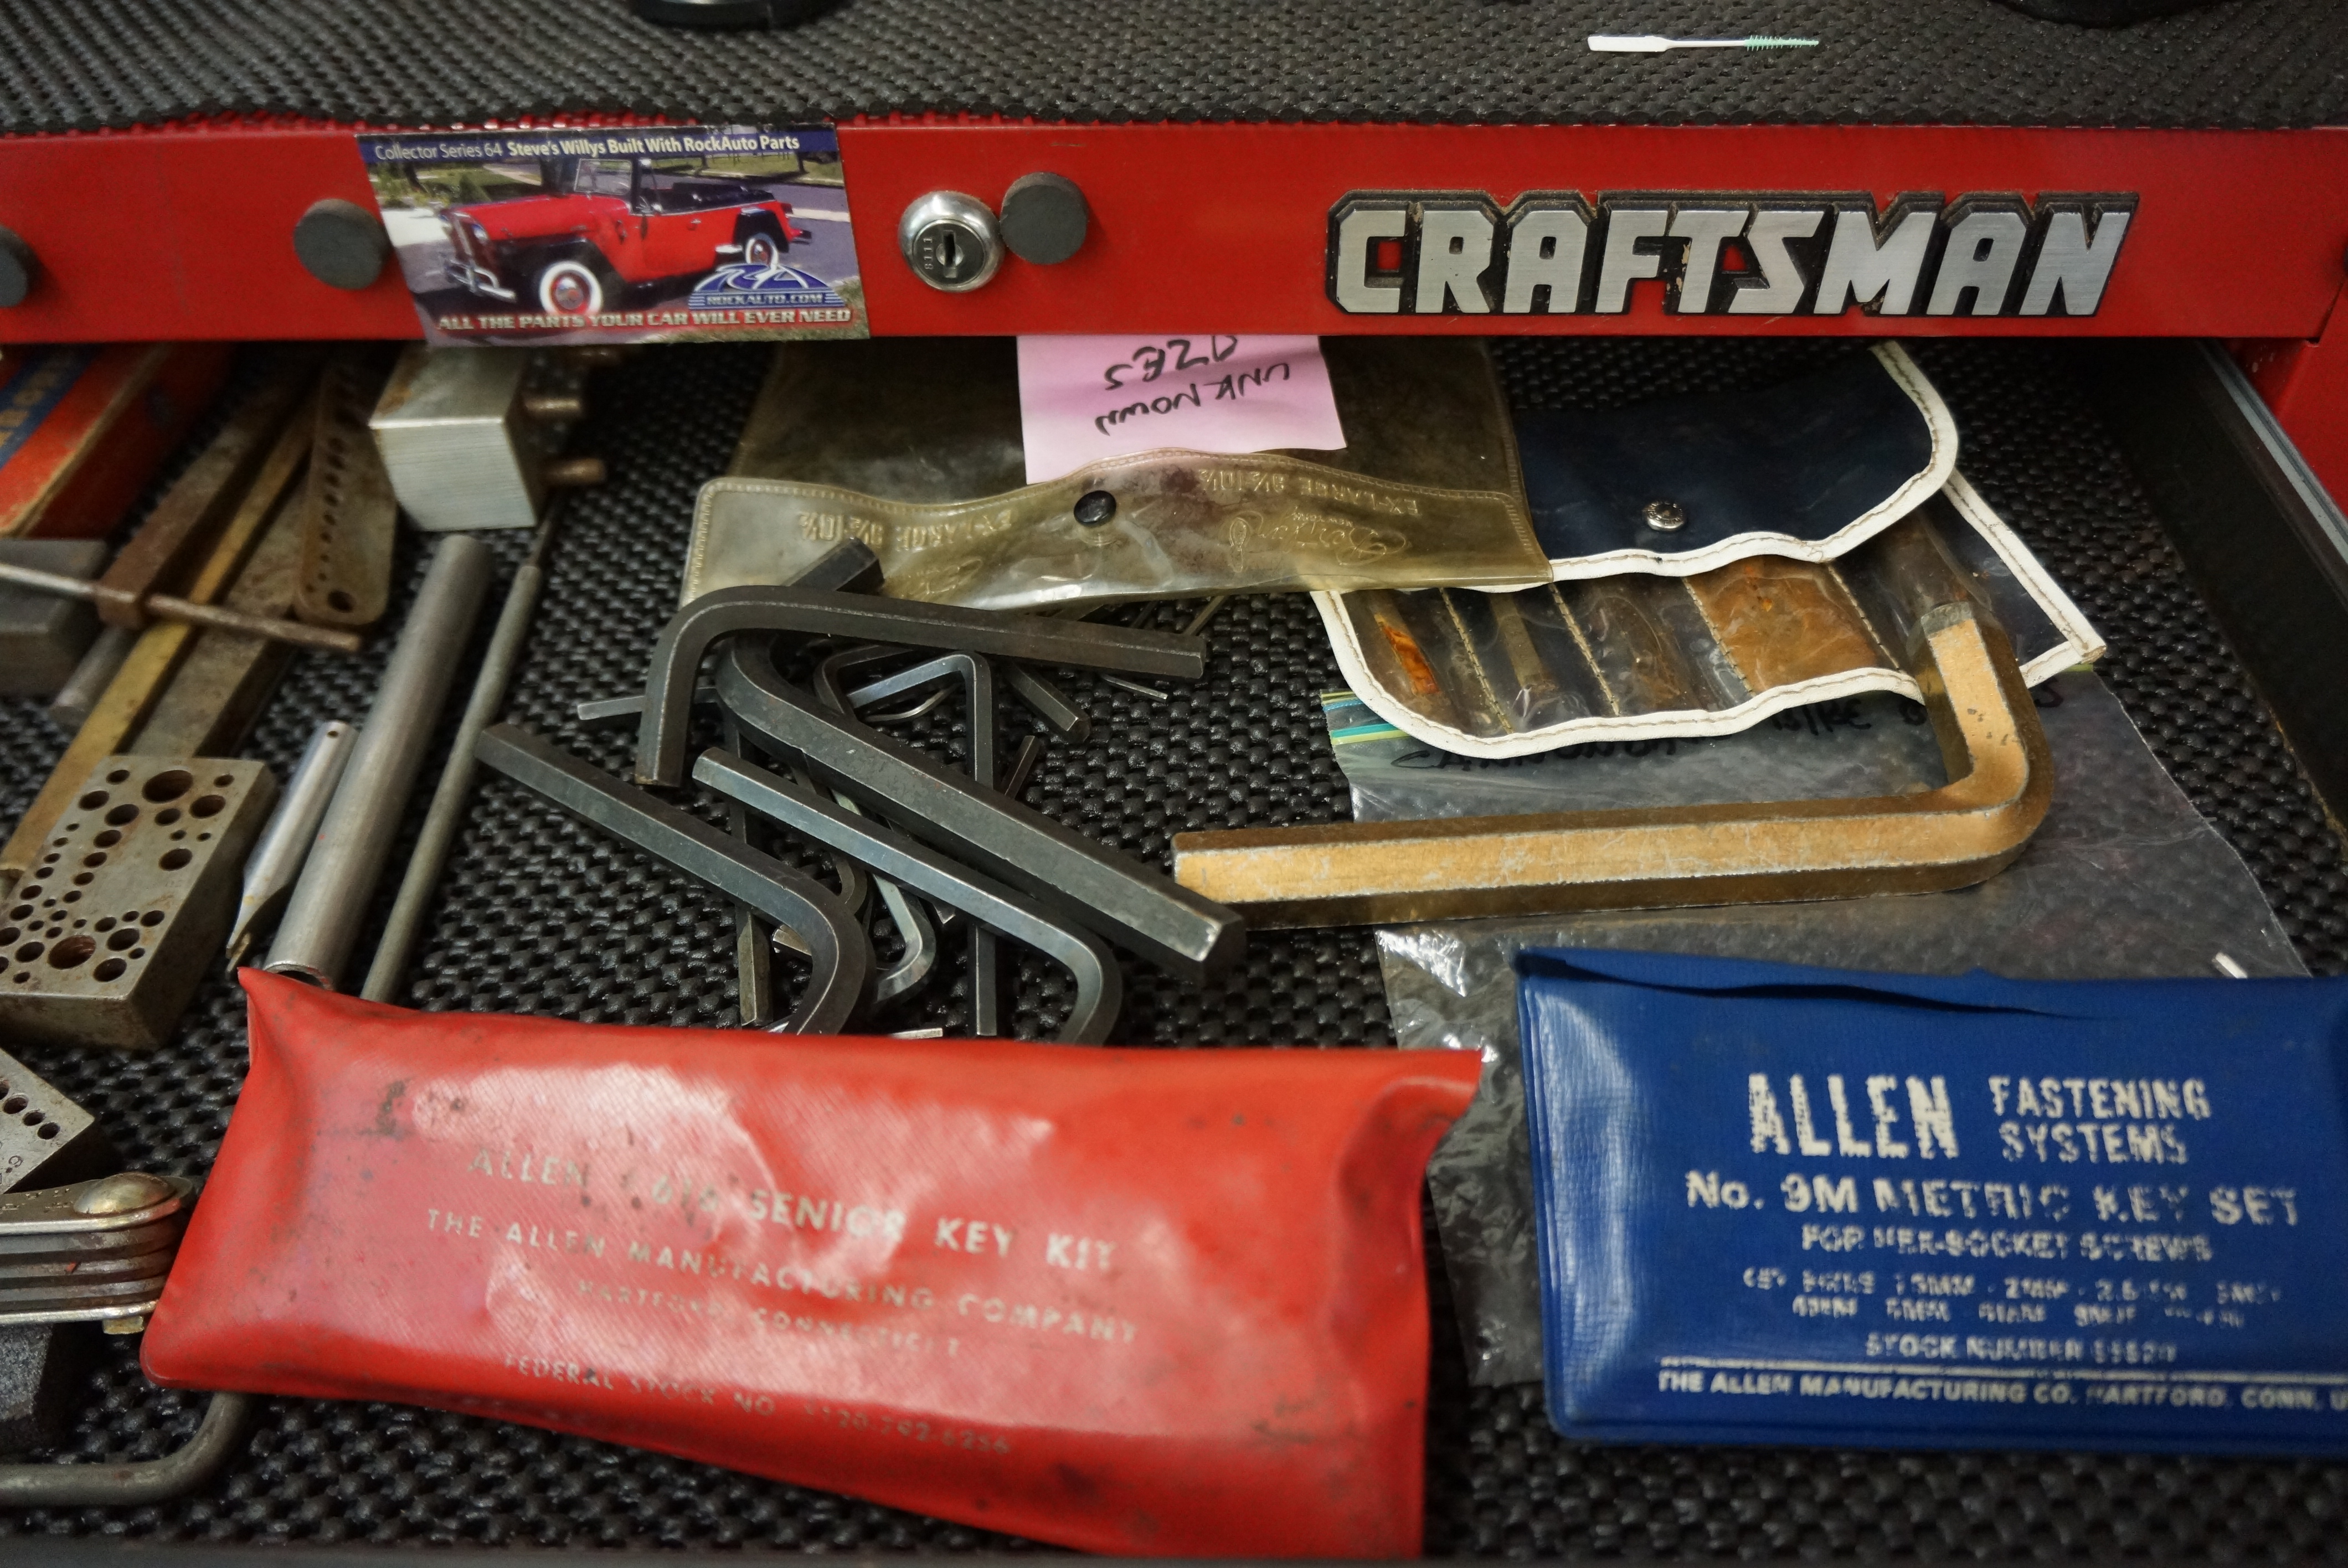
My father worked around production machinery for much of his professional life, and set screws which required Allen wrenches were very common. My father’s extensive collection of Allen wrenches in both SAE and metric sizes are now in my possession, and even include some plastic carrying cases bearing the company’s name.
Allen’s “NO. 9M METRIC KEY SET”
You can read more about Mr. Allen, his patent, and other related bits of information, in this Wikipedia entry on hex keys.

All photographs copyright © 2019 Richard A. Reina. Photos may not be copied or reproduced without express written permission.


Assisting with a Porsche 914 engine rebuild, Part 1

I’ve known Ron for over 20 years now – unlike the majority of my friends, whom I know either from school or work, I met Ron during my very first New England 1000 rally in 1998. He and his wife Carol drove an MGA that year, while Steve and I were in Steve’s Tiger. We hit it off because we liked similar cars, plus we were all from NJ.

Ron loves all kinds of cars and motorcycles, preferably those from merry ol’ England. He currently has a Triumph Spitfire, an Austin-Healey, and about a half-dozen British two-wheelers. Still, I would describe his tastes in motor vehicles as “varied”, as the fleet also includes a Ford Model A pickup, a pre-war Packard convertible, a ’56 T-Bird, and a Porsche 356.

About 10 years ago, Ron picked up a derelict Porsche 914, and after doing body repairs (he’s proficient at metal work), he finally peeked inside the engine to discover a disaster: water had sat inside the crankcase for so long that all the internals were frozen. Somehow, he found another 914 engine for sale for $200 and dragged that home. That’s when he called me.

Ron explained that he had rebuilt the engine in his MG Midget race car (numerous times) but was unfamiliar with this VW Type 4 air-cooled flat four. I told him in turn that I rebuilt the one-lunger in my BMW Isetta, and felt equally unfamiliar with the V-Dub motor. Somehow, he convinced me that I knew more than he did, and I agreed to give him a hand one day for a few hours.

I’ve turned wrenches for much of my adult life, and can even try to convince you that I earned a living at it for a year or two. My experience, though, does not extend to a lot of in-depth engine work. Perhaps my biggest contribution to Ron’s project would be as a disassociated 3rd party who could oversee the proceedings, maintain a slow and steady pace, and assist in keeping things organized.

BEFORE DISASSEMBLY:

Arriving at his house one day last week, Ron had the engine on top of a sturdy work table, and had cleaned off much of the grime. Even removed from the car, it’s difficult to look at this hulk and envision an engine in there. Frankly, I’ve never understood the appeal of these VW/Porsche boxers. If you popped the hood on my ’68 Mustang, you were greeted with 390 cubic inches of cast iron painted Ford blue. In a different vein, but equally impressive in my opinion, opening the hood on my ’67 Alfa reveals a 1.3 liter aluminum jewel, with the valve cover proudly perched above the dual overhead cams. Lift the engine cover on a Beetle, early 911, or 914 and you’ll see…. sheet metal shrouding.

Everything is shrouded: the top of the cylinders; the cooling fan; the bottom of the cylinders; and the alternator too. I get it: no radiator, no antifreeze, no hoses or hose clamps. It does simplify things. But you still need to control airflow over the crankcase, cylinders, and heads to dissipate heat.


Capturing this detail at the starter will help during reassembly

So the first order of business was to remove all the shrouding, and just as importantly, photograph and label each piece as it was removed, for reassembly sometime in the hopefully not-too-distant future. (Actually, the first task was to remove the starter and its attendant wiring harness on top of the engine, so this we did.)

I had not seen a shrouded alternator before this

This engine had already been apart at some point in its past. We knew that because A) the shroud screws were a mixed bag of slotted screws and cap screws; B) blue Permatex sealer was evident in various spots; and C) a few shroud screws had broken off in the case, something for us to work on later.

RON POSES WITH SHROUDING FOR THE CAMERA:

With the thin sheet metal shrouding off, we tackled the fan housing, a large aluminum casing at the front of the engine, almost as large as the crankcase itself. Here we ran into a few screws that would not budge. Ron first tried the blue wrench, aka the torch. When THAT didn’t work, he resorted to a drill to remove the screw heads. This finally allowed the housing to be separated from the case.

The blue wrench is ON. Ron’s friend John wisely stands several yards away.

We marked the spark plugs 1 through 4, and took a snapshot to keep track of cylinder numbers. Removing the spark plugs, we found that the engine easily turned by hand, with no untoward noises. This was a good sign, and maybe just maybe, things are OK at the crank.

Cylinders 1 through 4 are so marked

The clutch came off without drama once the pressure plate bolts were out. The flywheel was rusty, but we saw no obvious score marks.


This was enough work for one day. Ron’s plan is to use new/reman cylinders, pistons, and heads, all of which he already owns. I reminded him that he needed to order a clutch, and I suggested that he look for a shroud fastener kit, so we could avoid dealing with chewed-up bolt heads.

Ron pointed out there was no blood, no broken bones, and no one’s clothes caught fire, so he declared the day a success. He managed to convince me to return, and I managed to croak out a “sure”. But we’re going to need to get this thing on an engine stand soon – AFTER that flywheel comes off.


All photographs copyright © 2019 Richard A. Reina. Photos may not be copied or reproduced without express written permission.


Sunday Morning Breakfast Drive, June 9, 2019

Our second Sunday morning breakfast run of the year was held on June 9, 2019, starting as always at the Crossroads Sheraton Hotel in Mahwah NJ. The assembled group consisted of 12 people in 10 cars. Our eclectic collection included Chevys, Porsches, Miatas, a BMW, an Alfa, a VW, and a Buick. This time, we headed south, with the Readington Diner in Whitehouse Station NJ as our destination. We pushed off at 8:35 am, but not every vehicle was destined to make it to the diner…..

The morning queue awaits the starting flag


The Buick, a ’67 Skylark convertible driven by our friend Ralph, had engine trouble on the way. This was unbeknownst to me in the lead car, but I learned later that billows of smoke were wafting from the engine compartment. Ralph quickly got to the shoulder of the highway, and just as quickly, 3 of our other drivers stopped with offers of assistance. A peek into the engine compartment revealed a connecting rod (connects the crankshaft to the piston) extending itself through an aperture in the side of the engine block where previously there had not been an aperture. This is colloquially known as a “blown engine”, and cannot be fixed with Gorilla Glue. Sadly, Ralph missed breakfast.

Everyone is smiling, so this is obviously after we’ve been served


While Ralph waited for the flat bed tow truck, one driver who stopped needed to return home, and the other two, having long lost our caravan, found their own way to the diner. In the meantime, a dawdler who had missed our departure came rushing down the same highway, saw the blown Buick, stopped for a brief chat, then continued to the eatery. Yet another driver, residing well south of our destination, came up on his own and met us there. So we still ended up with 12 at the breakfast table!

1966 Corvette adds glamor to diner sign


The wait staff at the Readington Diner was outstanding as always; those of us who require morning caffeine were never without hot java. With bellies full of food and beverage, we meandered back into the parking lot, admired each others’ cars, then headed home to enjoy the remainder of what was certainly one of the most weather-perfect Sundays we’ve seen in the Northeast this year.


Our own impromptu parking lot car show

We plan to do this again soon. We also hope that Ralph can get his car fixed, because we like Ralph, and want him to be able to enjoy breakfast with us next time.

Porsche 911 Targa


1993 Mazda Miata (1st gen, NA)


VW Golf GTi


1967 Buick Skylark


1991 Alfa Romeo Spider


1967 Corvette 427


Porsche 911


BMW Z3


Mazda Miata 2nd gen (NB)


1969 Chevy Camaro


1953 Jaguar XK-120


1966 Corvette


All photographs copyright © 2019 Richard A. Reina. Photos may not be copied or reproduced without express written permission.

NJ AACA at the Buffalo Watch, Flemington NJ, June 1, 2019

The New Jersey Region of the Antique Automobile Club of America (AACA) was invited to arrange a display of classic collector cars as part of the 21st annual “Buffalo Watch”, held at the Readington River Farm in Flemington NJ on Saturday June 1, 2019.

Part of the lineup

It may come as a surprise to you to learn that there is a real honest-to-goodness buffalo farm east of the Mississippi River, and may be an even bigger surprise that one exists in the most densely populated state in the nation, but it’s true. Better still, the farm is about a 15 minute car ride from your humble blogger’s home, so it was a no-brainer to buzz over there in the Alfa and join up with some of my fellow club members.

Another view

The Buffalo Watch officially opened at 9 a.m.; I arrived just before 9:30 and there were already 8 or 9 cars in their assigned spots. The Alfa was parked in line with the rest, and before the morning was out, another 4 or 5 cars made the event, for a total of about 14 classic cars. As is the Region’s tradition, a tent was erected, under which were displayed magazines, brochures, and handouts, all to encourage club membership. We were popular enough that two new members joined the Jersey Region that day. Our classics provided plenty of competition for the pigs, goats, and rabbits in the pens across from us, and I dare say we smelled better too!

The 4H Club competed with us for attention

The day stayed dry, if a touch warm and humid, and as the afternoon crowd began to peter out, the cars started their departures. I was off the grounds by 2 pm and home before 2:30. The Buffalo Watch was something of a different event for the club, and to me, it proved once again that no matter what the venue, interesting old cars will always grab the public’s attention.


1962 Buick


1988 Mercury Cougar


1964 Pontiac (with Regional tent to the left)


1969 Ford Mustang


1950 Oldsmobile


1957 Chevrolet


1929 LaSalle


Callaway Corvette C4


1971 Oldsmobile Cutlass


1964 Ford Galaxie


1946 Chevrolet pickup


1967 Alfa Romeo GT 1300 Jr


All photographs copyright © 2019 Richard A. Reina. Photos may not be copied or reproduced without express written permission.