The NJ Region of the AACA will hold its annual car show (officially known as the “Spring Meet”) this year on Sunday, May 3, in Denville, NJ. Because this is a judged event, the club is always looking for volunteer judges, and in 2024, the Region launched a new initiative, when it expanded the number of judges’ training sessions in the months prior to the show. This initiative continued through 2025 and into 2026. (The Reinas hosted twice, breakfast in 2024 and lunch in 2025.)
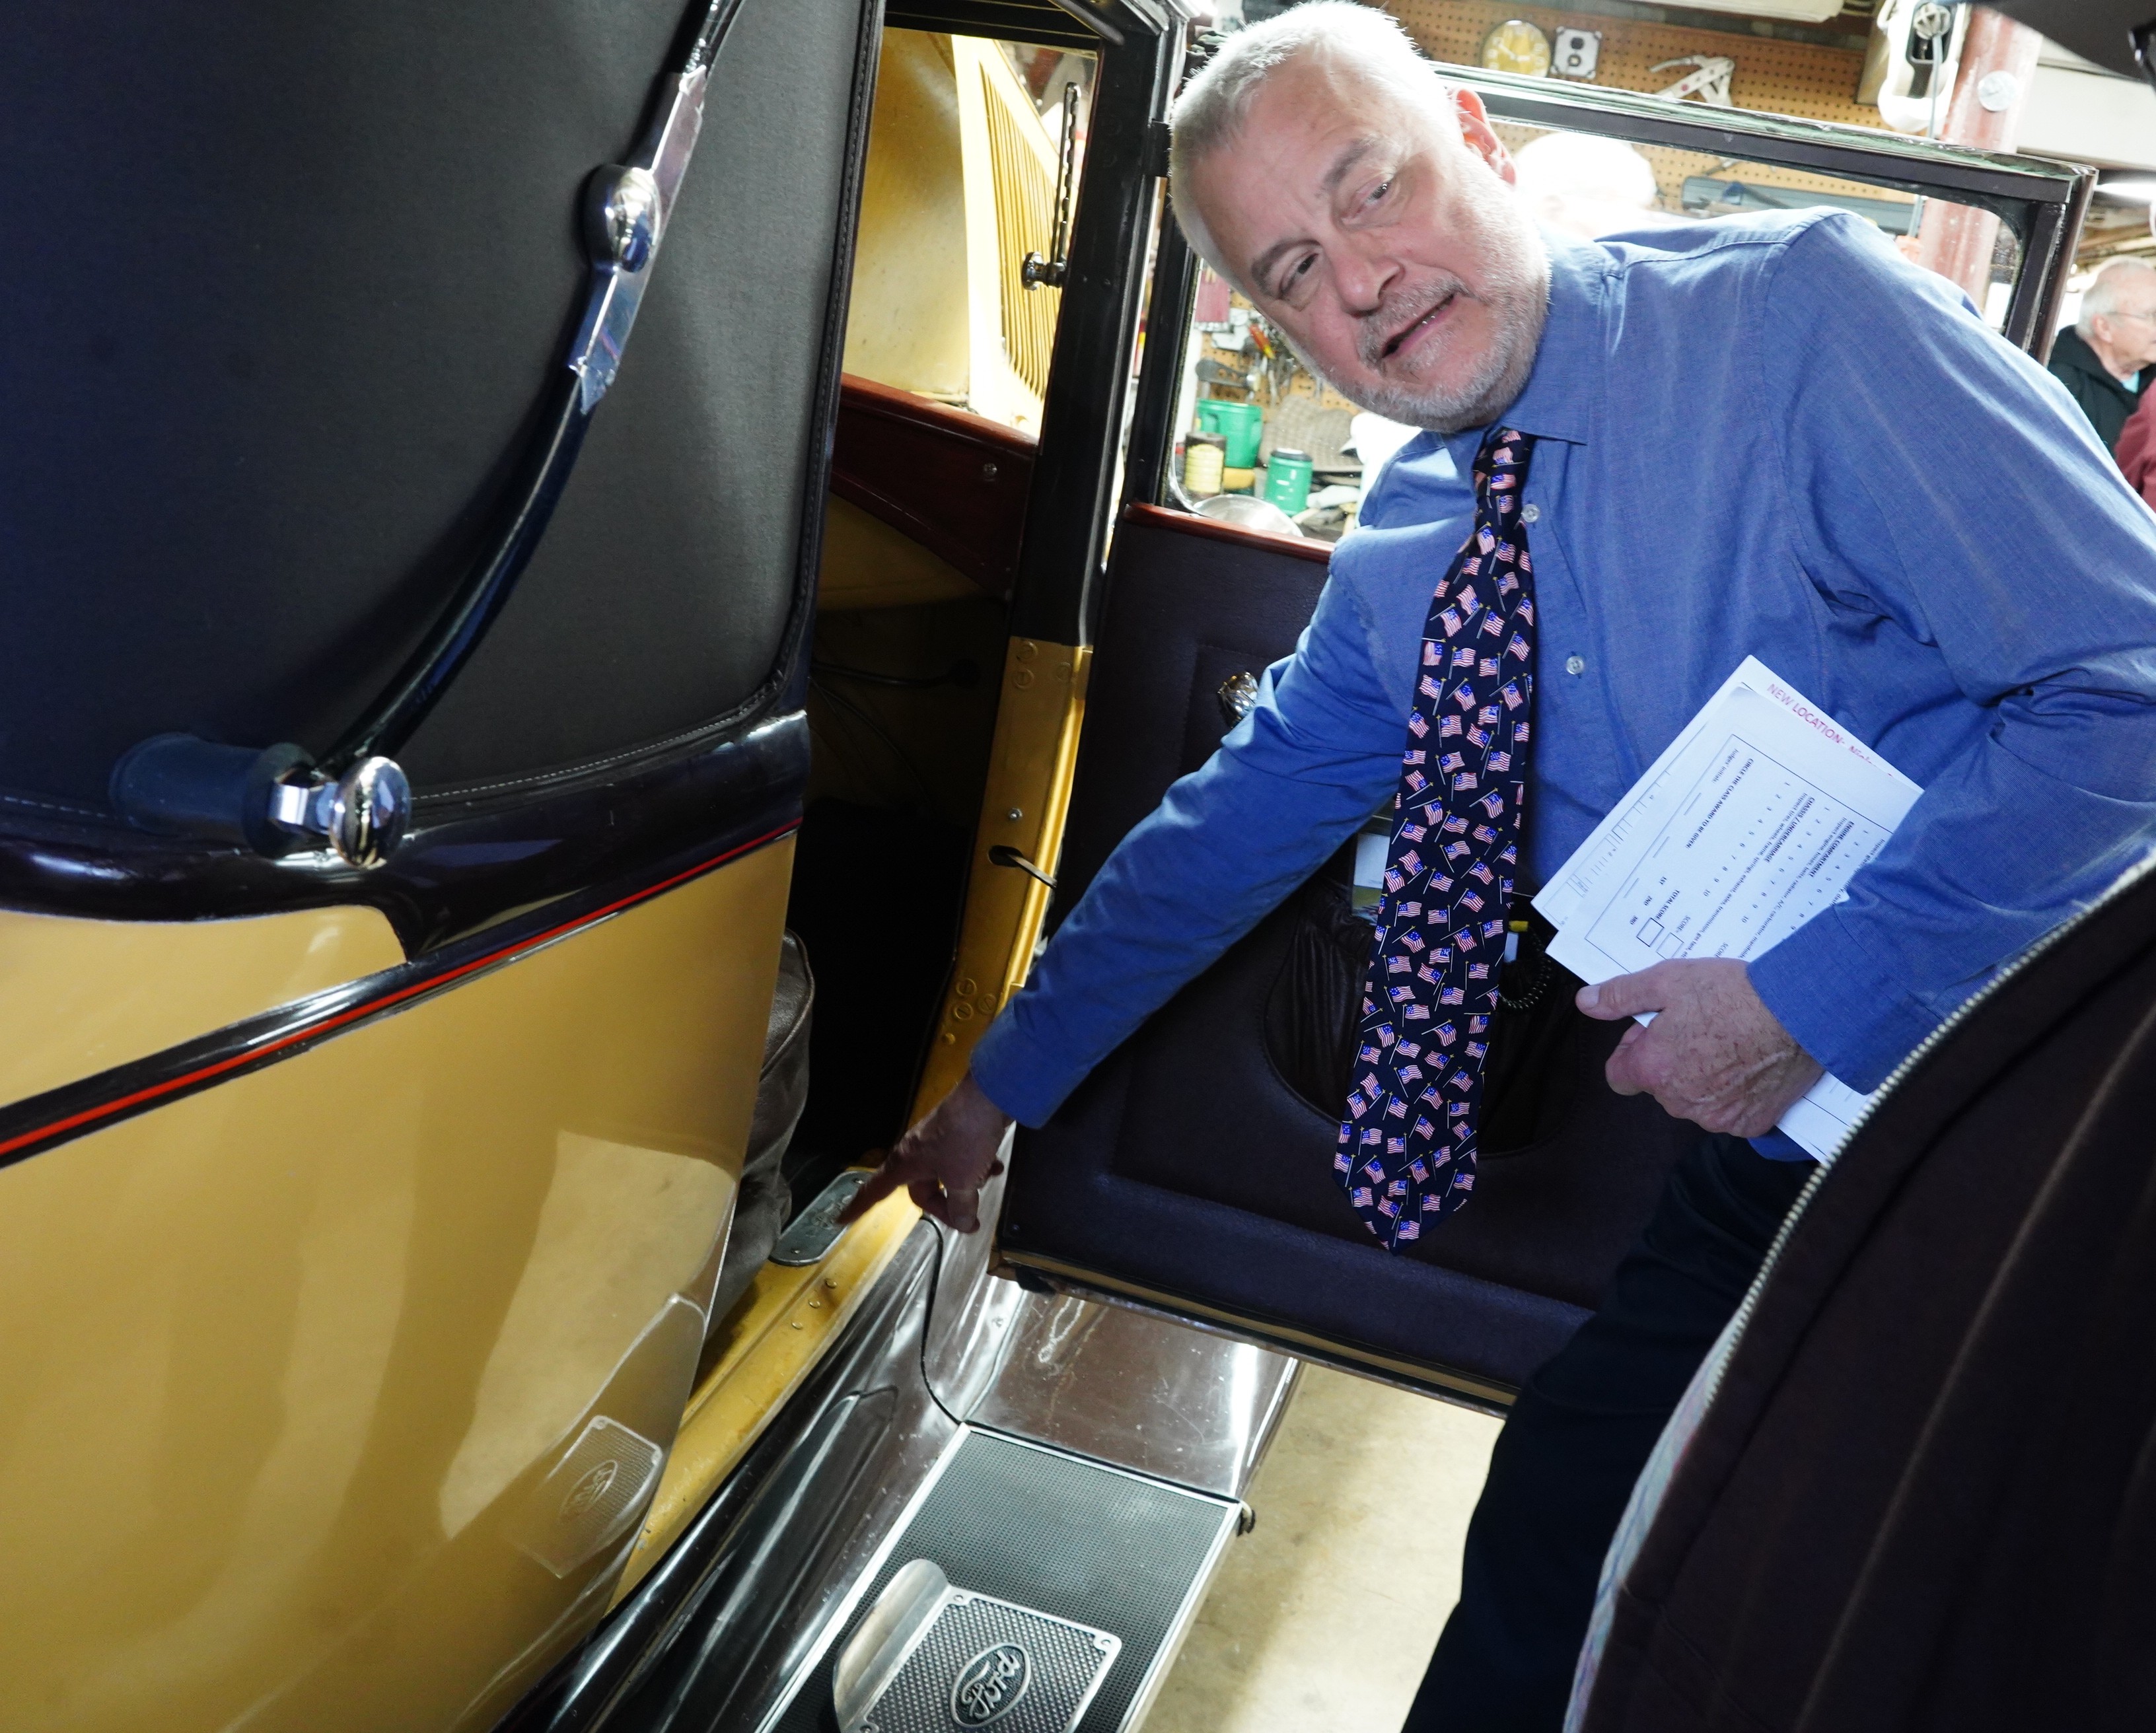
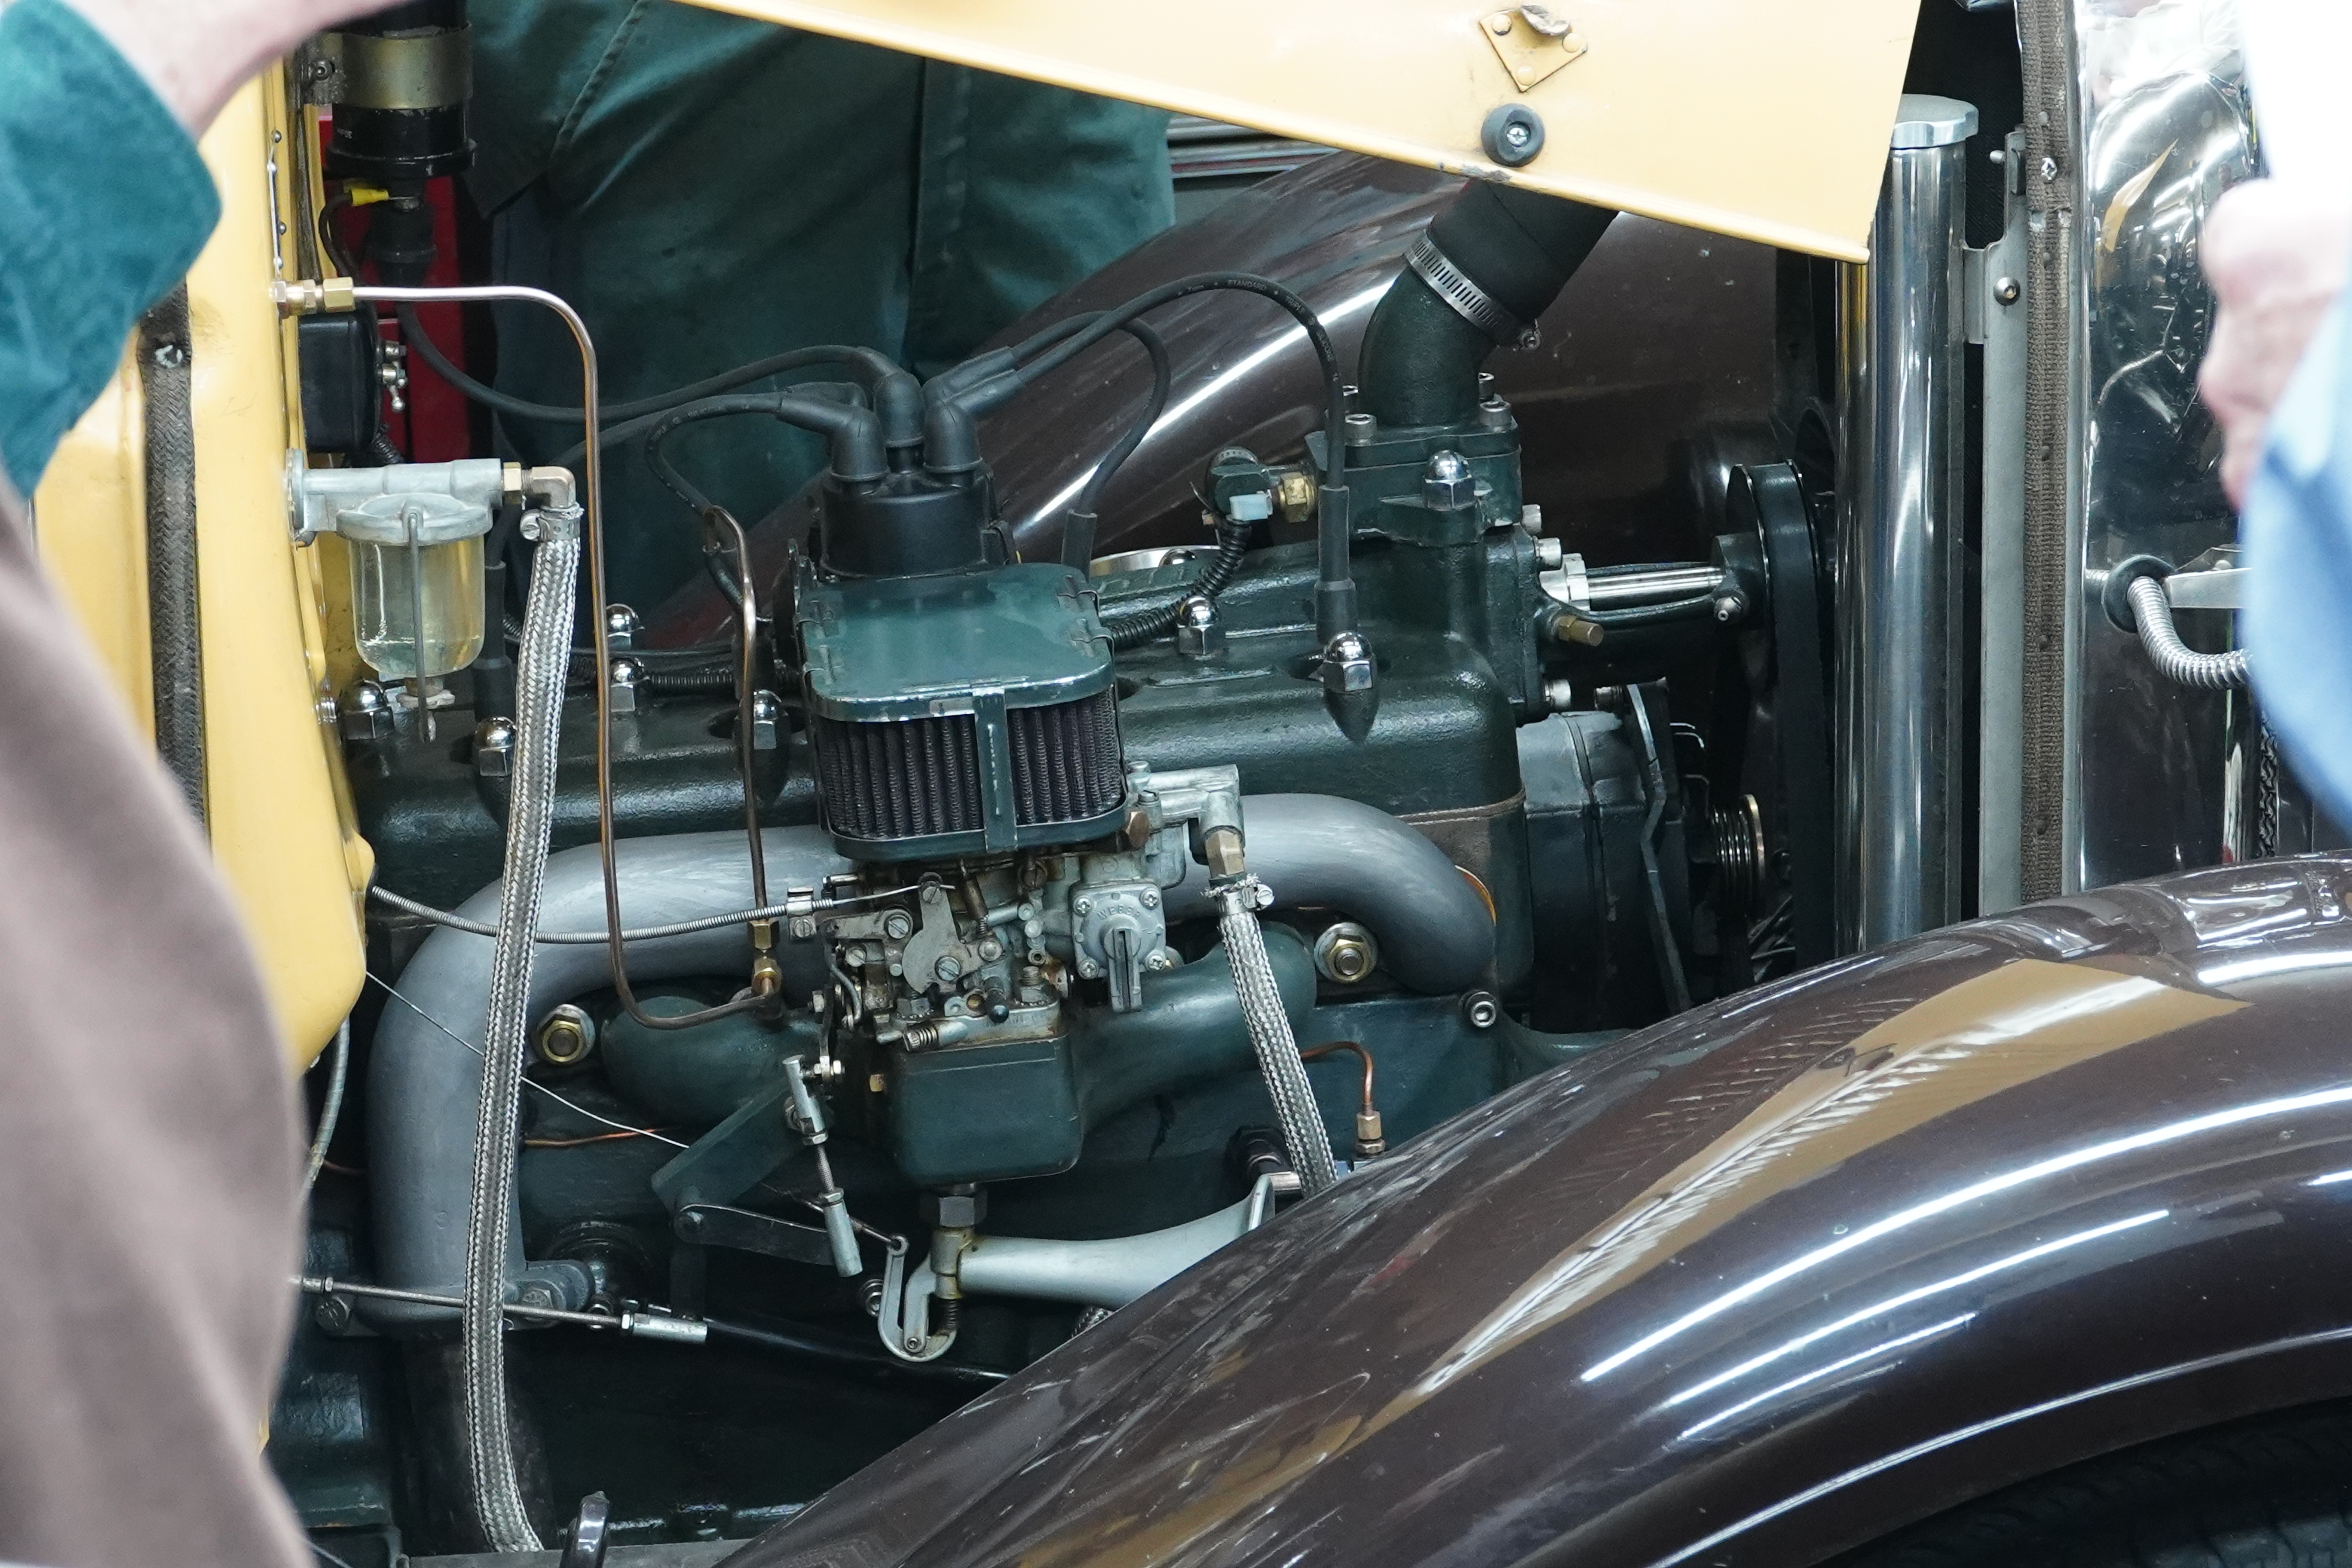
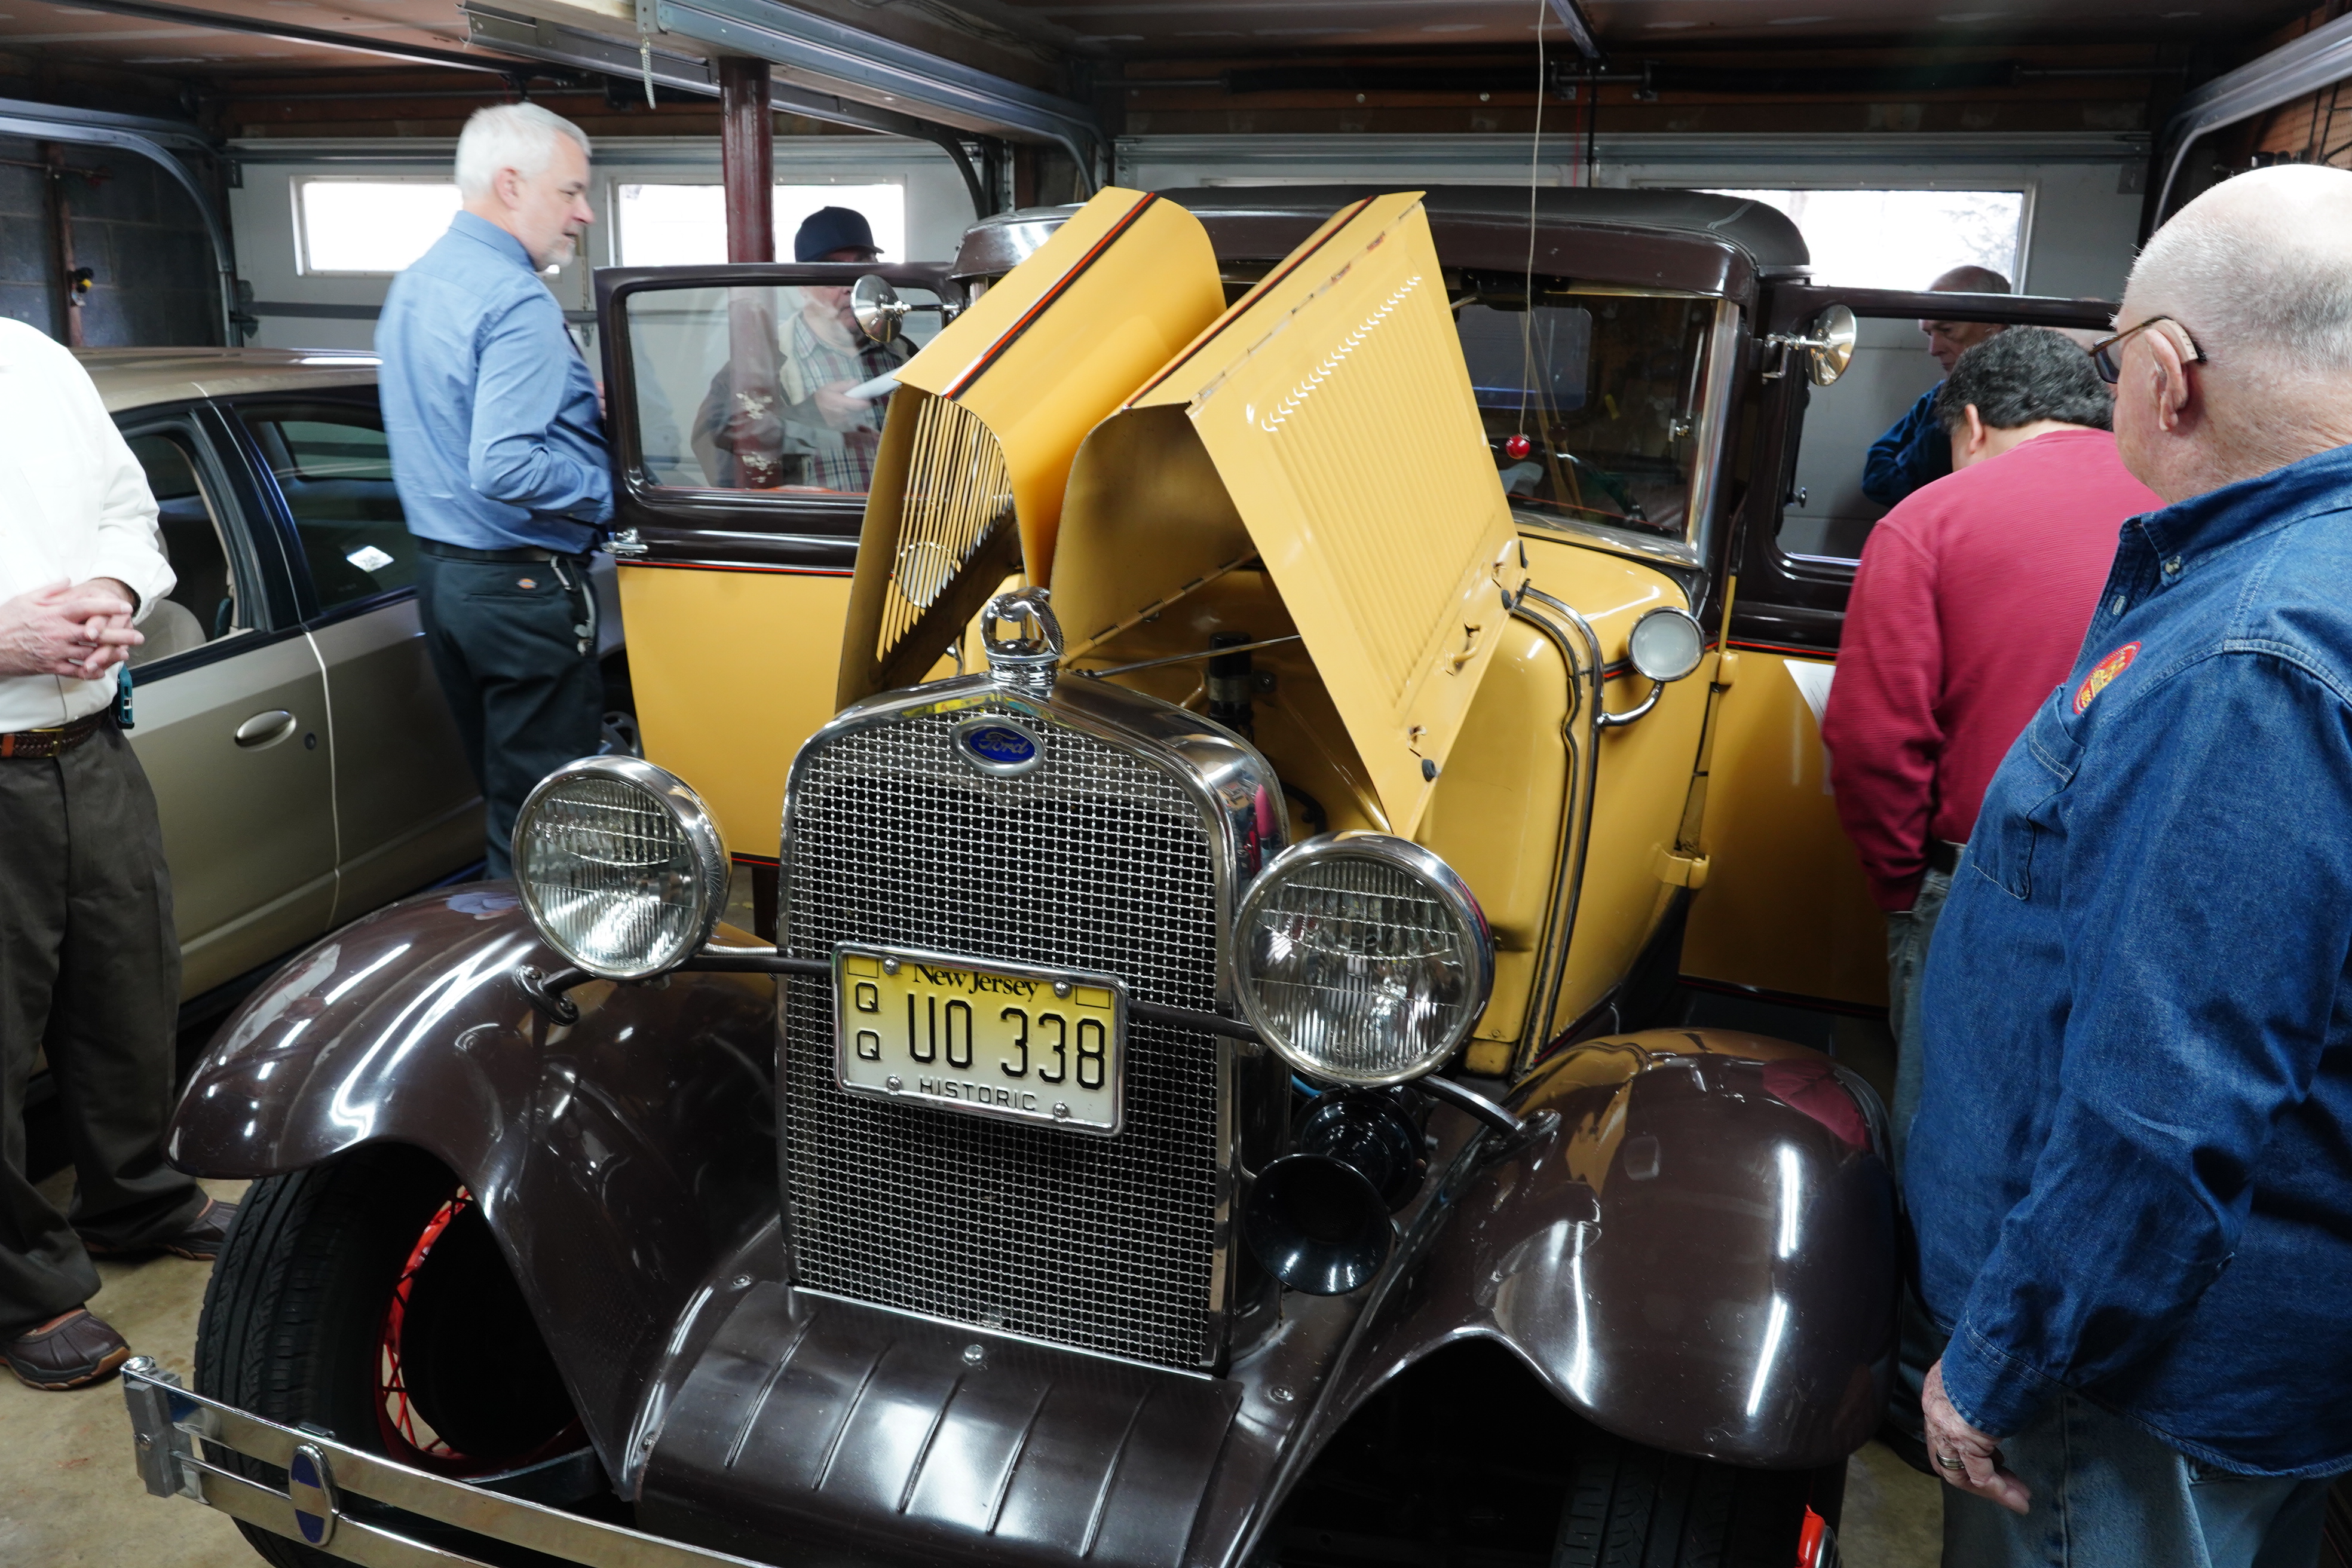
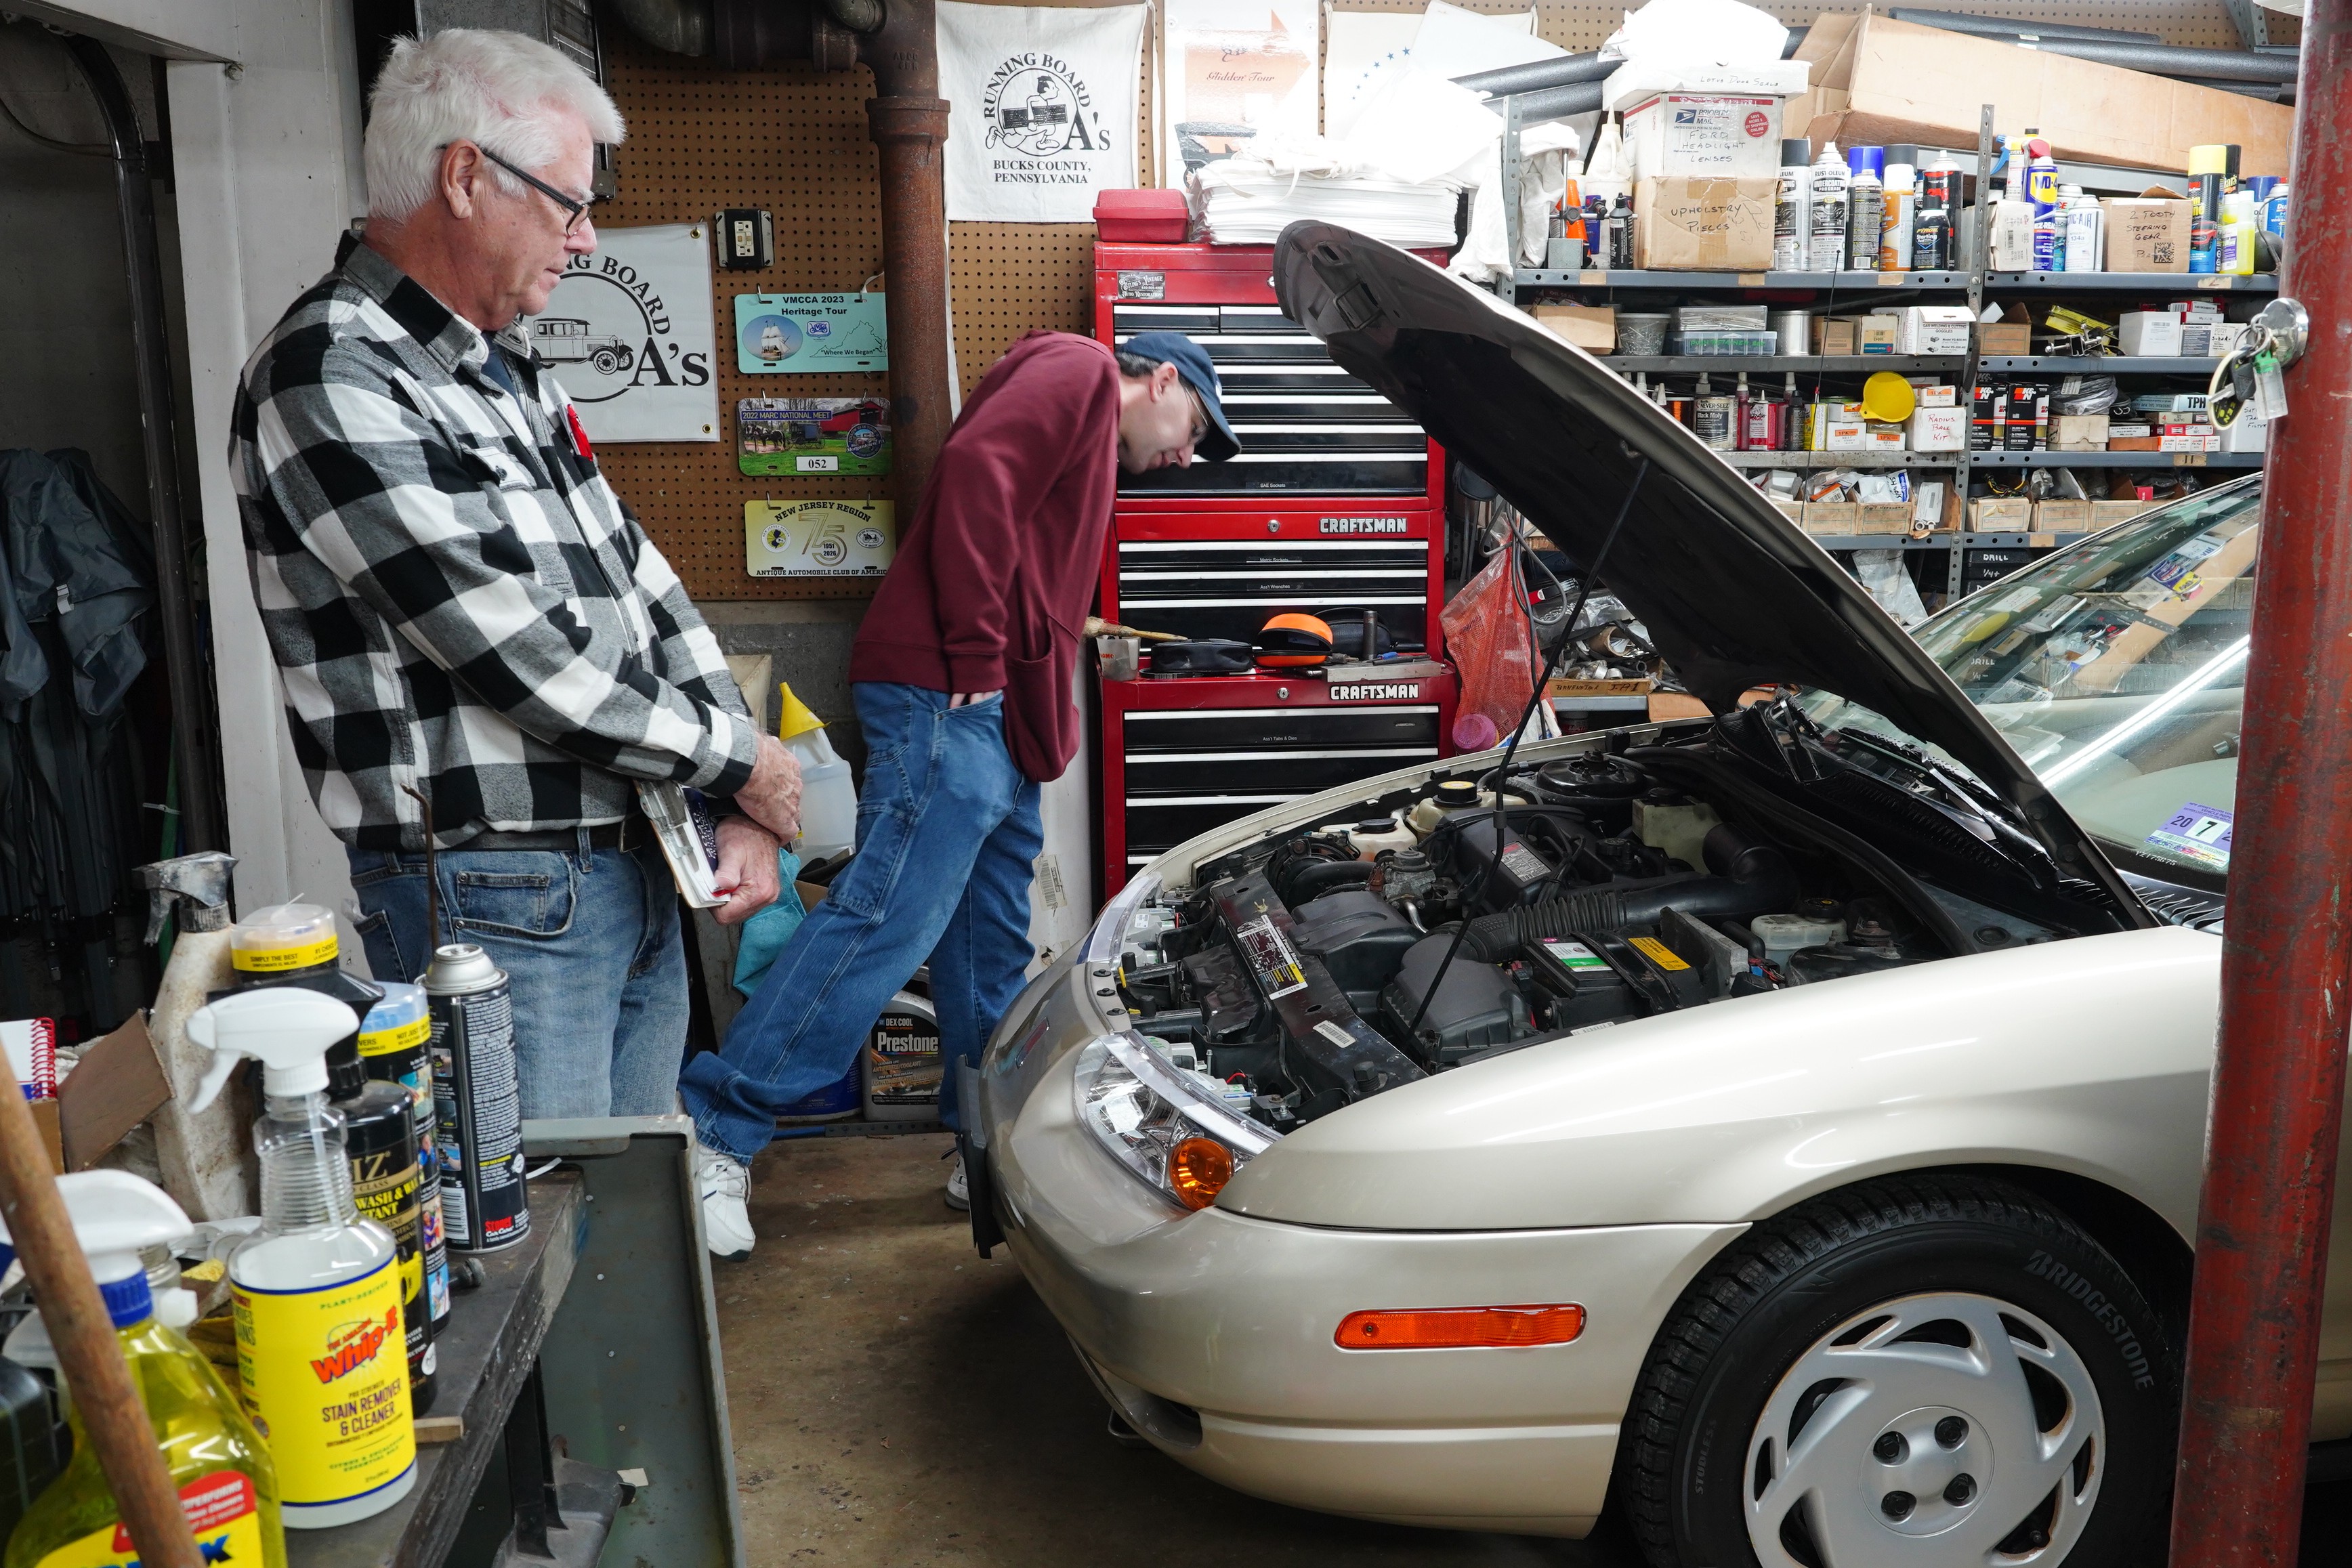
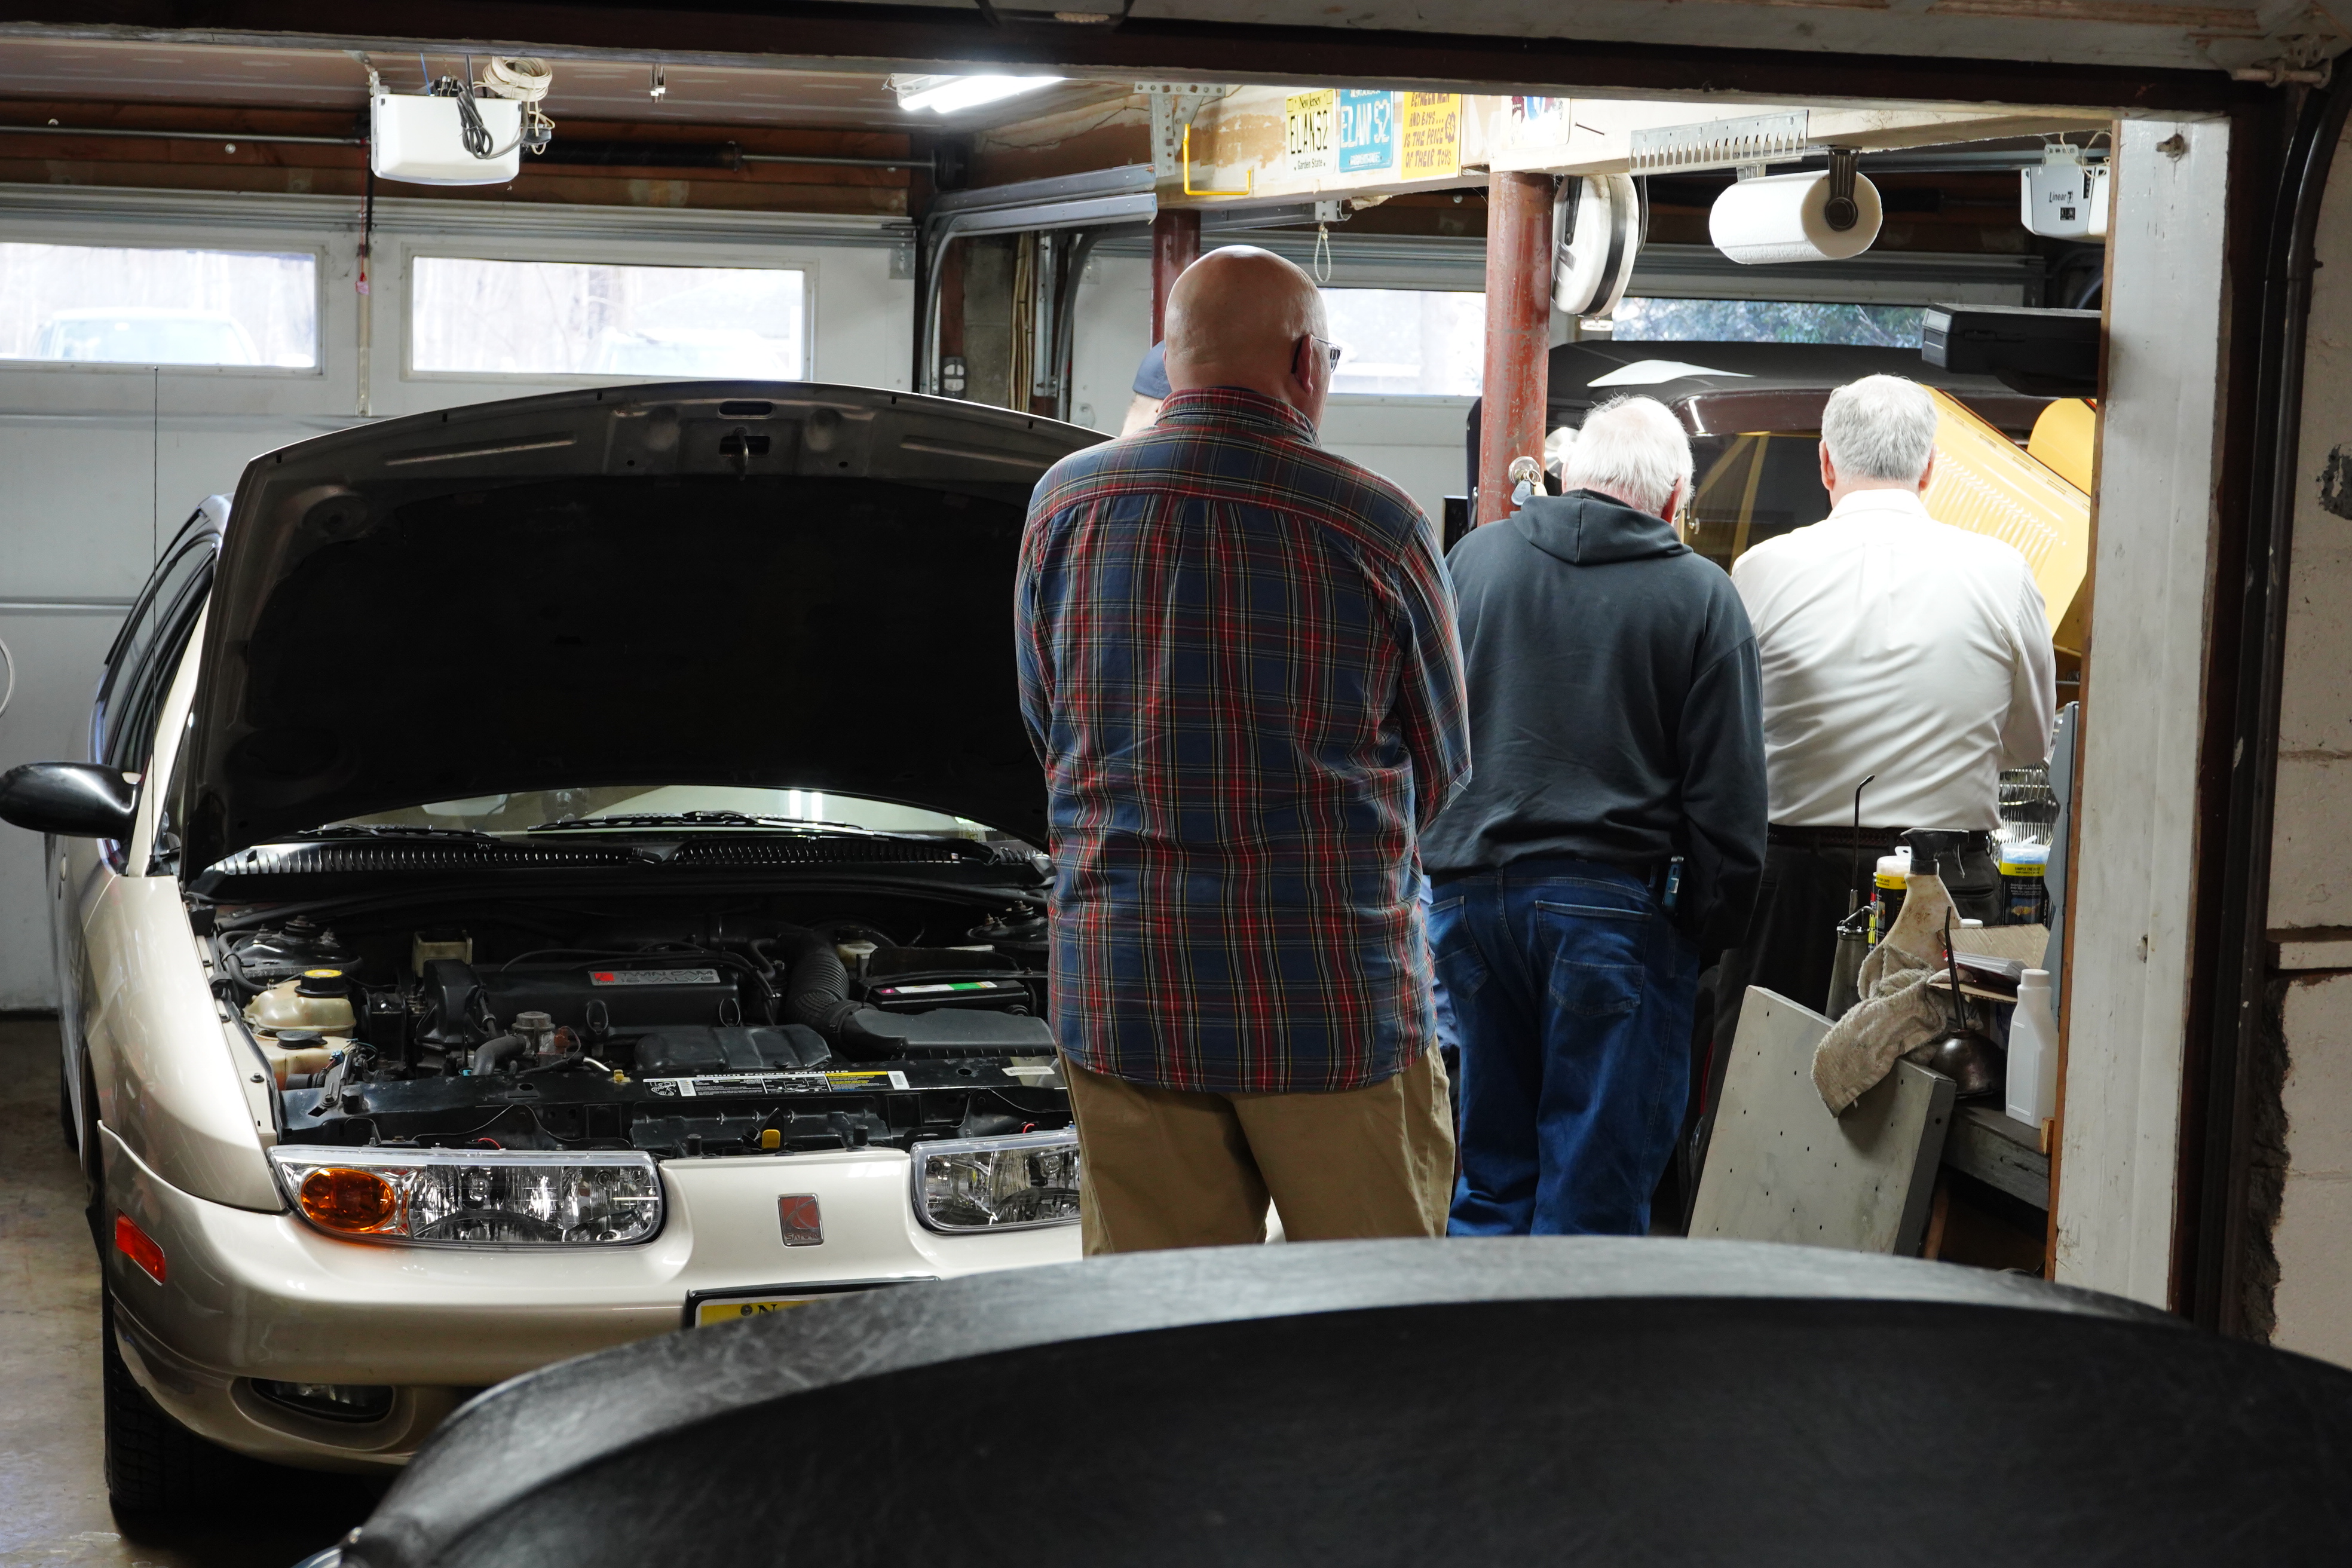
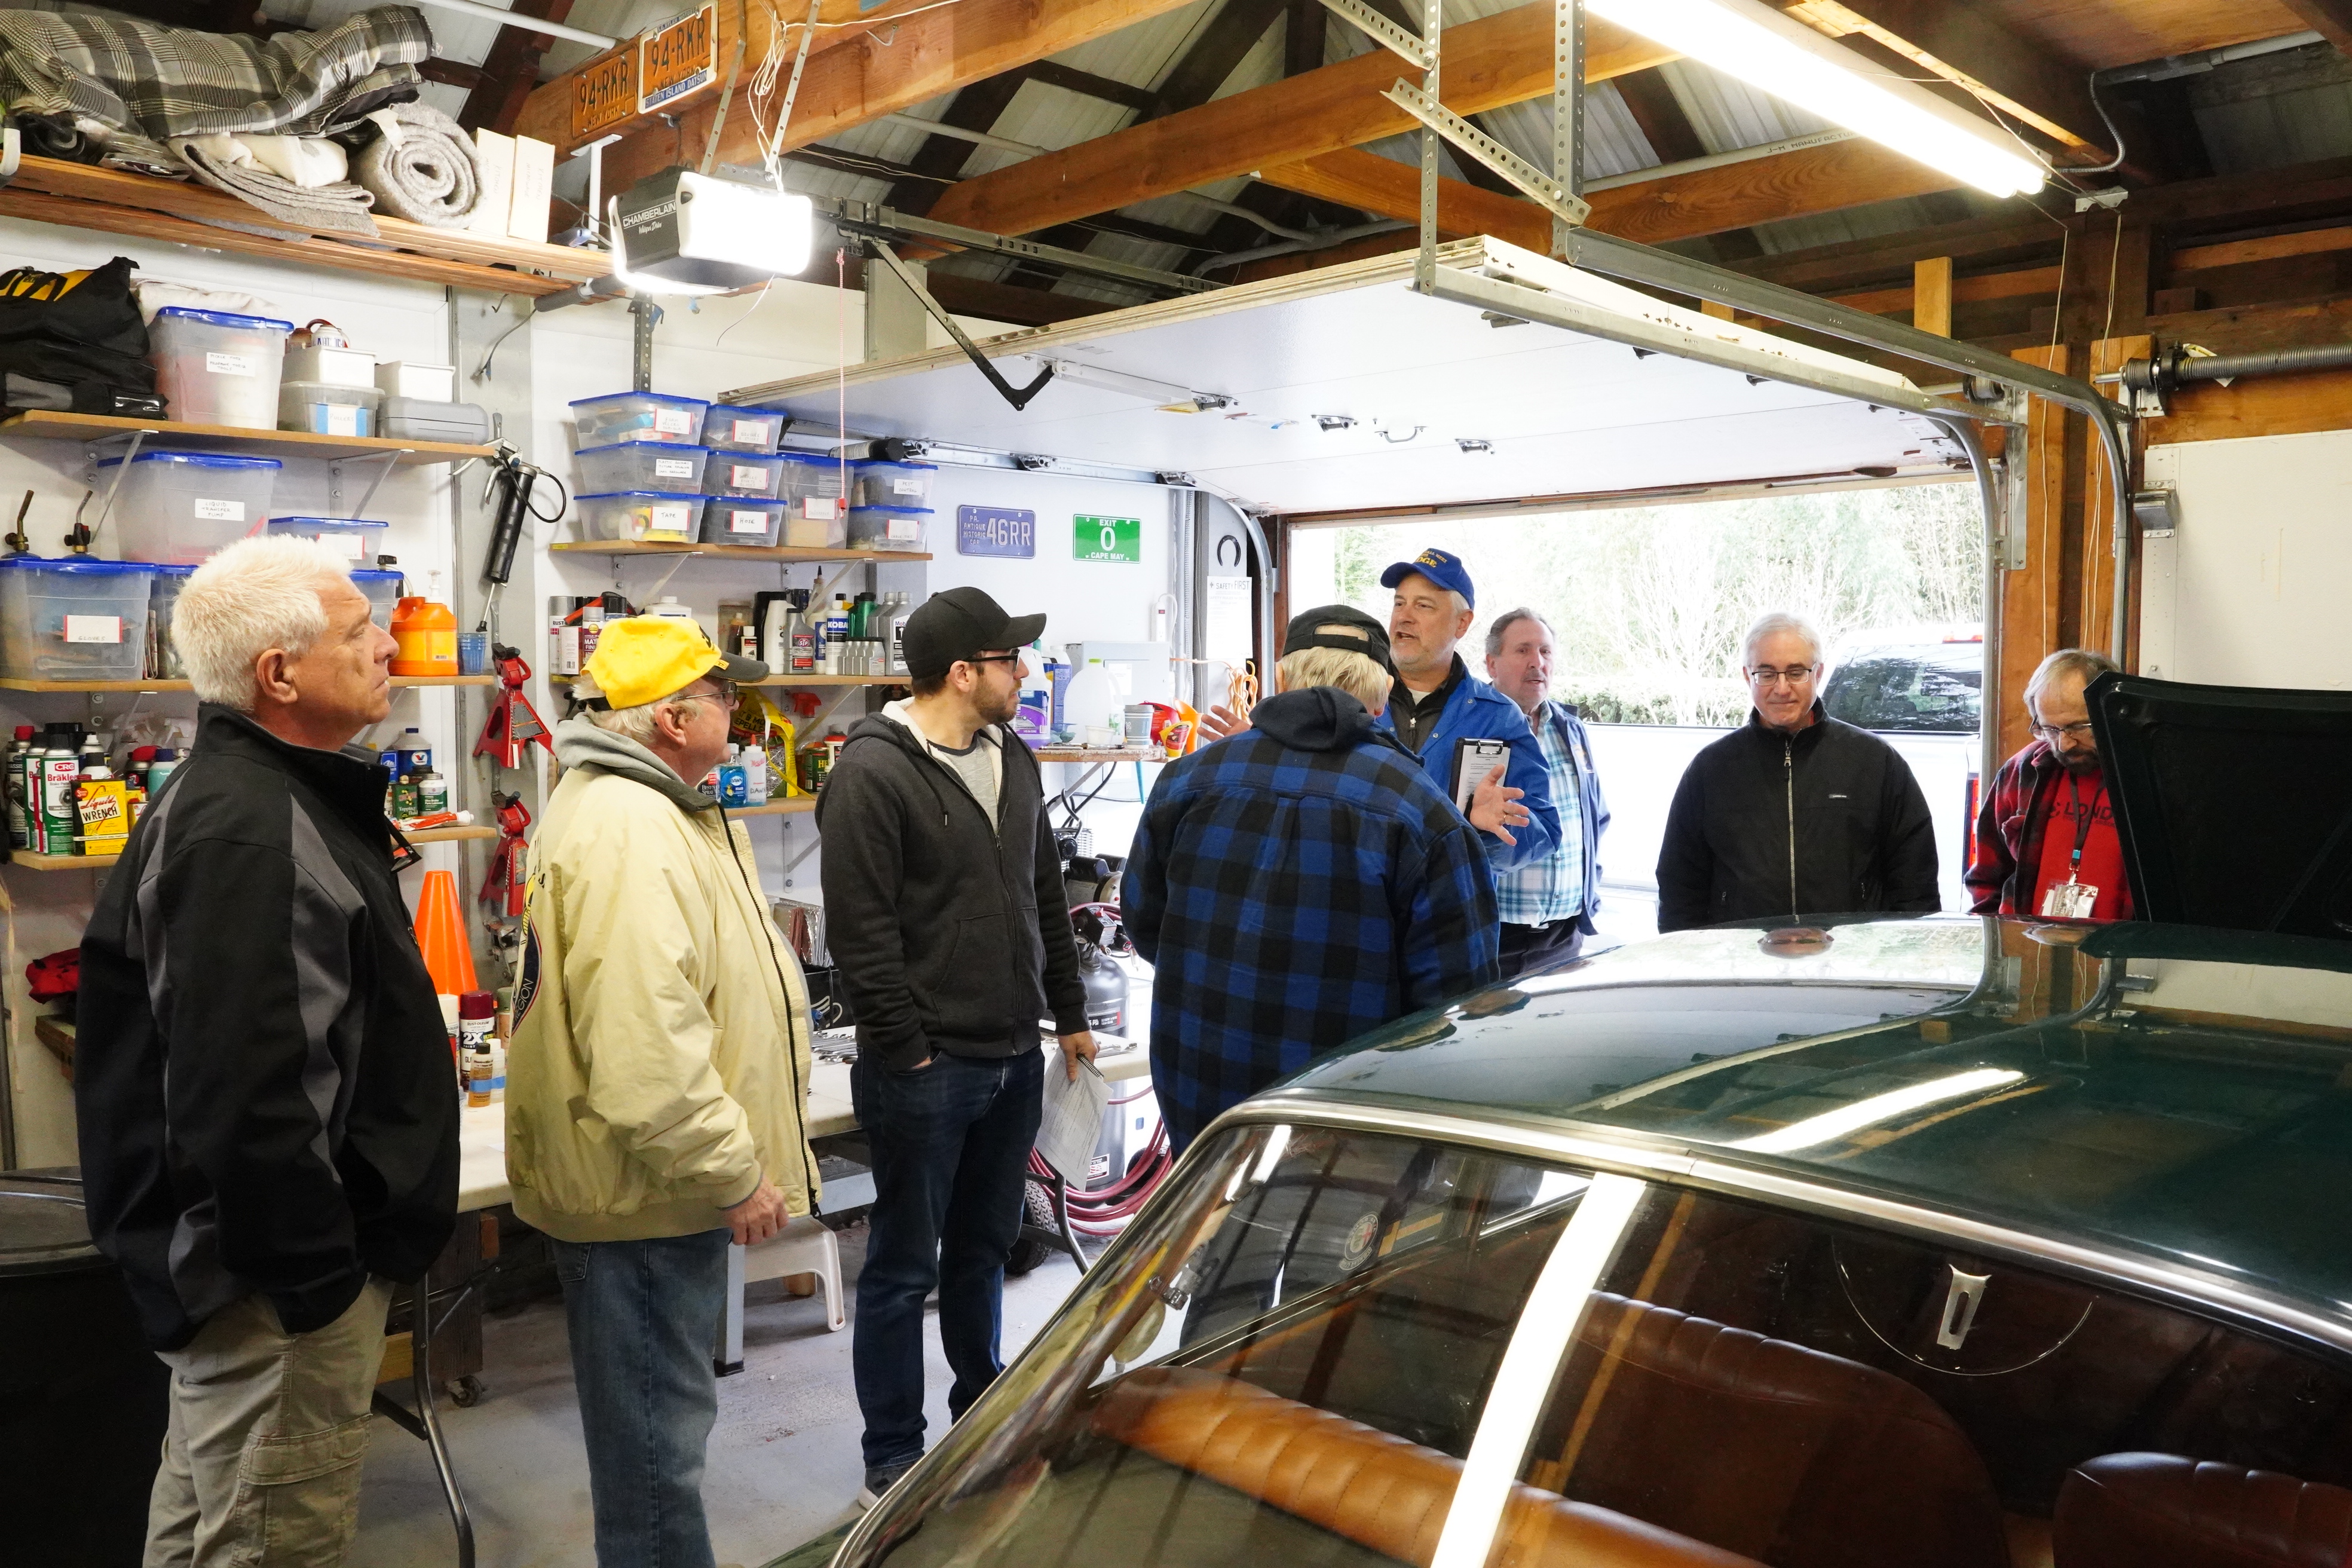
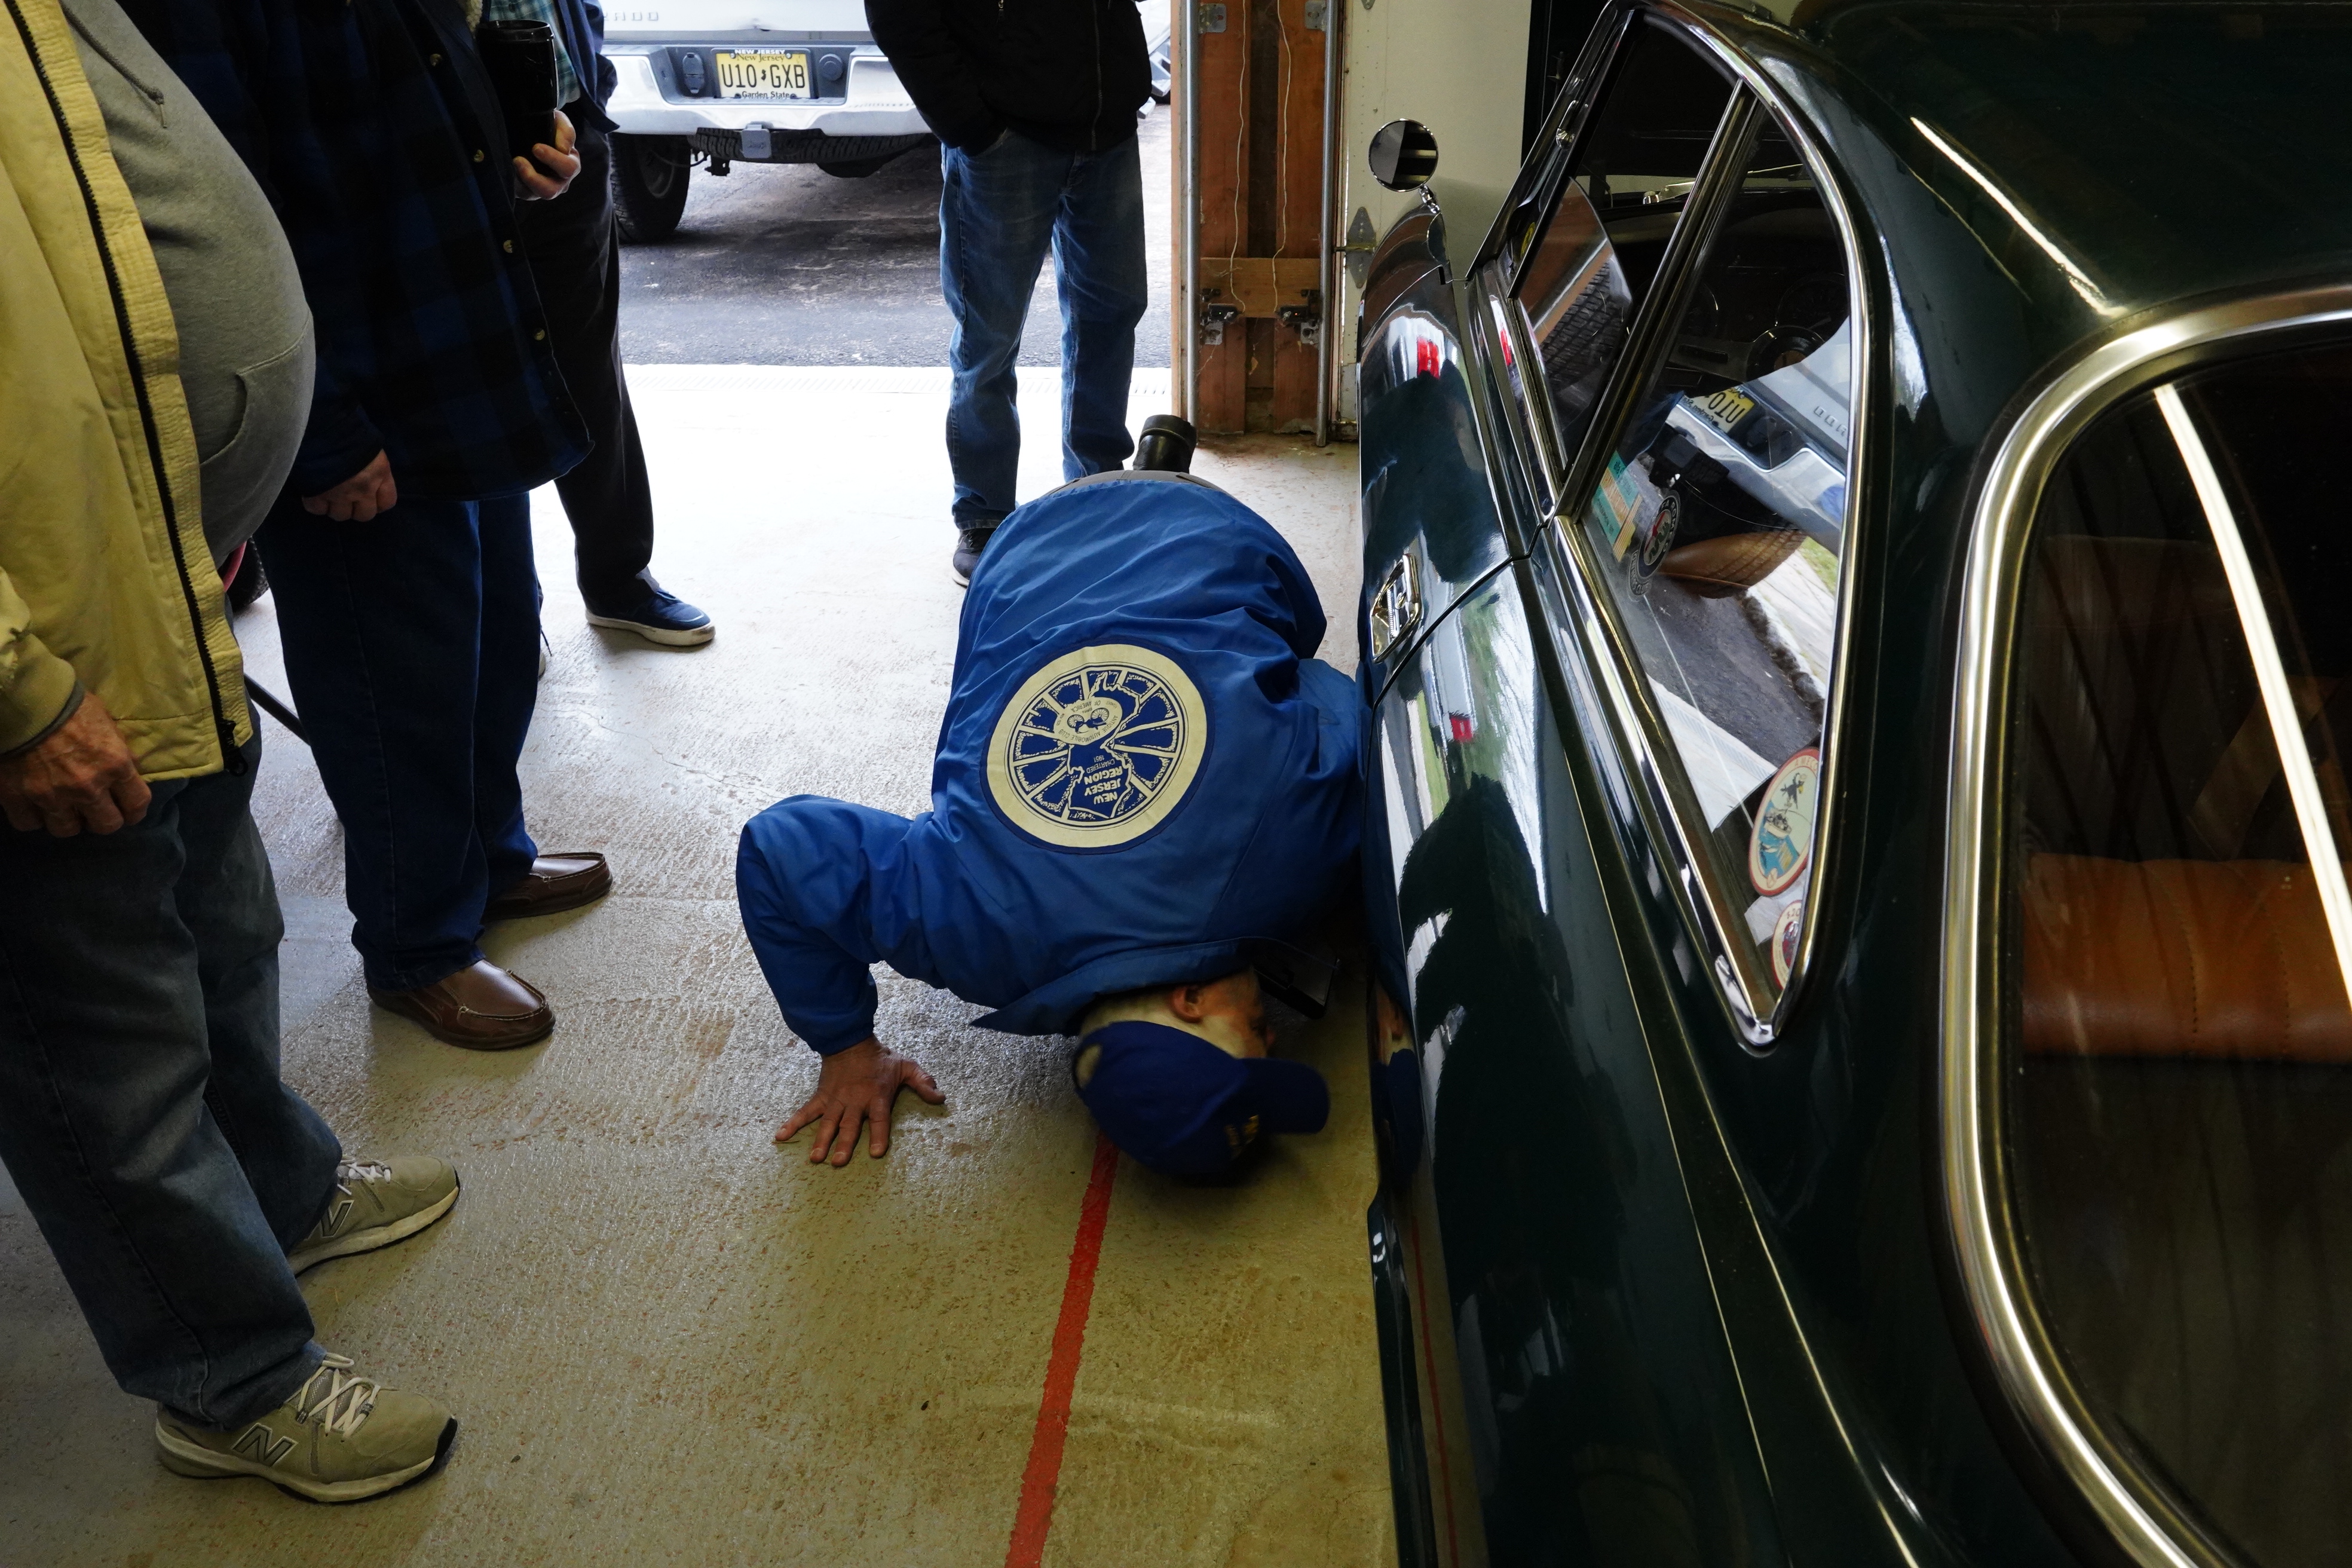
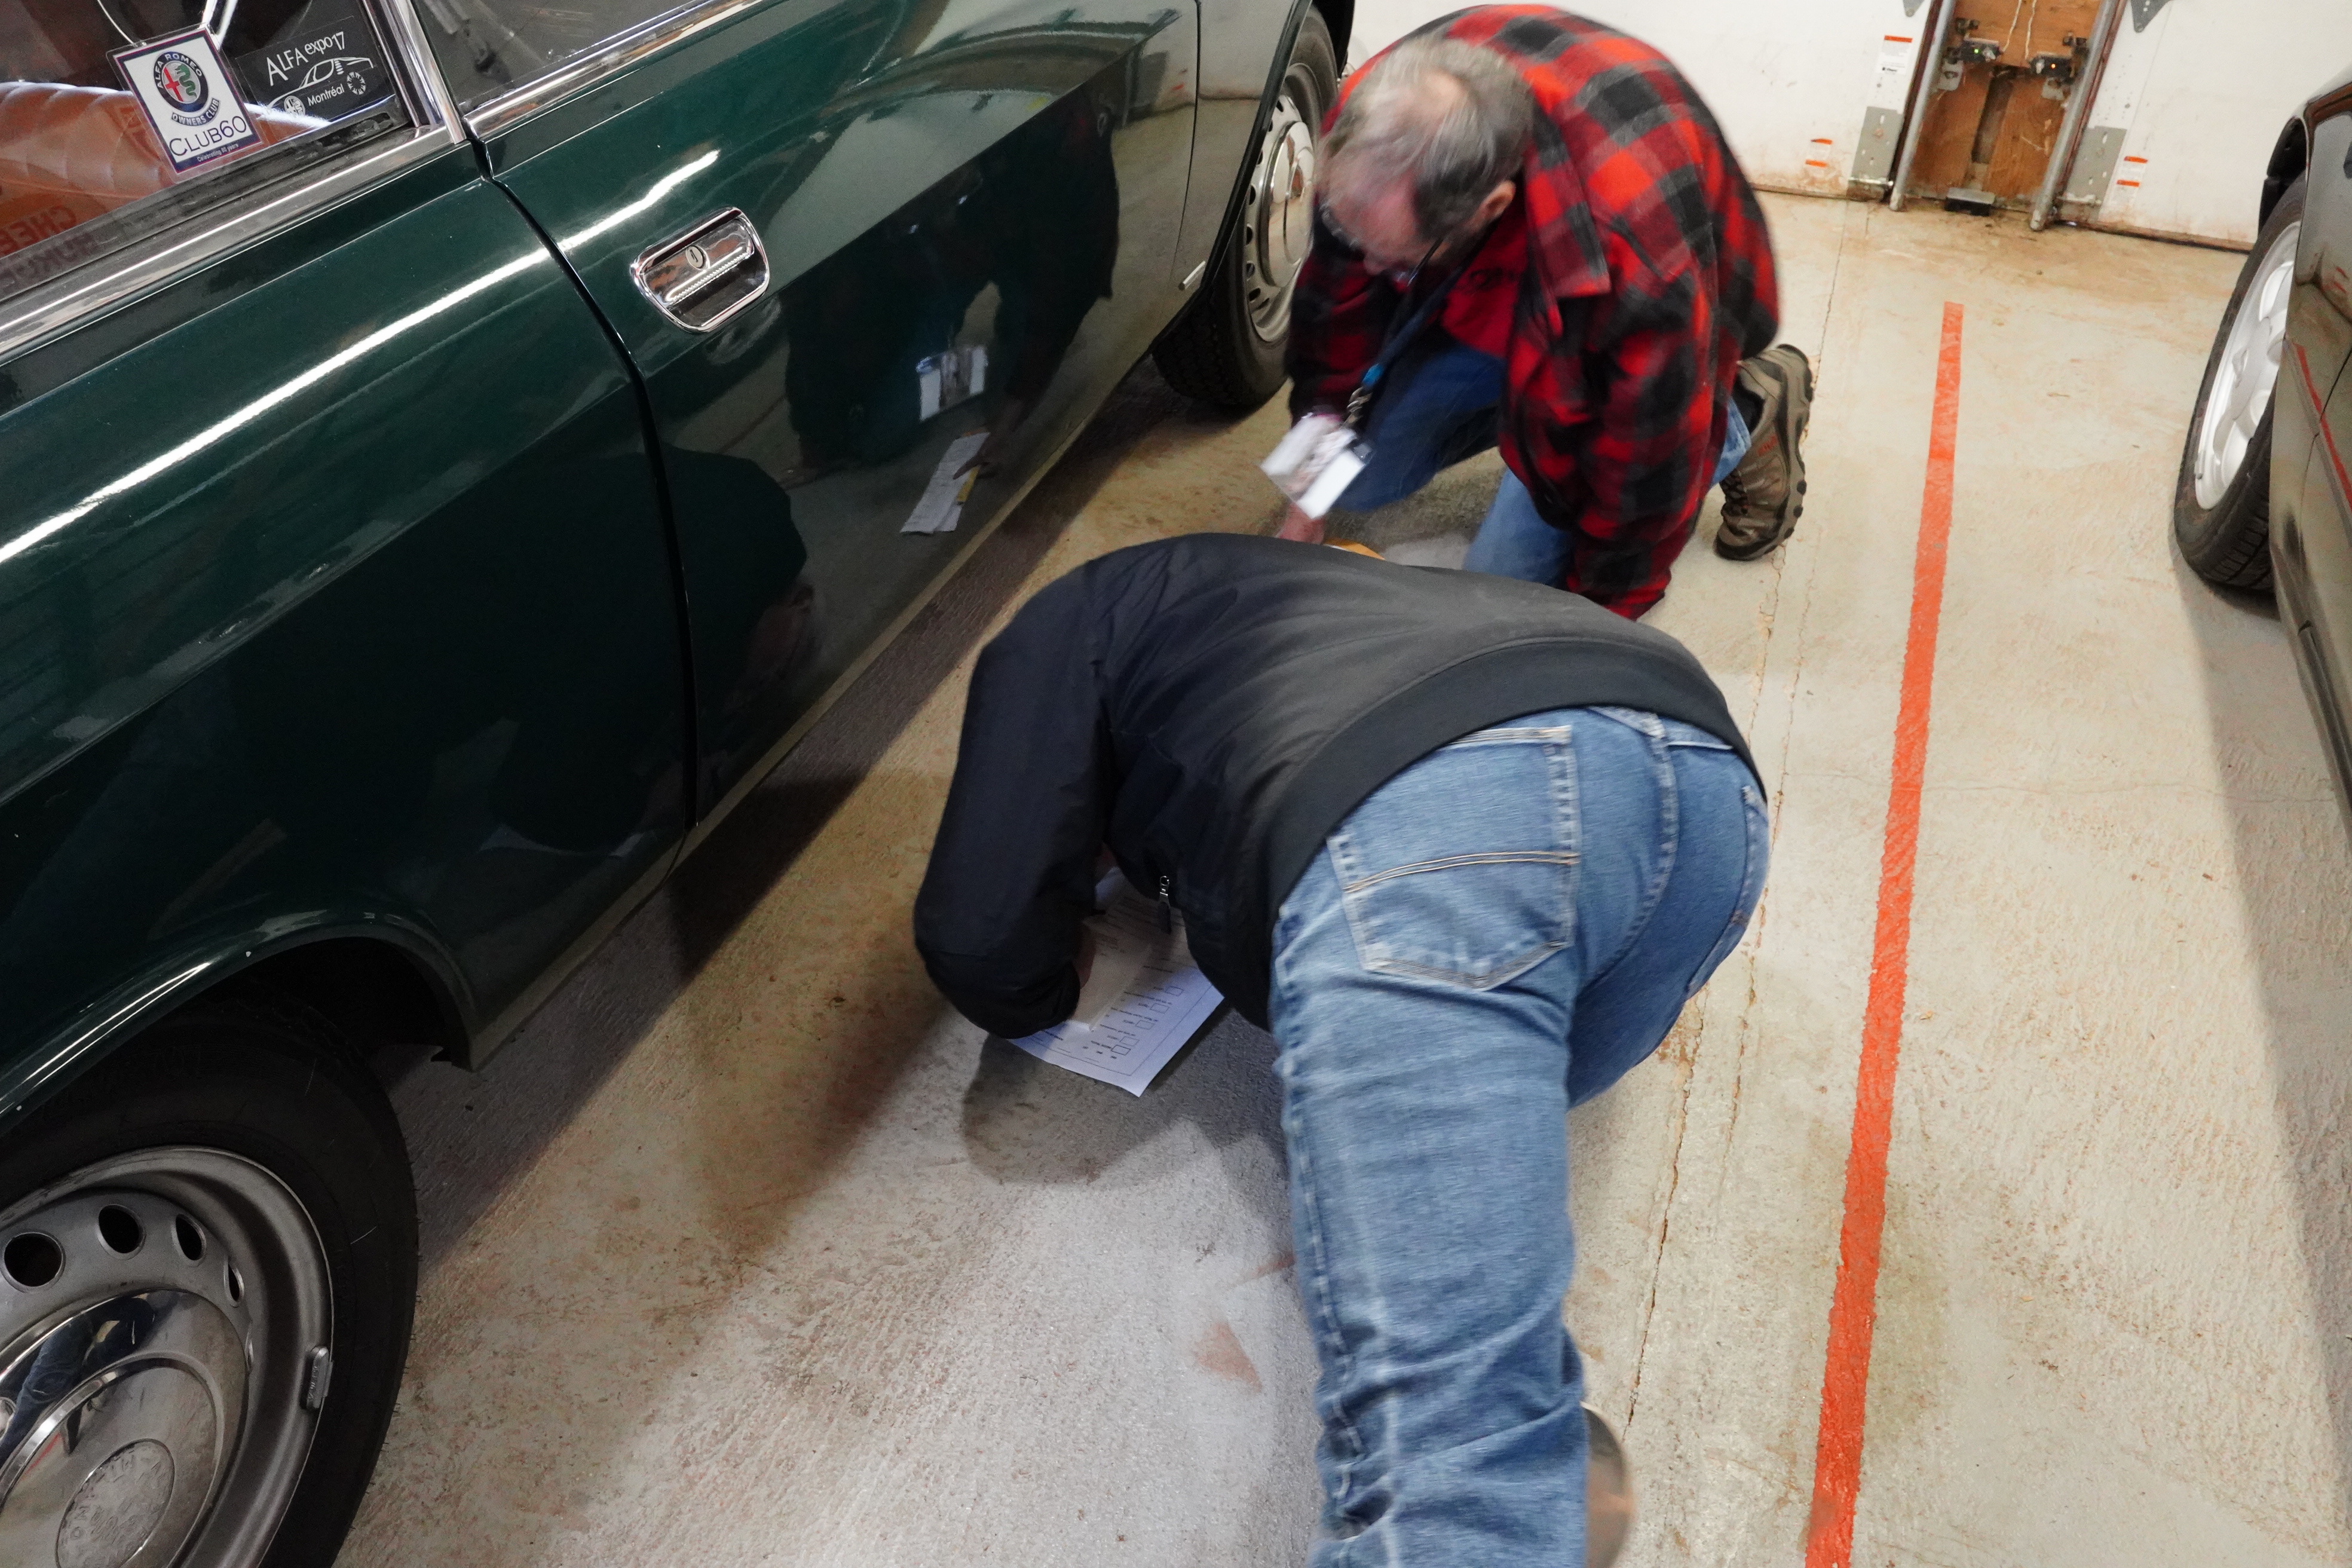
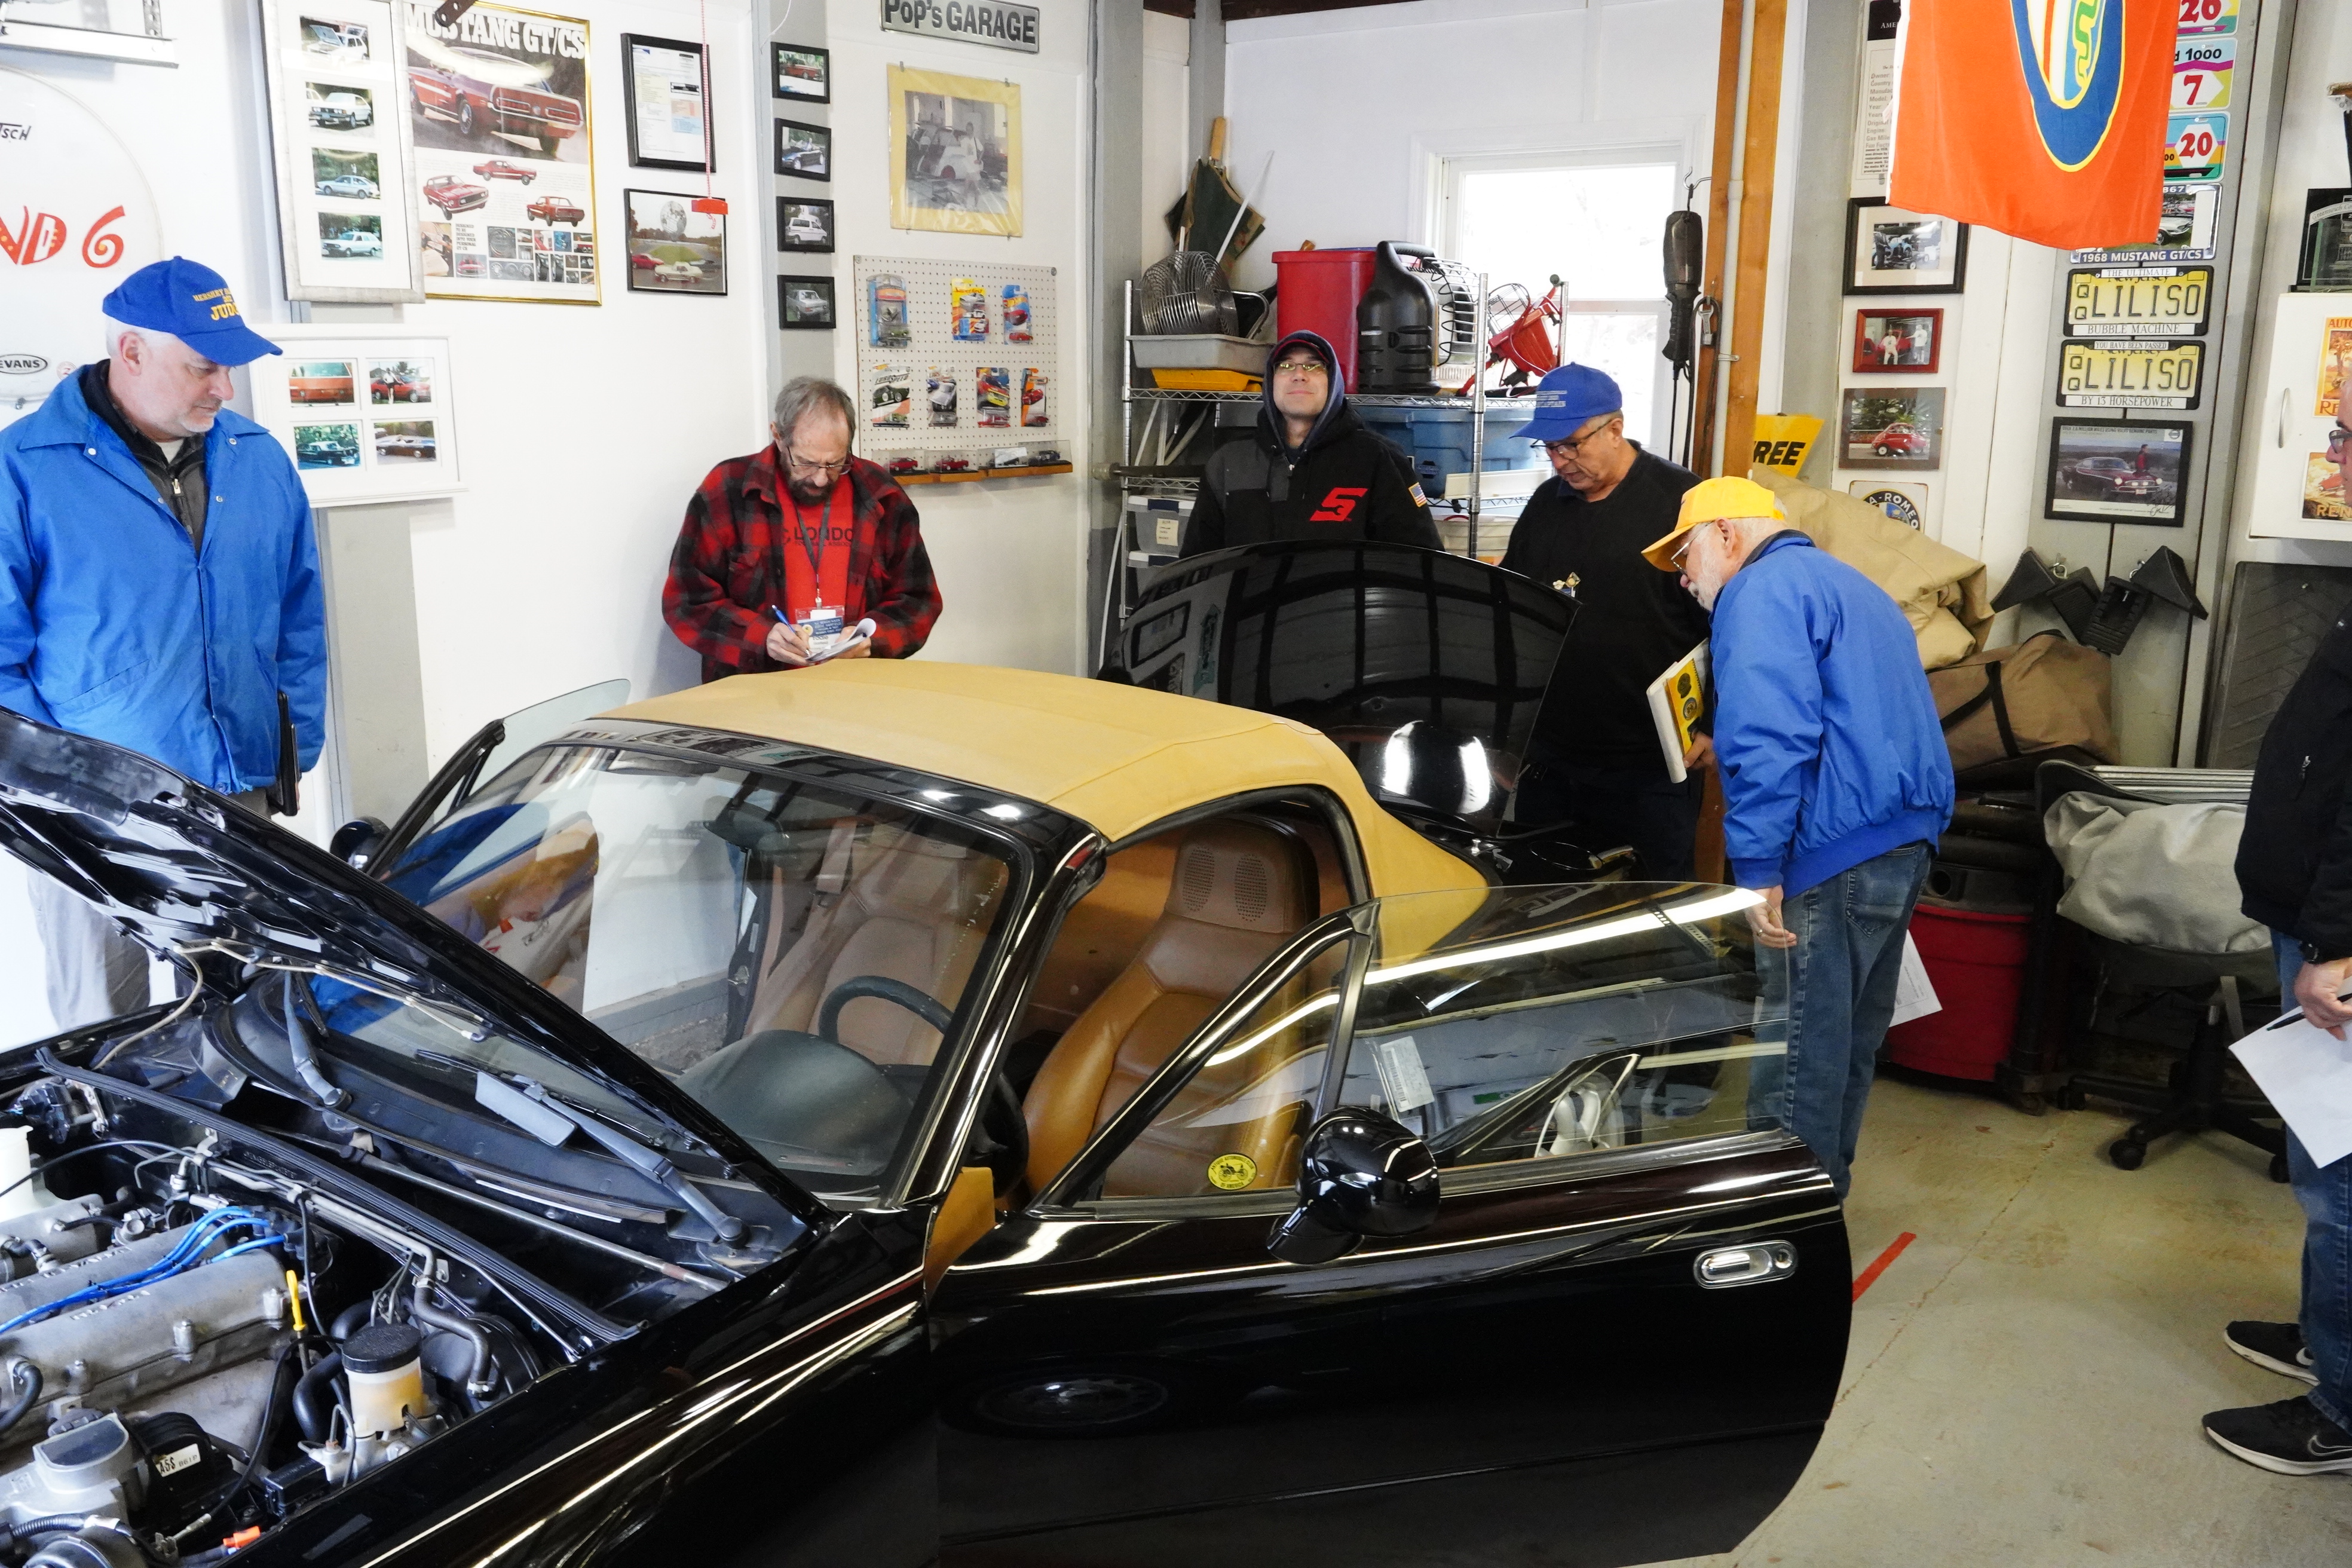
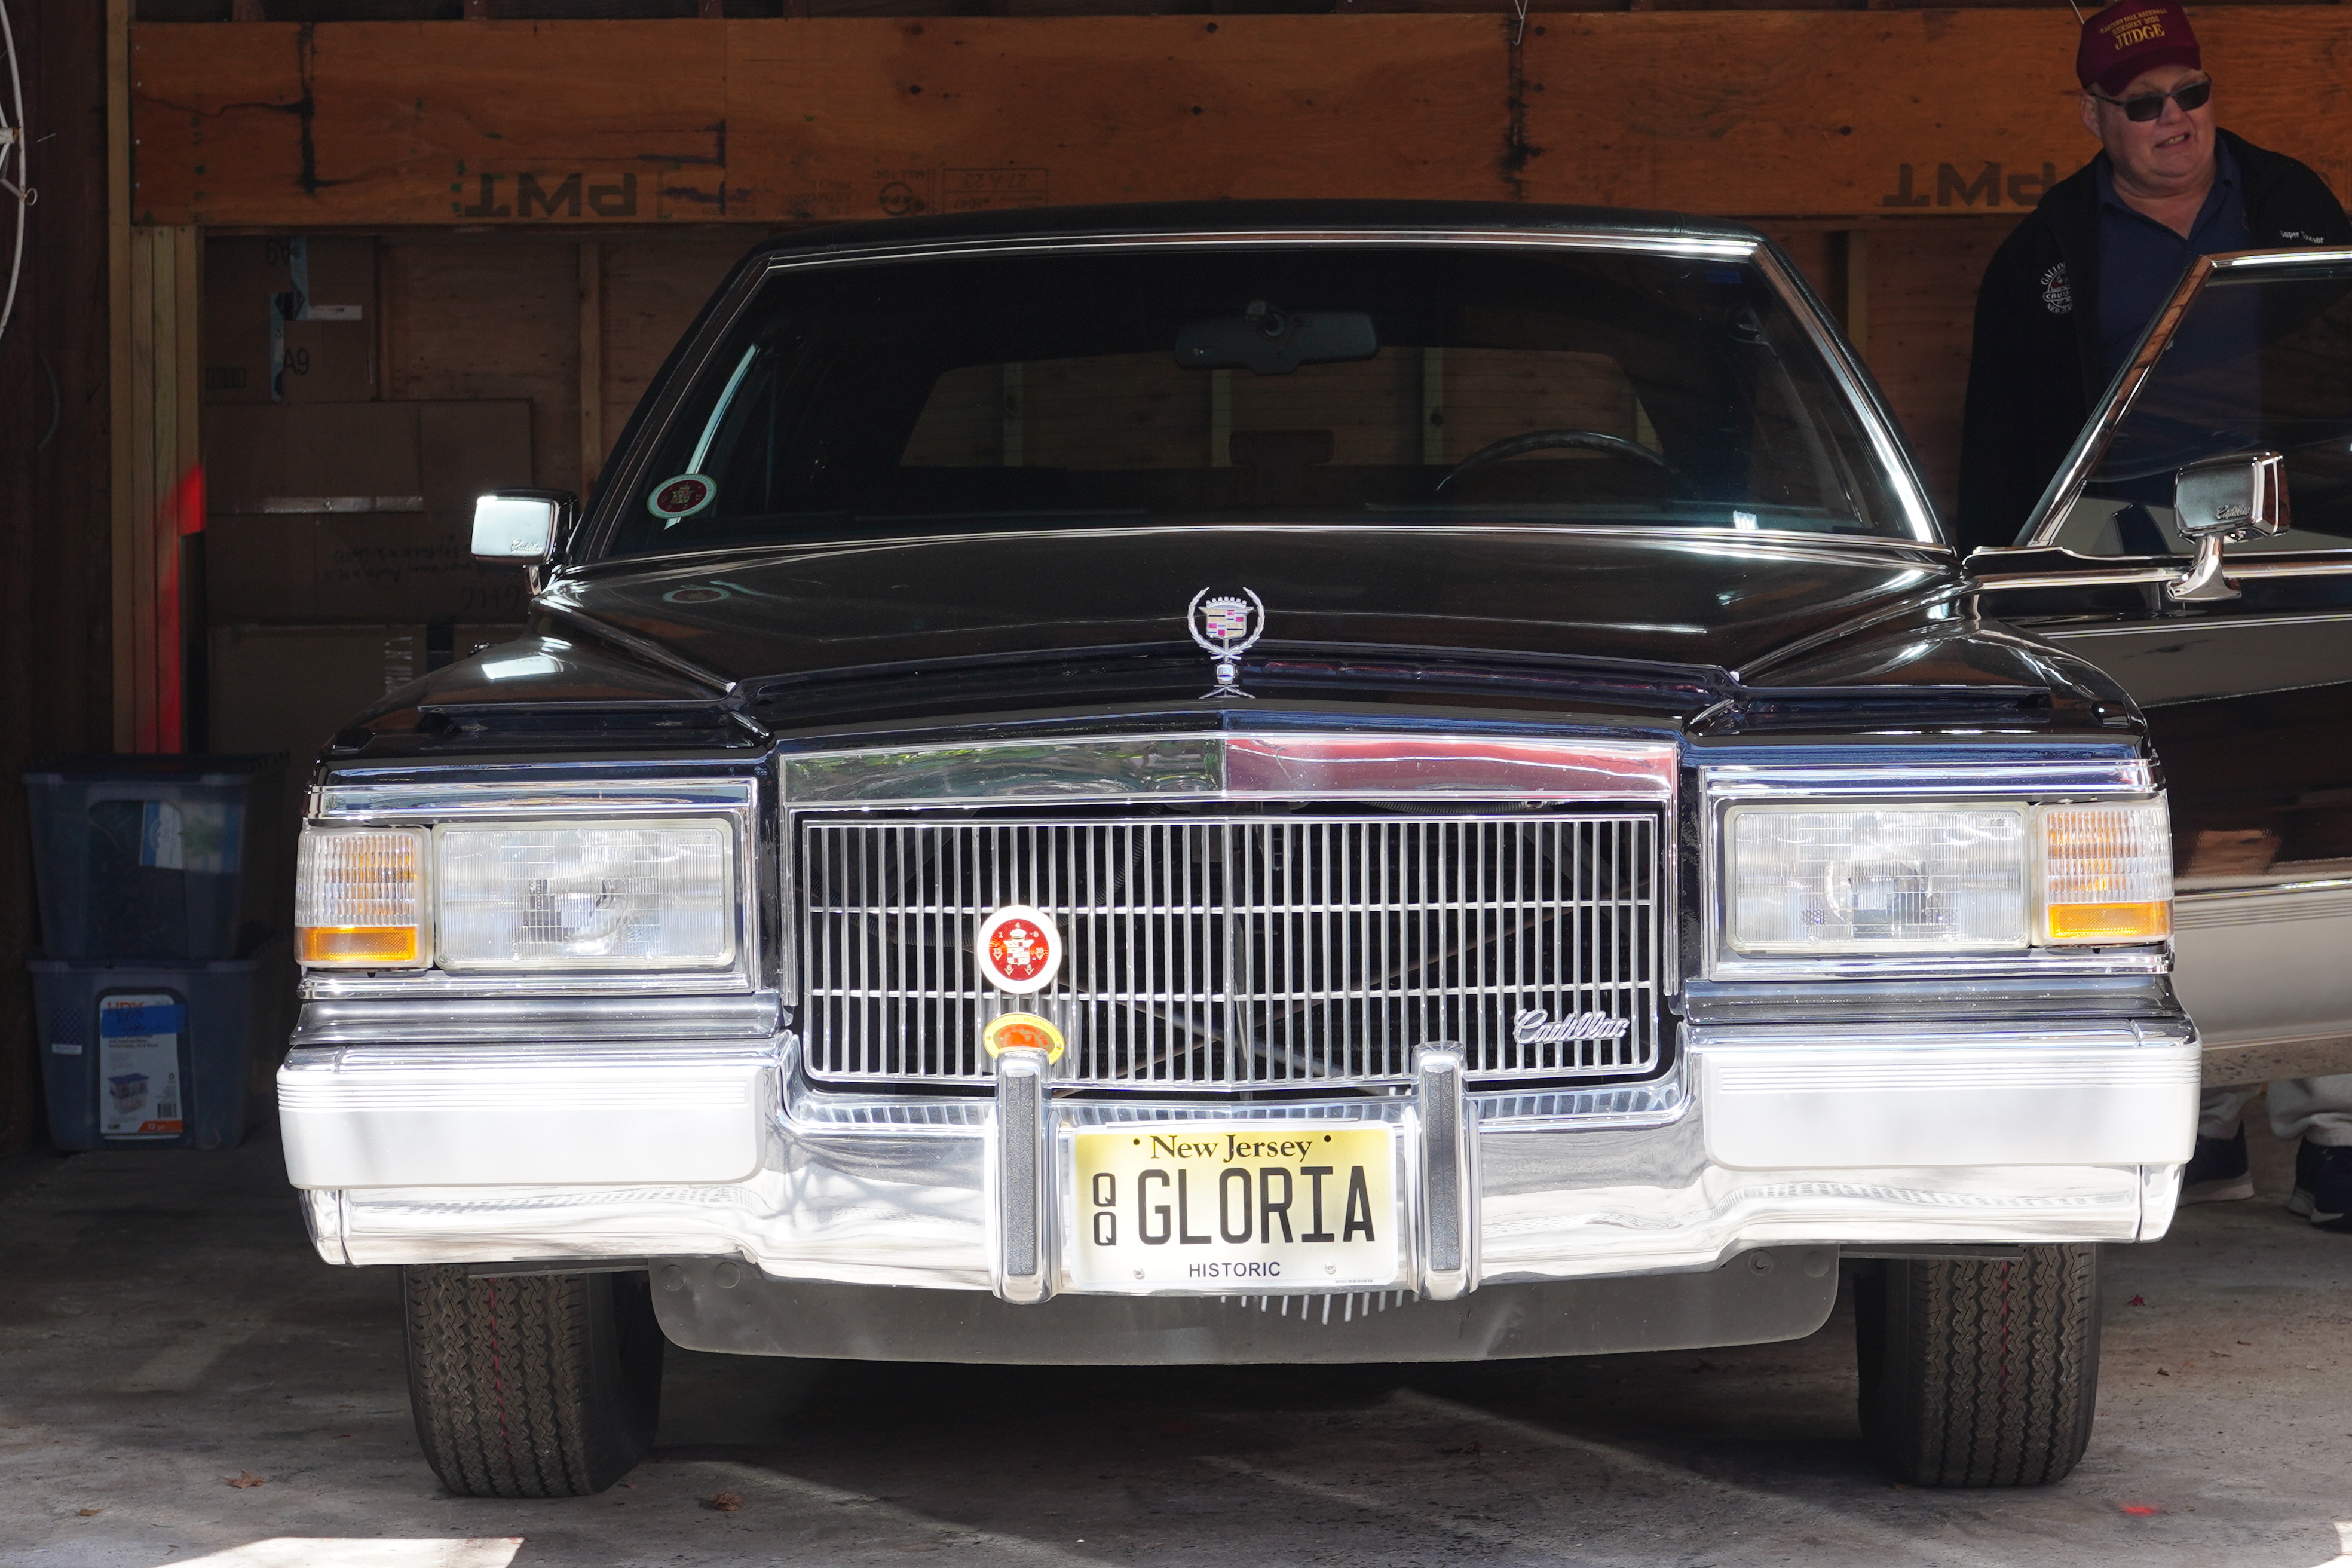
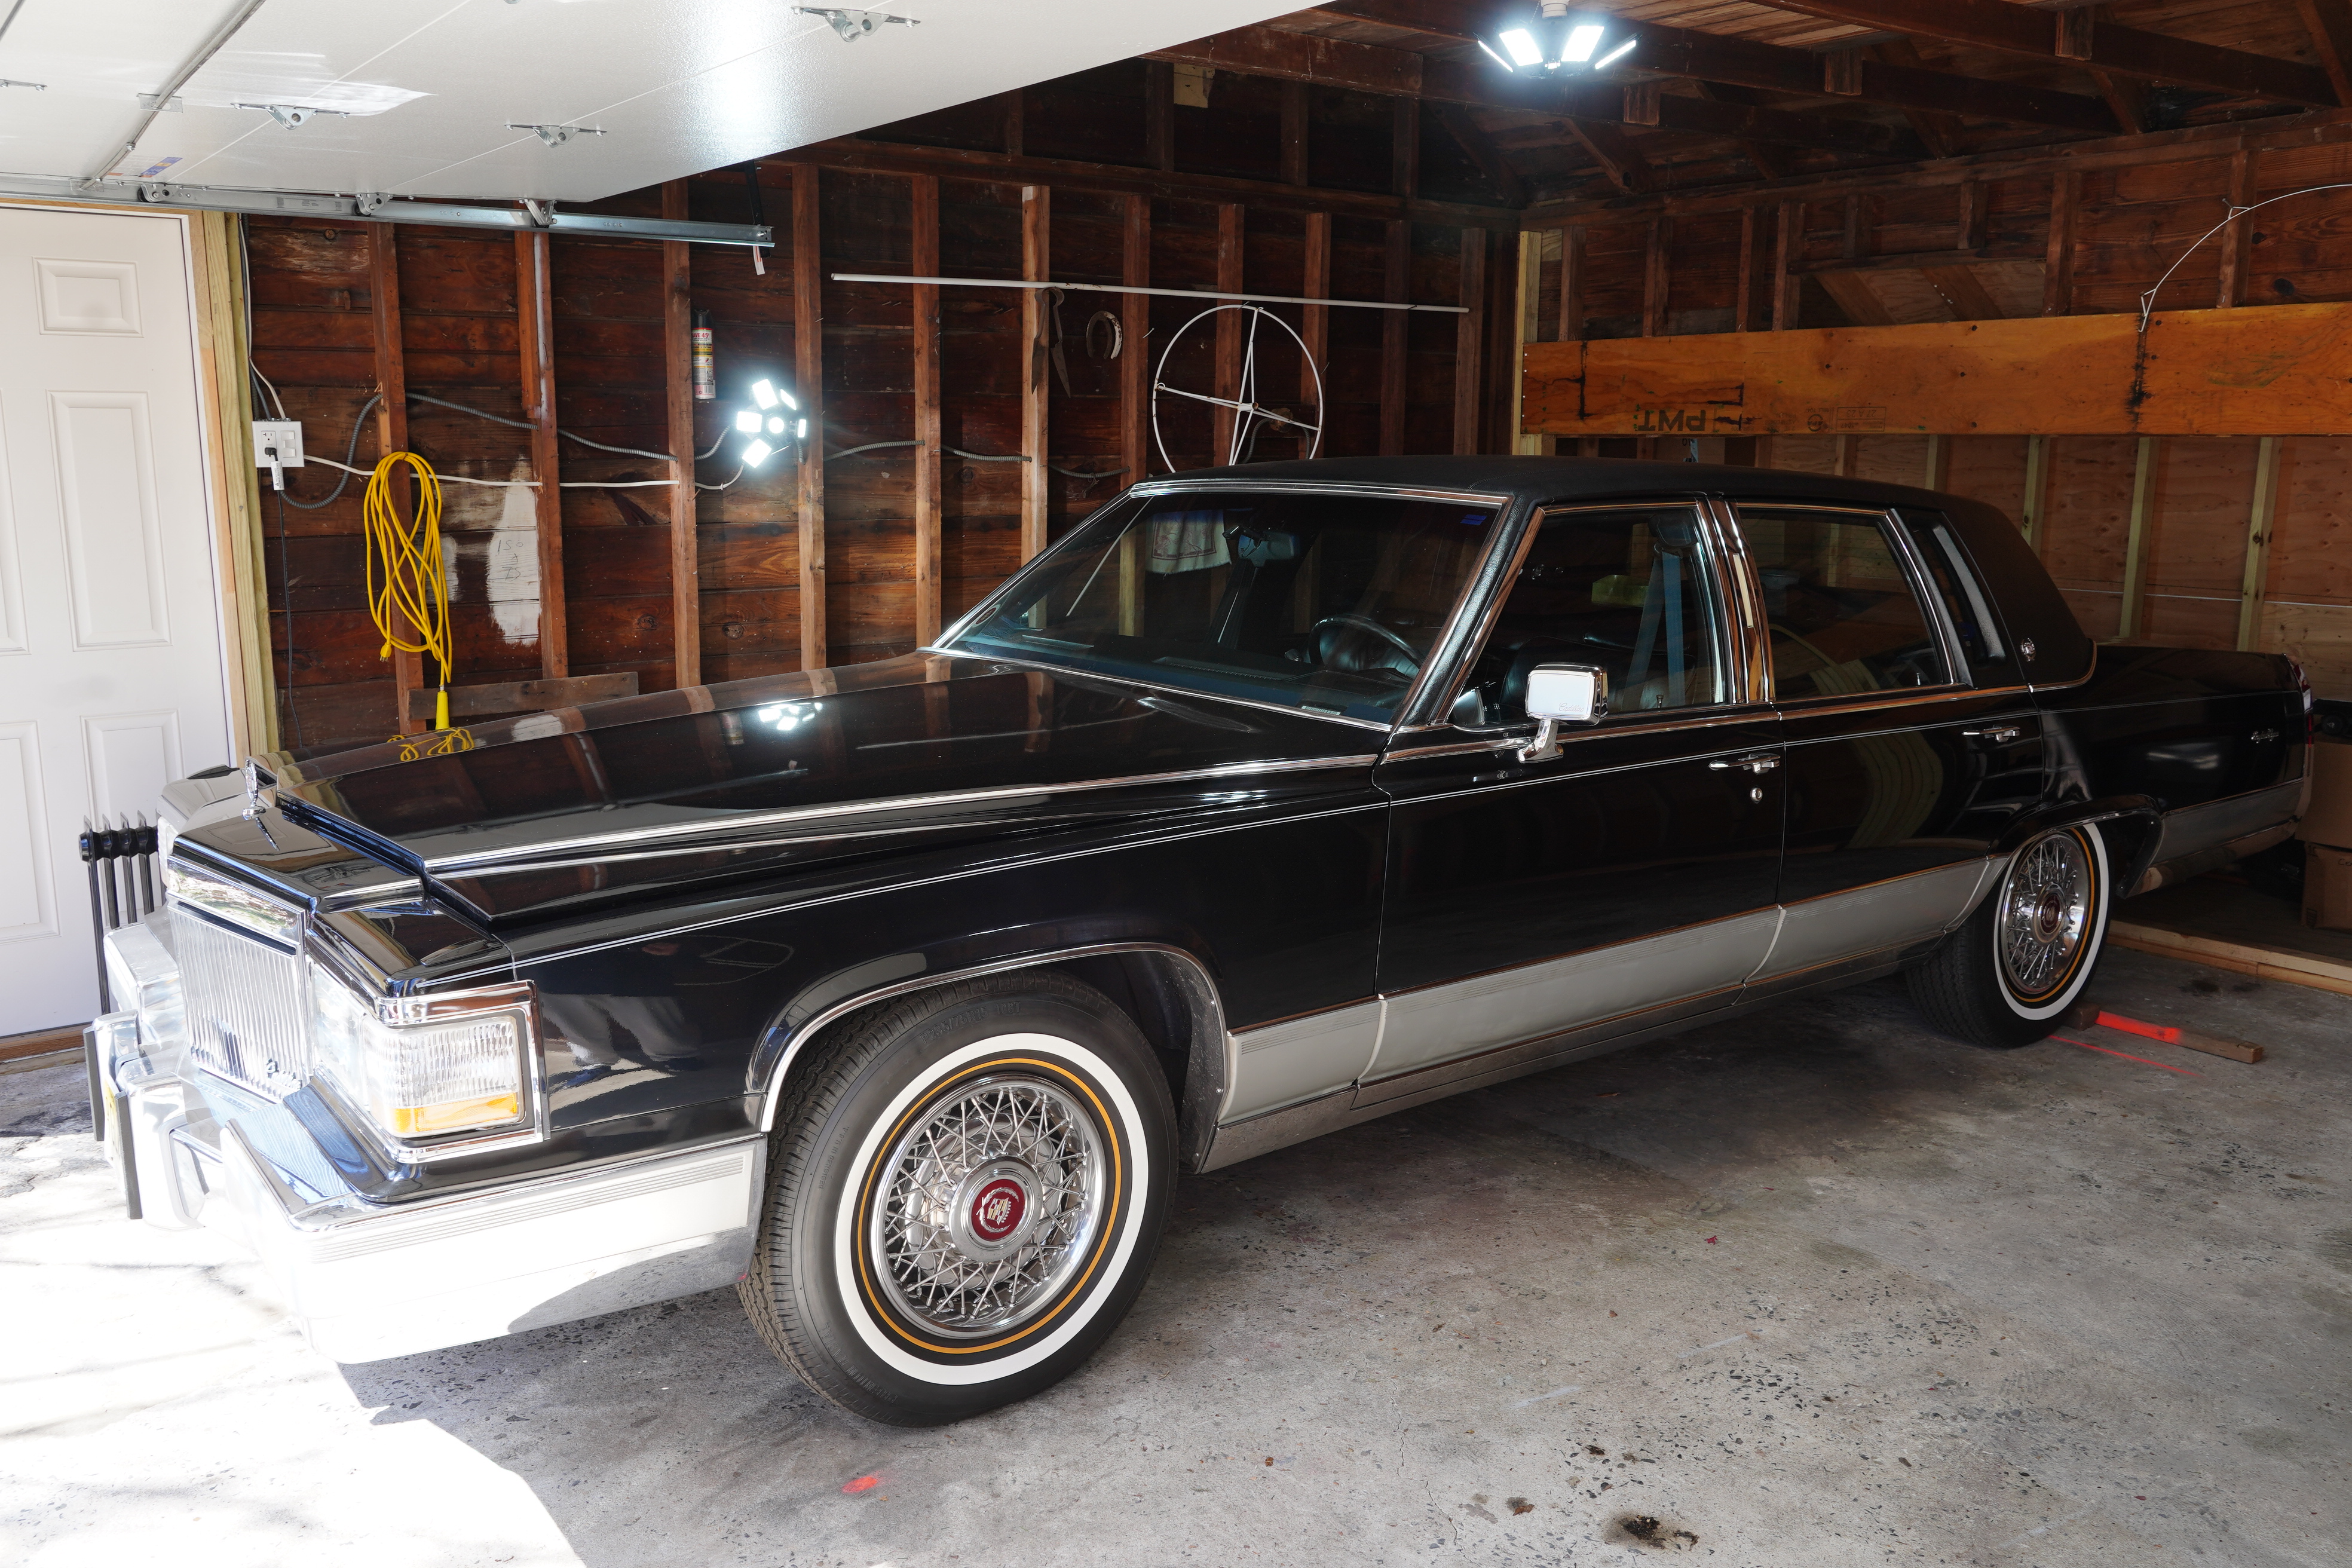
On Saturday March 28, this year’s second judging seminar was hosted by former Region President Greg R and his wife June. Several dozen club members attended the session, again ably run by Craig, our current President and Chief Judge. Greg has a nice assortment of AACA-eligible vehicles at his home, and several were utilized as the group reviewed the NJ Region’s judging criteria. For our Spring Meet, all cars will be judged on a forty-point scale, with a maximum of ten points awarded each for exterior, interior, engine compartment, and undercarriage. The judges will be looking for a first, second, and third place winner in each class (ties are not allowed).
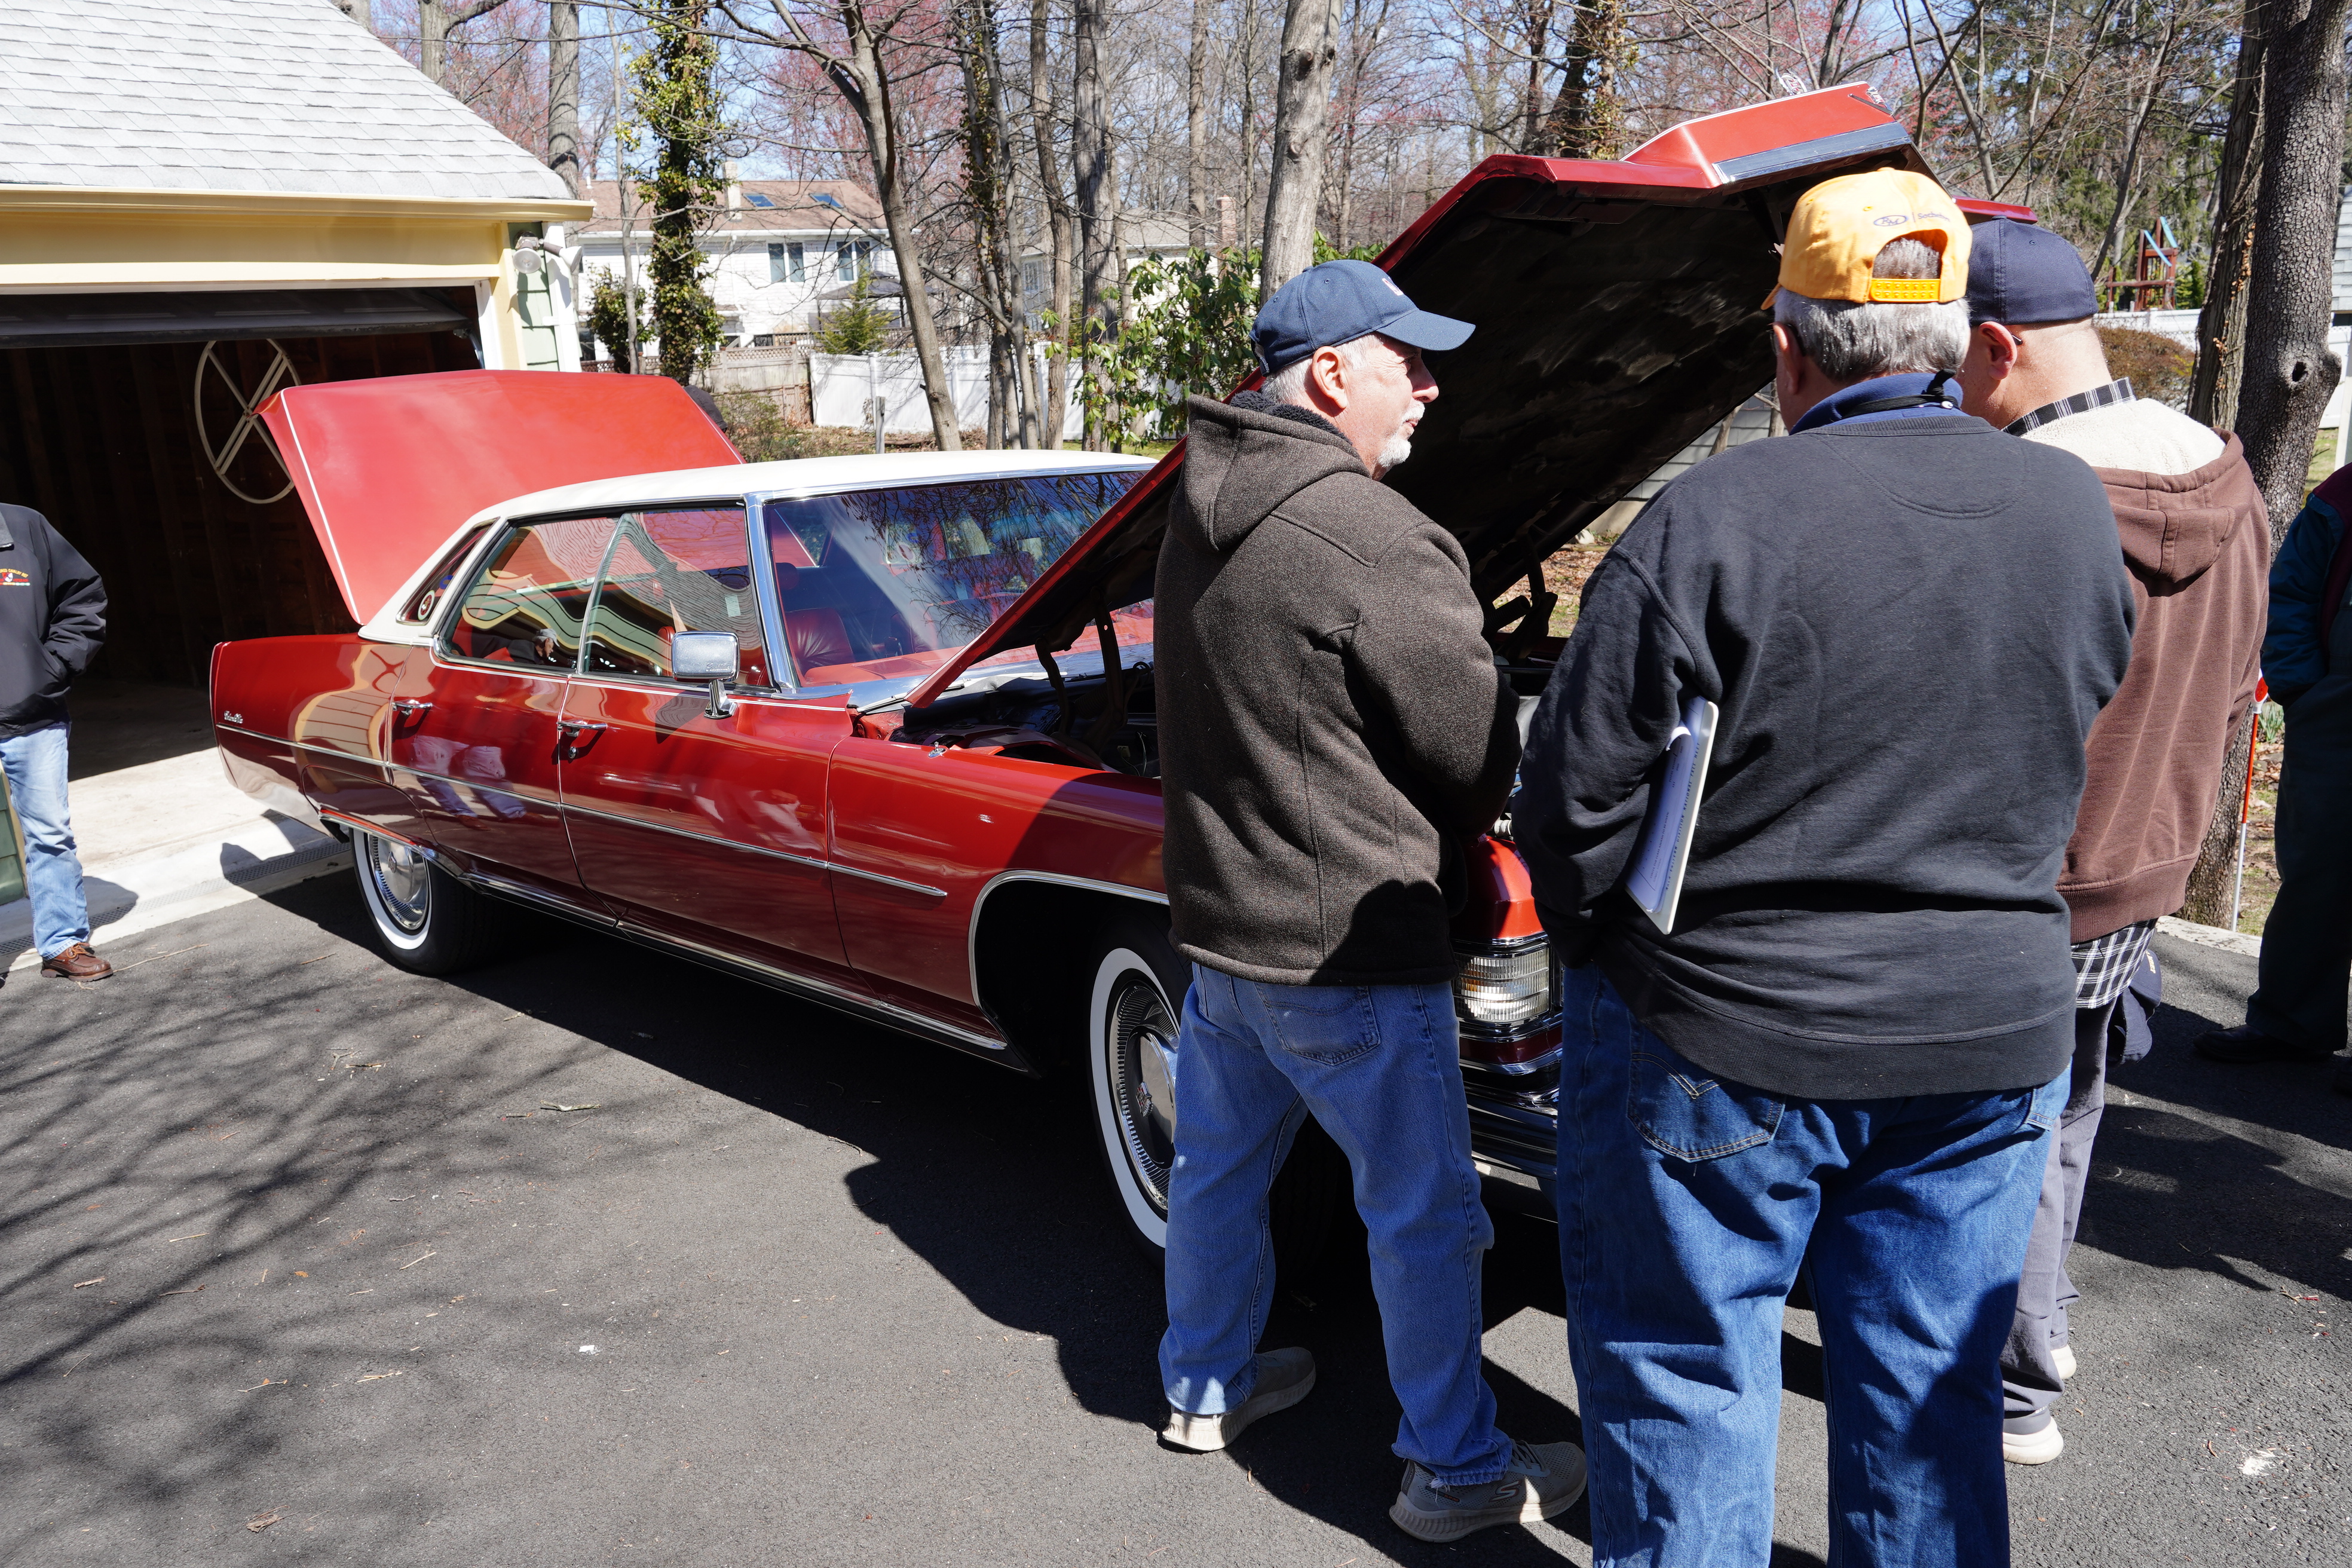
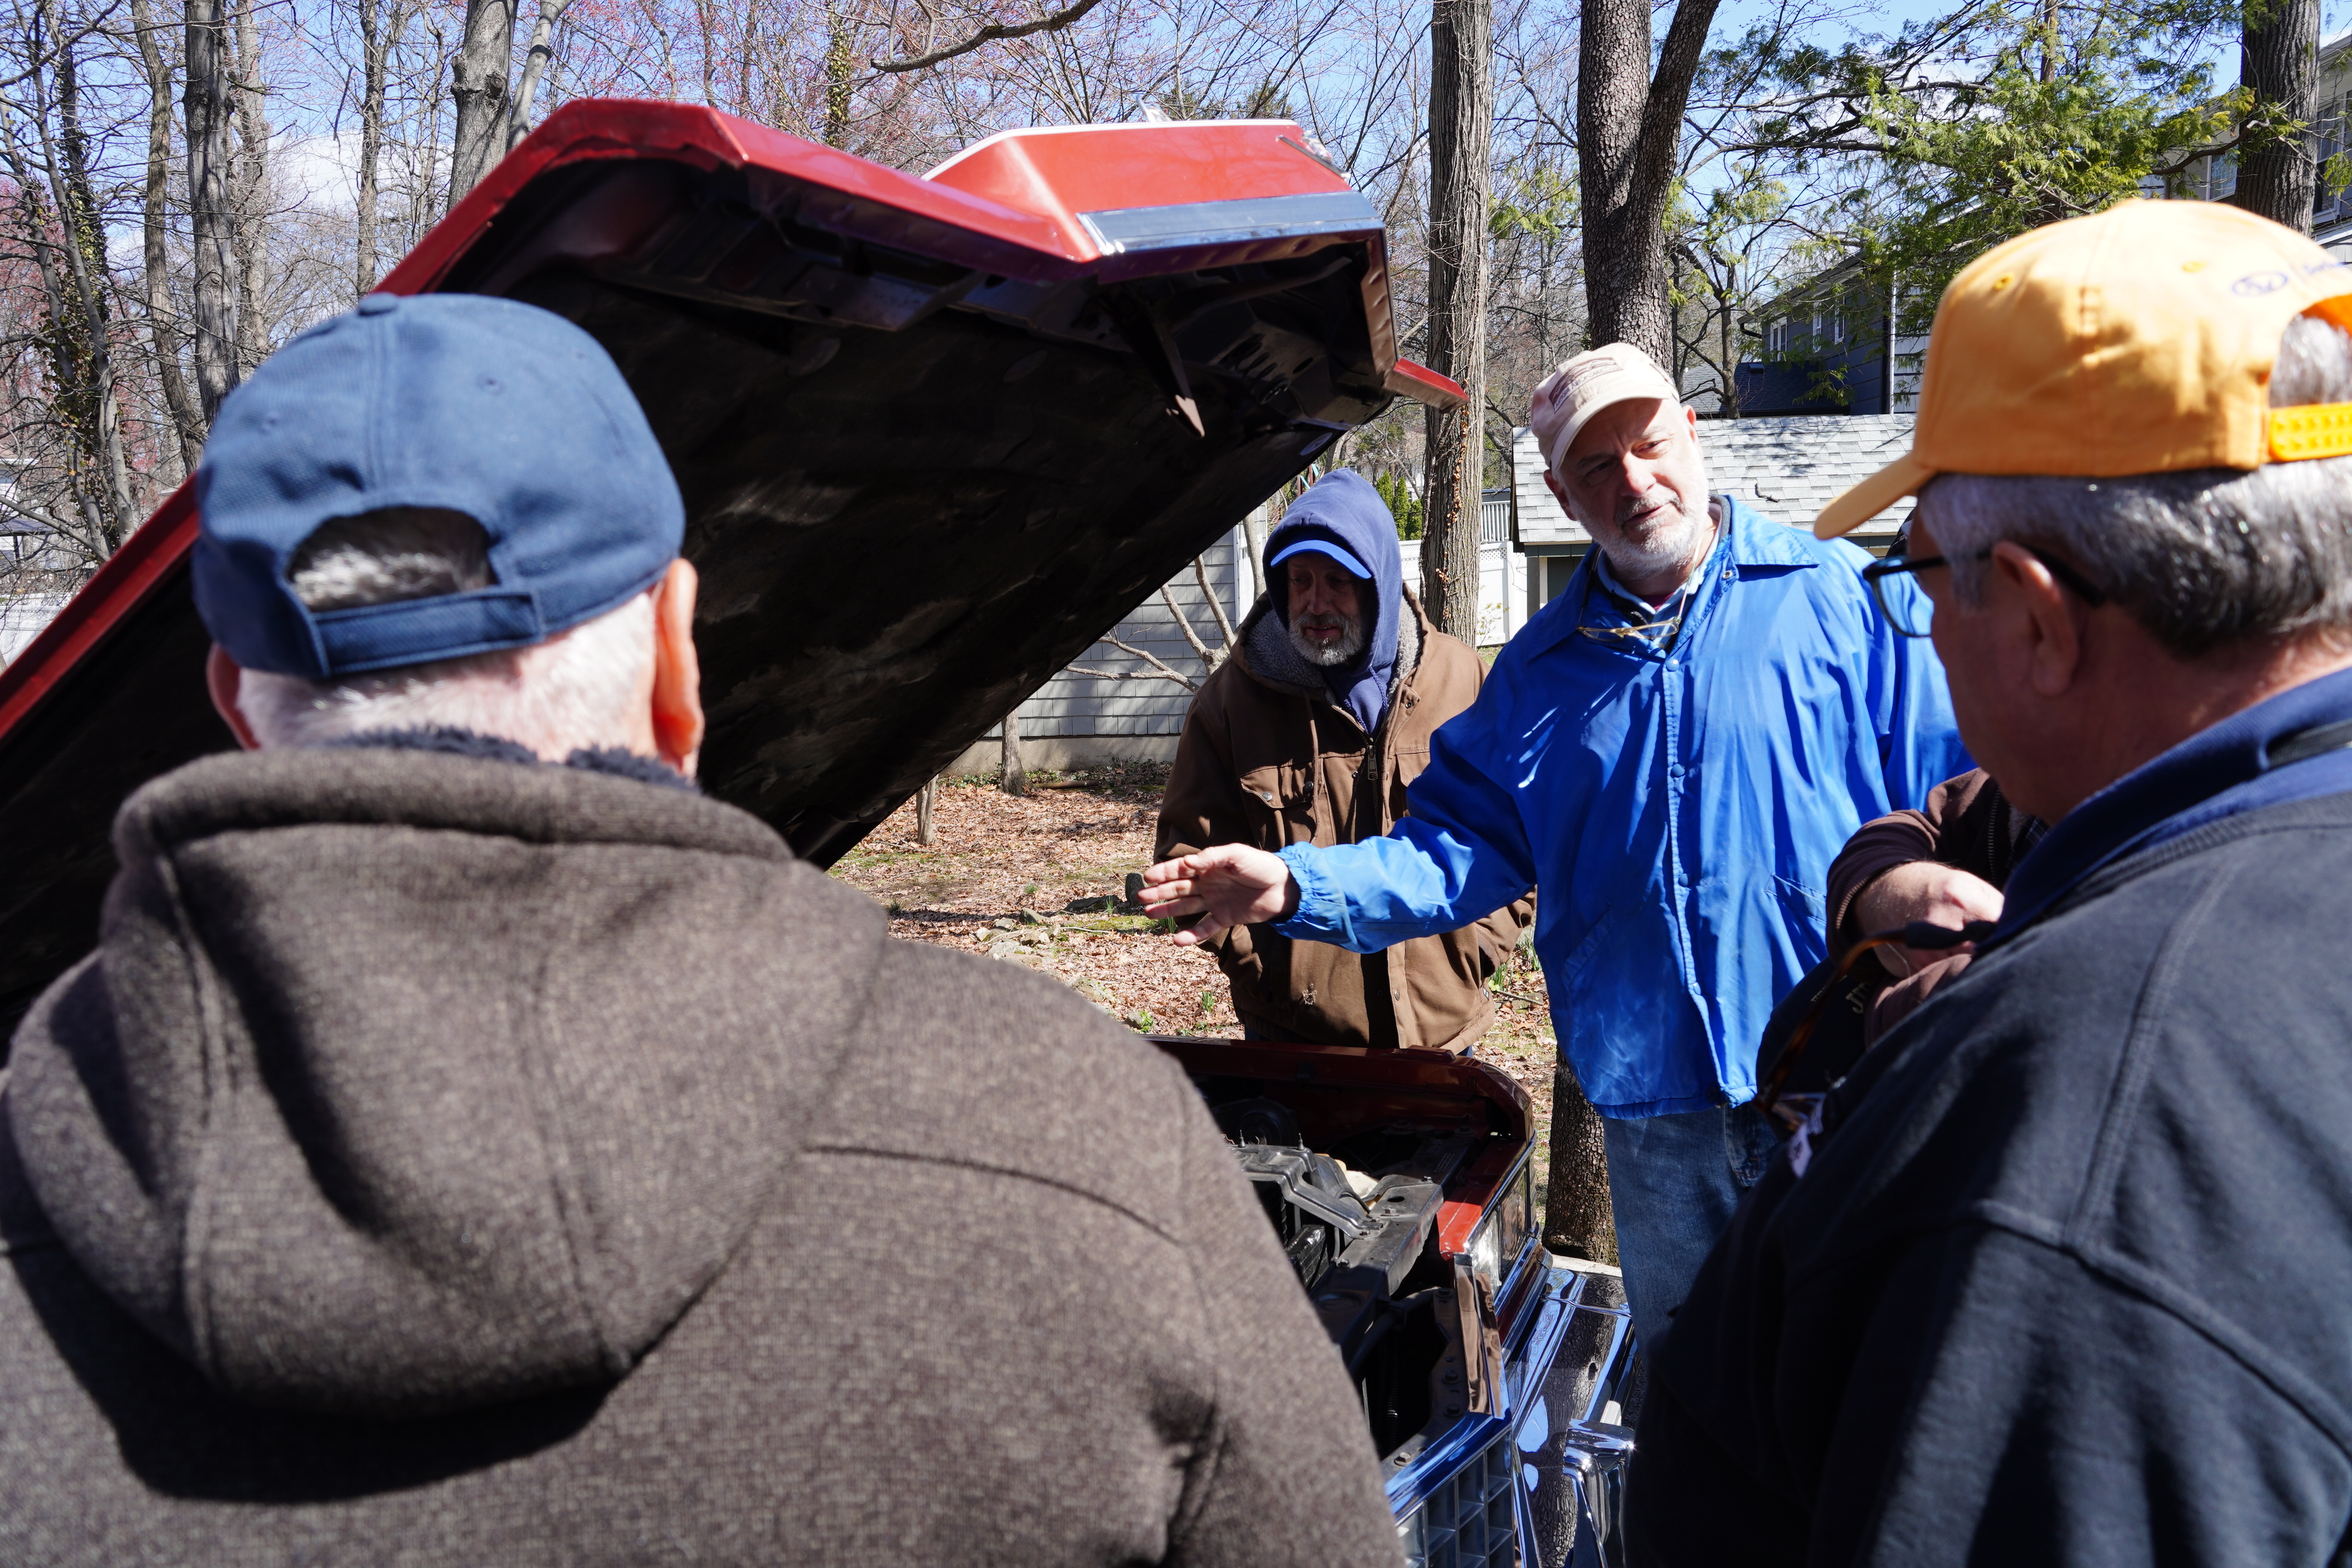
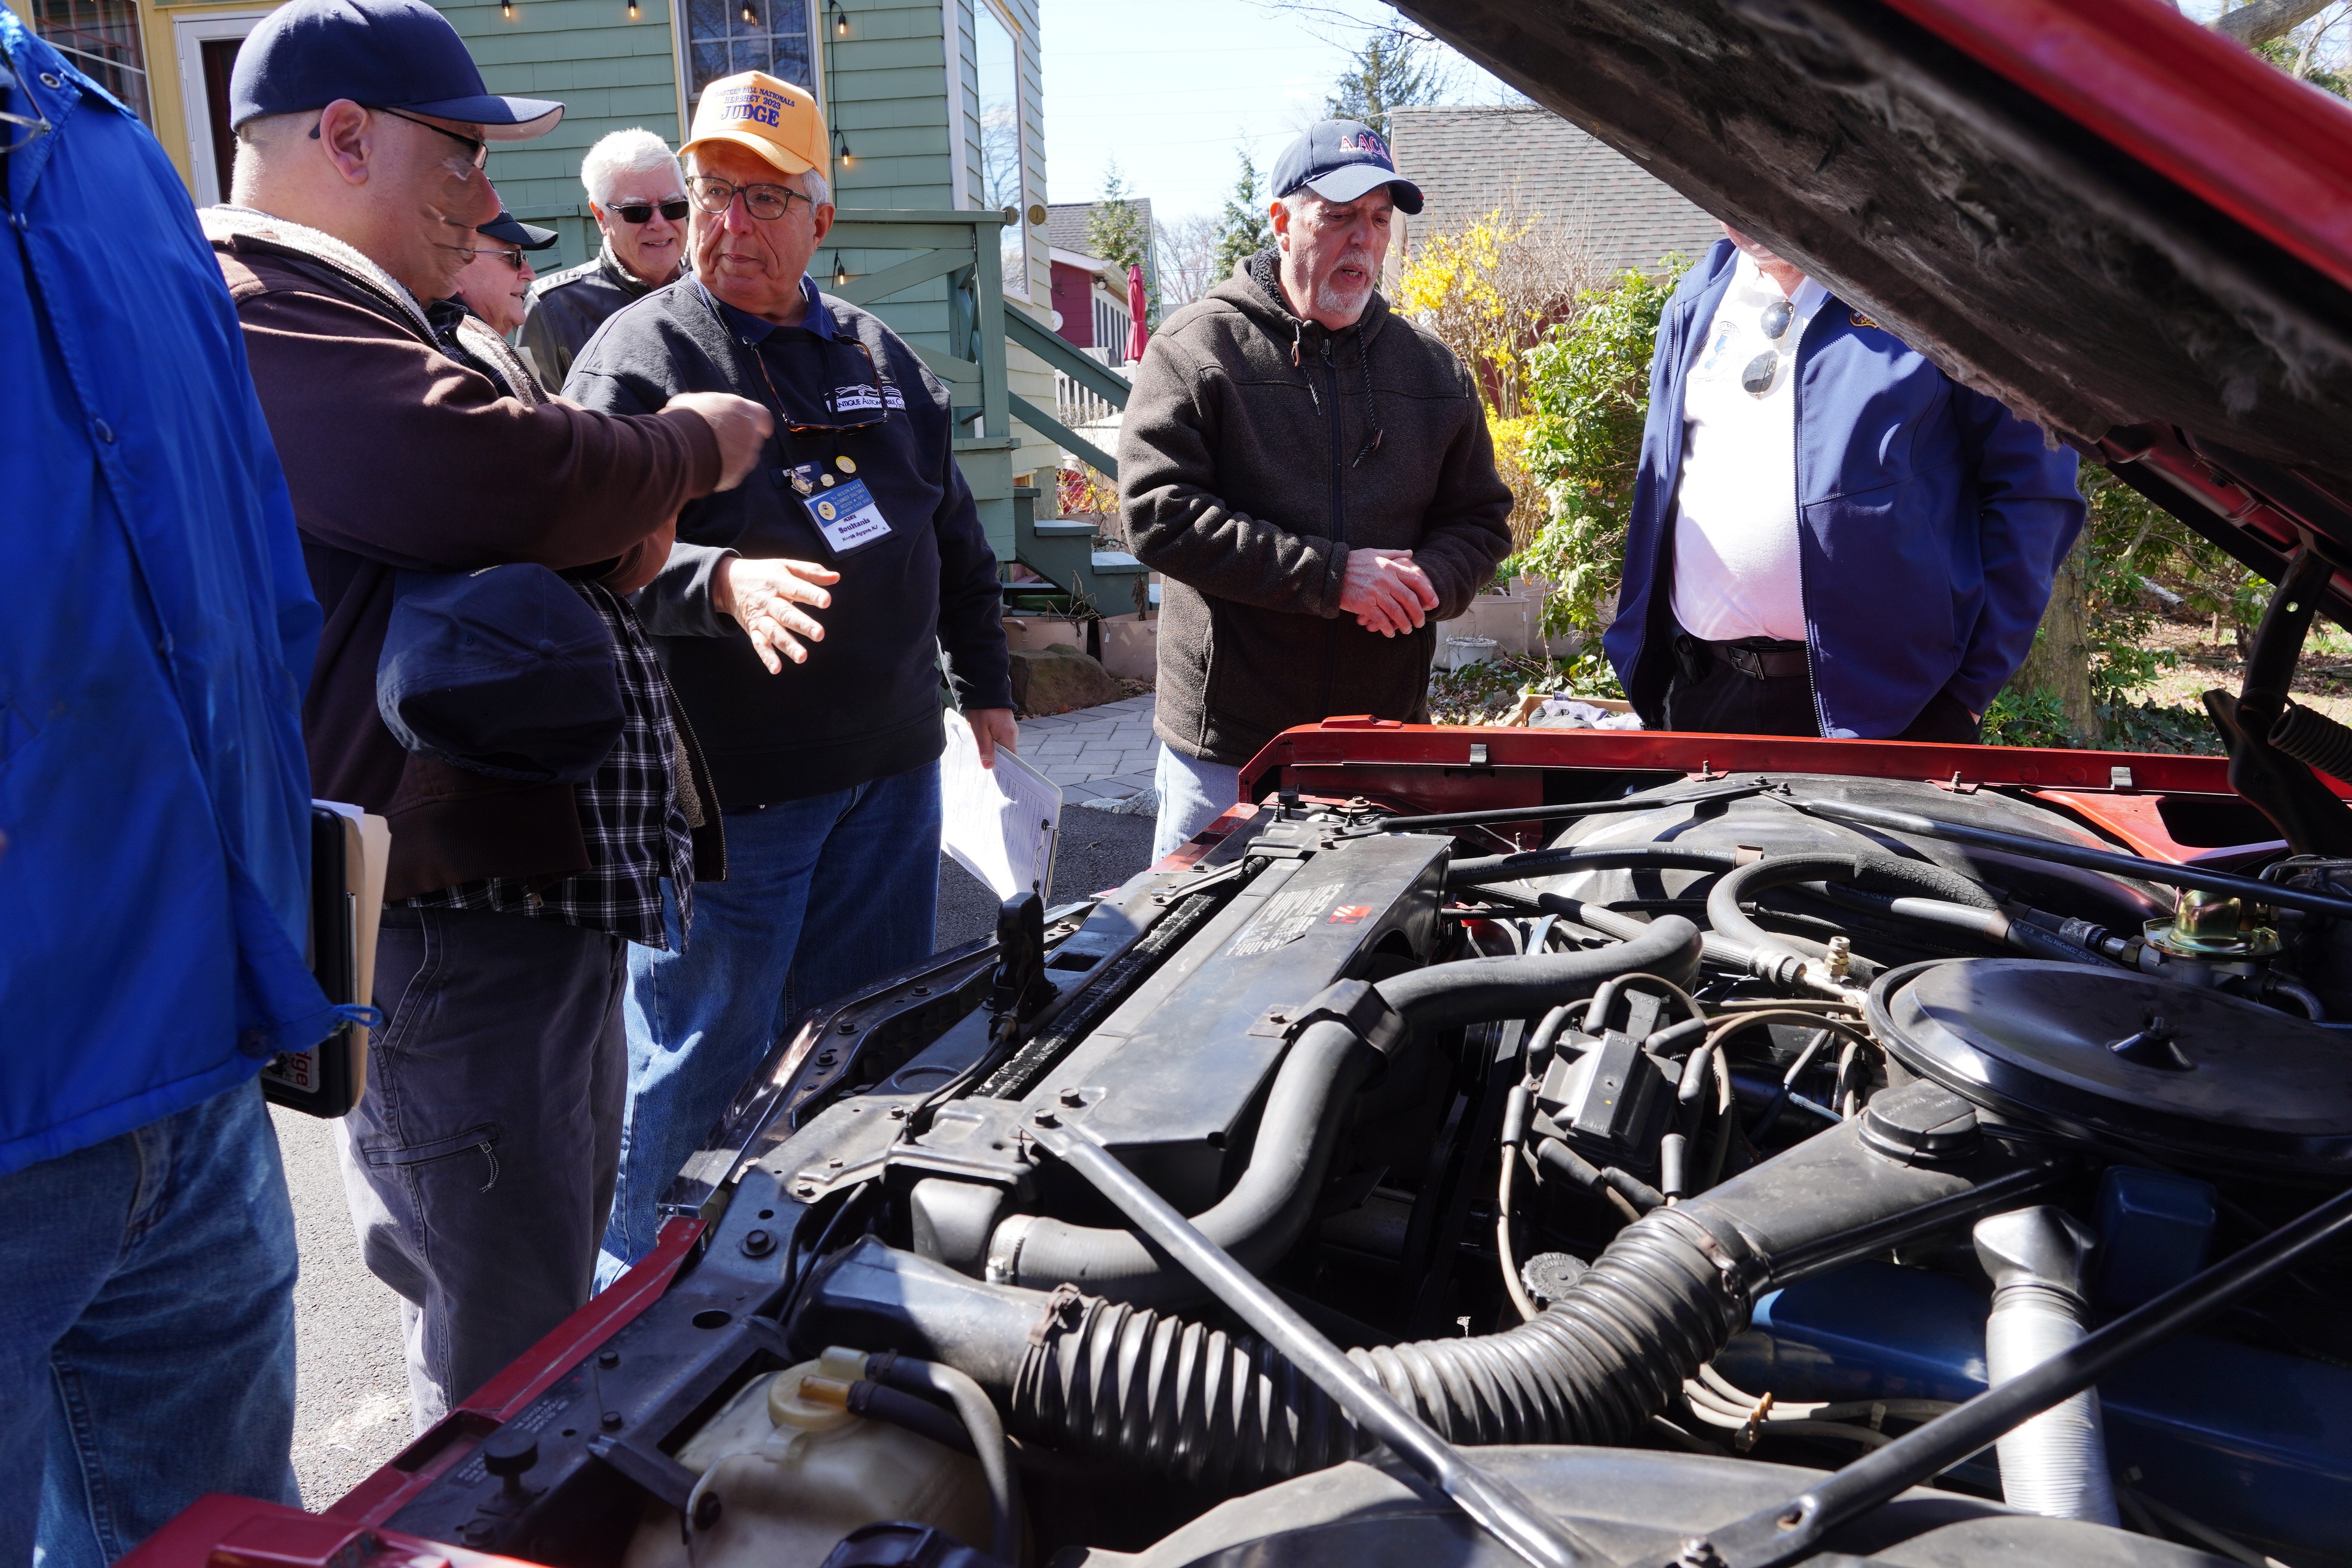
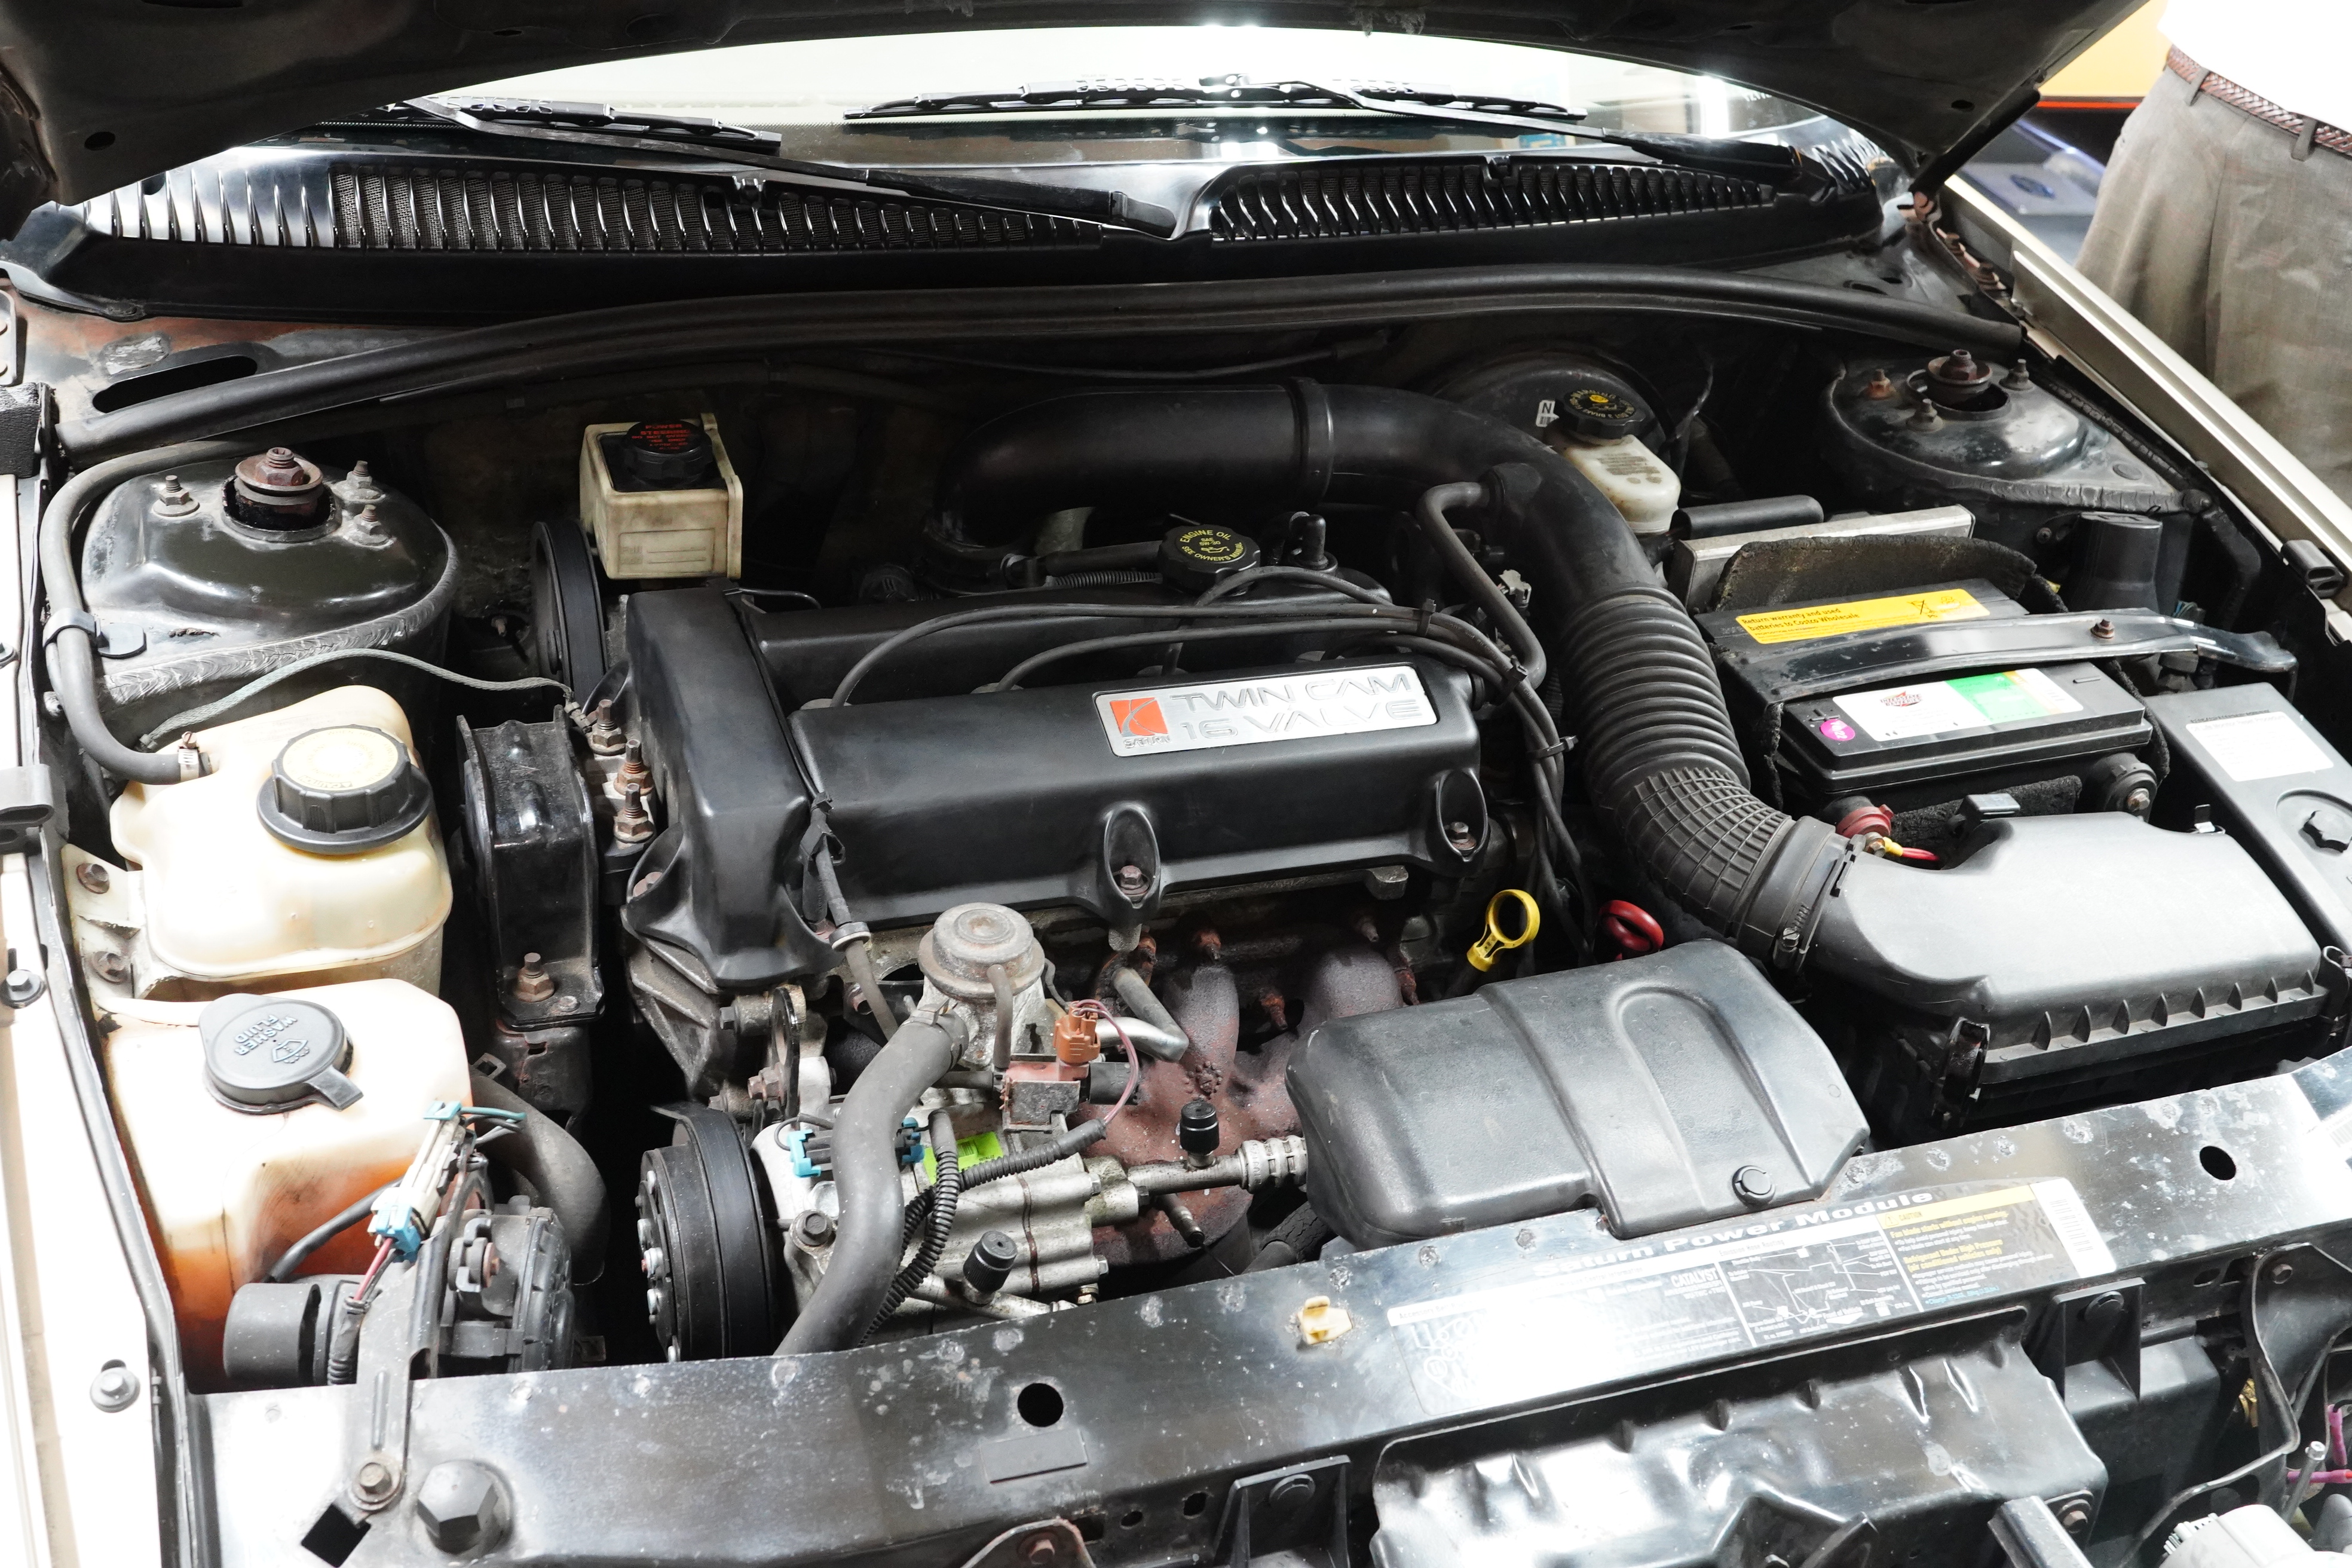
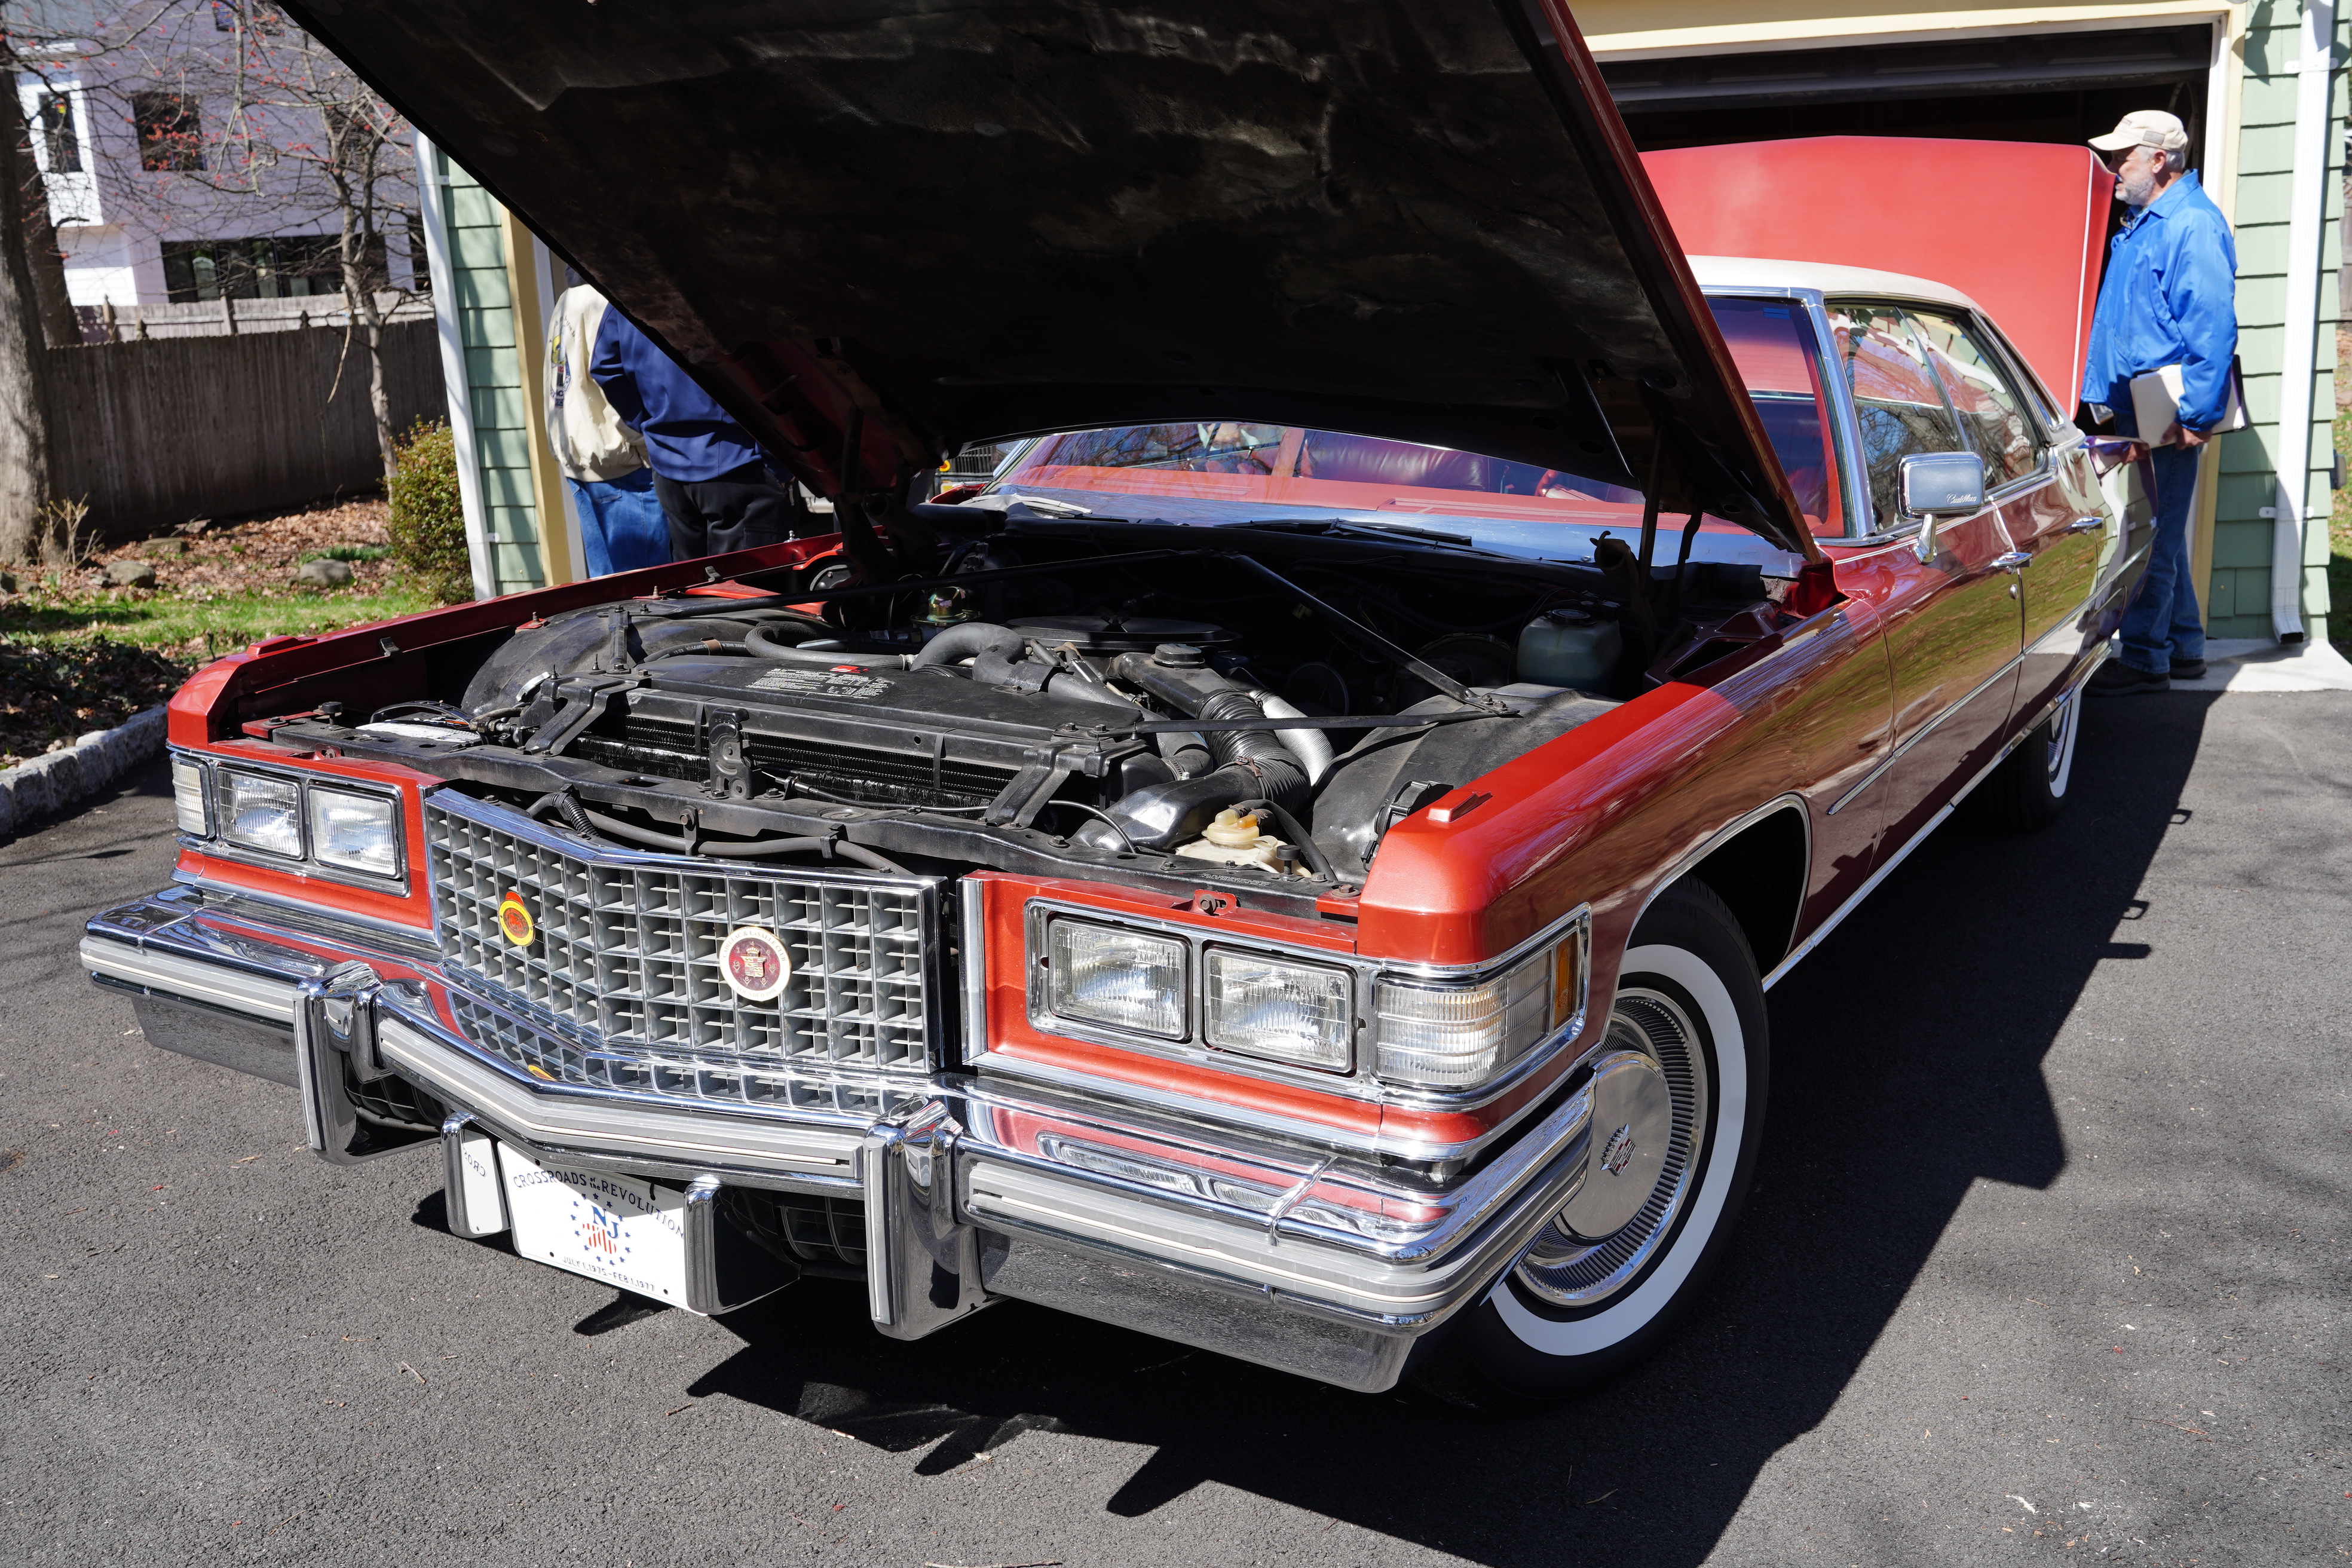
Greg’s 1976 Cadillac sedan deVille was an excellent example of a well-preserved, mostly original car that most casual onlookers would consider to be close to perfect. However, AACA rules dictate that cars are judged based on how close they are to the condition they would have been in at new car delivery. While the paint on the Caddy was near perfect, and nothing in the engine compartment appeared non-original, the A/C compressor had recently been replaced, and a fine layer of dirt blanketed everything under the hood. The interior, while clean, showed some normal wear on those areas of frequent contact, and the undercarriage was described as “looking like a used car that has had some miles put on it”. The real teaching lesson? While each of these observations would warrant a deduction, on a scale of one-to-ten, the deductions might only account for a few points. In other words, an otherwise original engine compartment is not going to lose nine out of ten points for being “dirty”.
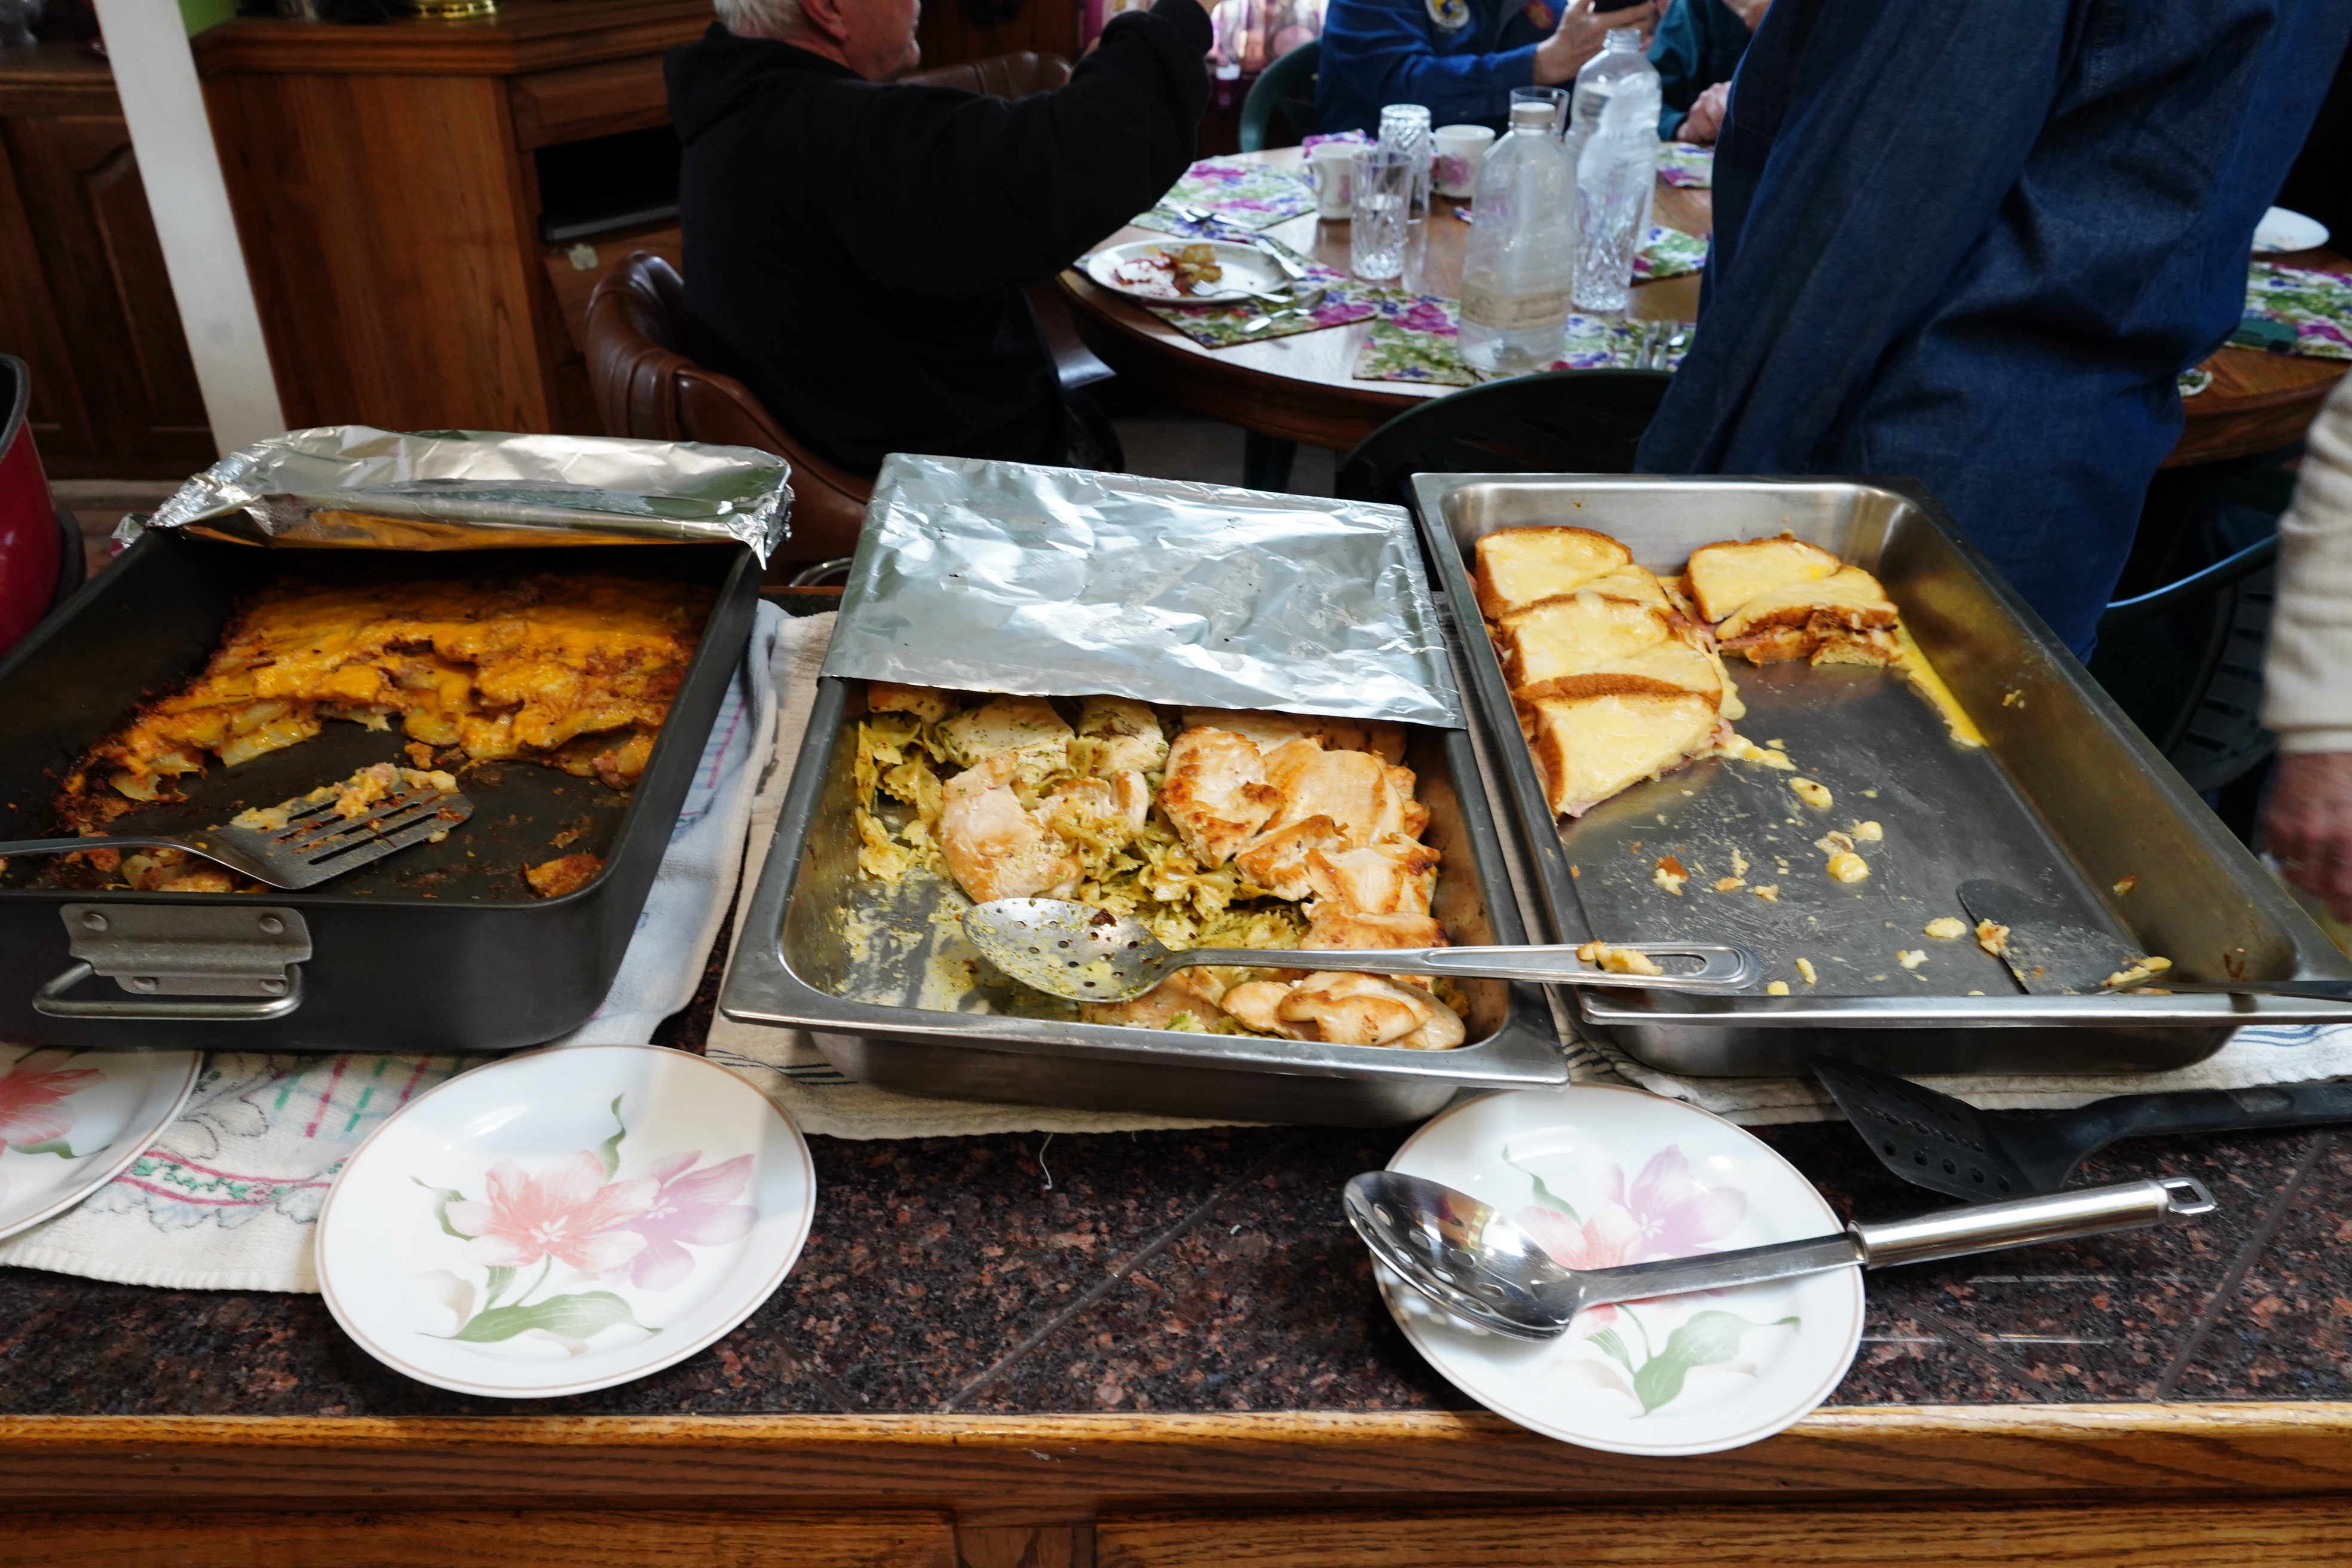
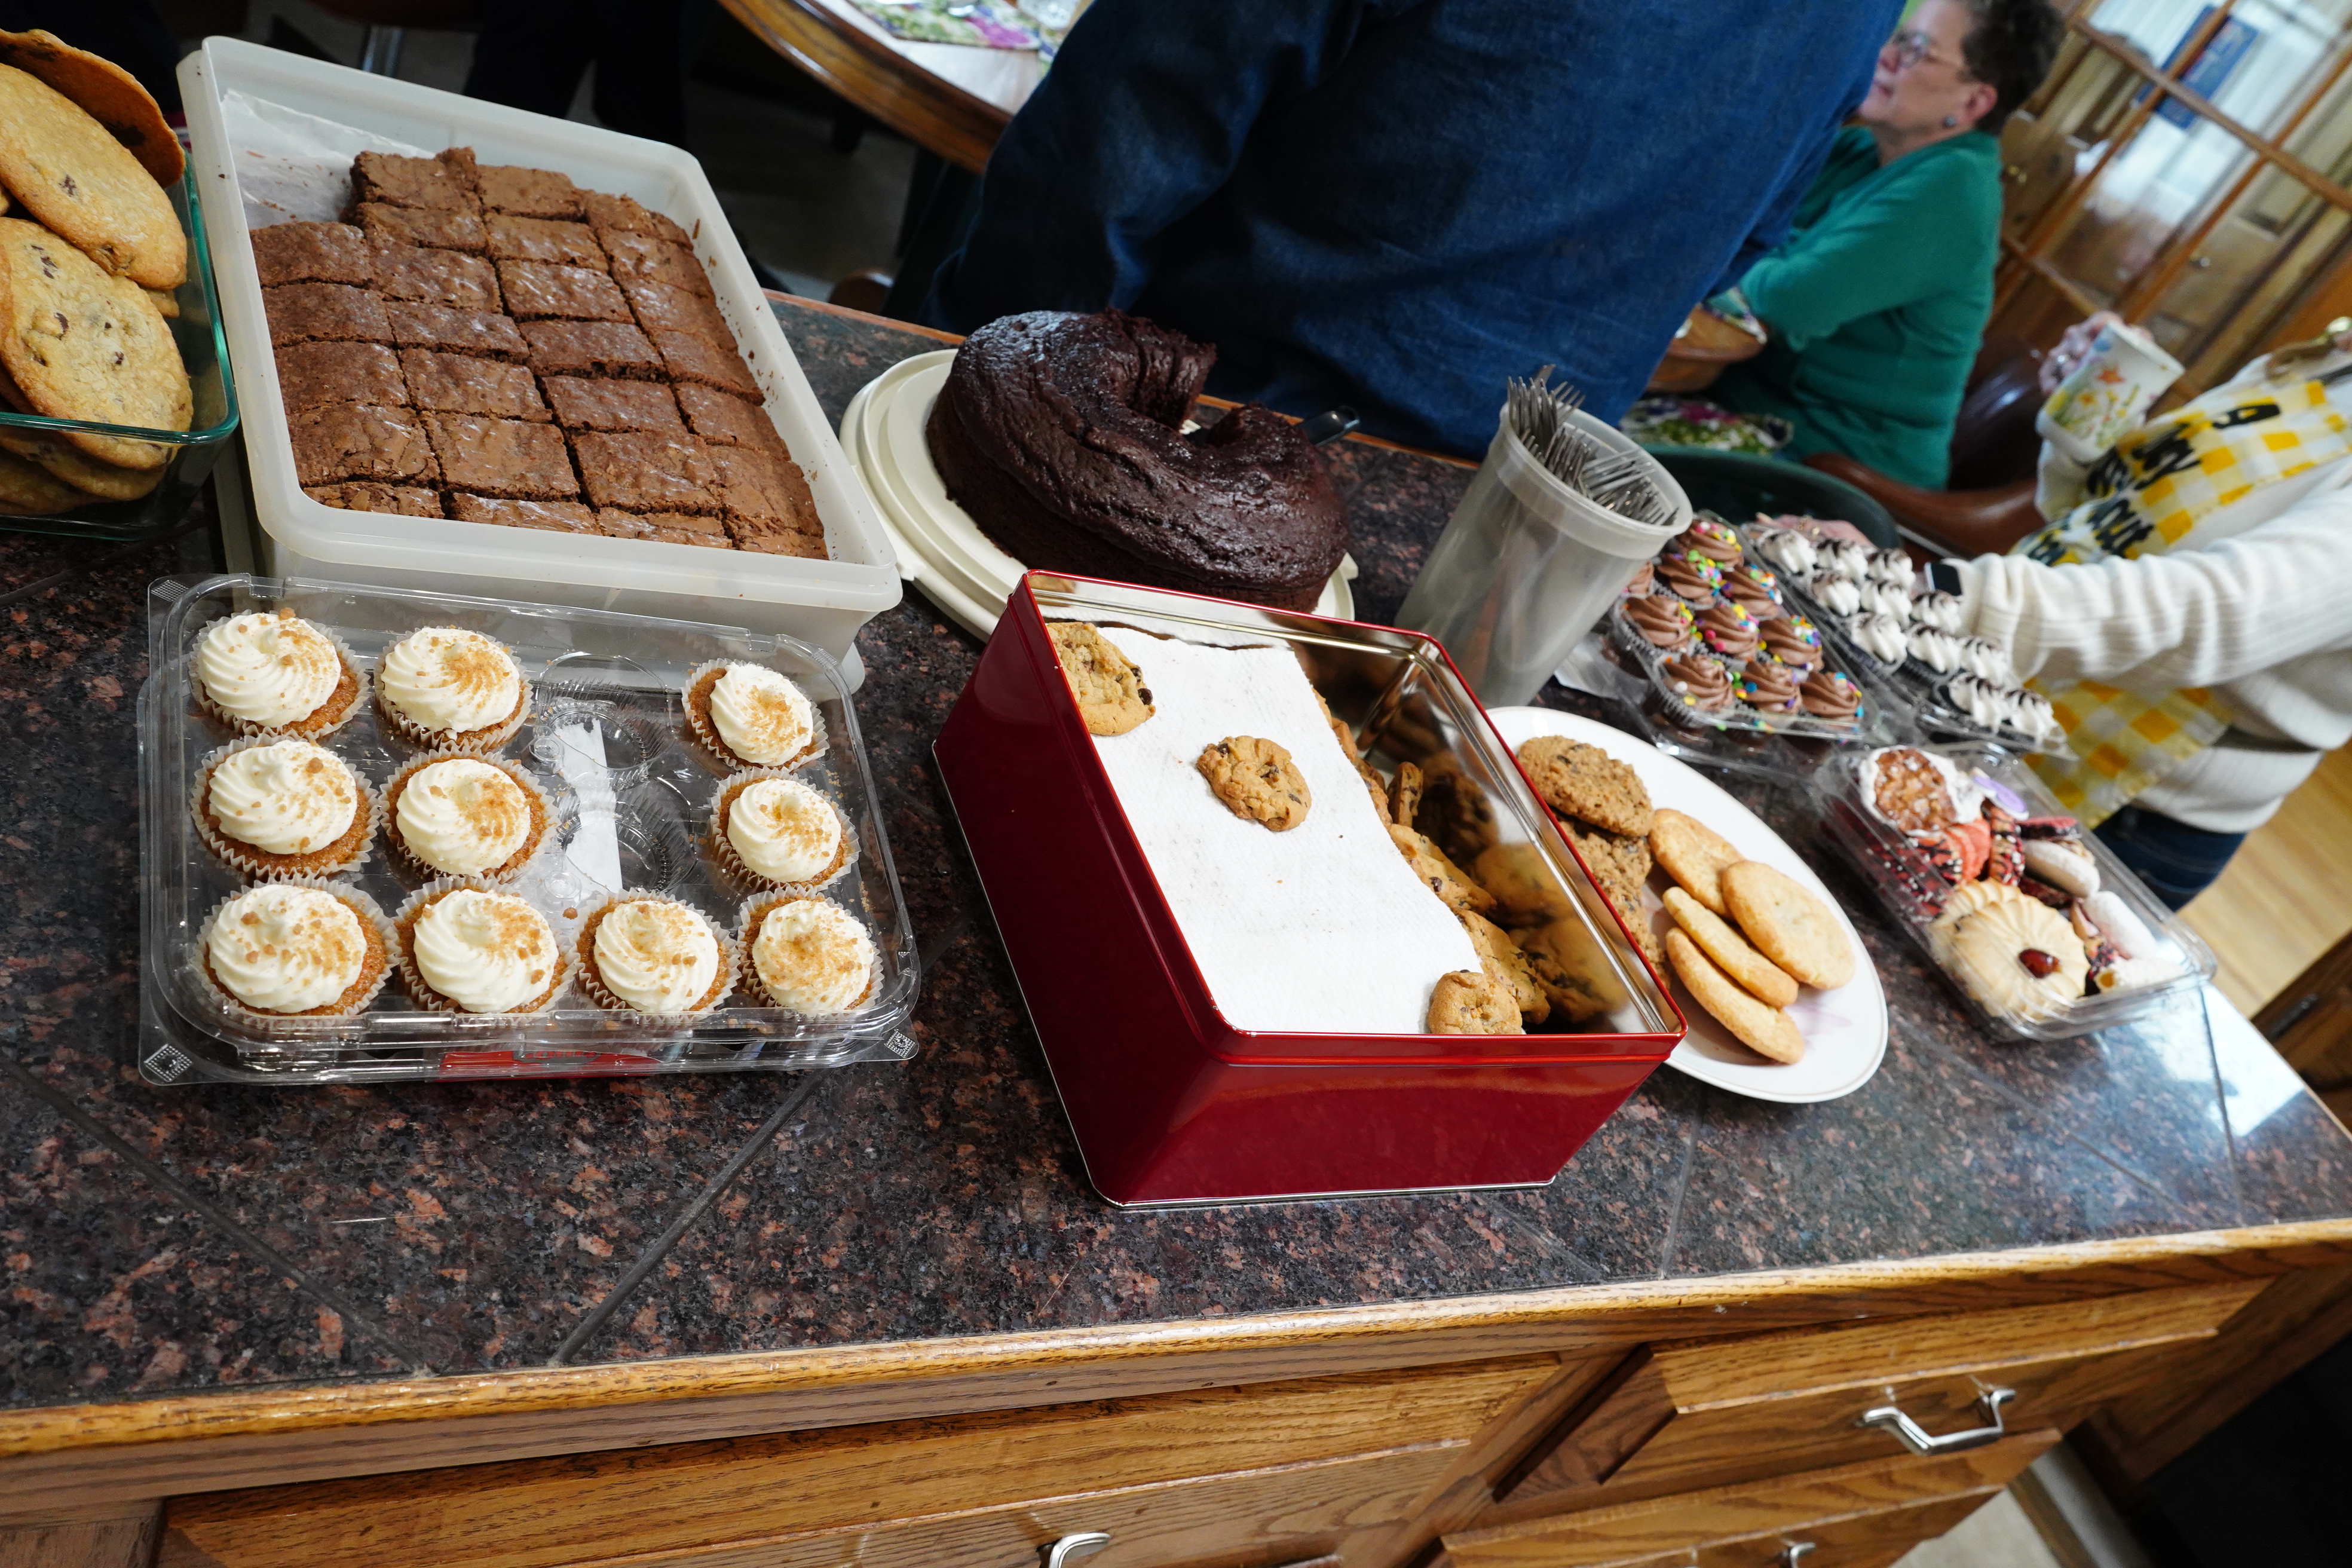
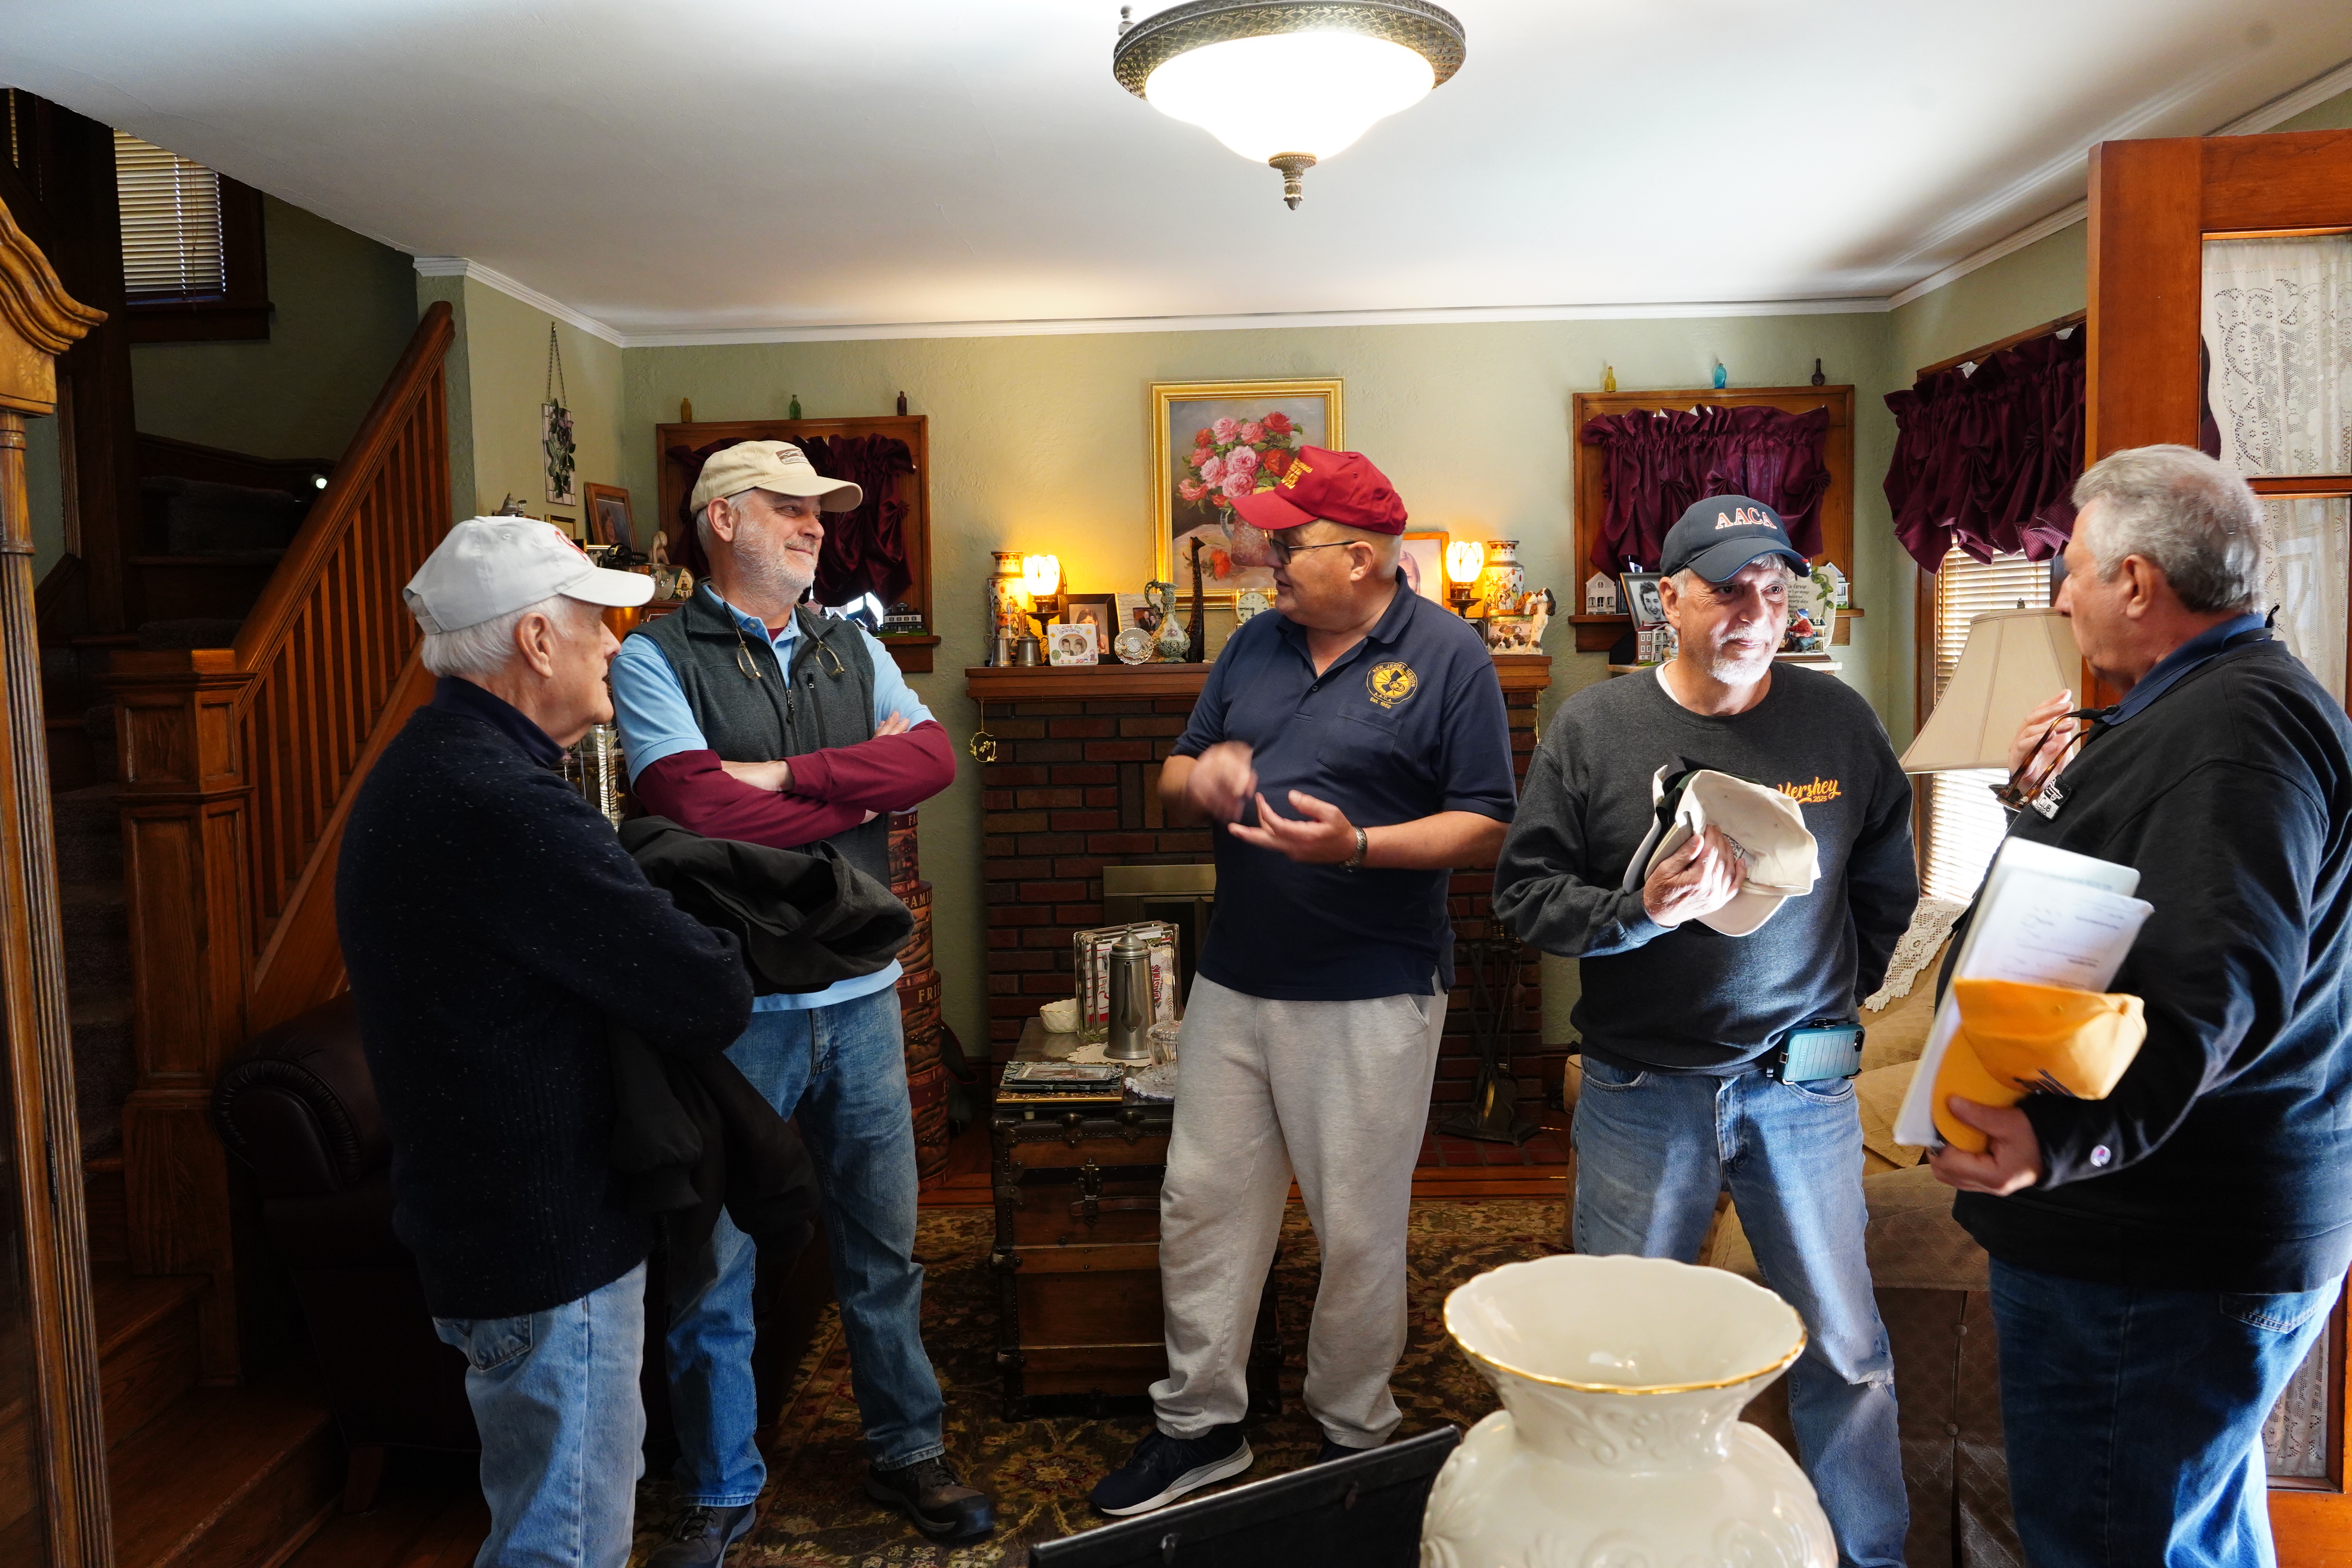
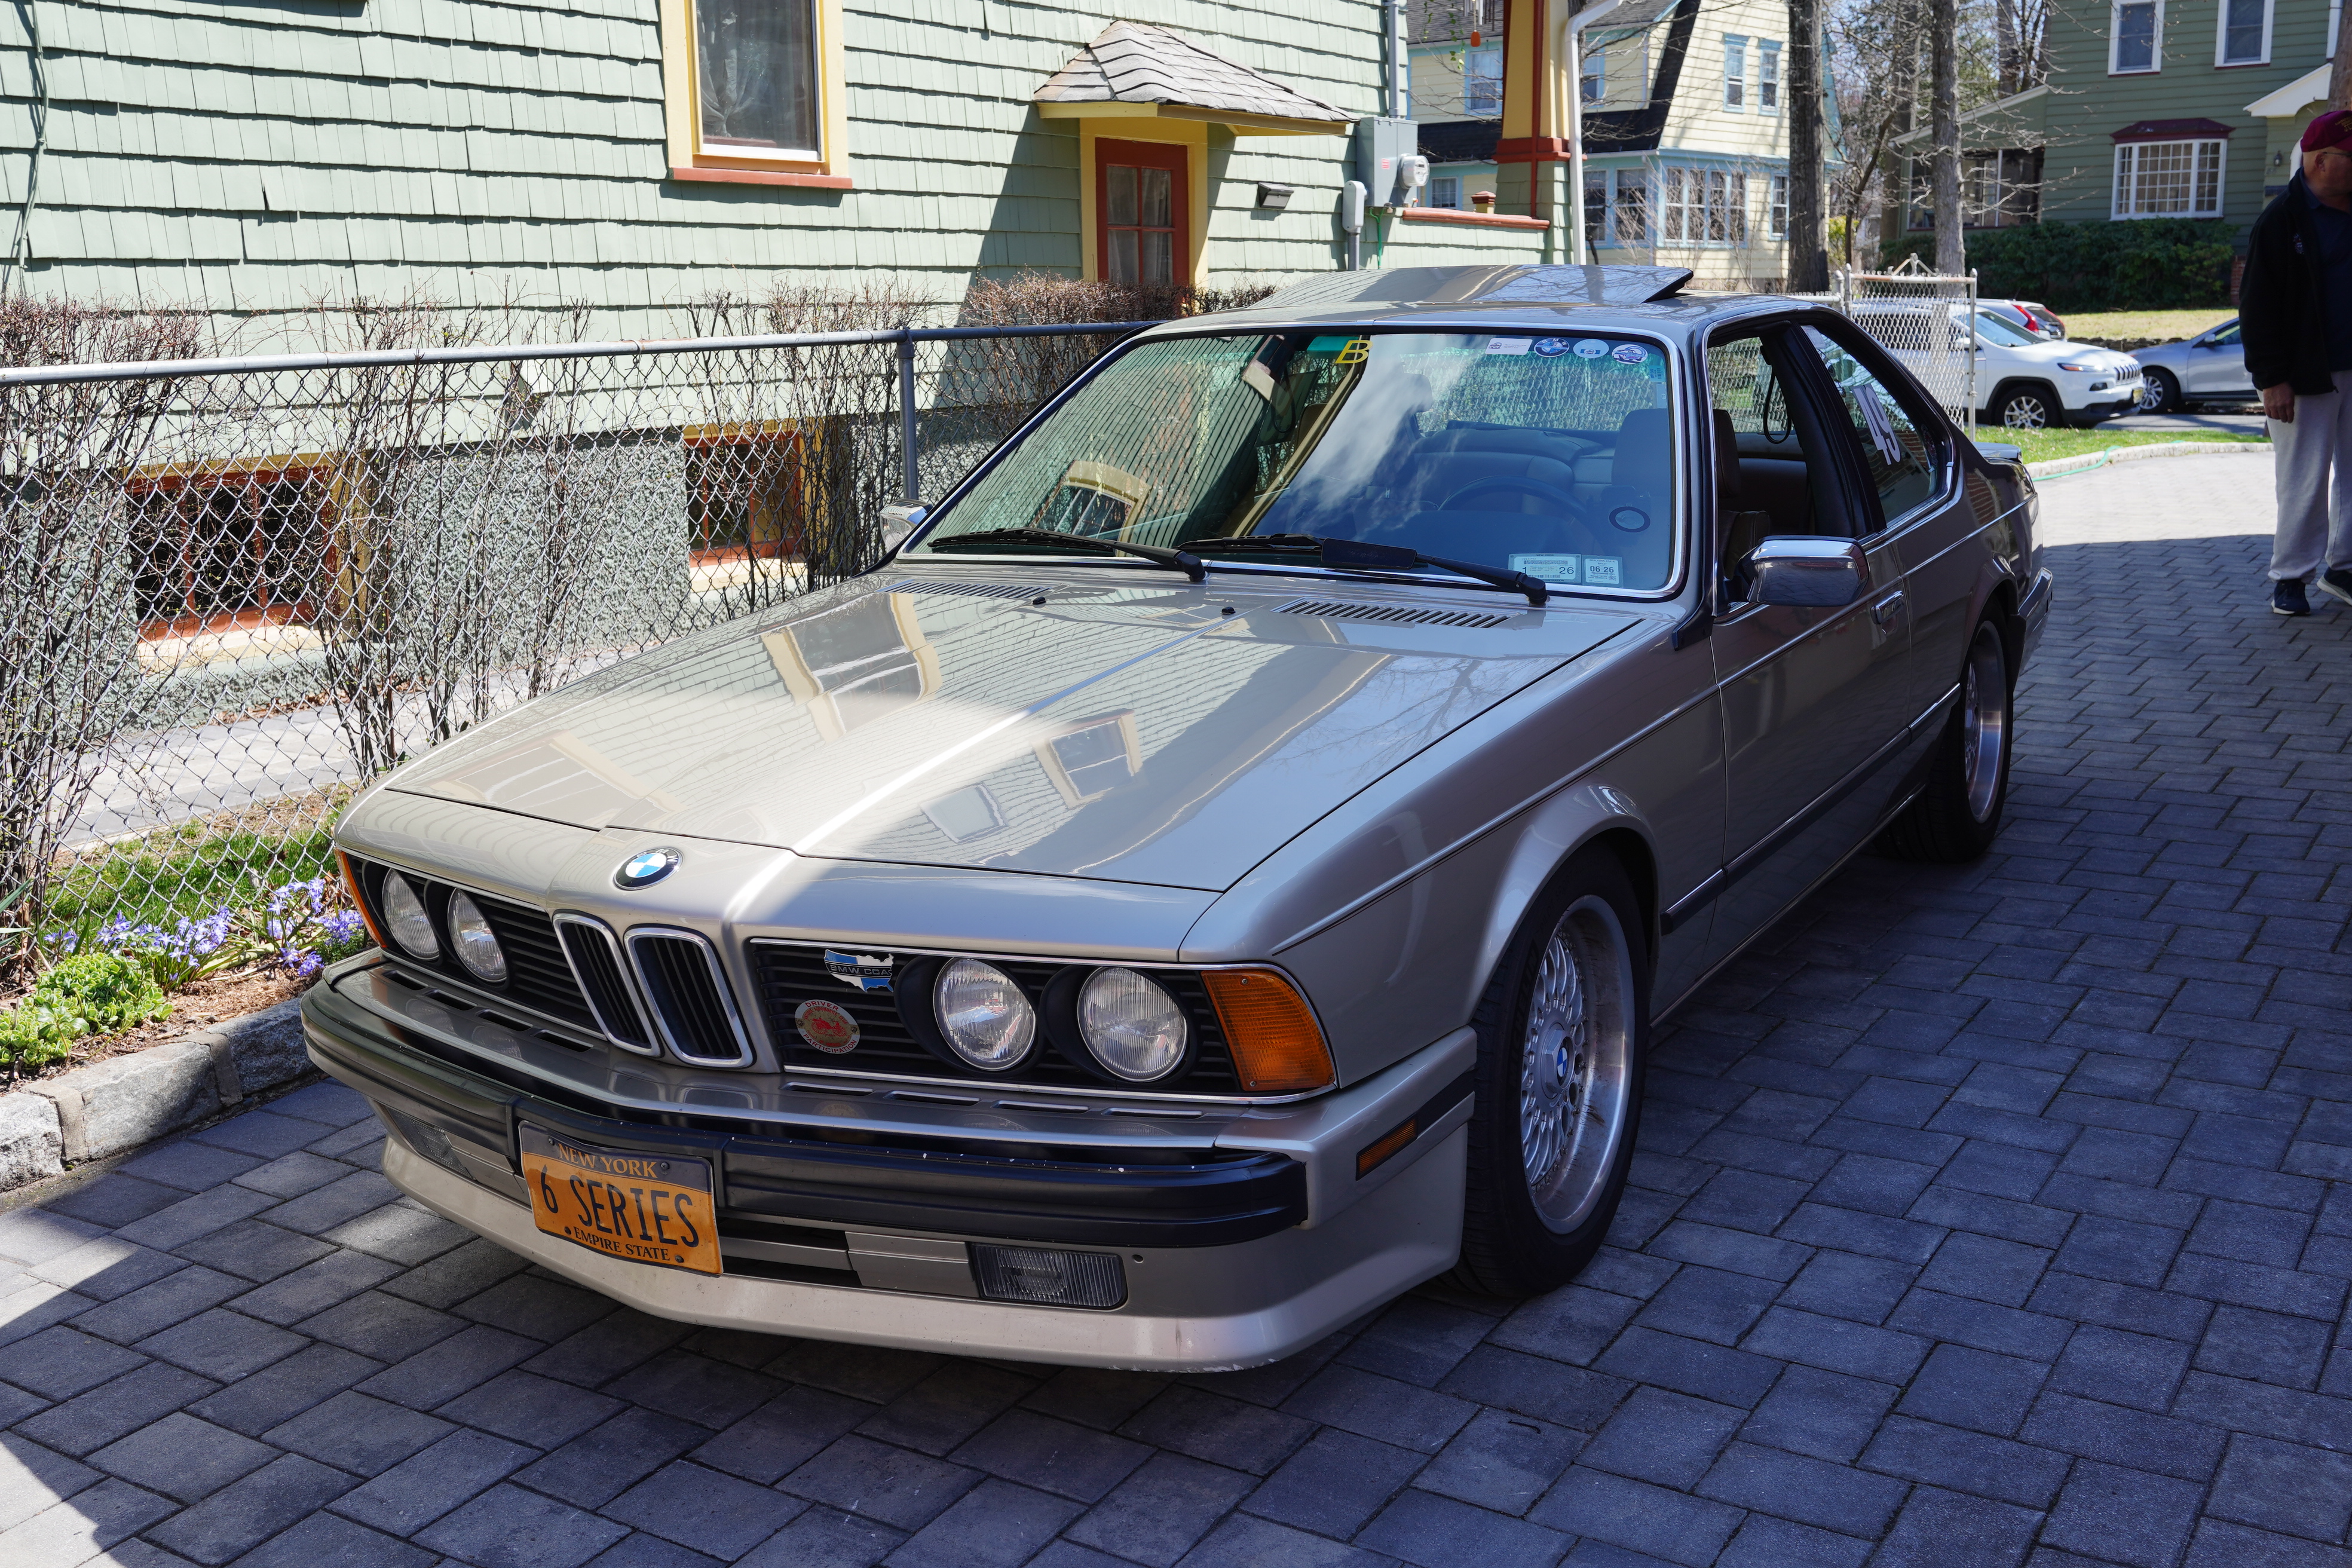
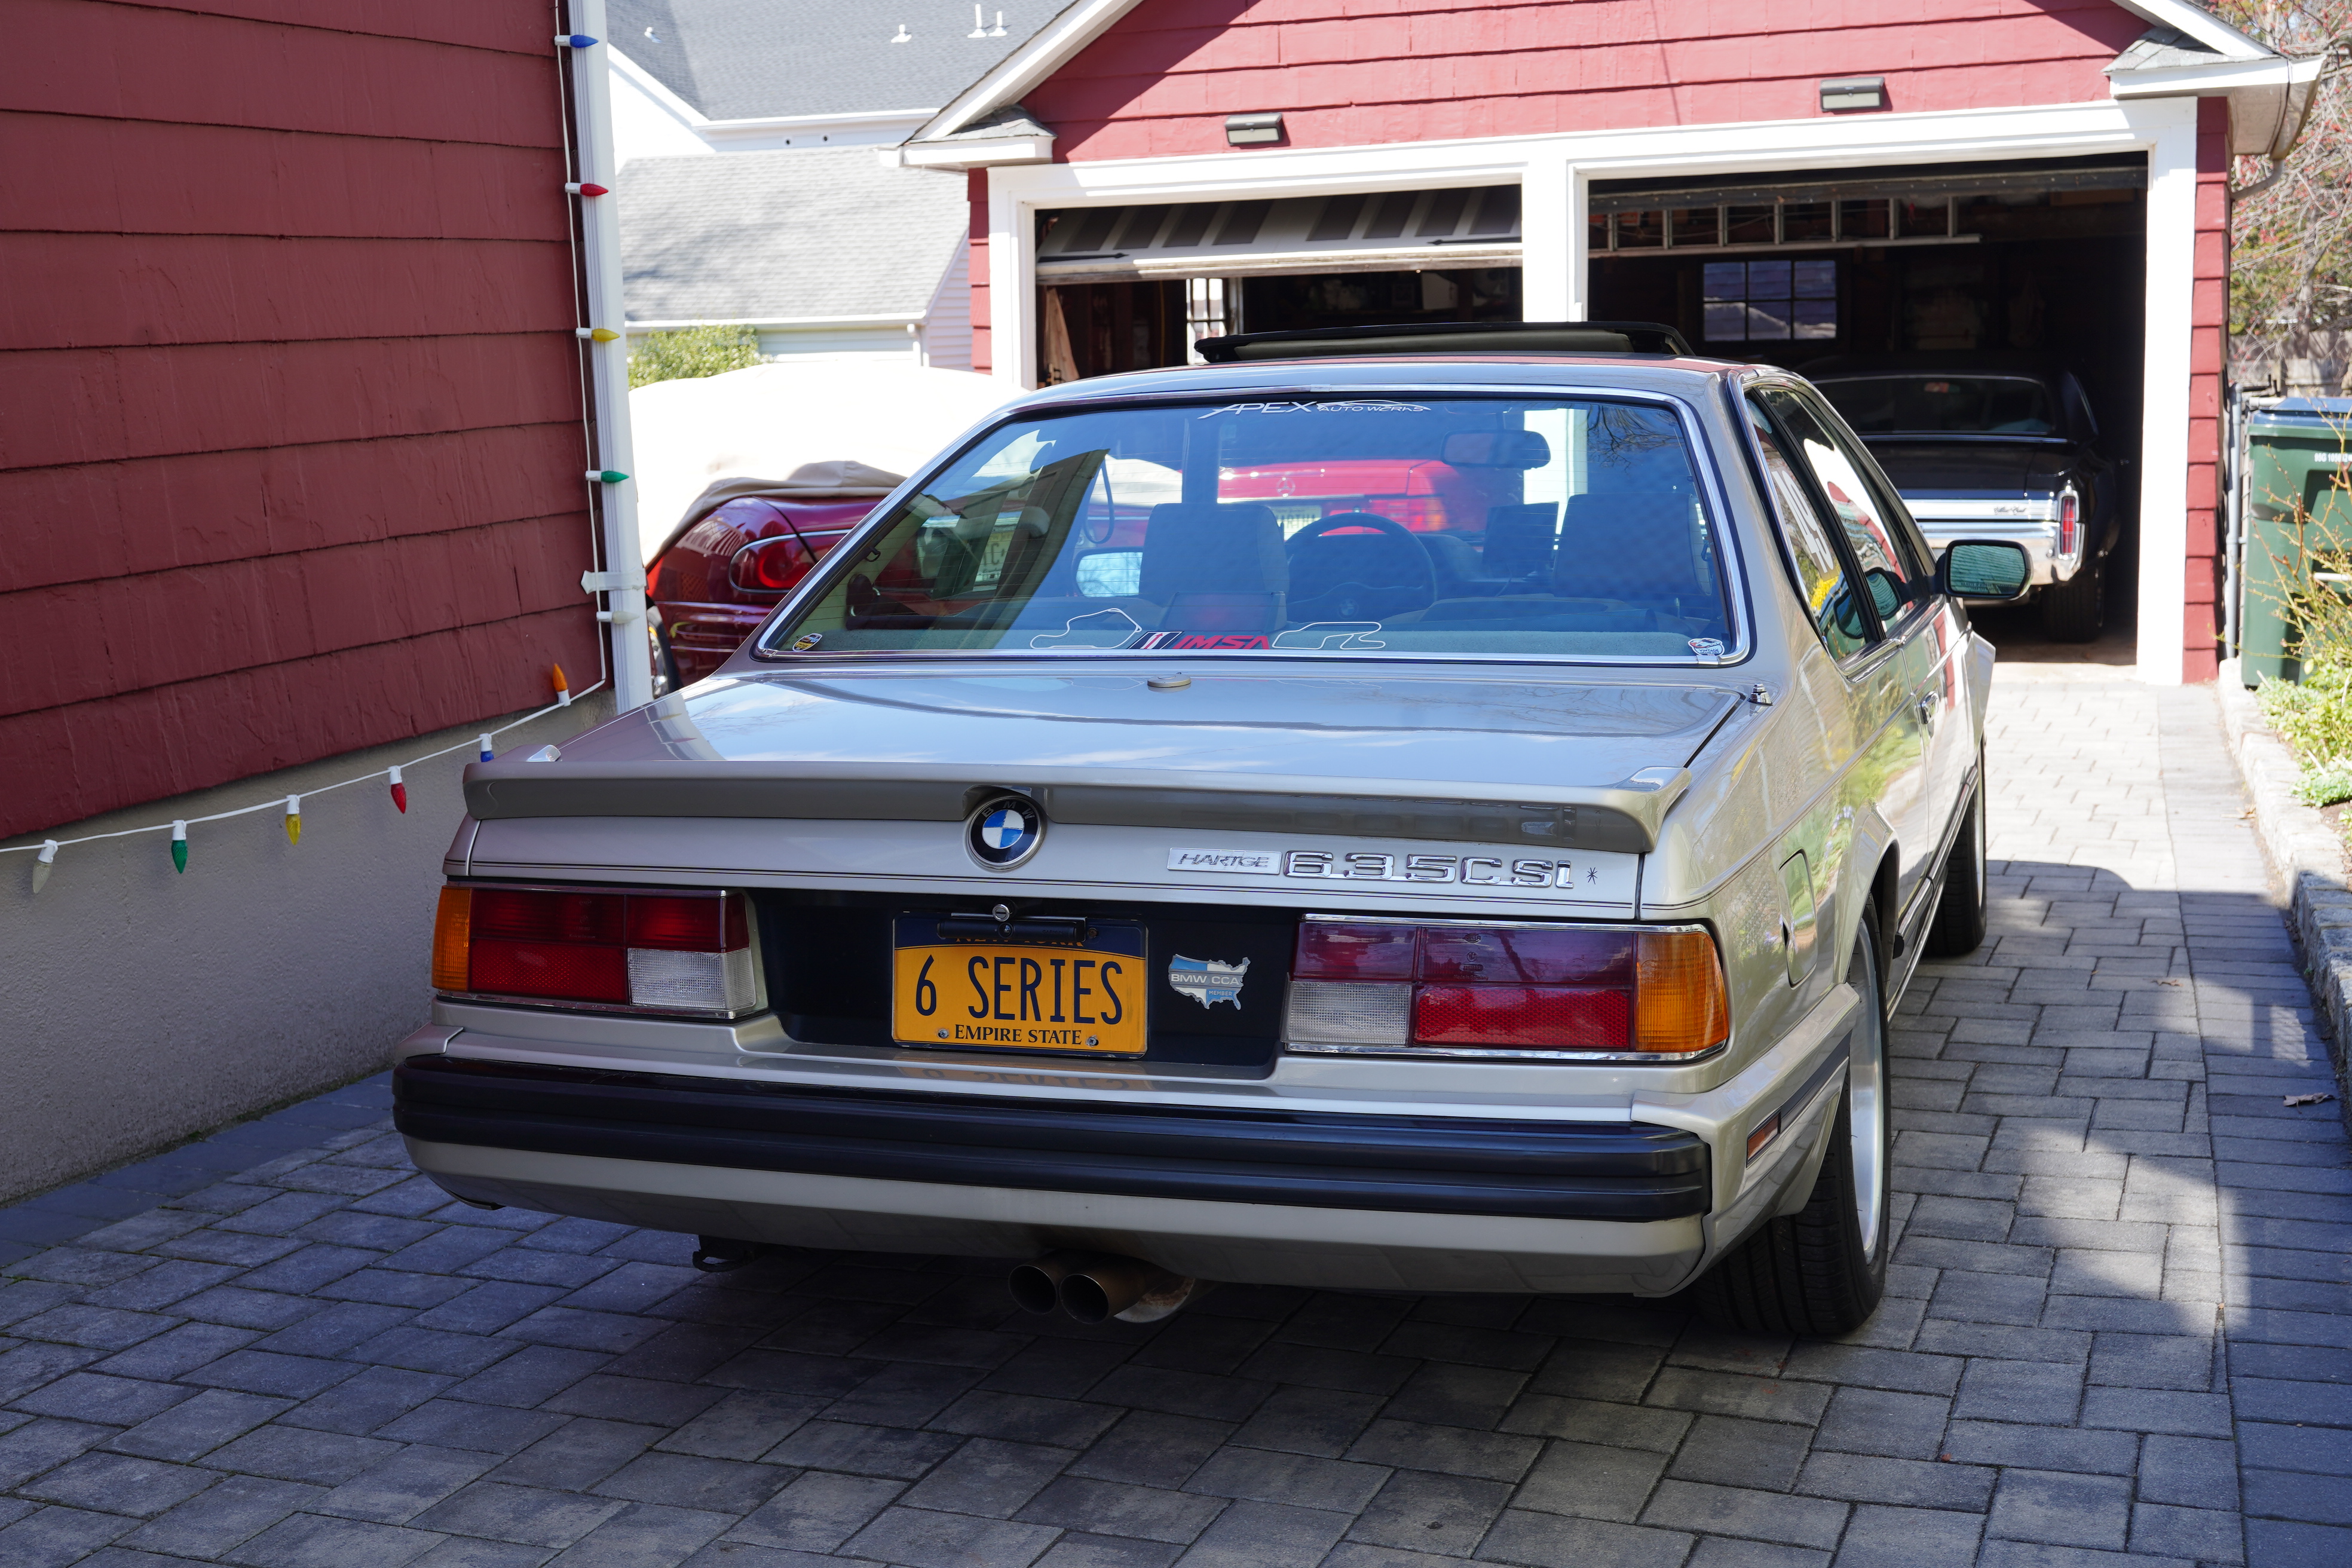
The group also got a look at Bob’s BMW 6-series coupe, a German model that we don’t often see at our shows. It was a good contrast when compared to the big Cadillacs. After about two hours of fresh air, it was time to regroup inside to enjoy the real reason for attending: lunch. Our host couple had our meal catered by a local Italian restaurant, and that included chicken, meatballs, and salad. Several guests brought dessert, and with that, another successful training session was concluded.
Entire blog post content copyright © 2026 Richard A. Reina. Text and photos may not be copied or reproduced without express written permission.