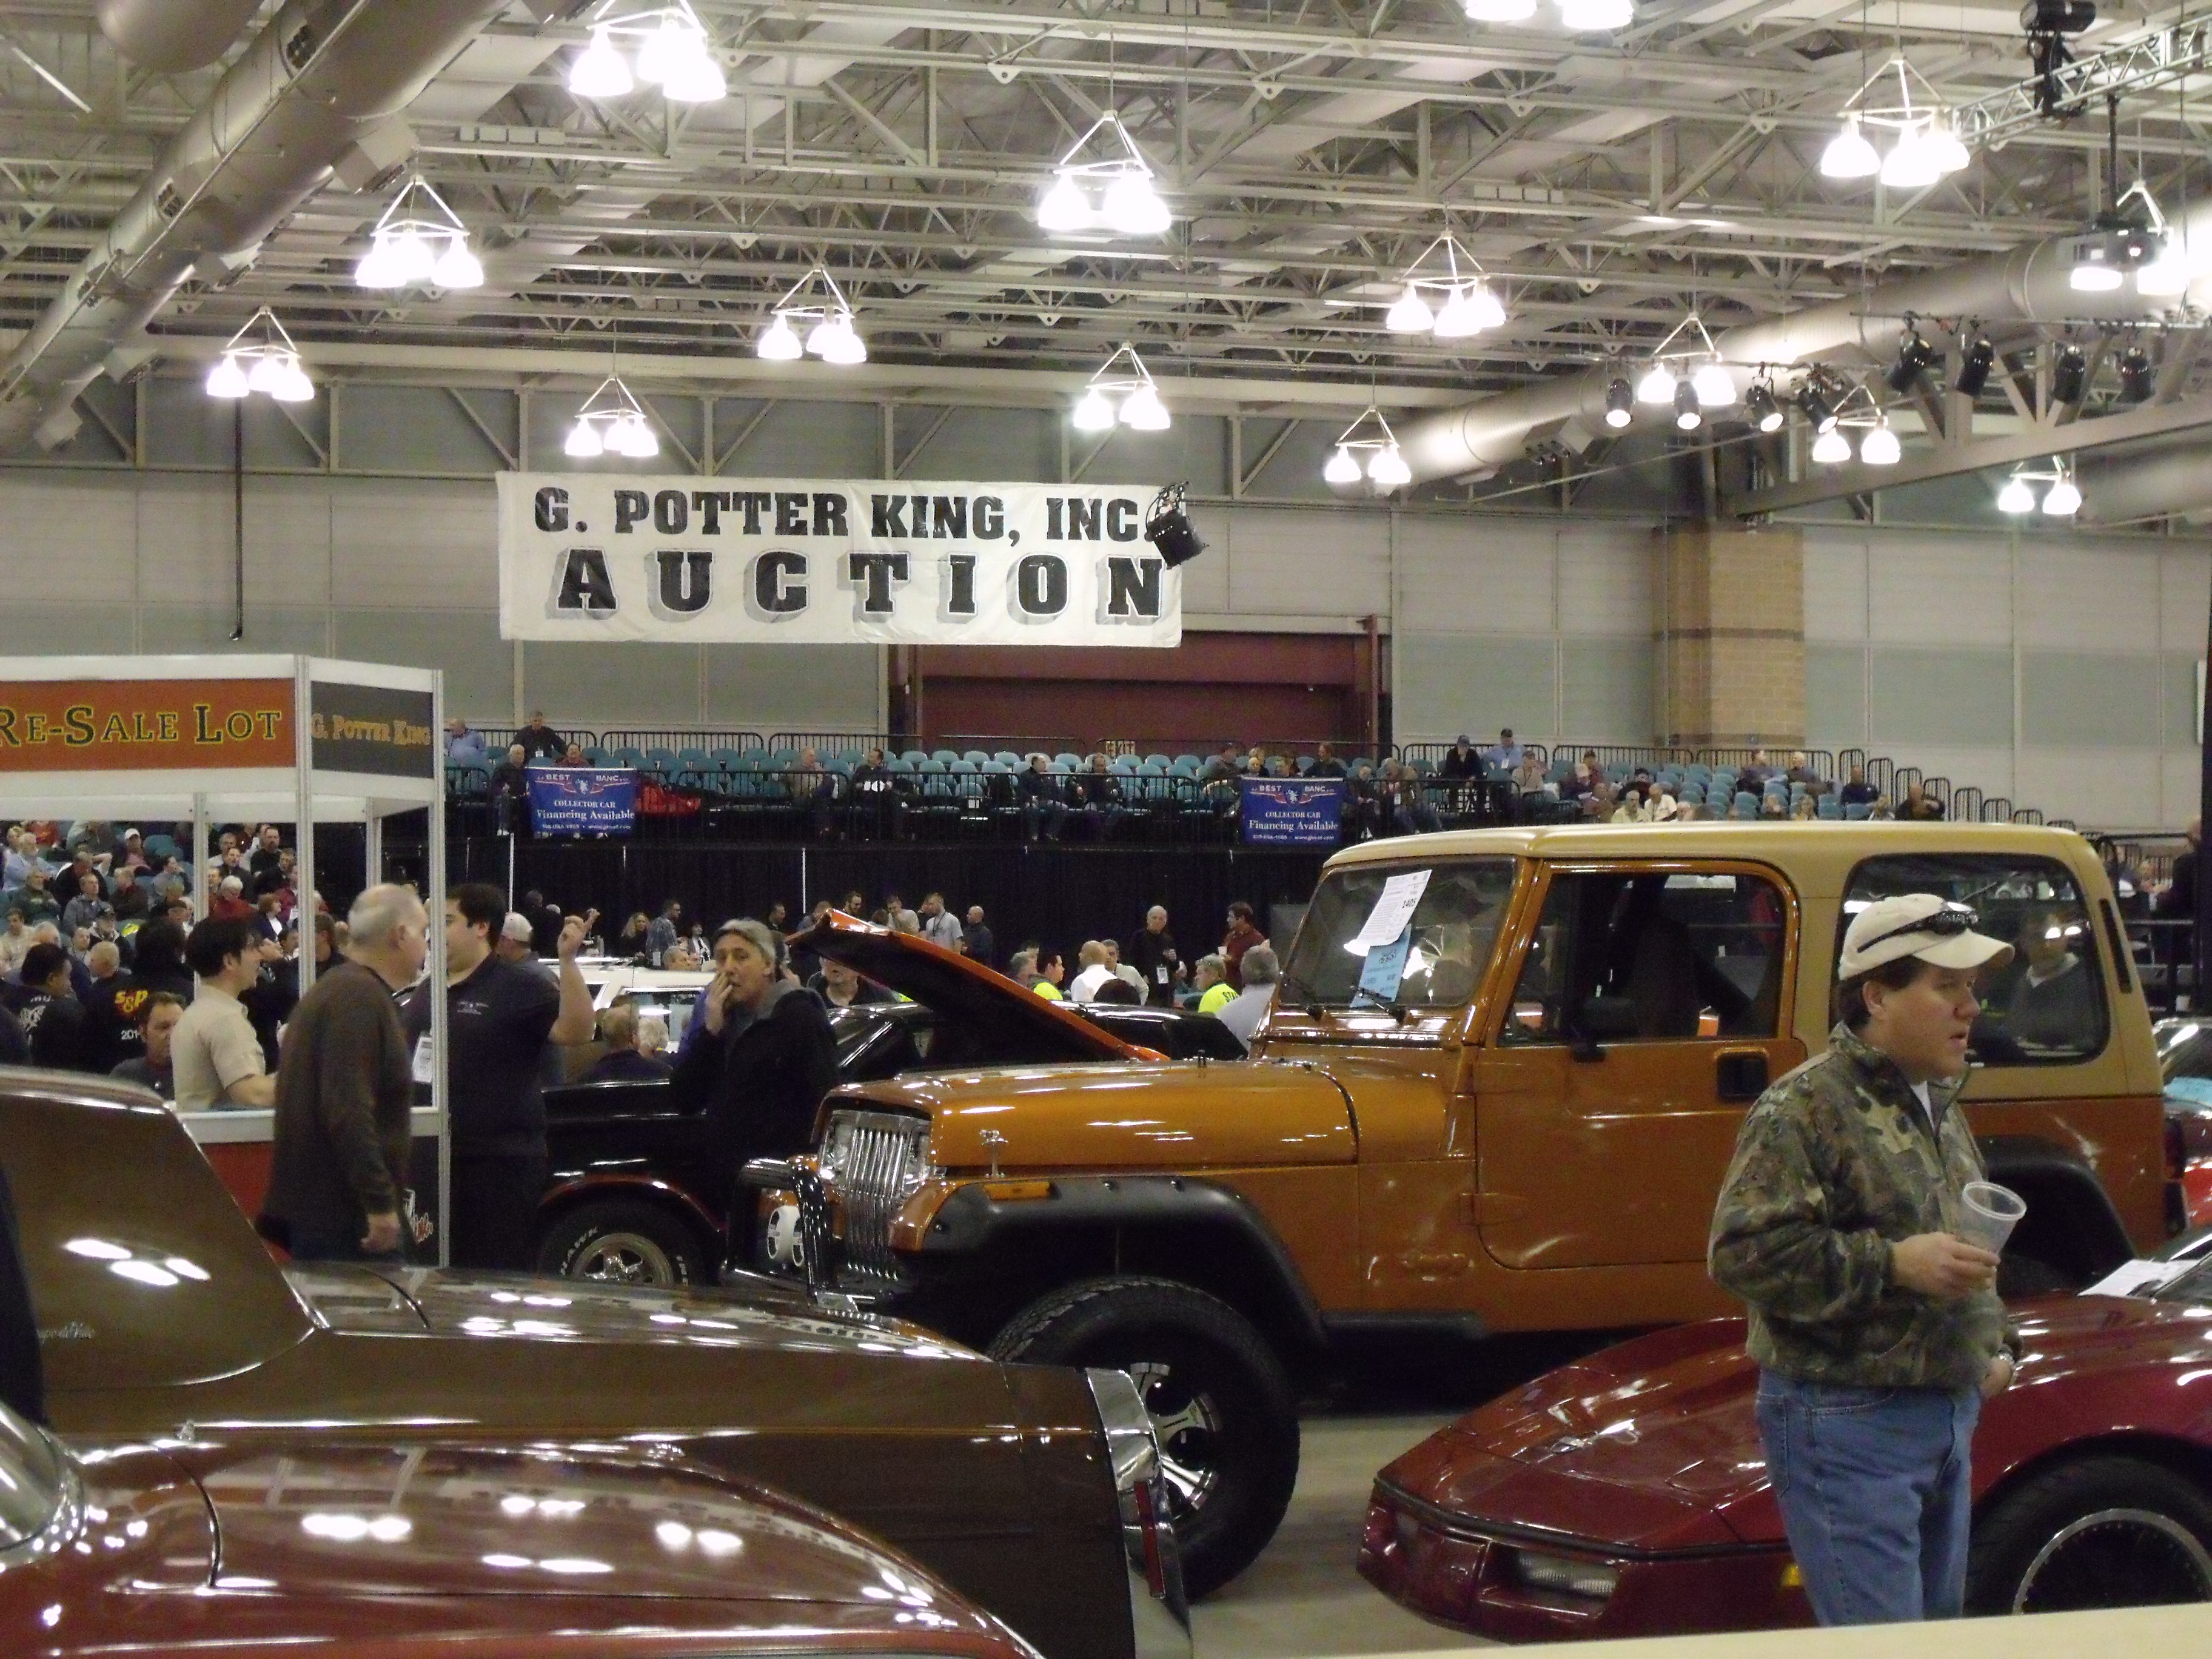
“Carlisle” held its Spring 2015 collector car auction on Thursday and Friday, April 23 & 24, at the Expo Center across from the Carlisle Fairgrounds in Carlisle, PA. For the uninitiated, “Carlisle” is classic car slang for Carlisle Events. What started in 1974 as a single flea market for post-war cars has grown in the ensuing decades into one of the biggest old car enterprises on the east coast, if not in the country. Today, in addition to the all-makes Spring and Fall events, there are marque-specific shows for GM, Ford, Chrysler, and Corvette. Imports are covered once a year at the Import-Kit Car Show. A number of years ago, auctions were added to the calendar. At first the Carlisle group ran their own auctions. They then partnered with Auctions America, the U.S. arm of RM Auctions. Most recently the auctions are again independently run.
This is not Mecum. Approximately 400 cars ran across the block over two days, and based on lot numbers, it was about 250 cars on Thursday and 150 on Friday. The vast majority of vehicles are the Chevrolets (Corvettes, Camaros, Malibus, Impalas) and Fords (Mustangs, T-Birds, Rancheros, pickups) you see at other auctions, in other words, the usual suspects. Unlike AACA, there is no model year cut-off. I witnessed a 2008 Ford F-550 truck attempt to maneuver its way onto the block (it didn’t make it, nor did it sell), so sometimes you feel like you’re sitting in Manheim at a late-model auction.

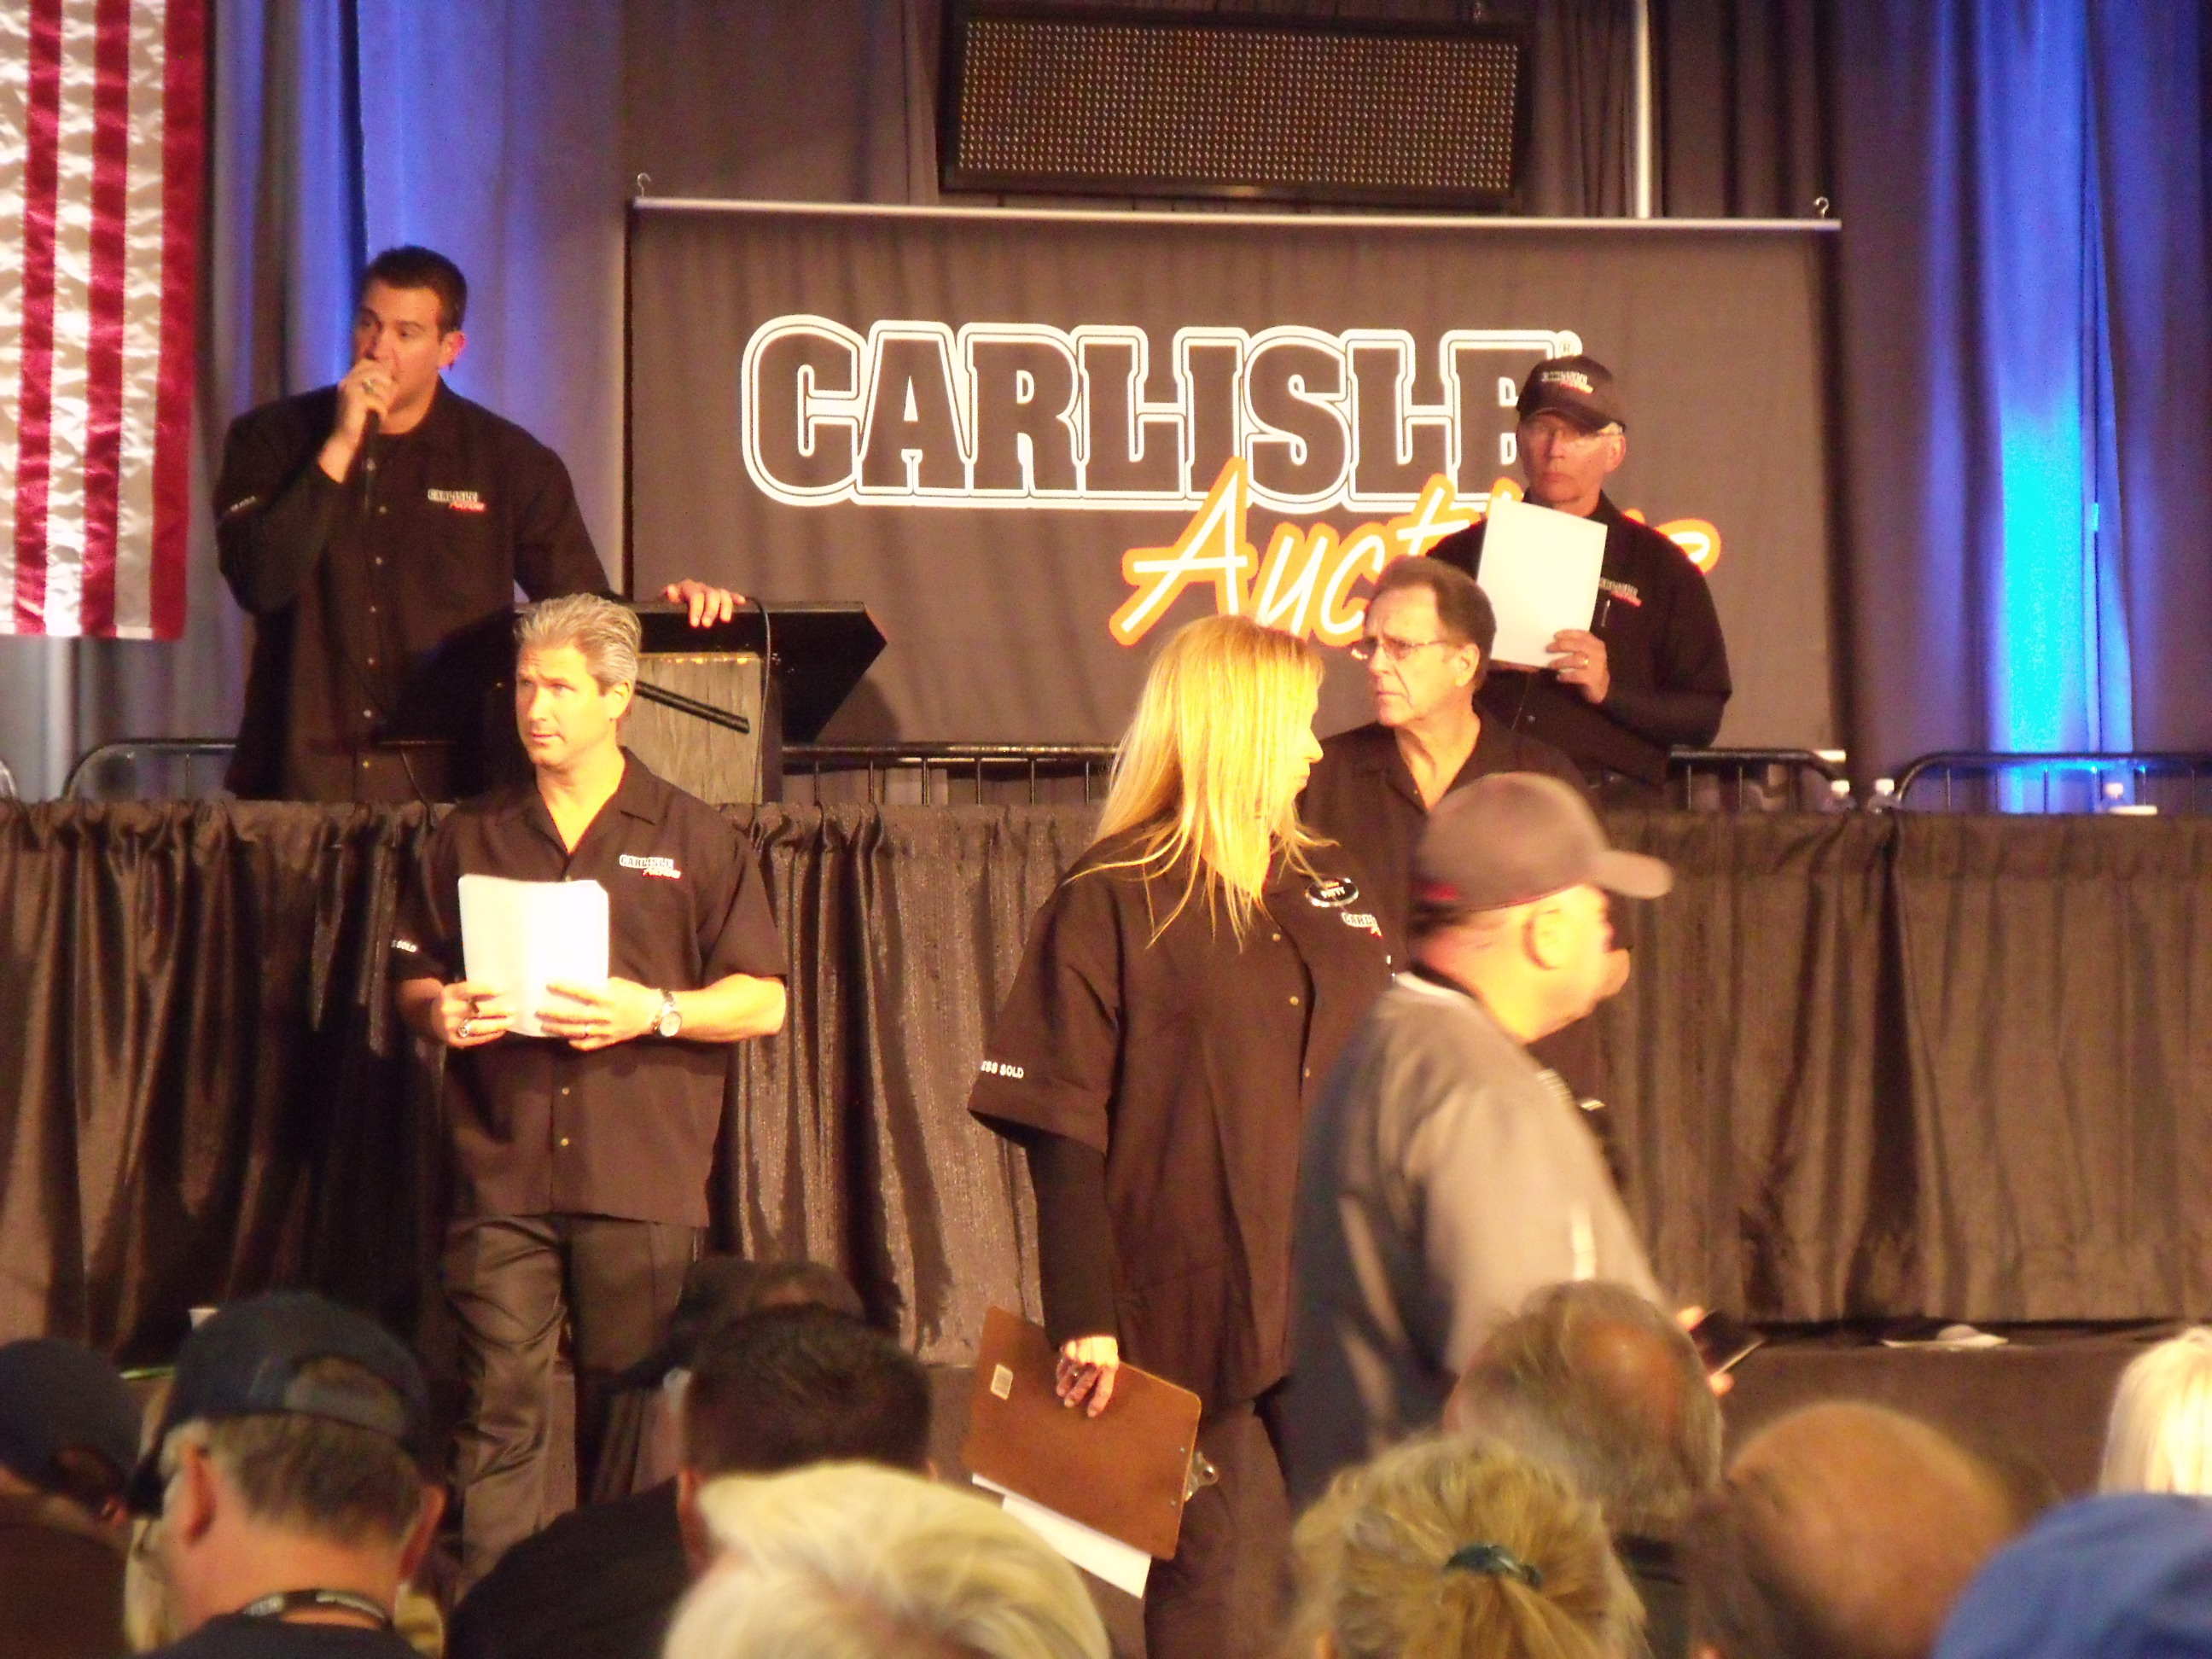
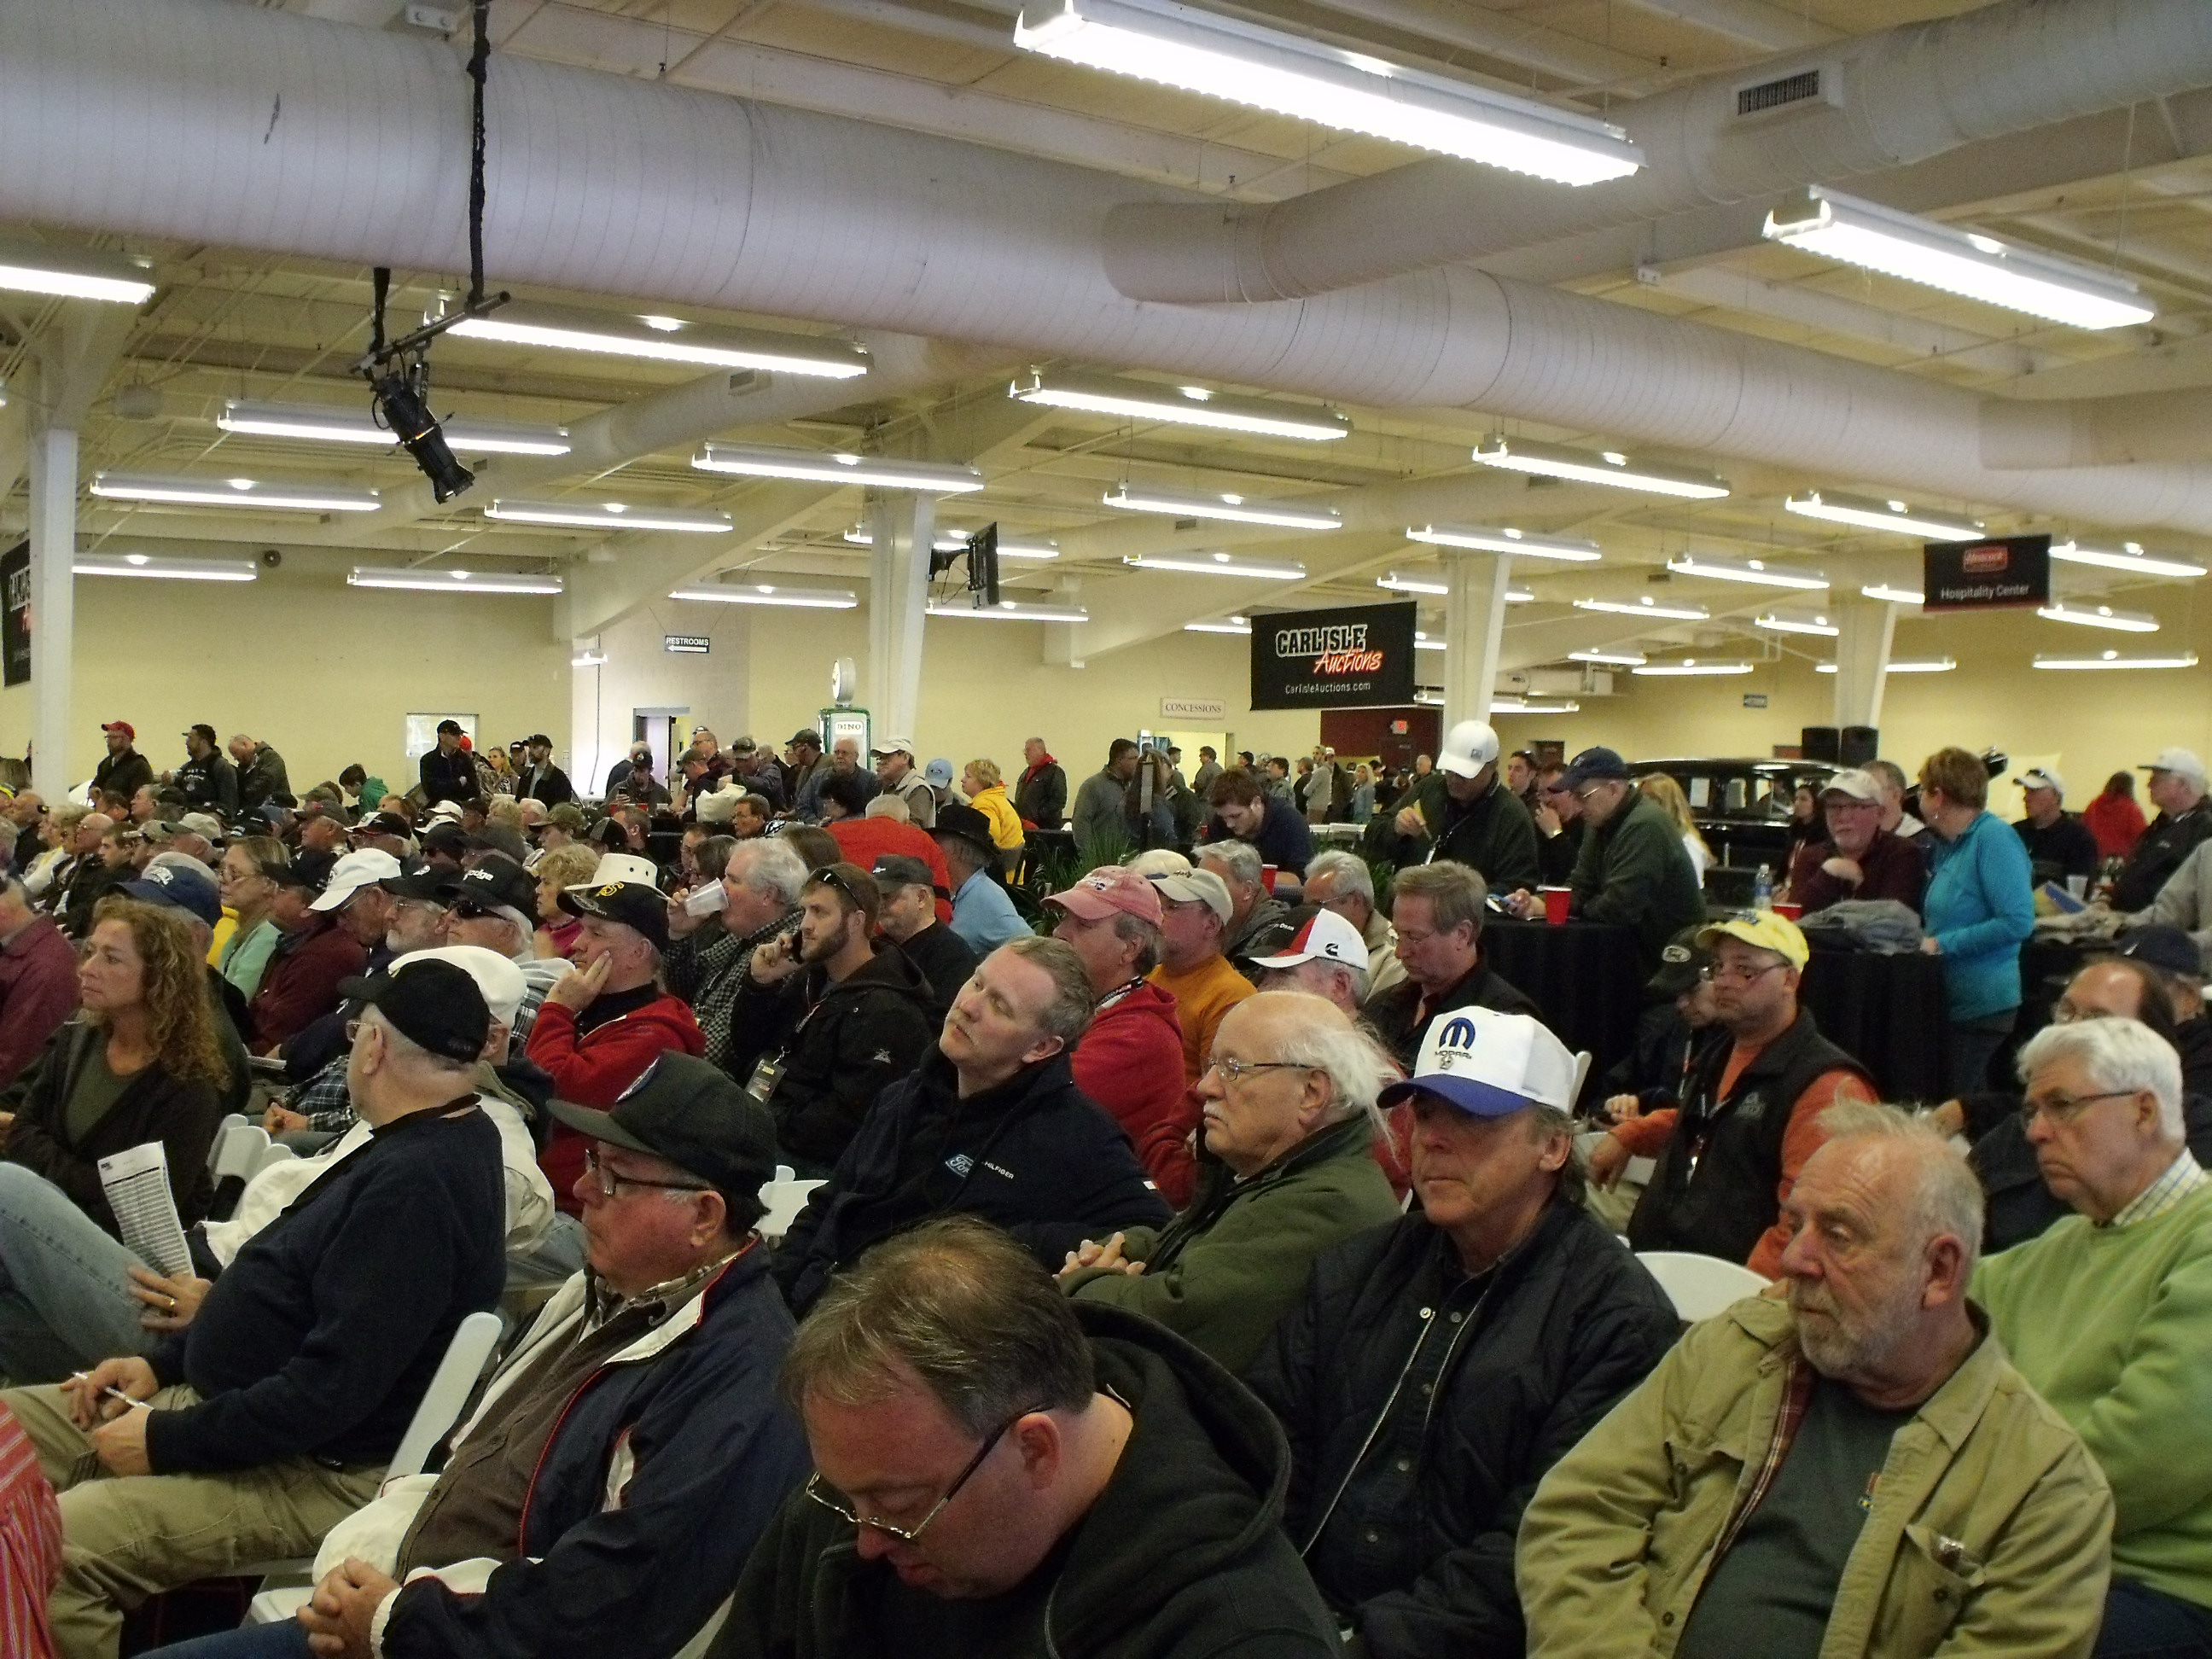
Reserves are up to the consigners, and based on my most unscientific observations, many reserves were high and kept the sell-through rate down. Thursday seemed to be a better day for sales than Friday, with a sales rate perhaps approaching 70%, dropping to 50% on Friday. One attraction for consigners is the “you don’t pay unless you sell” policy. The consignment fee ranges from $100 to $400, and Carlisle states that if your car does not sell, they will refund your fee. Both days, the Expo Center was standing room only, with plenty of active bidders crowding the block. There was not a seat to be had in the bidders’ area, likely helped by the free food and booze offered as part of the consignment package.
Again, this is not Mecum. While I give the Carlisle staff full marks for their efforts, there were times when the proceedings had a true mom-and-pop feel to it. More than once, the auctioneer lost his place, and could not find his current two highest bidders. At least one of those times he had to wind the bidding back by a grand. Another vehicle had its mileage misstated on the screen (it showed 19k when the car had 99k) and all bids were struck while the auctioneer started again. On the other hand, it was nice that TV monitors scattered throughout the room clearly showed the car, the lot number, and the current bid. There was no such luxury in Atlantic City this past February.
My specific vehicle coverage below is all-import; first, this is where my heart is in the hobby; second, I find that many European cars get ignored at a domestic-heavy event like this, and some potentially good deals can be had. I would be remiss, though, if I didn’t mention the weekend’s star car: a 1977 Pontiac Firebird Trans-Am, owned by the actor Burt Reynolds, and modified into a “Smokey & The Bandit” tribute car, crossed the block around 7 p.m. on Friday. It STAYED on the block for about 30 minutes, or 10 times longer than the typical auction car. My personal guess was that the car would sell for $70,000. Add a one in front, as the car hammered for $170,000. Burt had signed the hood AND the dash, so that must have made the difference….
In model year order:
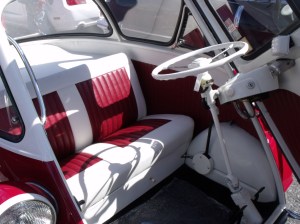
Lot #F395, 1957 BMW Isetta. Chassis #493993. Mileage: 10,000. Bubble window coupe, not the more common sliding window. Dark red and white two tone, black vinyl sunroof, red and white interior. Beautiful workmanship inside and out. Having owned one for 35 years, I know these cars. Outside restoration is almost 100% authentic, except for painted headlight trim rings (should be chrome). Rare to see someone get all the outside details correct. Interior modified as most are, with vinyl-covered panels (factory gave you painted fiberboard panels). This interior is relatively understated, looks professionally done, and complements outside colors well. Overhearing attendees’ reactions is priceless. One fellow said “this is not a car. This is almost a car”. Although Isetta market has cooled slightly, high bid was light by $5,000-10,000.
CONDITION: 1-
SALE PRICE/HIGH BID: $29,500 NOT SOLD
PRICE BOOK RANGE: $28,000-53,000 (CPI)


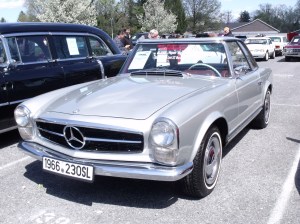
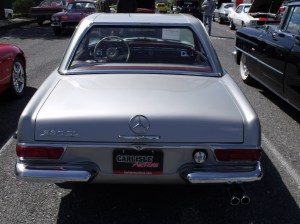
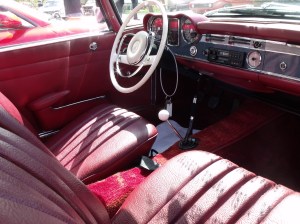
Lot #F399, 1966 Mercedes Benz 230 SL roadster, warm silver with red vinyl interior, stick shift. Mileage is 70,936. Optional hard top. Unknown if soft top is included. Striking color combo, very clean overall. Nothing to fault with interior. Only glaring misstep is aftermarket exhaust, with tips extending about 4 inches past rear bumper. Sign says same owner last 20 years. If it runs well, this was well bought, especially with the stick, and will only appreciate.
CONDITION: 2
SALE PRICE/HIGH BID: $39,000 SOLD
PRICE BOOK RANGE: $40,000-76,000 (CPI)
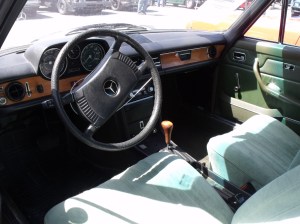
Lot #F443, 1973 Mercedes Benz 280 CE coupe, green and white with green velour interior. Mileage is 53,380. Automatic. Sign says “barn find”. Odd two-tone, with white paint across center section of roof. White hub caps. Outside is rough, with both doors not shutting well, poor paint, rust bubbles everywhere. EPA label verifies this is US spec car, but upholstery looks odd. Cheap sale price reflects an attractive body style on a car that will need serious work before becoming drivable.
CONDITION: 4
SALE PRICE/HIGH BID: $3,000 SOLD
PRICE BOOK RANGE: $5,000-12,000 (CPI)


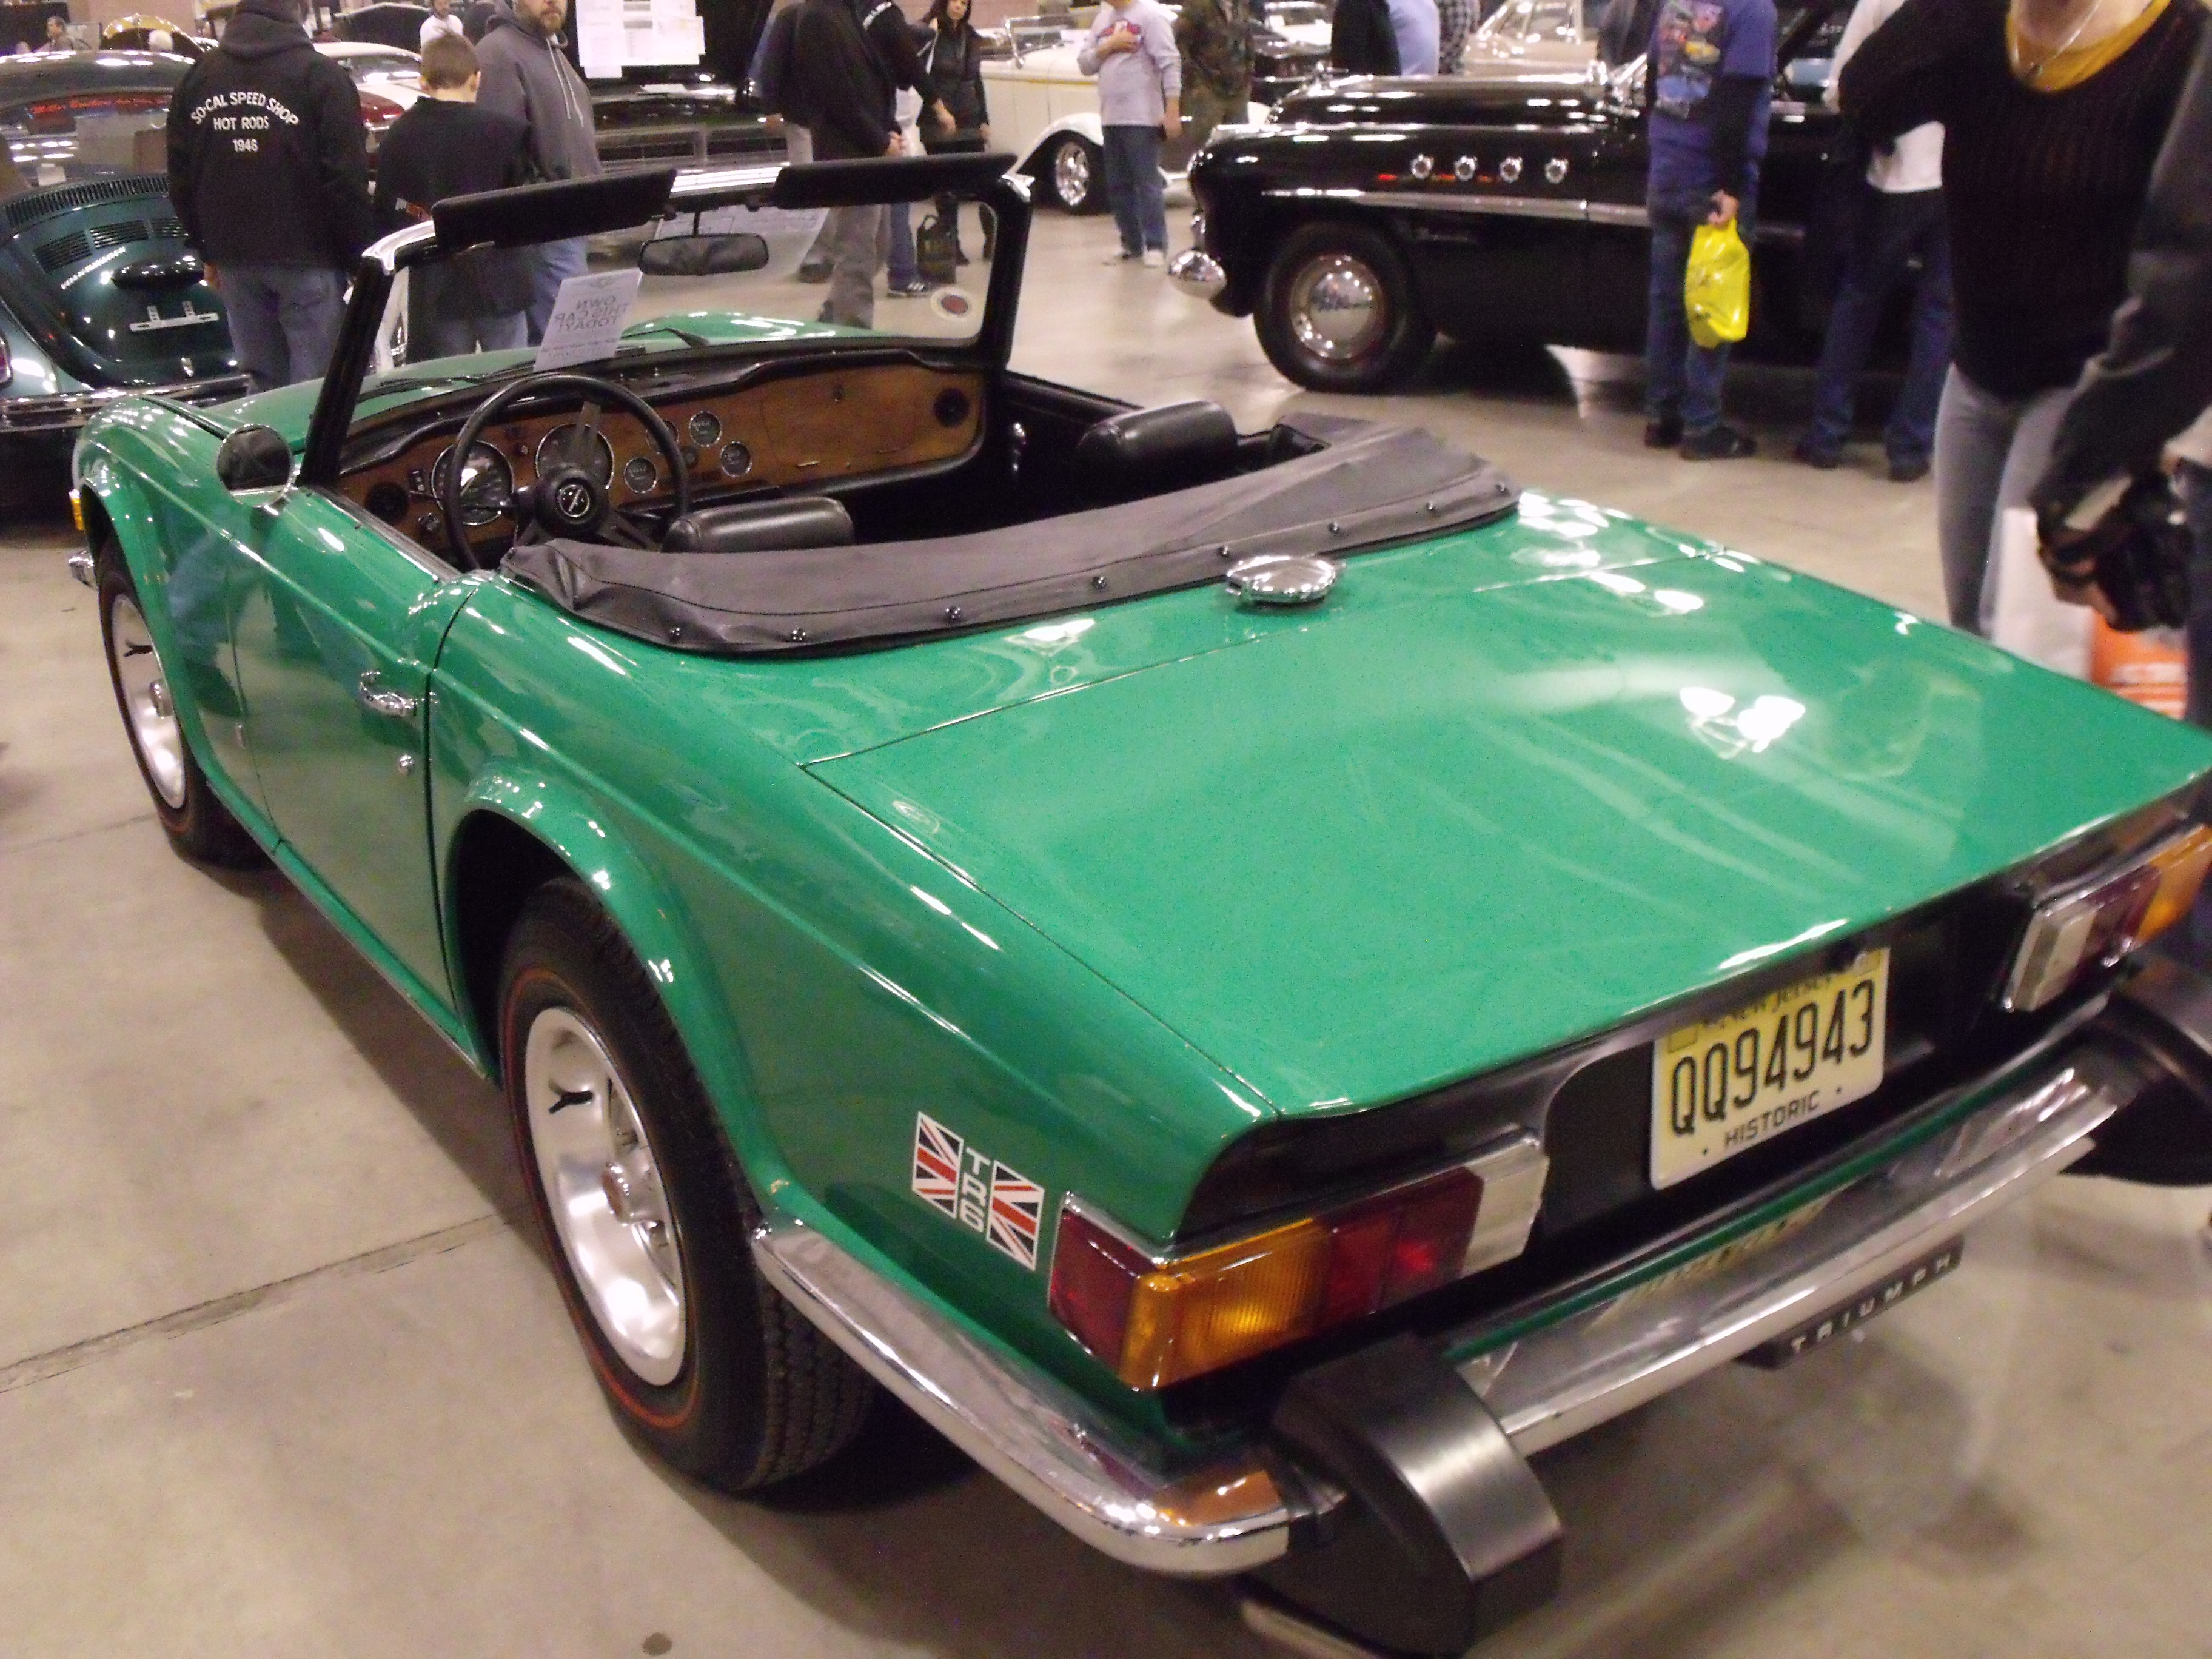
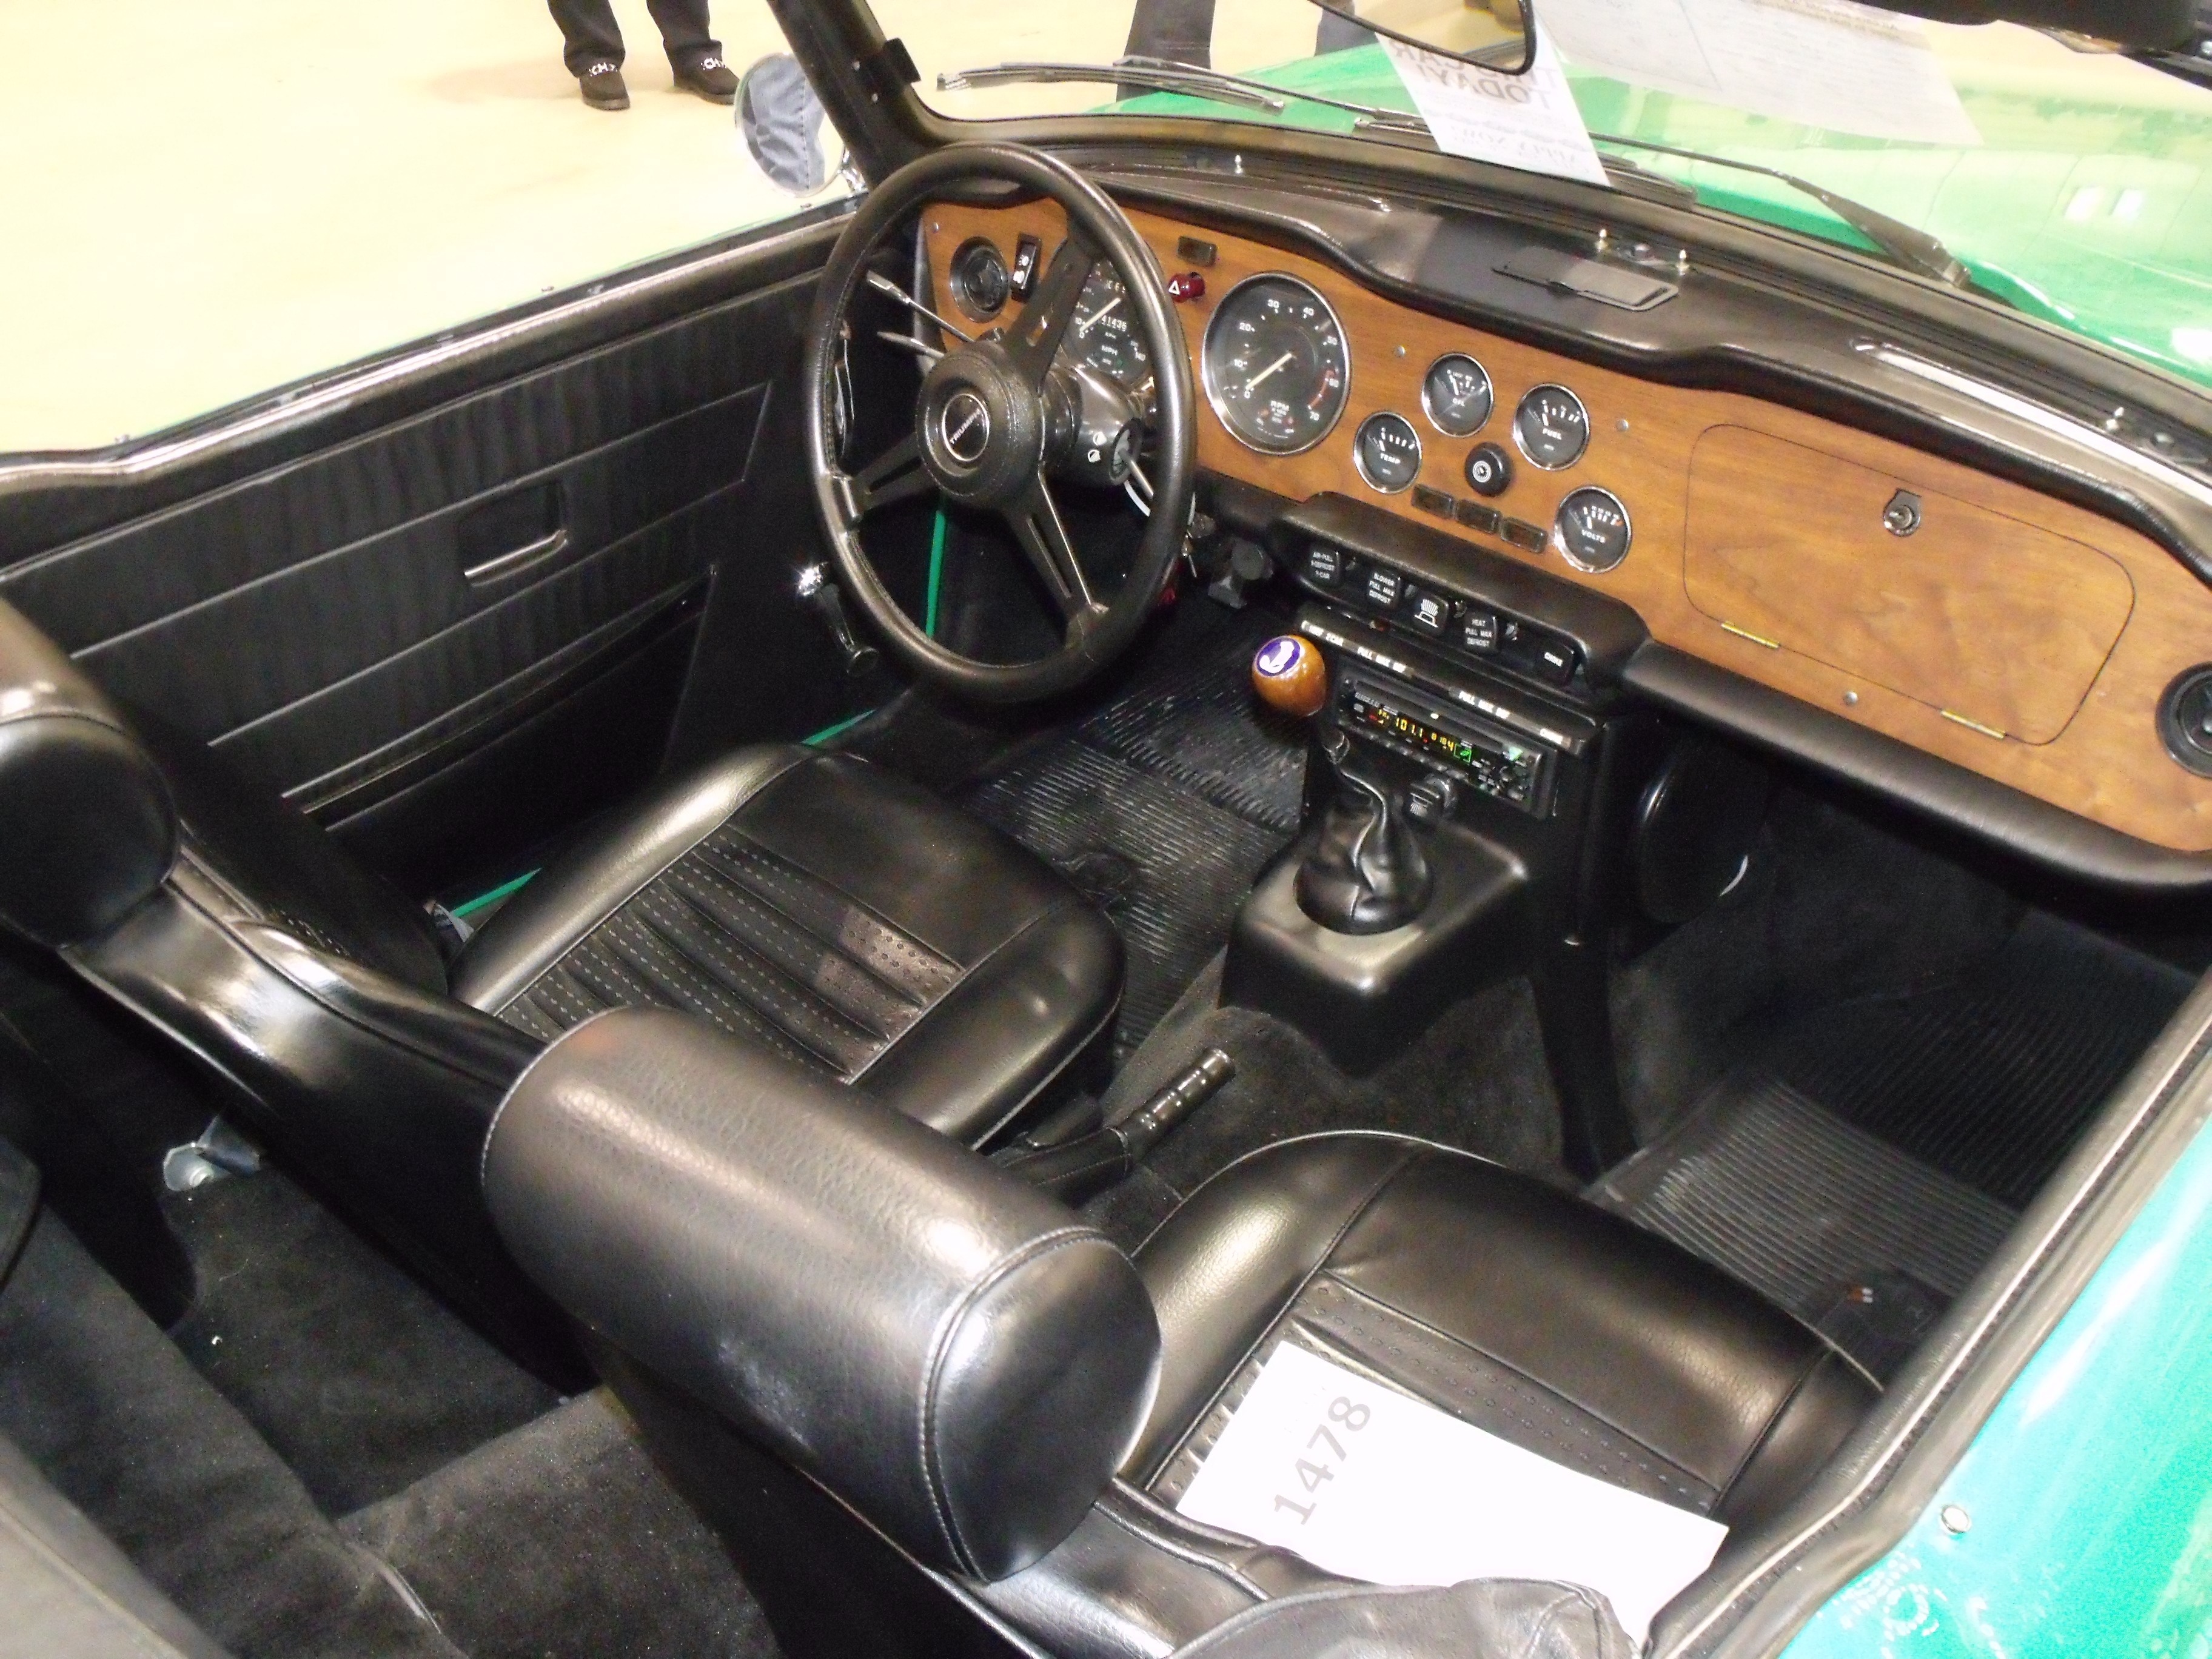
Lot #412, 1976 Triumph TR 6, bright green, black top, tan interior. Odometer just over 56,000. Sign claims car is rust free and it looks it. Red line tires and trim rings add elegant air to exterior; clean upholstery, unmarked wood dash, and coco mats do same for interior. Convertible top has correct reflective stripe. Overall strong presentation. Sale price is fair to buyer and seller.
CONDITION: 2+
SALE PRICE/HIGH BID: $18,000 SOLD
PRICE BOOK RANGE: $12,000-20,000 (Sports Car Market)


Lot #T199, 1977 Fiat 124 spider, orange, black top and interior. Mileage not noted. Quality repaint but overspray on windshield frame. No signs of rust. Front bumper crooked. Nice looking Fiat alloy wheels. Interior looks straight with no rips or tears. Lots of eyeball but would need to look at floors and underside to ensure solid metal was underneath.
CONDITION: 3+
SALE PRICE/HIGH BID: Not sold, high bid not noted
PRICE BOOK RANGE: $7,000-10,500 (Sports Car Market)


Lot #T150, 1981 Porsche 924, silver with black interior, bra on front, mileage not noted (it doesn’t matter). Sad and tired looking thing. Silver paint worn, faded, scratched. Factory sunroof, Porsche alloys. Interior no better than outside. Seat covers with driver’s cover pulled back to reveal black electrical tape on seat bolster. Wires running through door jamb from hood into interior for aftermarket gauge. Aftermarket exhaust looks too large for car. Trailer hitch! Bid to $2000 and did not sell. Car is living proof that Porsche is not infallible.
CONDITION: 4–
SALE PRICE/HIGH BID: $2,000 NOT SOLD
PRICE BOOK RANGE: $3,000 (Sports Car Market)


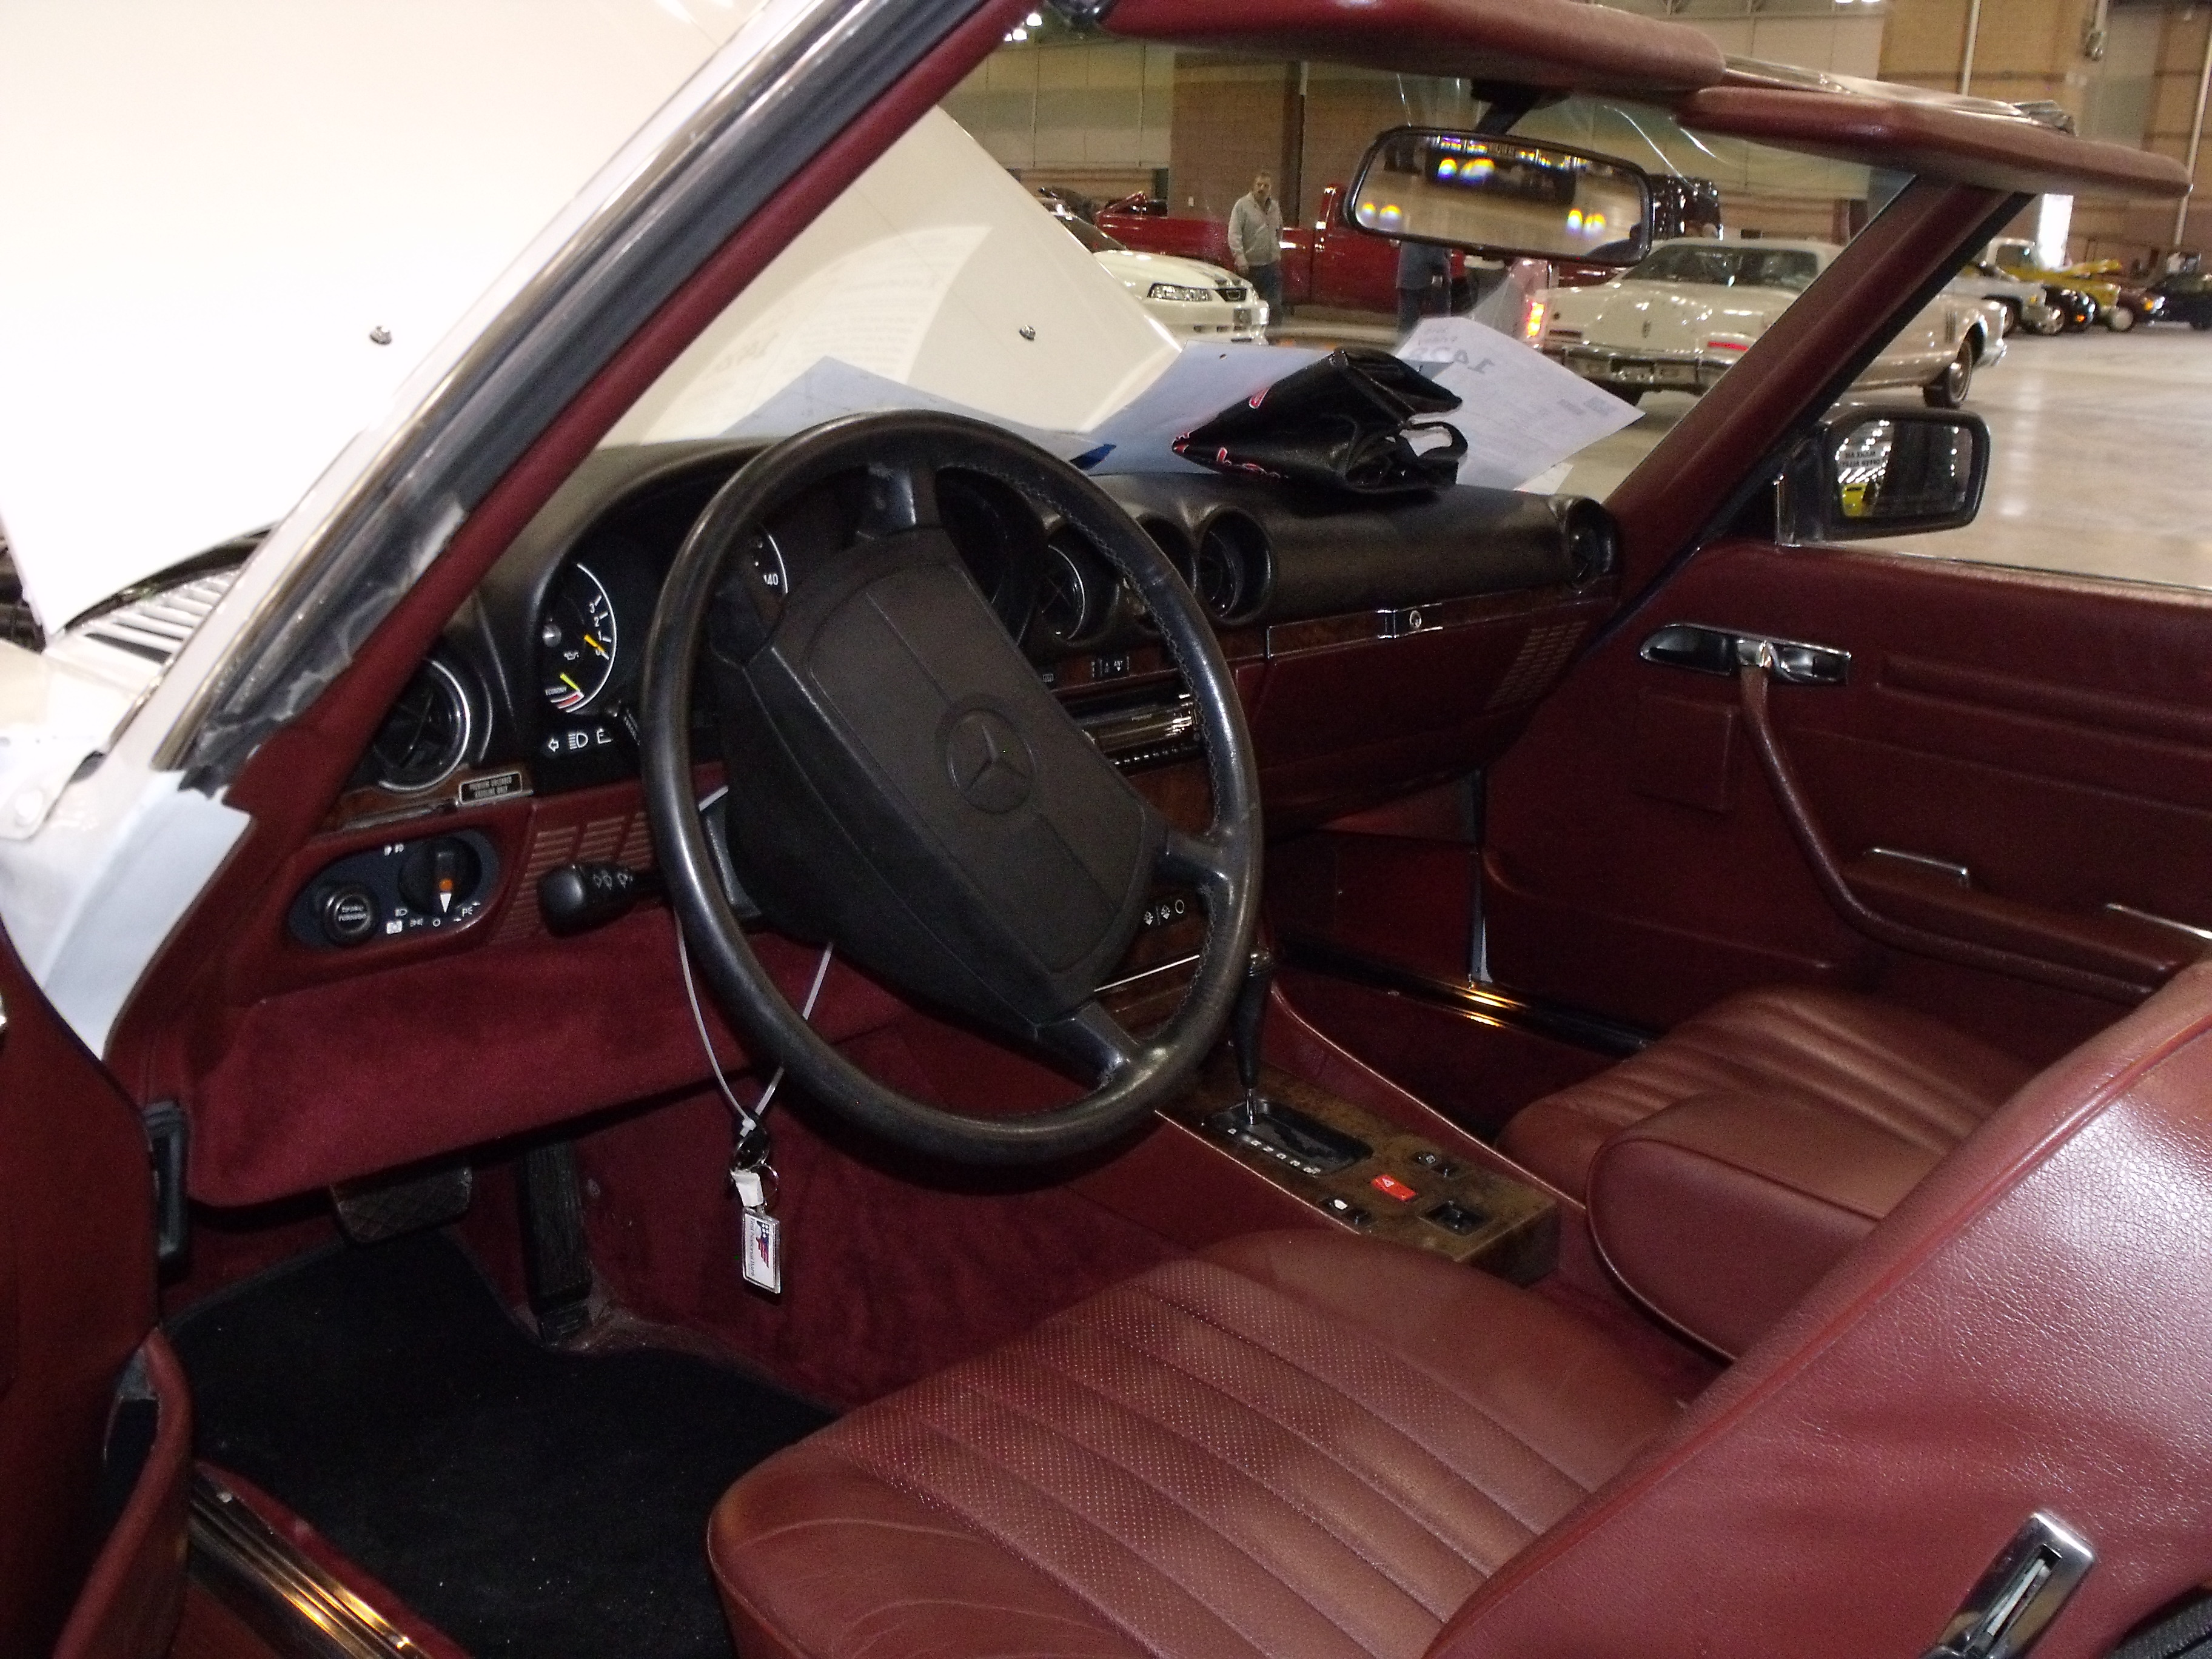
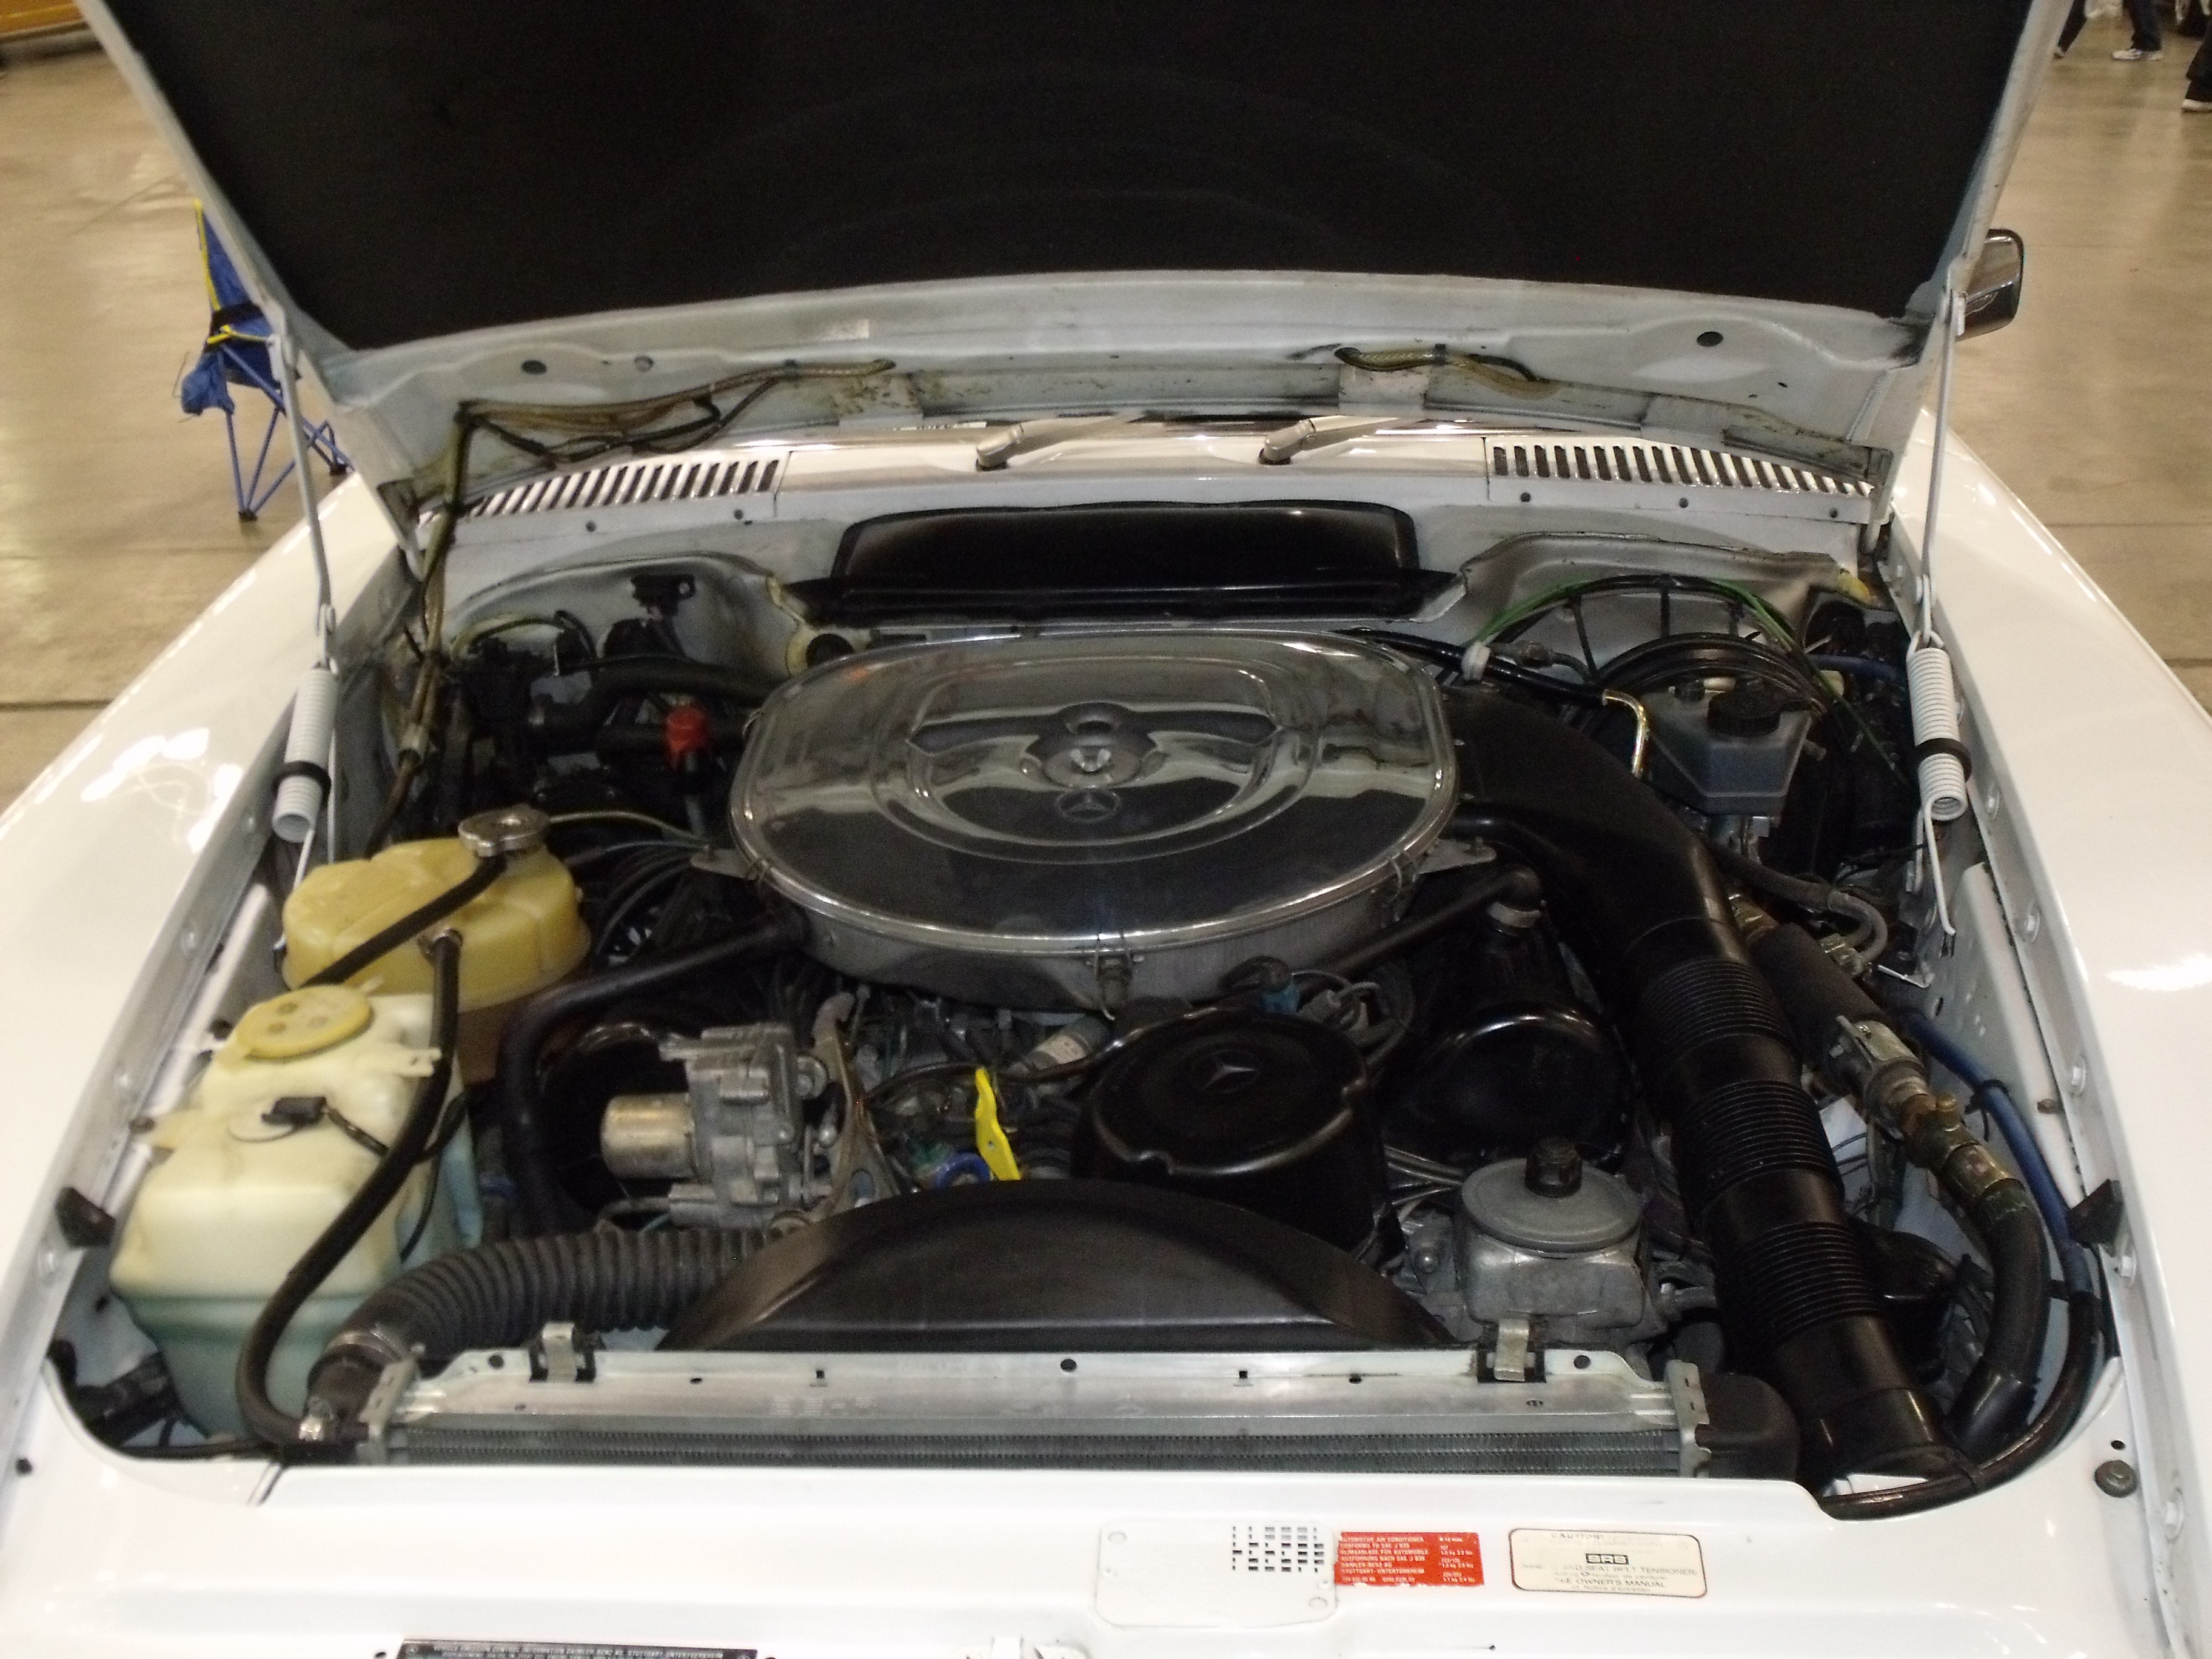
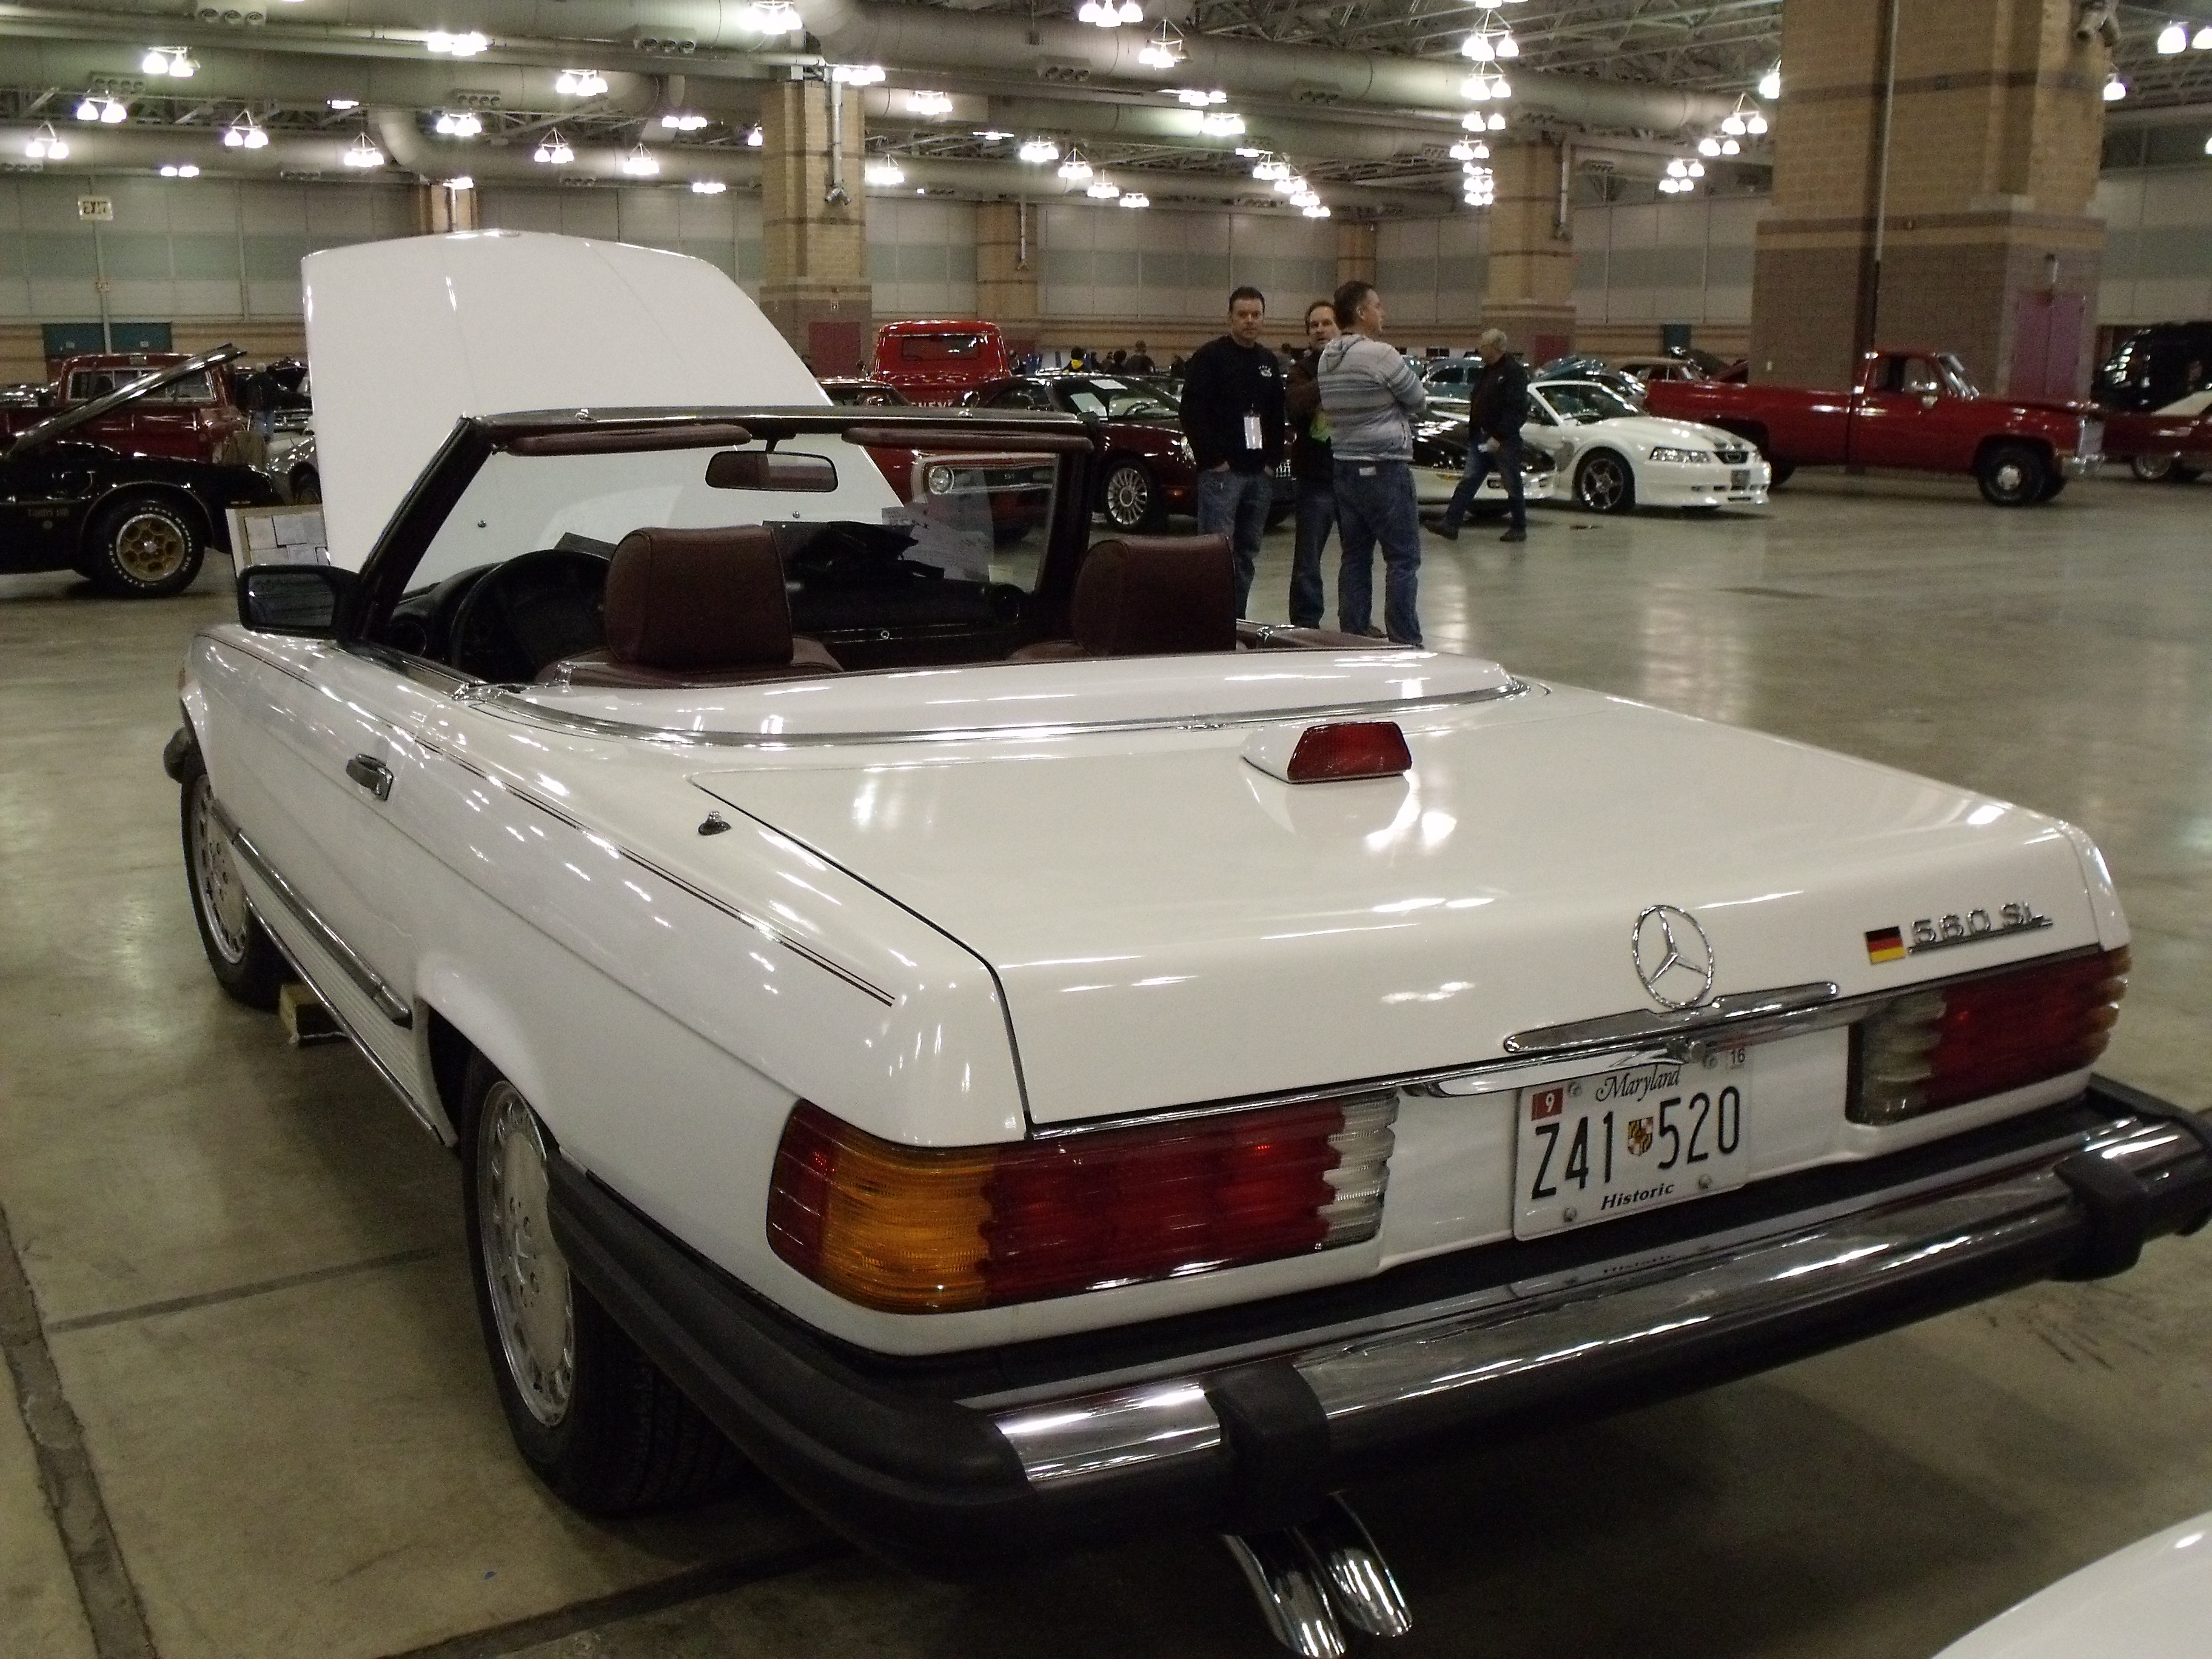
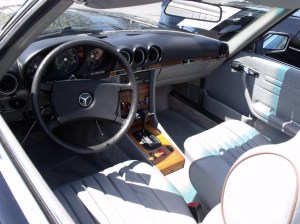
Lot #F339, 1983 Mercedes Benz 380 SL roadster, black with gray interior, hard top, sign says mileage is 50k. Sign also says light blue interior which is wrong. Straight body, aftermarket fog lights, exterior bright work dull, Benz alloys look scruffy, black paint shows every wash/wipe/buff mark. Interior good except for driver’s seat with blue pen marks. Car looks no better and no worse than any other of the dozens of 70s-80s era SLs for sale. Sold for a bit of a steal considering mileage, as many of these cars have over 100k on them. A good detail will do it wonders.
CONDITION: 3-
SALE PRICE/HIGH BID: $7,500 SOLD
PRICE BOOK RANGE: $7,000-16,000 (Sports Car Market)


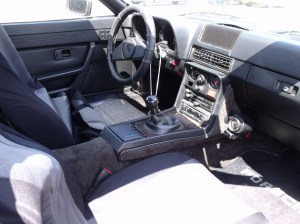
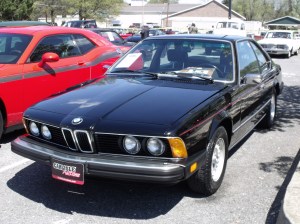
Lot #F447, 1984 BMW 633 CSi coupe, black on black, 80k original miles, sunroof, automatic. BMW alloys. Black looks well maintained but still shows swirl and buff marks. Trunk roundel chipped, aluminum bumpers dull and scratched. Clean underhood. Sold near mid-price guide number, should provide many more enjoyable miles.
CONDITION: 3+
SALE PRICE/HIGH BID: $5,250 SOLD
PRICE BOOK RANGE: $3,700-7,600


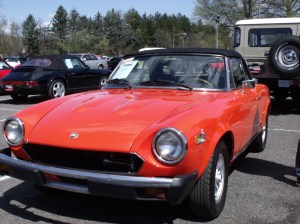
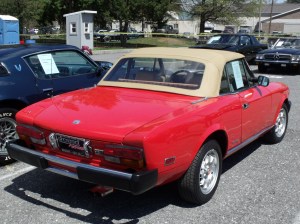
Lot #F434, 1984 Fiat 2000 spider, badged as Pininfarina, 47k original miles, red, tan top and interior. Fiat alloy wheels, Repaint looks quality and shines up well. Little to fault on exterior. Sign on car claims original interior and chrome, new tan top. Interior very clean. Overall very attractive presentation. Really good Fiat spiders are gaining traction, as witnessed here with this result.
CONDITION: 2
SALE PRICE/HIGH BID: $9,300 SOLD
PRICE BOOK RANGE: $6,800-16,000 (CPI)

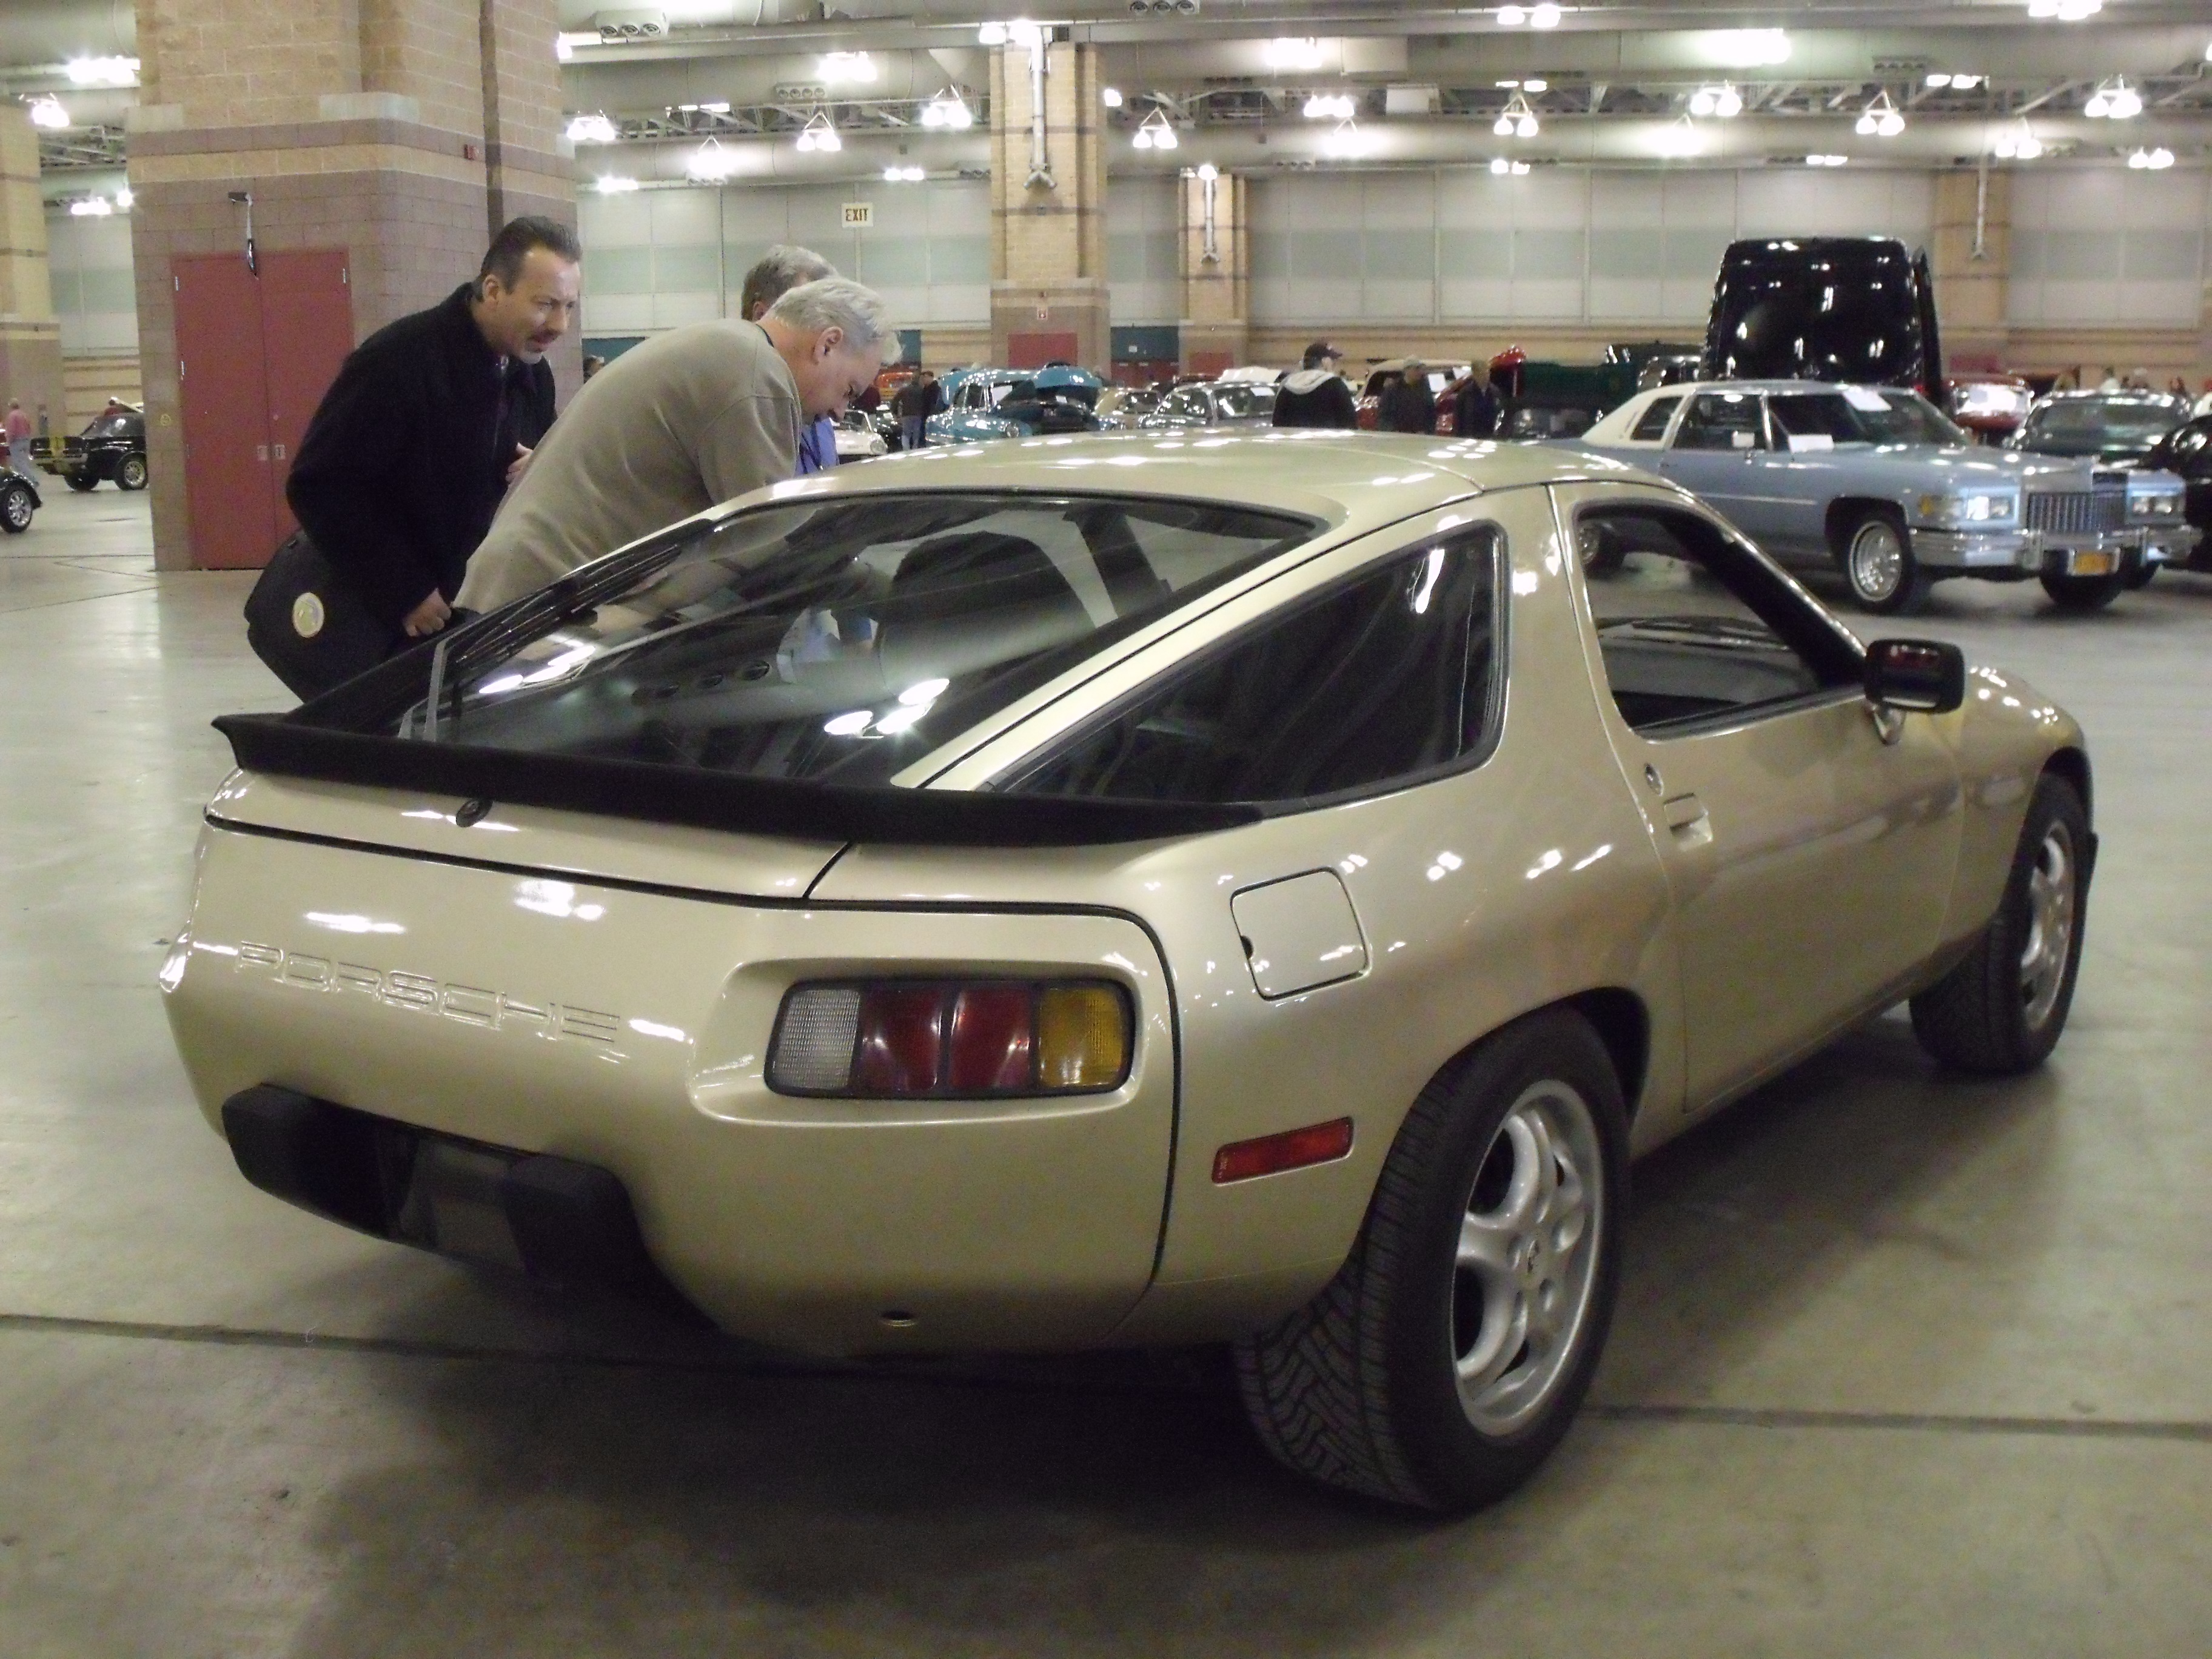
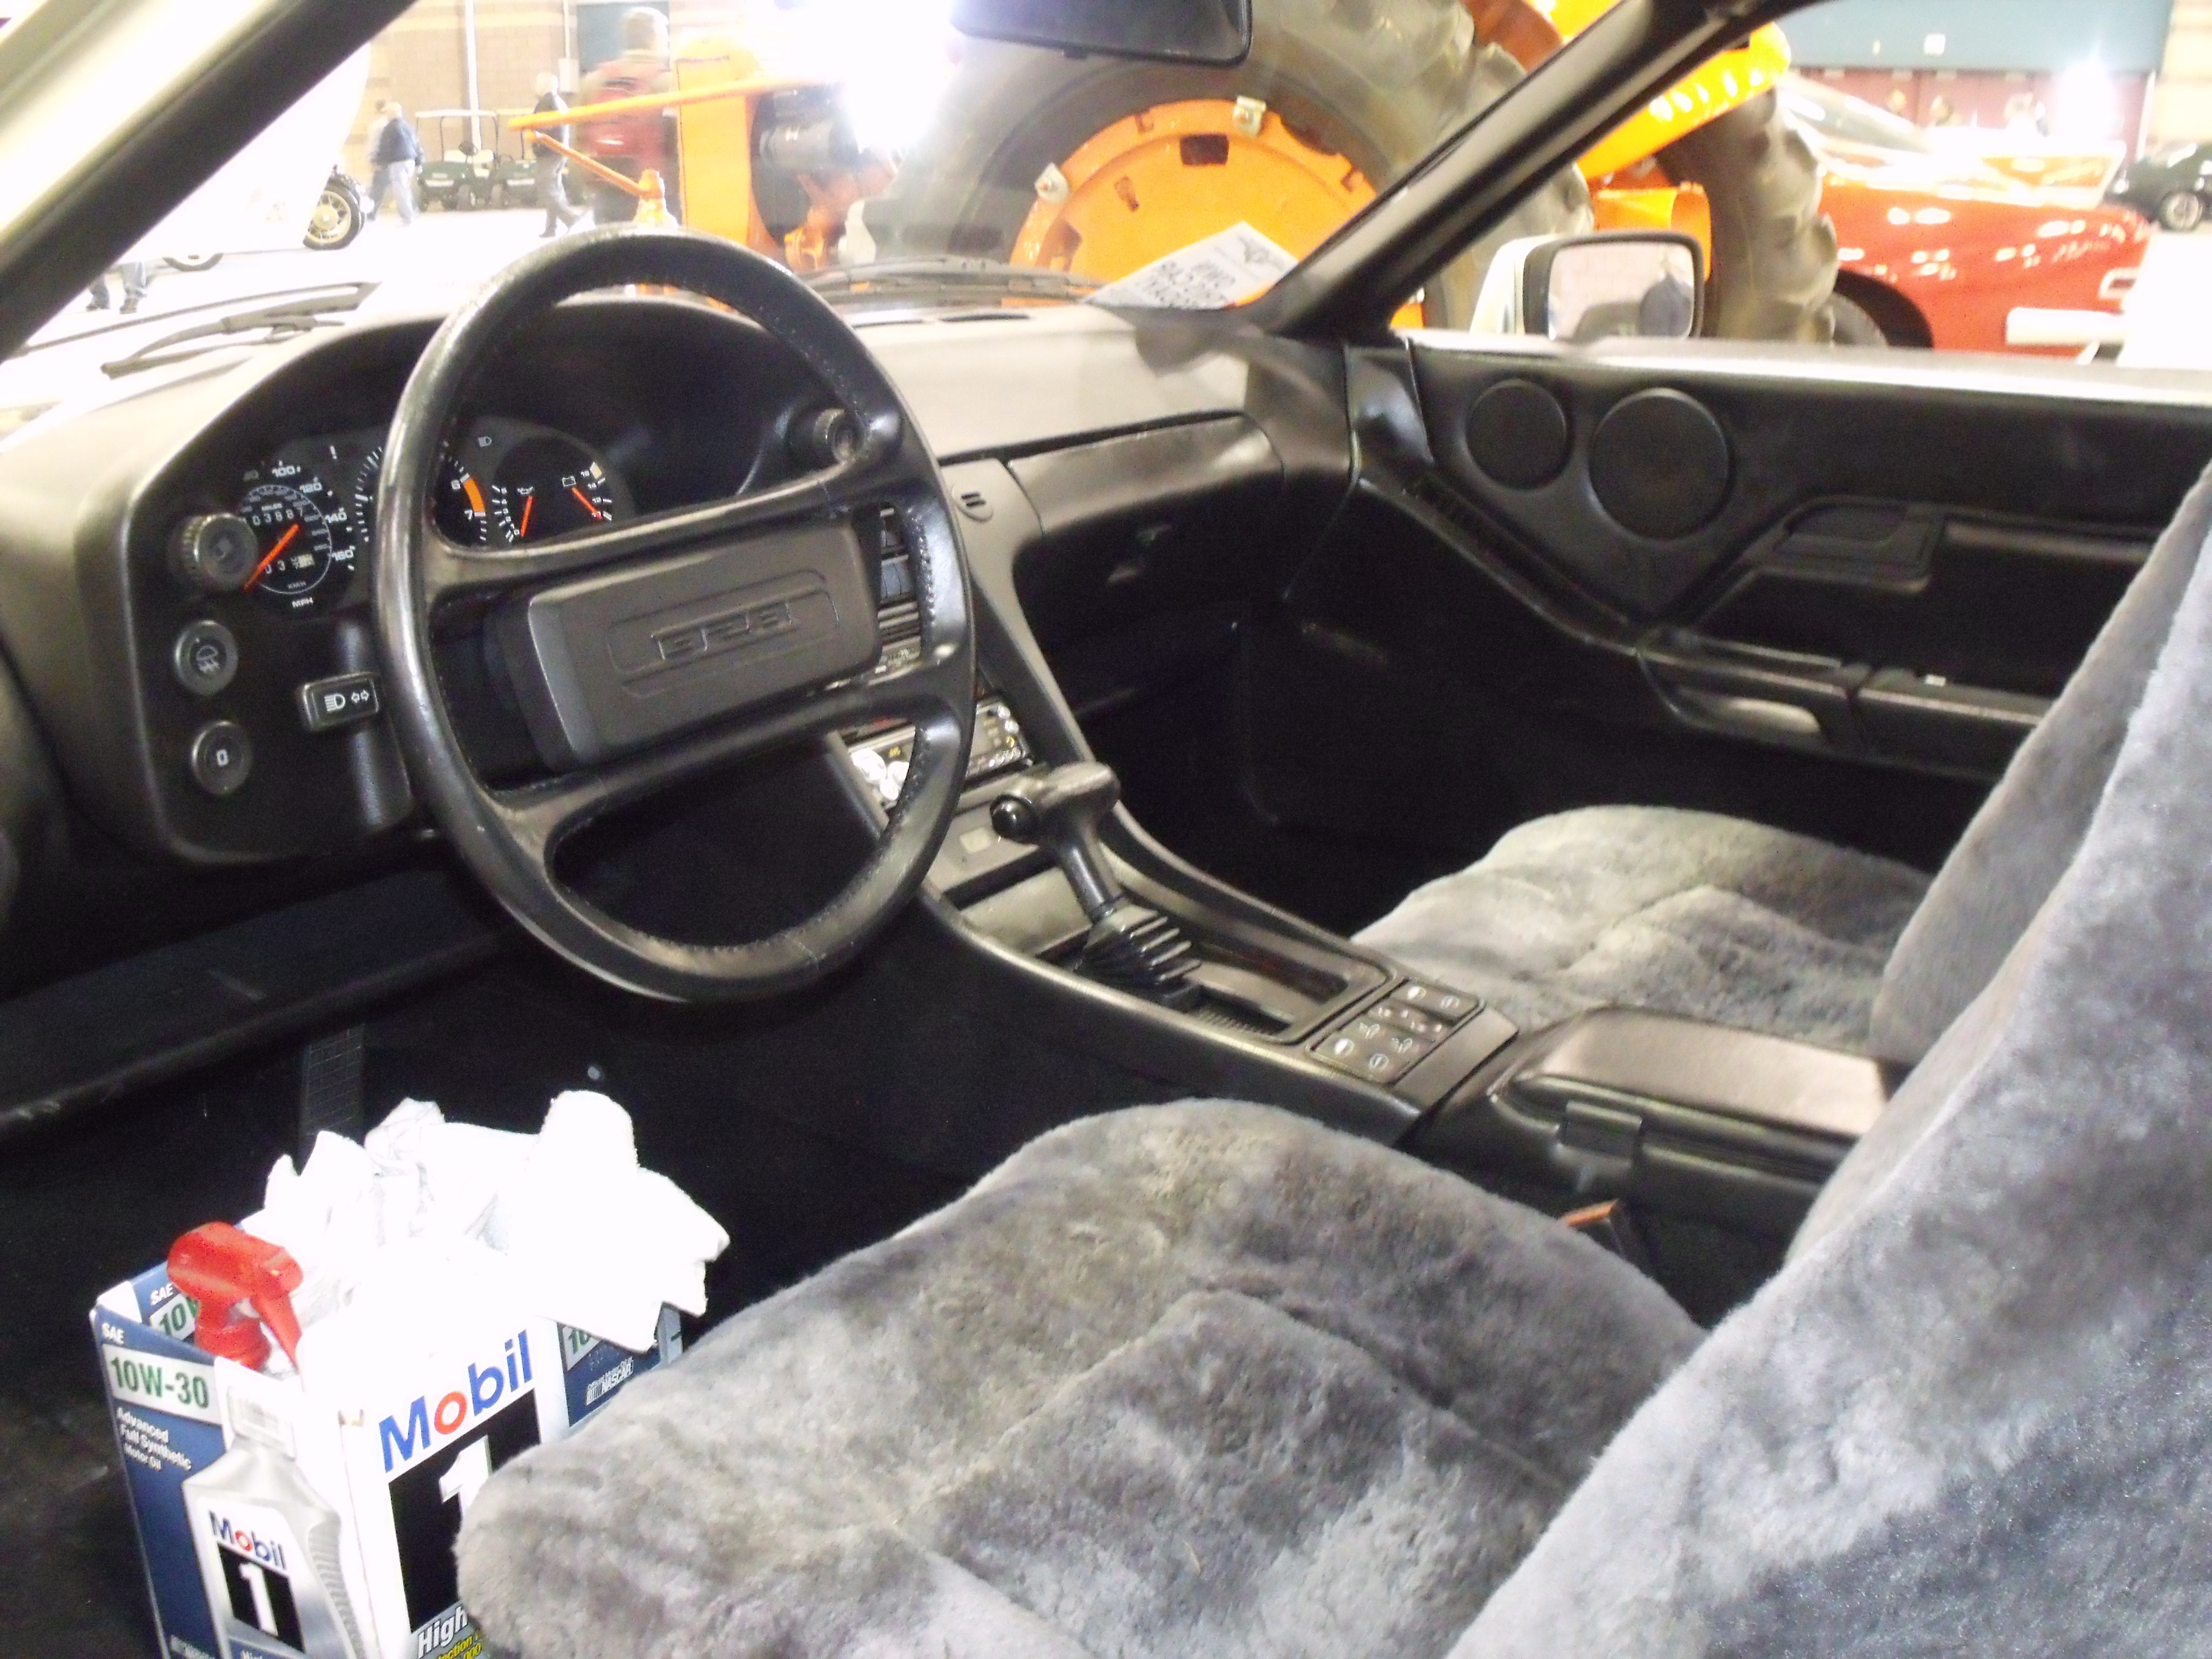
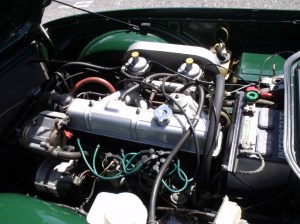
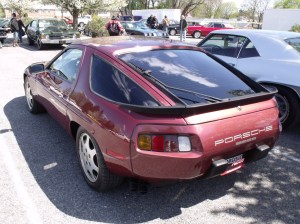
Lot #F402, 1986 Porsche 928 S4, automatic, 155k miles, garnet red metallic with brown leather interior. Car looks clean for mileage. No sign of overspray, could be well maintained original paint. Factory sunroof. Interior likewise appears like a good used car with no signs of typical 928 interior breakdown. Sign claims one owner car. Car appears more like an example with half the miles. Mileage did not scare away bidders. Only question is what maintenance and repairs are in the immediate future.
CONDITION: 3+
SALE PRICE/HIGH BID: $6,900 SOLD
PRICE BOOK RANGE: $9,700-19,000 (CPI)


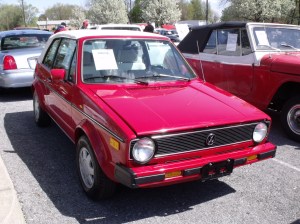
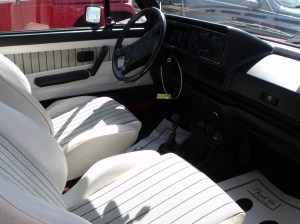
Lot #F451, 1987 VW Cabriolet, bright red, white top, white pinstripe cloth interior, stick shift. Mileage is 86,736. Exterior looks sharp as does interior. Sign says original paint and miles. As clean as the exterior and interior are, the engine compartment is a disaster. A valve cover repaint and power wash would transform it. Air cooled VWs are hot, water cooled VWs are not. This “chick car” has long been ignored in the marketplace except by a few who correctly see it as inexpensive top-down fun. Sold well above high price guide number, likely due to overall presentation. Most of these Cabrios are shot by now.
CONDITION: 2-
SALE PRICE/HIGH BID: $6,200
PRICE BOOK RANGE: $2,300-4,600 (CPI)


Lot #F401, 1999 Jaguar XK8 roadster. Red, tan top, ivory interior. Chrome wheels. Automatic. Looks like a clean 15 year old used car (meant as a compliment). Mileage is 79,258. Driver’s seat has some leather cracking and wear, but still serviceable. Sign claims upgraded stereo and heated seats. At this sale price (10% of its MSRP), car could be a daily driver AND a weekend cruise night car.
CONDITION: 2-
SALE PRICE/HIGH BID: $7,500 SOLD
PRICE BOOK RANGE: $10,000-14,000 (CPI)


All photographs copyright © 2015 Richard A. Reina. Photos may not be copied or reproduced without express written permission.