In all the years I’ve been turning wrenches on cars as both a professional and a hobbyist, I’ve had plenty of successes and more than a few botched repairs, probably about the same as anyone else with my experience. While I’m reluctant to refer to myself as a skilled technician, I will acknowledge that I enjoy being the student, and the desire to learn has only grown stronger as I’ve gotten older. Before diving into a project, I’ll research it as much as possible in order to approach the task in a more educated way.
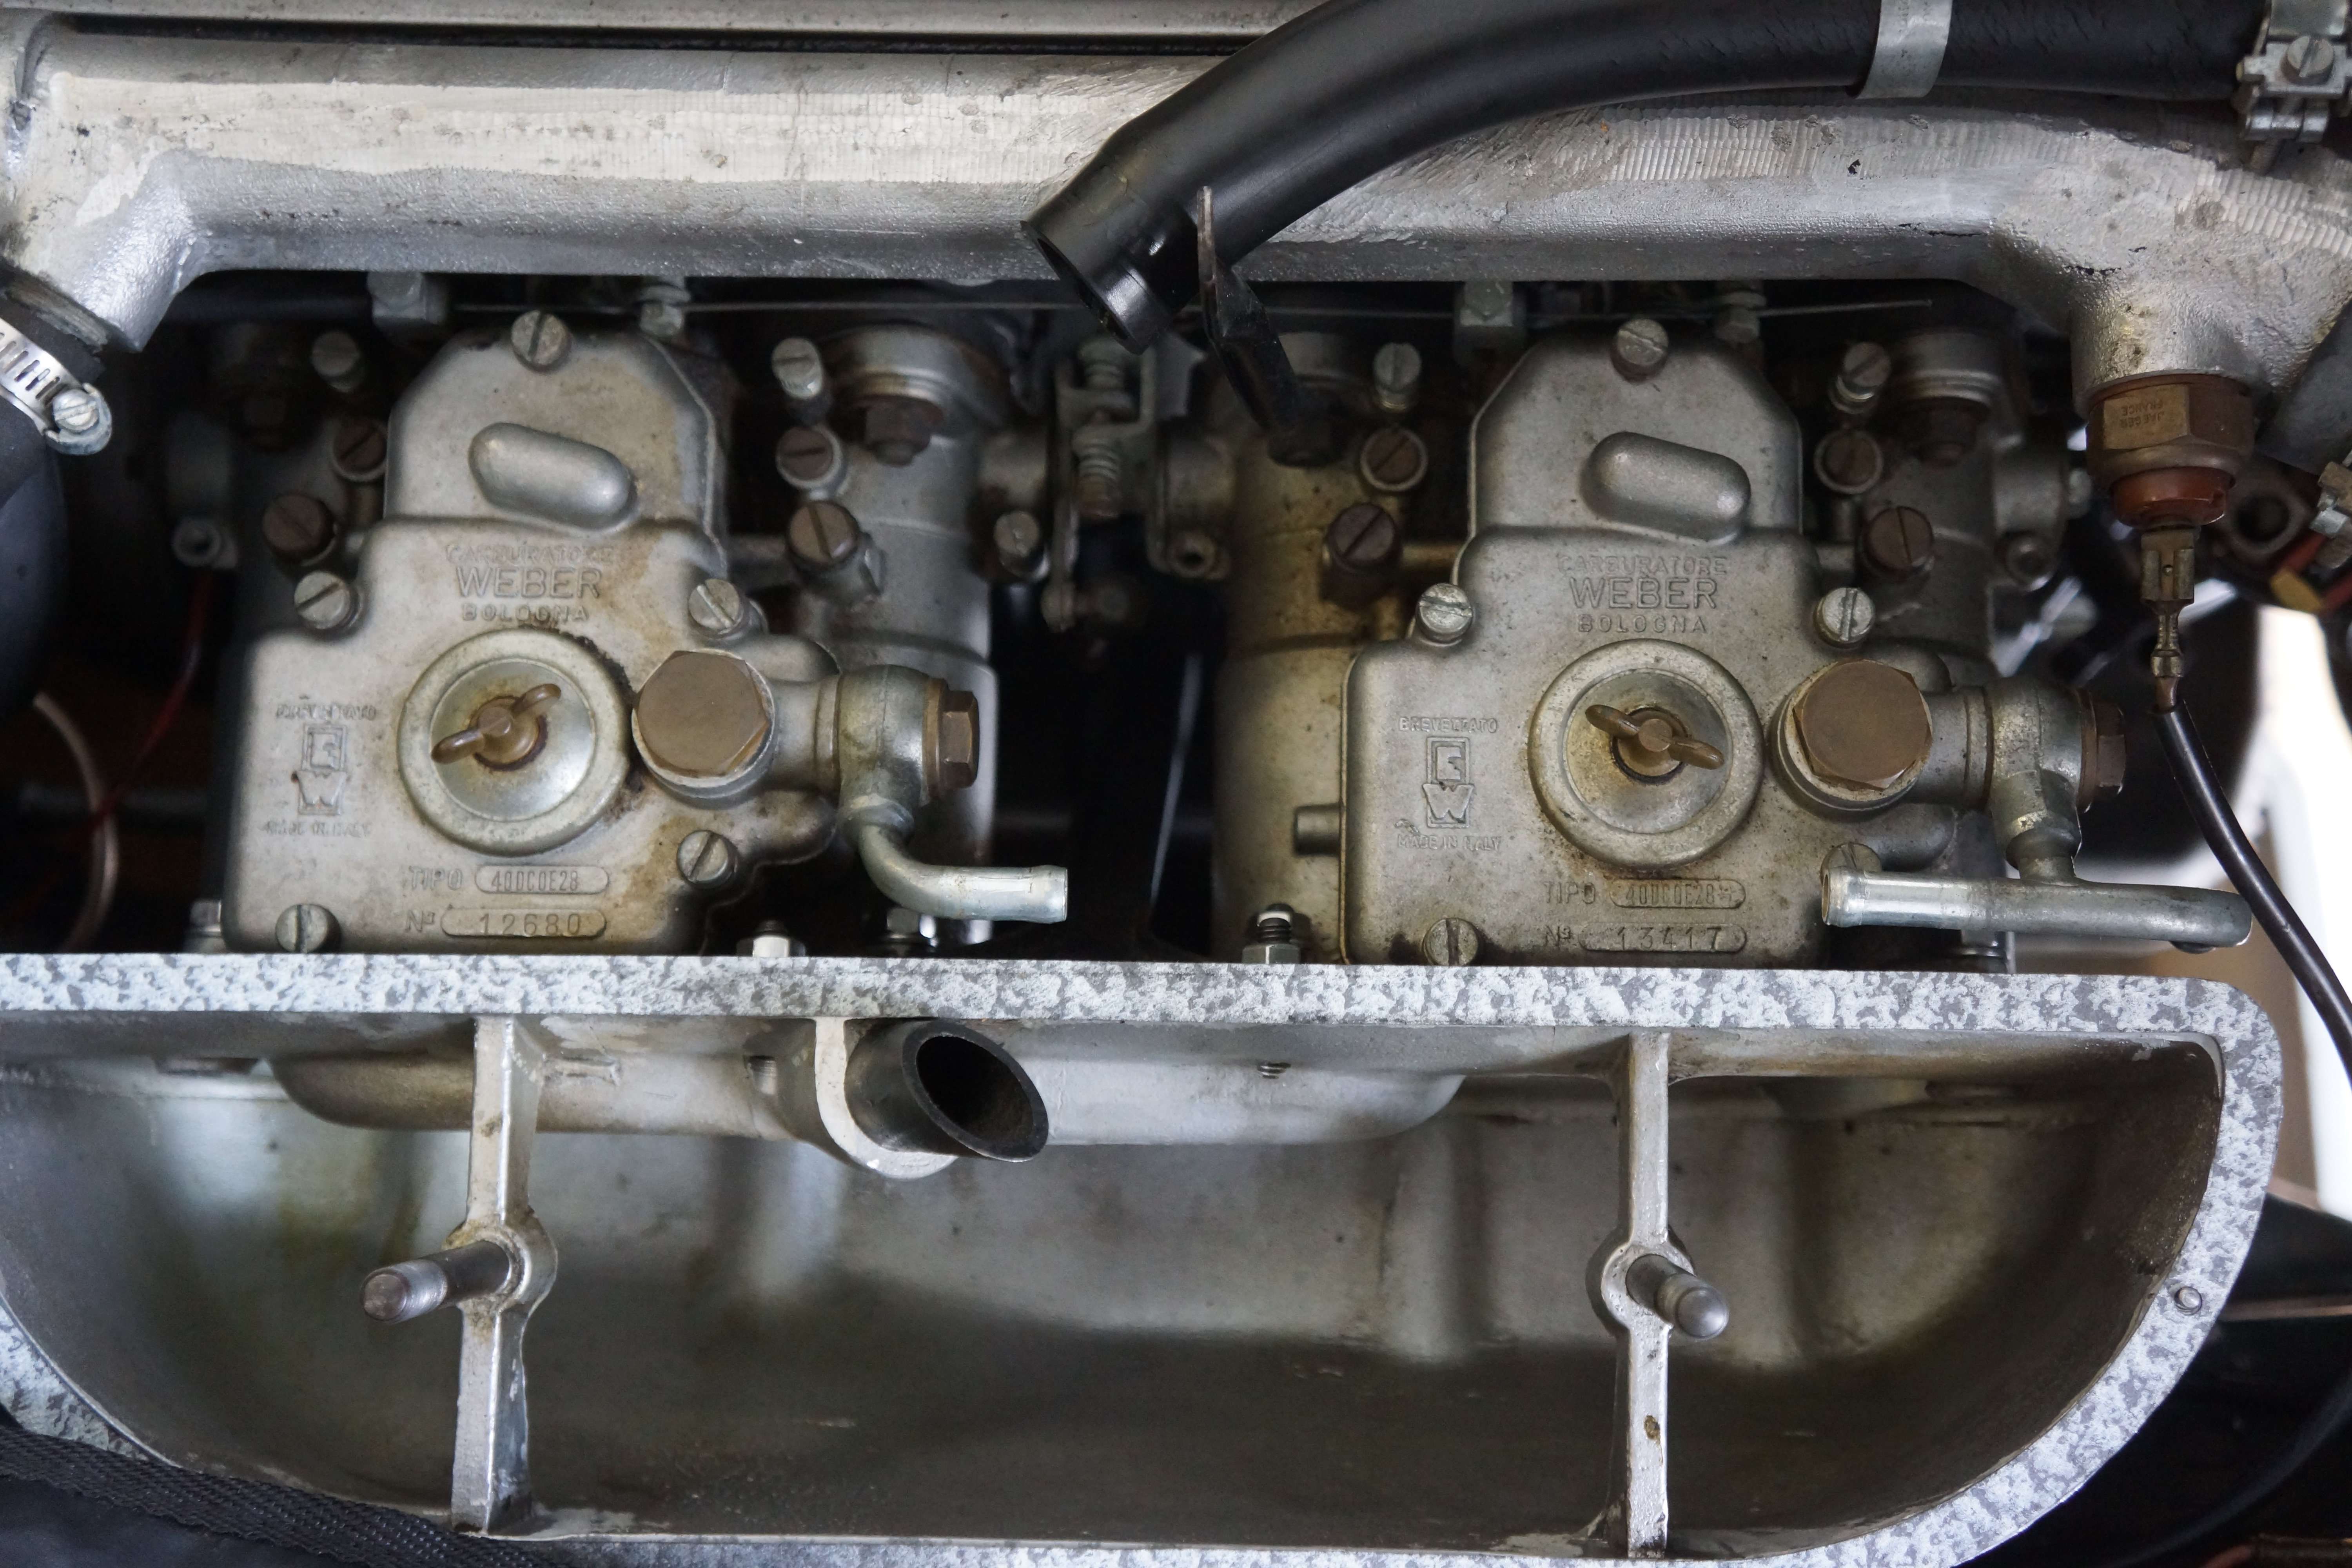
This willingness to go ‘back to school’ as it were paid off when working on the Weber carburetors on my Alfa. In my first blog post on this topic back in early October of this year I said the Webers seemed “unnecessarily complex”. In fact, they really aren’t. The perceived complexity exists in the myriad combinations of different sized jets and deciding whether to replace them. Changing jet sizes up or down can be a trial-and-error process, involving test drives, spark plug examinations, and yet more jet swaps. In my case, there was no need to replace jets, as I was having no related driveability issues. That kind of experimentation becomes necessary when installing Webers on a modified engine, or on a vehicle not originally fitted with them. (One of the best online articles I found re: Weber side draft operation was on a Datsun 240Z website, as these side drafts are a very popular upgrade on that sports car.)
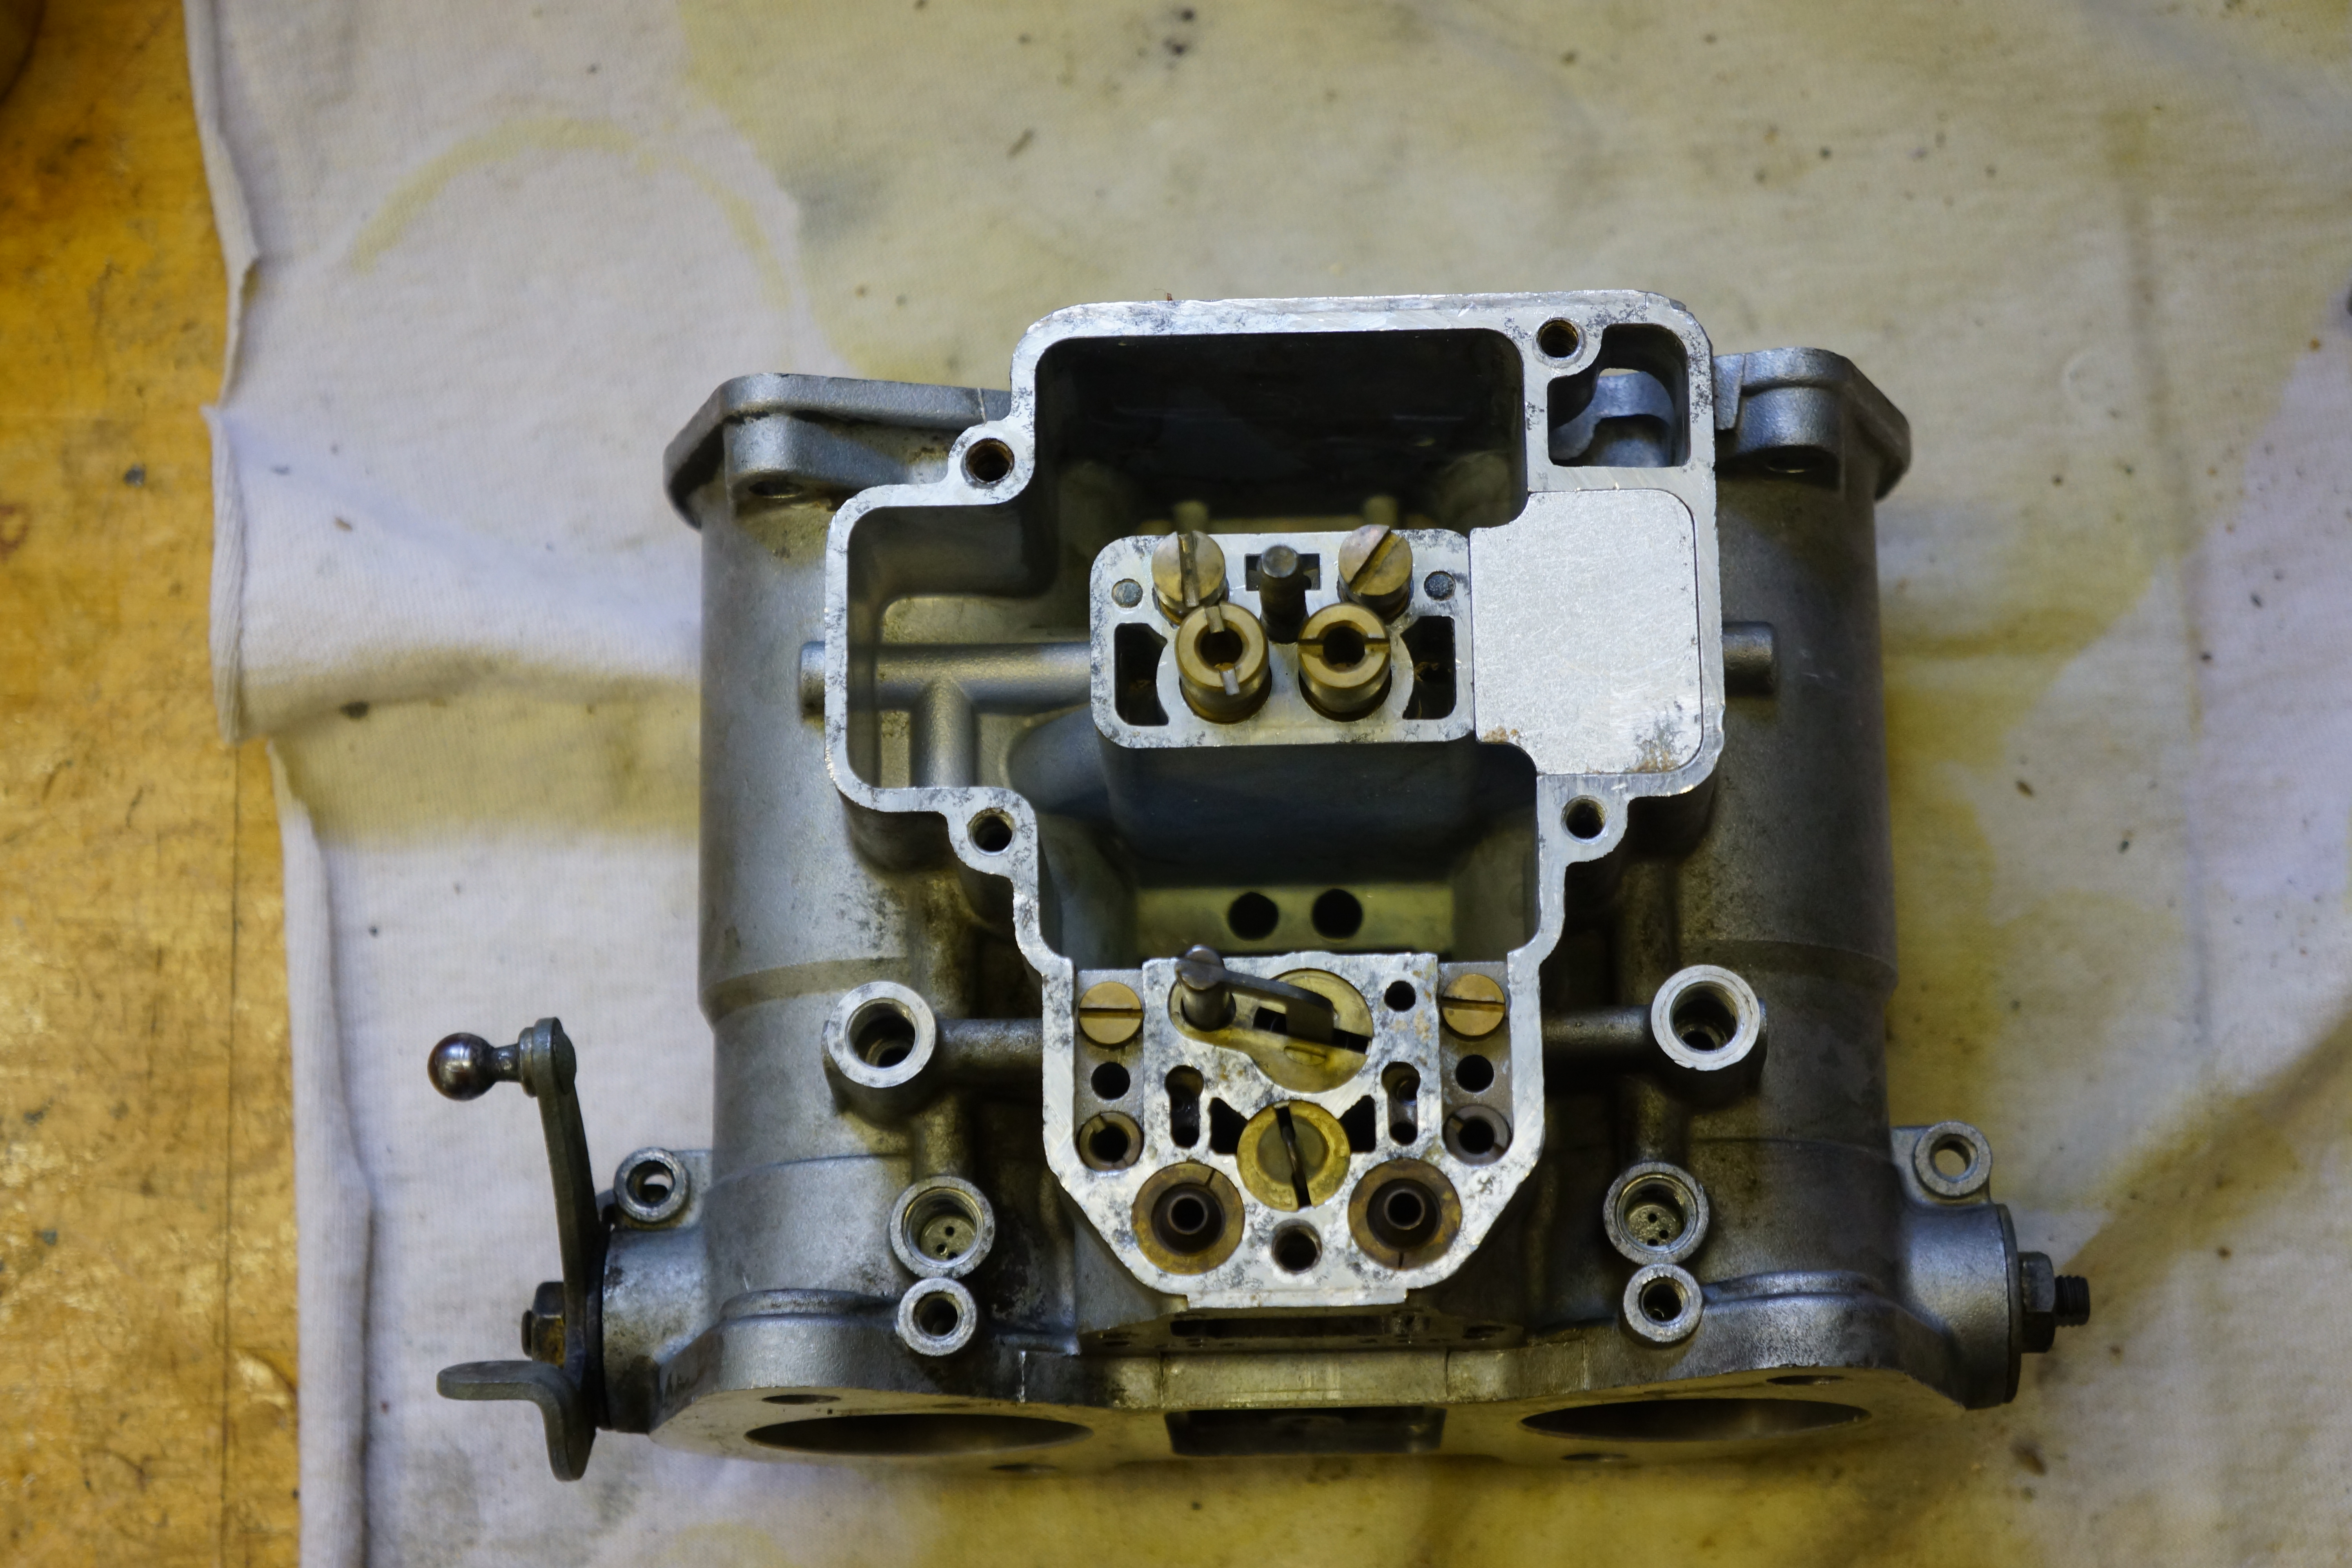
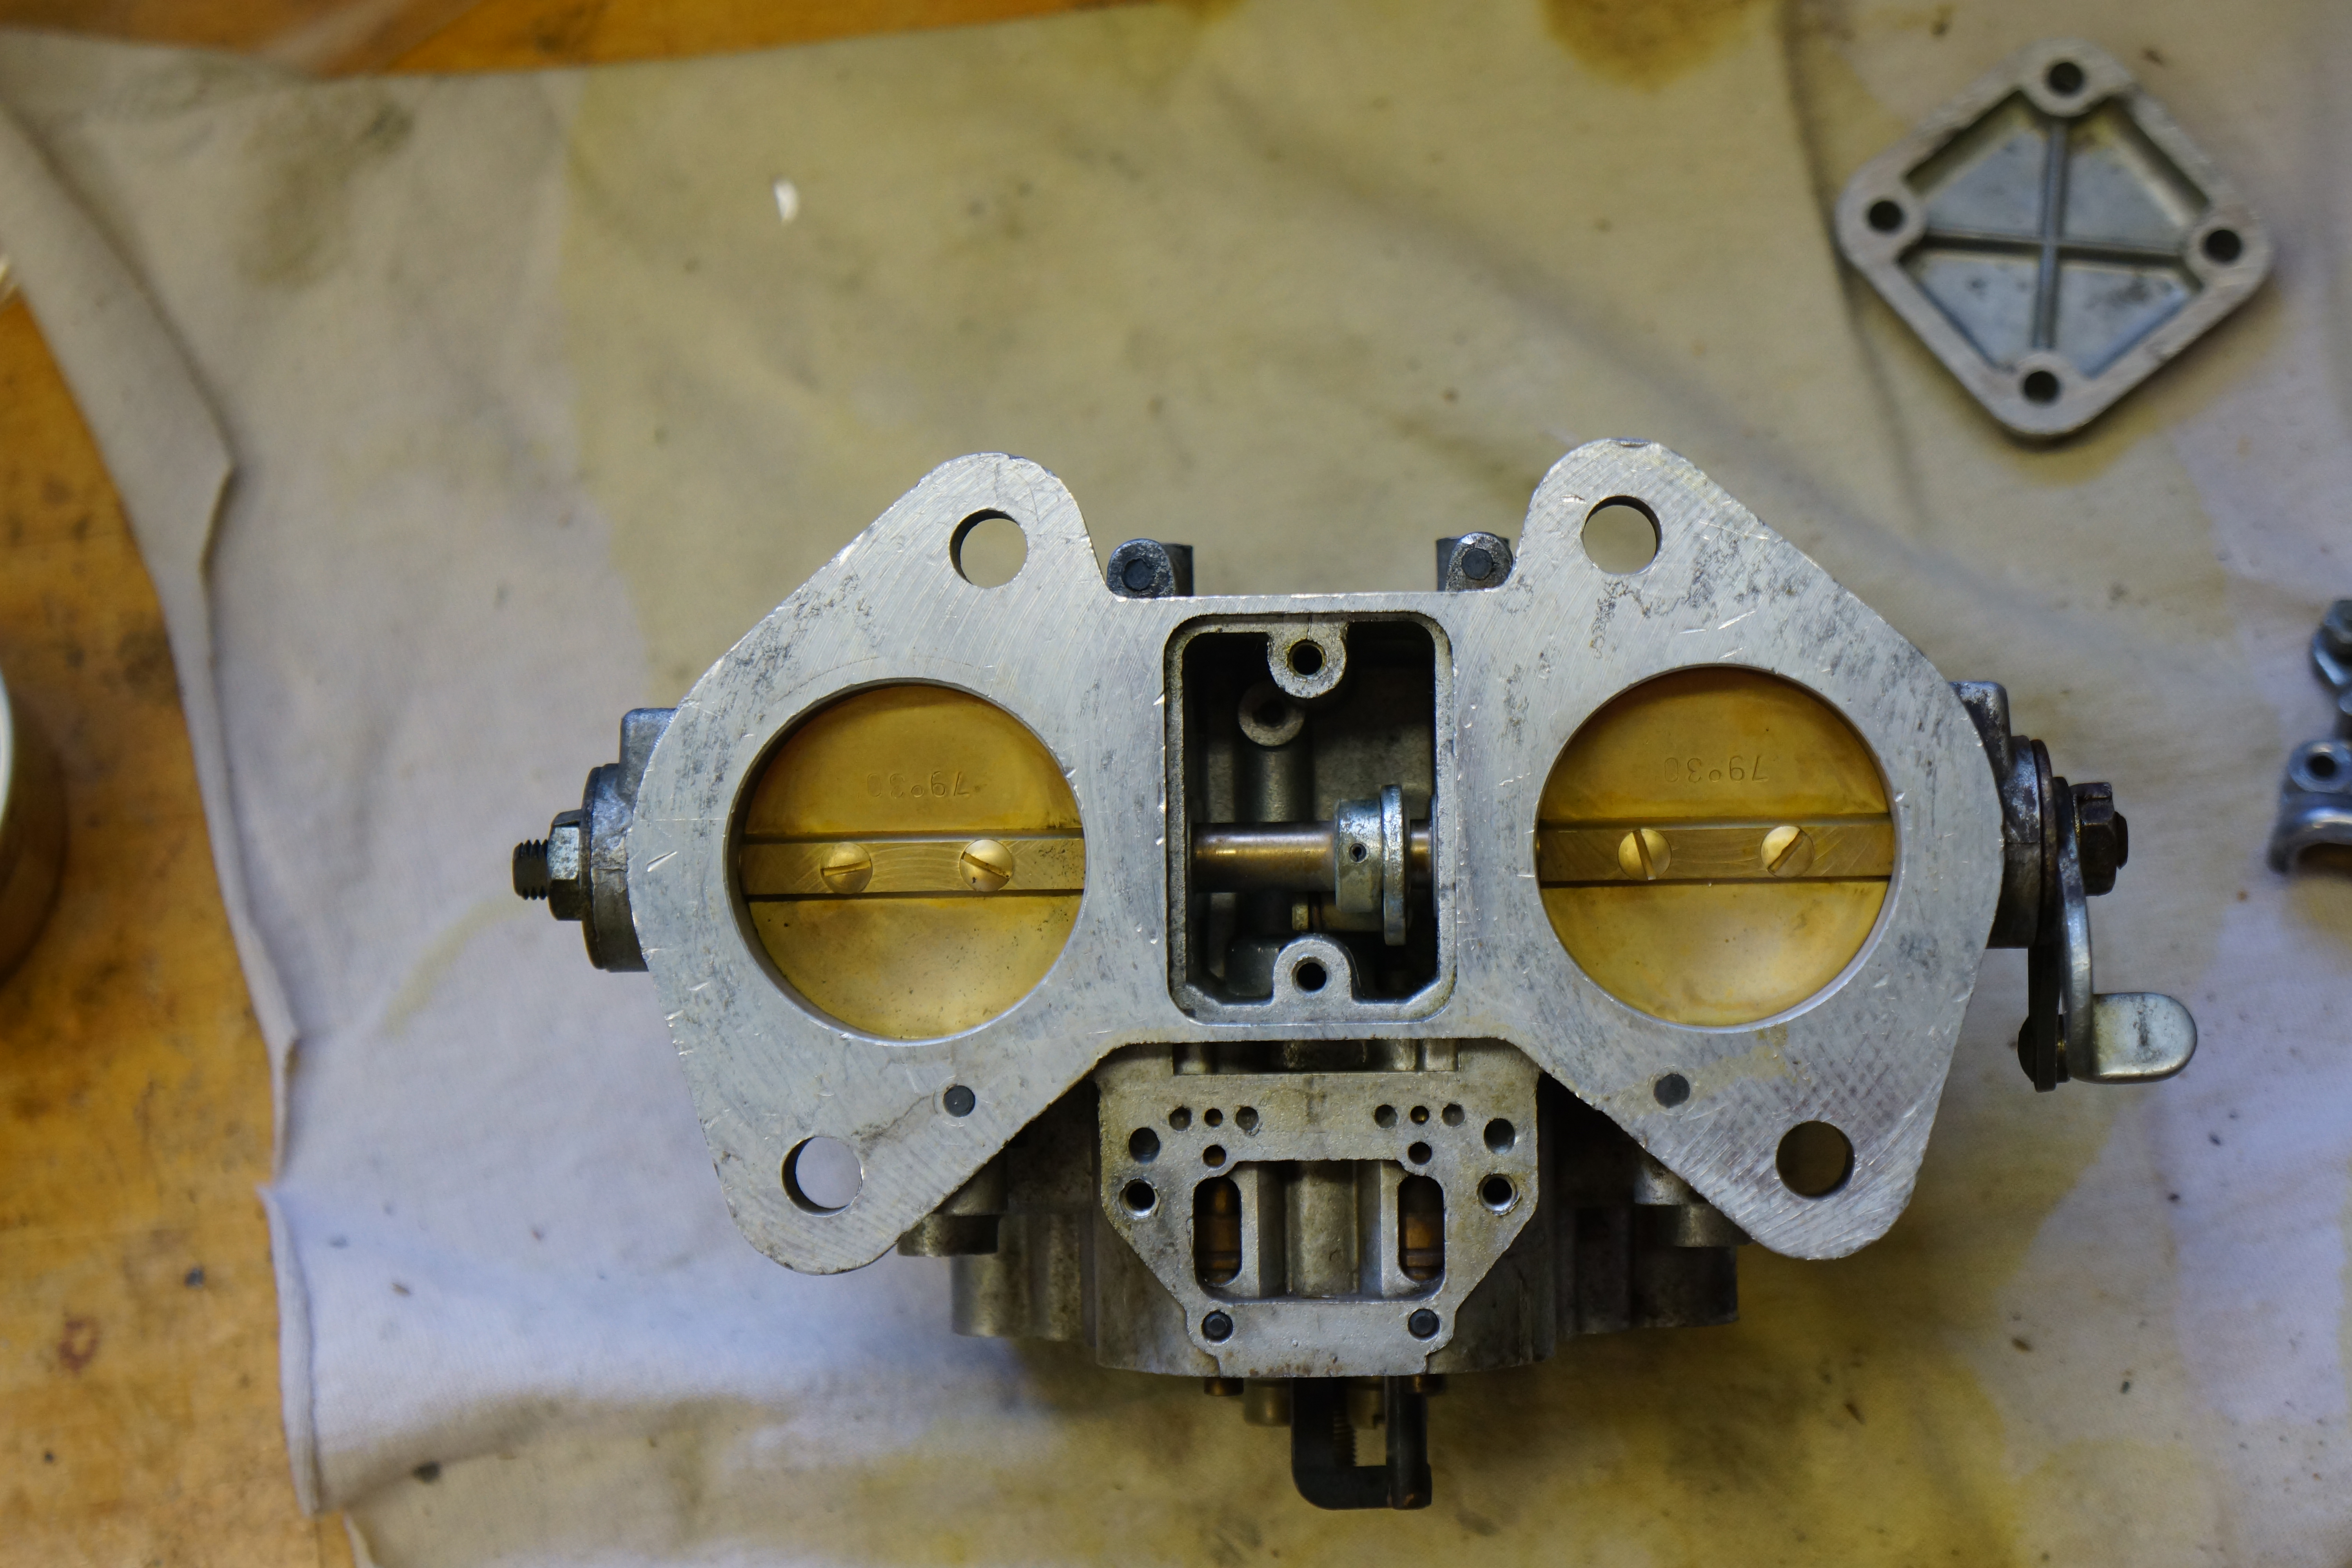
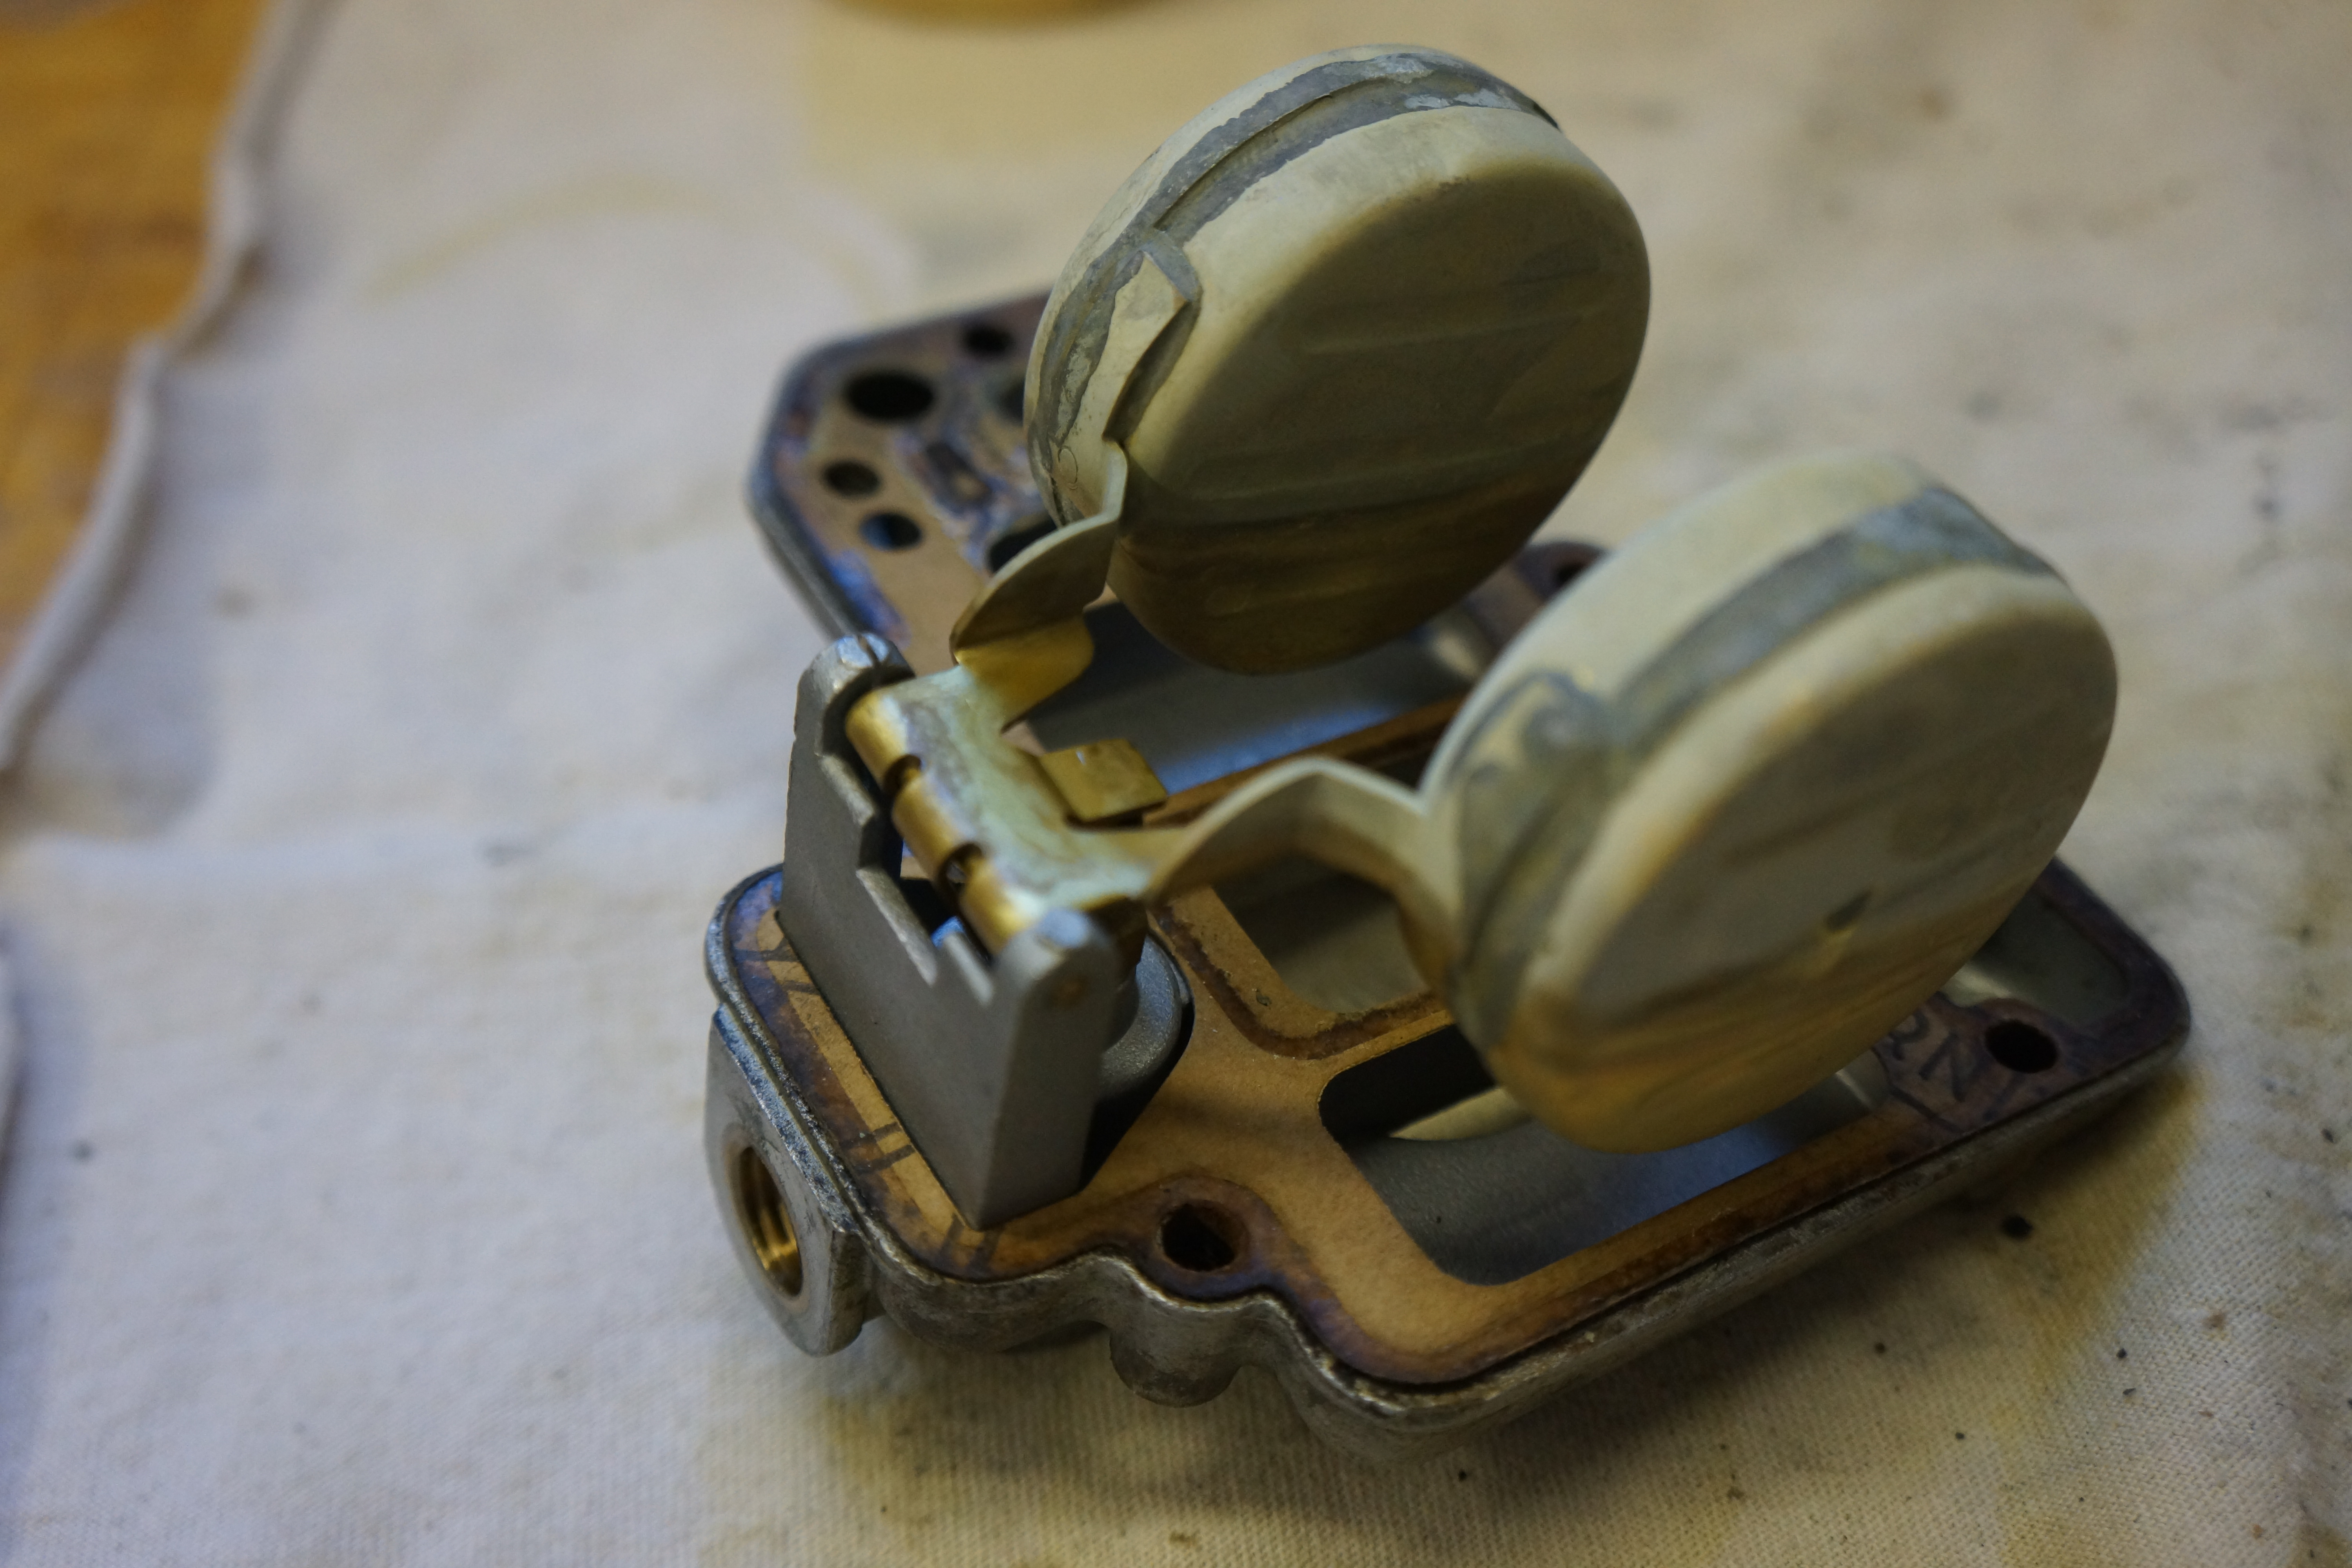
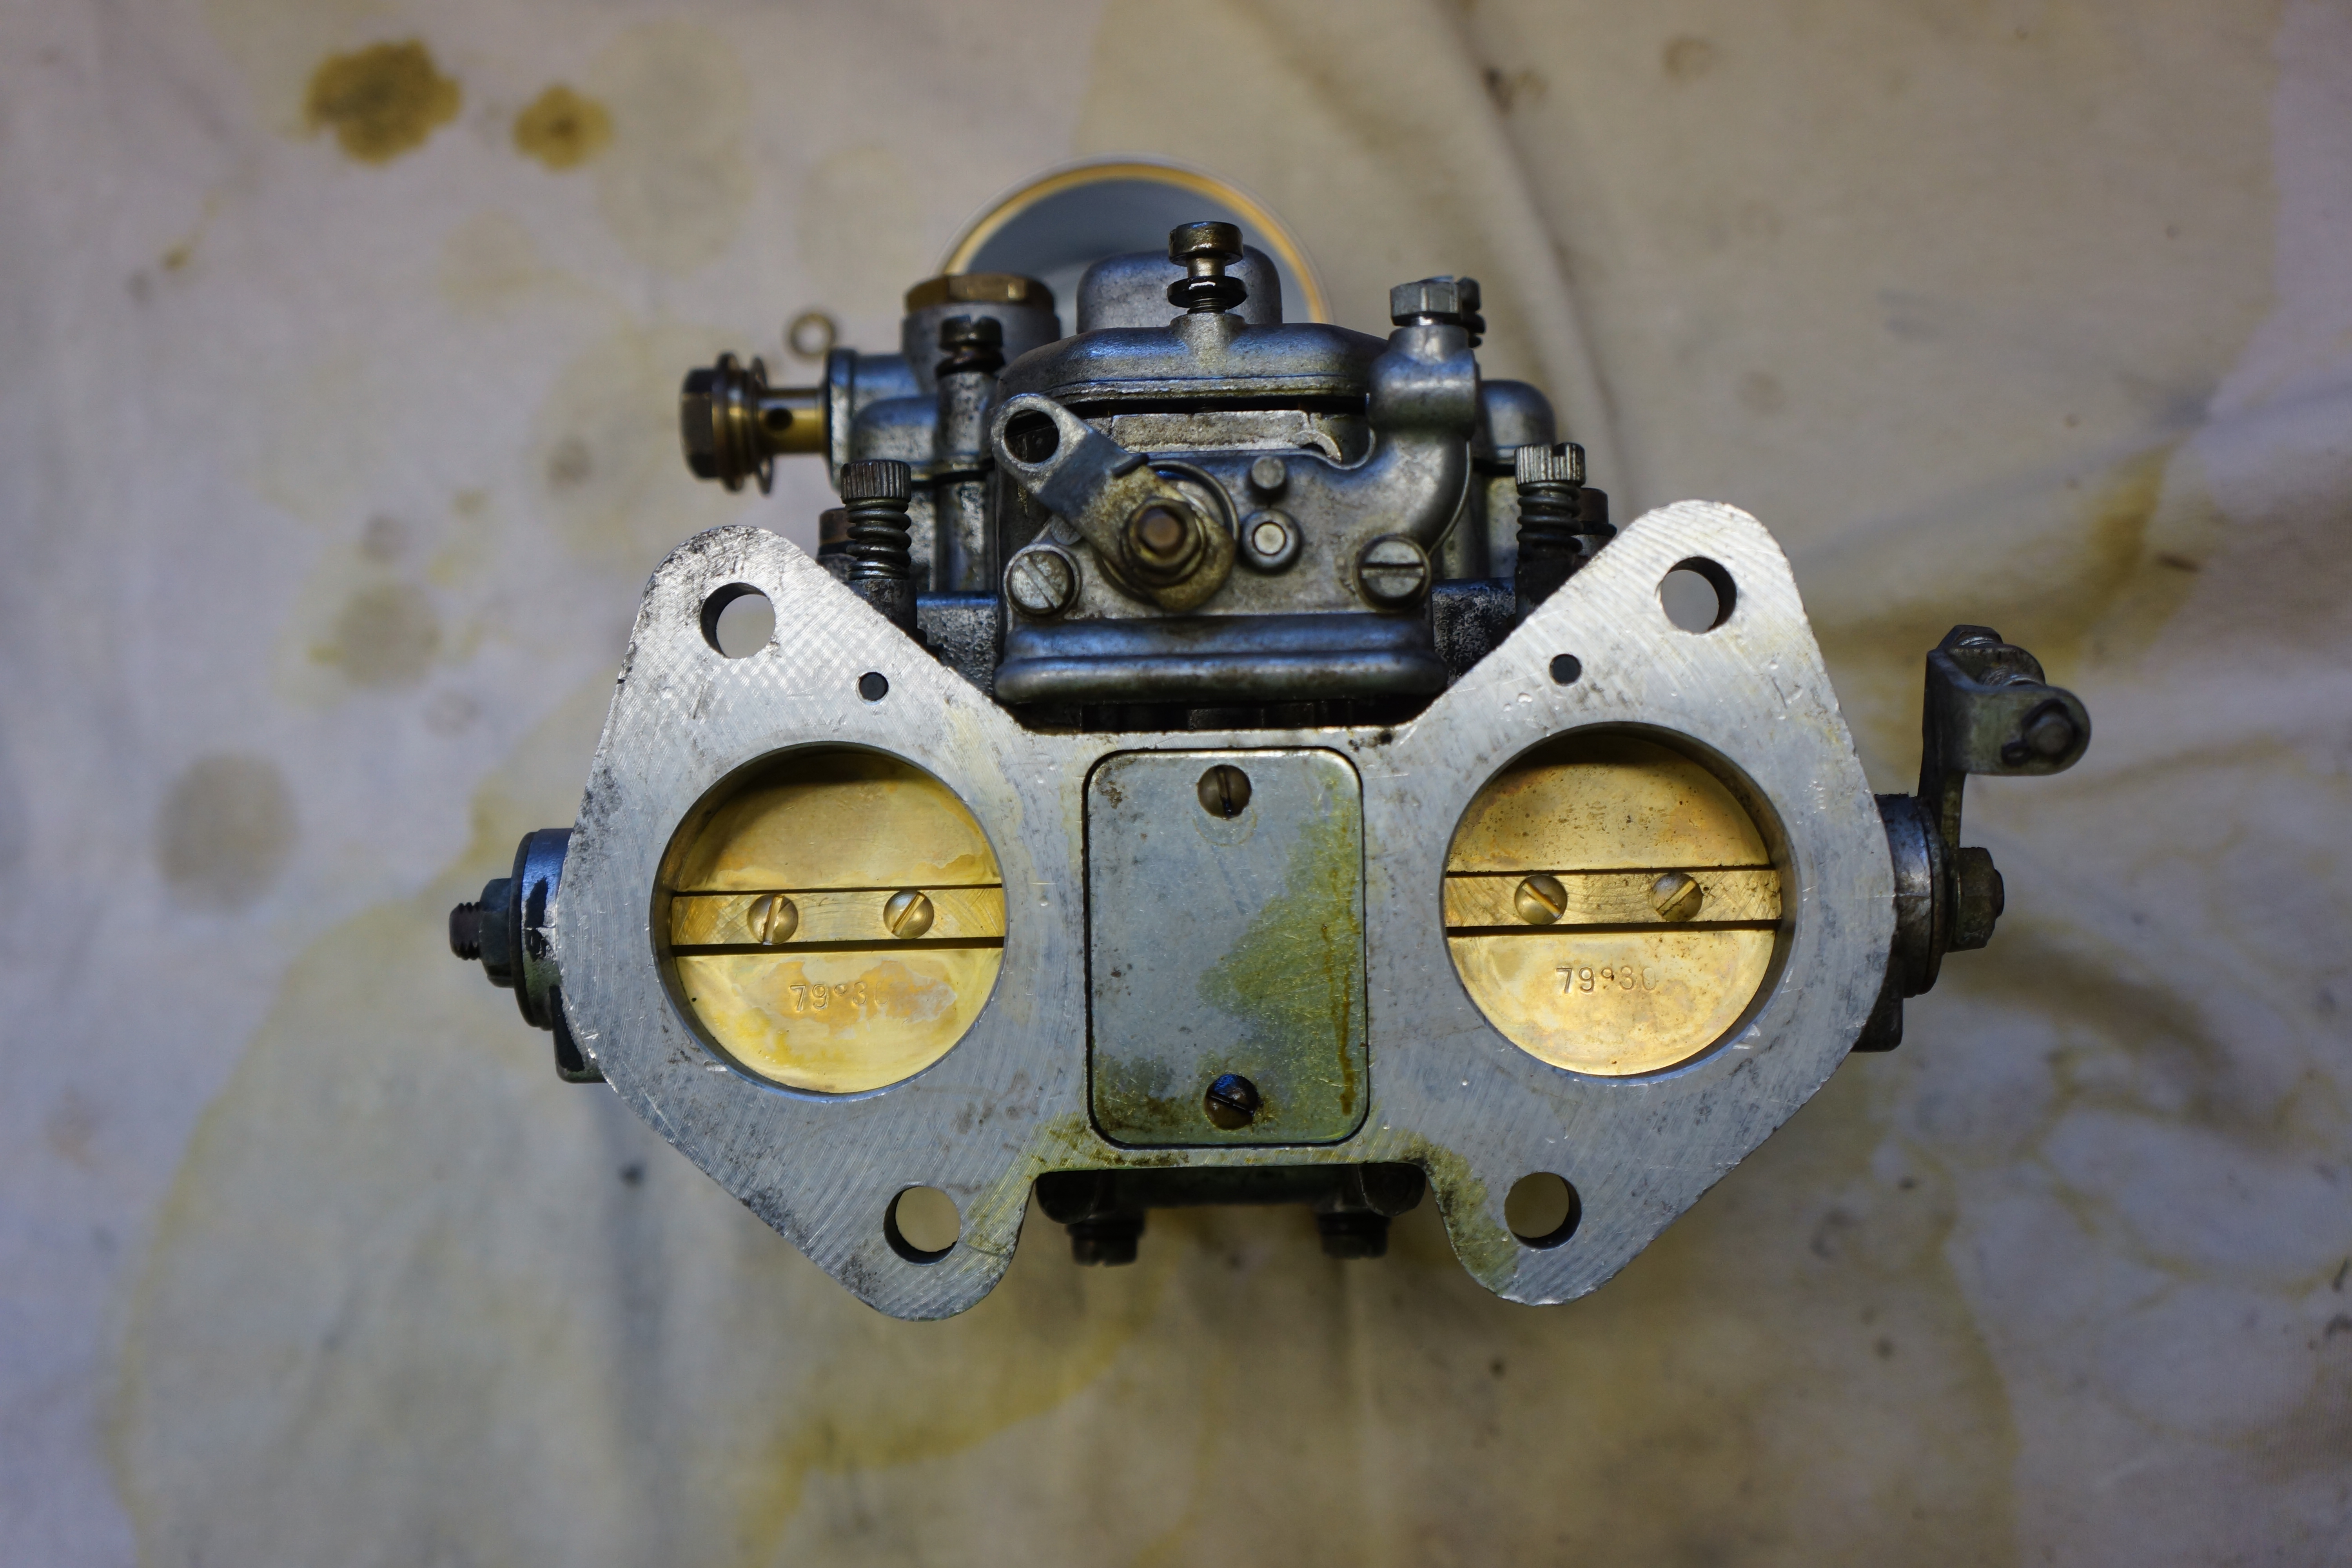
The sole reason for the ‘rebuild’ was to replace leaky seals and gaskets, after which I would need to reset the basic settings. I was using no fewer than four different Alfa Romeo / Weber service manuals, and while there were some slightly different approaches among the four, they all agreed on the basics. Those basics were: Remove the top, side, and bottom covers (note that the float is attached to the top cover). Do NOT remove the jets, throttle plates, or throttle shaft. Clean out the carburetors. Set the float height. Reassemble the carbs with new seals and gaskets. Reset the idle air/fuel mix, the carb synchronization, and the engine idle.
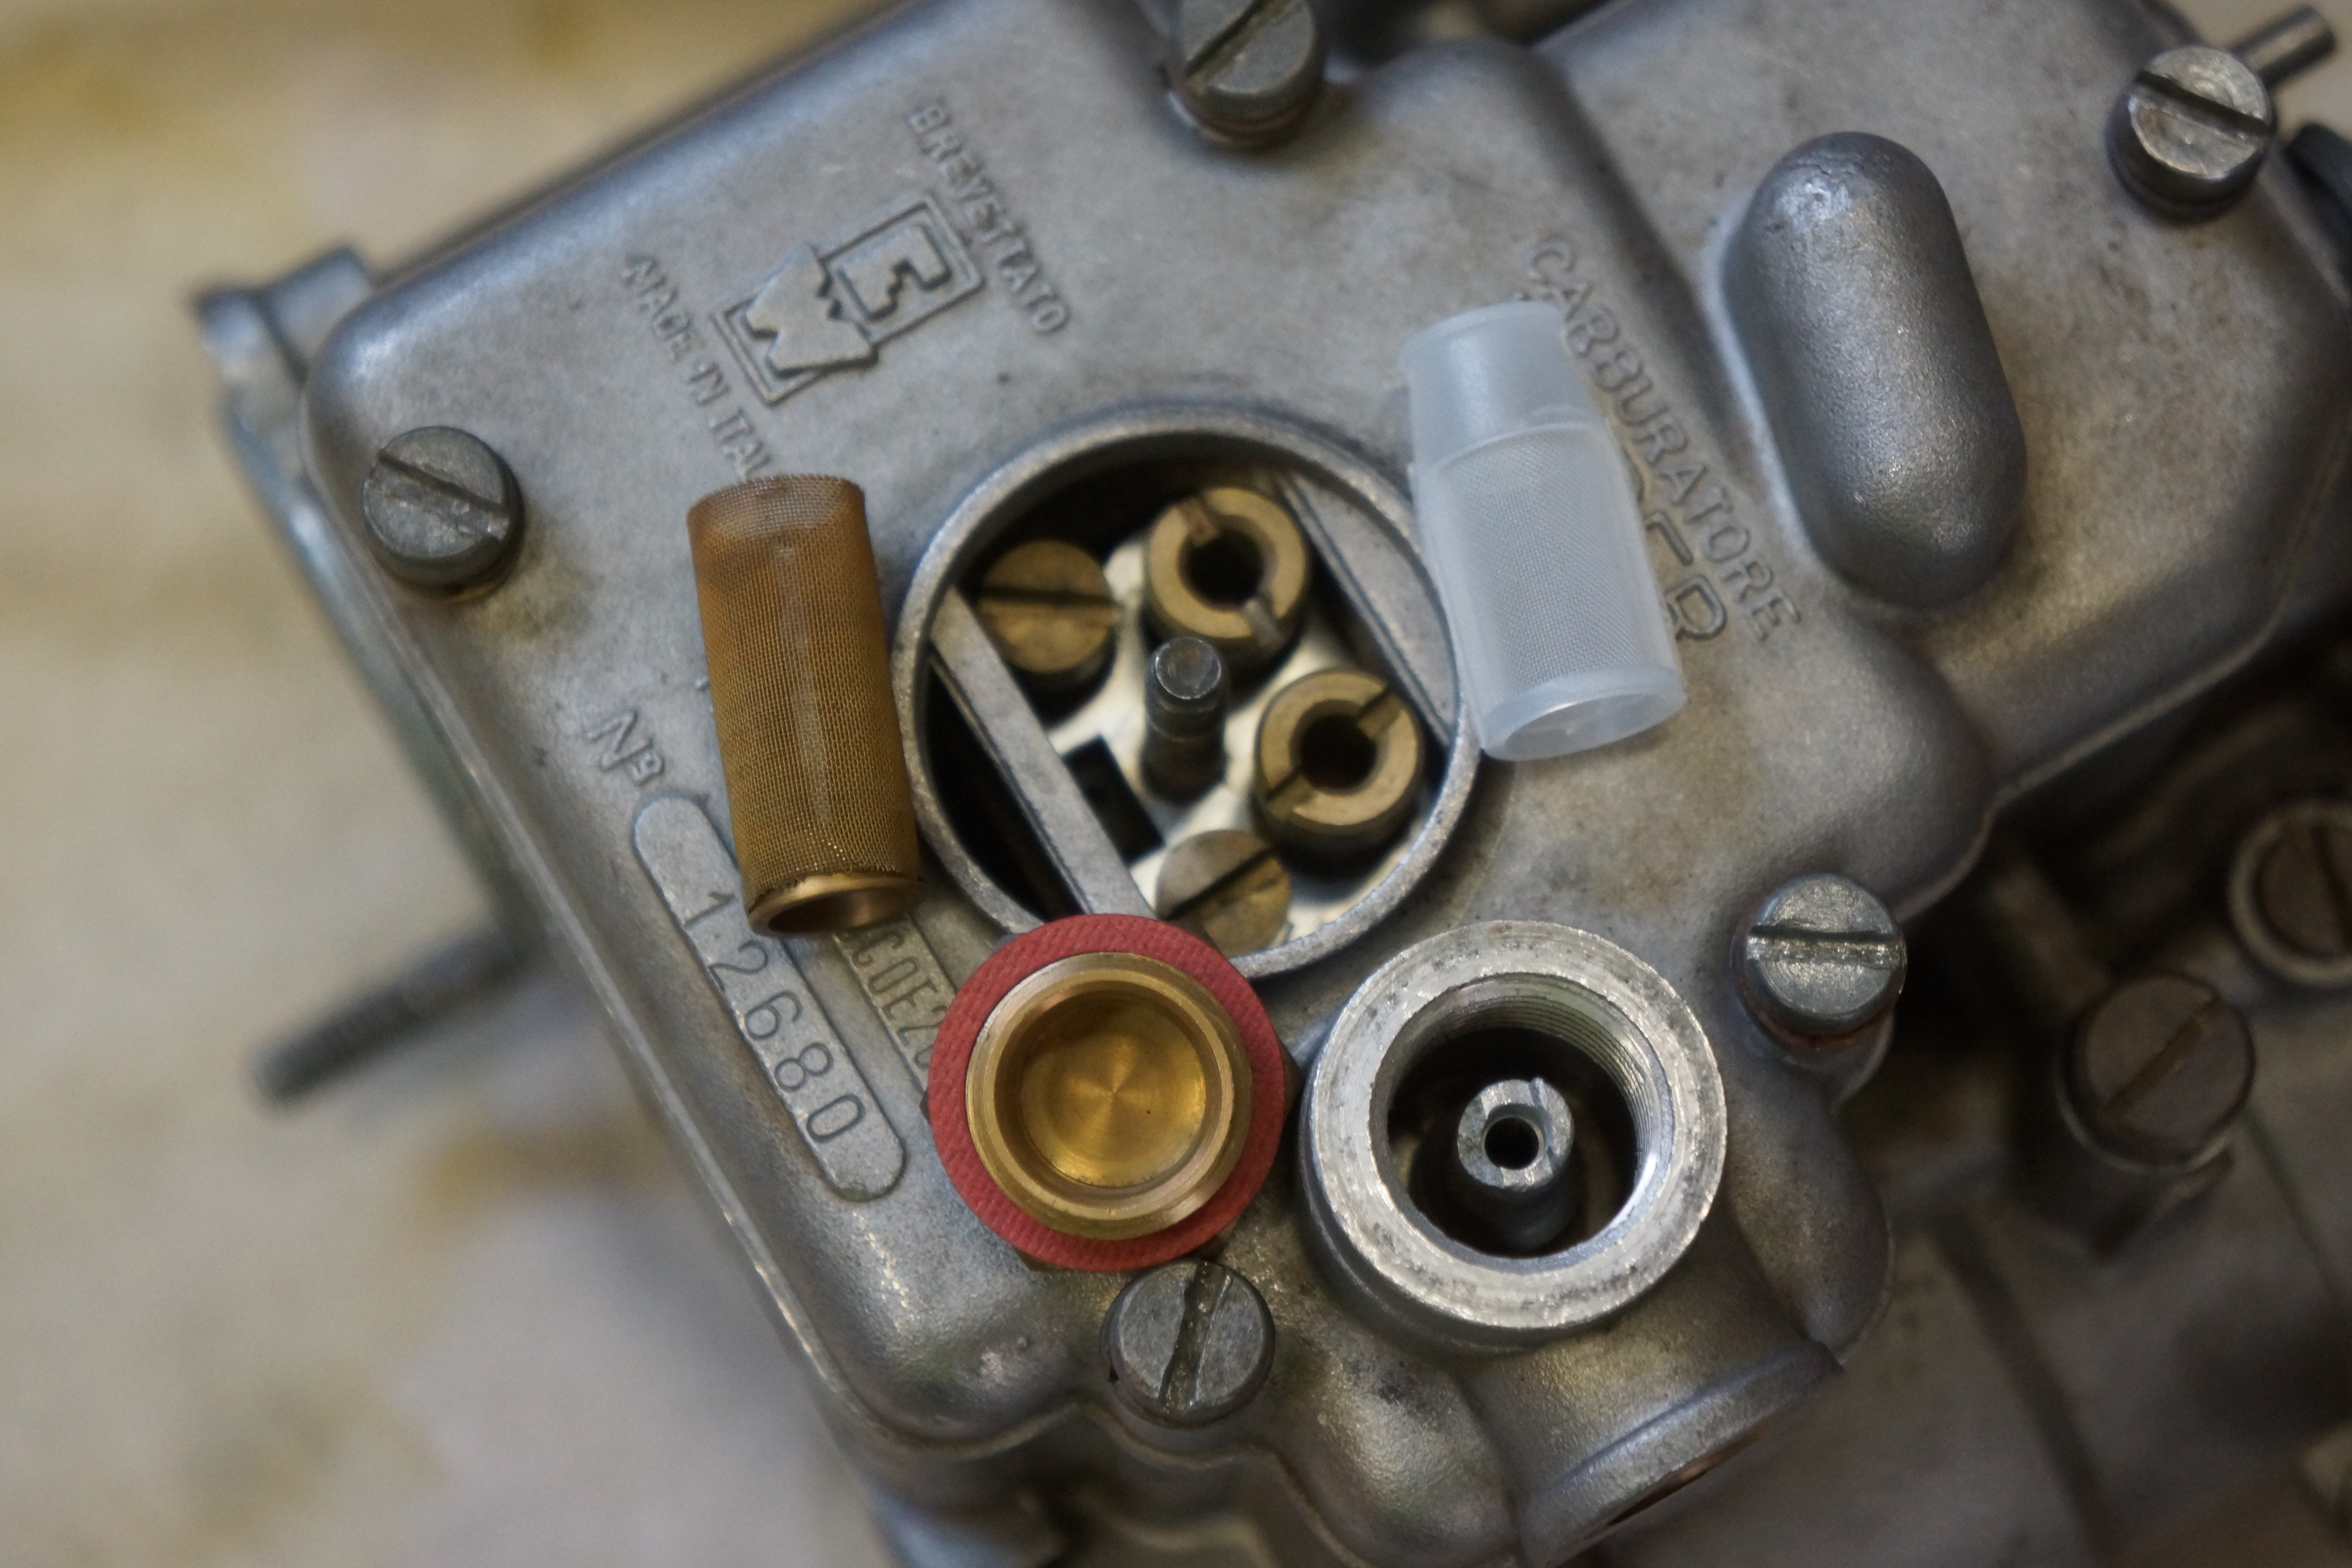
One service tip I learned is that good access to the carbs is available without unbolting them from the engine. The float, the internal mesh filter and all the jets are all accessible once the top cover is removed, held on with 5 screws plus the fuel line banjo bolts. On my car, one does not even need to touch the plenum cover. However, I wanted to get to the bottom cover, and also wanted to perform a thorough ‘off the car’ cleaning.

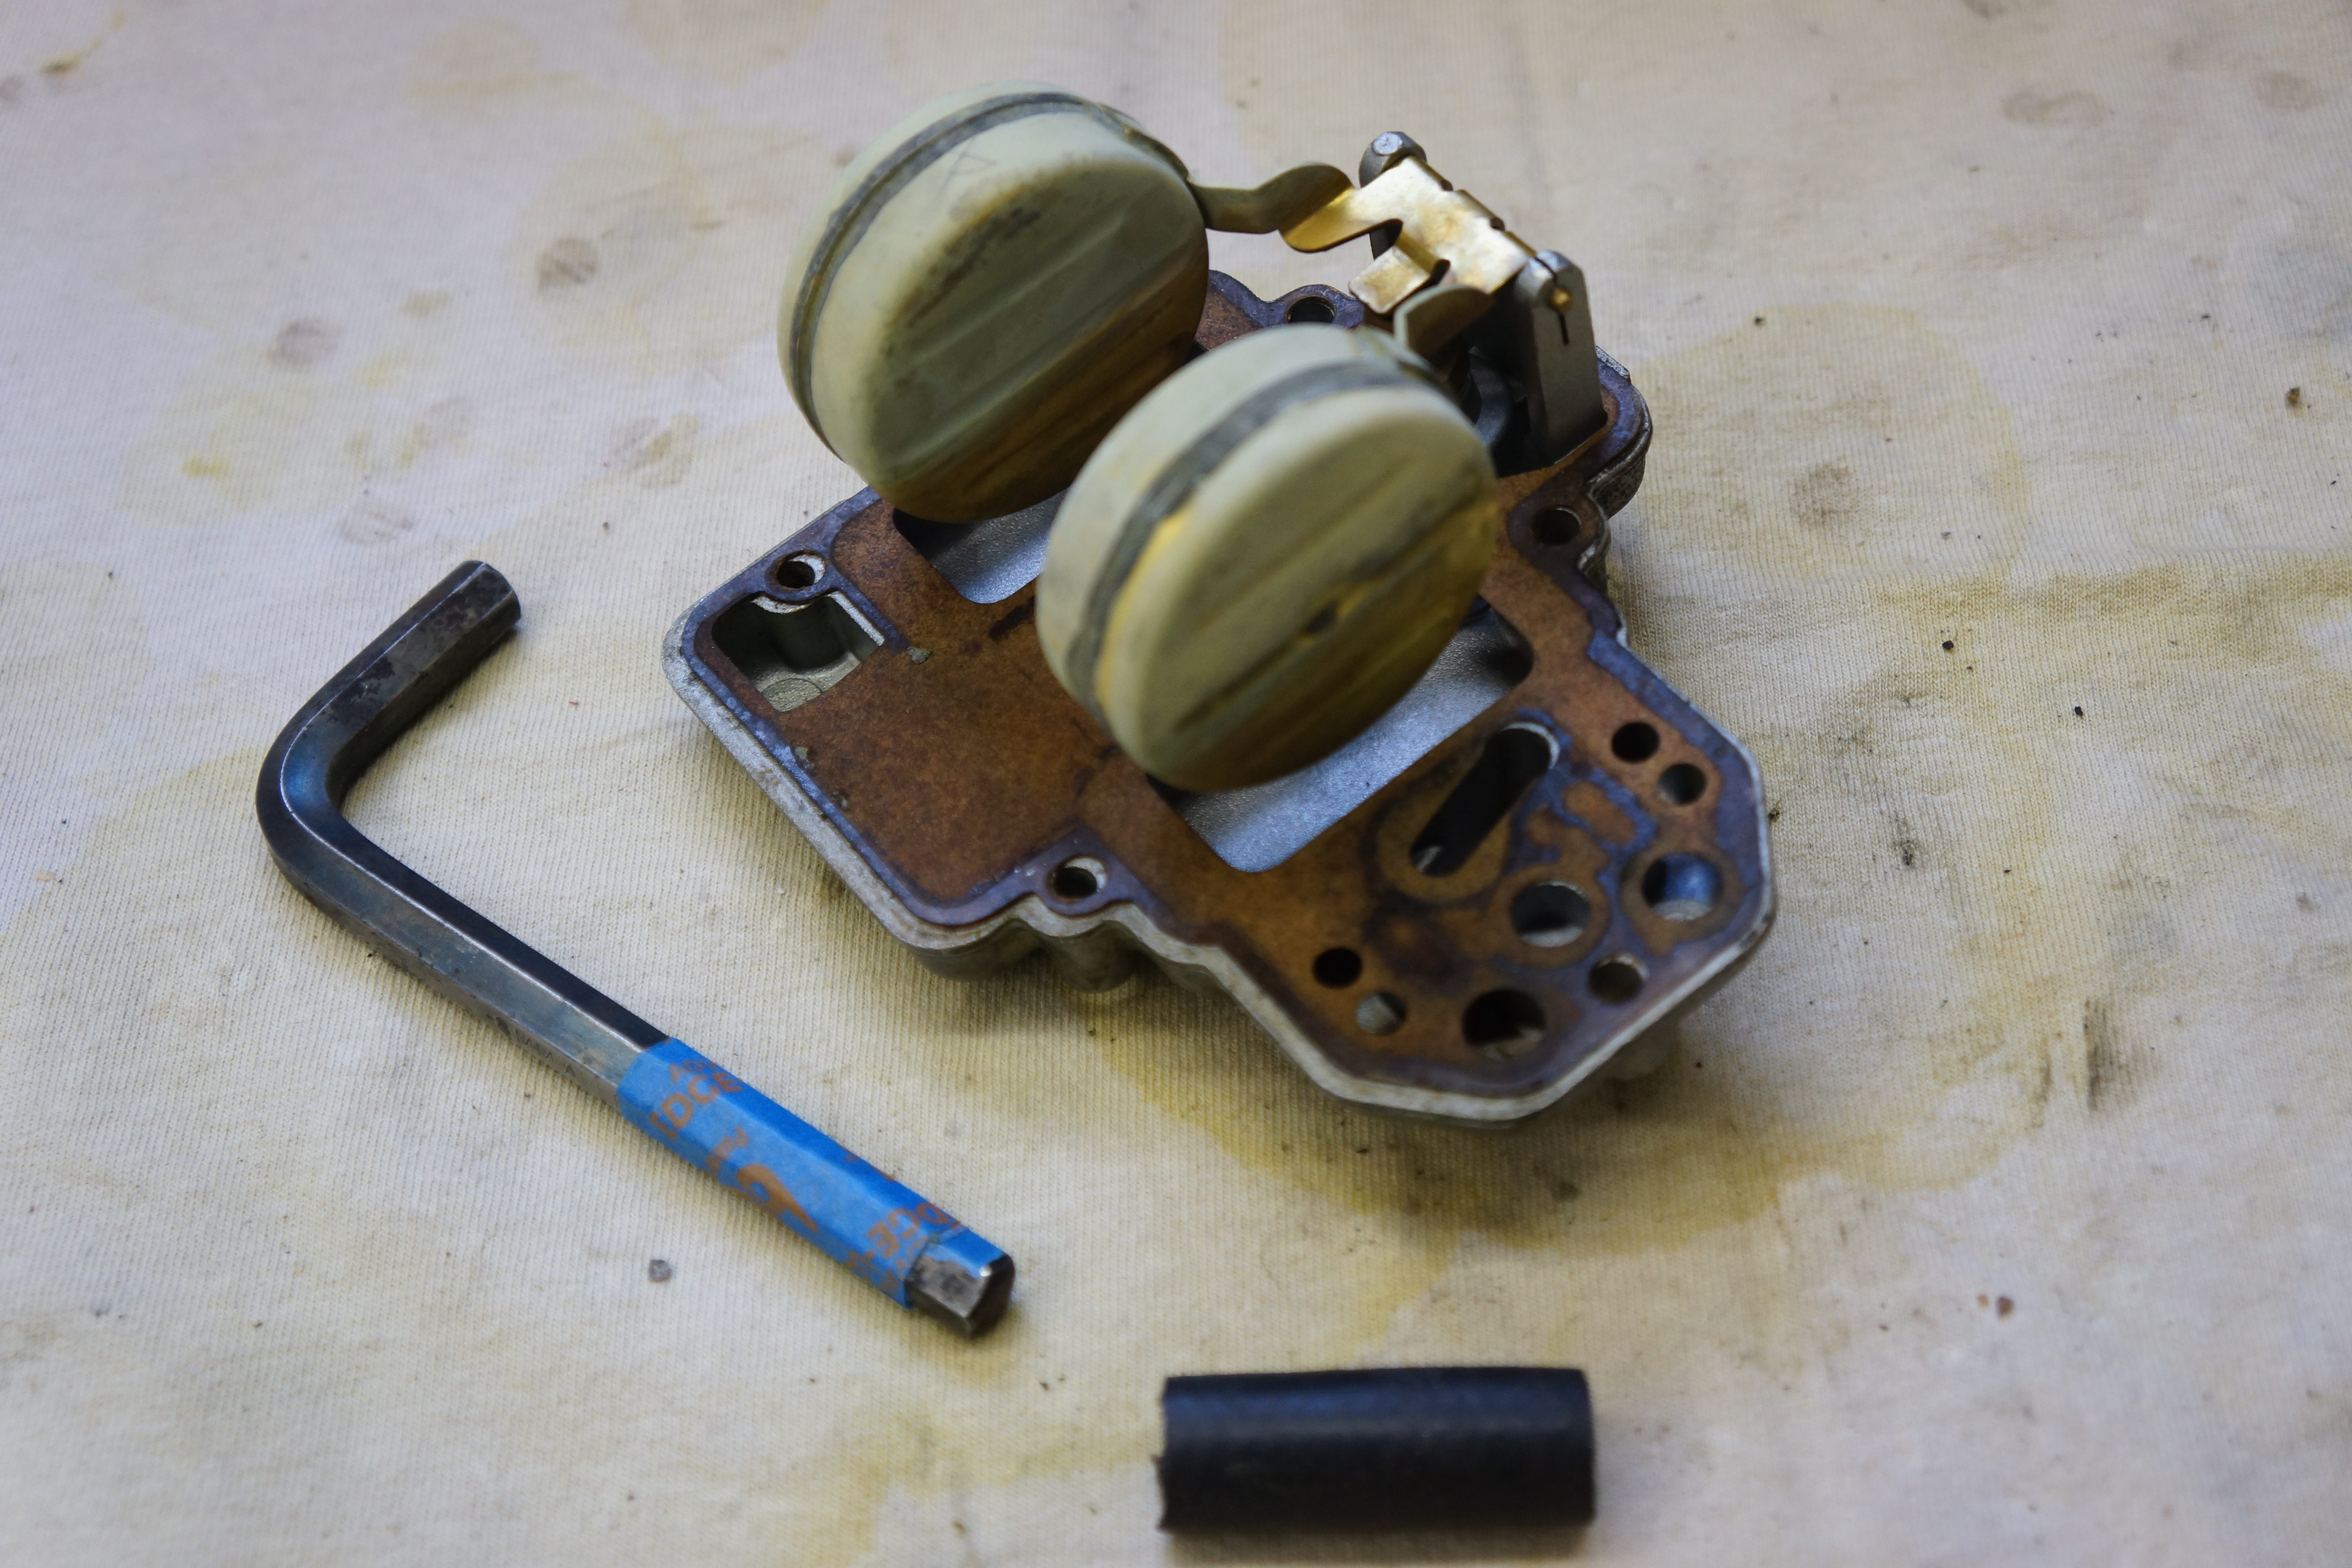
The float setting is a bit fussy. There are actually two settings: the top and the bottom. The top cover gasket must be in place. The two setting measurements are 8mm and 14.5mm, and the books claim that a deviation over 0.5mm can be troublesome. I fashioned my own measuring tools, one using a hex key wrapped with masking tape, and the other made from a piece of rubber hose. Both floats were off enough that they needed both their top and bottom settings adjusted.
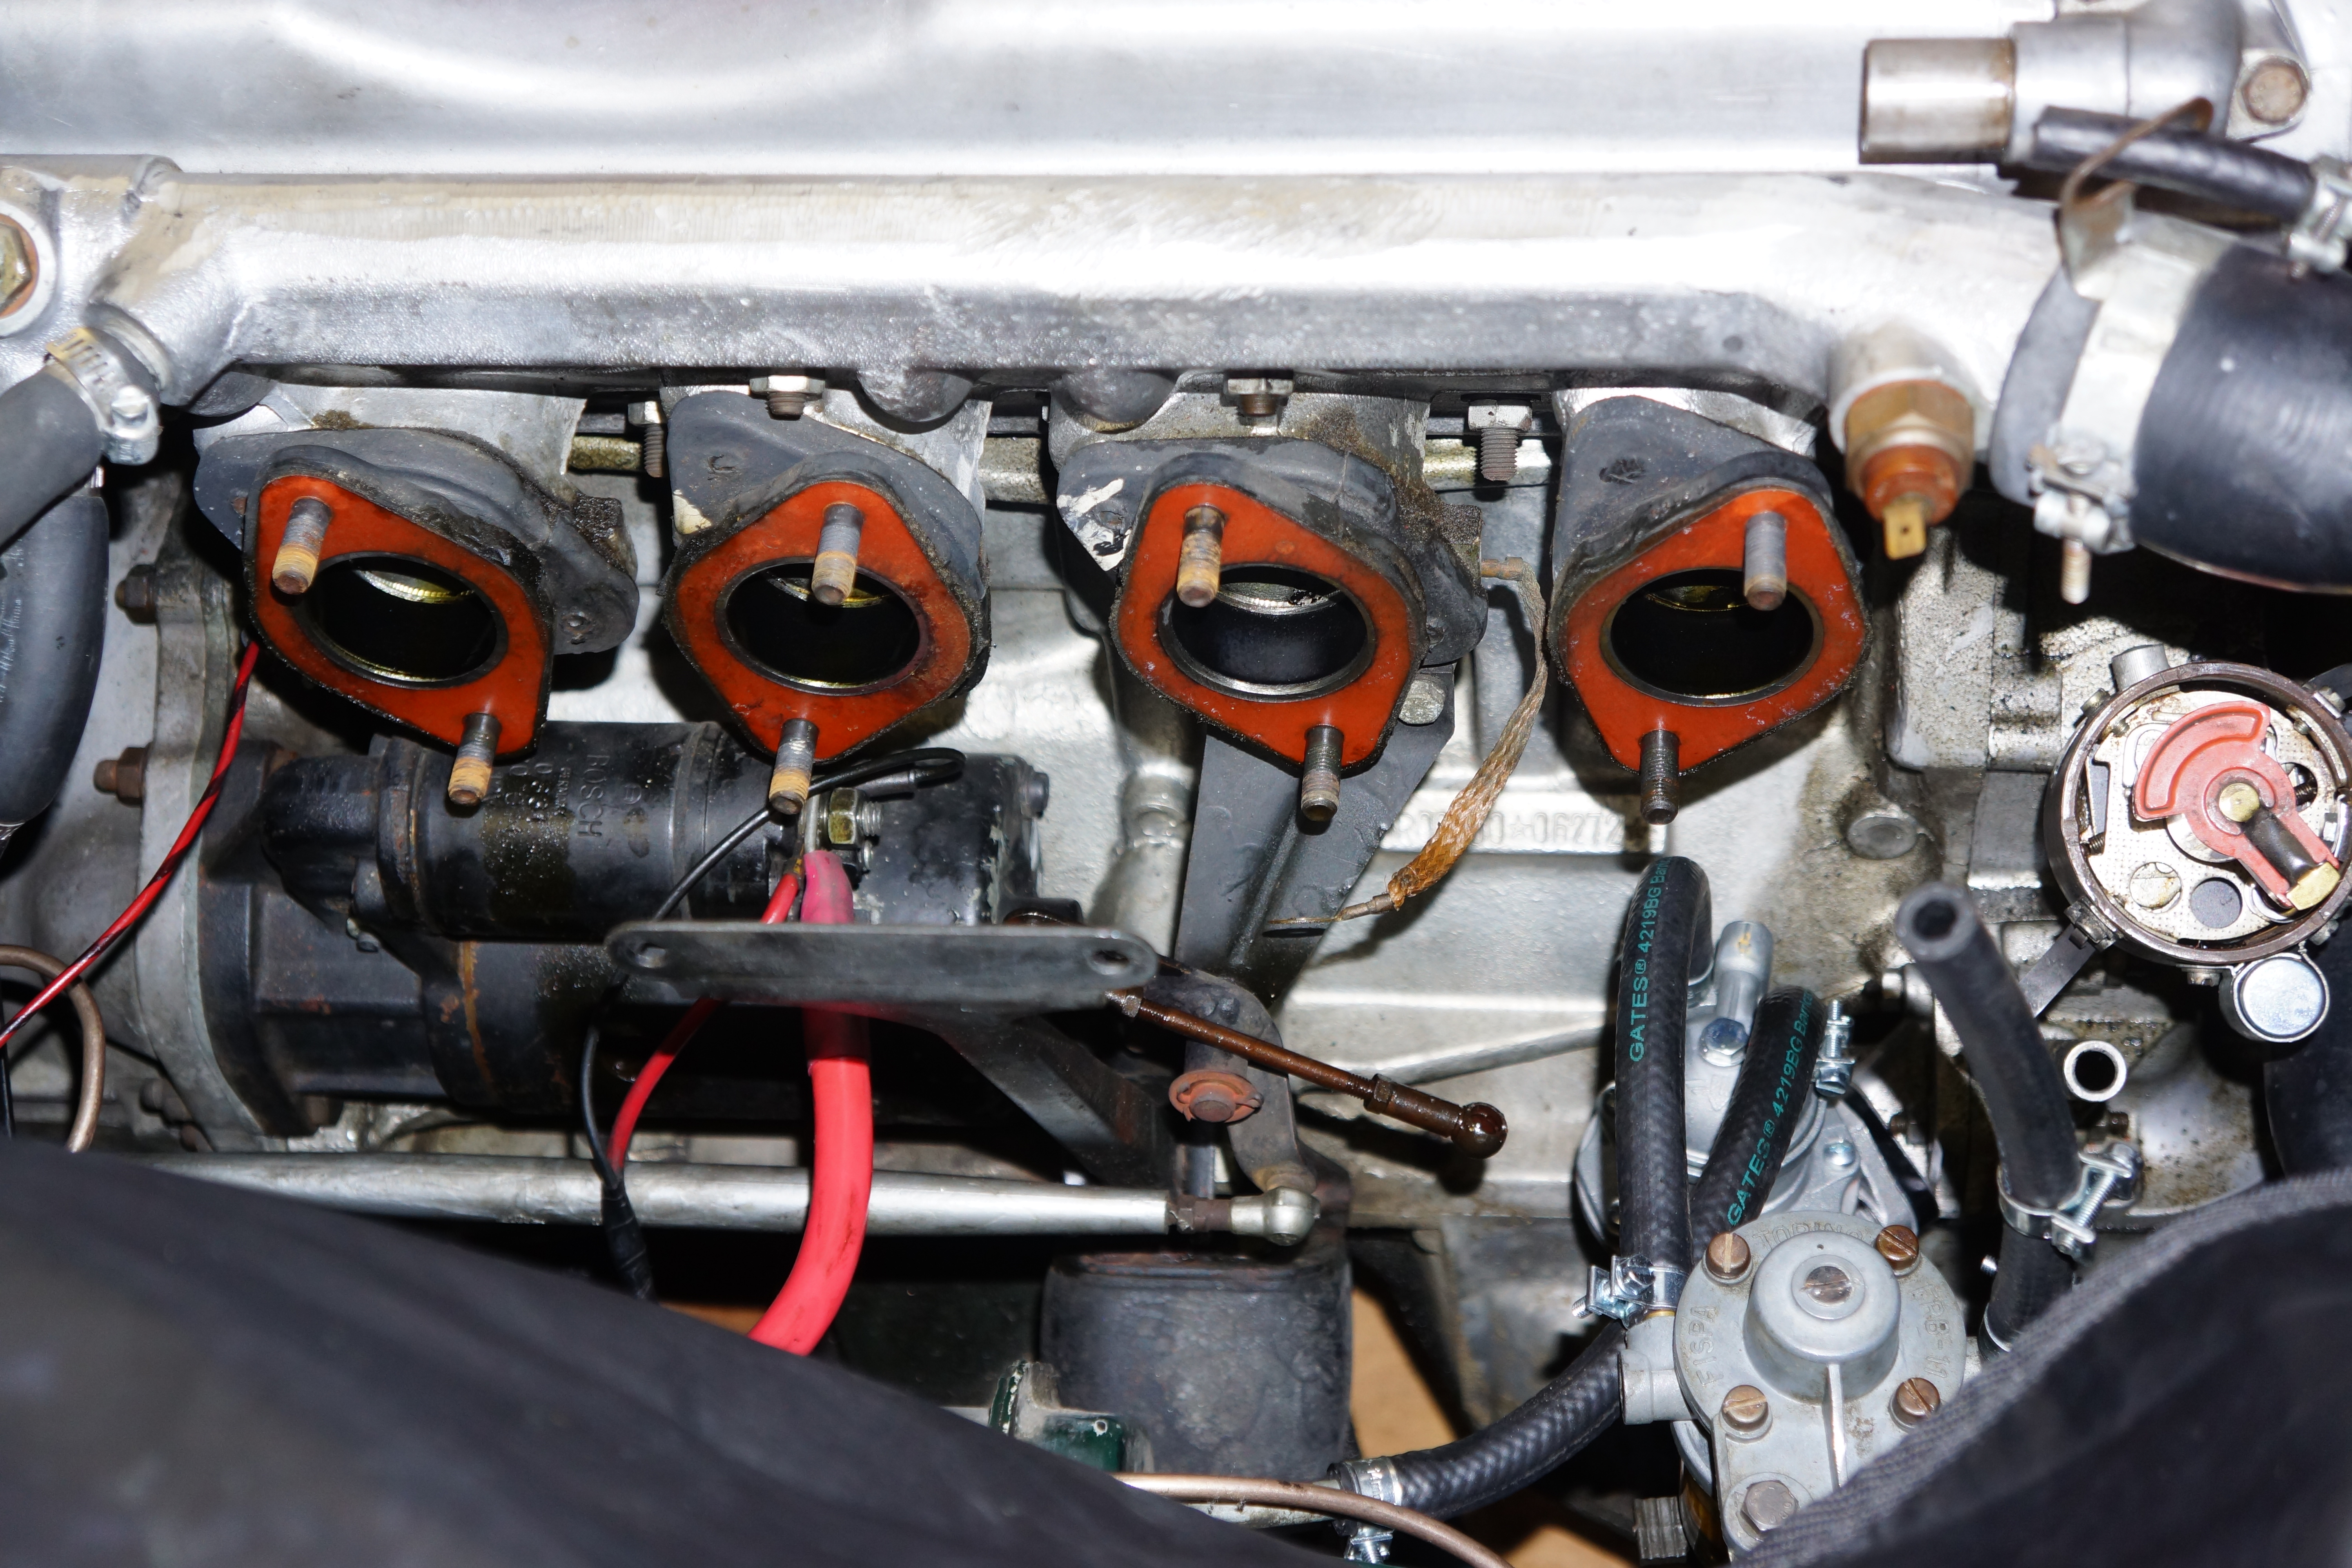
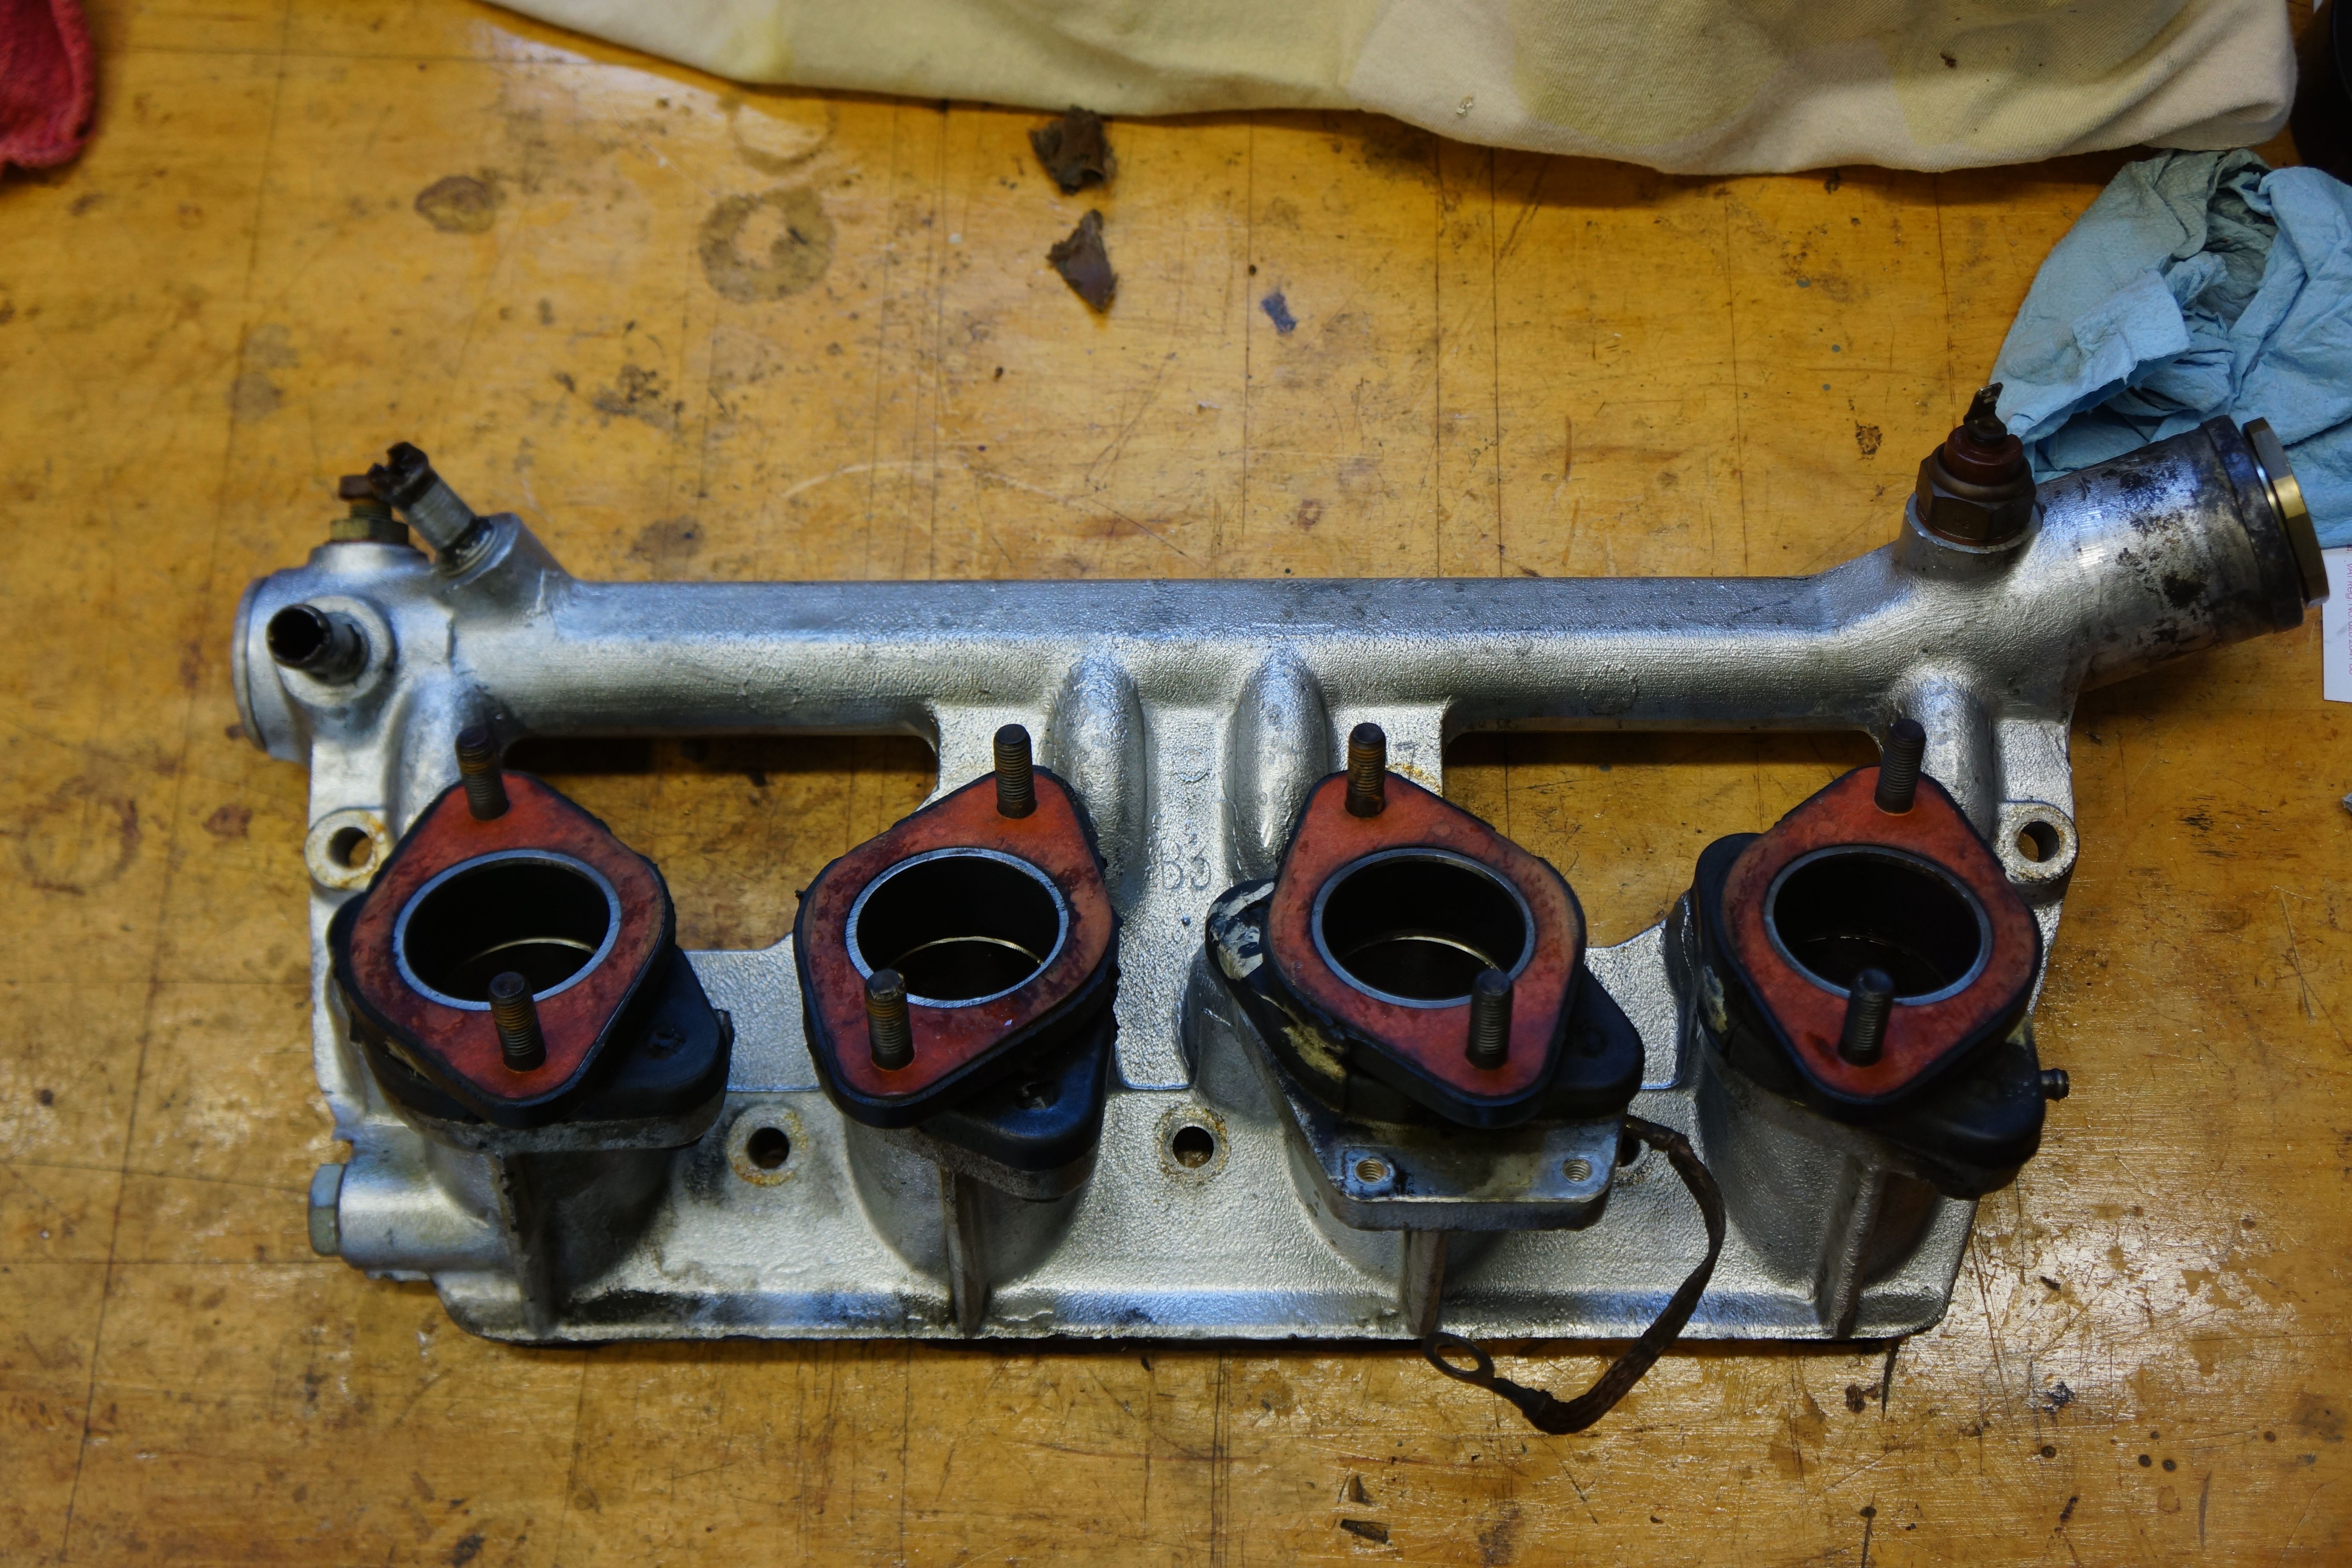
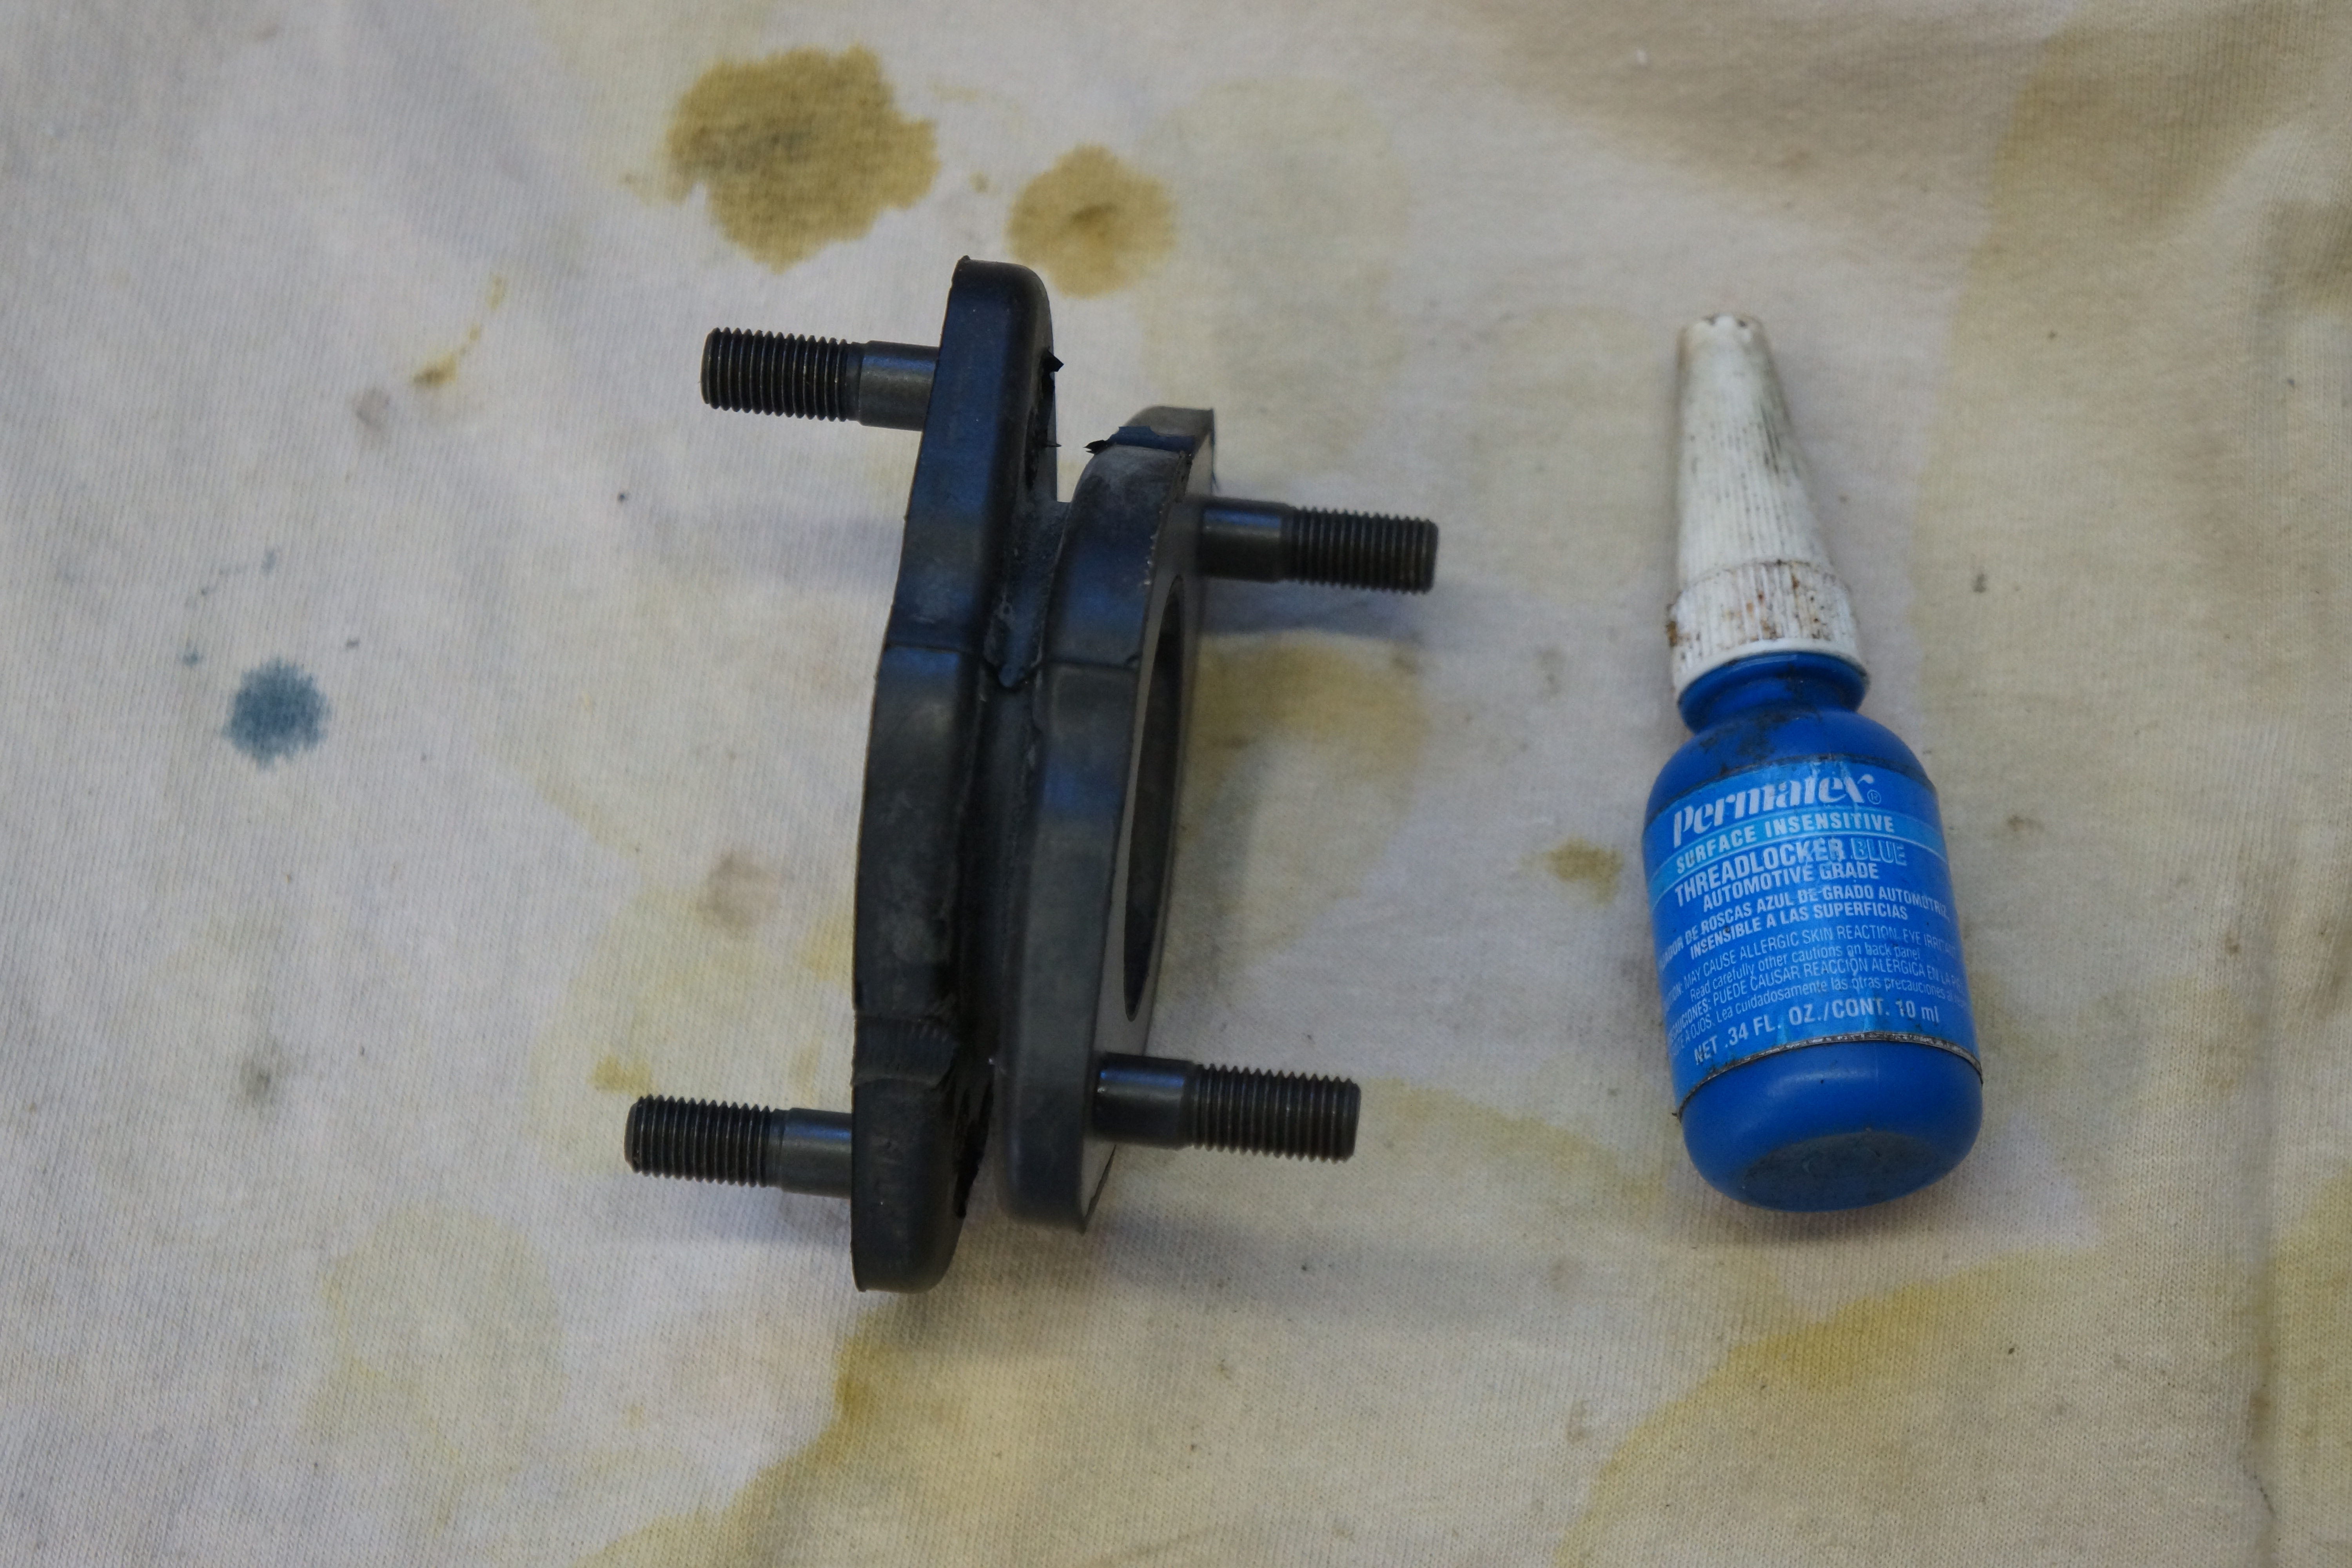
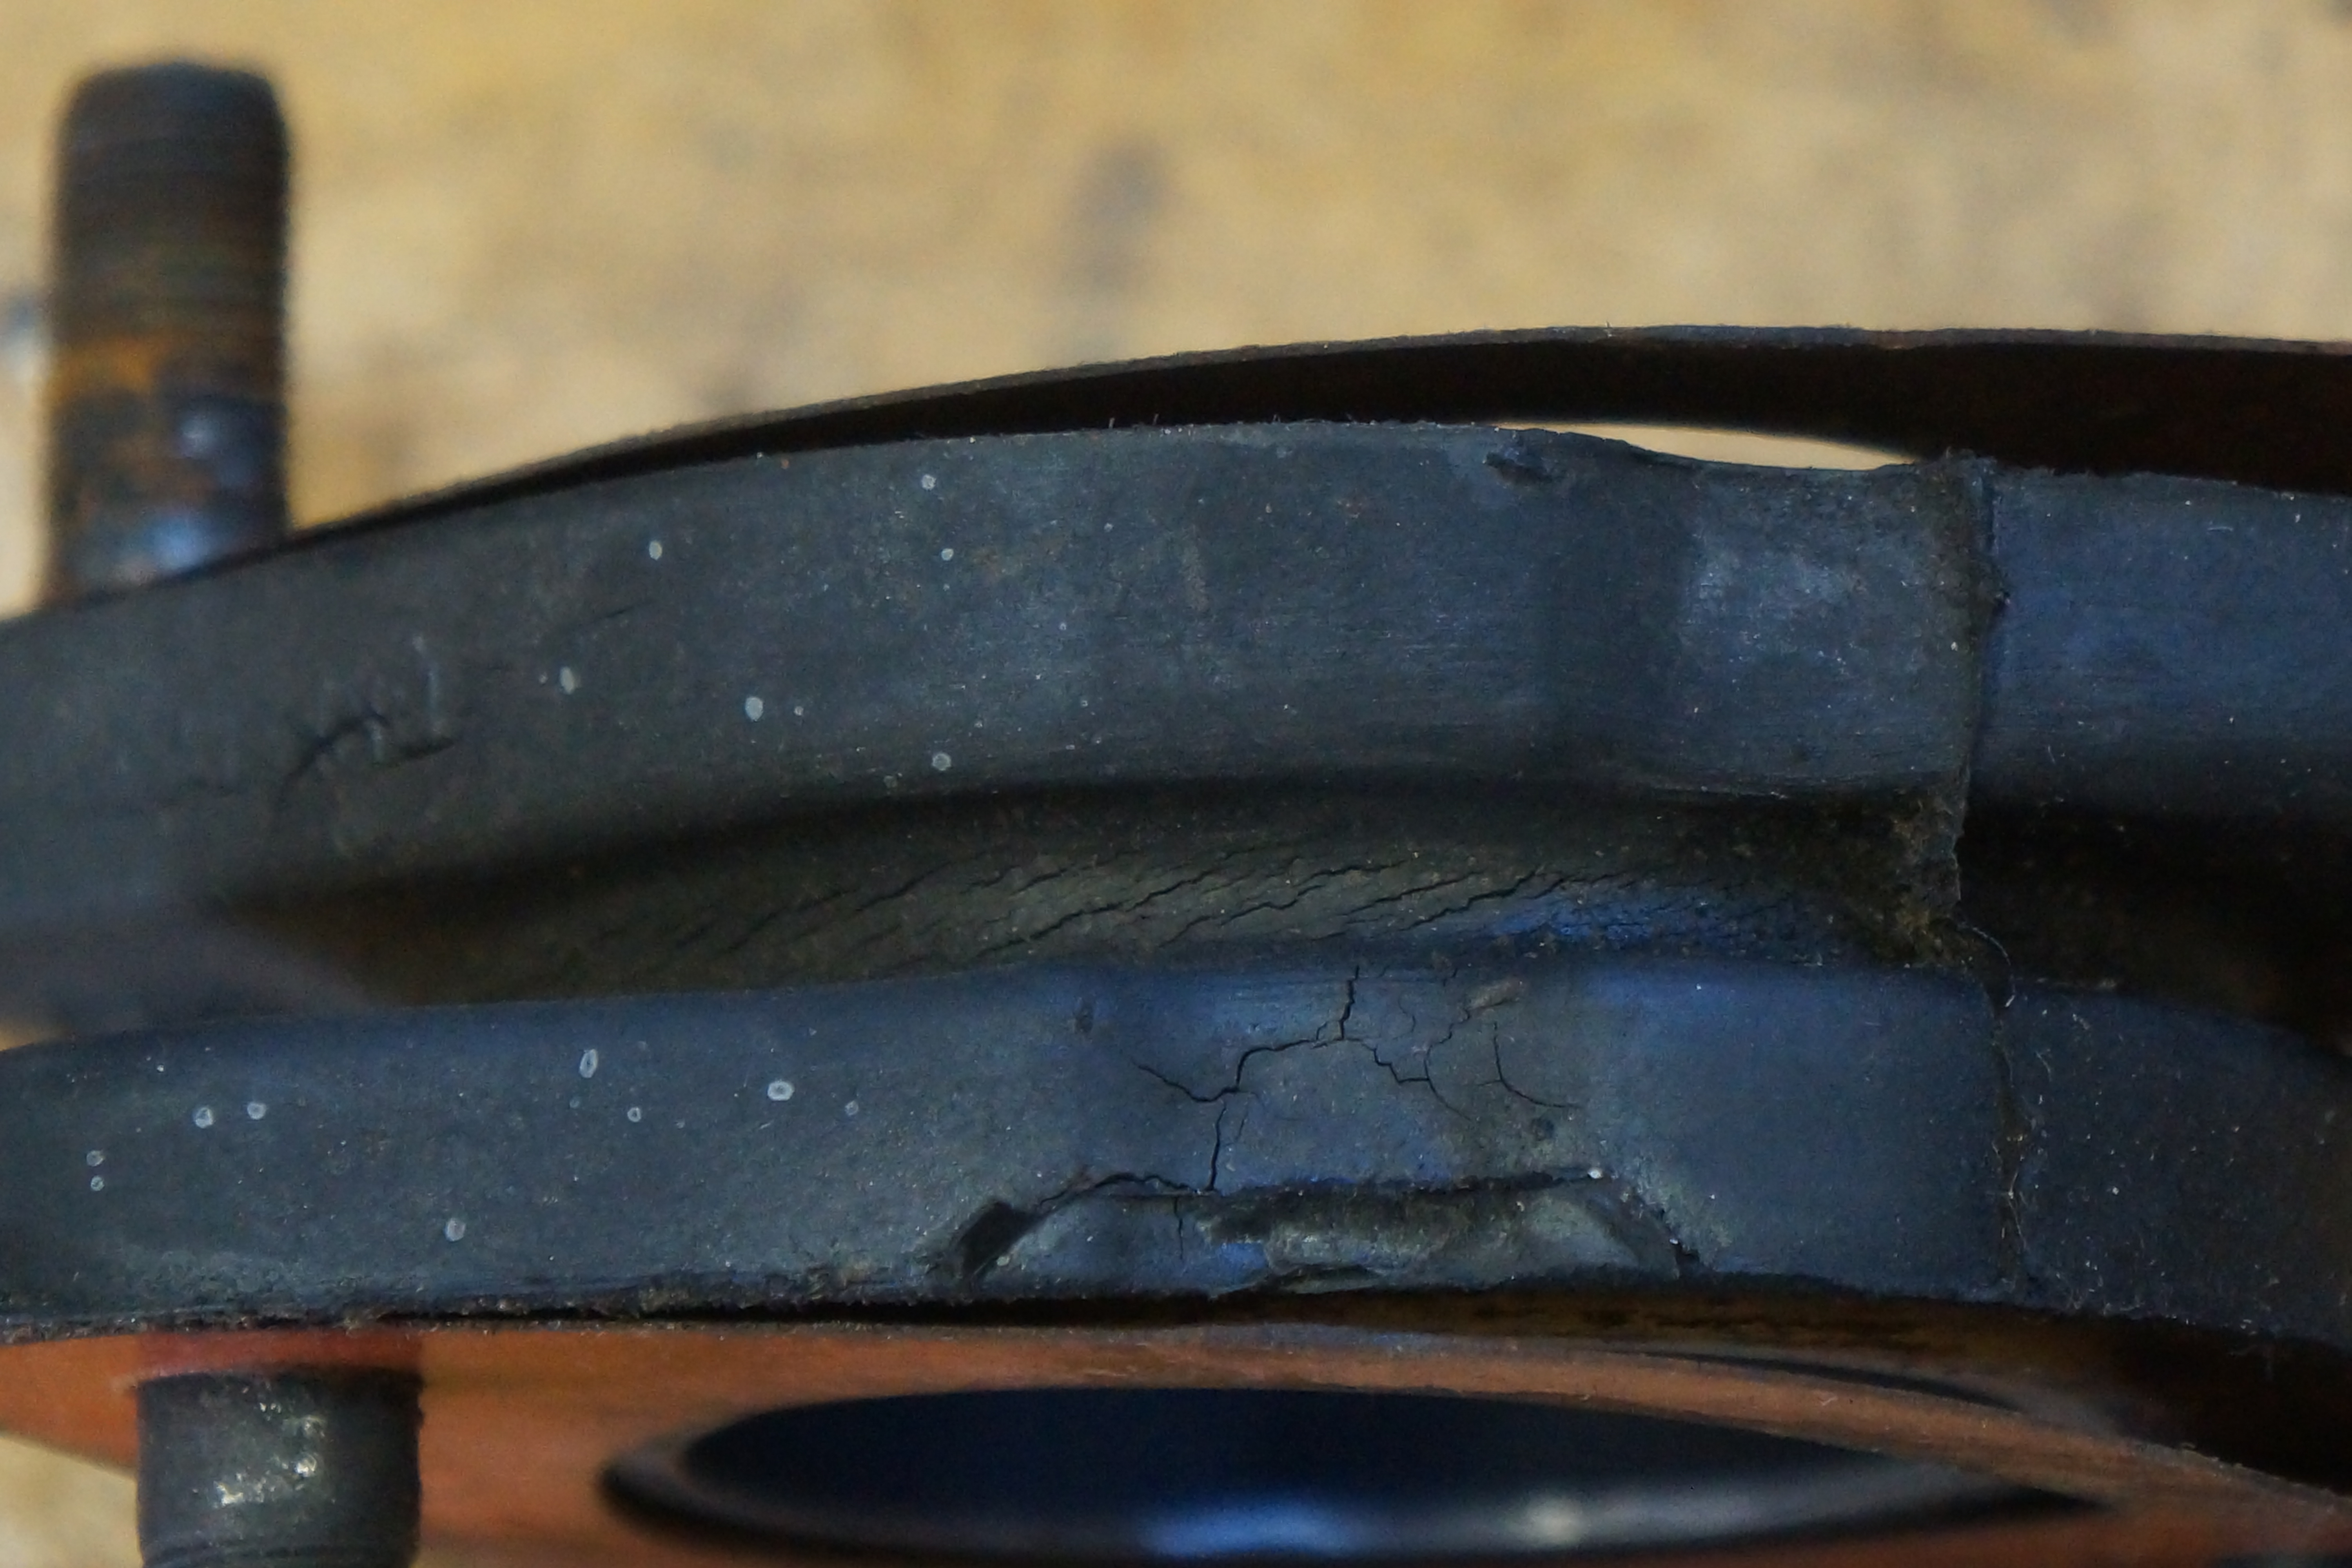
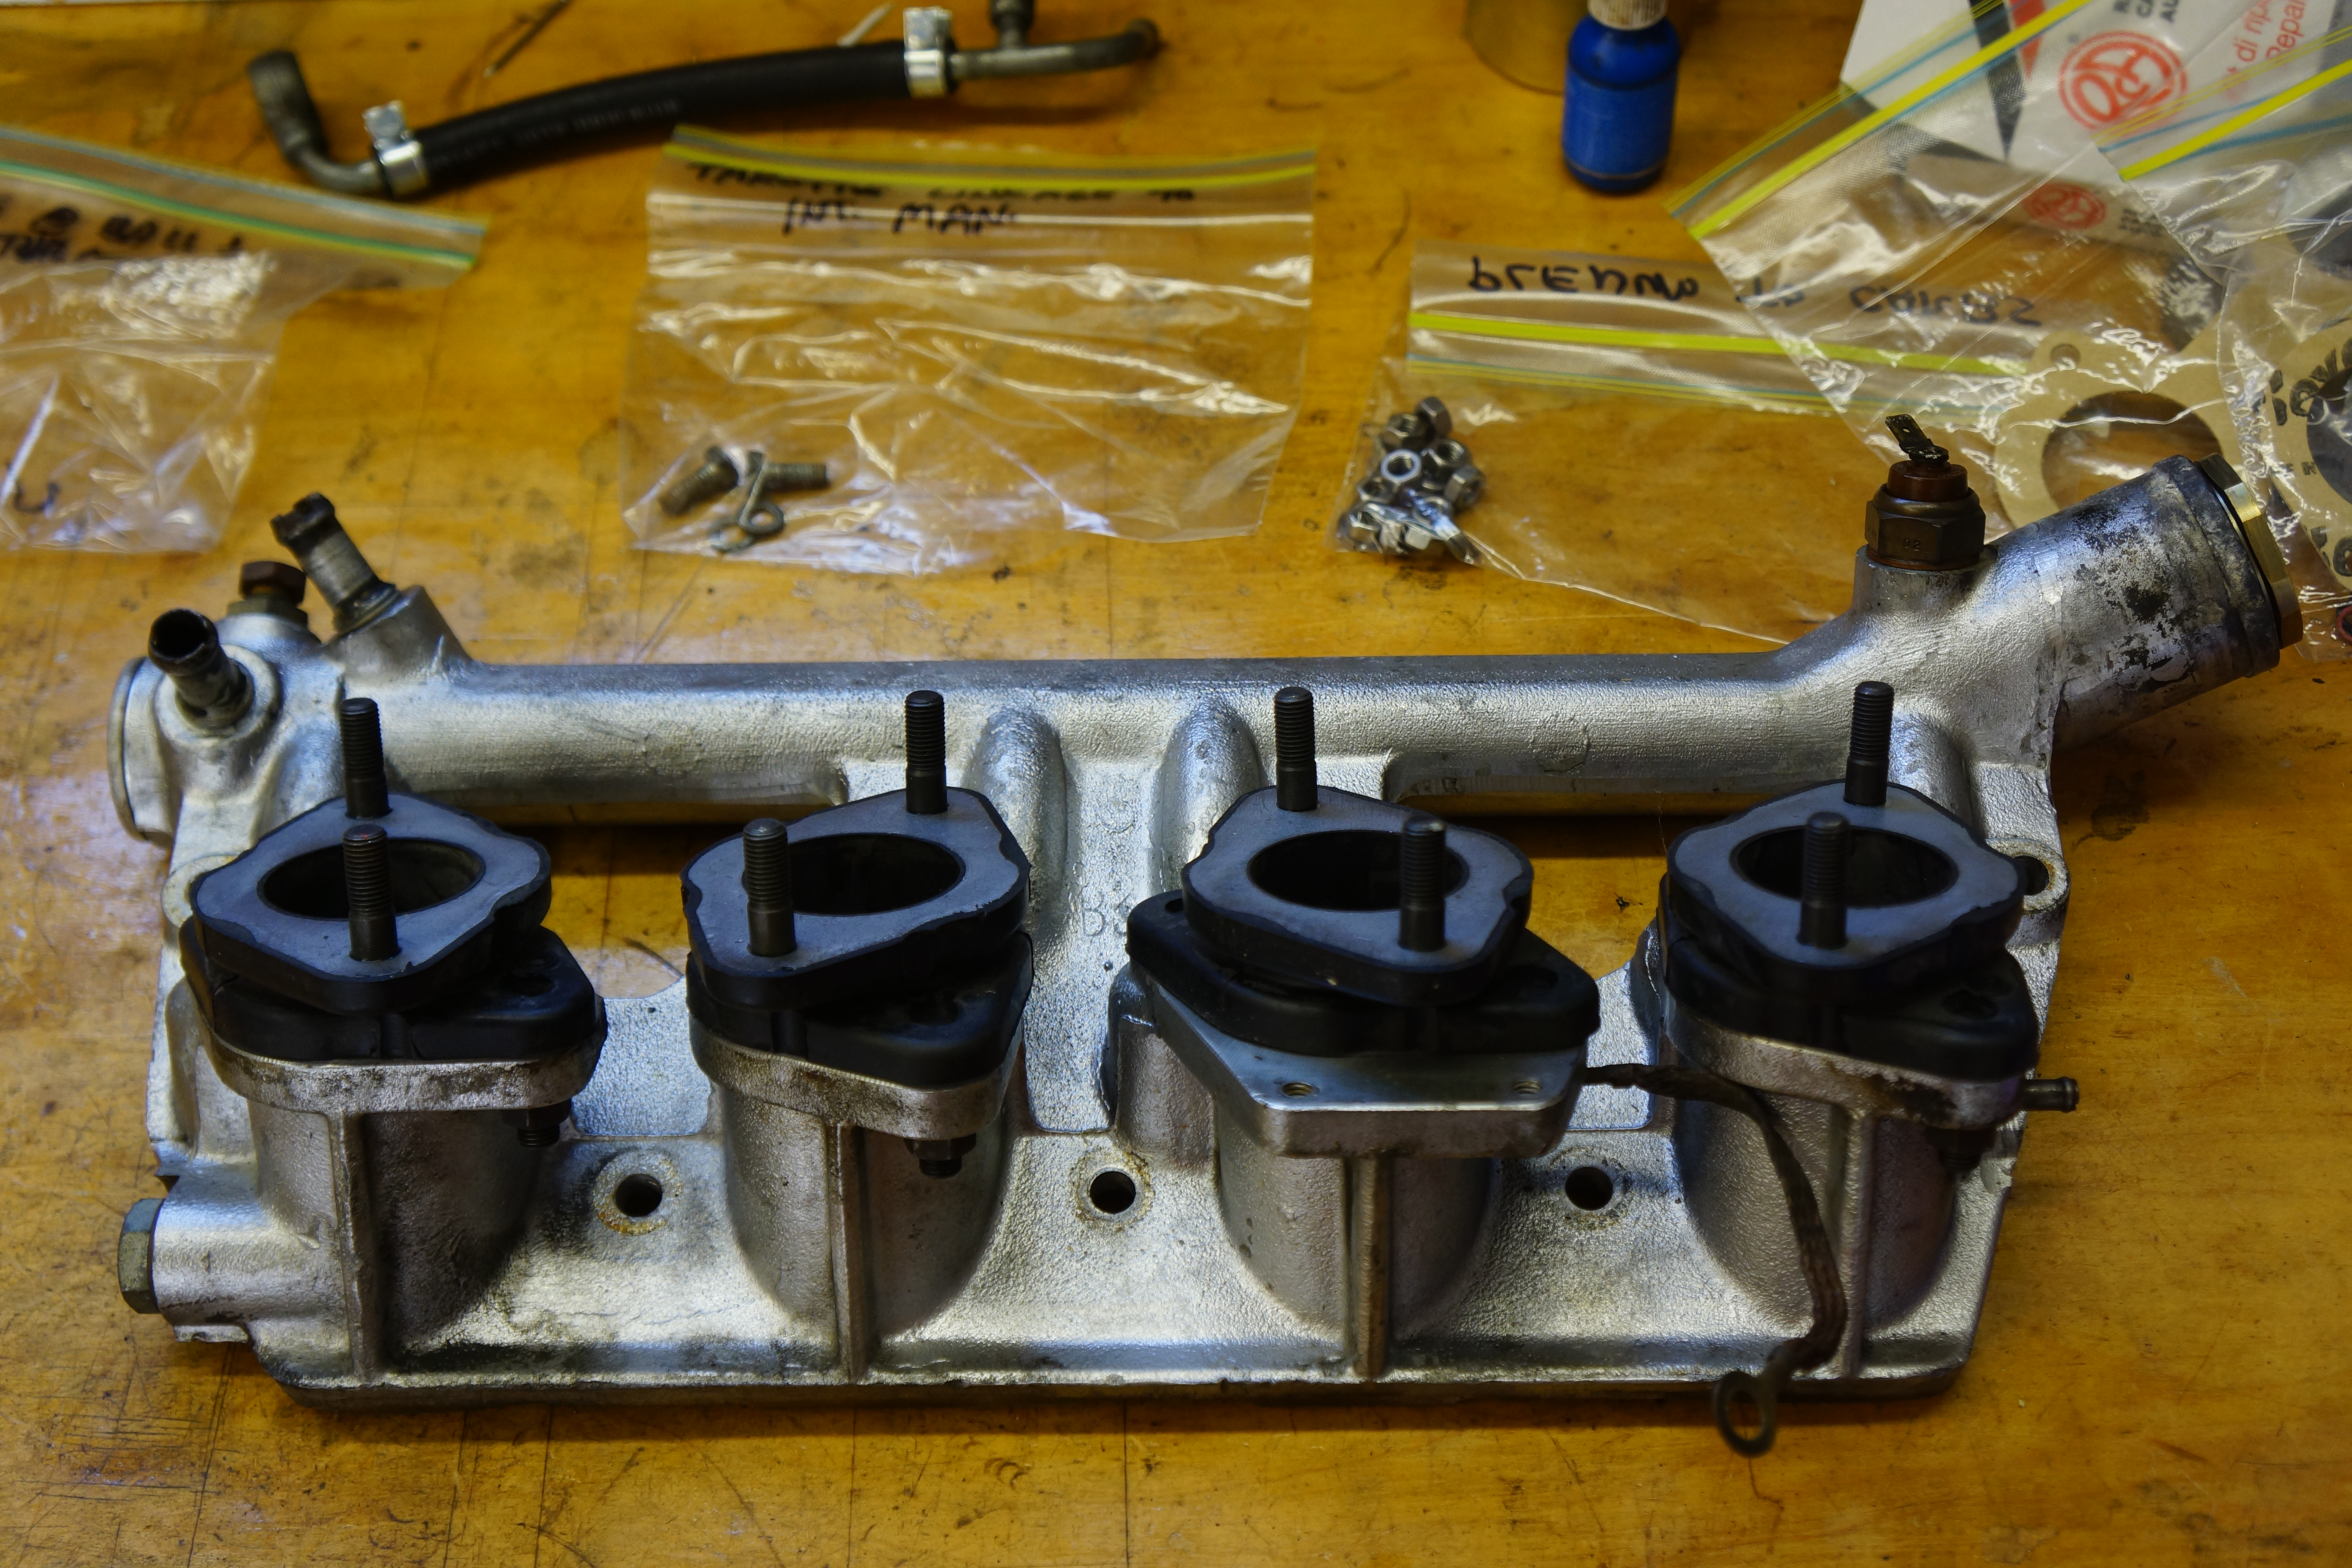
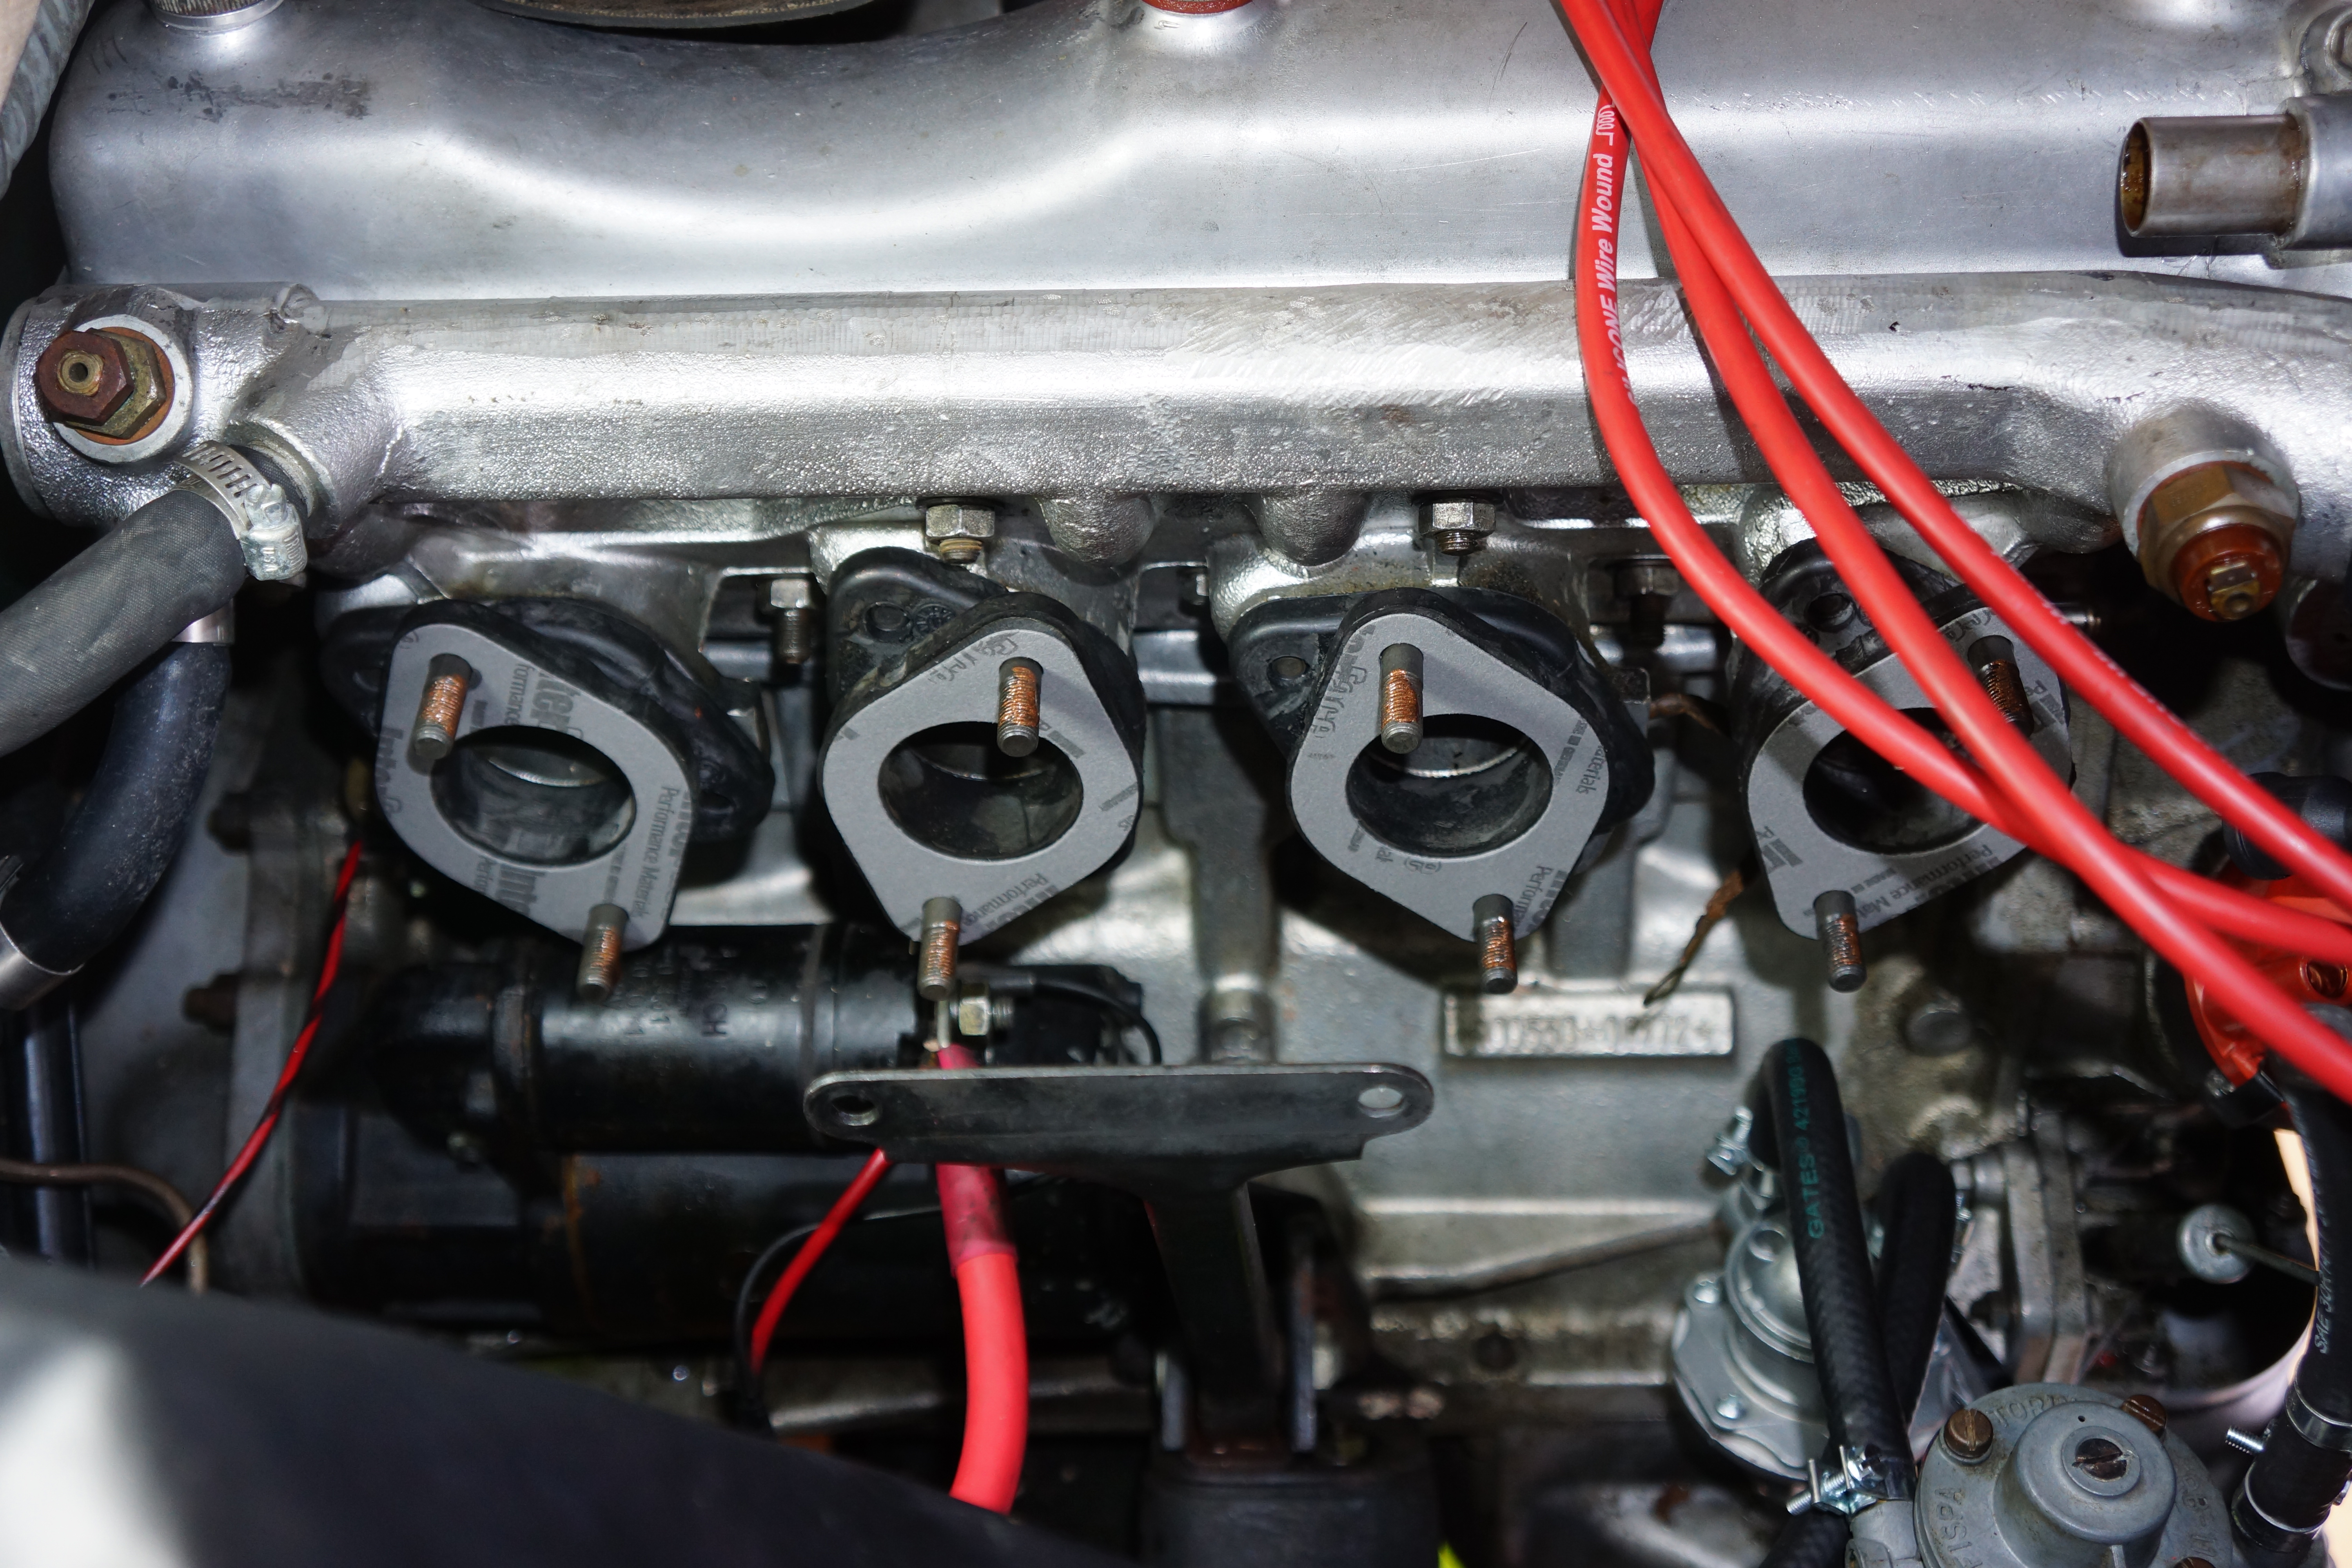
The new rubber carb mounts arrived from Classic Alfa, and I was a little disappointed that the studs were not anchored in place. It’s a good thing I discovered this before putting it all together, and the problem was easily resolved with some threadlocker. While I can’t prove that my old rubber mounts were part of any problem, the rubber was clearly past its prime.
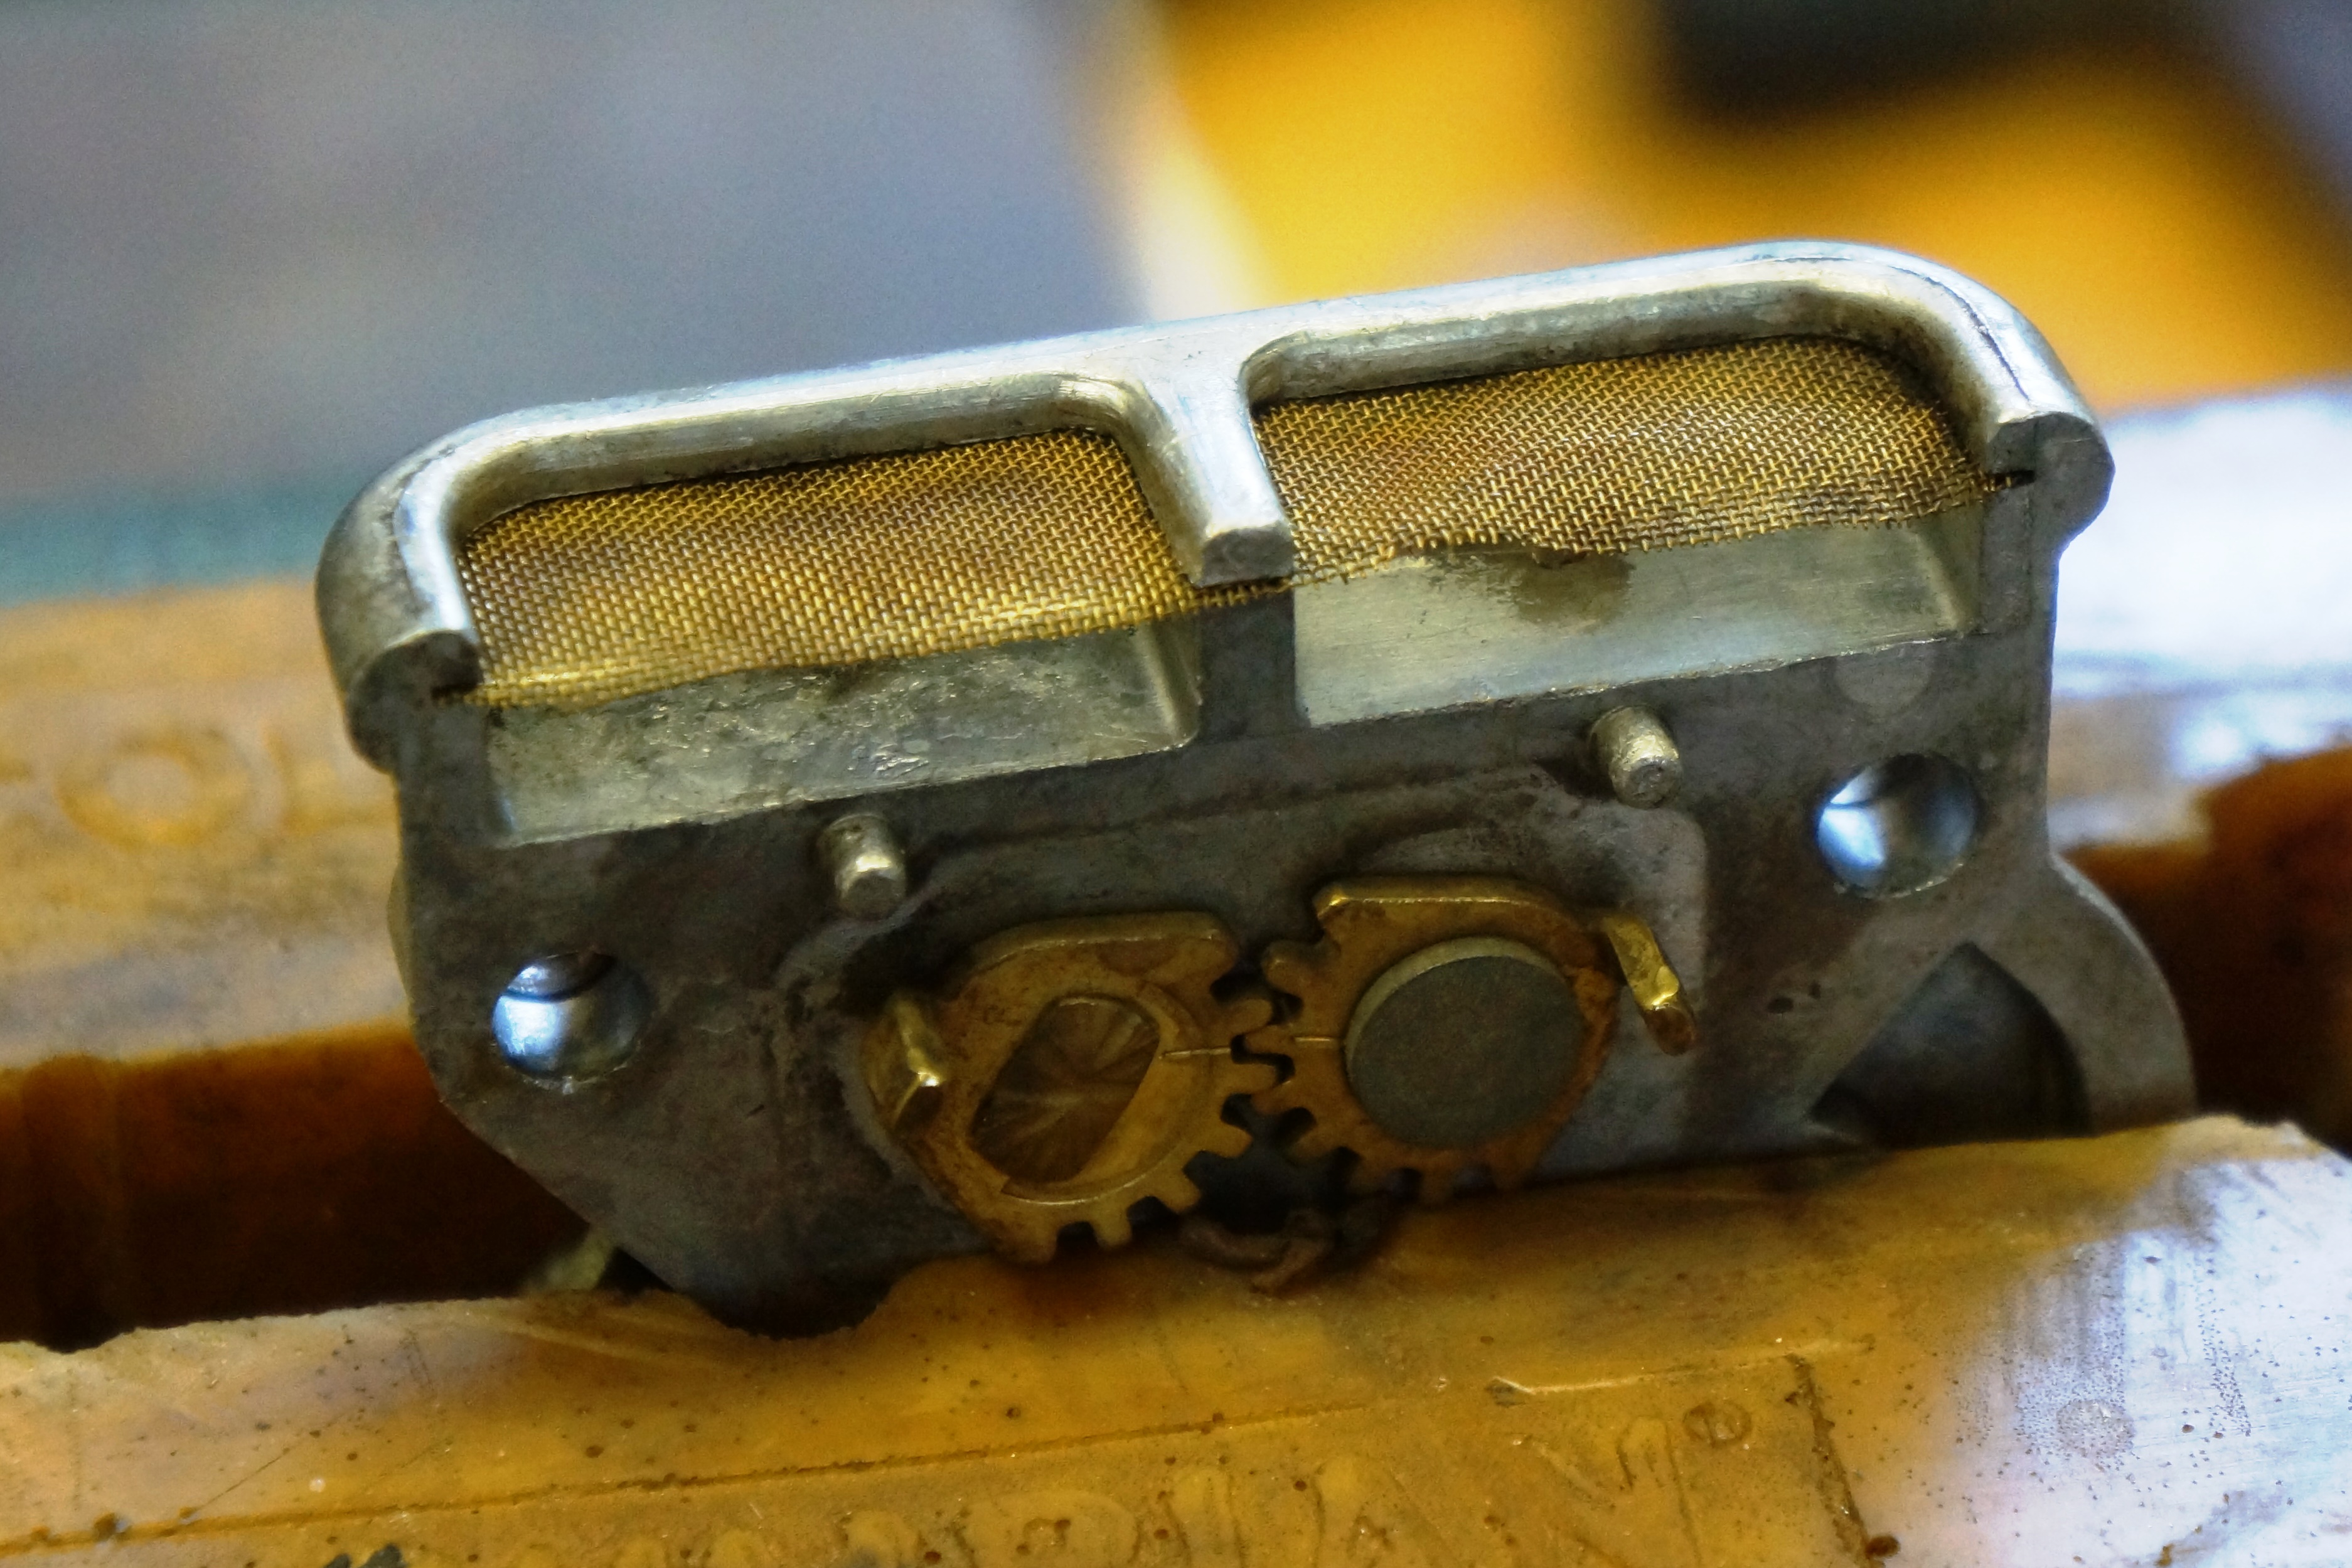
It was news to me that there was a mesh screen filter inside each of the carbs. Thankfully, a replacement was part of the carb gasket kit. I went through about 5 cans of Gumout before I was reasonably satisfied with the cleanliness, and even then, there was some dirt on the outside (but none on the inside).
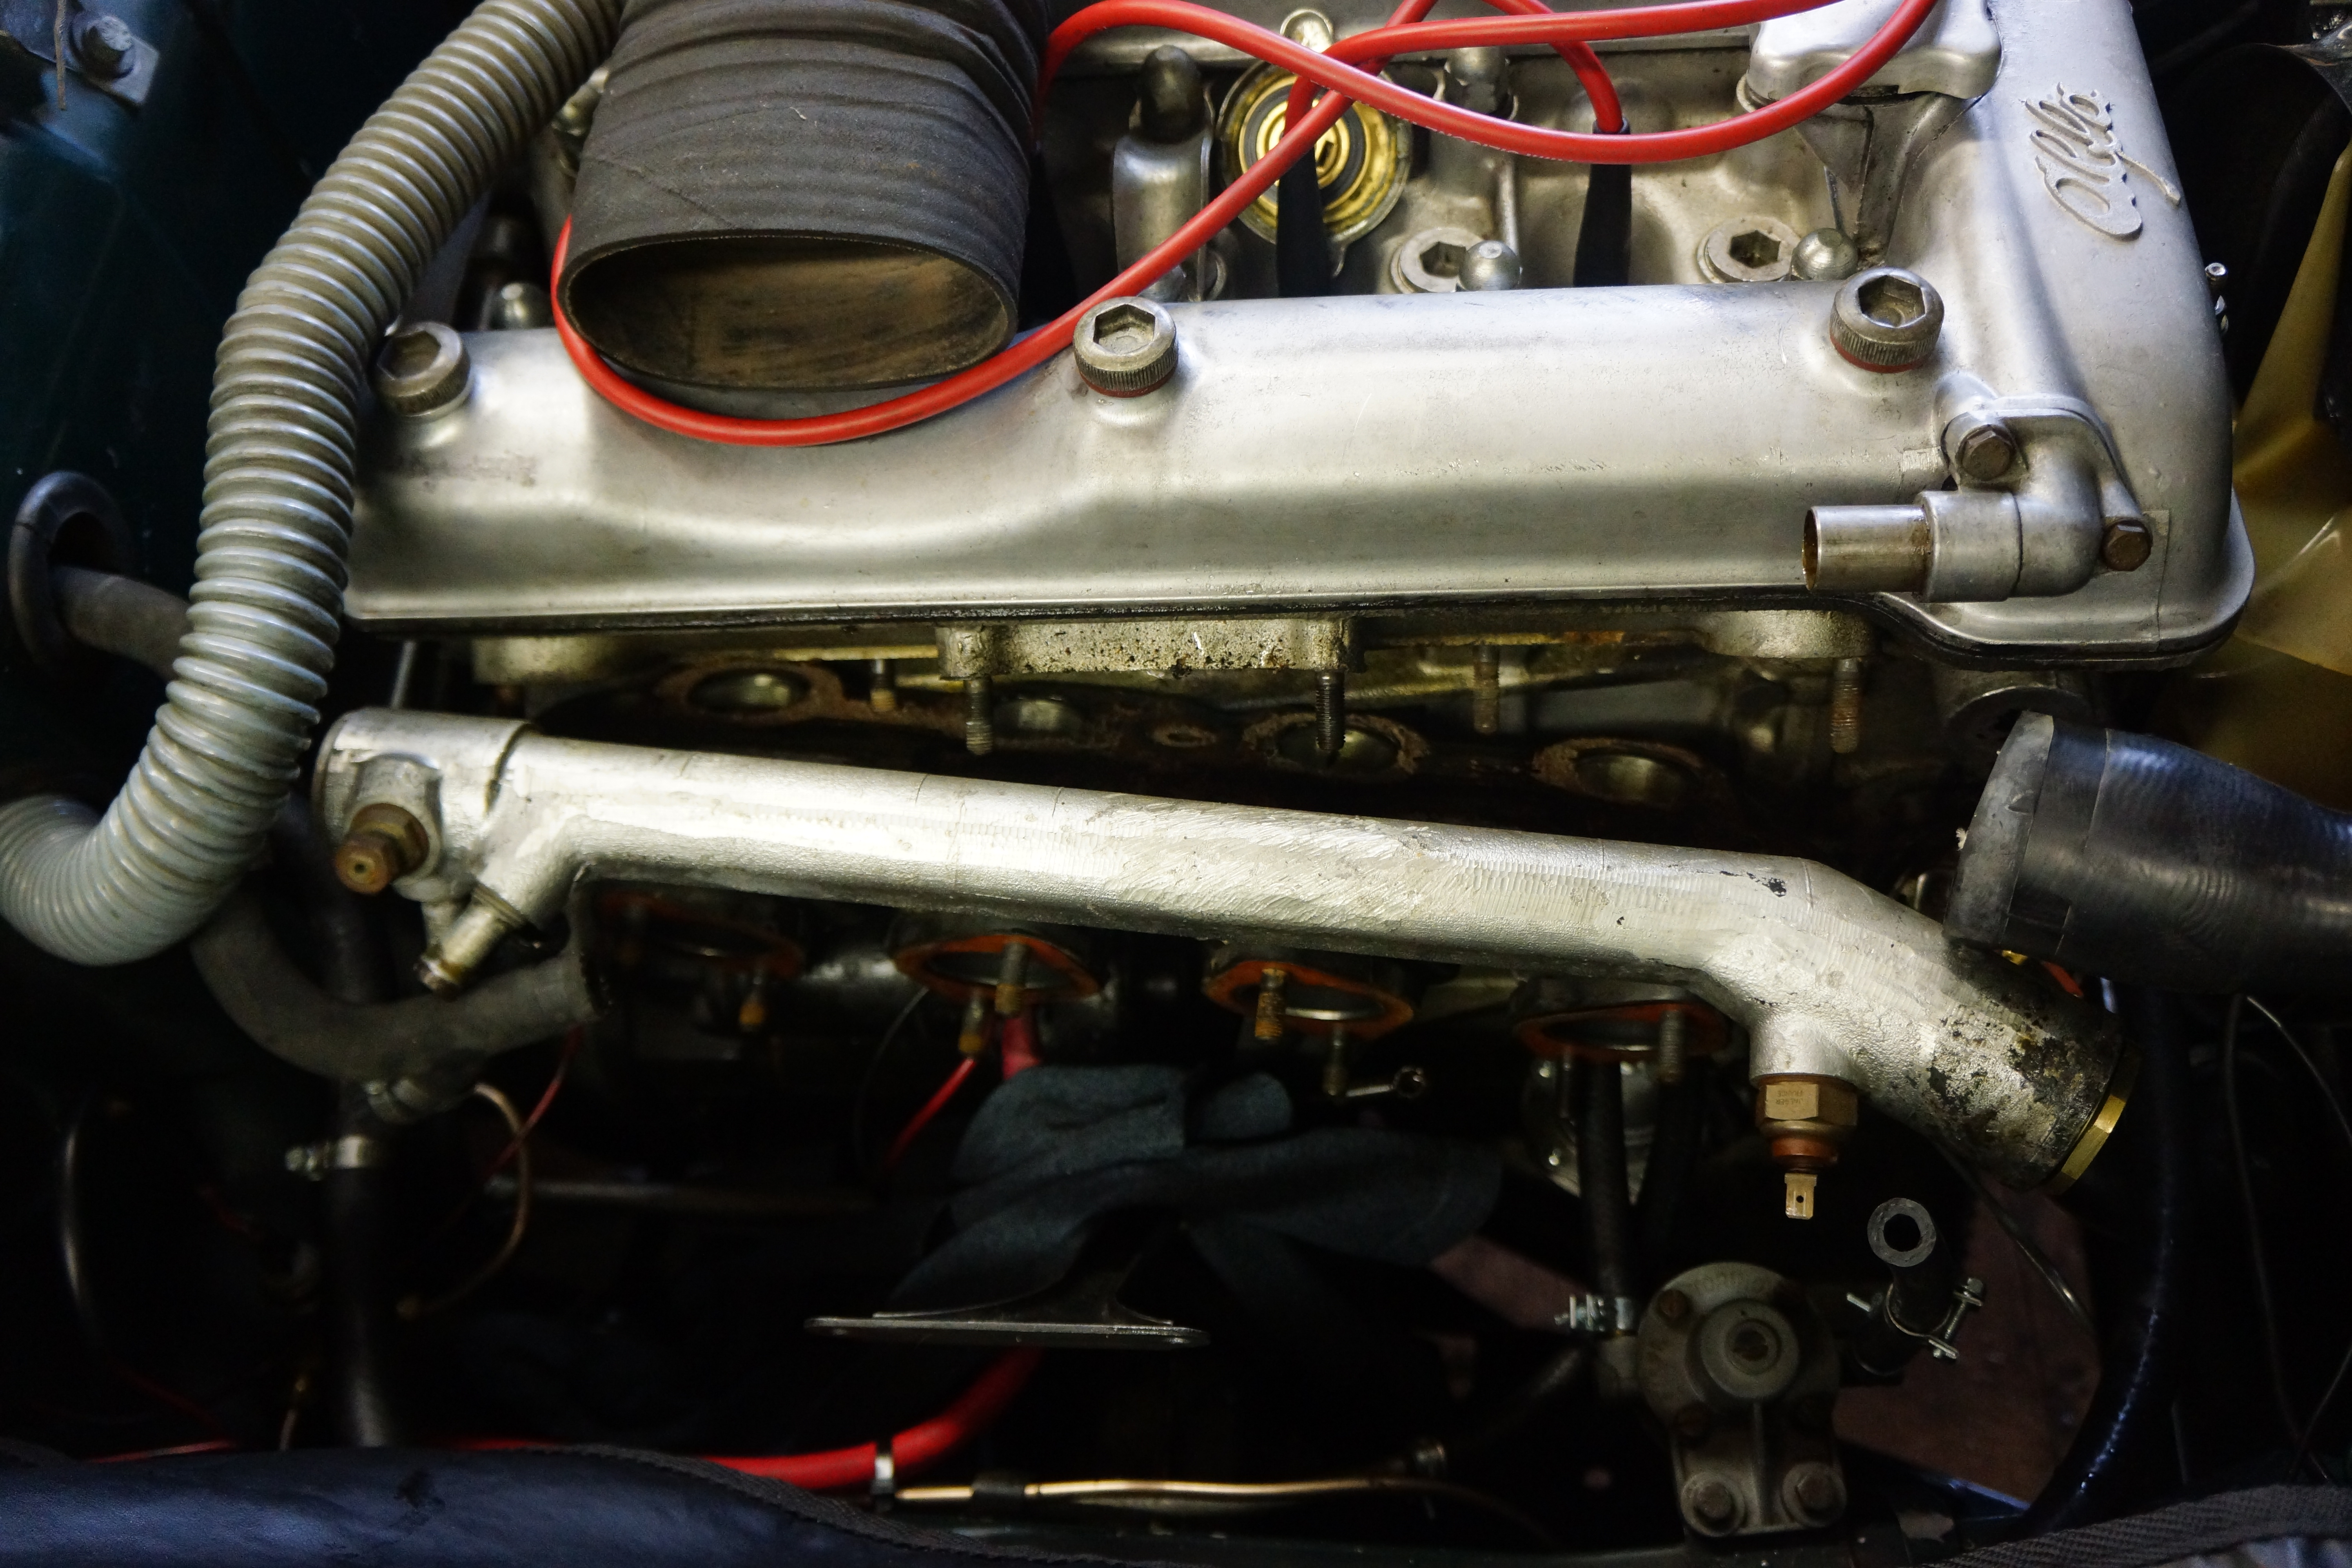
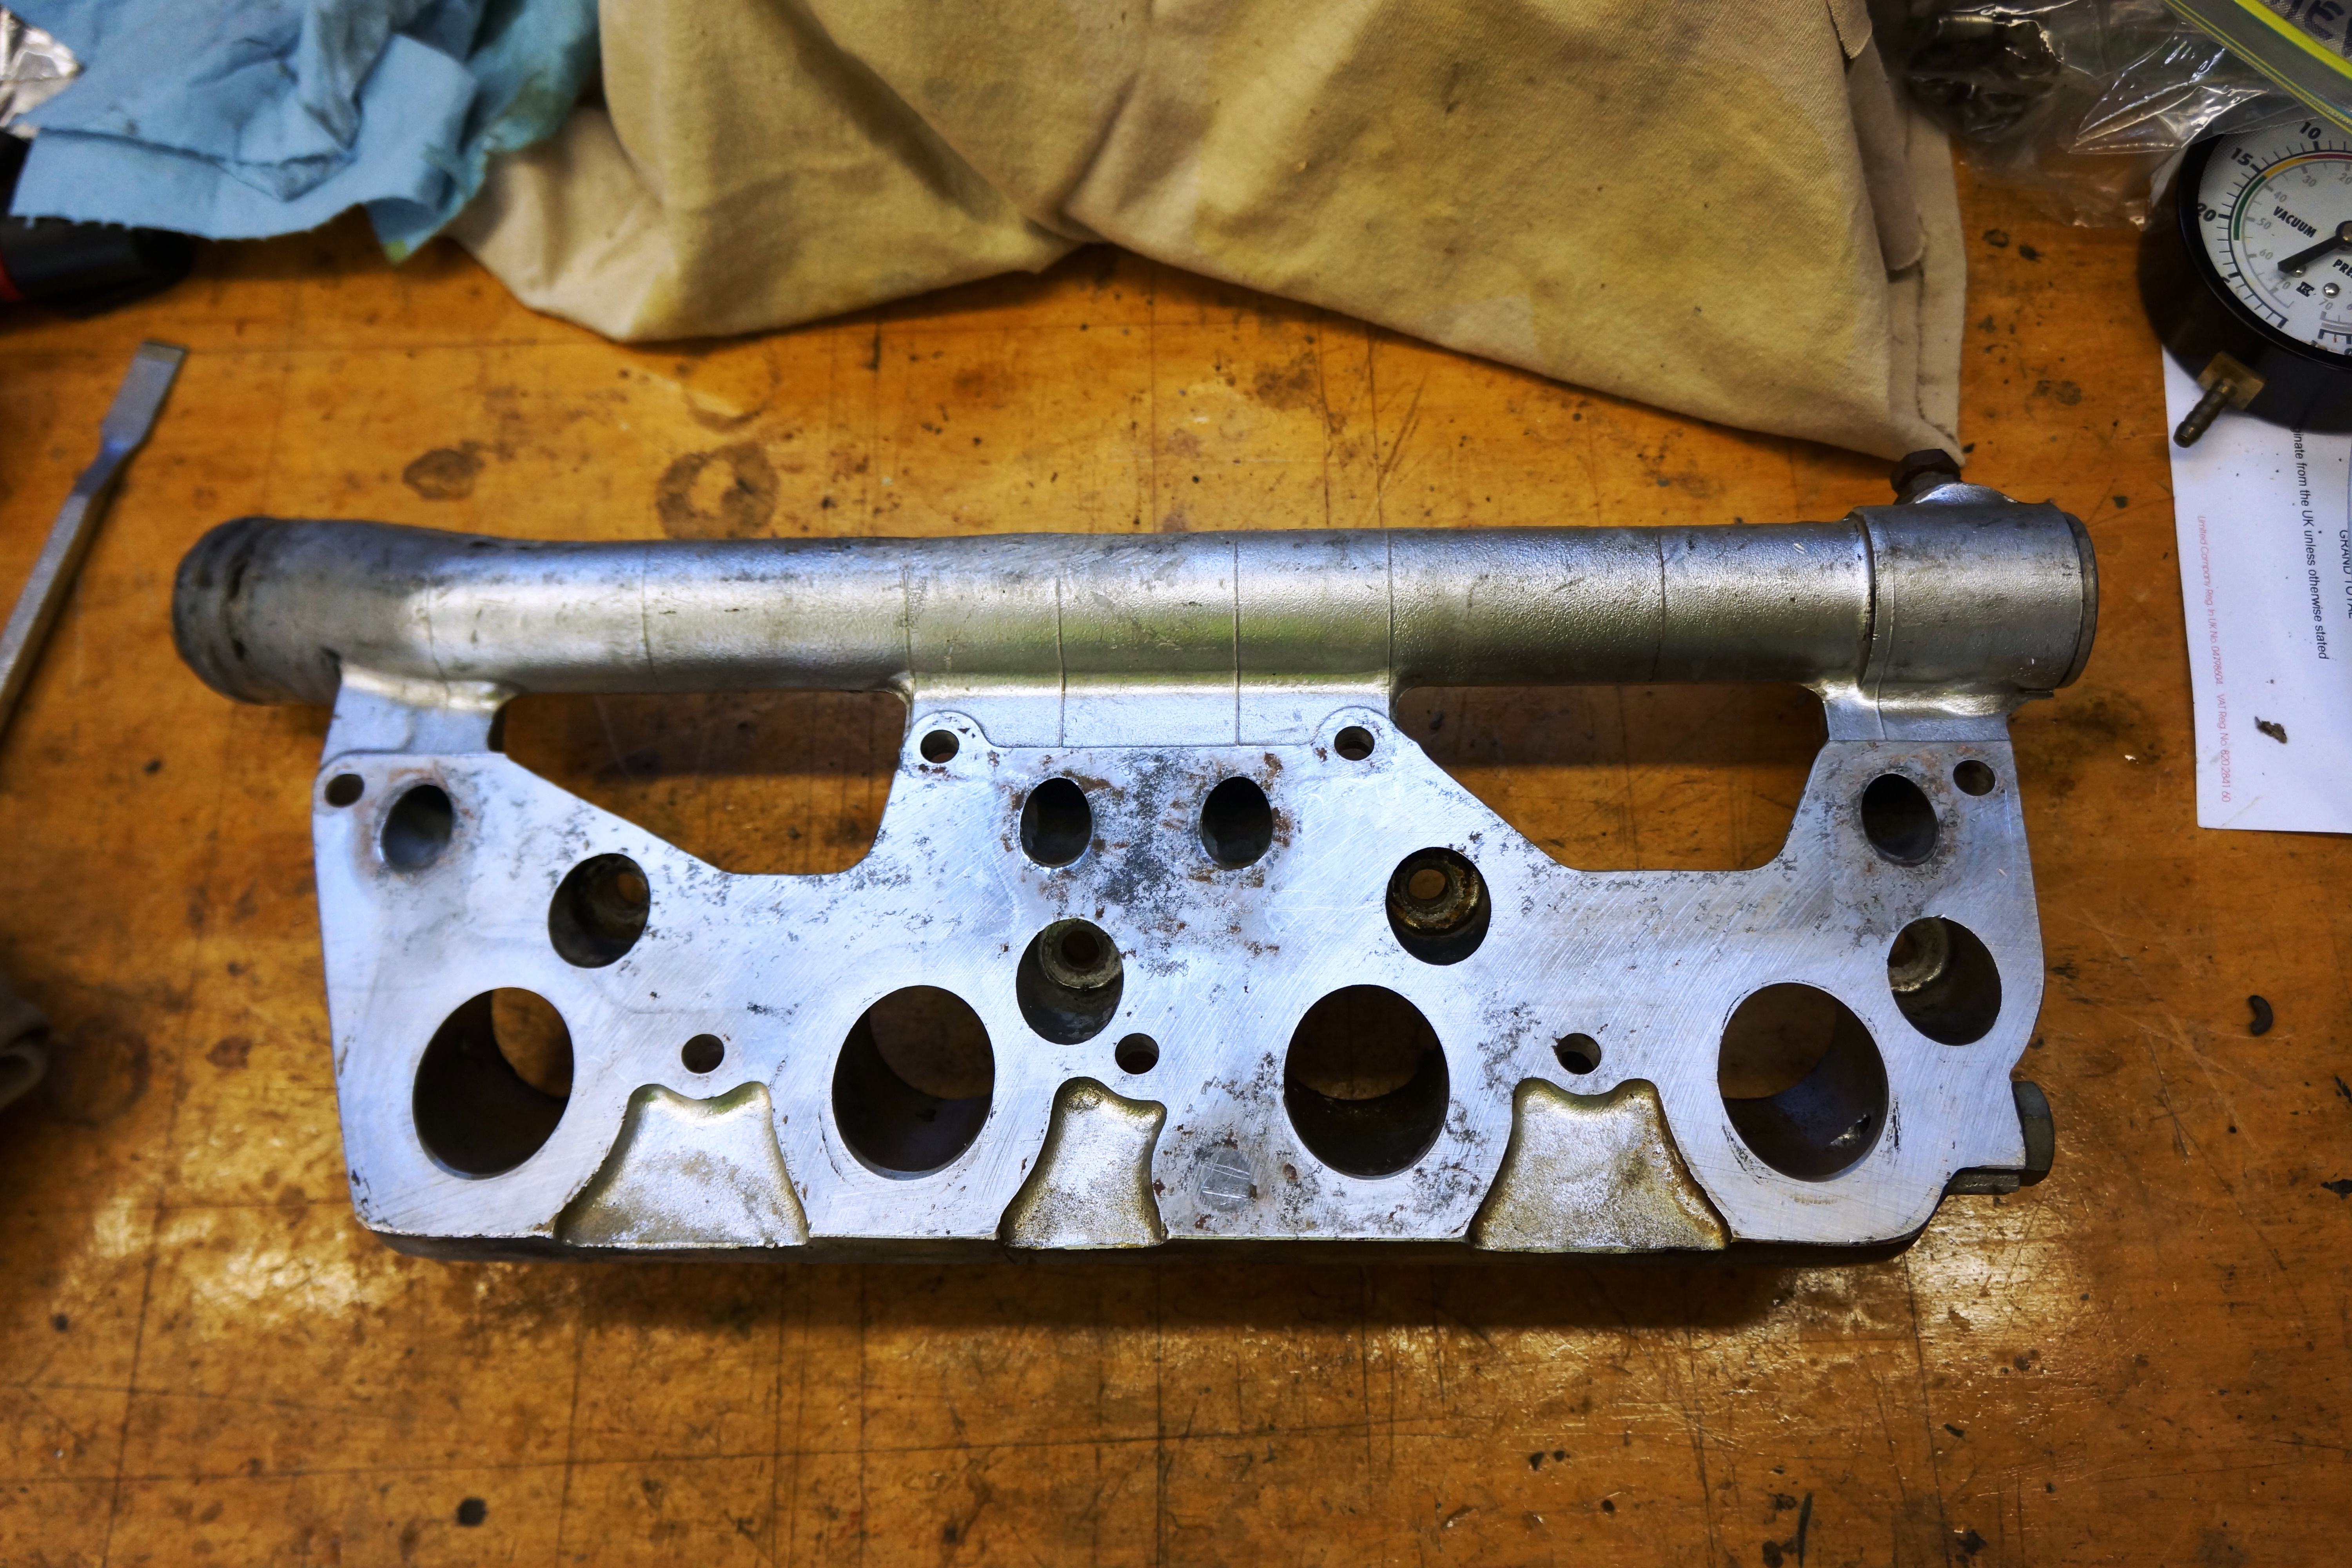
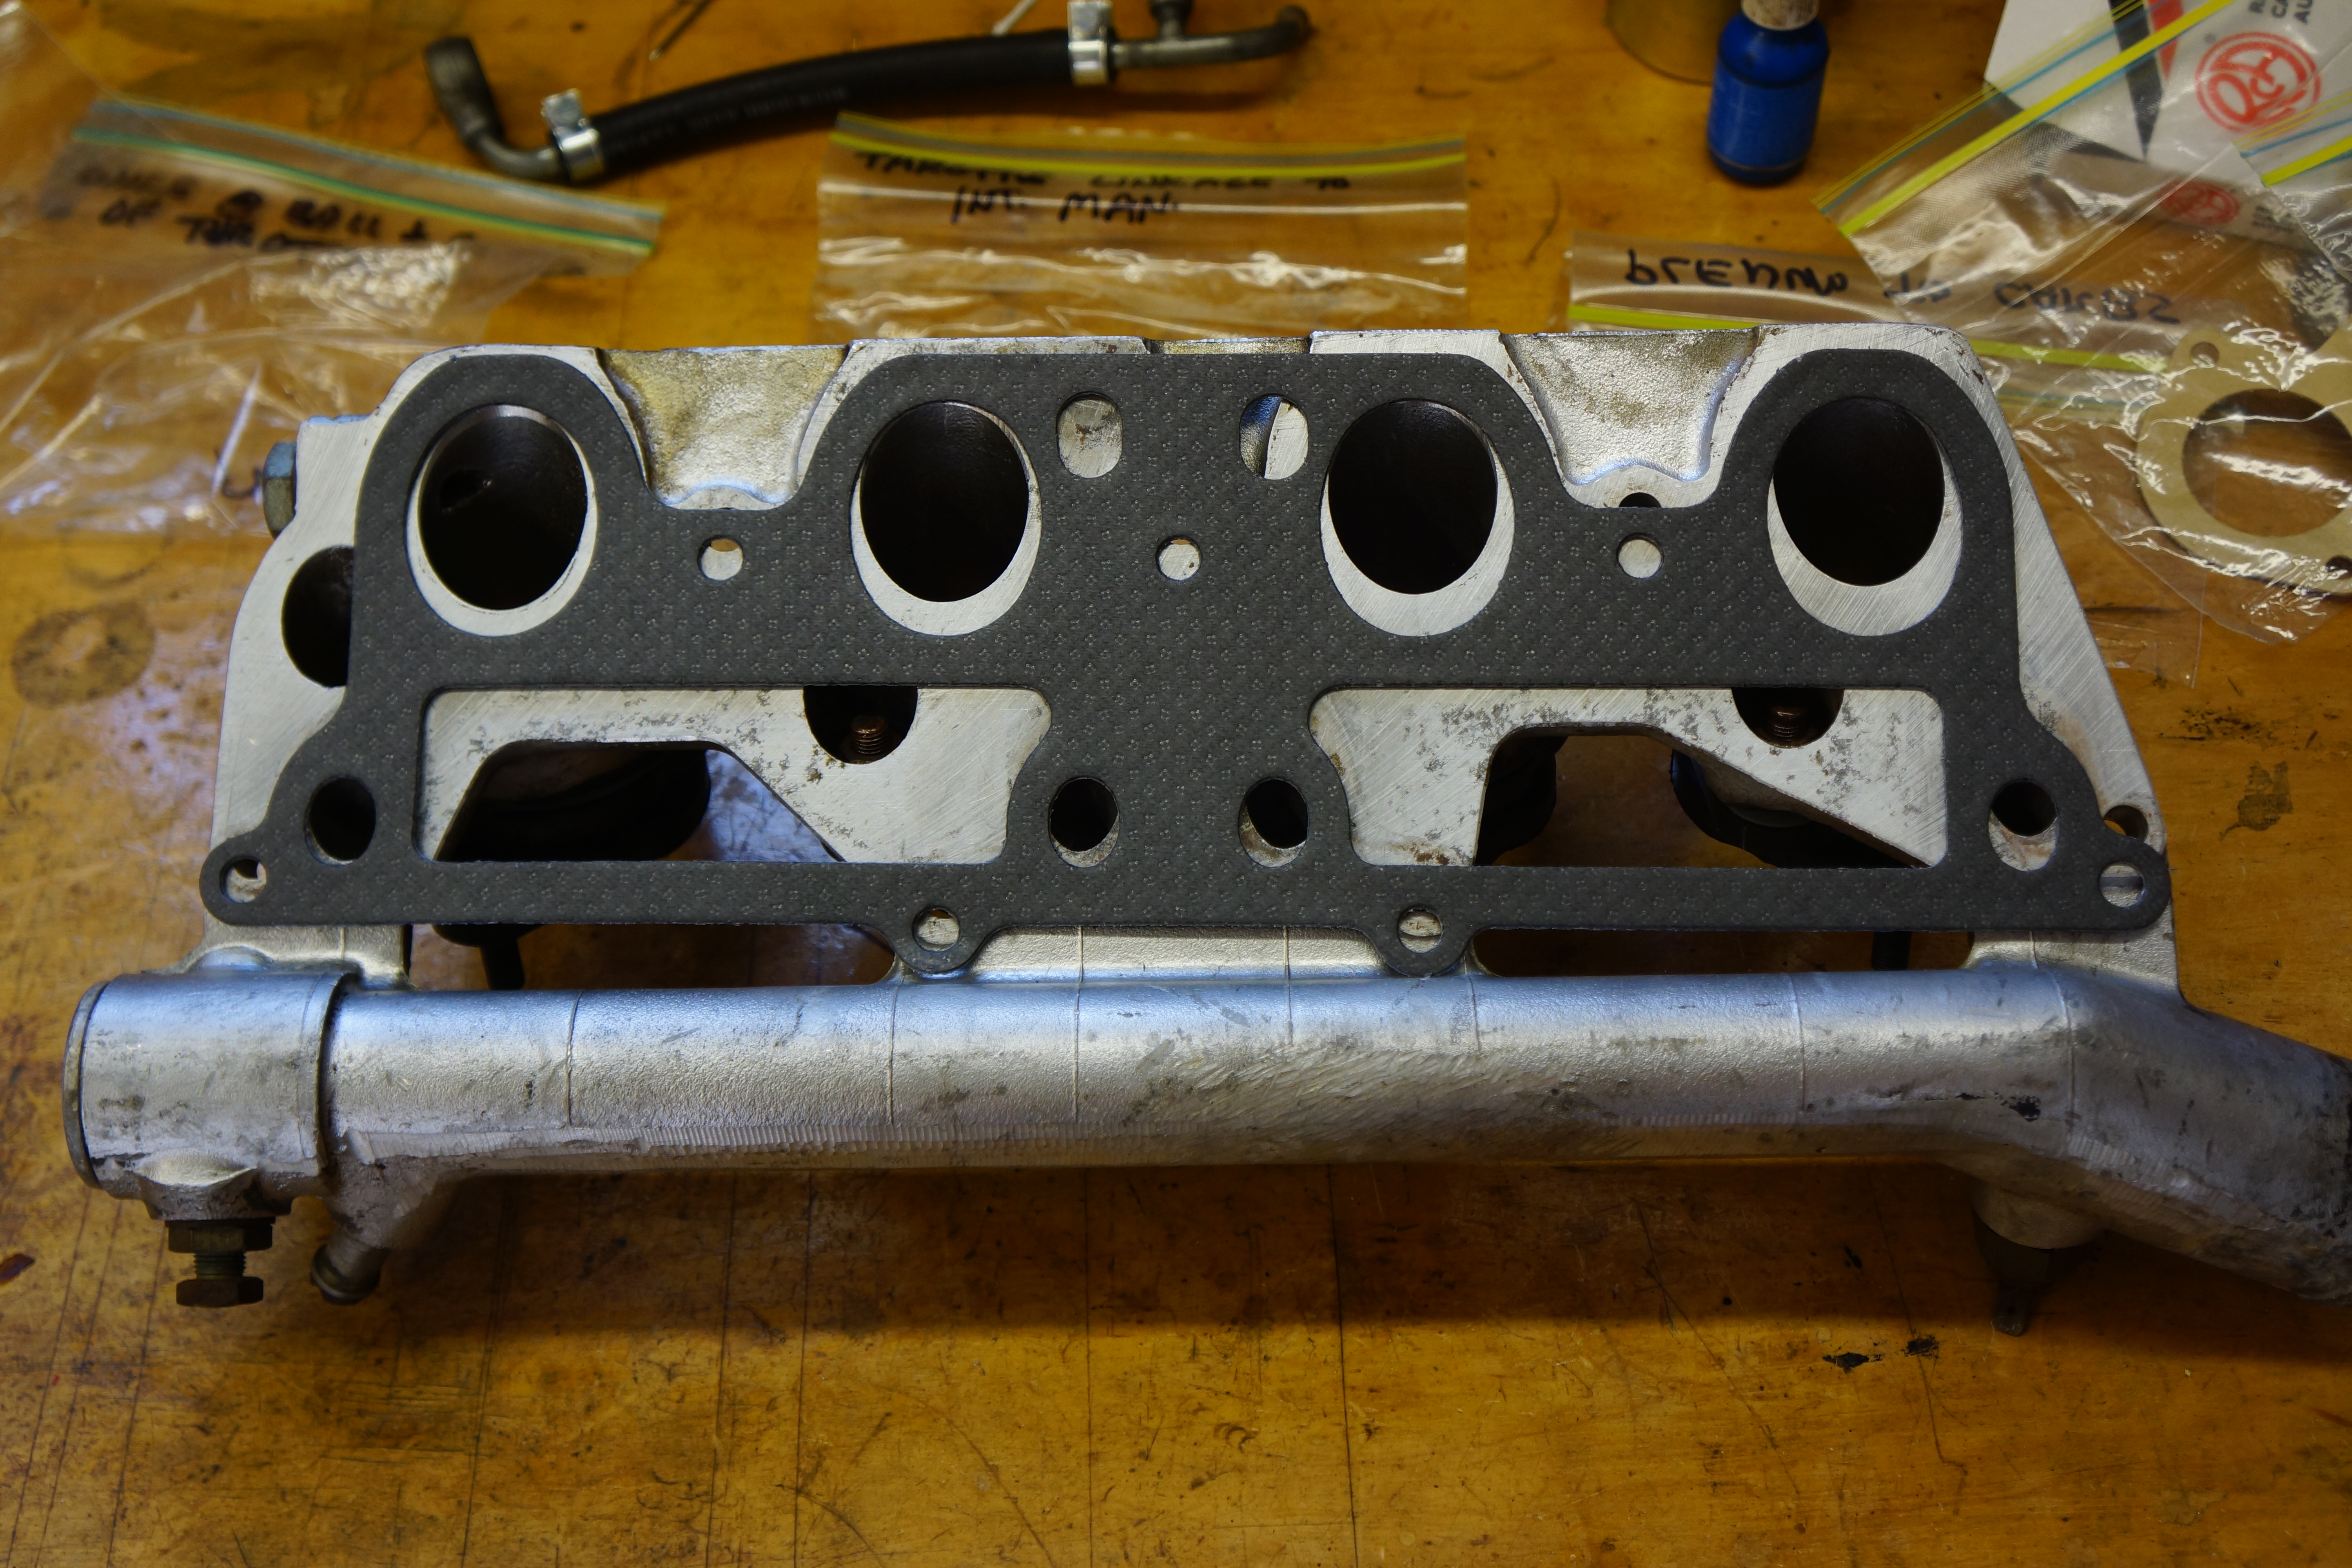
The corner had been turned, and it was time for reassembly. First, the rubber mounts were bolted to the intake manifold (remember that half the bolts are hidden on the cylinder head side of the manifold). Adding yet another step to this litany of work, I decided at the last minute to replace the coolant, which was more than several years old. This meant hunting down some old-fashioned green antifreeze and distilled water (Walmart was down to its last 5 gallon bottles of distilled, but I only needed 2). The manifold was bolted back to the cylinder head, the coolant hoses were reattached (it’s a wet manifold), and the radiator was filled.
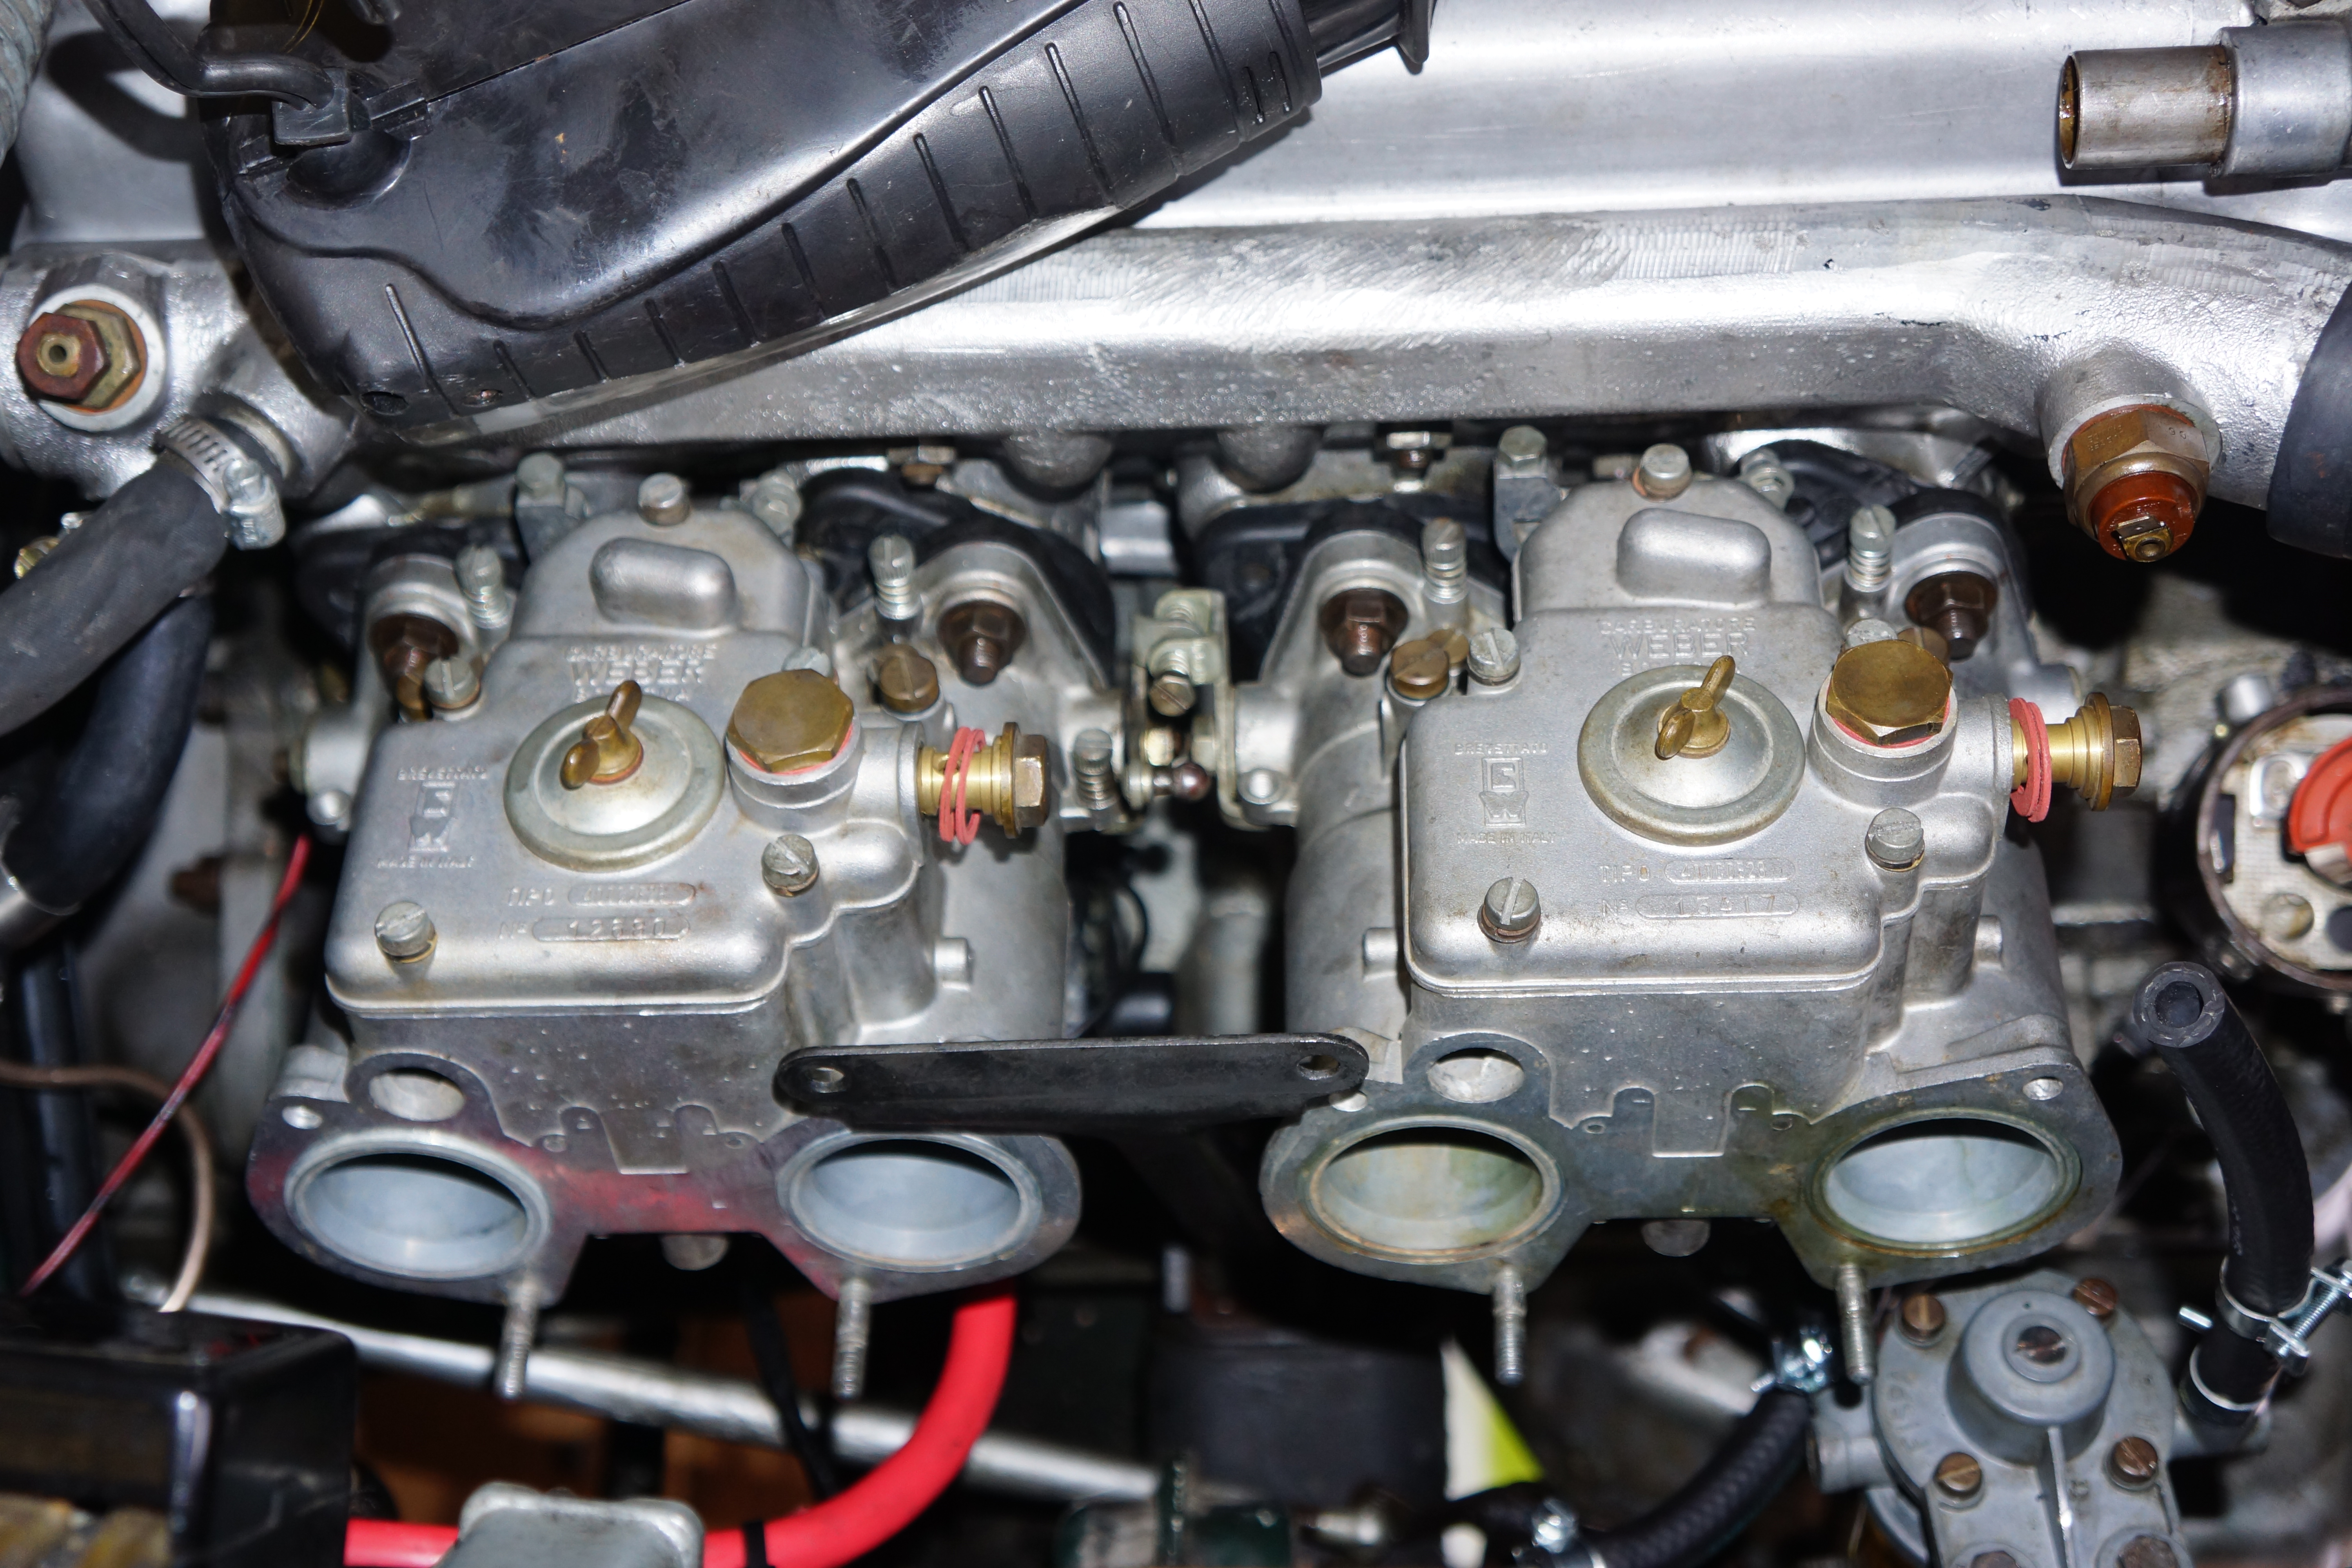
The cleaned carbs were bolted to the rubber mounts, and the choke and throttle linkages were reattached. I decided for now to leave the intake plenum off the car. The engine would run without it, and I didn’t want to do any more work than necessary in the very unlikely event that the carbs needed to be removed again.
It was time to try to start the car.
Many minutes were spent pumping the throttle and cranking the engine in short bursts so as not to overheat the starter motor. The engine wasn’t even trying to start. After about five minutes of this, I knew that something else needed to change. Each two-barrel carb has two idle mixture screws, so there are four, one for each barrel (obviously). My repair books differ in describing the basic setting of these idle mixture screws. While all the service literature agrees that each screw should be turned down to ‘bottom’, then turned ‘out’ (counterclockwise), the exact number of recommended turns differs. I had settled on one full turn out, while some books recommended two, and others didn’t even give an exact number. When the car wouldn’t start, I turned each idle air mix screw one full turn further out. Climbing back into the car, the engine started on the next try.
Next, the books advised on how to continue with the basic settings, including carb synchronizing and idle setting. Before either of these can be set, however, the engine needs to reach full operating temperature. I watched both the temperature gauge and the coolant level, and both were fine. But as the engine warmed up, the idle kept increasing. Nothing I did at the carbs seemed to have any effect on my ability to lower the idle. After a few minutes, the car was ‘idling’ at 2500 rpm, and it should be between 800-1000 rpm. While I was happy that the car was running, and running well to my ears, something else was up with the idle control. It was time to shut it down and hit the books again.
All photographs copyright © 2020 Richard A. Reina. Photos may not be copied or reproduced without express written permission.