

All posts related to my 1967 Alfa.
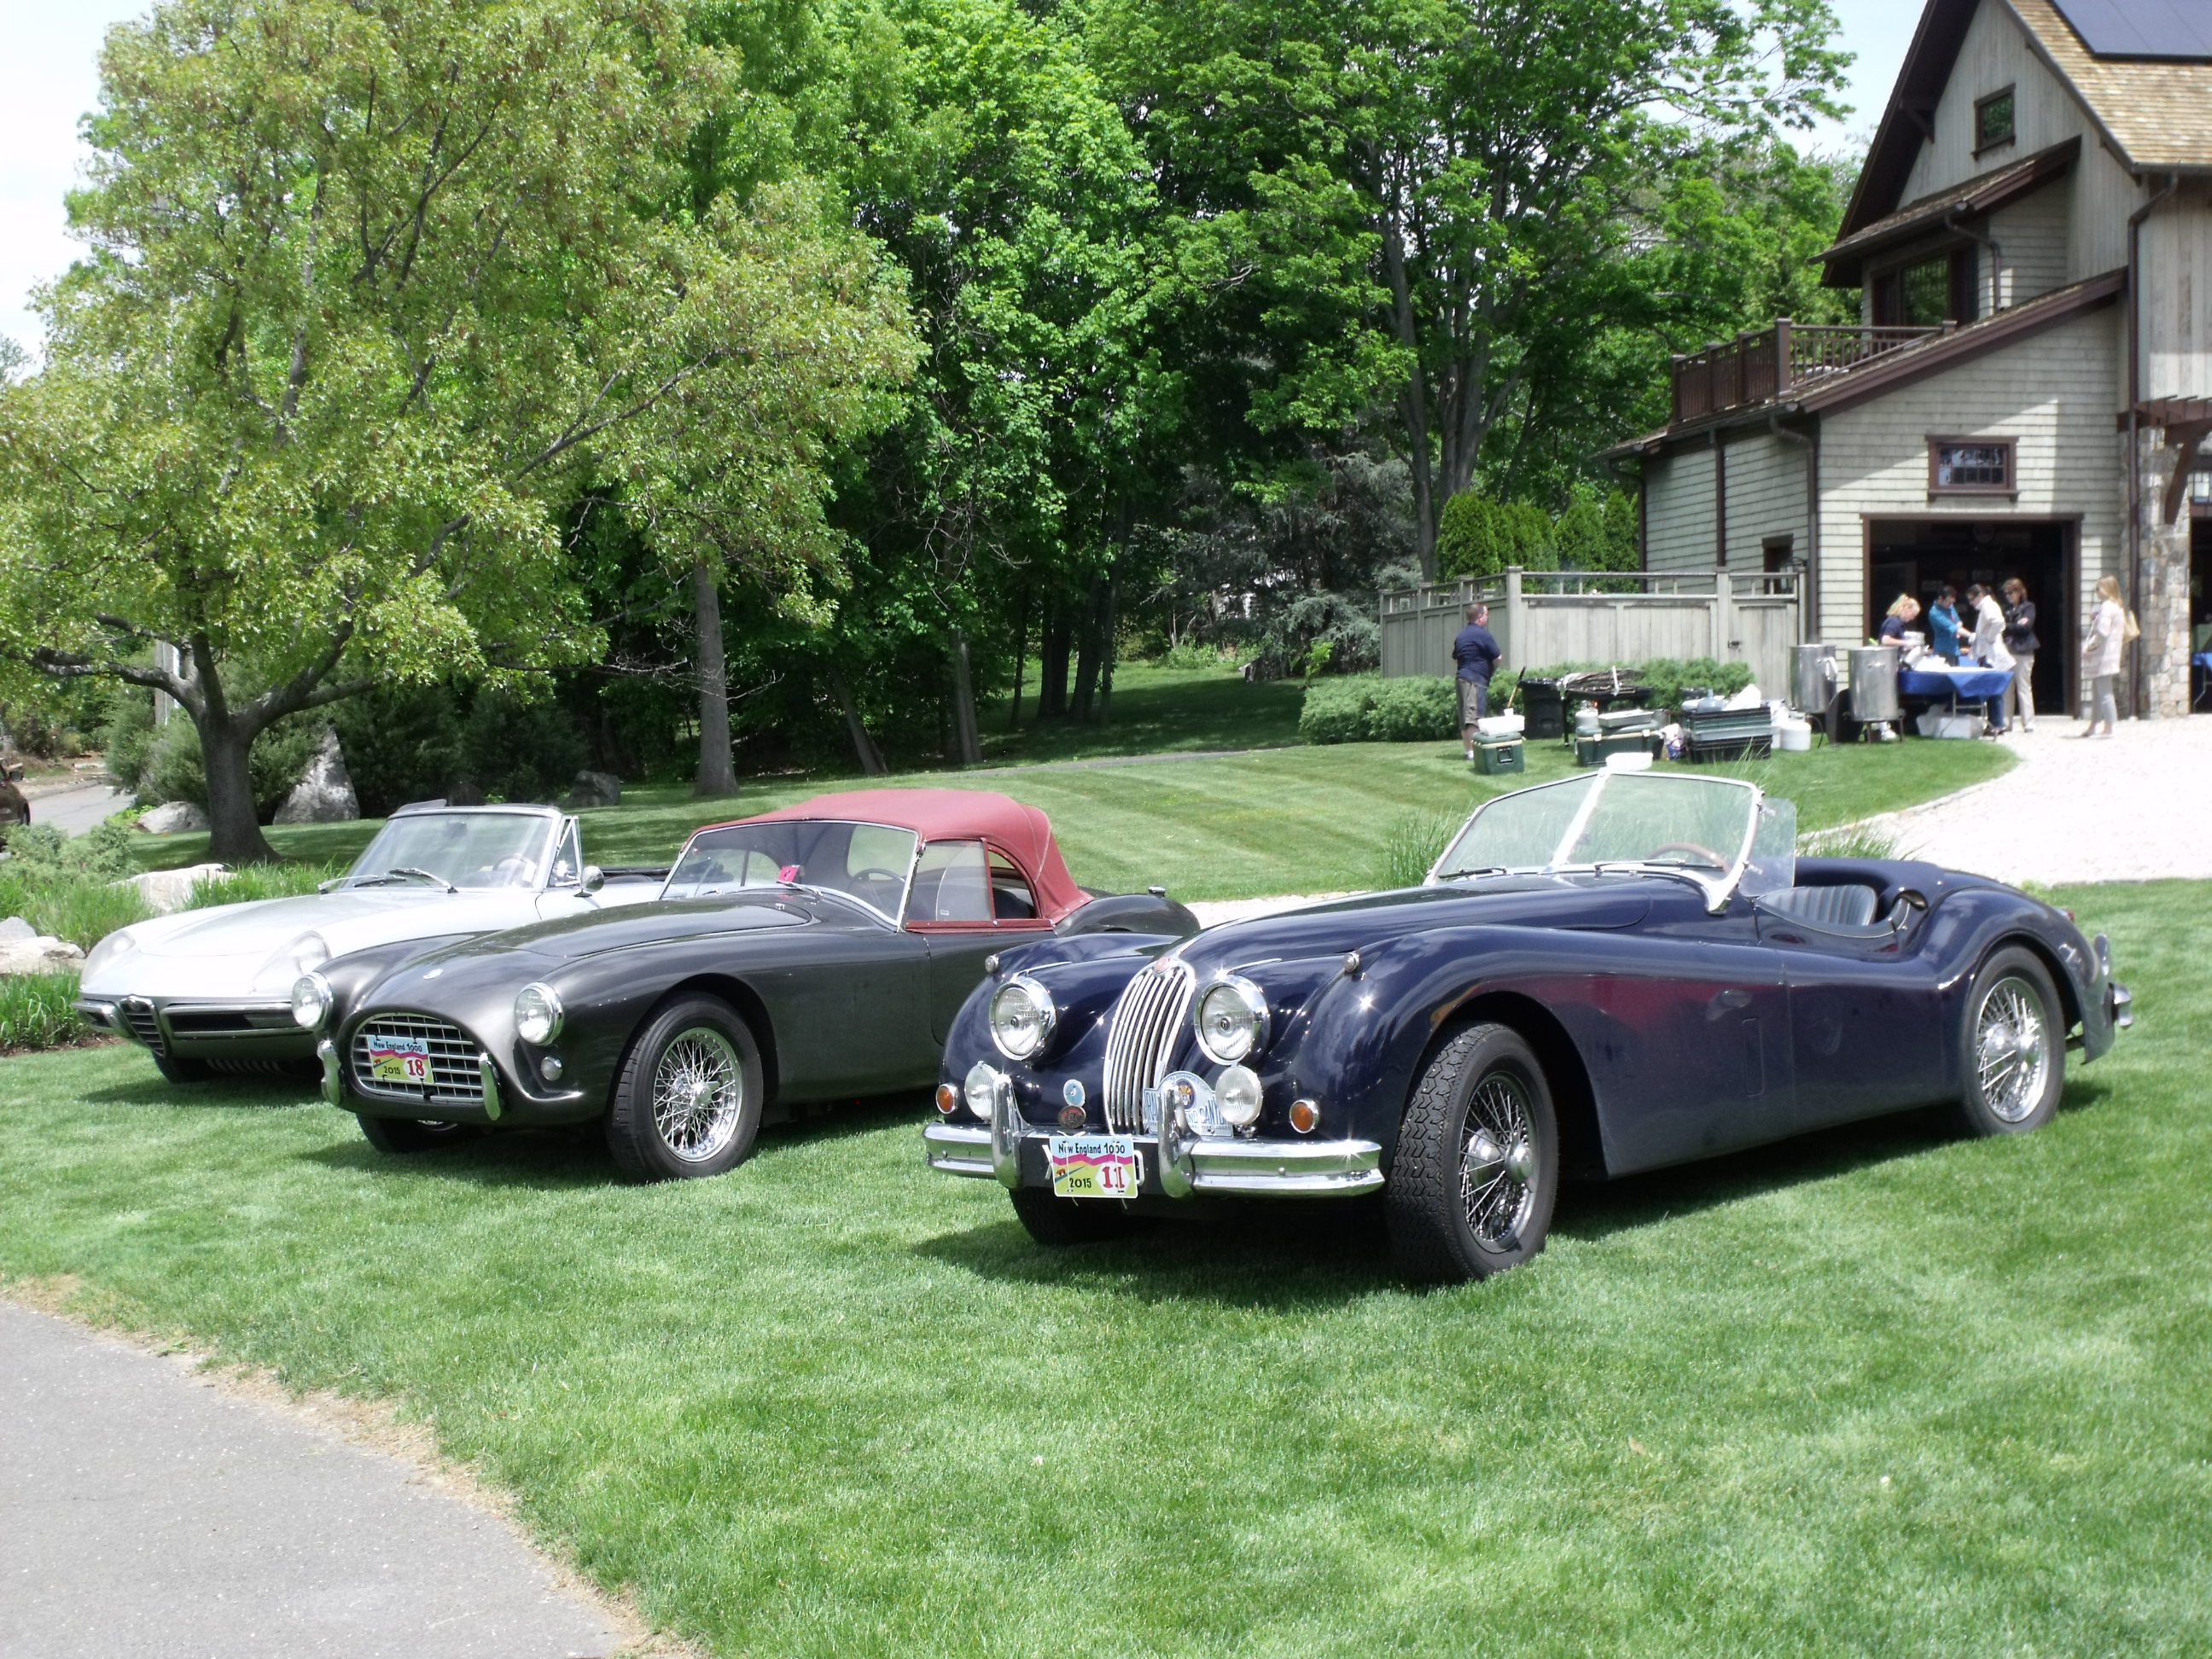
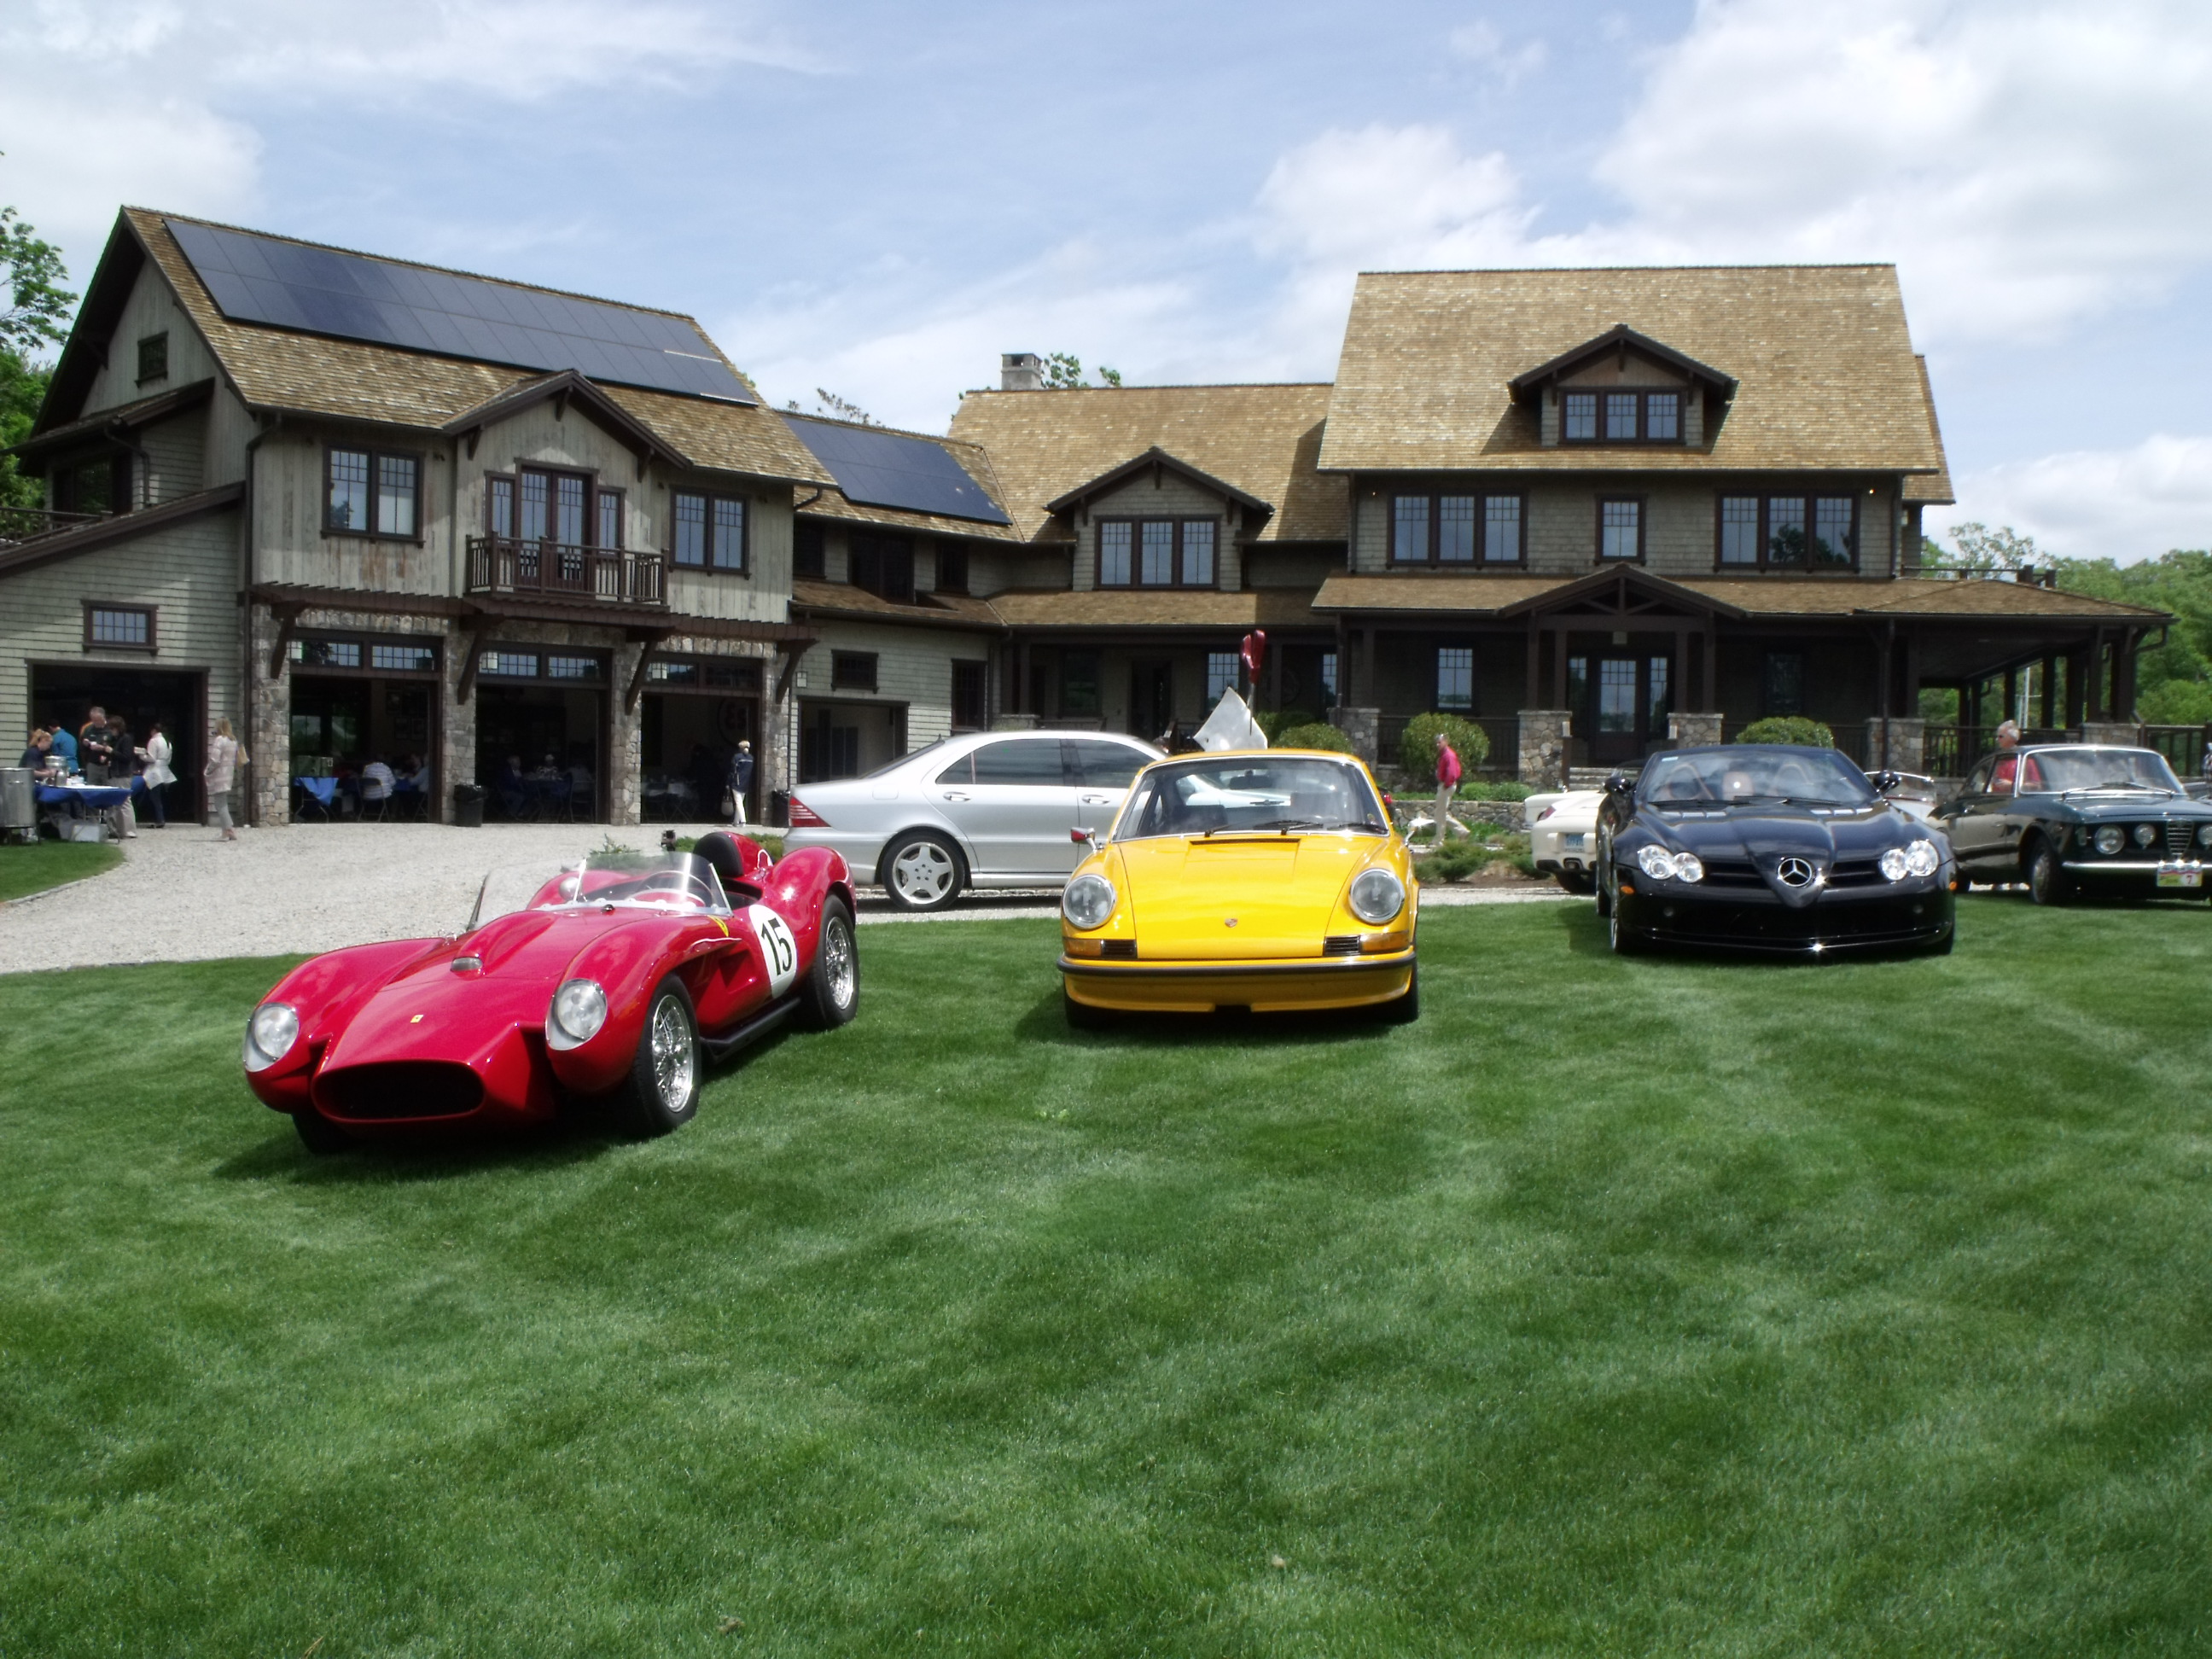
Wednesday’s driving took us from MA and into CT, where we visited Dragone Classic Motorcars and lunched at the home of Bill Scheffler. The Scheffler homestead was the day’s highlight, for the magnificent garage, the lawn’s car collection, and the lobster lunch. It was a long but lovely drive back into NY and a return to the Mohonk Mountain House.


Tuesday was a long day’s drive, taking us from Lenox MA, into NY state, back into MA then VT for our first stop. The weather, which began completely overcast, became rainy enough for wipers on all the time.
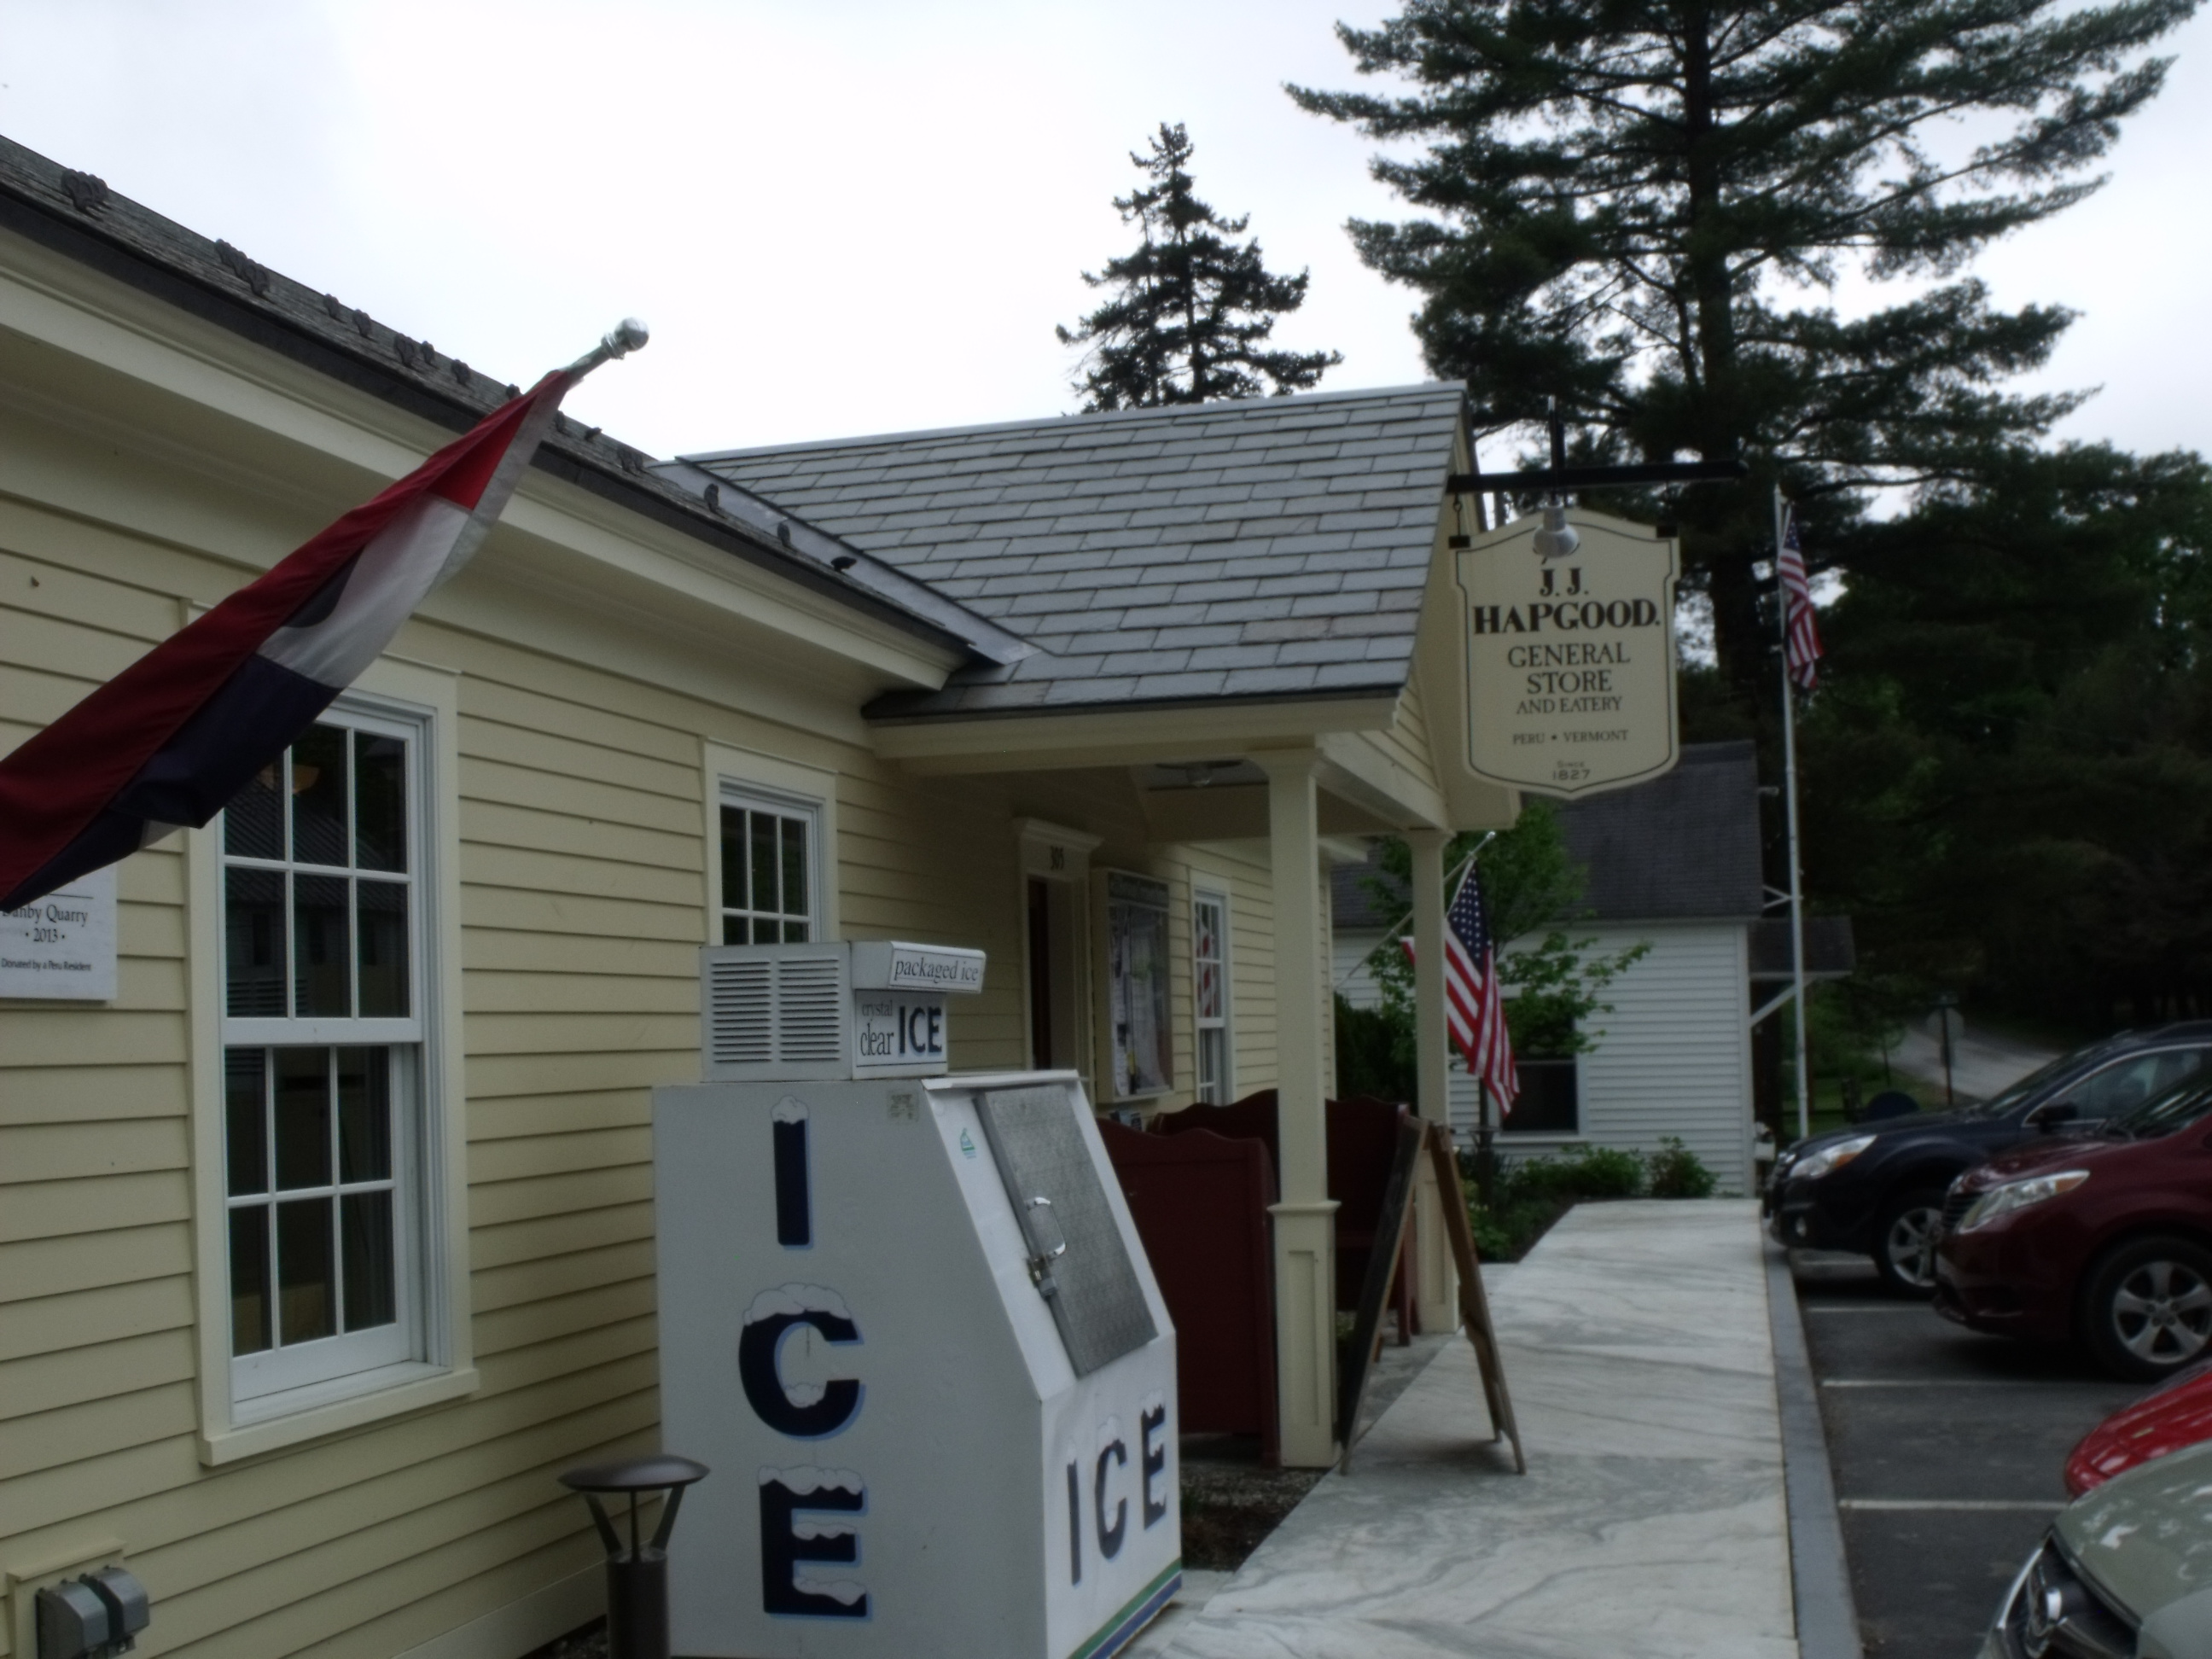
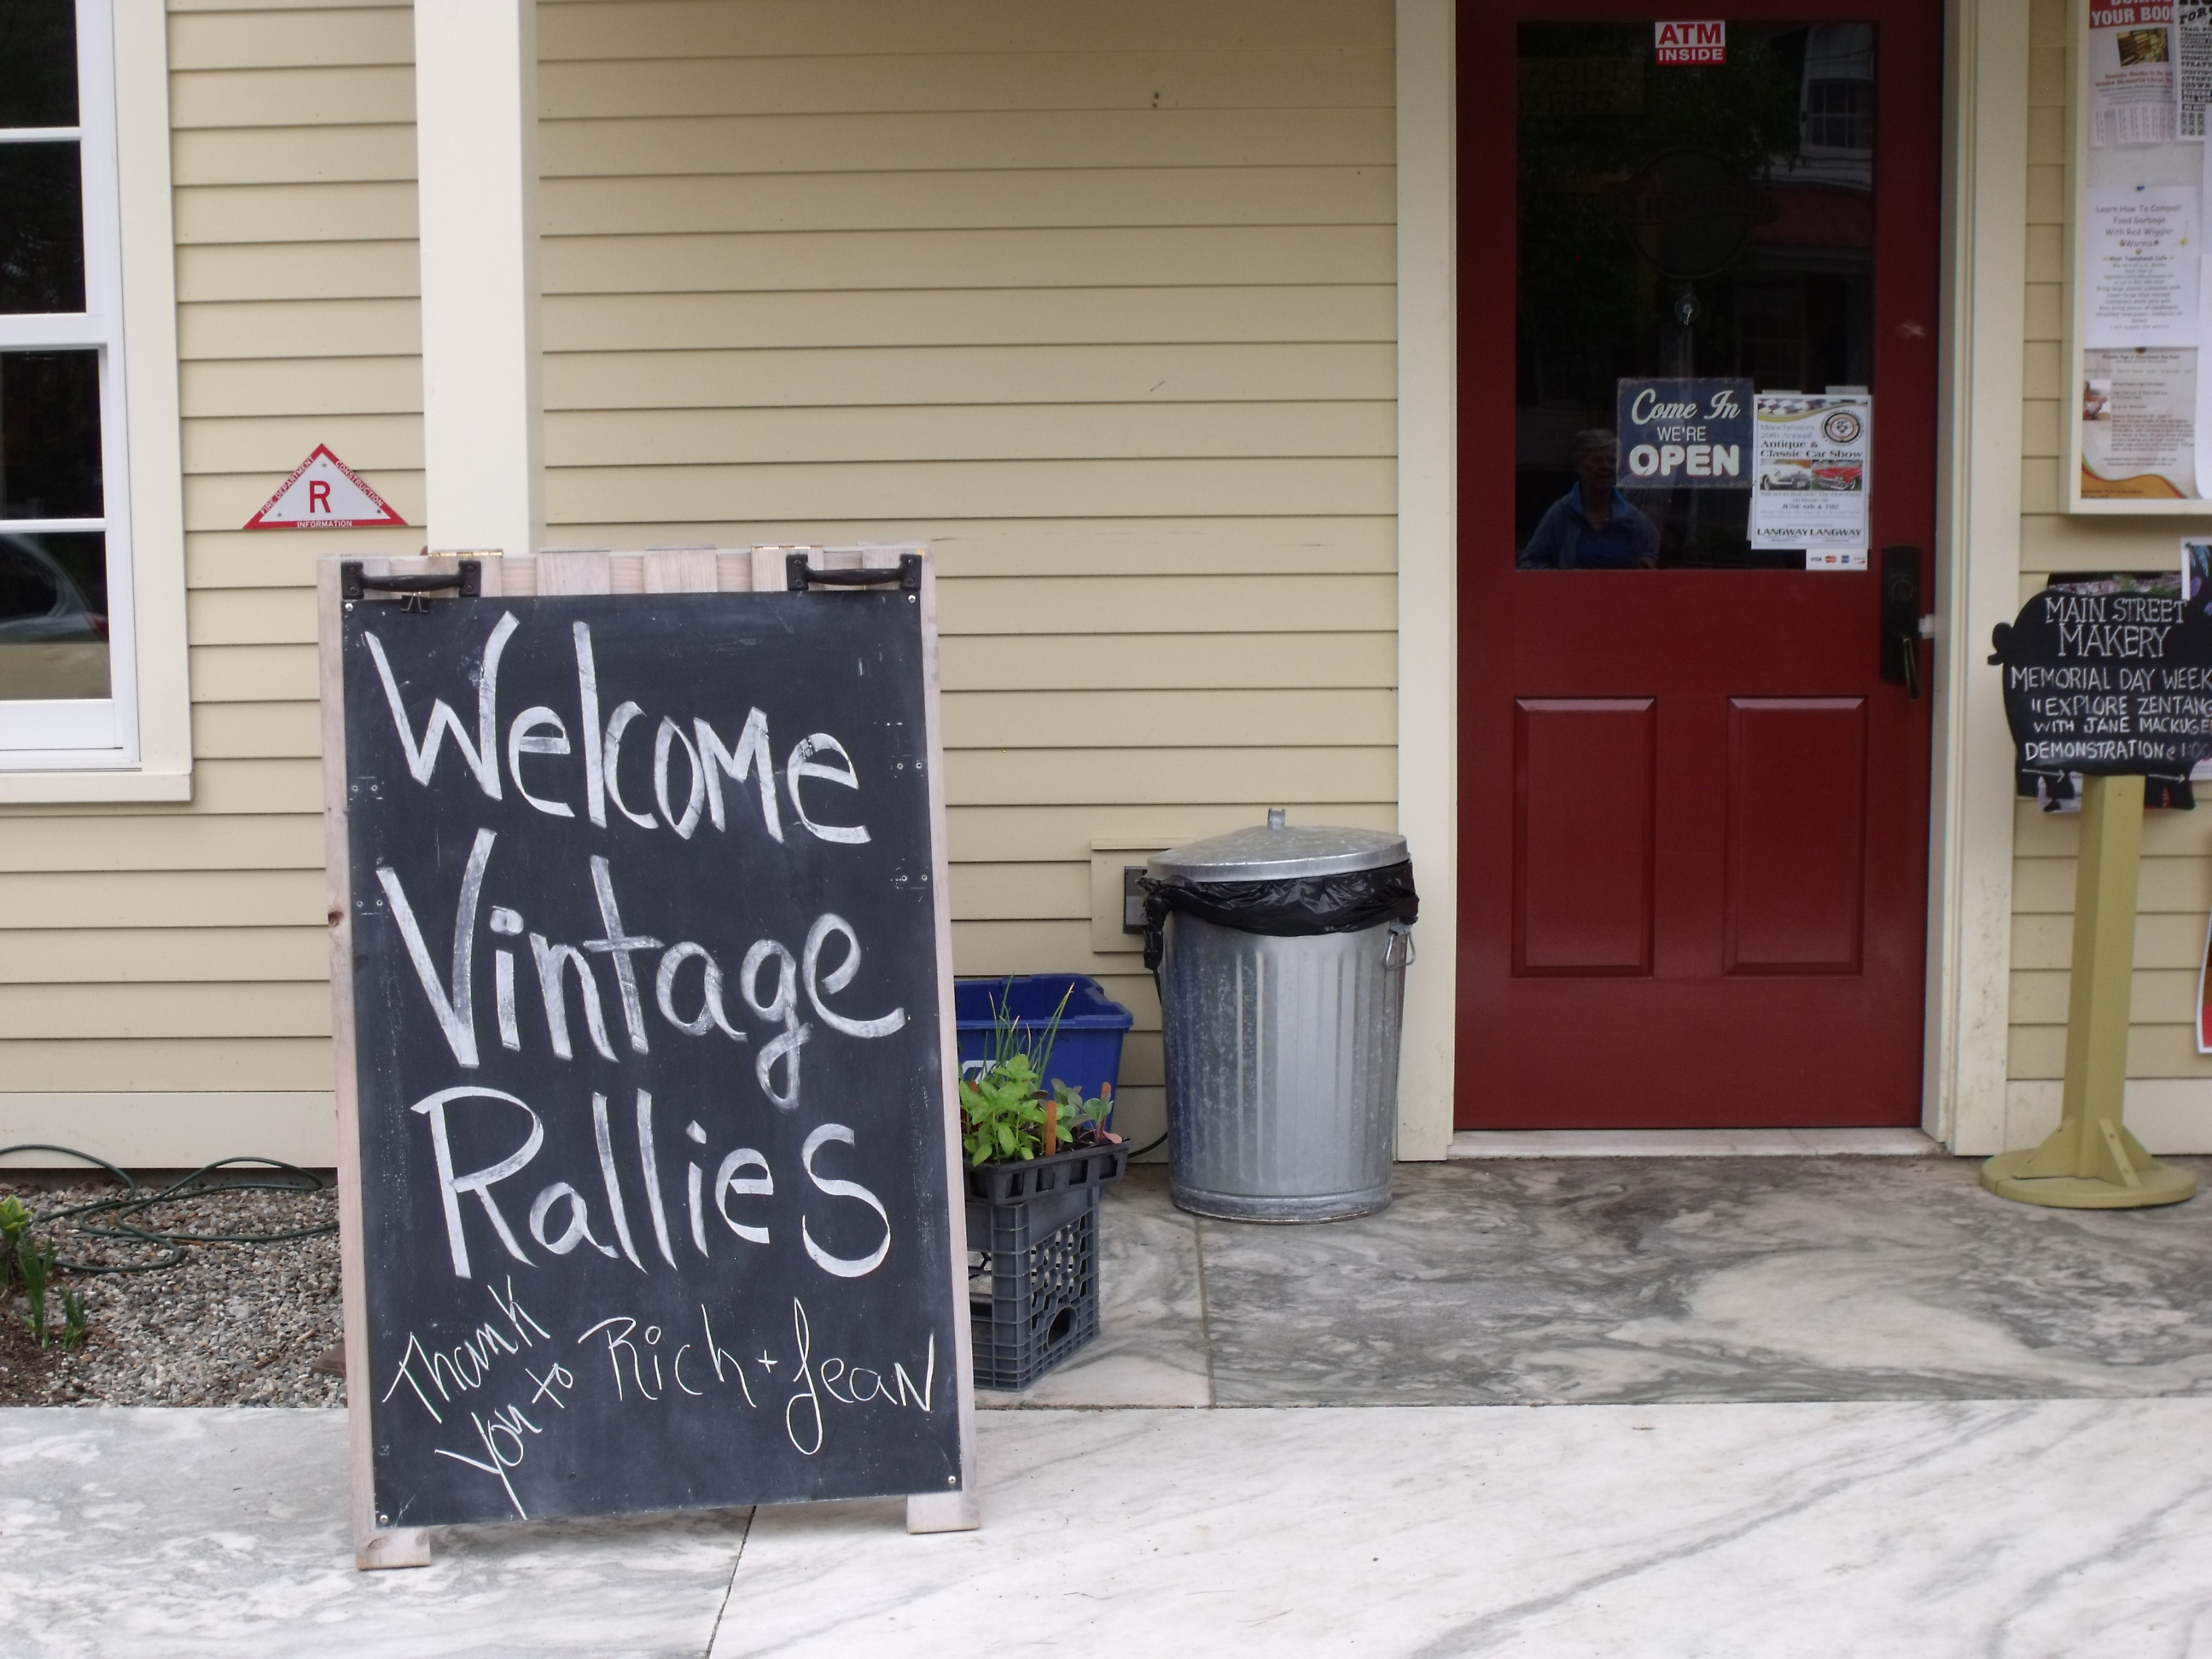
The next stage pulled us through Bennington again, then north to Grafton VT where we had lunch in a charming old inn. After lunch, despite forecasts to the contrary, the clouds parted, the sun broke through, and we had marvelous driving weather.
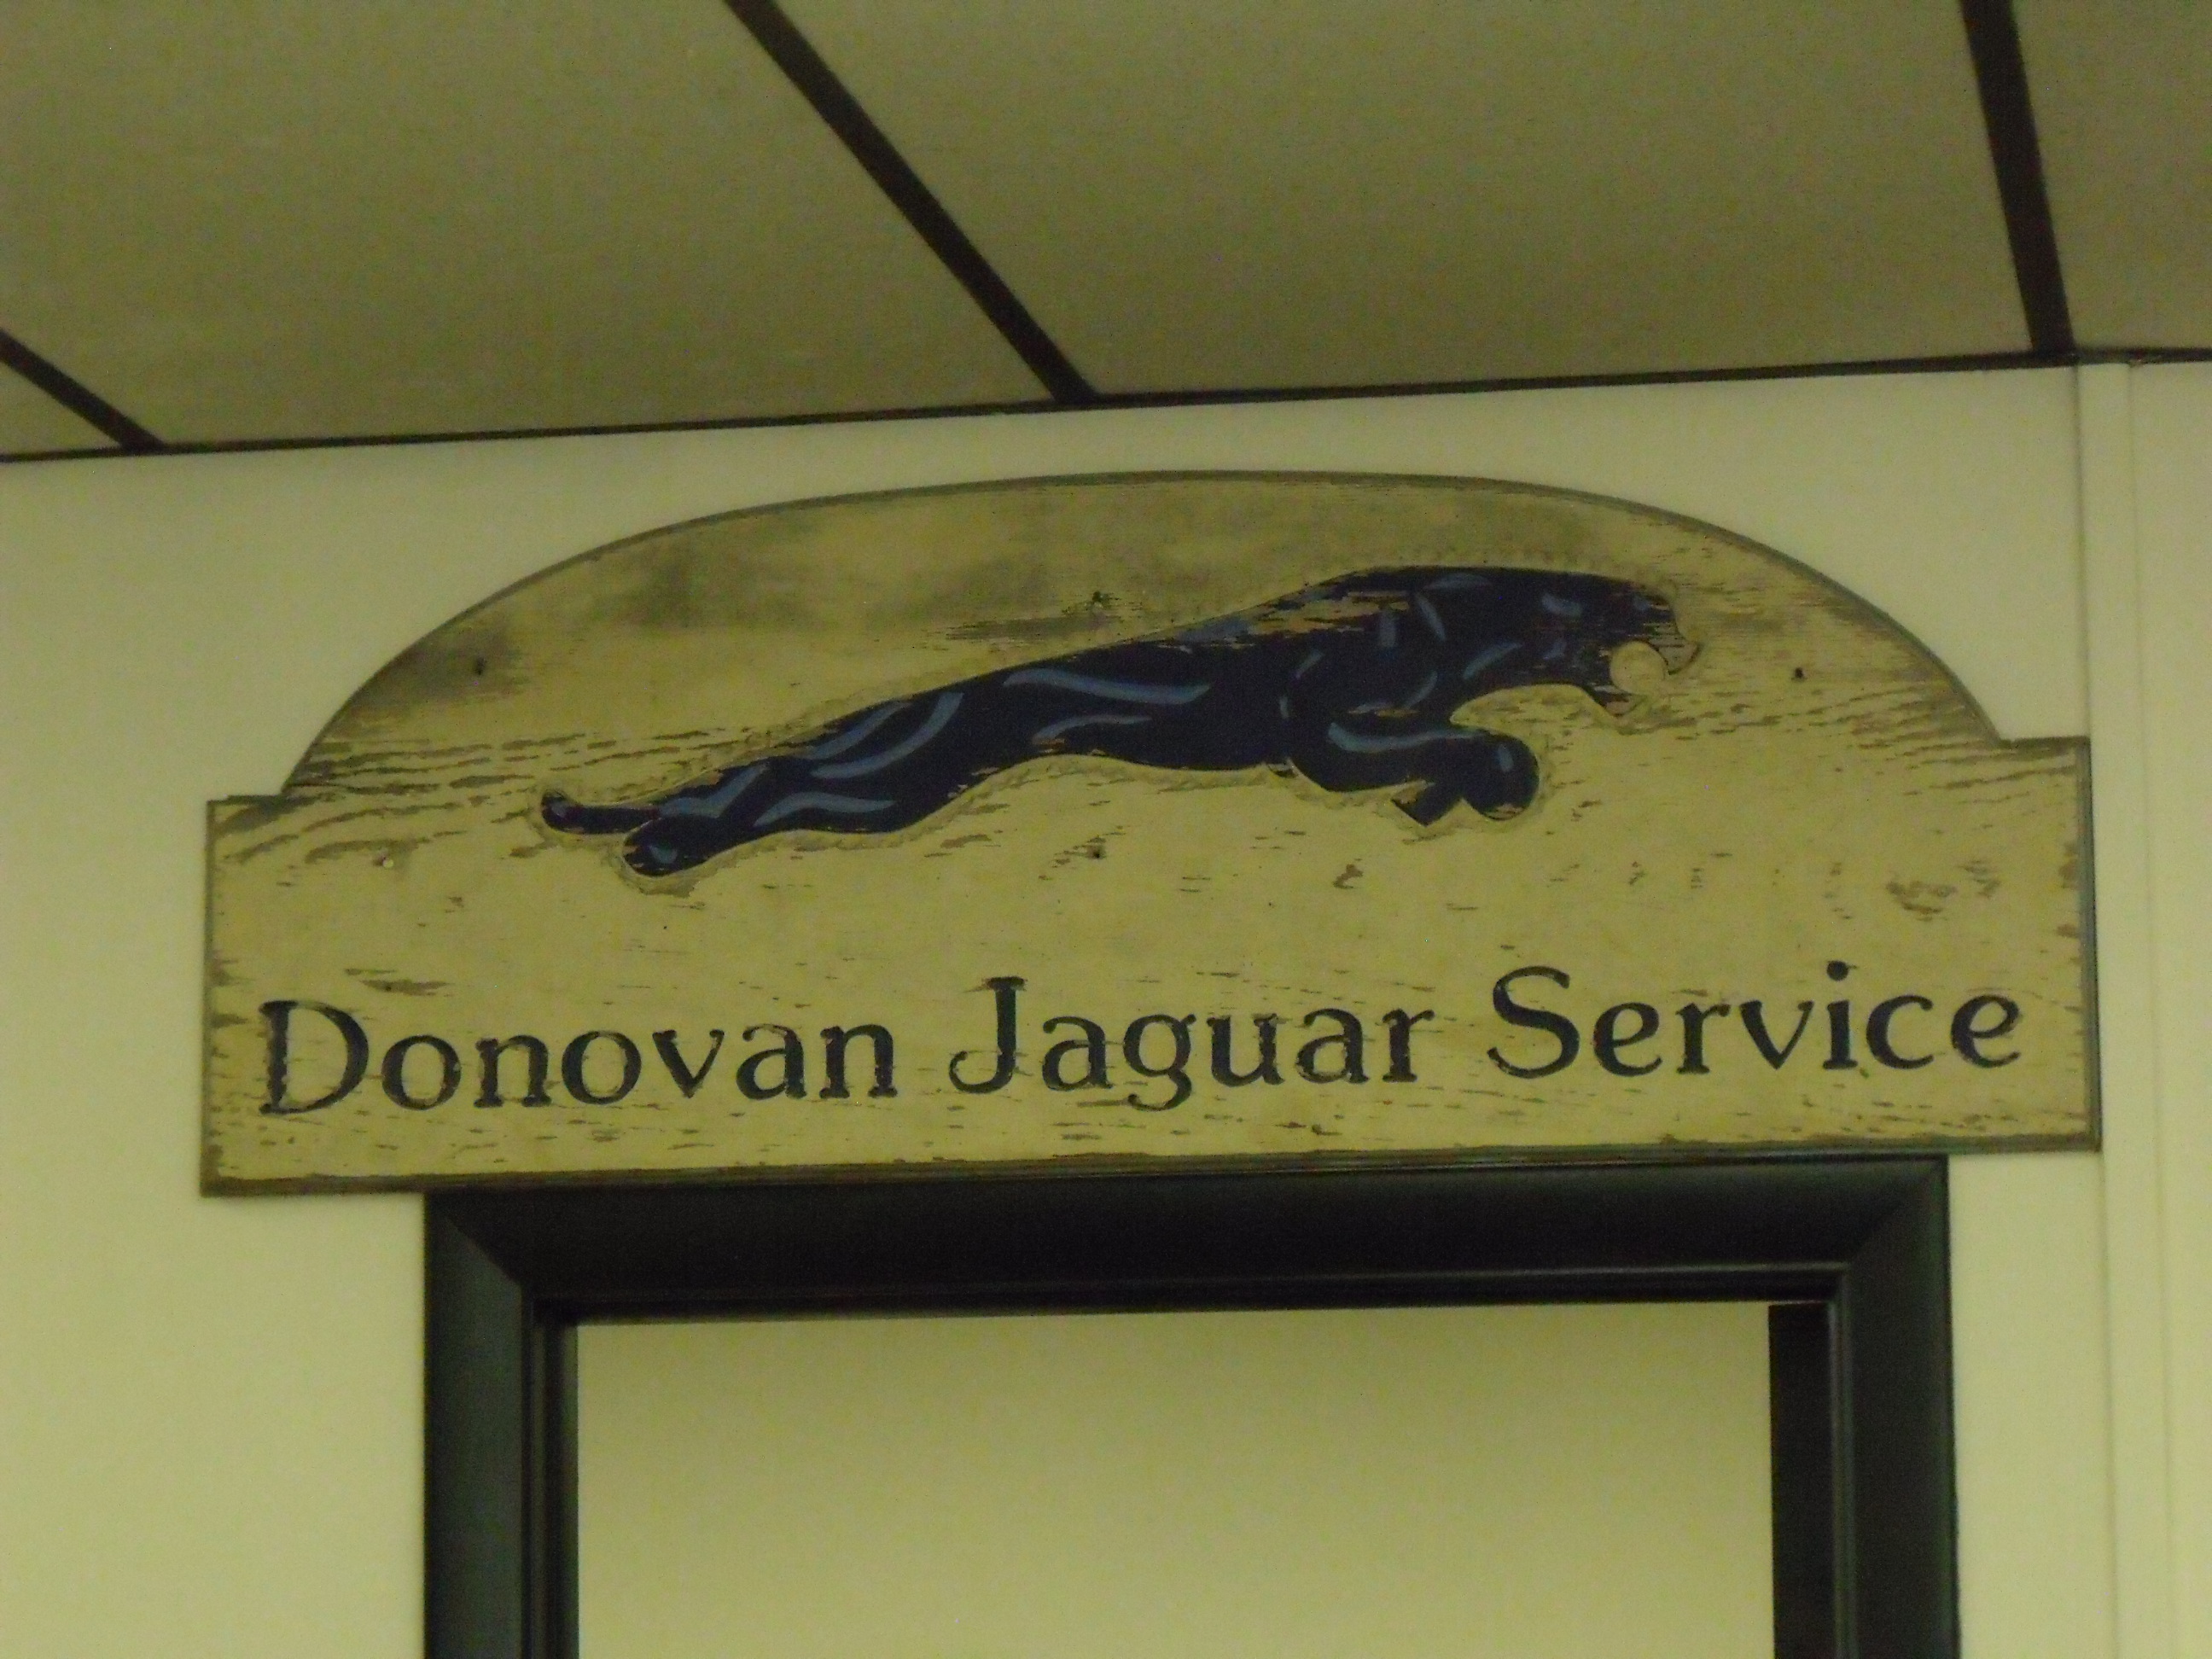
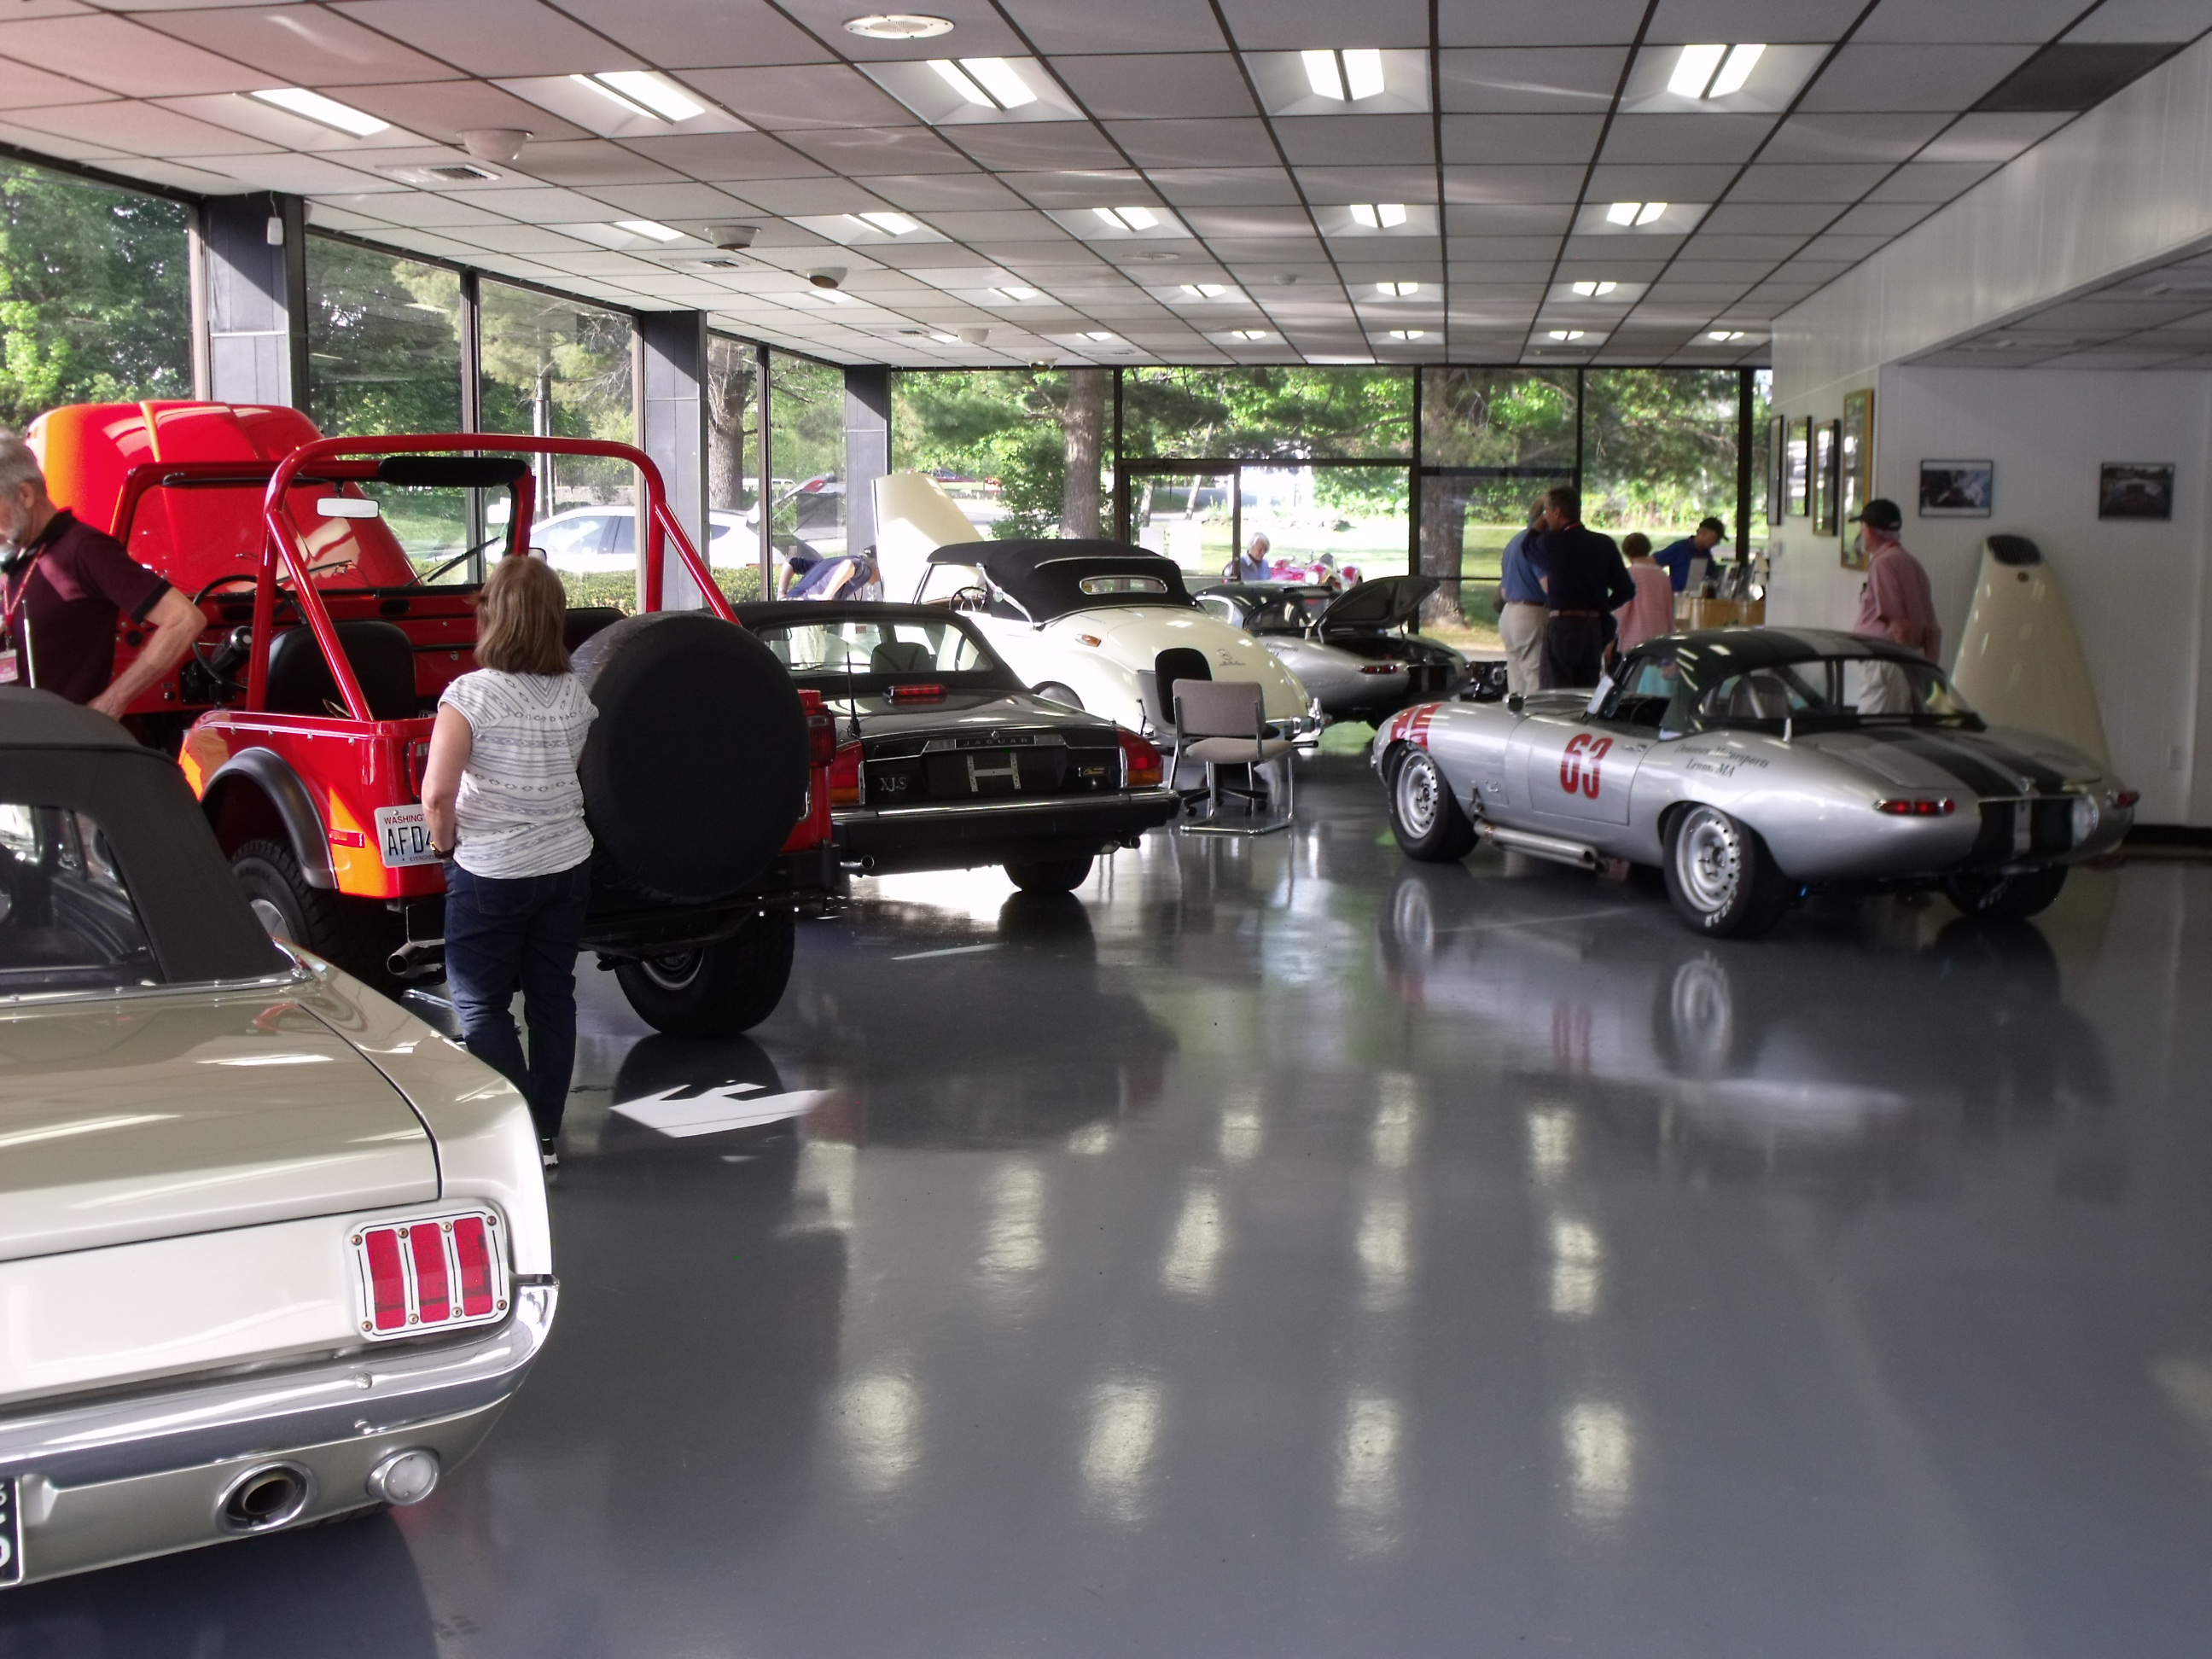
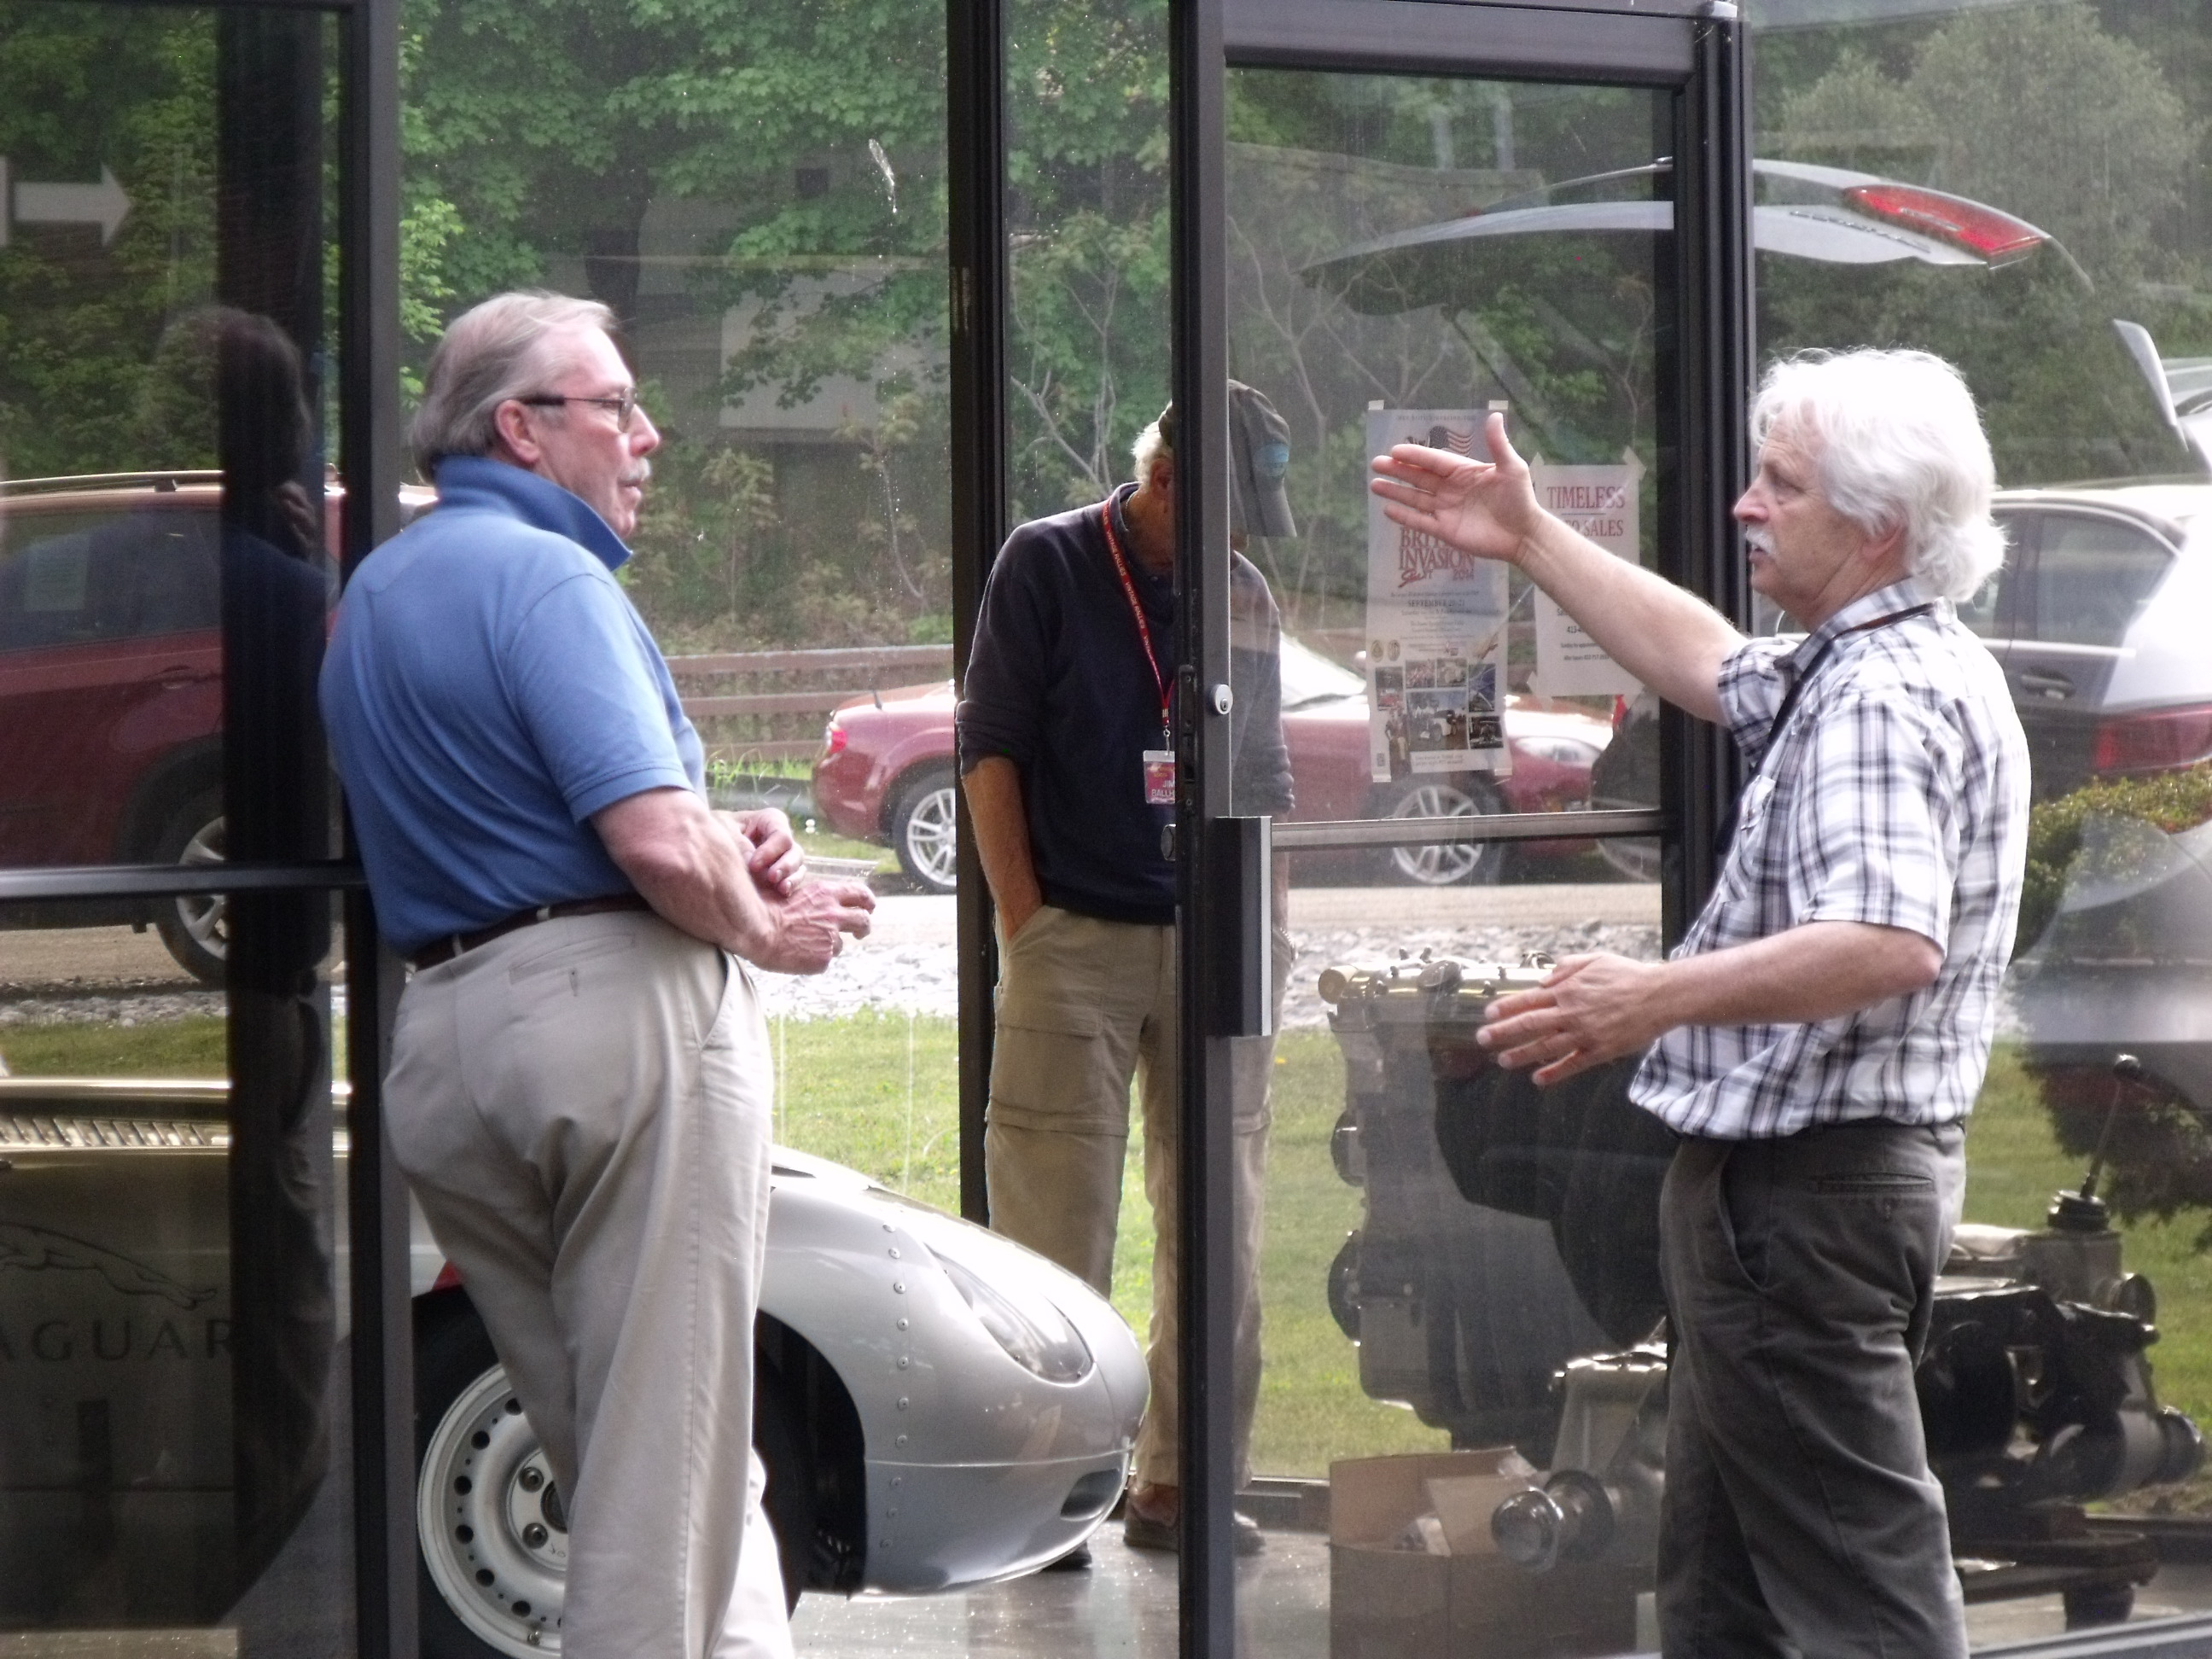
On the way back to The Cranwell, we stopped at Donovan Jaguar, an outfit which specializes in servicing street and racing Jags.


Stop

Today, our first day of driving started by taking us from New Paltz NY to the Saratoga Auto Museum in Saratoga Springs NY. We toured the museum and ate lunch on the grounds.
From Saratoga we drove to Hemmings World Headquarters in Bennington VT. From there it was off to the Cranwell Resort, our host hotel in Lenox MA for the next two nights.
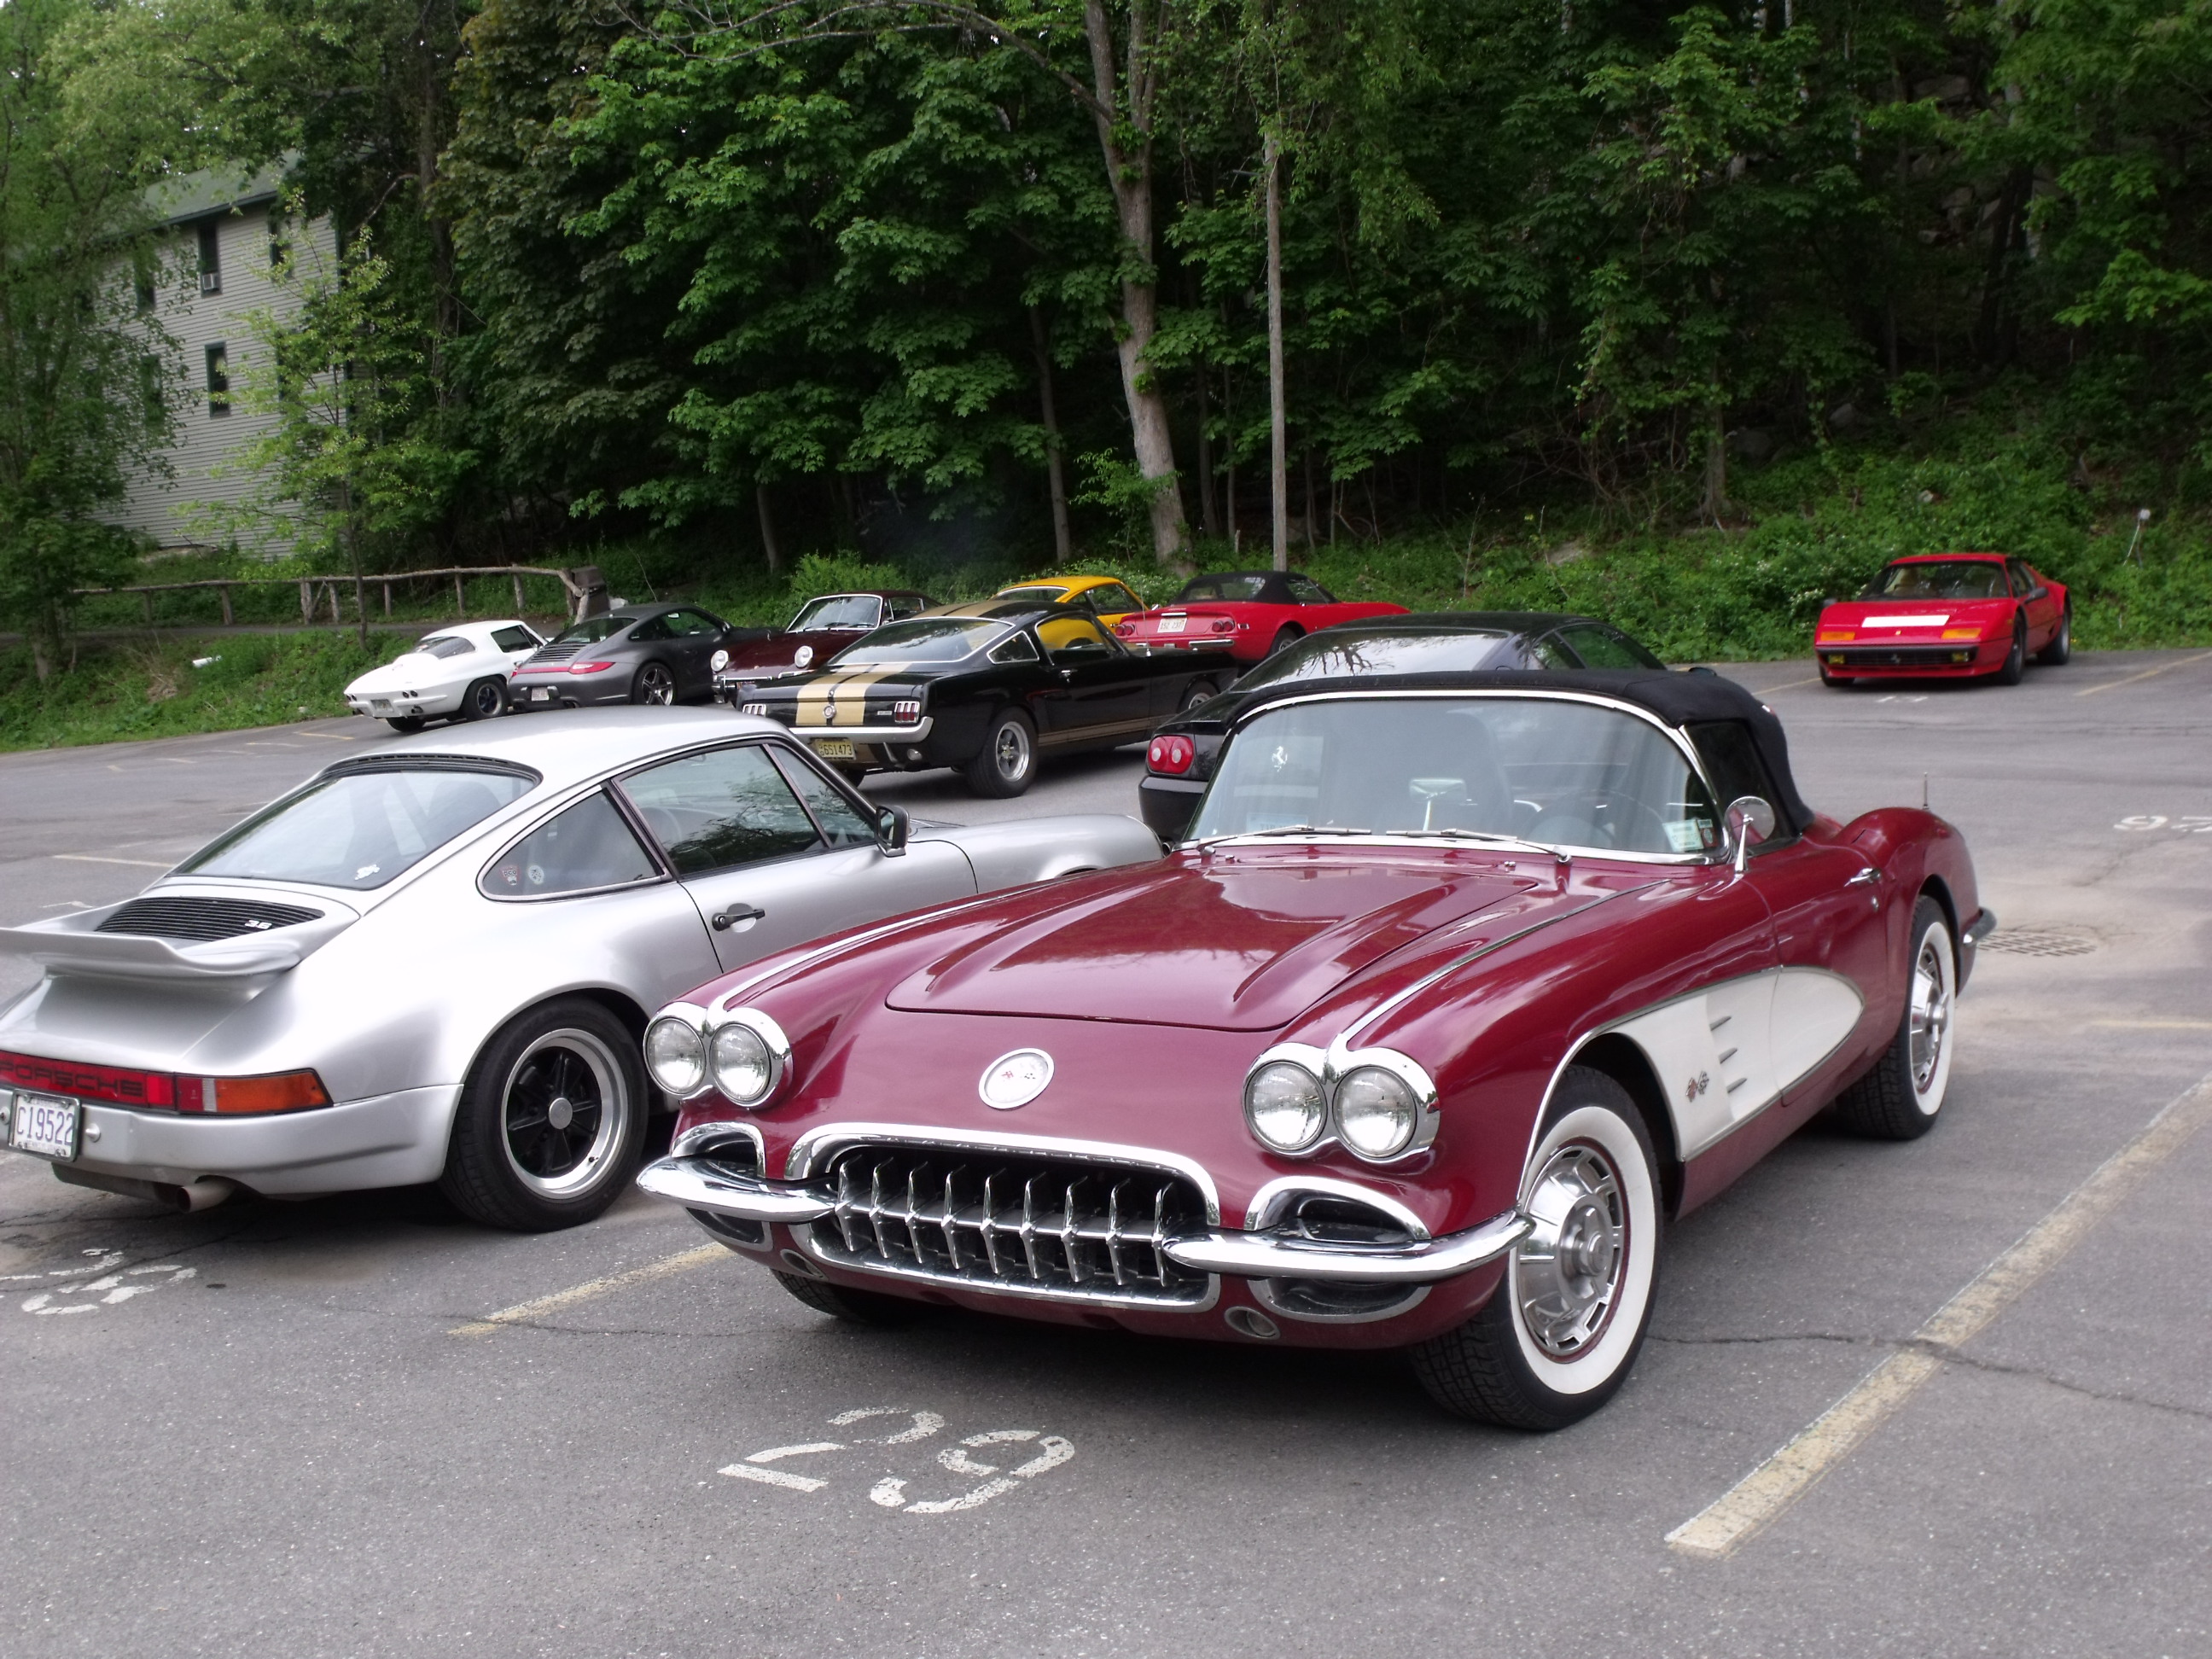
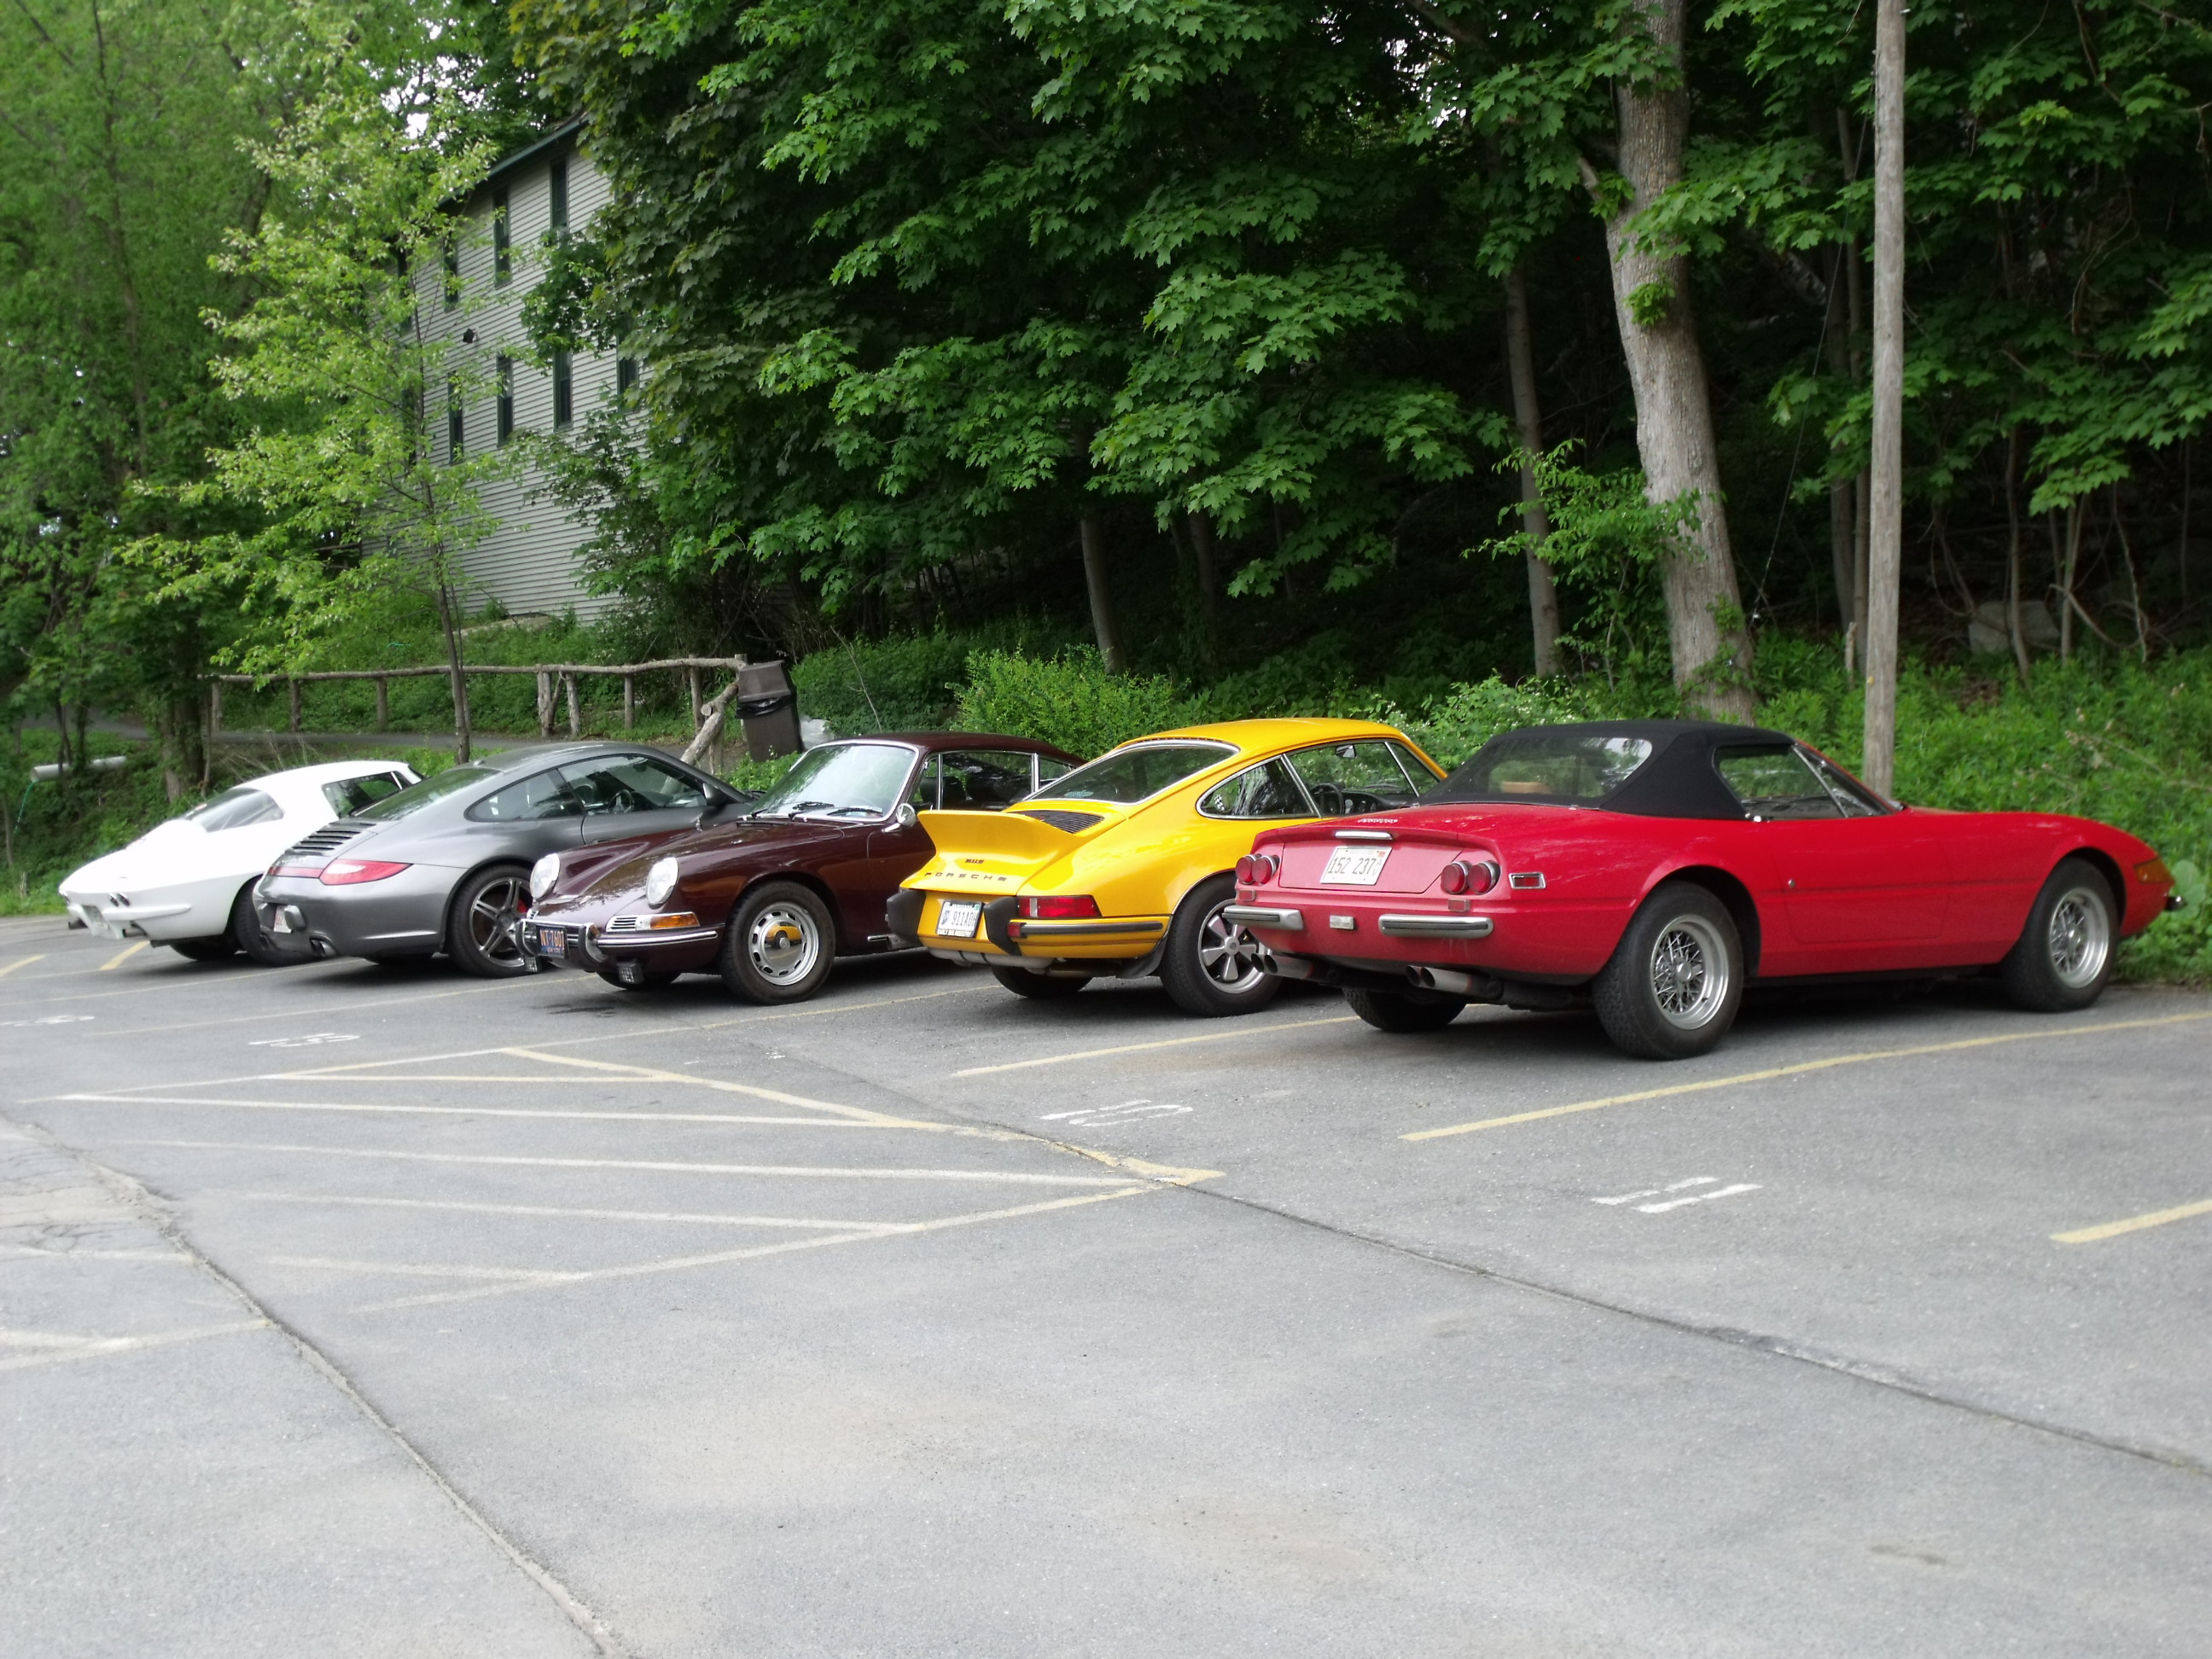
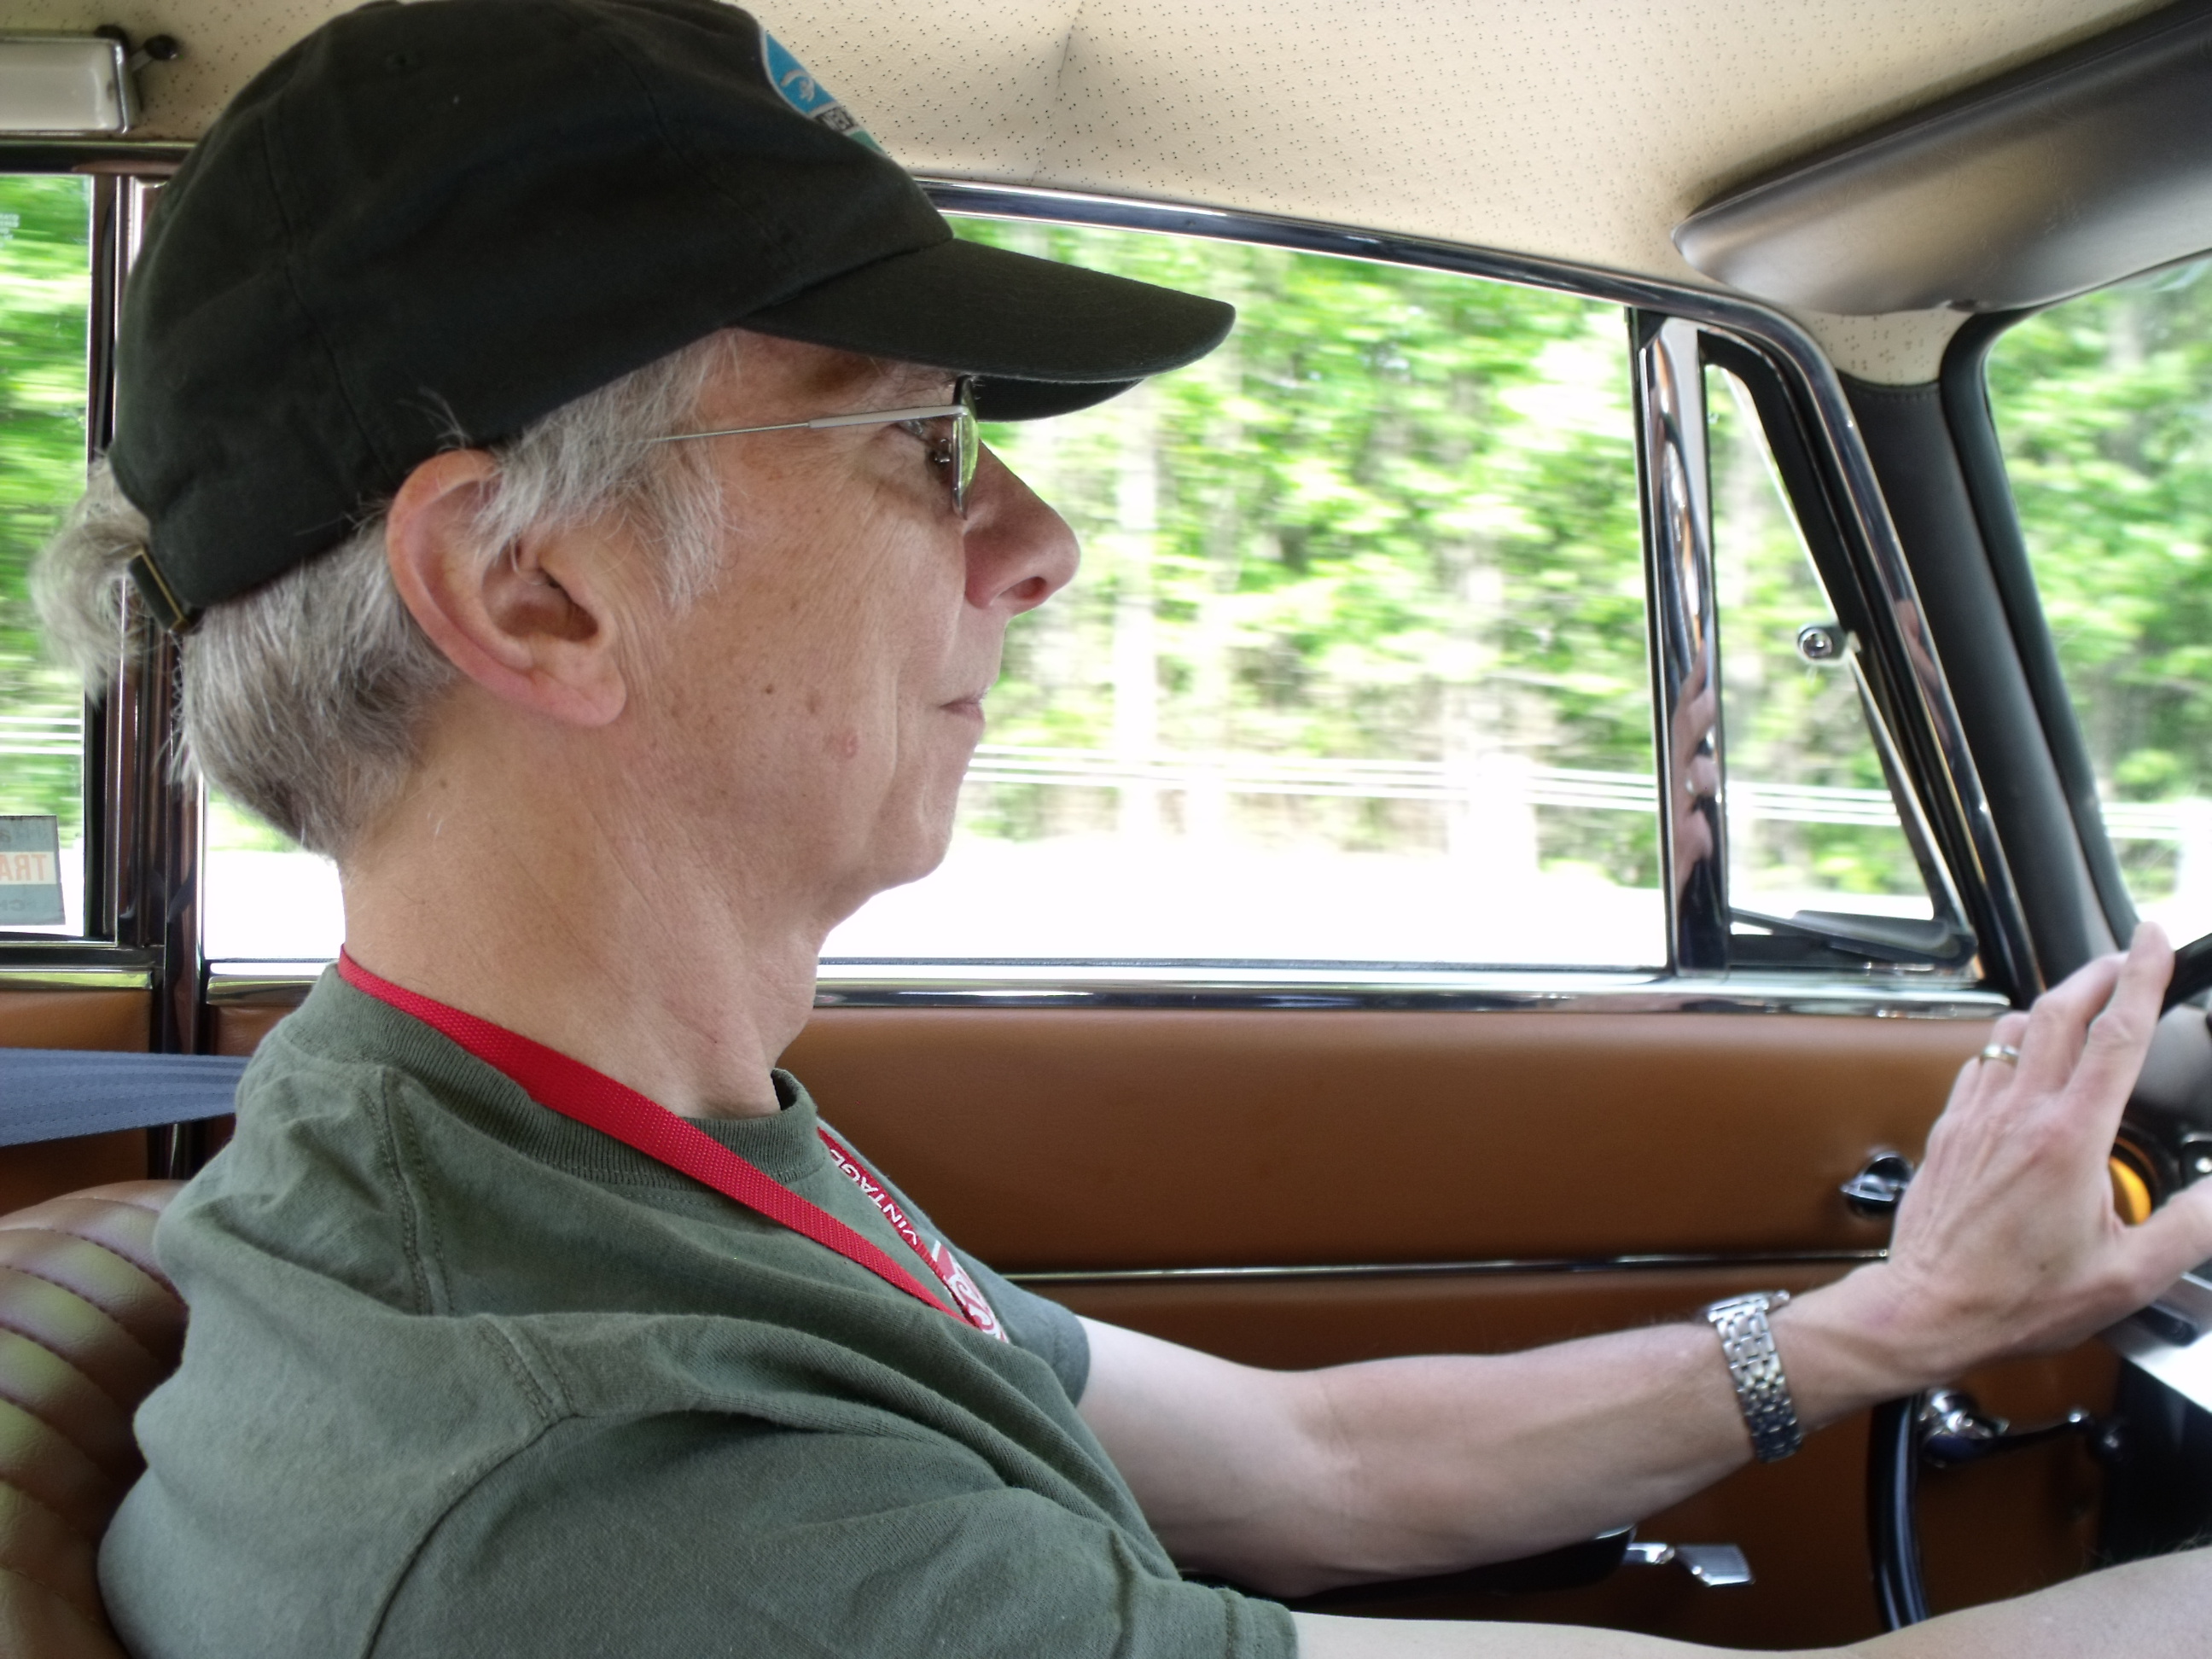
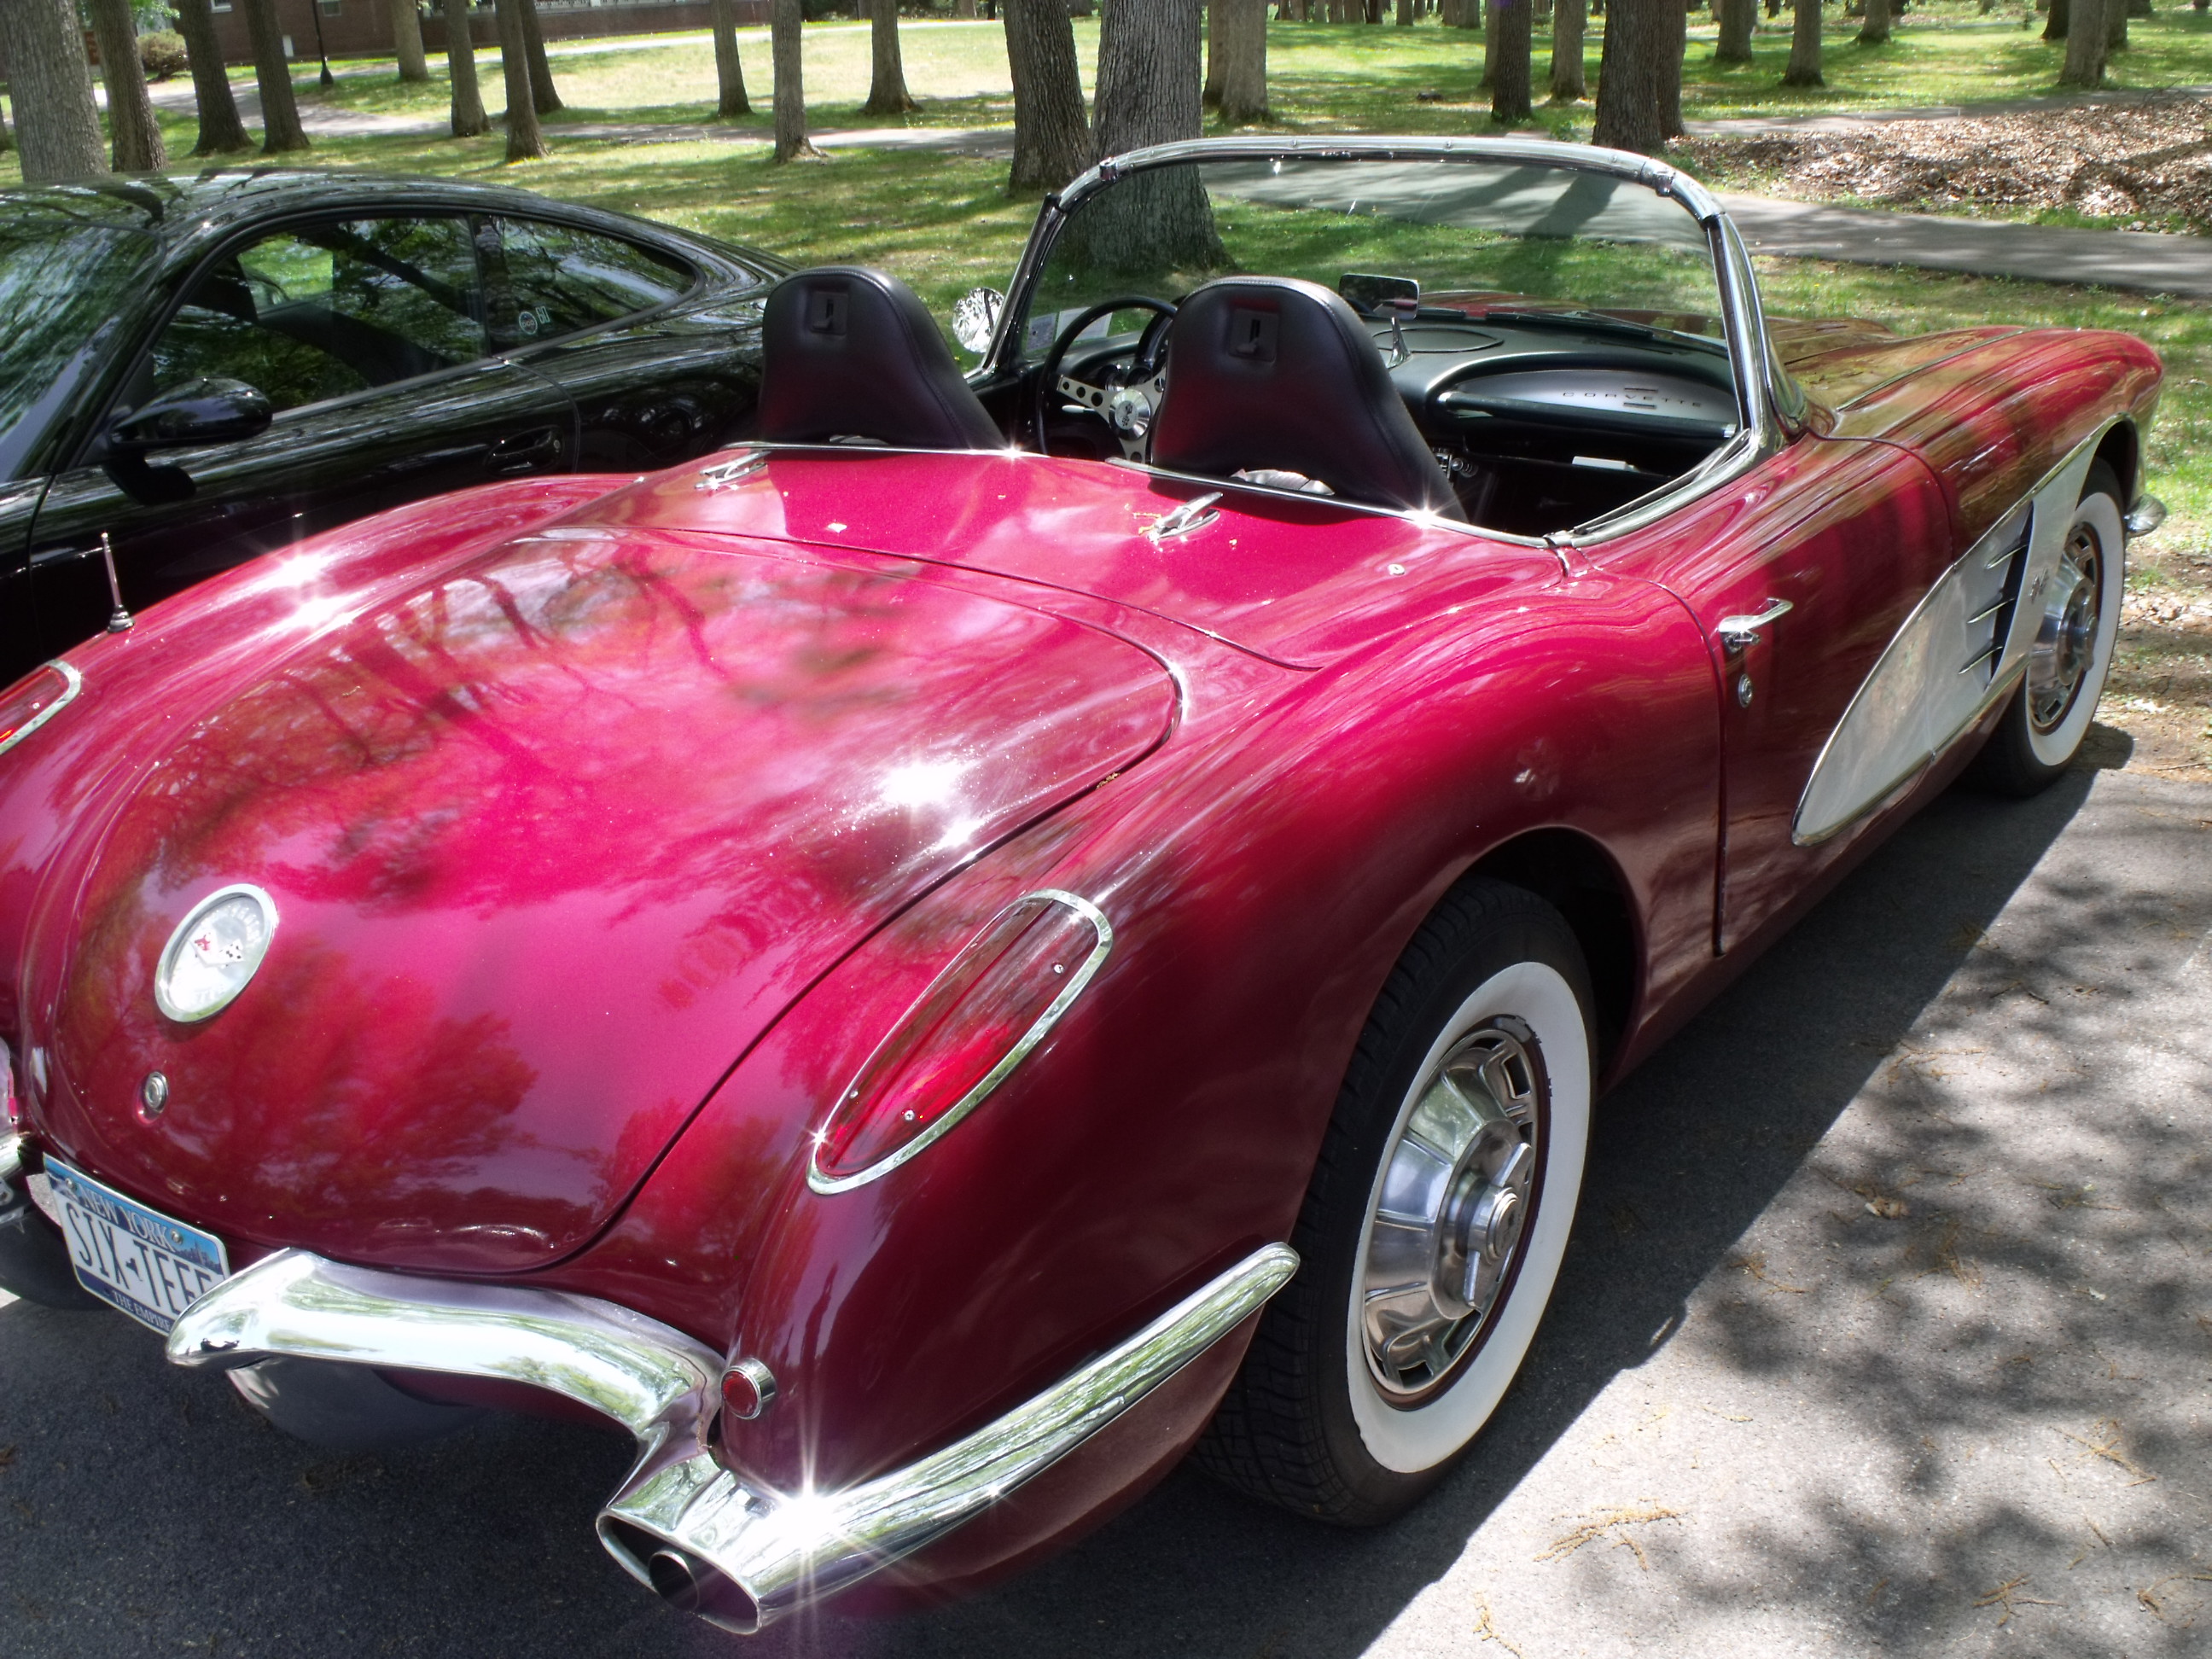
As we have discovered in the past, once the driving starts, the photo ops become less frequent. Nevertheless I was able to squeeze off a few shots including some cars in motion. Again I will let today’s pictures tell the story.


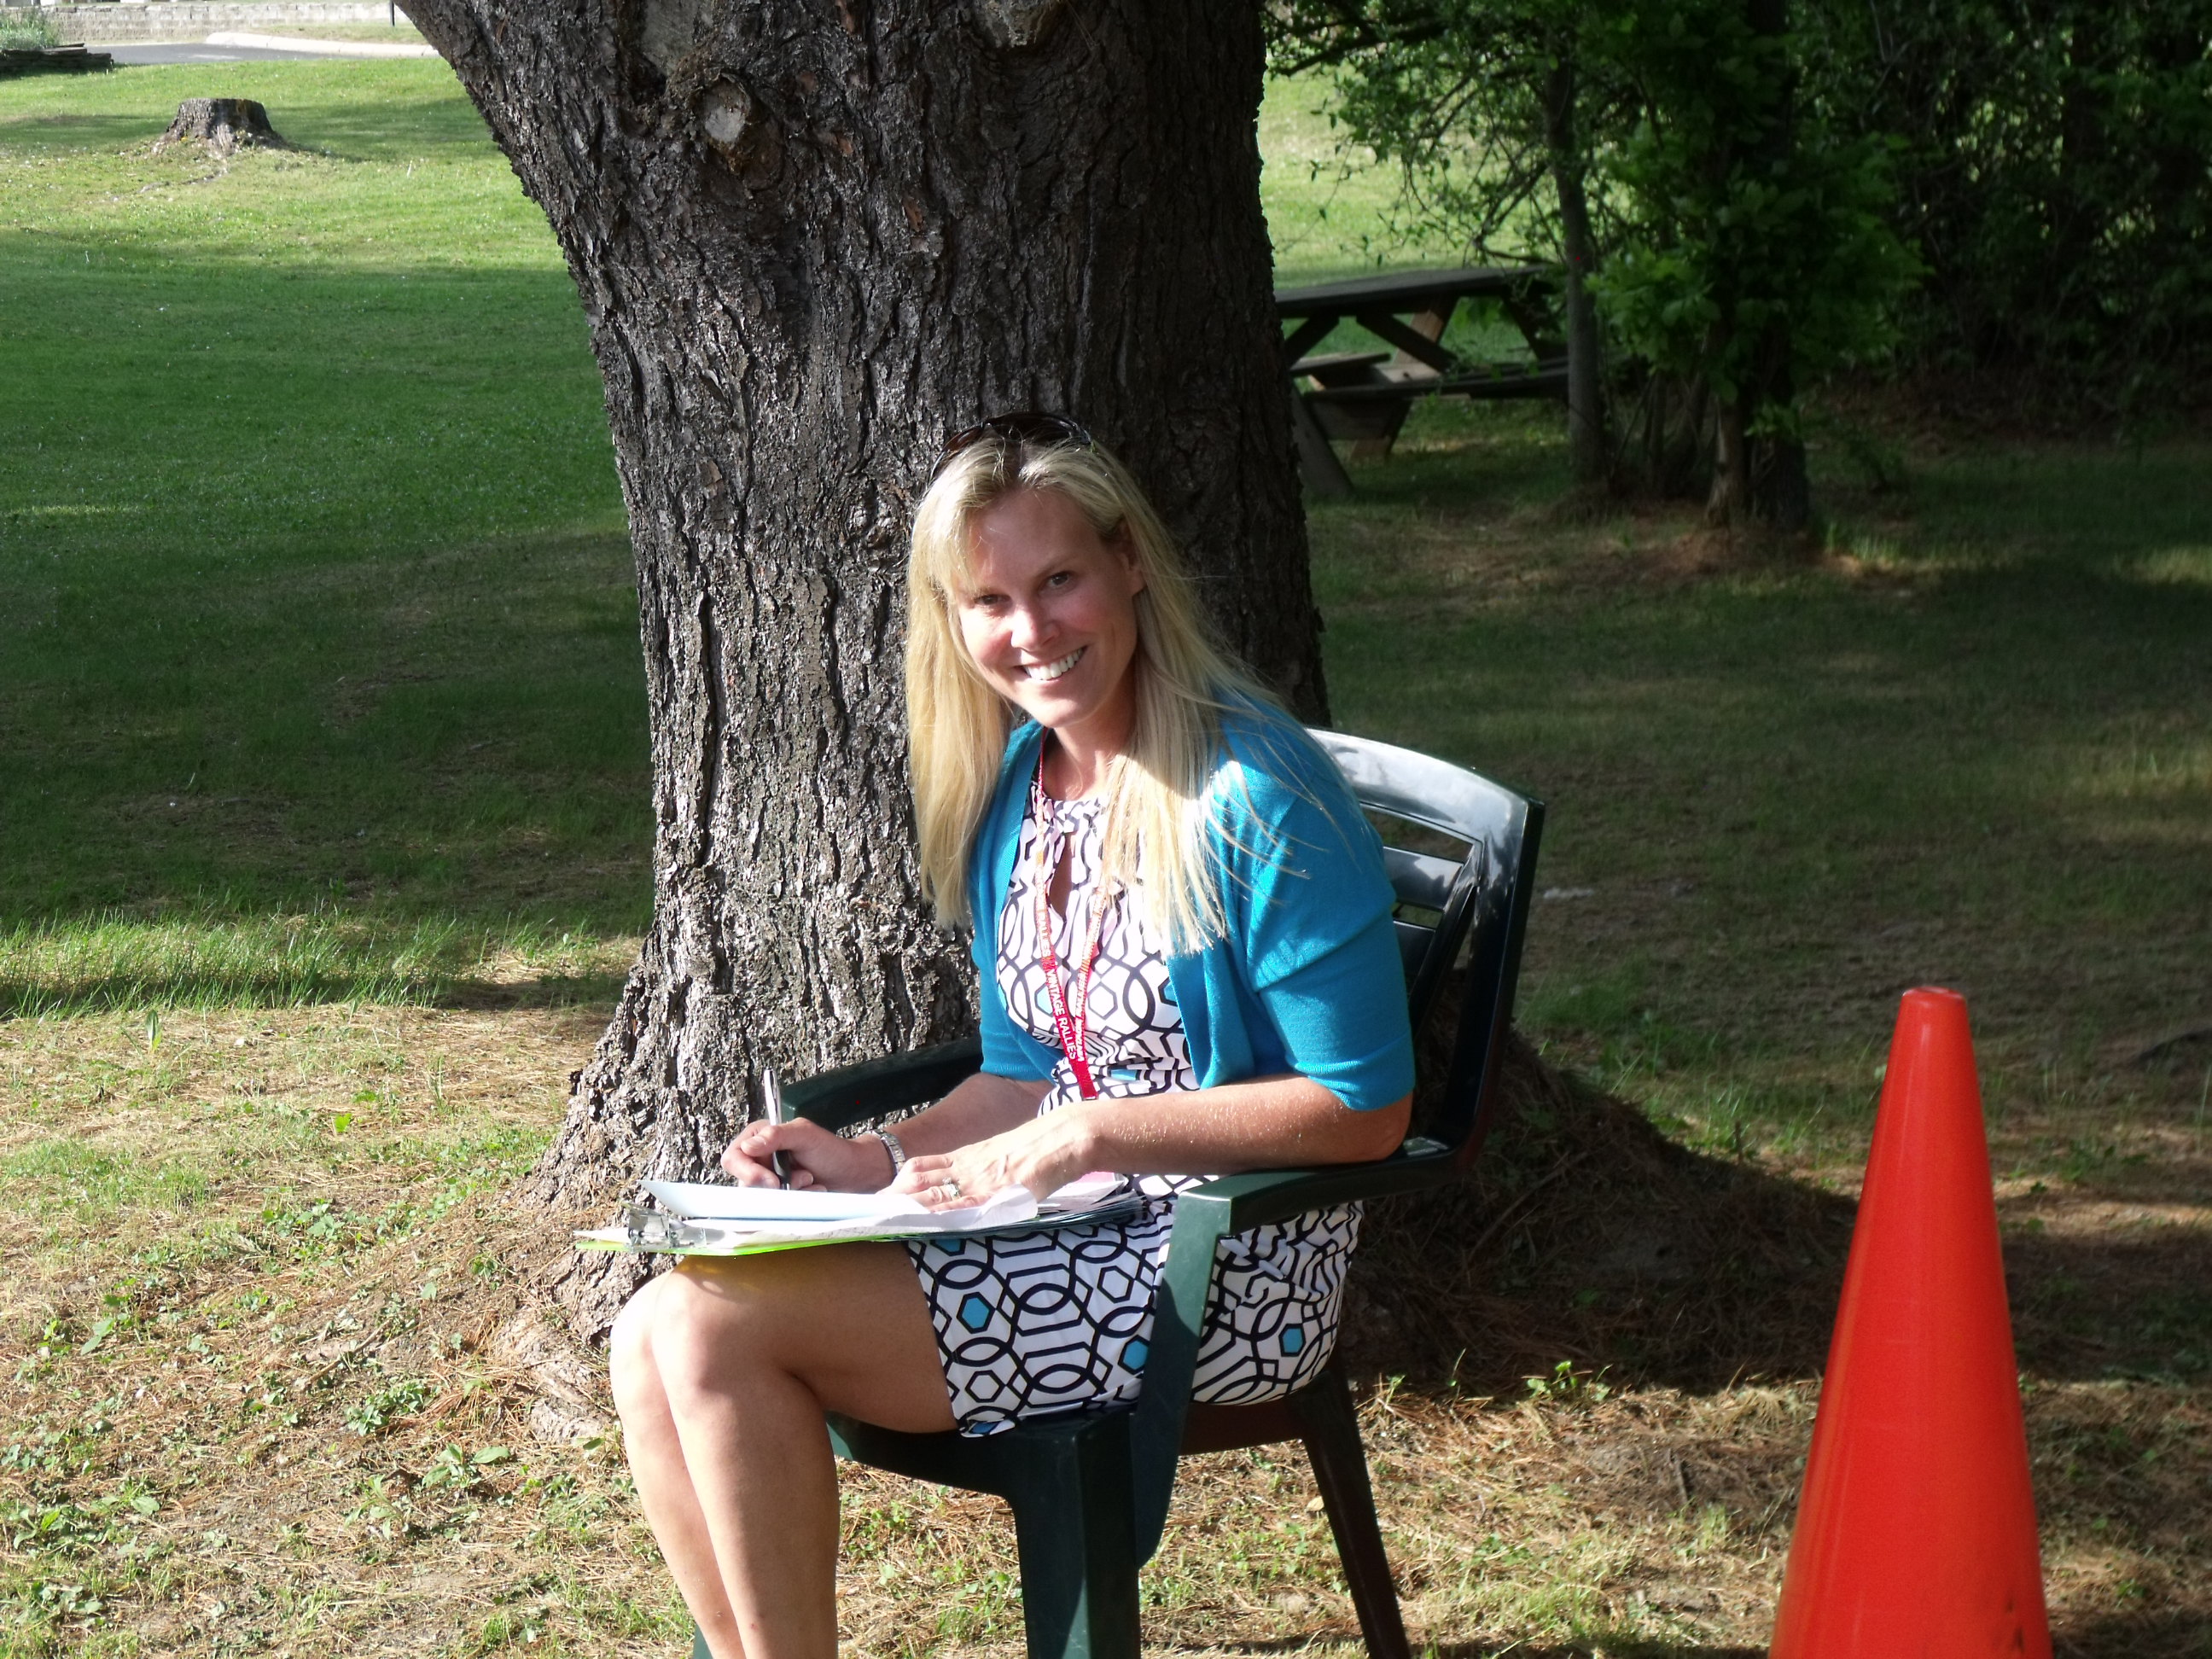
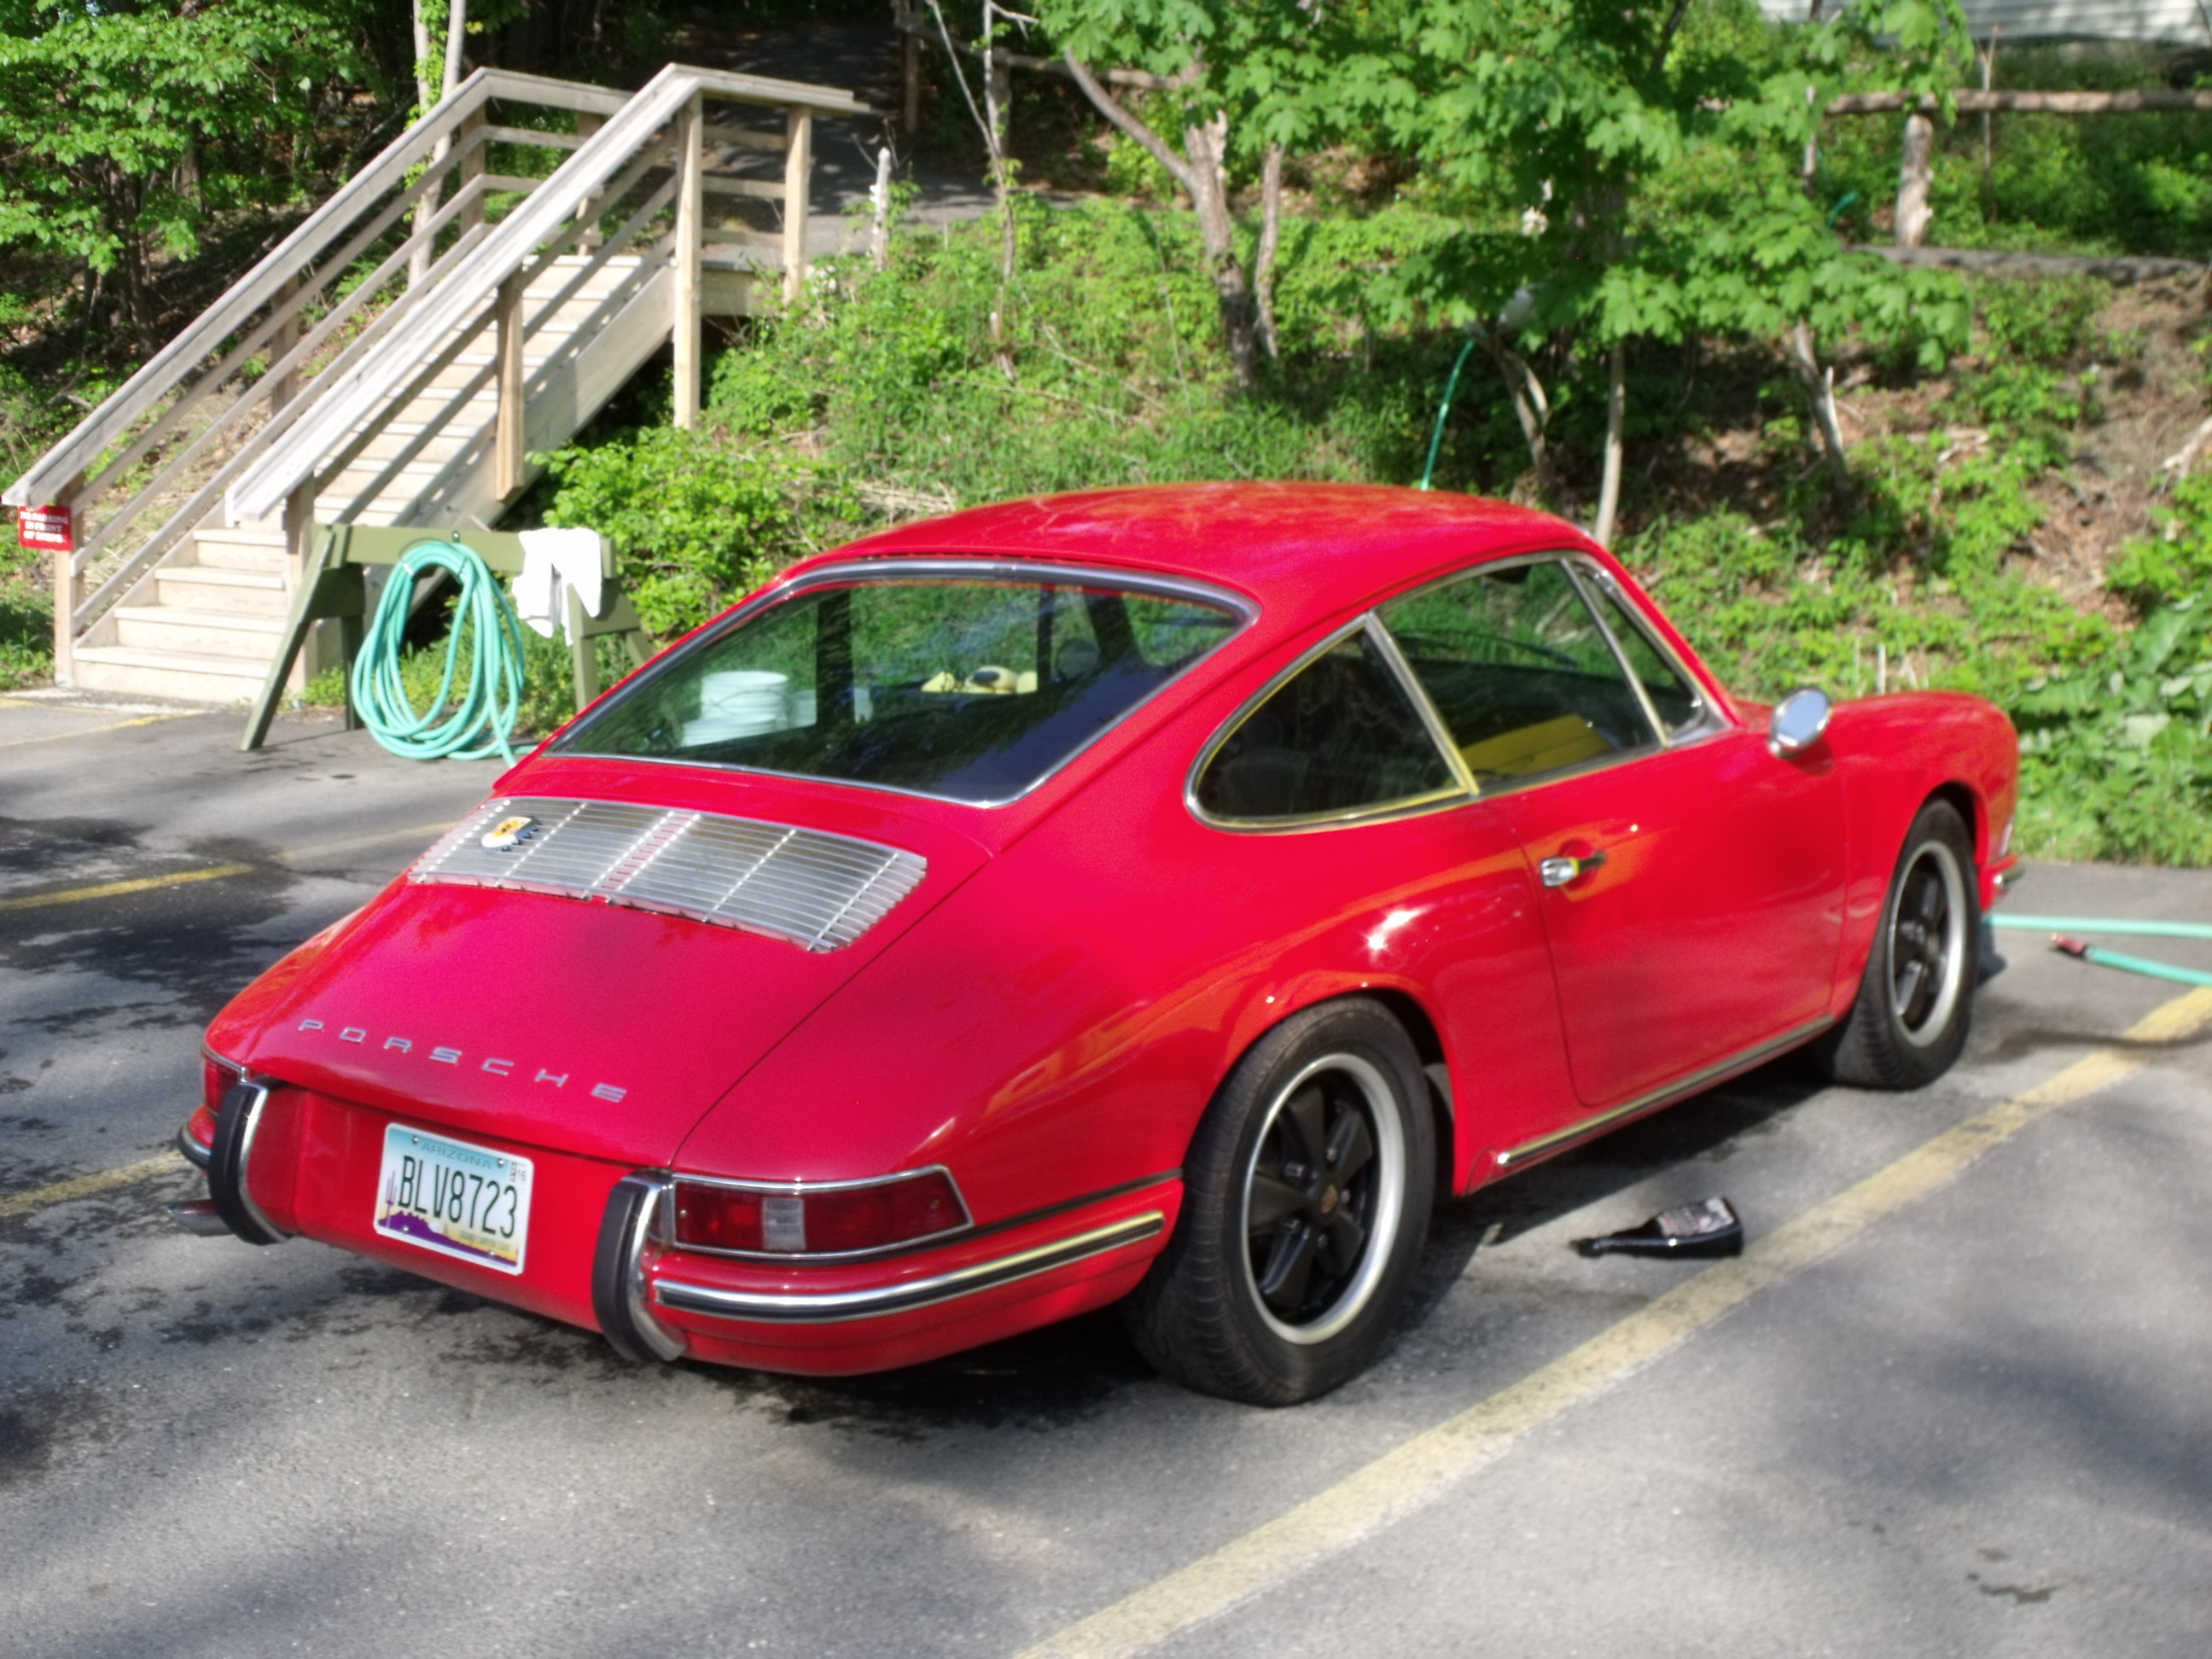
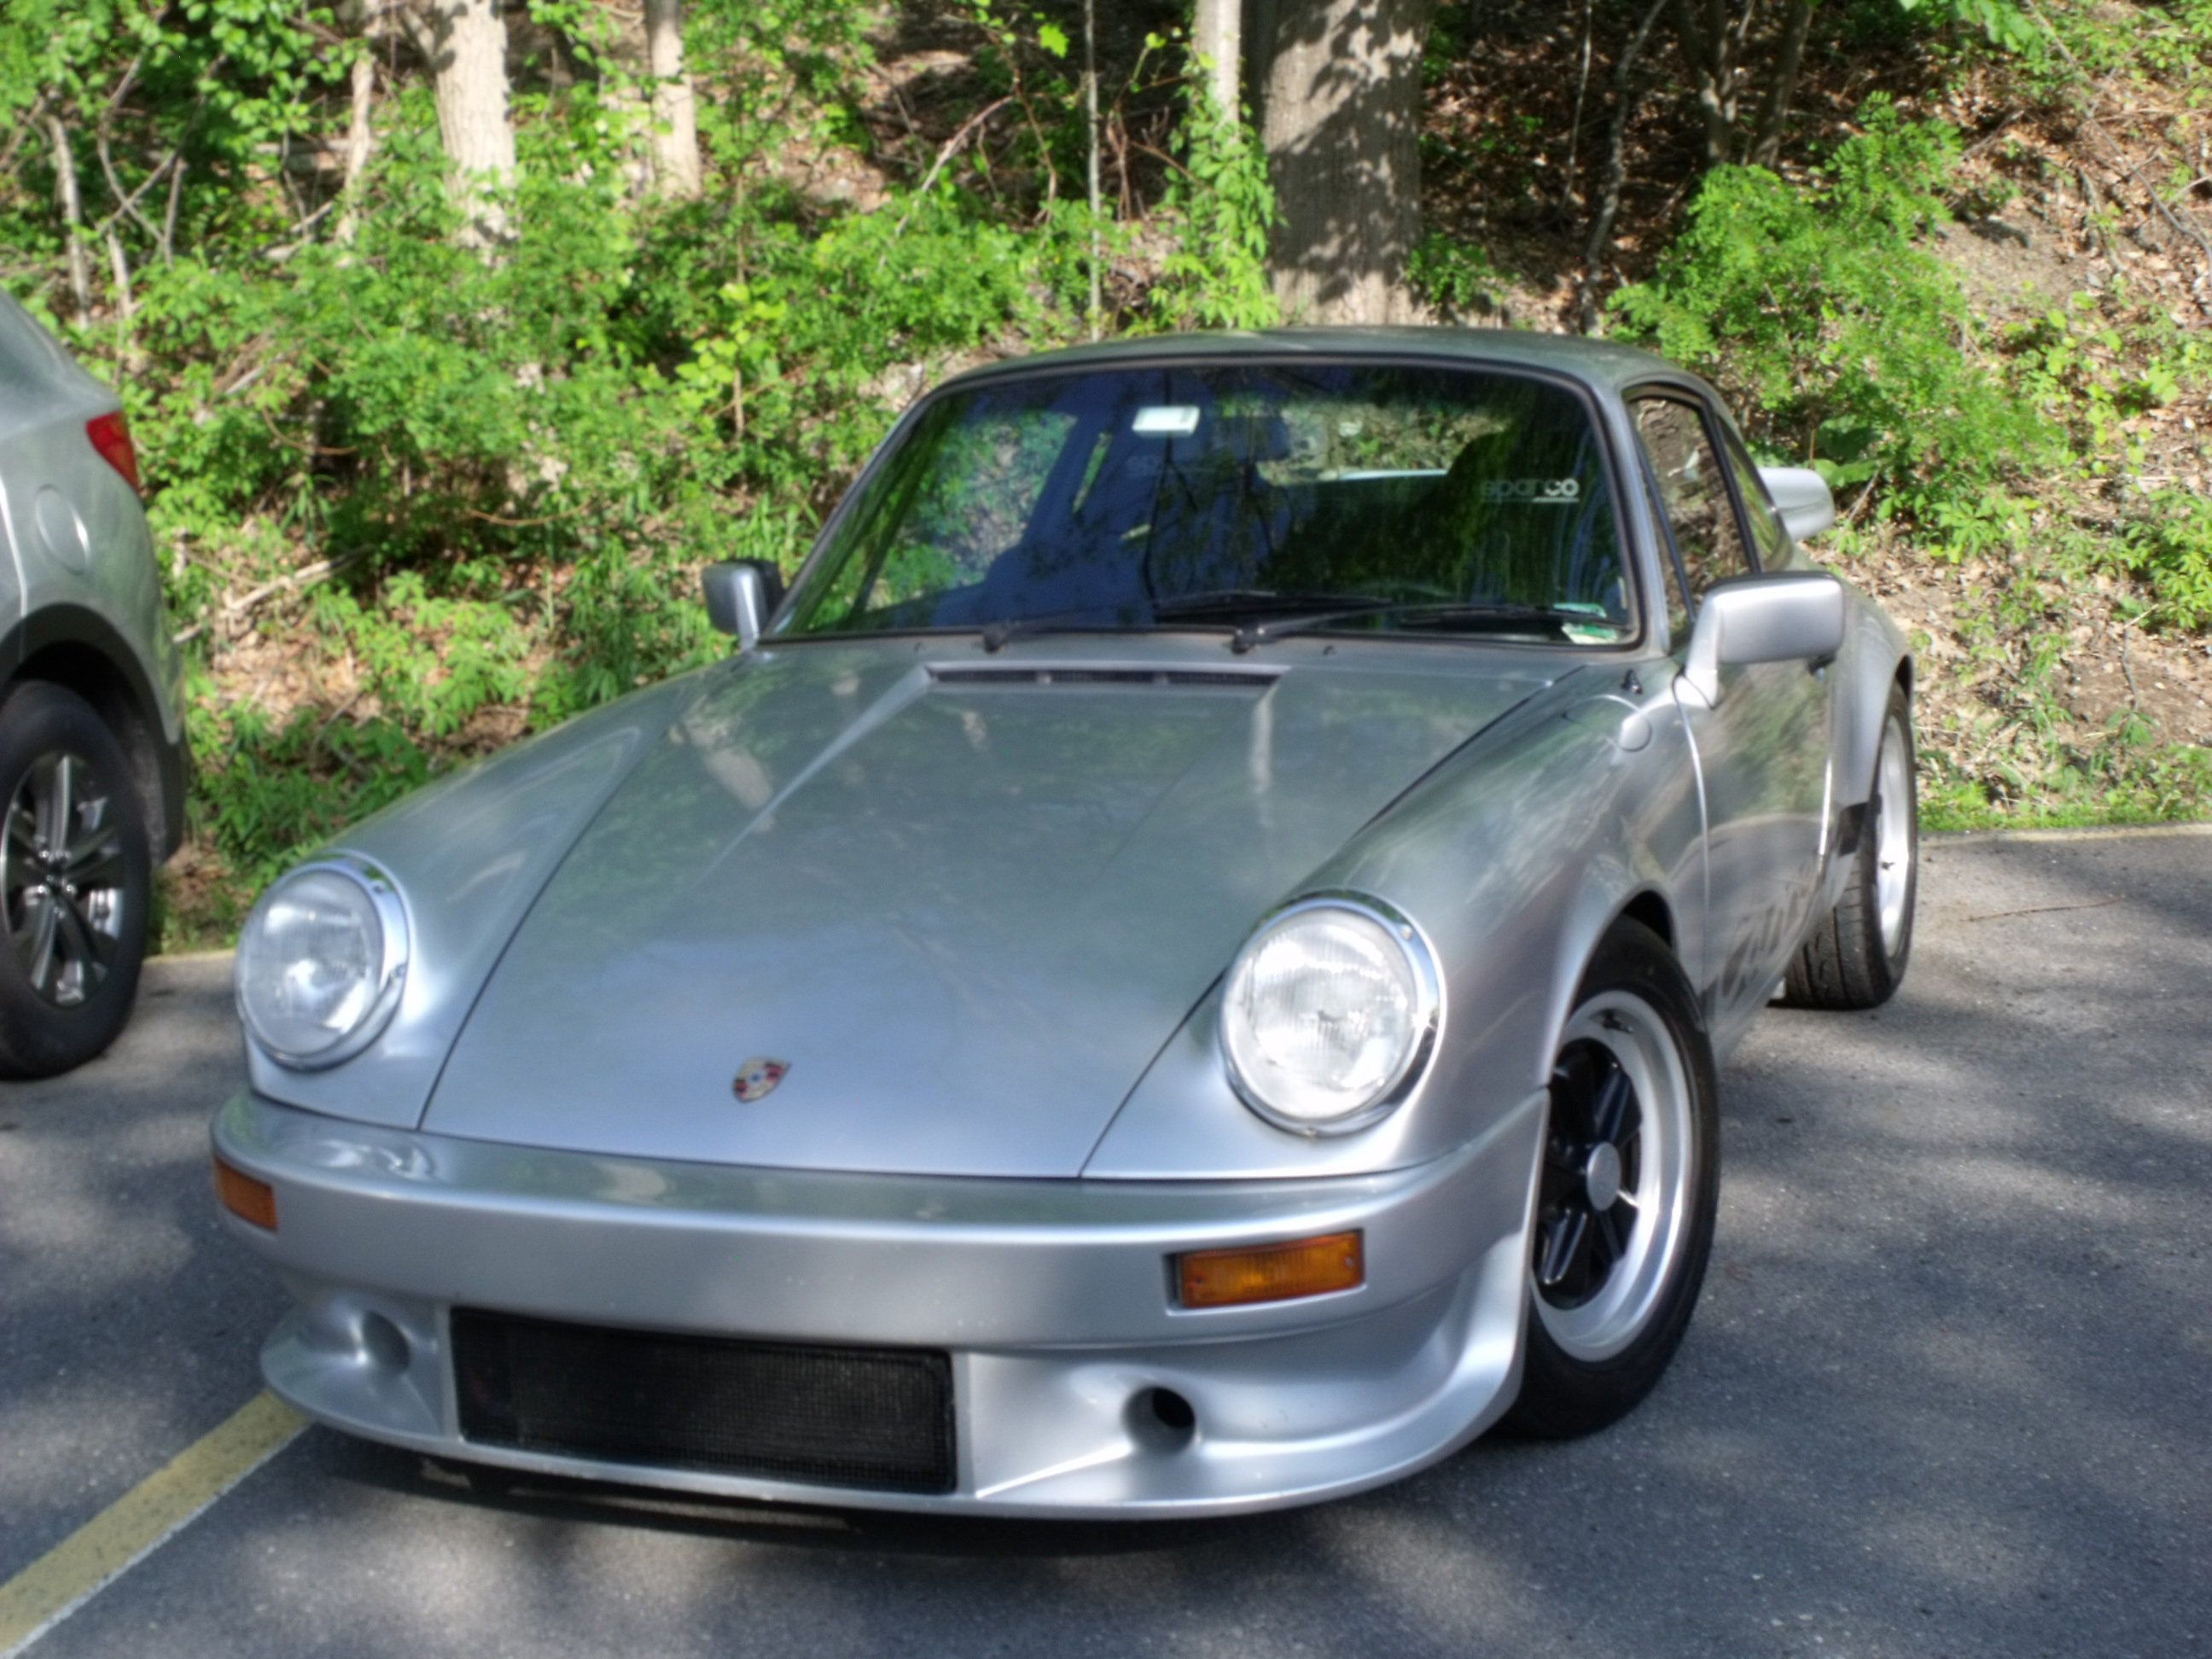
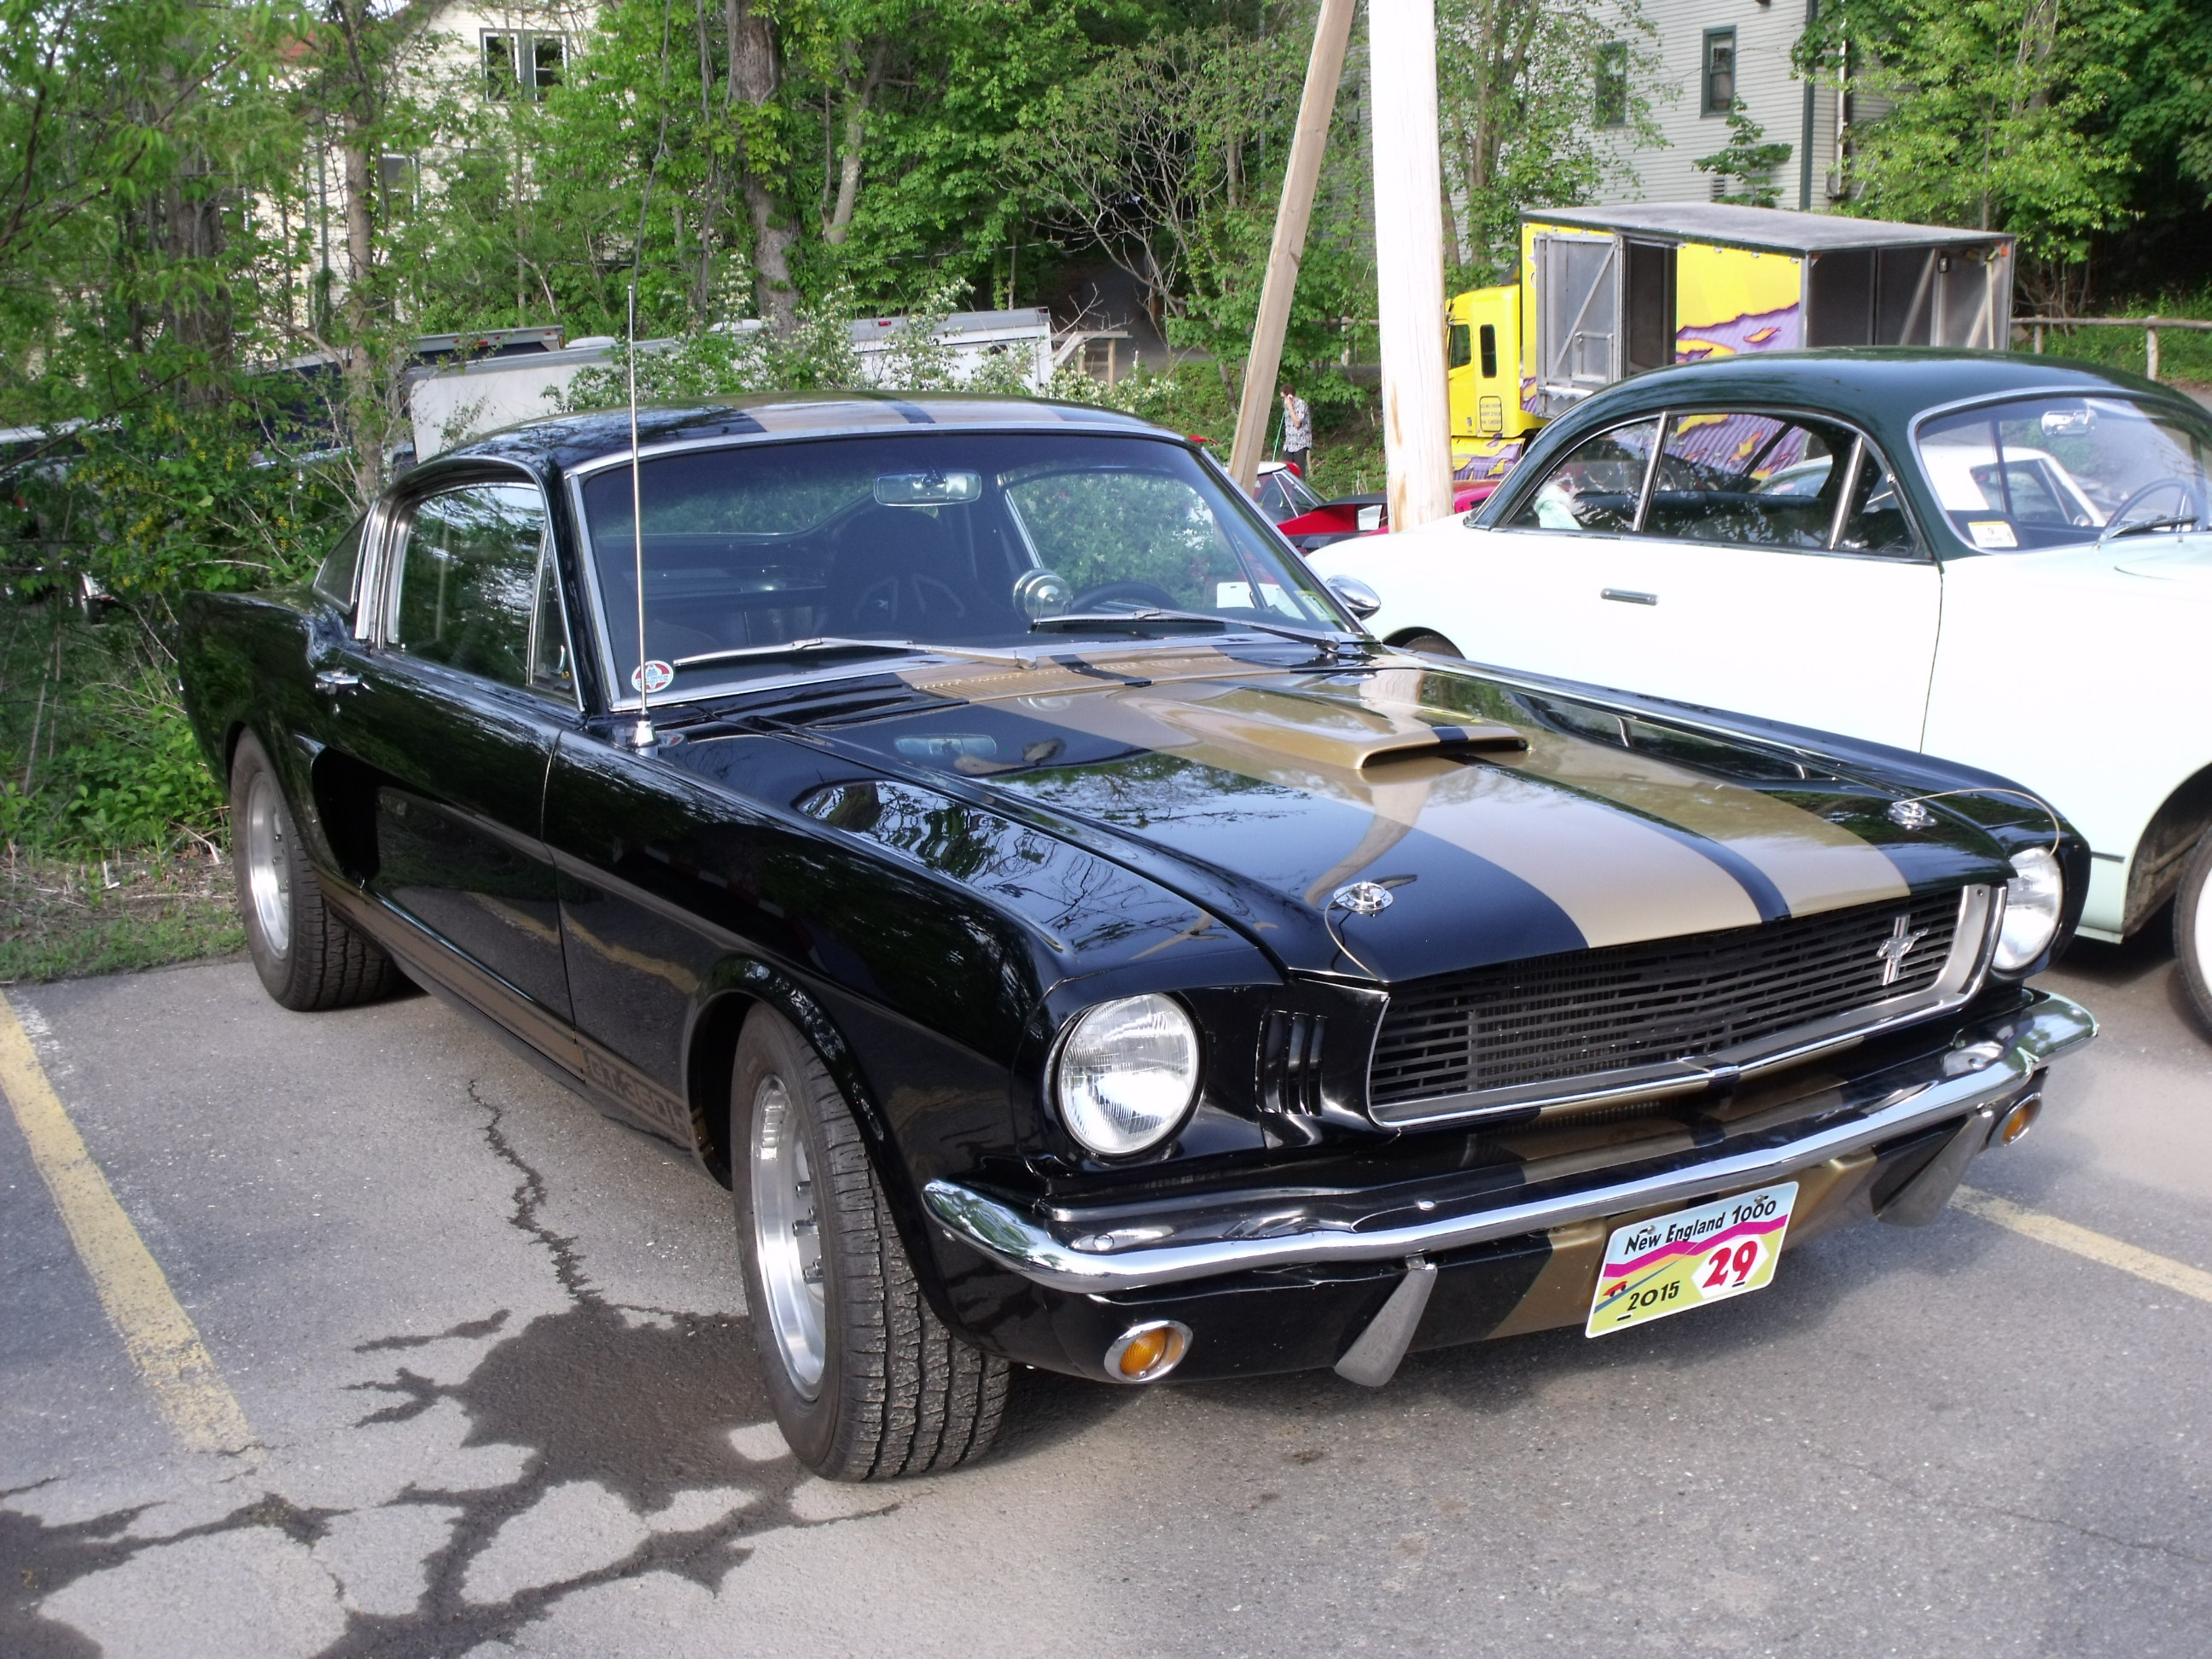
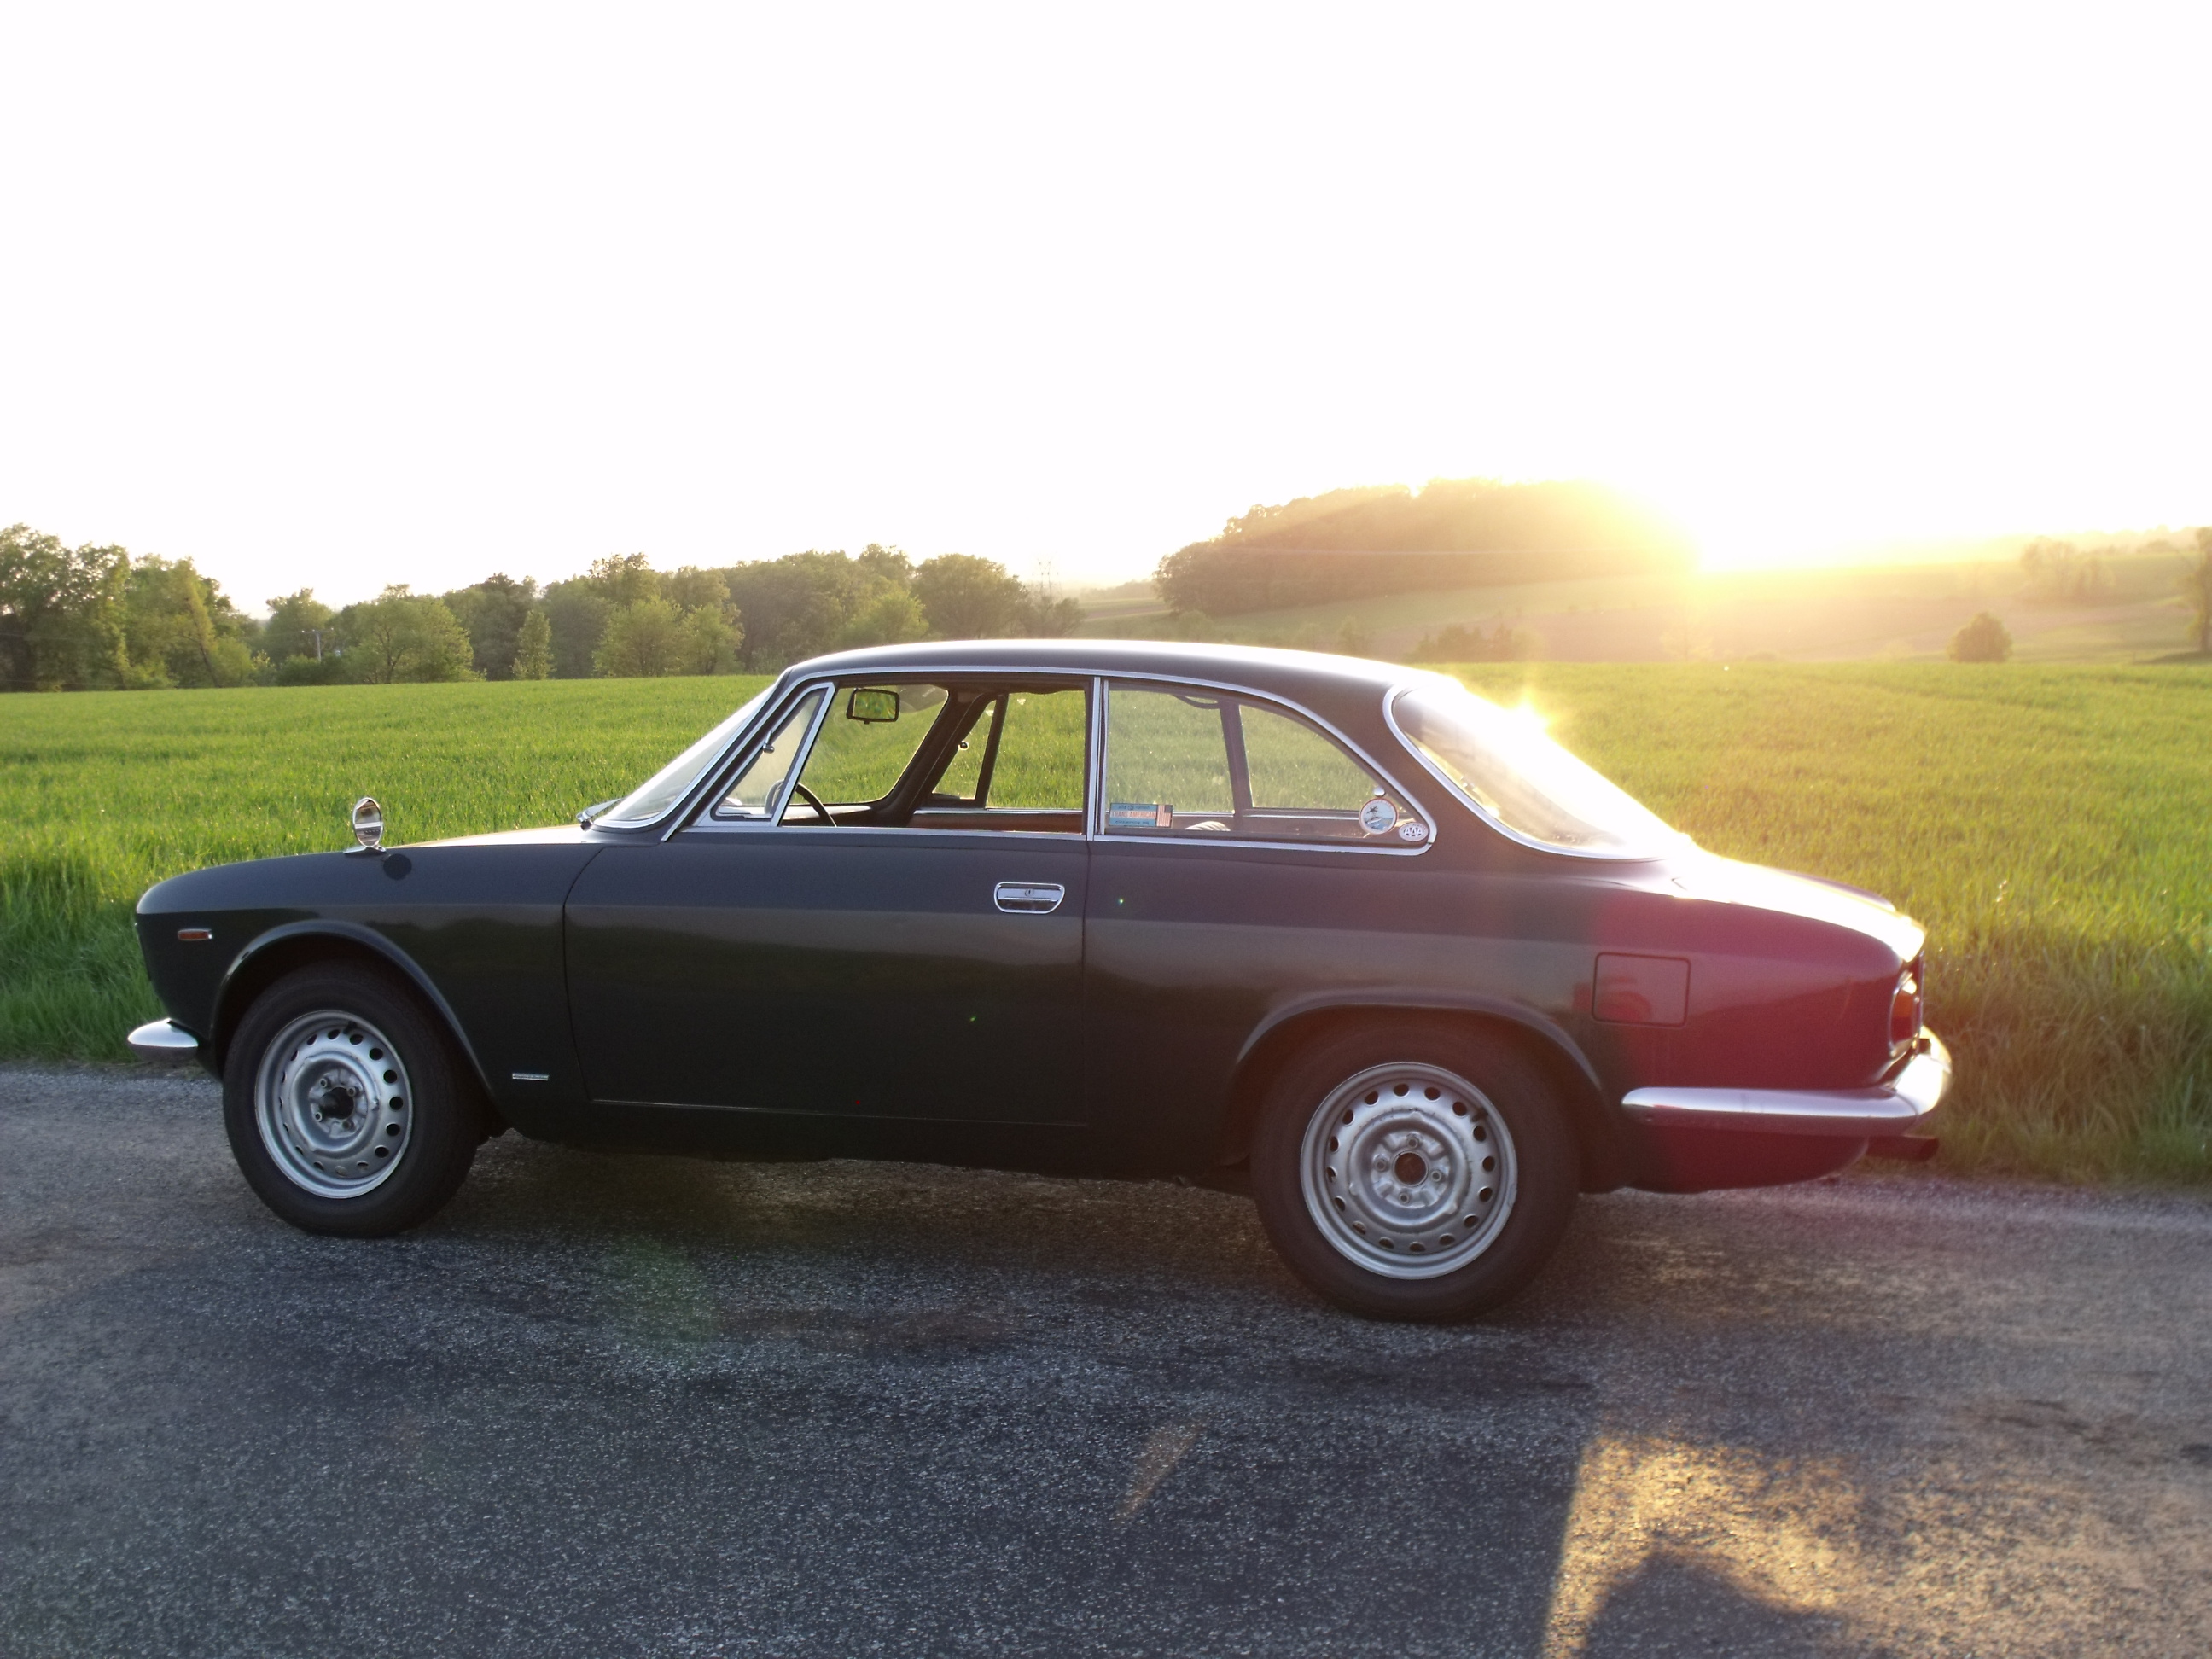
Each year, this classic car rally has a home base which serves as a starting and ending point. For 2015 that home base is the Mohonk Mountain House in New Paltz NY. Departing NJ at about 1pm, the Alfa easily handled the ride up the NY Thruway. Improvements to the cooling system kept the engine temperature under control at 85 degrees and 70mph.
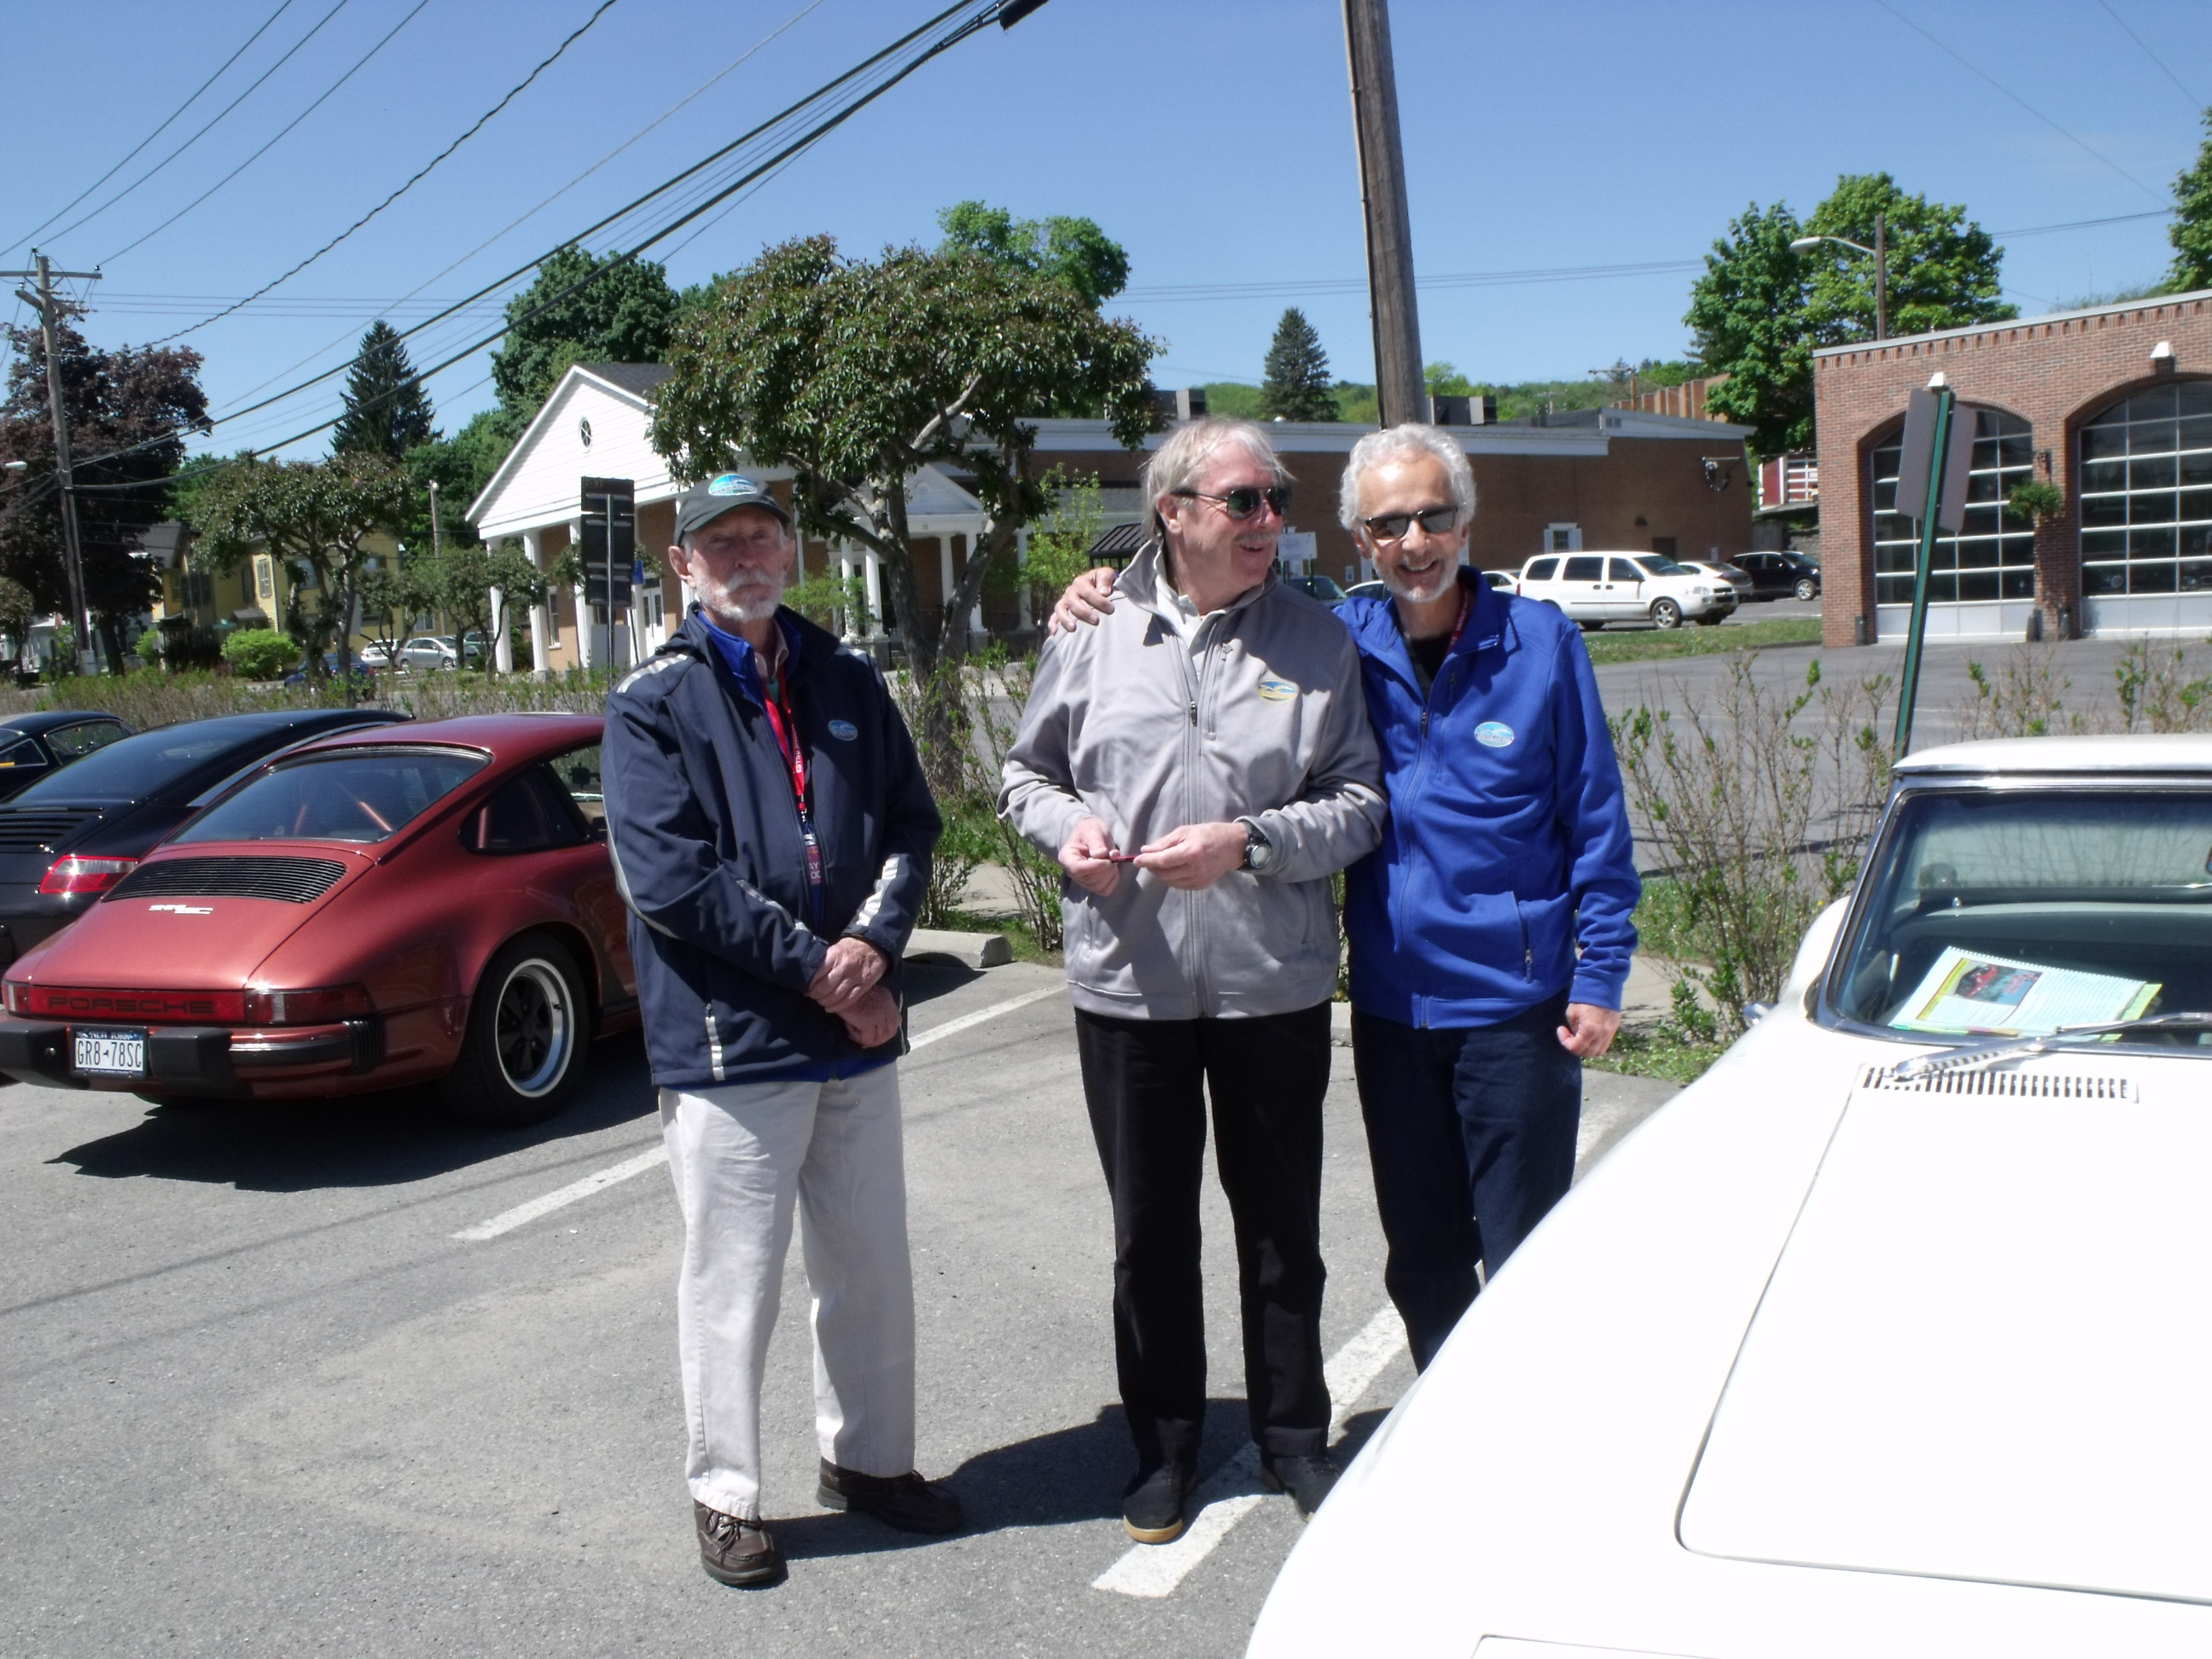
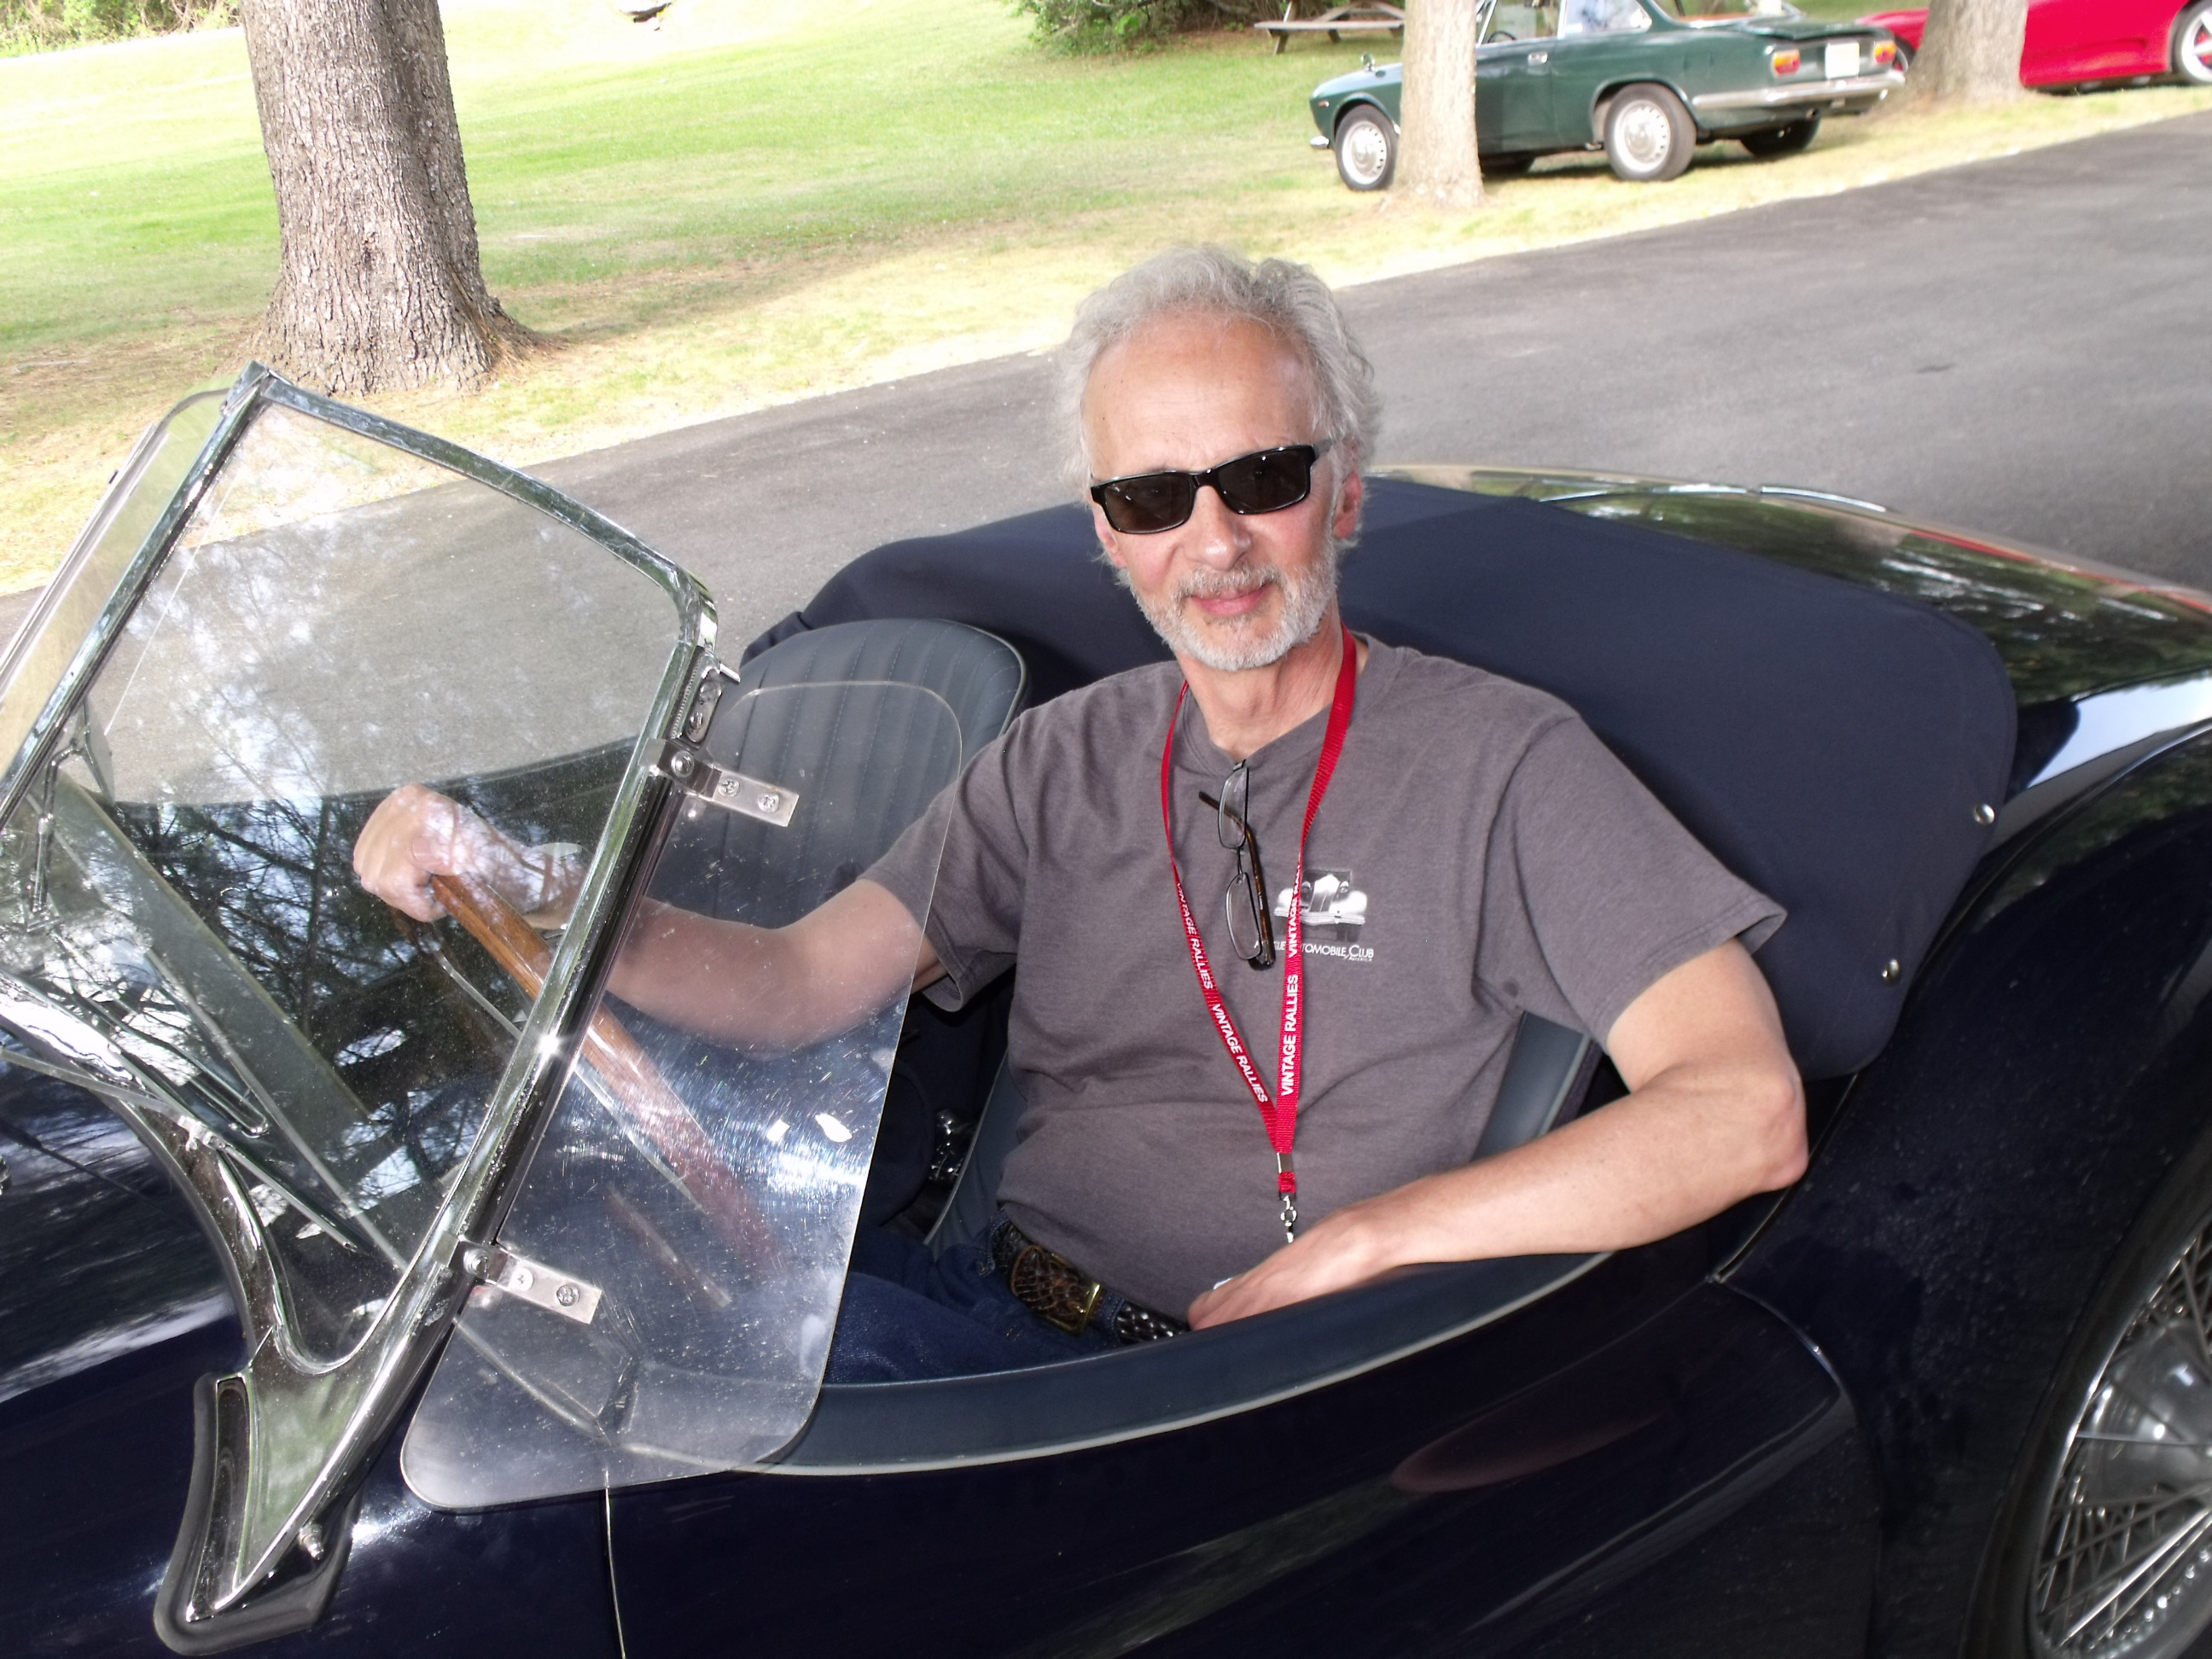
The Alfa and I arrived in a little over two hours. It was a personal thrill to meet up with my rally brother Steve Hansen, who flew in from California (again) to drive the rally with me.
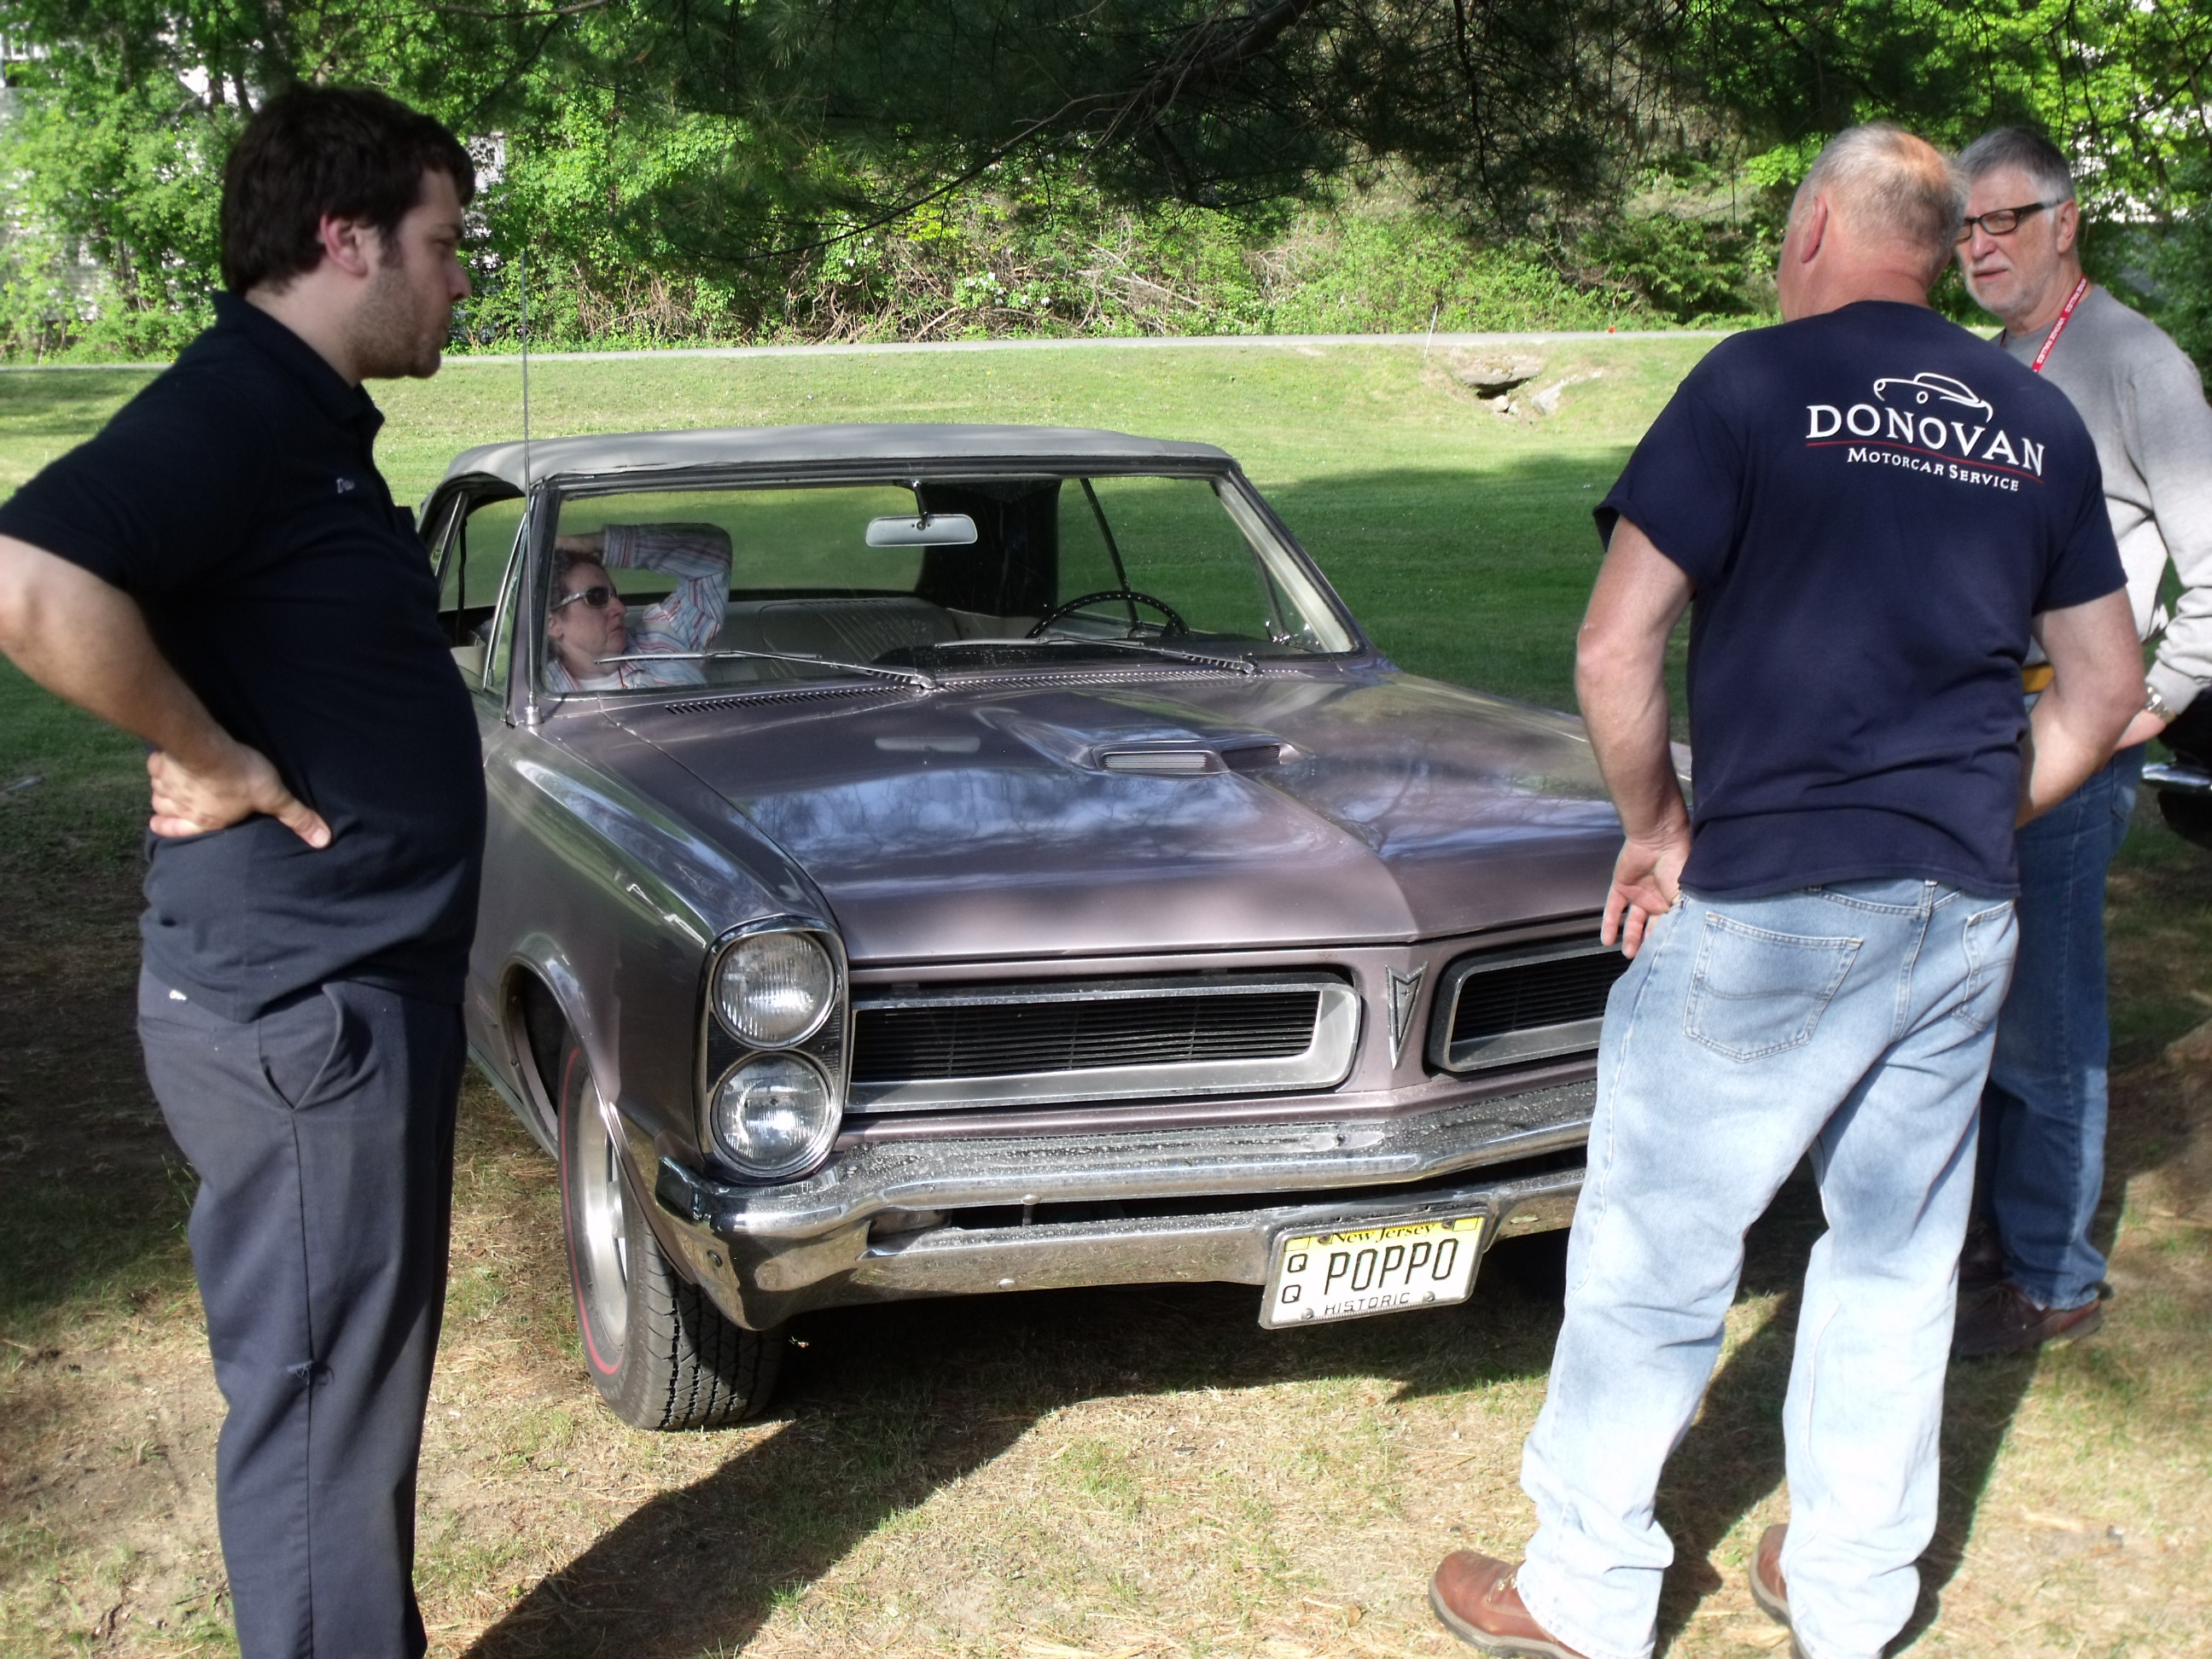
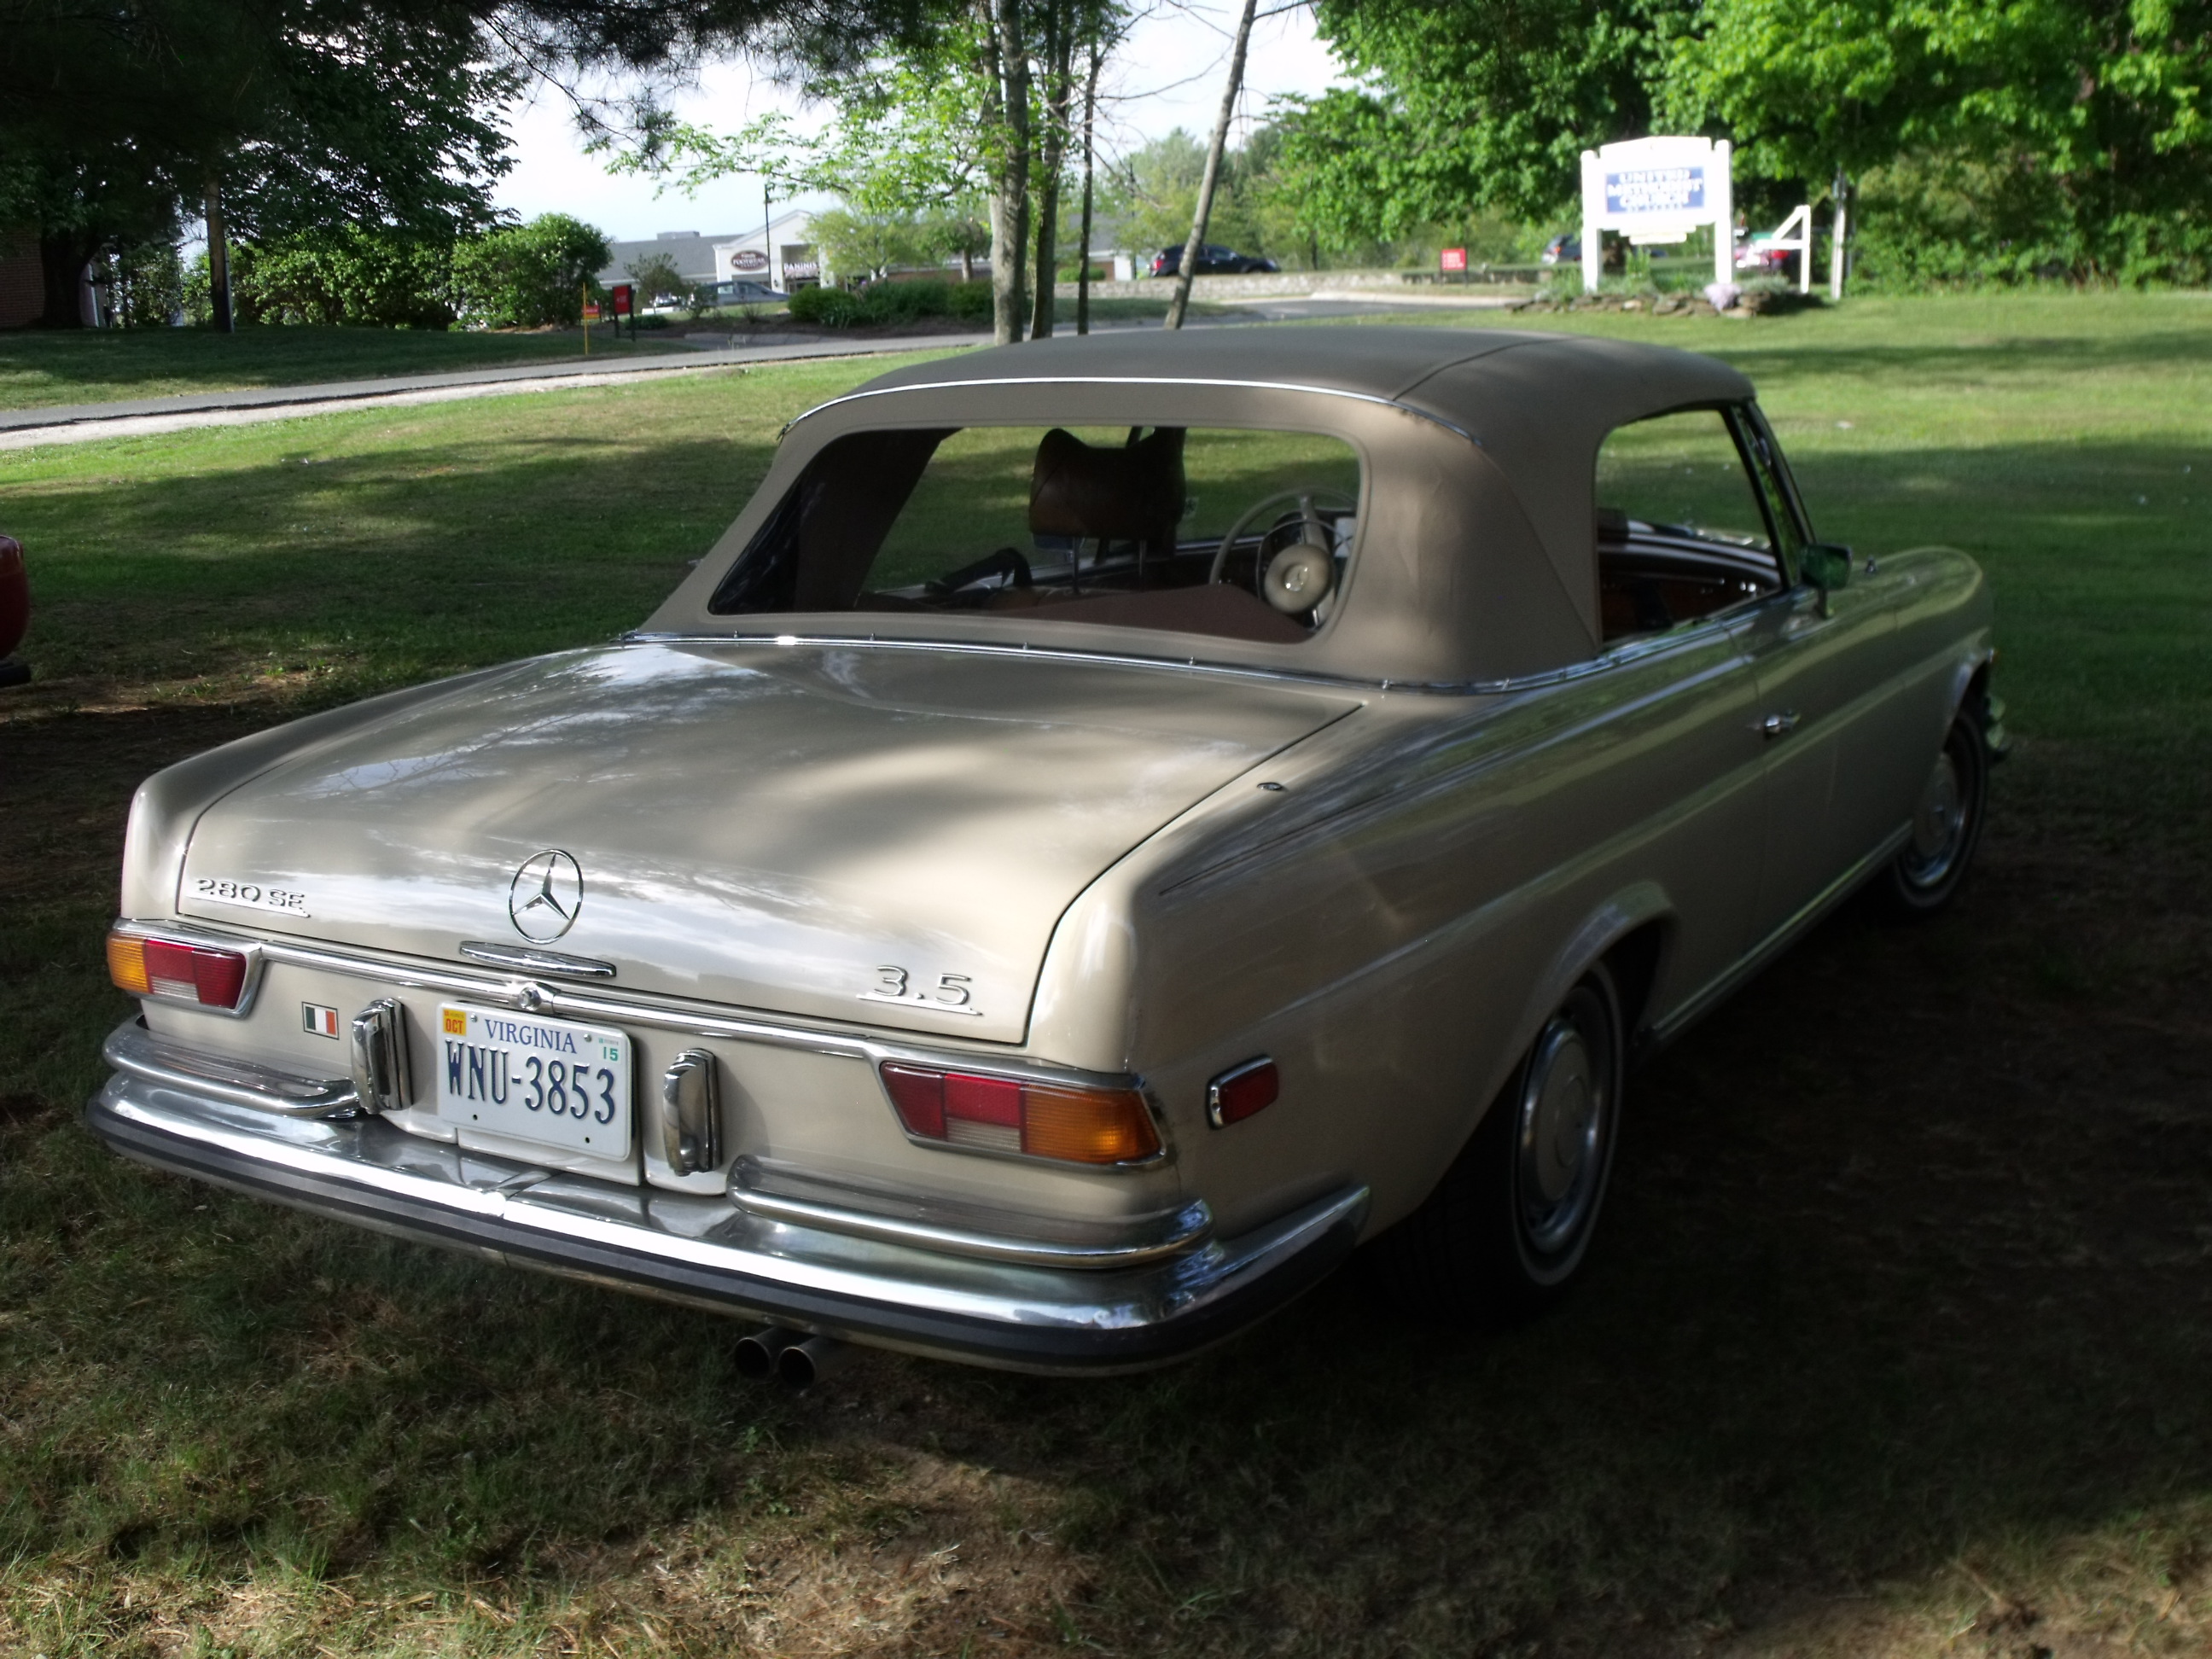
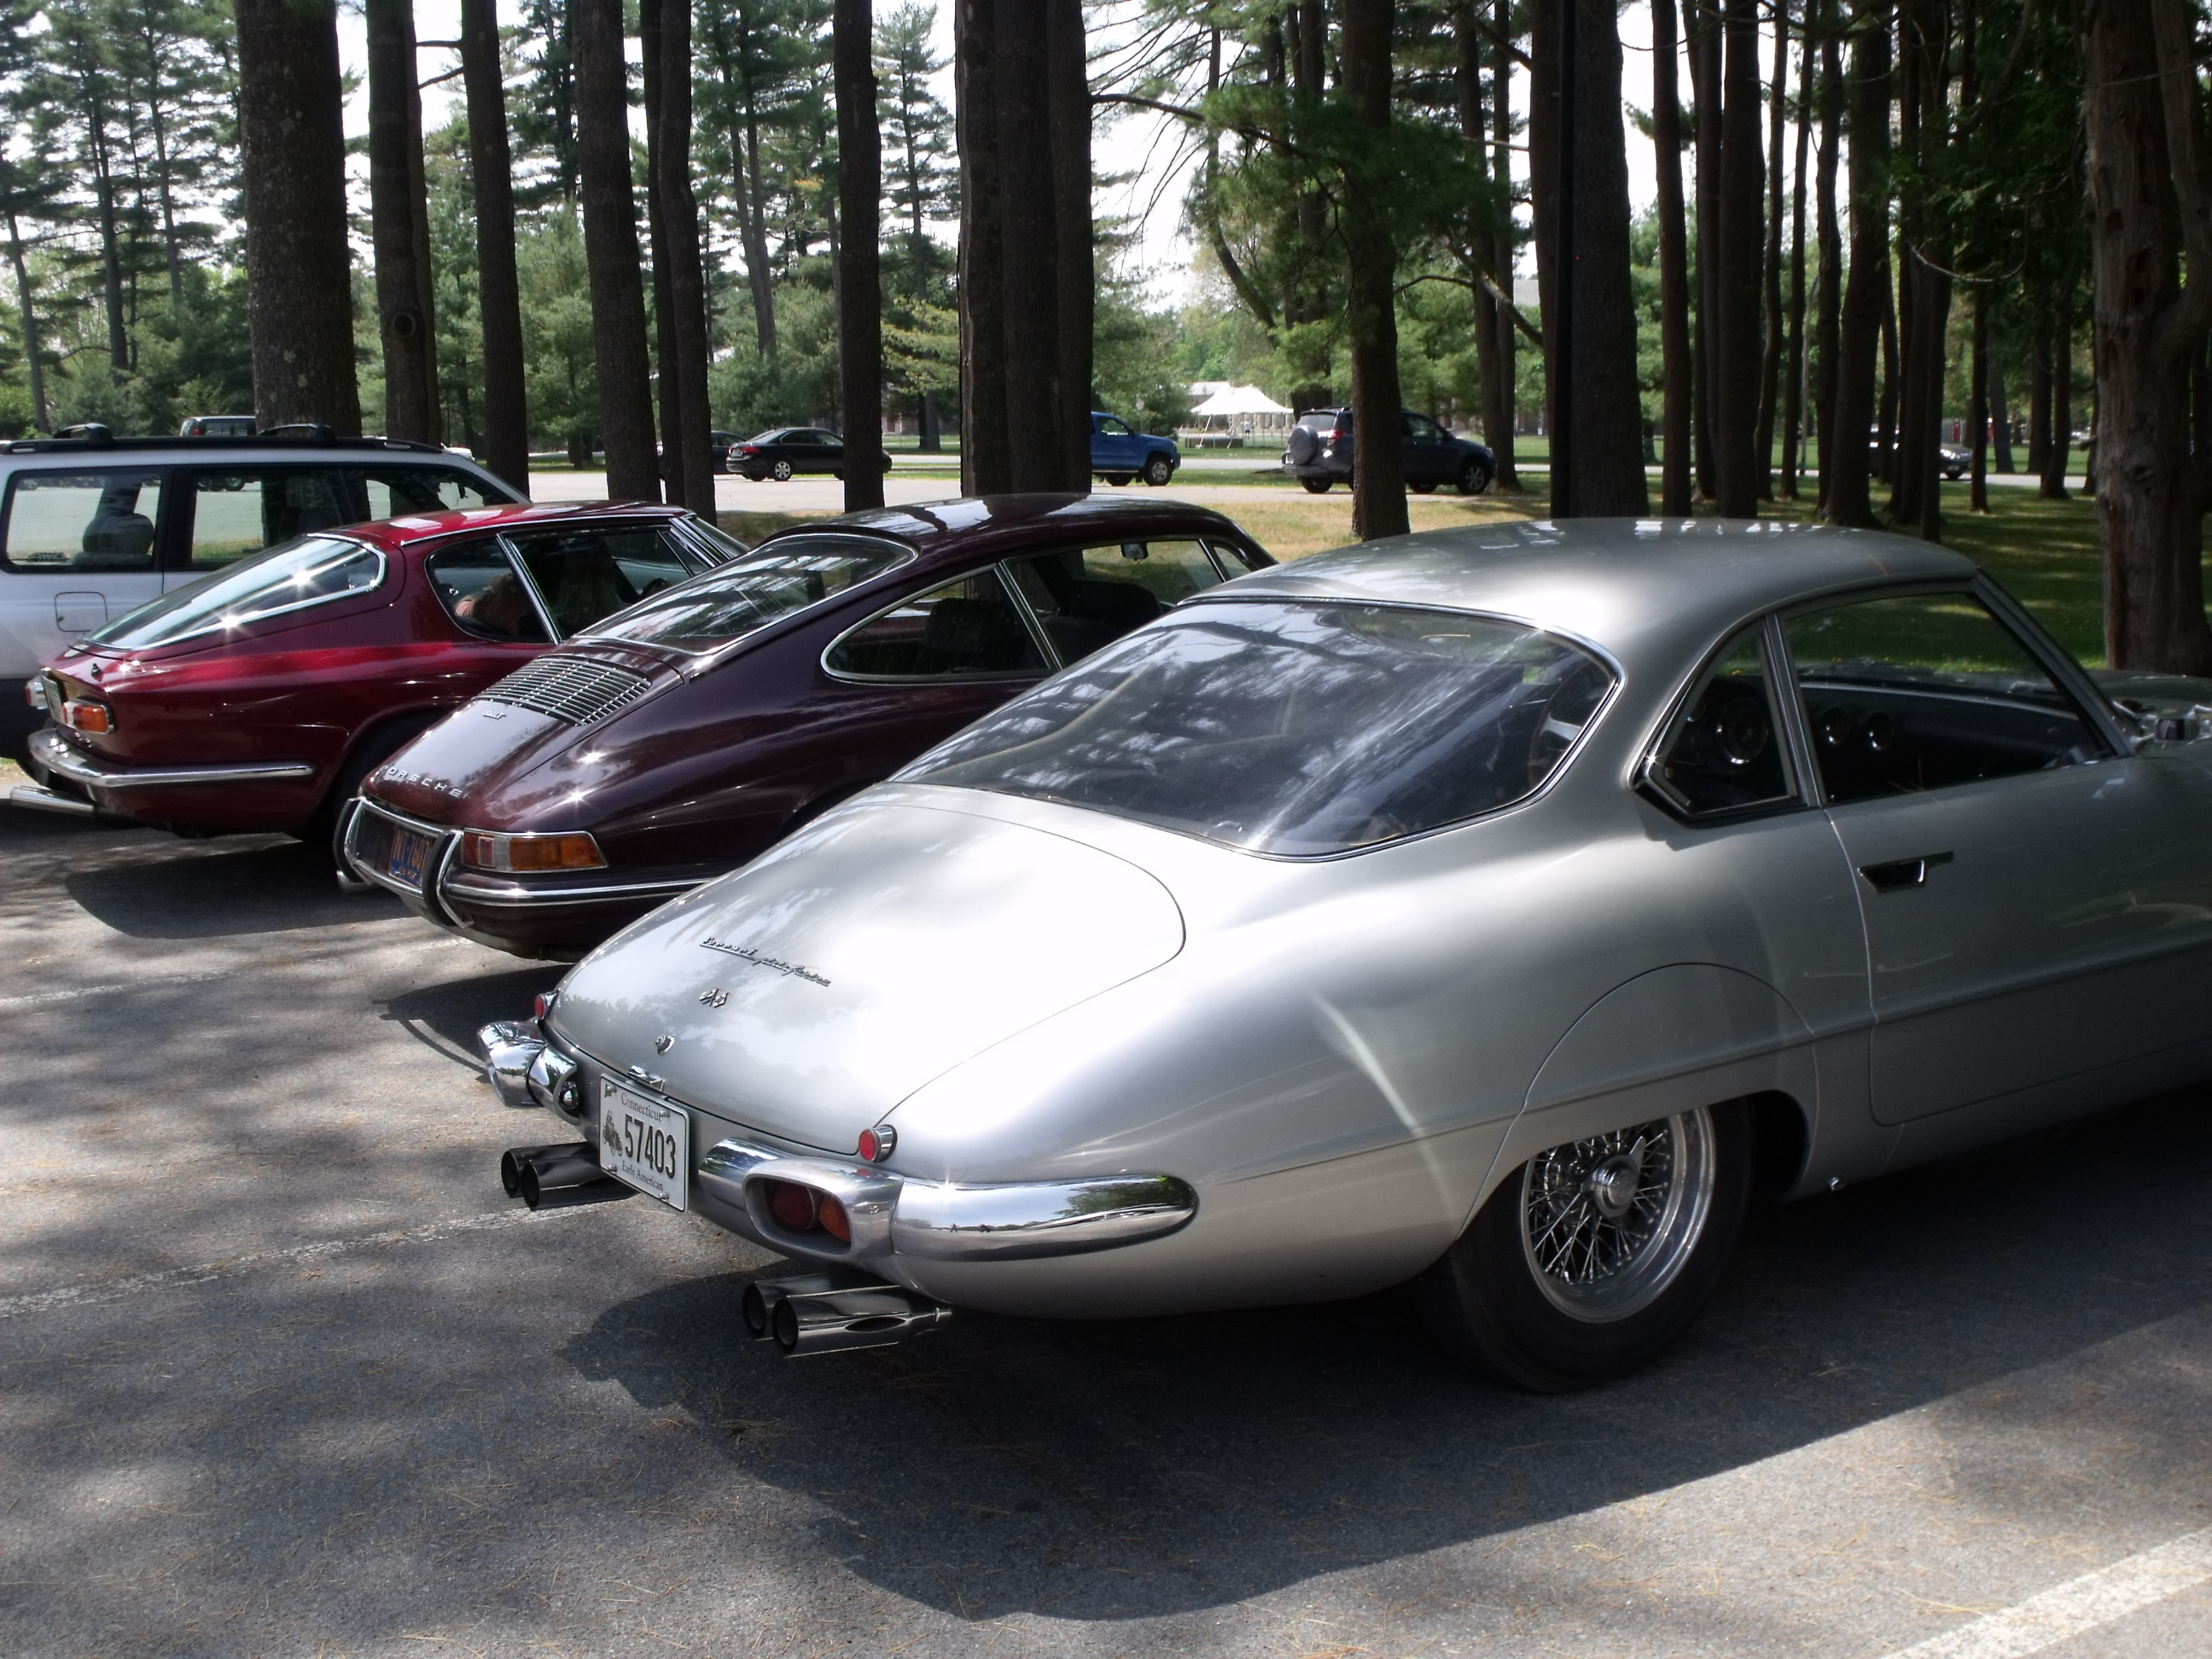
As always, there was the ceremonial installation of the front license plate. We then perused the parking lot to take in this year’s rally choices. The cars were more eclectic than ever, with a larger mix of domestic iron than we usually see.
Having completed our first rally together in 1998, the fun of meeting up with other rallyists whom we have gotten to know through the years sometimes outweighs the fun of seeing the spectacular cars.
From here I will let the photos speak for themselves. At 8am Monday morning the actual rallying begins.


With the front suspension rebuild finally done, it was time to entrust a front end alignment to a true professional. Ed Haggan, the owner of Haggan Tire & Auto, conveniently located 0.2 miles from my house, was able to schedule the alignment on my Alfa for this past Friday. Brian, the lead tech, ably handled the job, and didn’t charge me extra for leering over his shoulder as we both stared at the screen on the Hunter machine.
Hunter did not have specs for a ’67 Alfa GT 1300 Junior, but I handed Brian printouts from one of my Alfa manuals which called for positive caster of 2 degrees, plus or minus .5 degree, and total toe-in of 3 mm. There is no camber setting (well, there is if you purchase the optional adjustable upper control arms, an option on which I passed). Brian seemed especially pleased when I told him that I had left all the adjustment locknuts finger-tight. Actually, his facial expression made me think that he wondered what else on the car was only finger-tight.

A little over an hour later, I left the shop, and put 20 miles on the car. It was a revelation. The car tracked straight, steering effort was good, return to straight-ahead after a turn was amazing, and best of all, there was not a sound from the front end. (Before the rebuild, the front end clunked over every bump in the road.) Everything felt tight and right.
Today, with my wife along for the ride, we put another 65 miles on the car. (I’m also trying to consume the fuel from last November so that I can add fresh gas.) It was a beautiful afternoon for a ride, and the two-lane backroads of Hunterdon County were relatively deserted. After a stop for some photos, with the sun about 20 minutes away from leaving us for the day, we were home.

Today’s ride reassured me that the front end was good, and so was the rest of the car. An oil and filter change plus quick once-over will be done tomorrow. I hope to have time for a wash and wax before departing on Sunday to drive to Mohonk Mountain House in New Paltz NY for the start of this year’s New England 1000 road rally.
The last post on this topic was three weeks ago. What have I been doing? The remaining tasks seemed easy; they were easy. But they took time to do correctly. And several events occurred in the interim (like our first breakfast run of the year, and the Carlisle auction) which I refused to ignore in spite of the looming deadline – more about THAT below.
Remember that clicking on the photos enlarges them.
By sub-assembly:
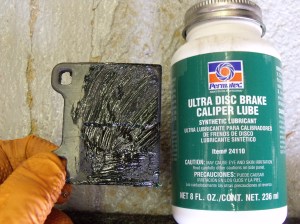
BRAKES: Truth be told, I love working on brakes, especially disc brakes. Deceptively simple. Brakes were the first real mechanical job I did on my own, on my 1970 Fiat, while I was in college. On the Alfa, once both front hoses were bolted into place, the new pads were installed, and the two front calipers bled. I saw no need to bleed the rear brakes, even though the master cylinder reservoir had drained dry. My wife agreed to enter the garage just long enough to endure the oft-repeated litany of “press; hold; release”. She actually inquired this time as to “what exactly are you bleeding when you say you’re bleeding the brakes?”. I tried to explain. She left the garage. I went back to work.


FRONT SWAY BAR: Once the end links were pressed on, it was just nuts and bolts to get this bad boy back into its rightful location. Except the sway bar is heavy. And it’s balanced in such a way that it does not want to behave when you need to run the bolts up. Jack stands were enlisted to serve as an alternate set of hands. Which sort of worked. A pry bar was engaged too. Once the bolts were started, it went back on nicely.


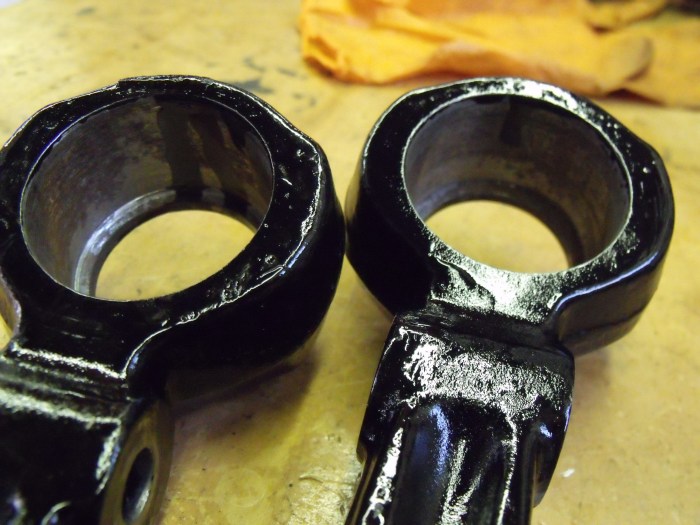
CASTER ARMS: Perusing an online Alfa spare-parts catalog shocked me into the realization that I never had ordered the rubber bushings which fit in the junction between the caster arm and upper control arm. The real reason I had not ordered them at the same time I ordered everything else is that there were NO RUBBER BUSHINGS when I disassembled the parts. The rubber left the car long ago. The parts were inexpensive; fitting them involved another opportunity to use a BFH to bring everything in line. I also find that use of the BFH increases in direct proportion to the anxiety one feels as one nears the end of a project.


STEERING LINKS: In an earlier blog post, I mentioned that the 6 steering link tie rod ends were replaced as a “might as well do this while I’m here” job. It seemed simple enough, and if the front suspension were to be like new, the steering rods should be too. Six steering ends were duly ordered and threaded into the sleeves. The sleeves were then bolted back onto the Pitman arm, idler arm, and spindles.

In my haste, I reinstalled them without giving a thought to steering wheel location. This was a mistake. (Isn’t this what I’m supposed to do in a blog? Confess my sins?) I found that A) with front tires pointed straight ahead, the steering wheel was upside-down; B) I had a different number of turns to left lock compared to right lock; and C) the two front tires had toe-out of about 30 degrees (probably 5 degrees, but I was so frustrated that it may as well have been 90 degrees).
As I learned during the Isetta restoration, when you get to this point, get the largest BFH you have walk away from the car and return to it the next day. Not only did I do that, I consulted my more-knowledgeable friends (thanks, Mike and Larry), and the next day, was able to disconnect the Pitman arm linkage, center the wheel, rotate all the sleeves in the correct direction, reconnect everything, and perform an approximate front alignment. Hooray, as it was time to drive the car.

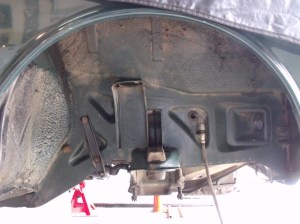
FIRST TEST DRIVE: This past Saturday, for the first time in five months, the Alfa left the garage, and was driven several miles. The steering felt great, ALL prior knocking and squeaking noises from the front end were gone, the car tracked straight, and the steering wheel was almost centered. Brakes worked too. Upon return, I performed a final torque, complete with insertion of cotter pins in all the ball joints. Ed at my corner garage does alignments, and I will endeavor to get that done this week.
THE UPCOMING RALLY: Two weeks from today, I leave in the Alfa to begin this year’s running of the New England 1000 old-car rally. Home base for the rally this year is Mohunk Mountain House in New Paltz, NY, a scant two hours from my home. I would still like to put about 100 maintenance miles on the car, but I’m fully confident that the Alfa will get me there, run the rally, and get me home. My rally brother Steve Hansen is flying east AGAIN to co-drive with me. This marks the 7th time we will have shared a car in this event.
So I got it done just in time – isn’t that how it’s supposed to work?
All photographs copyright © 2015 Richard A. Reina. Photos may not be copied or reproduced without express written permission.
Part 5? How many “parts” are there going to be? Given the progress made this week, it is my fervent hope that there will be ONE more part. We’re that close. The end is near, er, a road test is imminent.
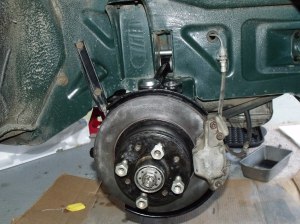
The week started with assistance from my step-son who worked with me to bolt the right side spindle/control arm assembly into place. Once that was hung, install of the backing plate and steering link was quite straightforward.

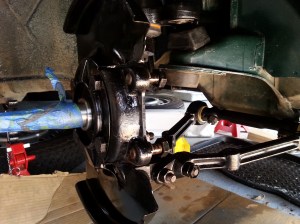
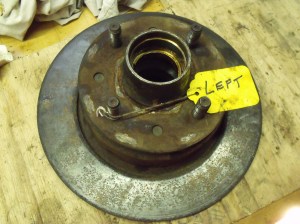
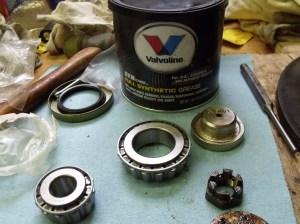
It was time to pay attention to the hub/brake disc assemblies, both of which have sat, ignored, since I removed them. In quick succession, the old bearings and seals were removed, the races knocked out, new races hammered in, the hub surfaces painted, new bearings packed and dropped in, and the bearing seals installed.
I used Valvoline full-synthetic wheel bearing grease for the first time. The stuff is black, and if possible, even nastier than the dino-based grease. It is supposed to tolerate higher temps (for those times when I’ll be driving the Death Valley 1000 old-car rally).

As an additional step, I used a 3M fine polishing disc in my trusty Black & Decker electric drill to remove the fine layer of rust on the rotor surfaces. Doing this removed no metal, and left the surface ready for the new brake pads.
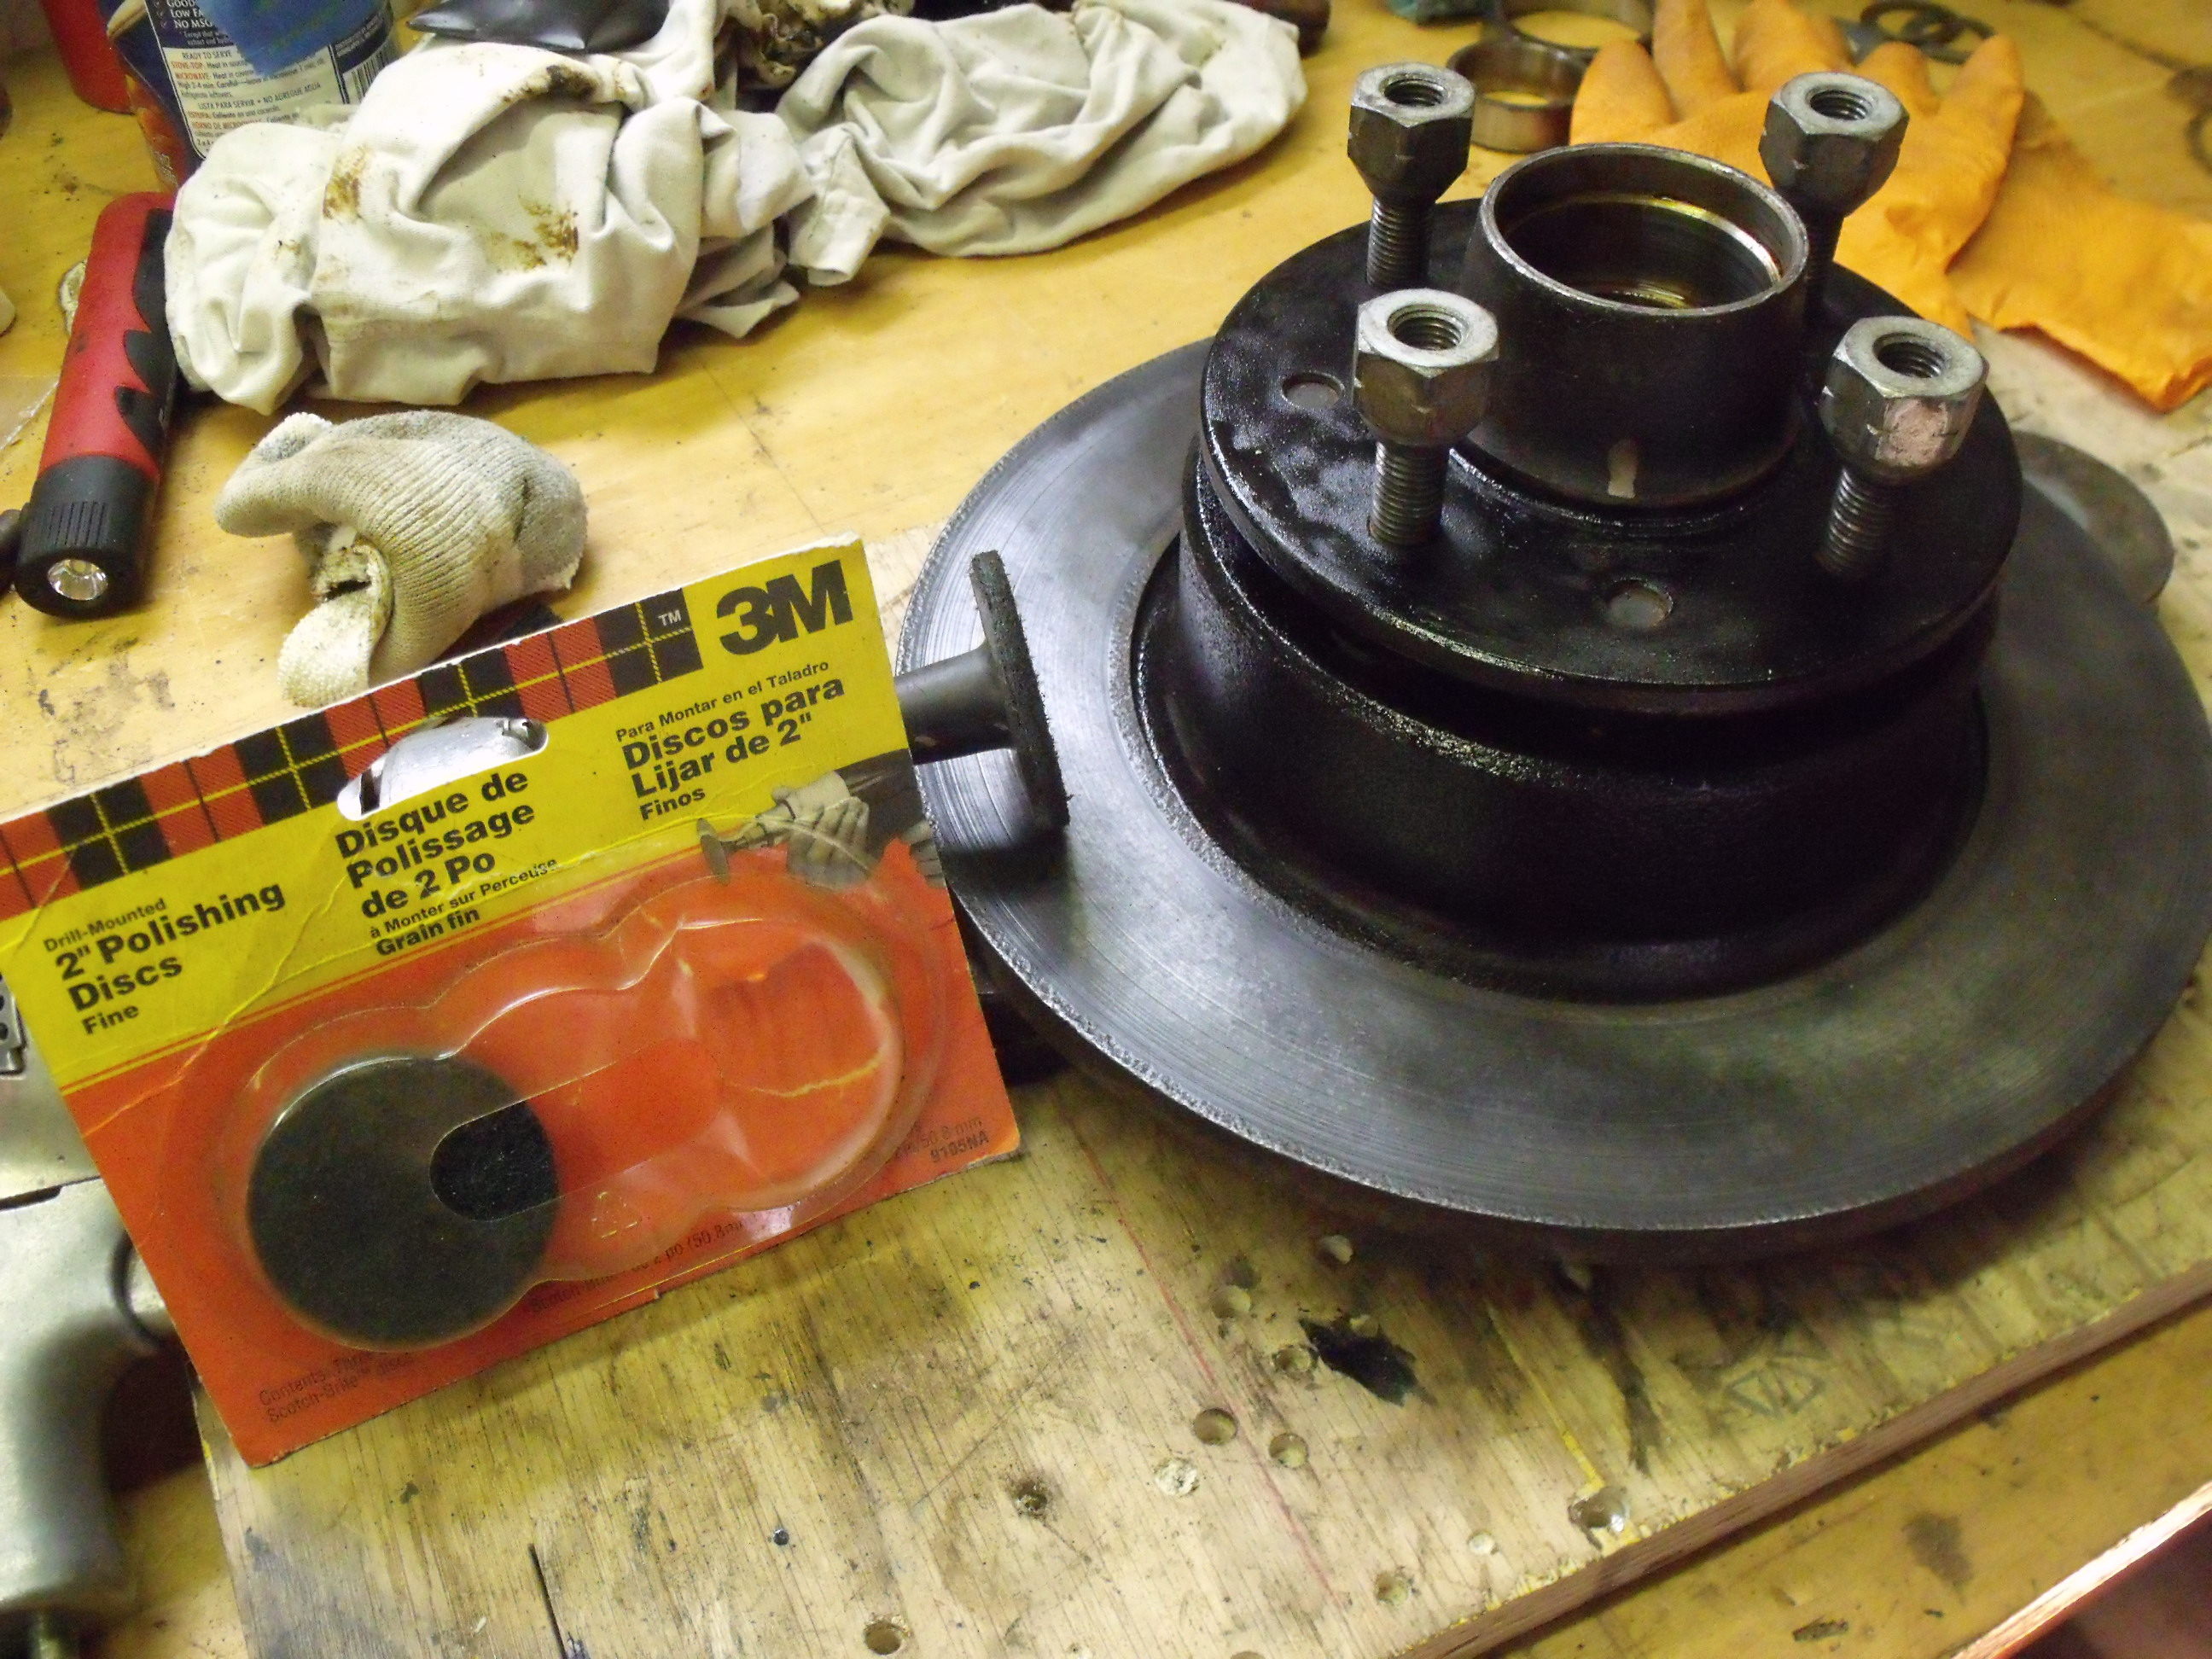
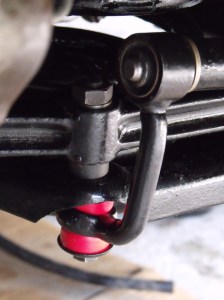
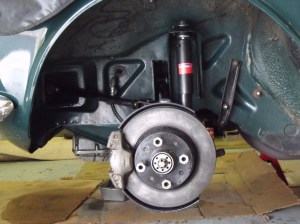
The hub/disc assemblies were reinstalled on the spindles, and a preliminary seating of the new bearings was done by spinning the hub and tightening the spindle nut, then backing off and repeating that process two or three times. I had forgotten that the LEFT side spindle nut has LEFT-HANDED threads. Once I relearned that, we were good. The brake calipers were then bolted back on. On the left side, the new hose was connected, and new pads and hardware put into the caliper.

There are some jobs for which you need that second set of hands. My brother-in-law Kevin happened to be visiting this past weekend, and I pressed him into service to help me install the coil spring on the right side. Just like the left side, a series of threaded rods were used to join the lower control arm and the spring seat. By alternately tightening the nuts under the spring seat, we were able to safely compress the spring to the point where the proper bolts could be installed.

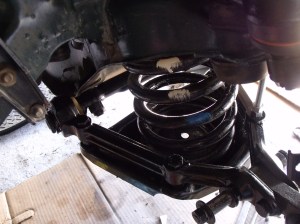
What’s left? The devil is in the details: right side brake hose and pads, bleeding of both front brakes, right front shock, sway bar, and steering links. Bolt the tires on. Torque the suspension with the vehicle’s weight on the ground. That’s it. I think. Then we drive.
All photographs copyright © 2015 Richard A. Reina. Photos may not be copied or reproduced without express written permission.
Another productive week has gone by, and with most of the painting finished, some reassembly has begun. It certainly feels like huge progress has been made.
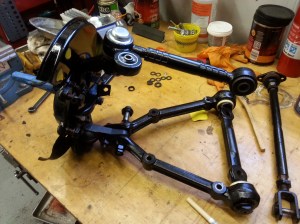
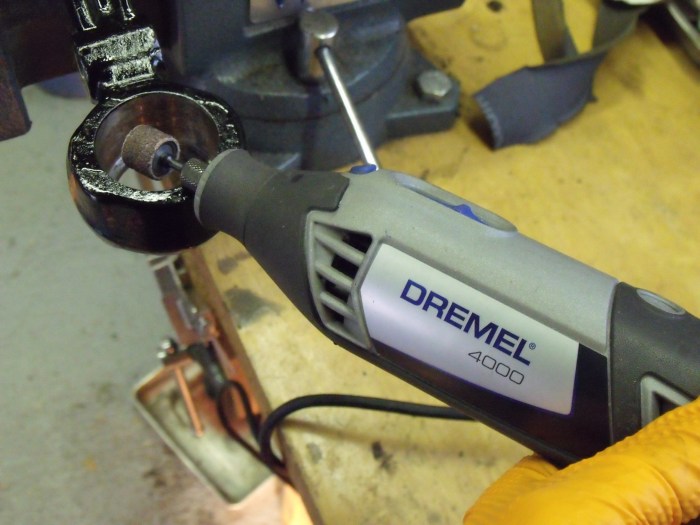
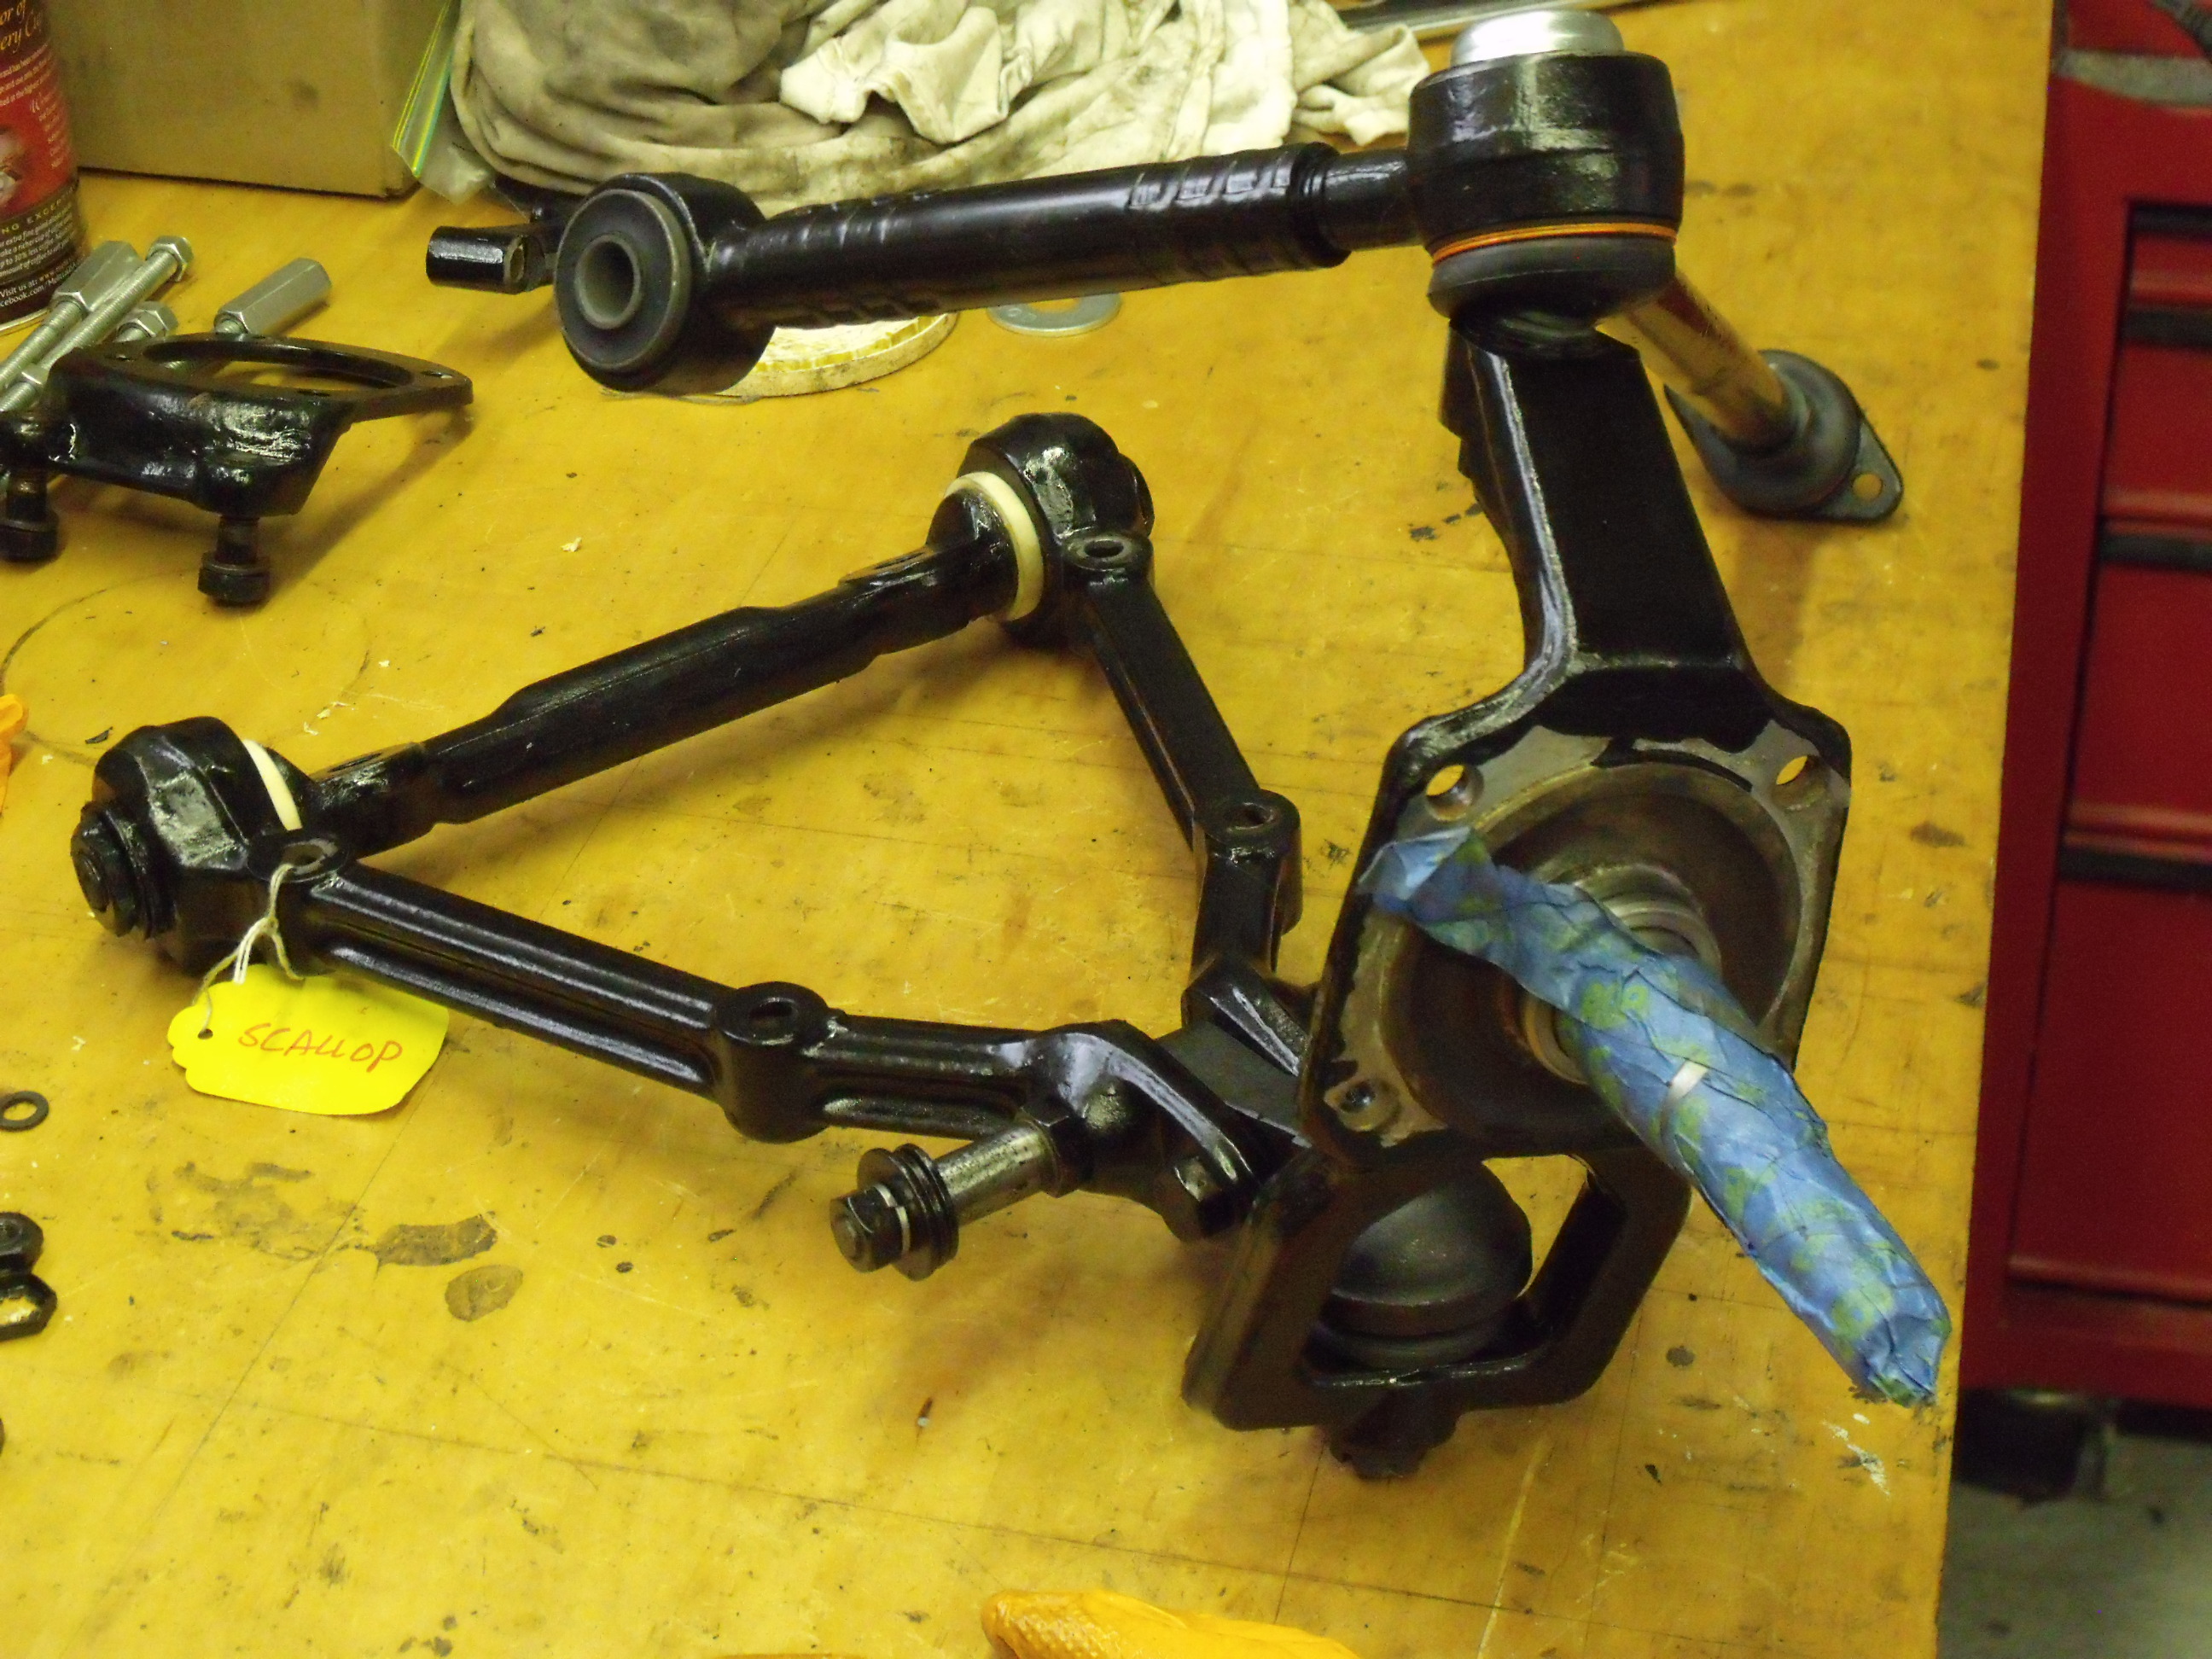
In our last installment (Part 3) just about all of our right side suspension components had been painted. I patiently waited the recommended 48 hours for the Chassis Black to dry, and then it was time to have some fun. First order of business was the installation of the new lower control arm bushings. “Bushings” is actually misleading, as I have attempted to describe before. These more closely resemble bearings, as there is a grease-filled spherical joint inside the casing. (The price reflected this too, as these were about $40 for the pair.) My Dremel tool was used with a sanding drum to clean up the inside of the control arm. A light coating of wheel bearing grease was applied to all surfaces, both to ease the installation and to also make it easy for the poor guy who will take these apart for the car’s restoration in 2067.
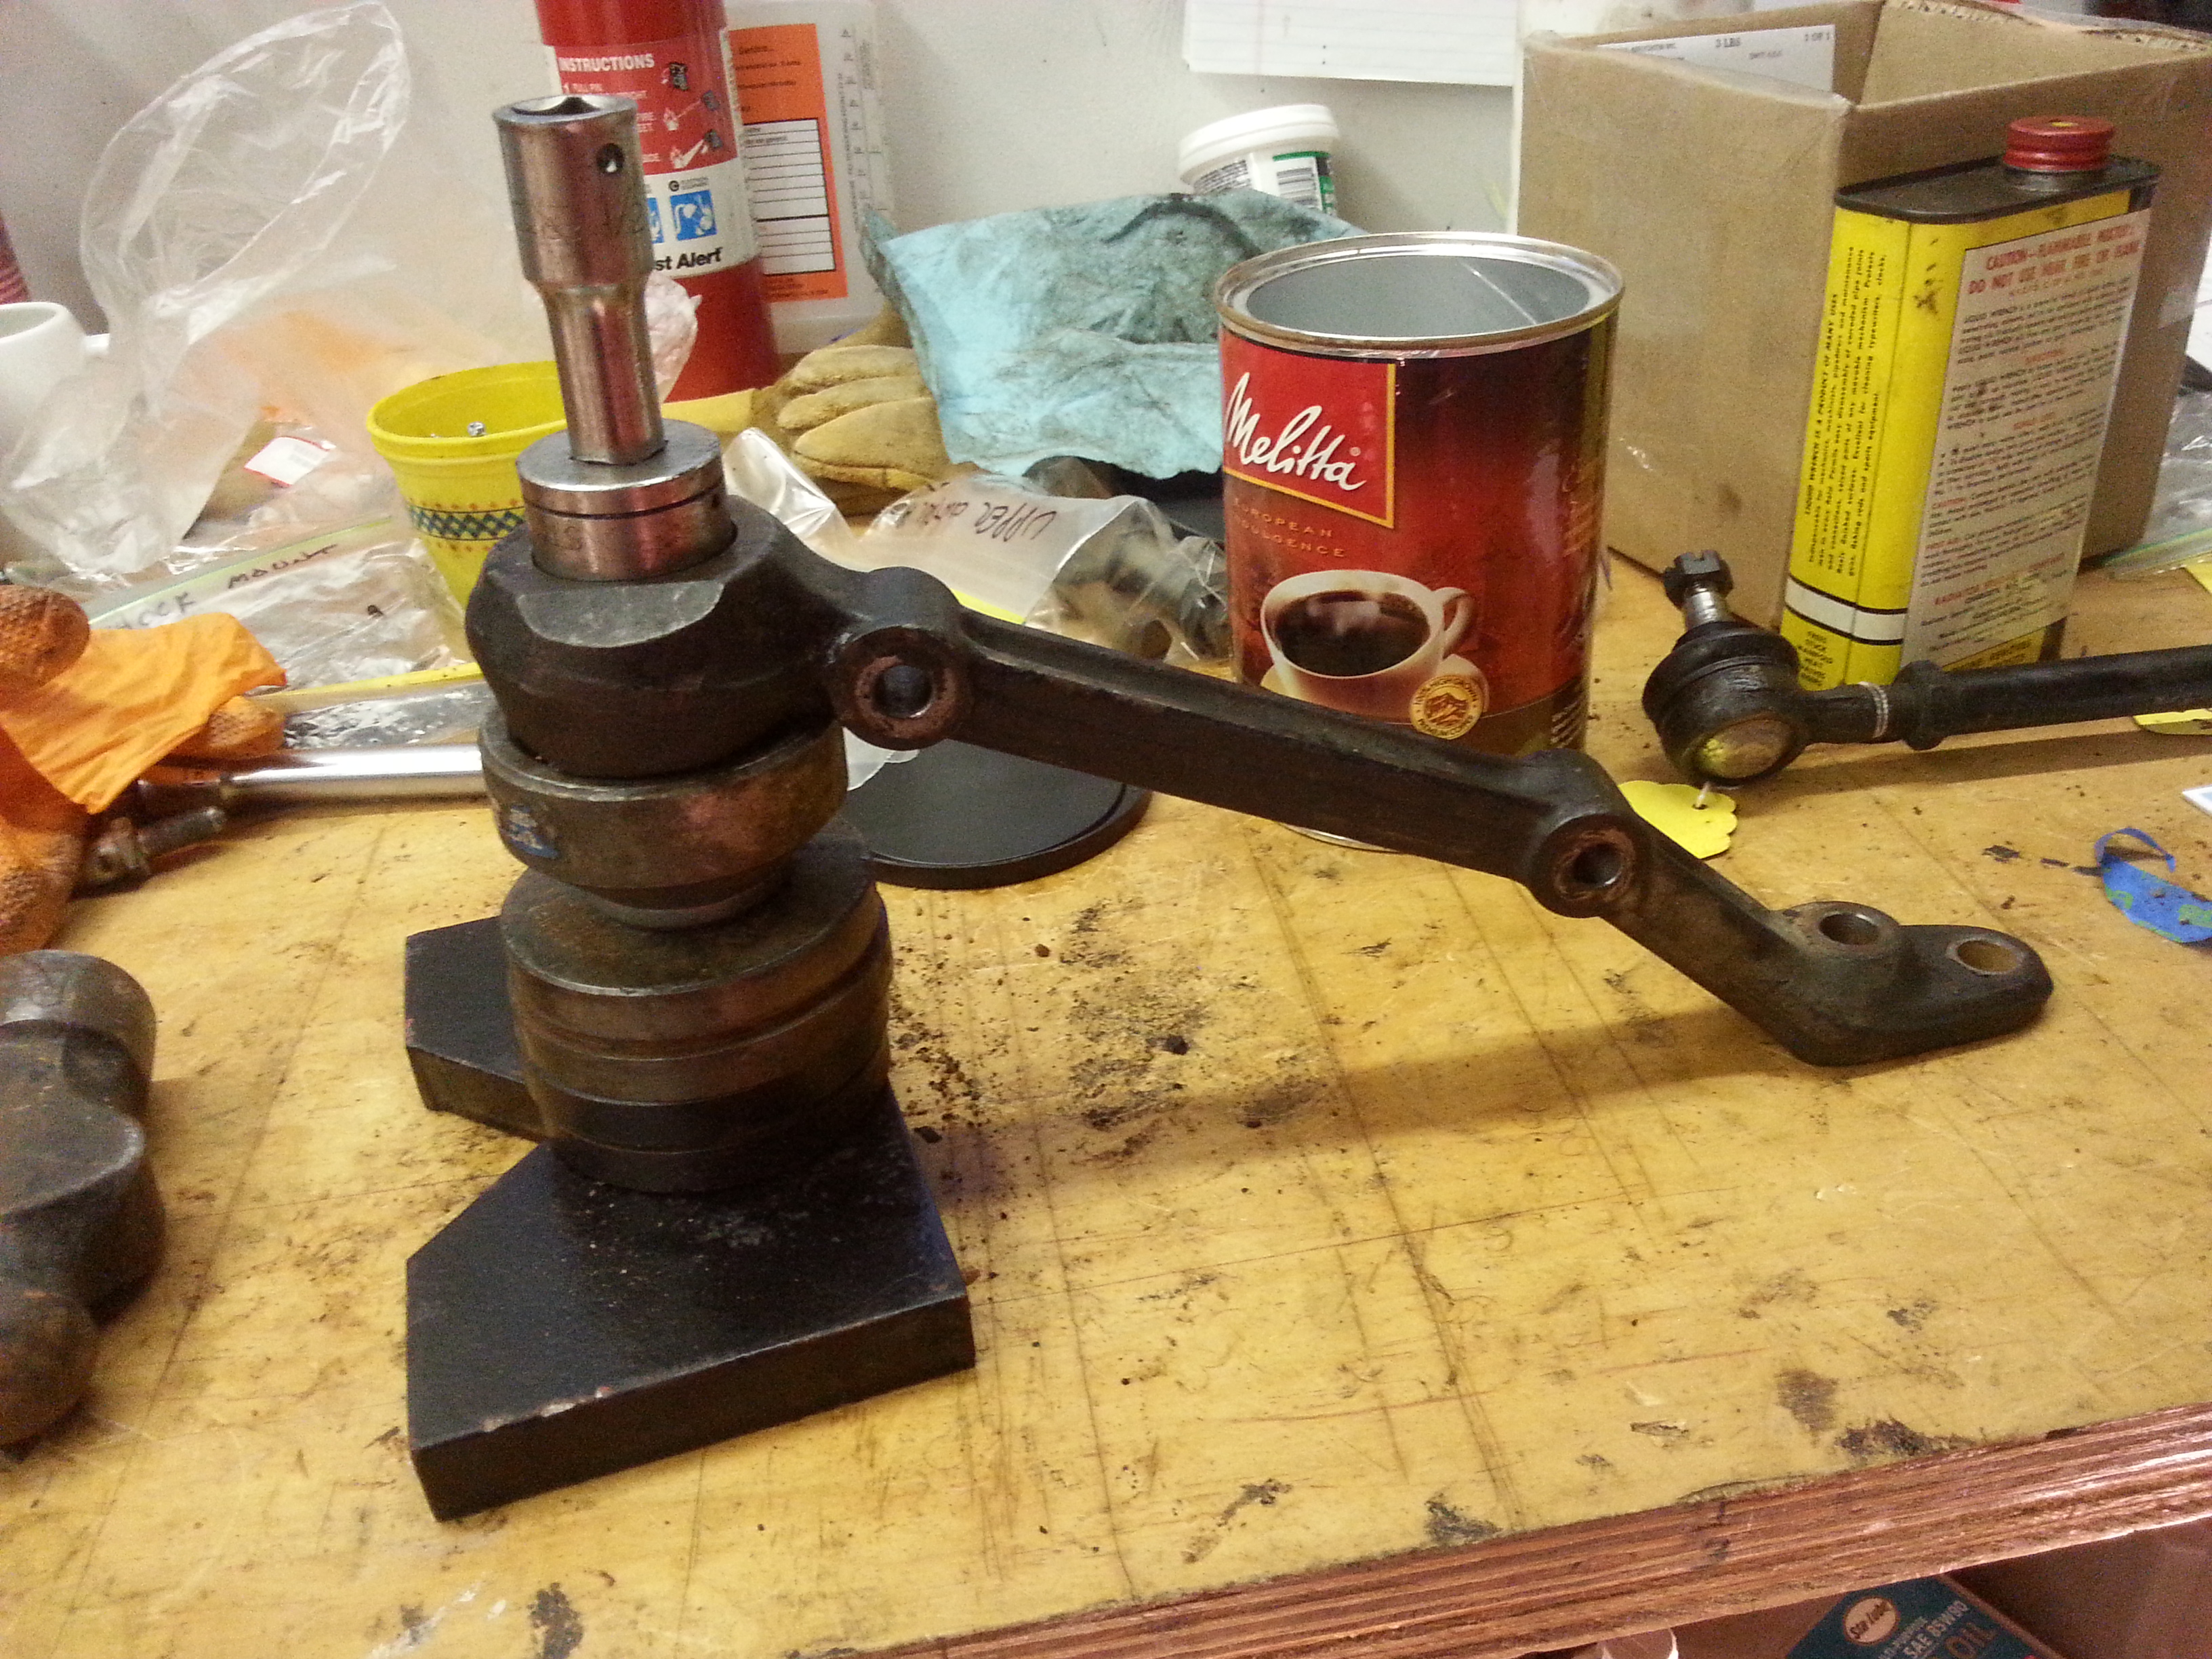
The bushings/bearings are not symmetrical; a foam ring fits on one side to help prevent the ingress of water and dirt, so I needed to pay attention when pressing these in. The hydraulic press did a beautiful job of driving them home into the control arms.


Next, the spindle was prepped for the upper and lower ball joints to be similarly pressed into place. I recalled from the left side work that one must press the lower ball joint in first, as the drift to do that needs to pass through the opening for the upper joint. The upper ball joint is actually integral with the upper control arm.

Once these pieces were pressed into place, completion of the spindle/control arm subassembly was a simple matter of bolting the lower ball joint to the control arms, and control arms onto the dogbone. The bushings slide onto the dogbone, so no press-fitting was required. In the photo below, note the foam rings (in white) between the control arms and dogbone.
With this subassembly ready to be reinstalled, I needed to wash the inner wheel housing while everything was removed. Using Oil Eater and a cleaning brush, I did the best I could. At some point in the future, I’d like to do a more thorough job on the underside, probably when the car is outside and I can use a hose.

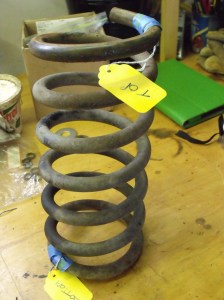
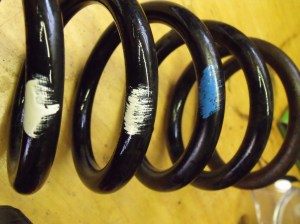
The final job for this week was the cleaning and painting of the right side coil spring. As on the left side, the factory paint marks were found and masked so that they would not be obliterated during the repaint. The spring was washed, dried, and given one coat of Chassis Black with a disposable foam brush. Earlier, I had built a spring holder from a 2×4, a couple of L-brackets, and a piece of plywood. It worked like a charm, keeping the spring upright while I dabbed on the paint. And to think it was less than two weeks ago that we took this spring out!

All photographs copyright © 2015 Richard A. Reina. Photos may not be copied or reproduced without express written permission.
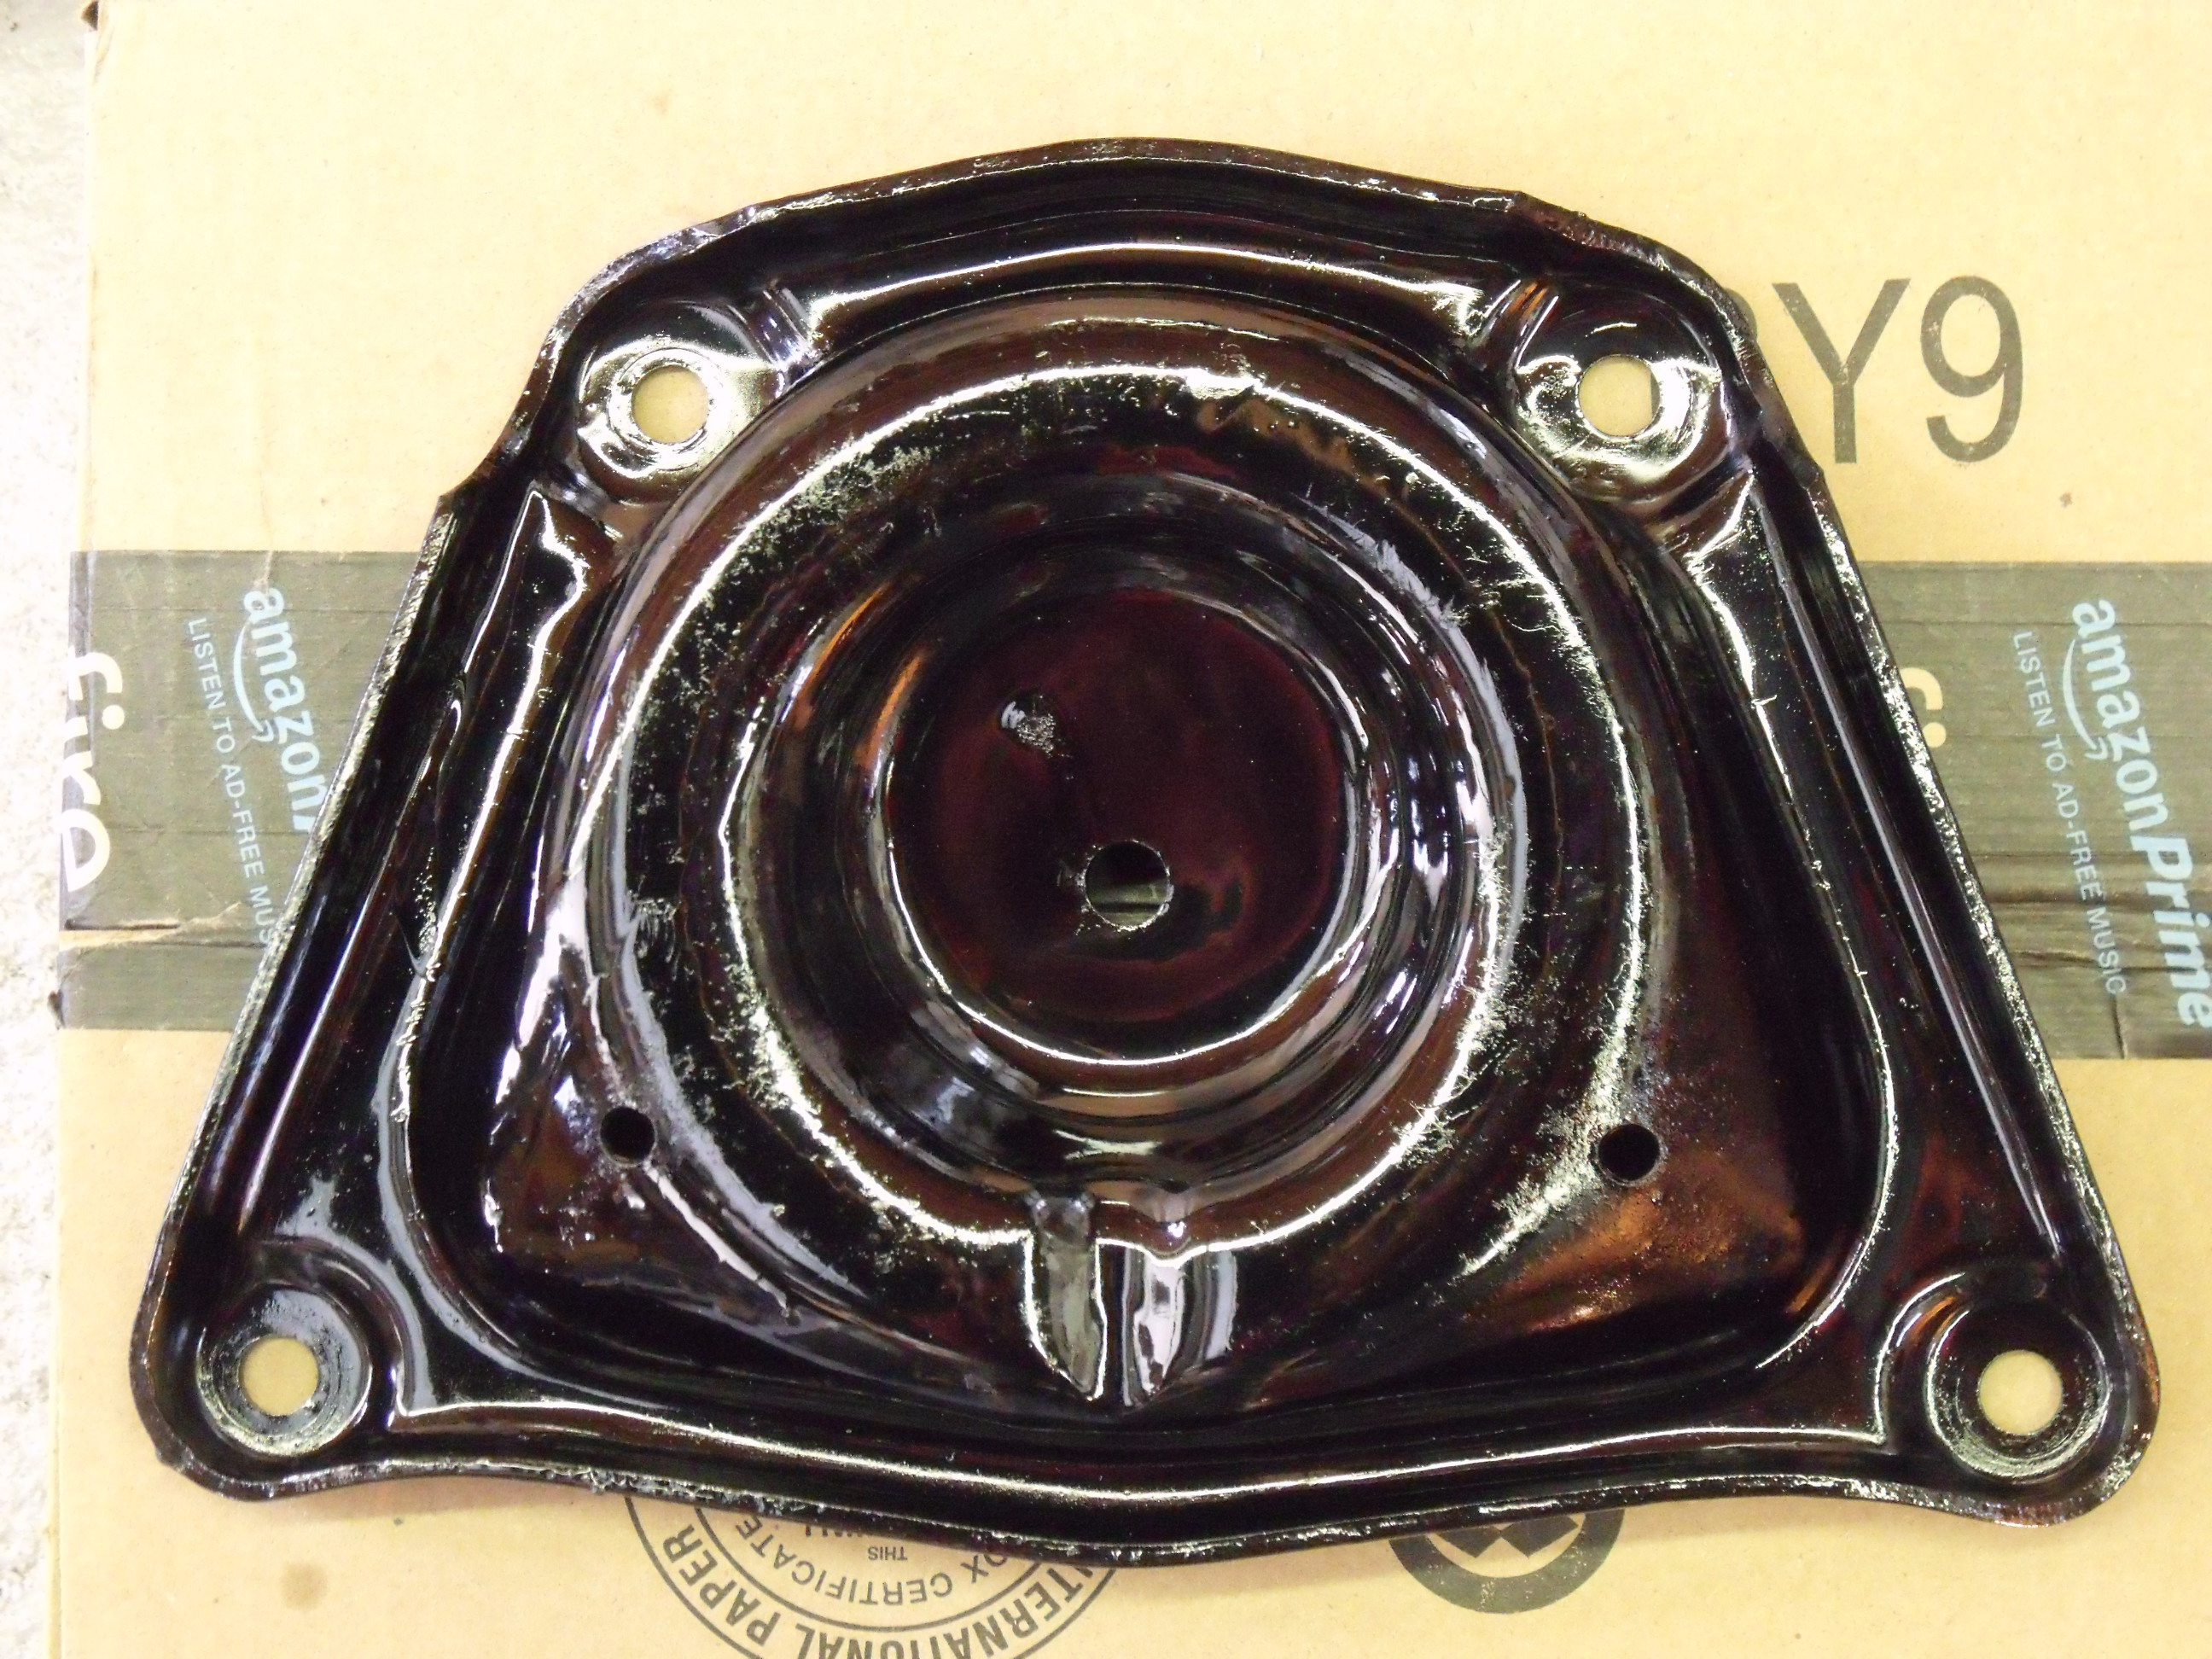
Grunt work. That’s what I call what I’ve been doing with the car the last seven days. It’s the degreasing, cleaning, sanding, and painting of all the various components while they’re apart, to prepare them for reassembly. It’s mindless, repetitious work. However, it’s not difficult, it moves along quickly, and it has a beginning, middle, and end which are quite close together, so there is large sense of satisfaction for me in its accomplishment.
In Suspension Rebuild Part 2, we left off with just about all the right front pieces broken down to their individual elements. Just about, but not quite. There remained the task of driving out the two large bushings from the lower control arms. Just like the left side, these bushings were shot, perhaps worse than the others. The only way these were coming out was with that specialty tool, the BFH (Big Frank’s Hammer). The shape of the control arm dictated building up support under it, with a metal cup large enough for the bushing to be able to be driven down into it. An appropriate sized socket and short extension bar were used. It took many dozens of blows with the BFH before the bushings would begin to move. The sound changed: at first, it was a high-pitched clang; once the bushing was on the move, the sound shifted to a lower-pitched thud. Finally, both were out, but not before I mushroomed the head of the 1/2″ extension!
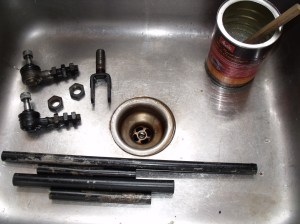
Now all the parts were ready for the grunt work. As I have no running water in the garage, and the garden hoses have yet to come out from winter slumber, the various components were washed in the kitchen sink. I did this in front of my spouse, and somehow got away with it. Perhaps she understands the sense of urgency under which I’m working. Here are the ‘before’ and ‘after’ cleaning shots of the spring seat, control arm cross bar, and steering linkage. BTW, Dawn brand dish detergent, a powerful degreaser, is one of the best solutions I’ve used to clean car parts.


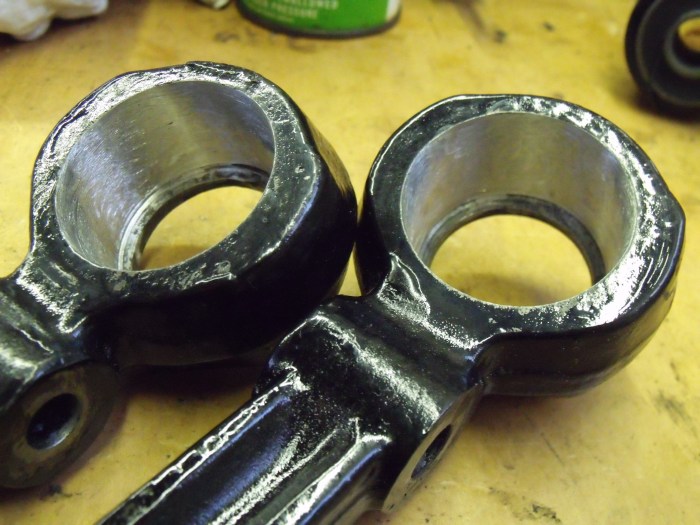
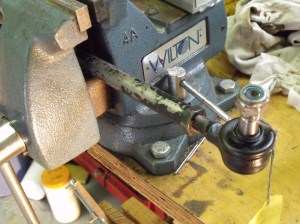
Although a vehicle’s steering system is, strictly speaking, separate from the suspension, the two are closely linked. Since I had both tie rod ends off anyway, I decided to replace all 6 steering ball joints. The Alfa uses a conventional recirculating-ball steering system, with a Pitman arm off the steering box, and an idler arm on the passenger side. The center drag link has a ball joint at each end, and so do both tie rod ends. Each of the 3 tubes has one right-hand-thread ball joint and one left-hand-thread ball joint. In this way, toe can be set, with each tie rod acting like a turnbuckle, either increasing or decreasing in length as it’s rotated.
Before removing all these ball joints, I took macro photos so that I can count the threads on reassembly and approximate the alignment setting before taking the car to Eddie, my front end guy, for a proper alignment.


Aside from the locknuts being tight, I needed to be mindful that half of them would loosen when turned to the RIGHT. Having a table-mounted vise with a pipe clamp (my trusty Wilton bench vise) was handy. Once everything was apart, it was back to the sink.
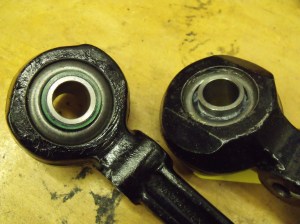
See the ball joints in the above right-side photo, each with 3 nuts threaded onto them? These are the old, to-be-discarded ball joints. By doing this, I can paint the nuts without getting paint on their threads, and have no worries about the threads on the ball joint. A large part of the fun this week was devising ways to suspend the parts for painting.
When it came time to paint the tubes, I decided that long wood screws could support the 3 shorter ones upright. The longest tube had a dowel passed through it, which was then attached to two scraps of wood. All the tubes could be spun while painted.
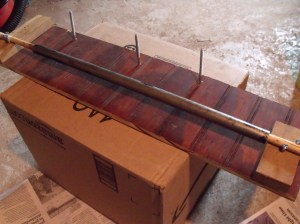
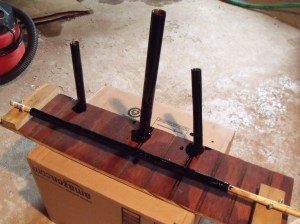
Another nice element about grunt work is that I can do 30-60 minutes in the evening, such as put a coat of paint on several parts, and progress is made. Below you can see the table set-up in my basement, with various parts arrayed. I will typically paint one side of a component, wait a day, then flip it to paint the other side.
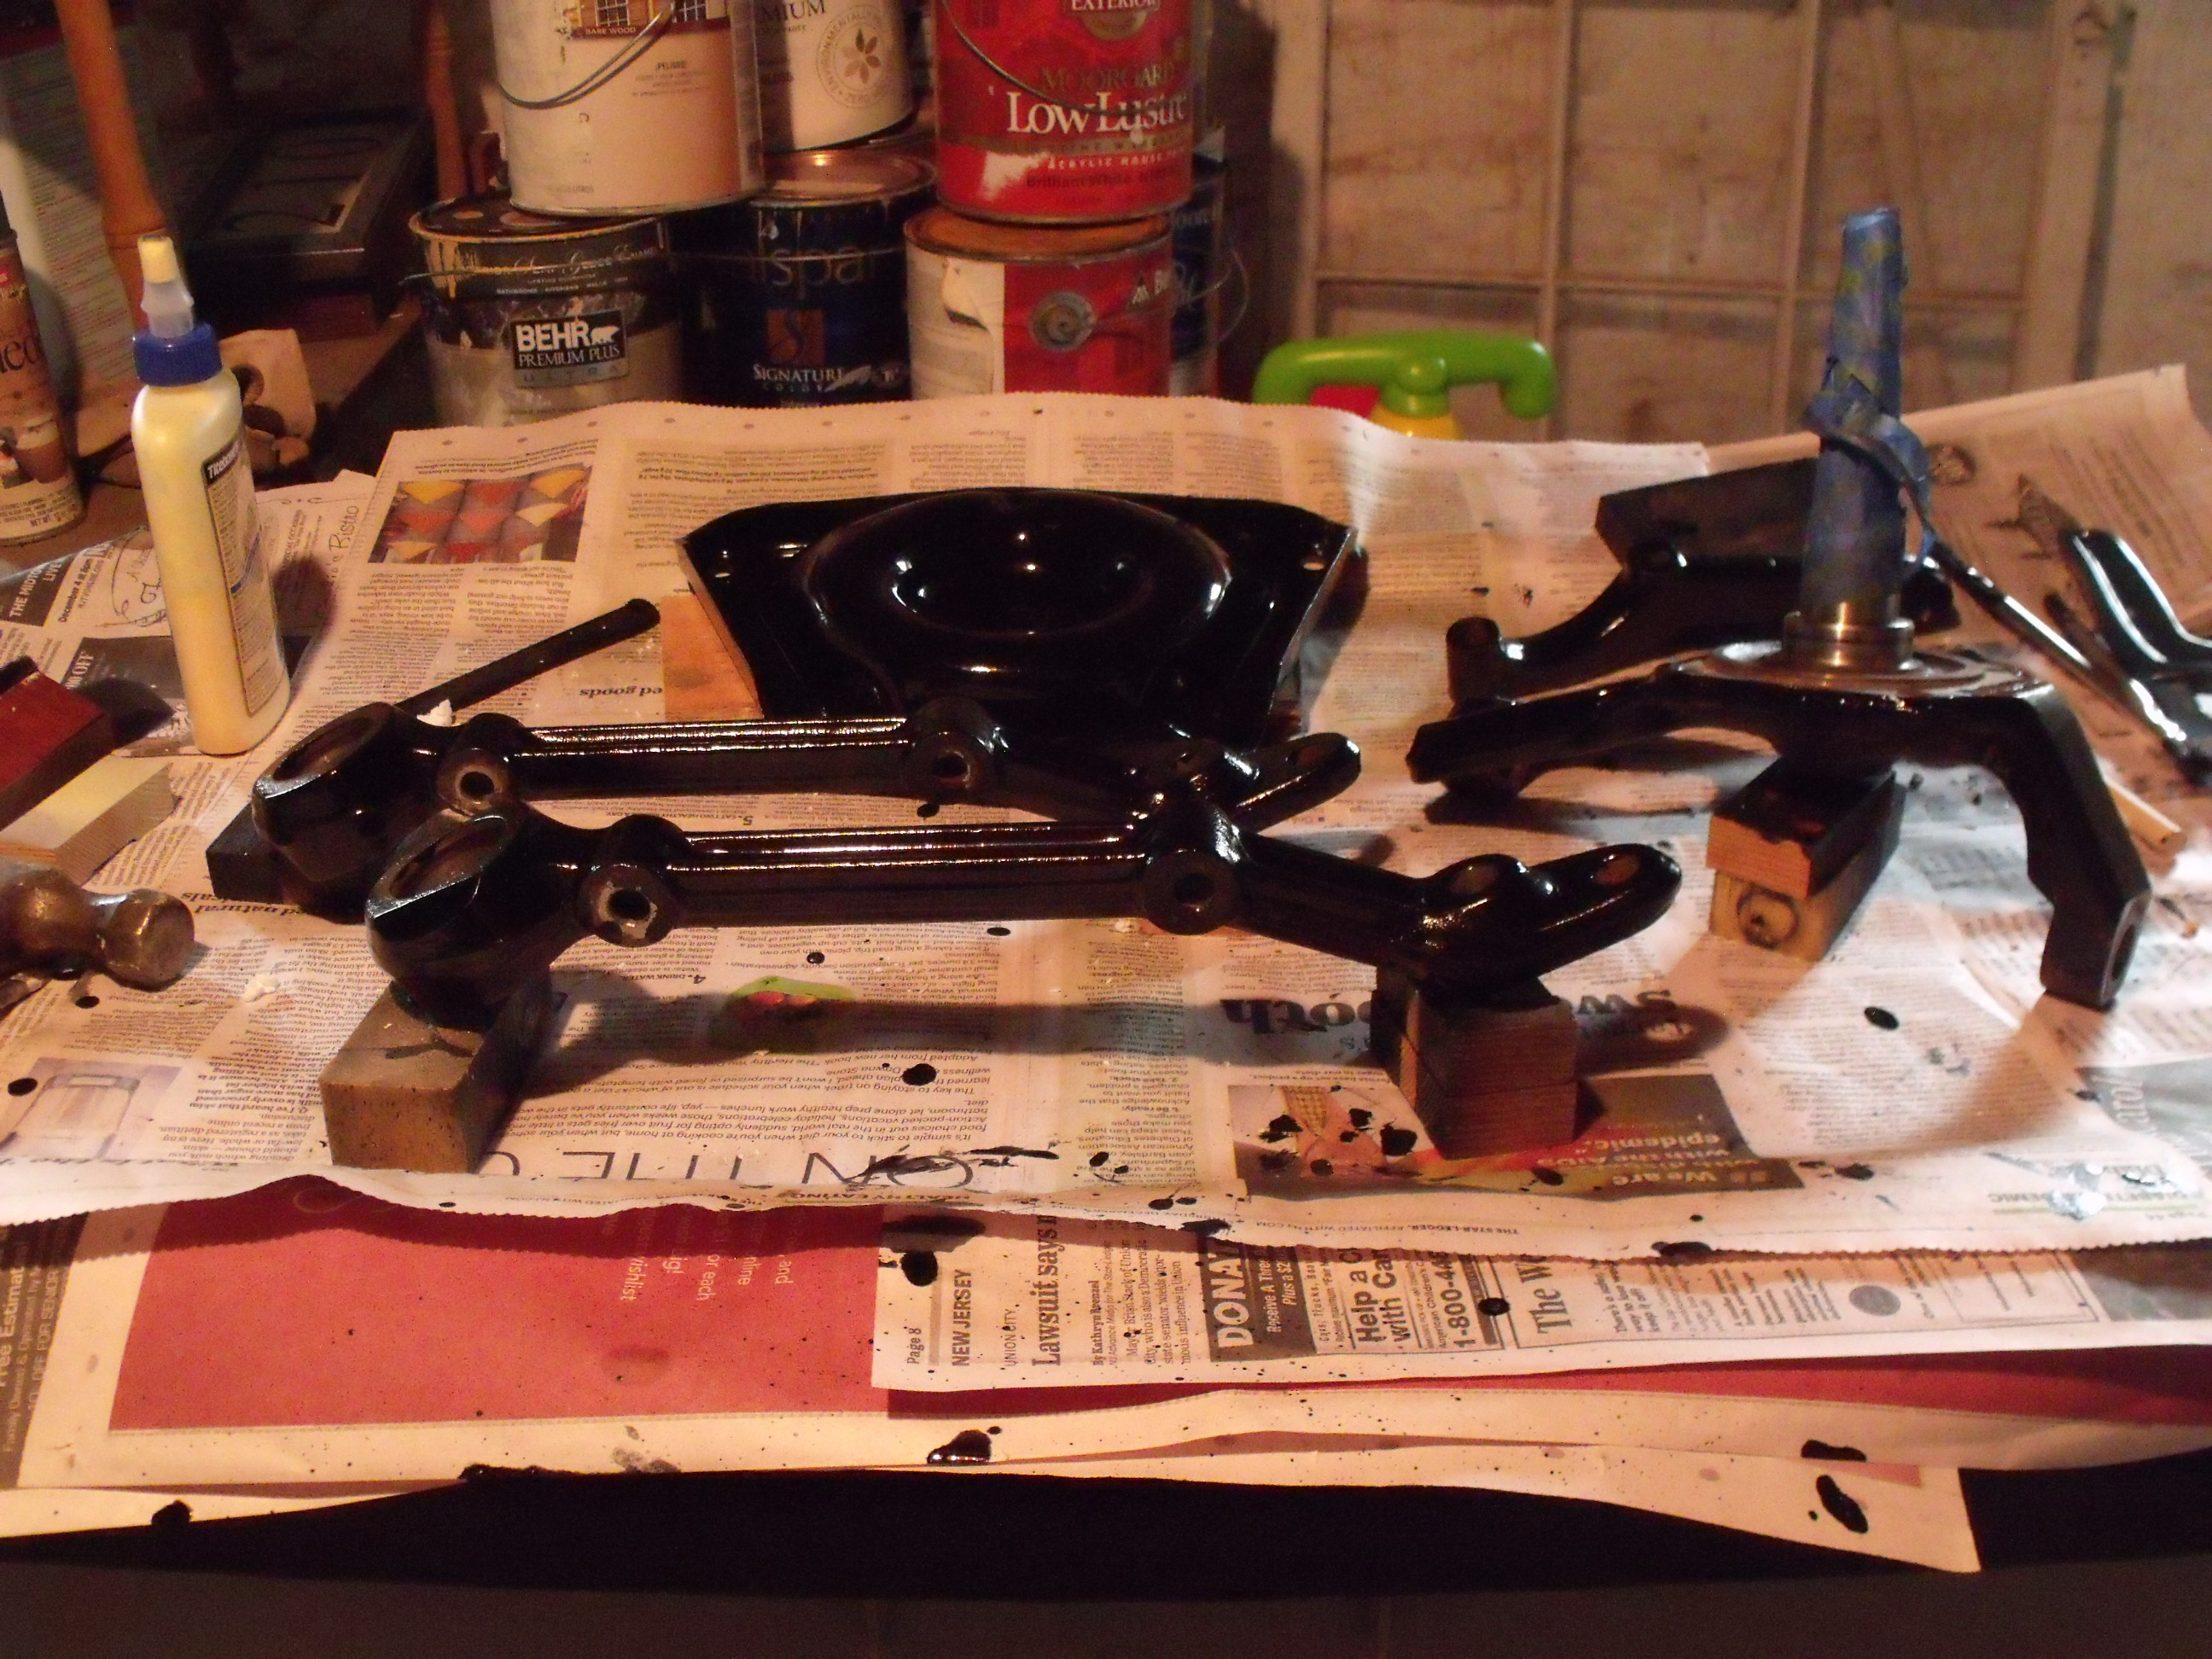
The Eastwood Chassis Black is being brushed on with disposable brushes, either foam or ‘acid’. They’re cheap, and lots of time is saved by skipping brush clean-up. As my friend Larry says, “this is not being done for Pebble Beach, these cars are drivers!”. Yet the Chassis Black, even brushed on, does have a smooth, high-gloss finish. Look at this spring seat.
Two more words from our sponsors (kidding, there’s nothing in it for me by mentioning products I’m pleased with): when parts are particularly dirty, before I bring them inside (or for parts which will not be washed in the sink), I like this Oil Eater cleaner-degreaser. Easy to use, safe, biodegradable, and water-soluable.

As I reassemble parts, threads get a light coating of “Kopr-Kote” by Jet Lube. If this can looks old to you, it’s because it is old. My dad gave me this stuff 35 years ago, and I thought the can was old then! I looked them up on the Internet; Jet Lube is still around, and they still make this stuff among other things. However, the formula has changed. If you look at the bottom right of the label below, you’ll see “metallic lead” listed as one of the ingredients. For some reason, they’re dropped that from the current formulation. It’s true, they don’t make ’em like they used to.

Eastwood states that Chassis Black fully dries in 48 hours. Once all the paint is dry, reassembly begins.
All photographs copyright © 2015 Richard A. Reina. Photos may not be copied or reproduced without express written permission.
