Working in the Retail Automotive Business, Part 1: Autosport

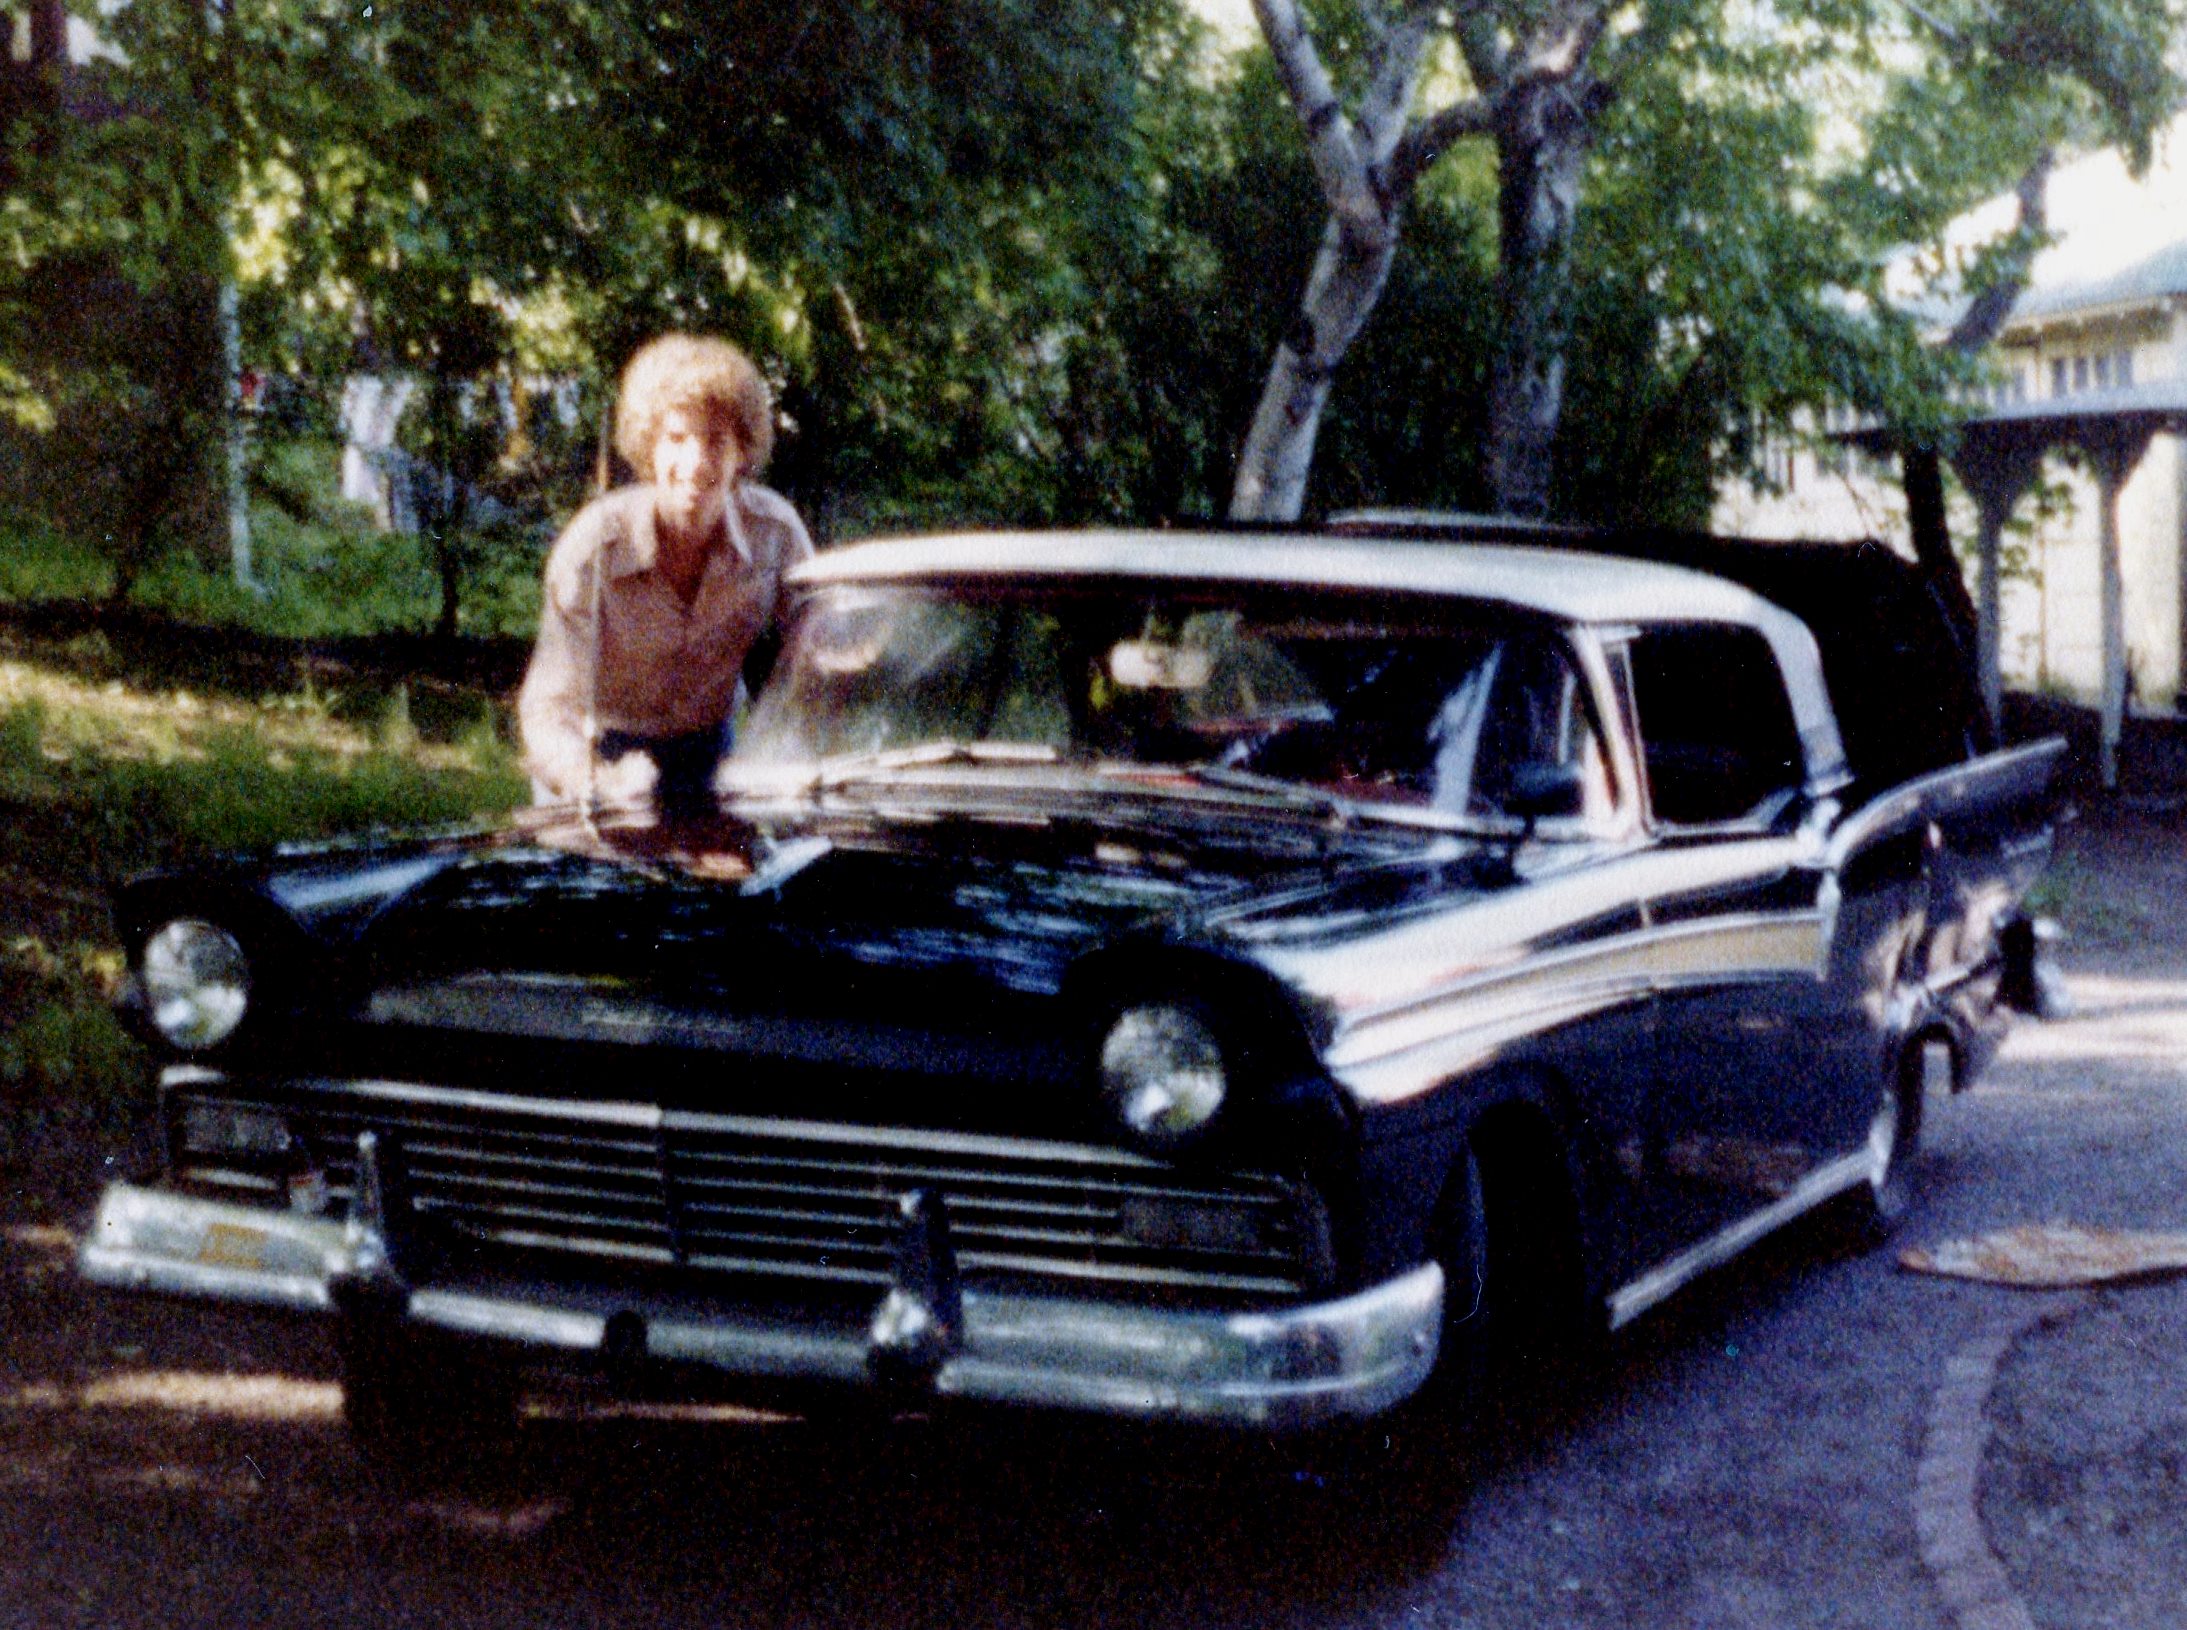
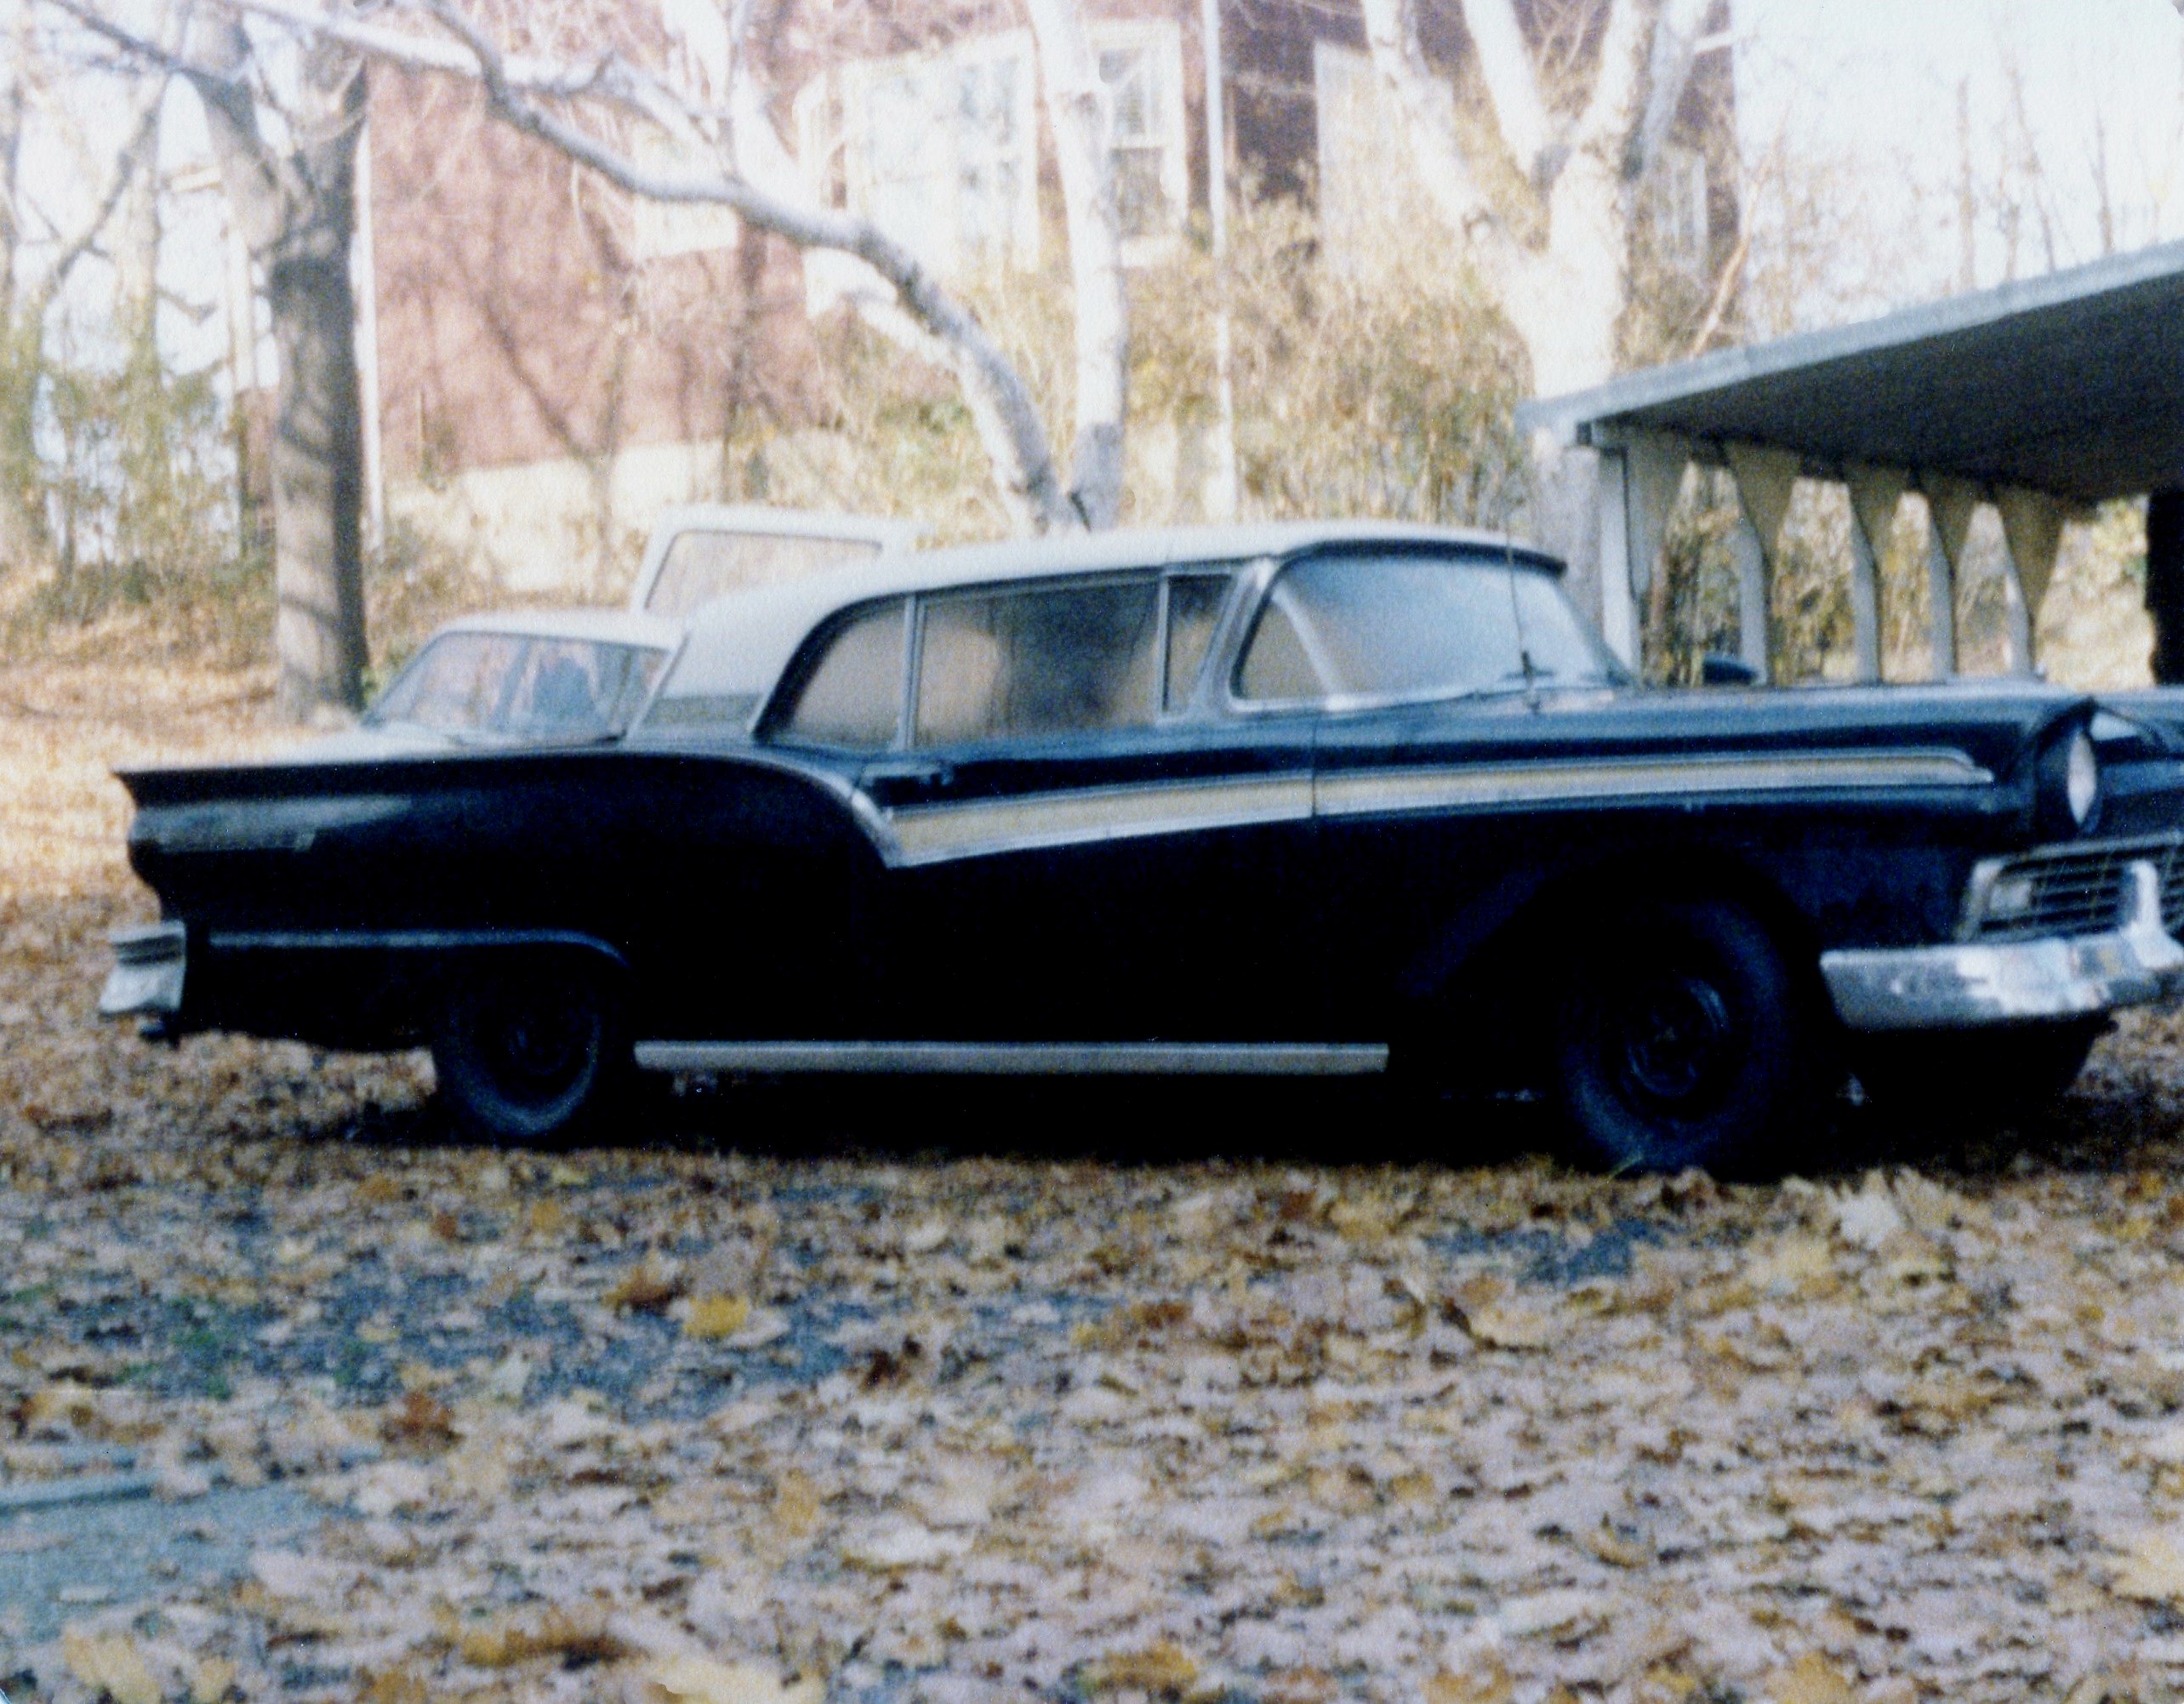
In August of 1978, bored silly after 11 months in my office job, I answered an ad in a local newspaper. A car dealership was looking for apprentice mechanics – “willing to train”, it said.

My one and only interview was with the dealer’s service manager. Jerry Miller told me that he was an engineer, but preferred working around automobiles. He seemed impressed that I had a Bachelor’s degree, and inferred that he and I would be the only college-educated people there. Assuring me that my pay would be “x” dollars per hour, he hired me. I gave two weeks’ notice to the Department of Labor, and, shocking my family and friends, announced that I was entering the car business to work as a mechanic (the term “technician” was not yet in vogue).

The dealership was Autosport, in Somerville, NJ. The store sold and serviced Volvos, Hondas, Alfa Romeos, and Holiday Rambler motor homes.

I used the fob on the left for years. Today, at the same location and same phone number, is Bridgewater Volvo.
I used the fob on the left for years. Today, at the same location and same phone number (different area code), is Bridgewater Volvo. “Autosport” continues as a stand-alone Honda store across the street.

My first day on the job, Jerry said that there were ten mechanics, in two teams of five. One team primarily worked on Volvos, the other on Hondas, with the Alfa and motor home work shared between the two. He looked at me and said “I will put you on the….Volvo team”. Funny how one seemingly simple decision, made by another, can cast your fate.

I walked over to the Volvo side of the shop, and waited for the Volvo shop foreman to arrive. About 30 minutes later, a clapped-out Mercedes-Benz sedan with faded blue paint bounded into the parking lot. Behind the wheel was a dark-haired man, about 10 years older than I was, somehow holding both a cigarette and a cup of coffee while driving. He meandered into the building, and being the amicable Irish chap he was, stuck out his hand and said “Hi, I’m Andy Finnegan. Welcome”.


Misunderstanding #1: I’d be supplied tools and a toolbox by the dealership.

As I recall, I asked few questions during the interview, and made many assumptions, some of which turned out to be false. For example, this naïve 24-year-old thought that dealerships supplied tools.

Andy: “Where’s your tool box?” Me: “You guys give me one, right?” Andy: “Nope”.

After work, I drove to the local Ace hardware store and bought their house-brand tool box. Just an upper chest, I likely paid around $75 for it. My dad, none too happy about this career change as it was, gave me a small supply of tools to augment the only ones I did own, which was a set of Craftsman ½” drive metric sockets. (Thinking I was set with the metric stuff, I soon found out that most Volvos used SAE-size hardware.) Andy kindly let me use a rolling cart to serve as a place to put my tool chest.

I was ribbed about the "Master Mechanic" label. This box resides today in my garage, 38 years after buying it.
The “Master Mechanic” label forced me to endure much ribbing. The missing red paint was caused by bench-bleeding a master cylinder and shooting a spray of brake fluid against it.


Misunderstanding #2: I’d be working only on cars.

About two weeks into the job, I was handed a Repair Order (RO): “Customer states that shower leaks”.

Huh?

Oh, right, this must be one of those Holiday Ramblers. At least it would be easy to find in the lot. Entering the motor home, I was greeted with piles of dirty dishes and dirty laundry. The shower looked like it had not been cleaned in several months. I got Andy, who said “I’ll take care of this”. He complained to the Service Manager that “car mechanics” were not going to service someone’s unkempt mobile residence. I was never again given an RO for a Holiday Rambler.

Other unexpected jobs included spraying undercoating onto the underside of new Hondas (without a mask), and painting the service shop floor.


Misunderstanding #3: I’d be making my hourly pay rate times 40 hours per week. 

Two months into the job, I considered quitting. The work was much more difficult than I had imagined. Under the flat-rate system, I was supposed to find the car, diagnose the problem, procure the parts, complete the repair, and perform a road test, all within a published book time. That rarely happened for me. My preferred approach was to grab the Volvo service literature and page through it, looking for possible solutions. This was not how to make money.

My hourly rate, had I been able to earn 40 hours’ worth of it, would have been roughly equivalent to my previous job’s pay. In reality, I was earning about 25-30 hours a week. Without Andy there, I would have earned even less. Then, six months into my employment, Andy quit.

He told me he had gotten a job as a “Field Technical Specialist”, or FTS, at Volvo Cars of North America. I was devastated, and had no choice but to latch on to the new Volvo team leader, who, while also helpful, was no Andy. However, Andy’s career change gave me the idea that down the road, such a move could be possible for me.

At least the dealership gave me formal training. Six times in 1979, I attended Volvo service training at the Rockleigh headquarters. Many of my service training instructors later became colleagues.

The Volvo Service Training Passport. Earning a sticker was a badge of honor.

As time went on, my skills did improve. I got a loan from the Snap-On tool guy, bought a roller cabinet, and soon had just about all the tools I needed. I even started to enjoy the work, although I was no Class A mechanic. Some of my mishaps were quite humorous.

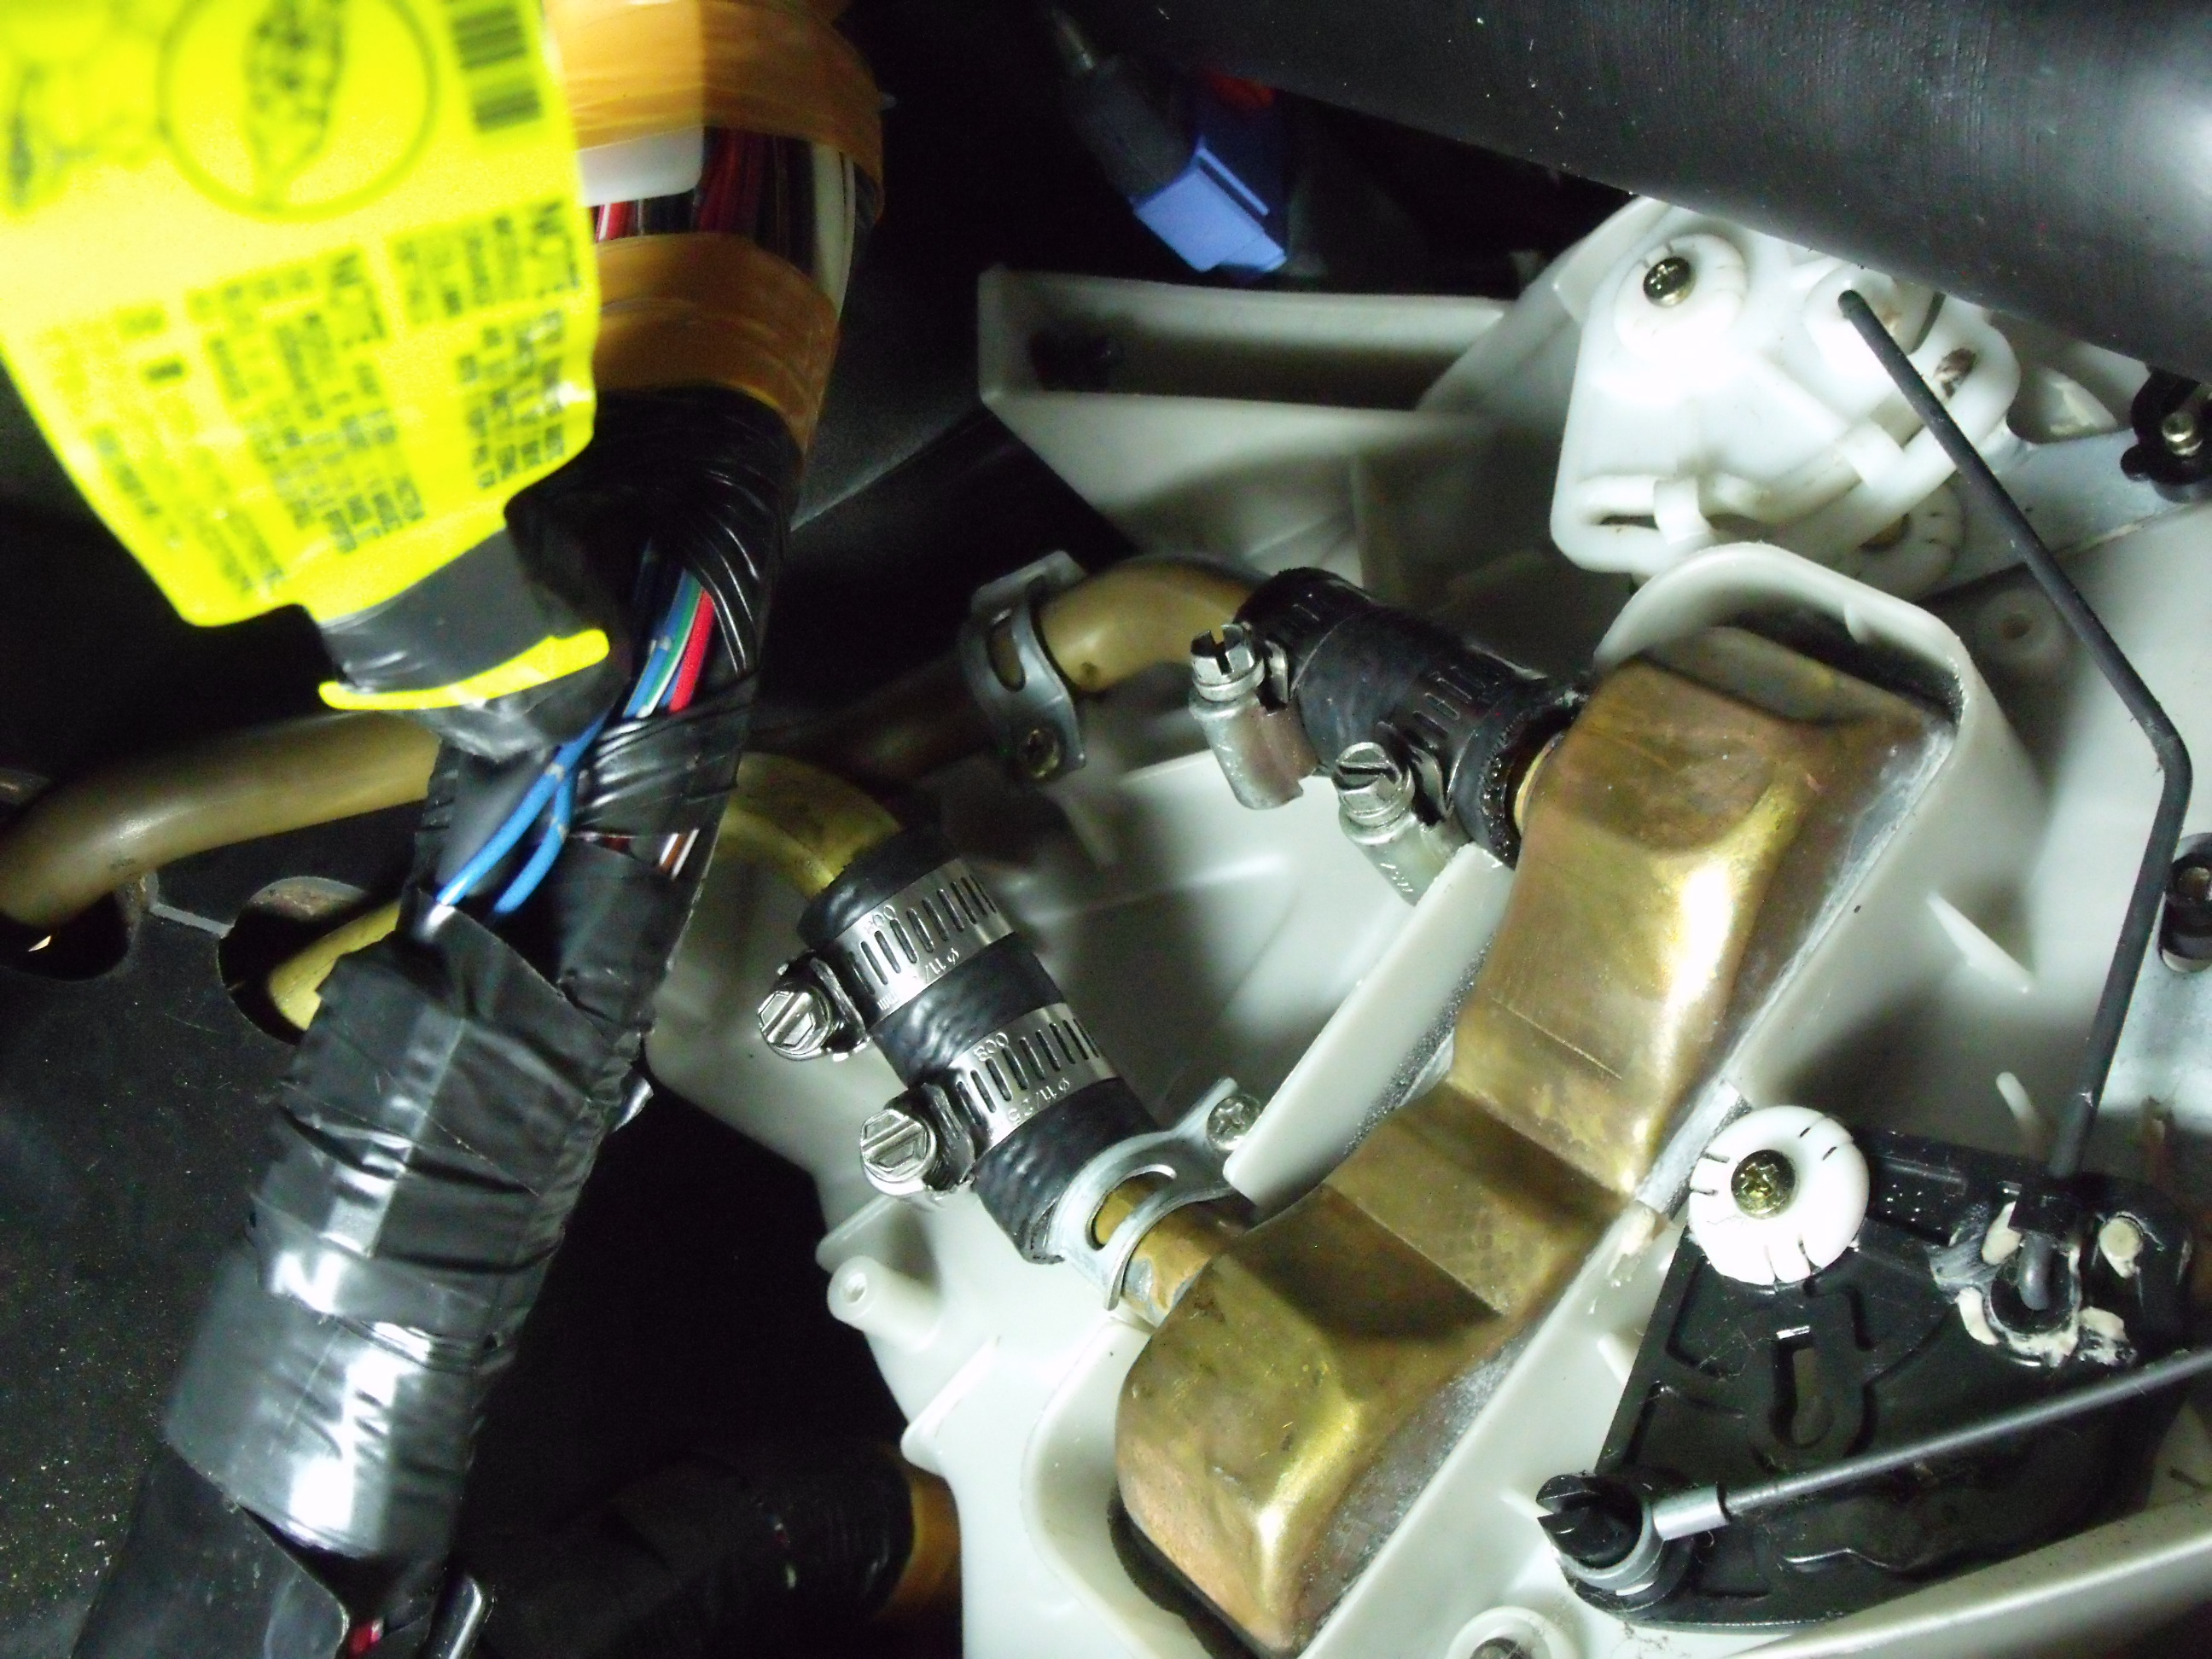
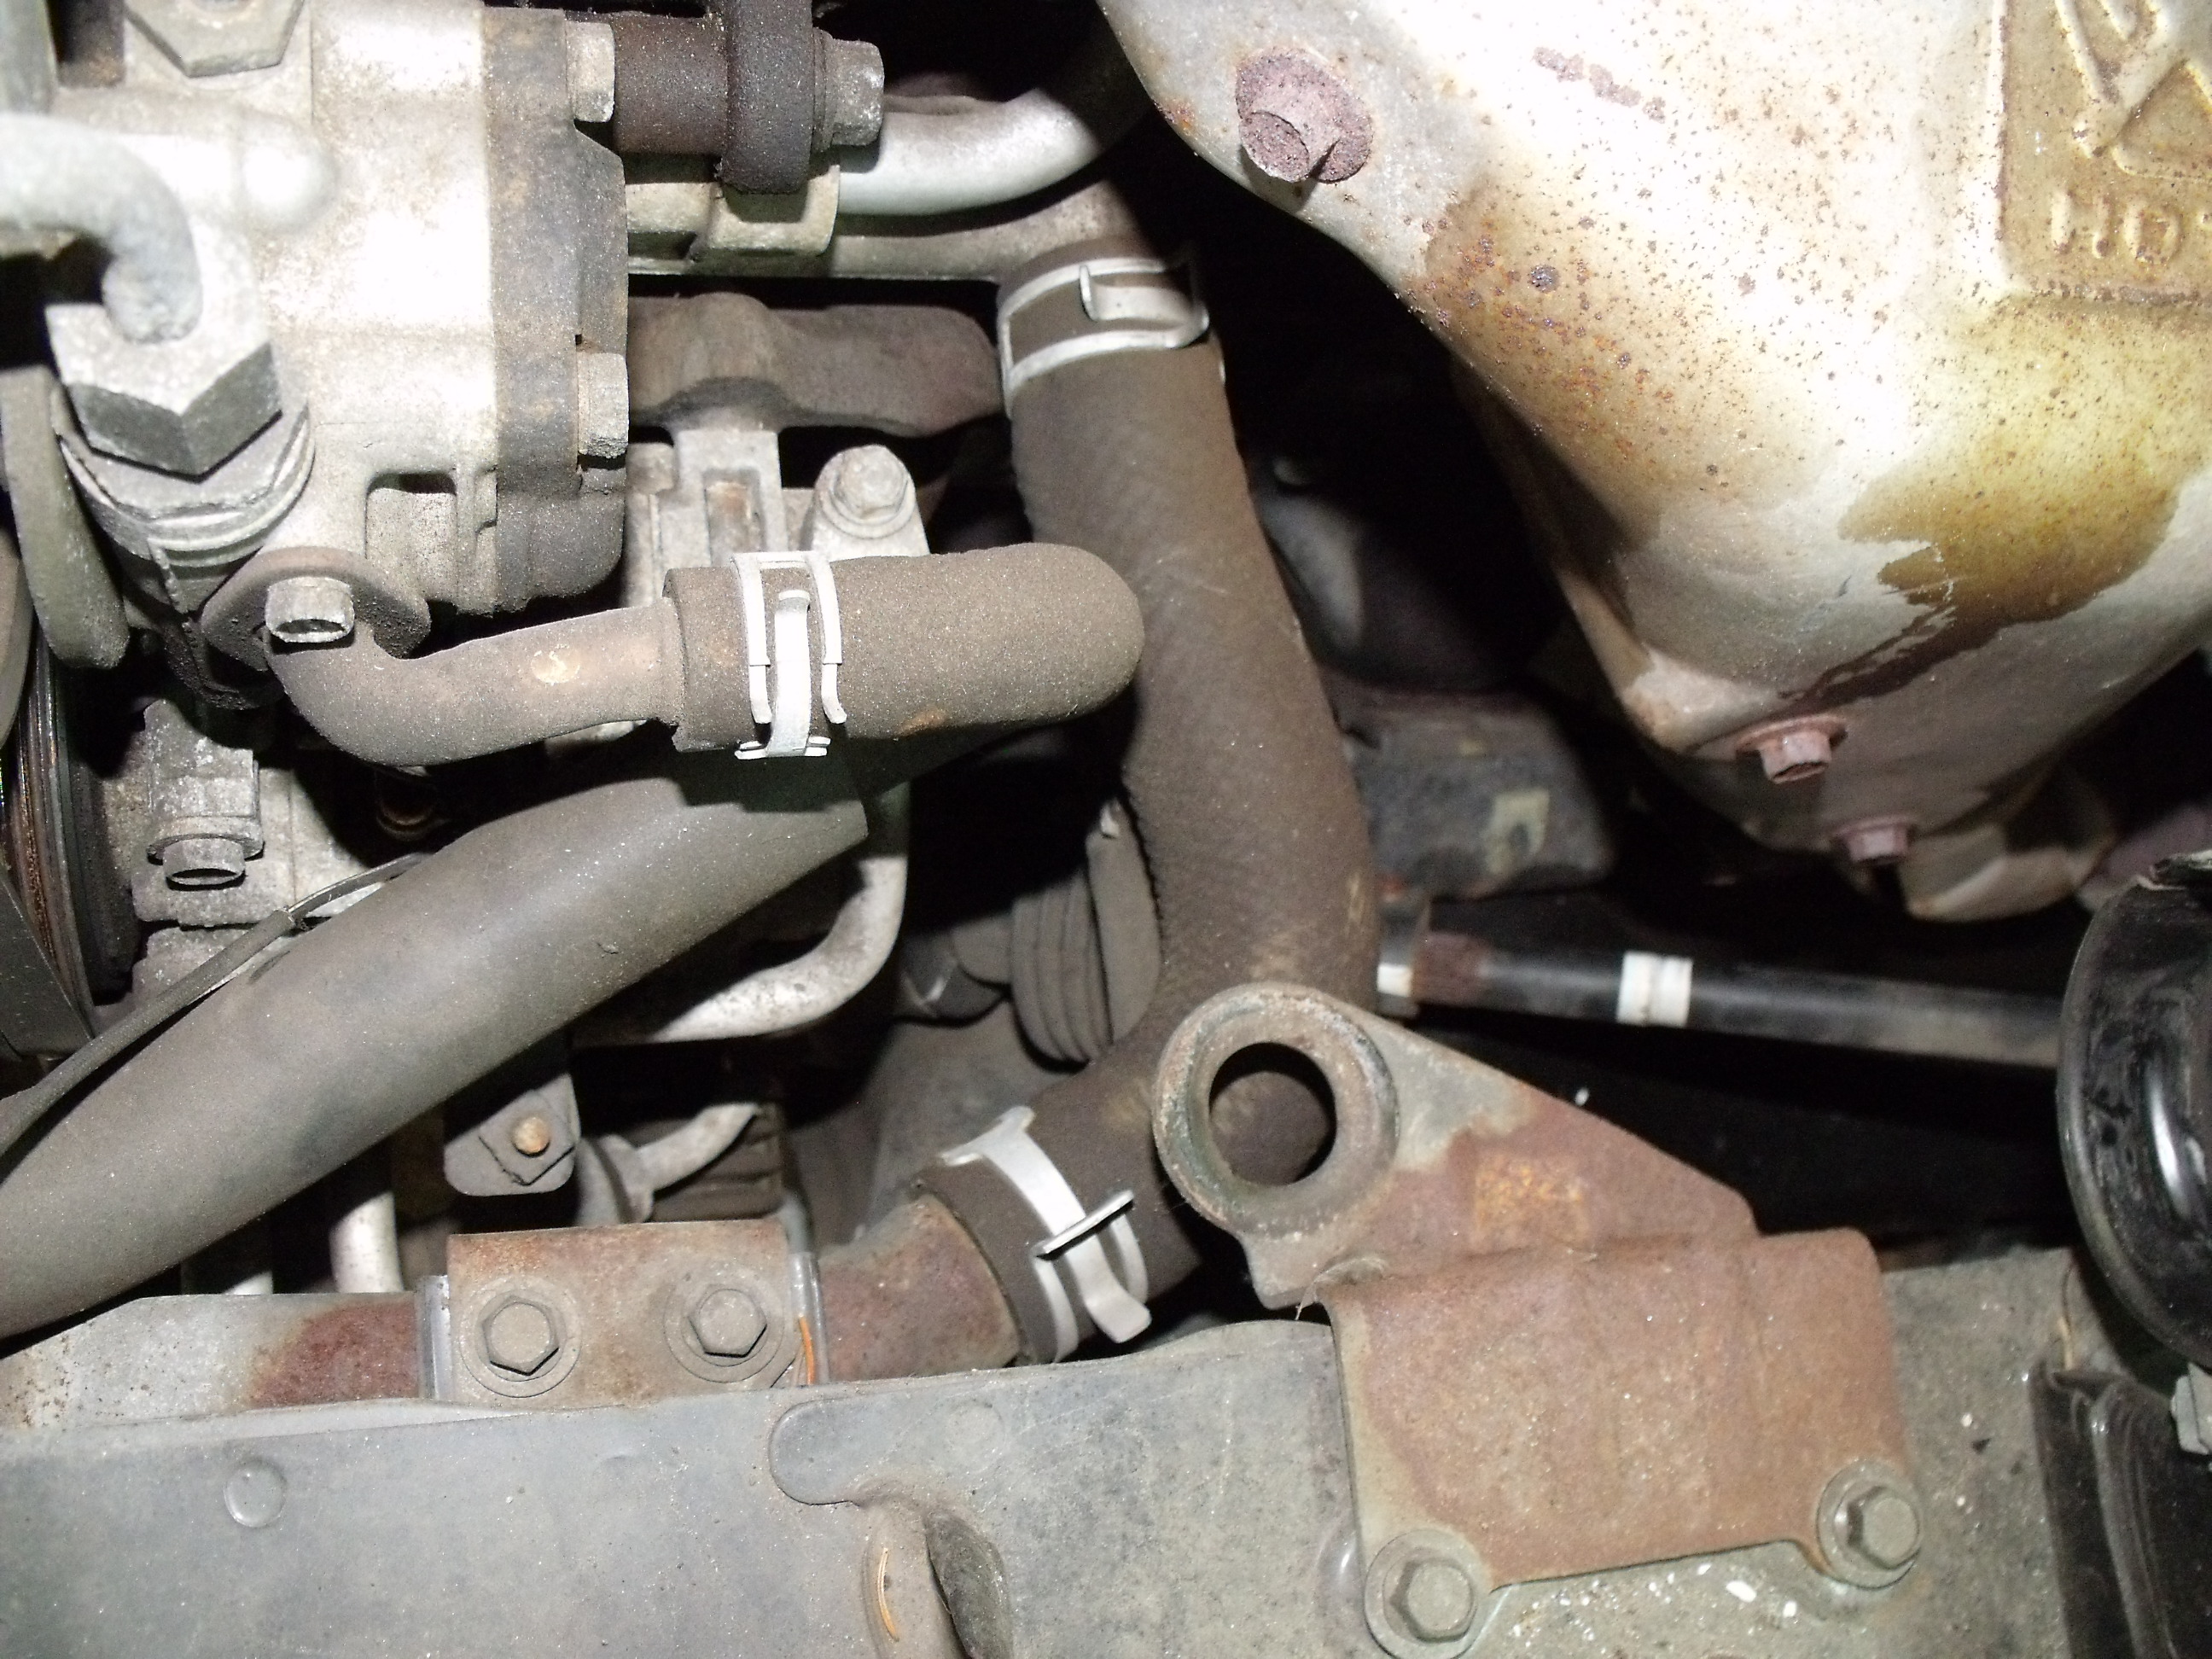
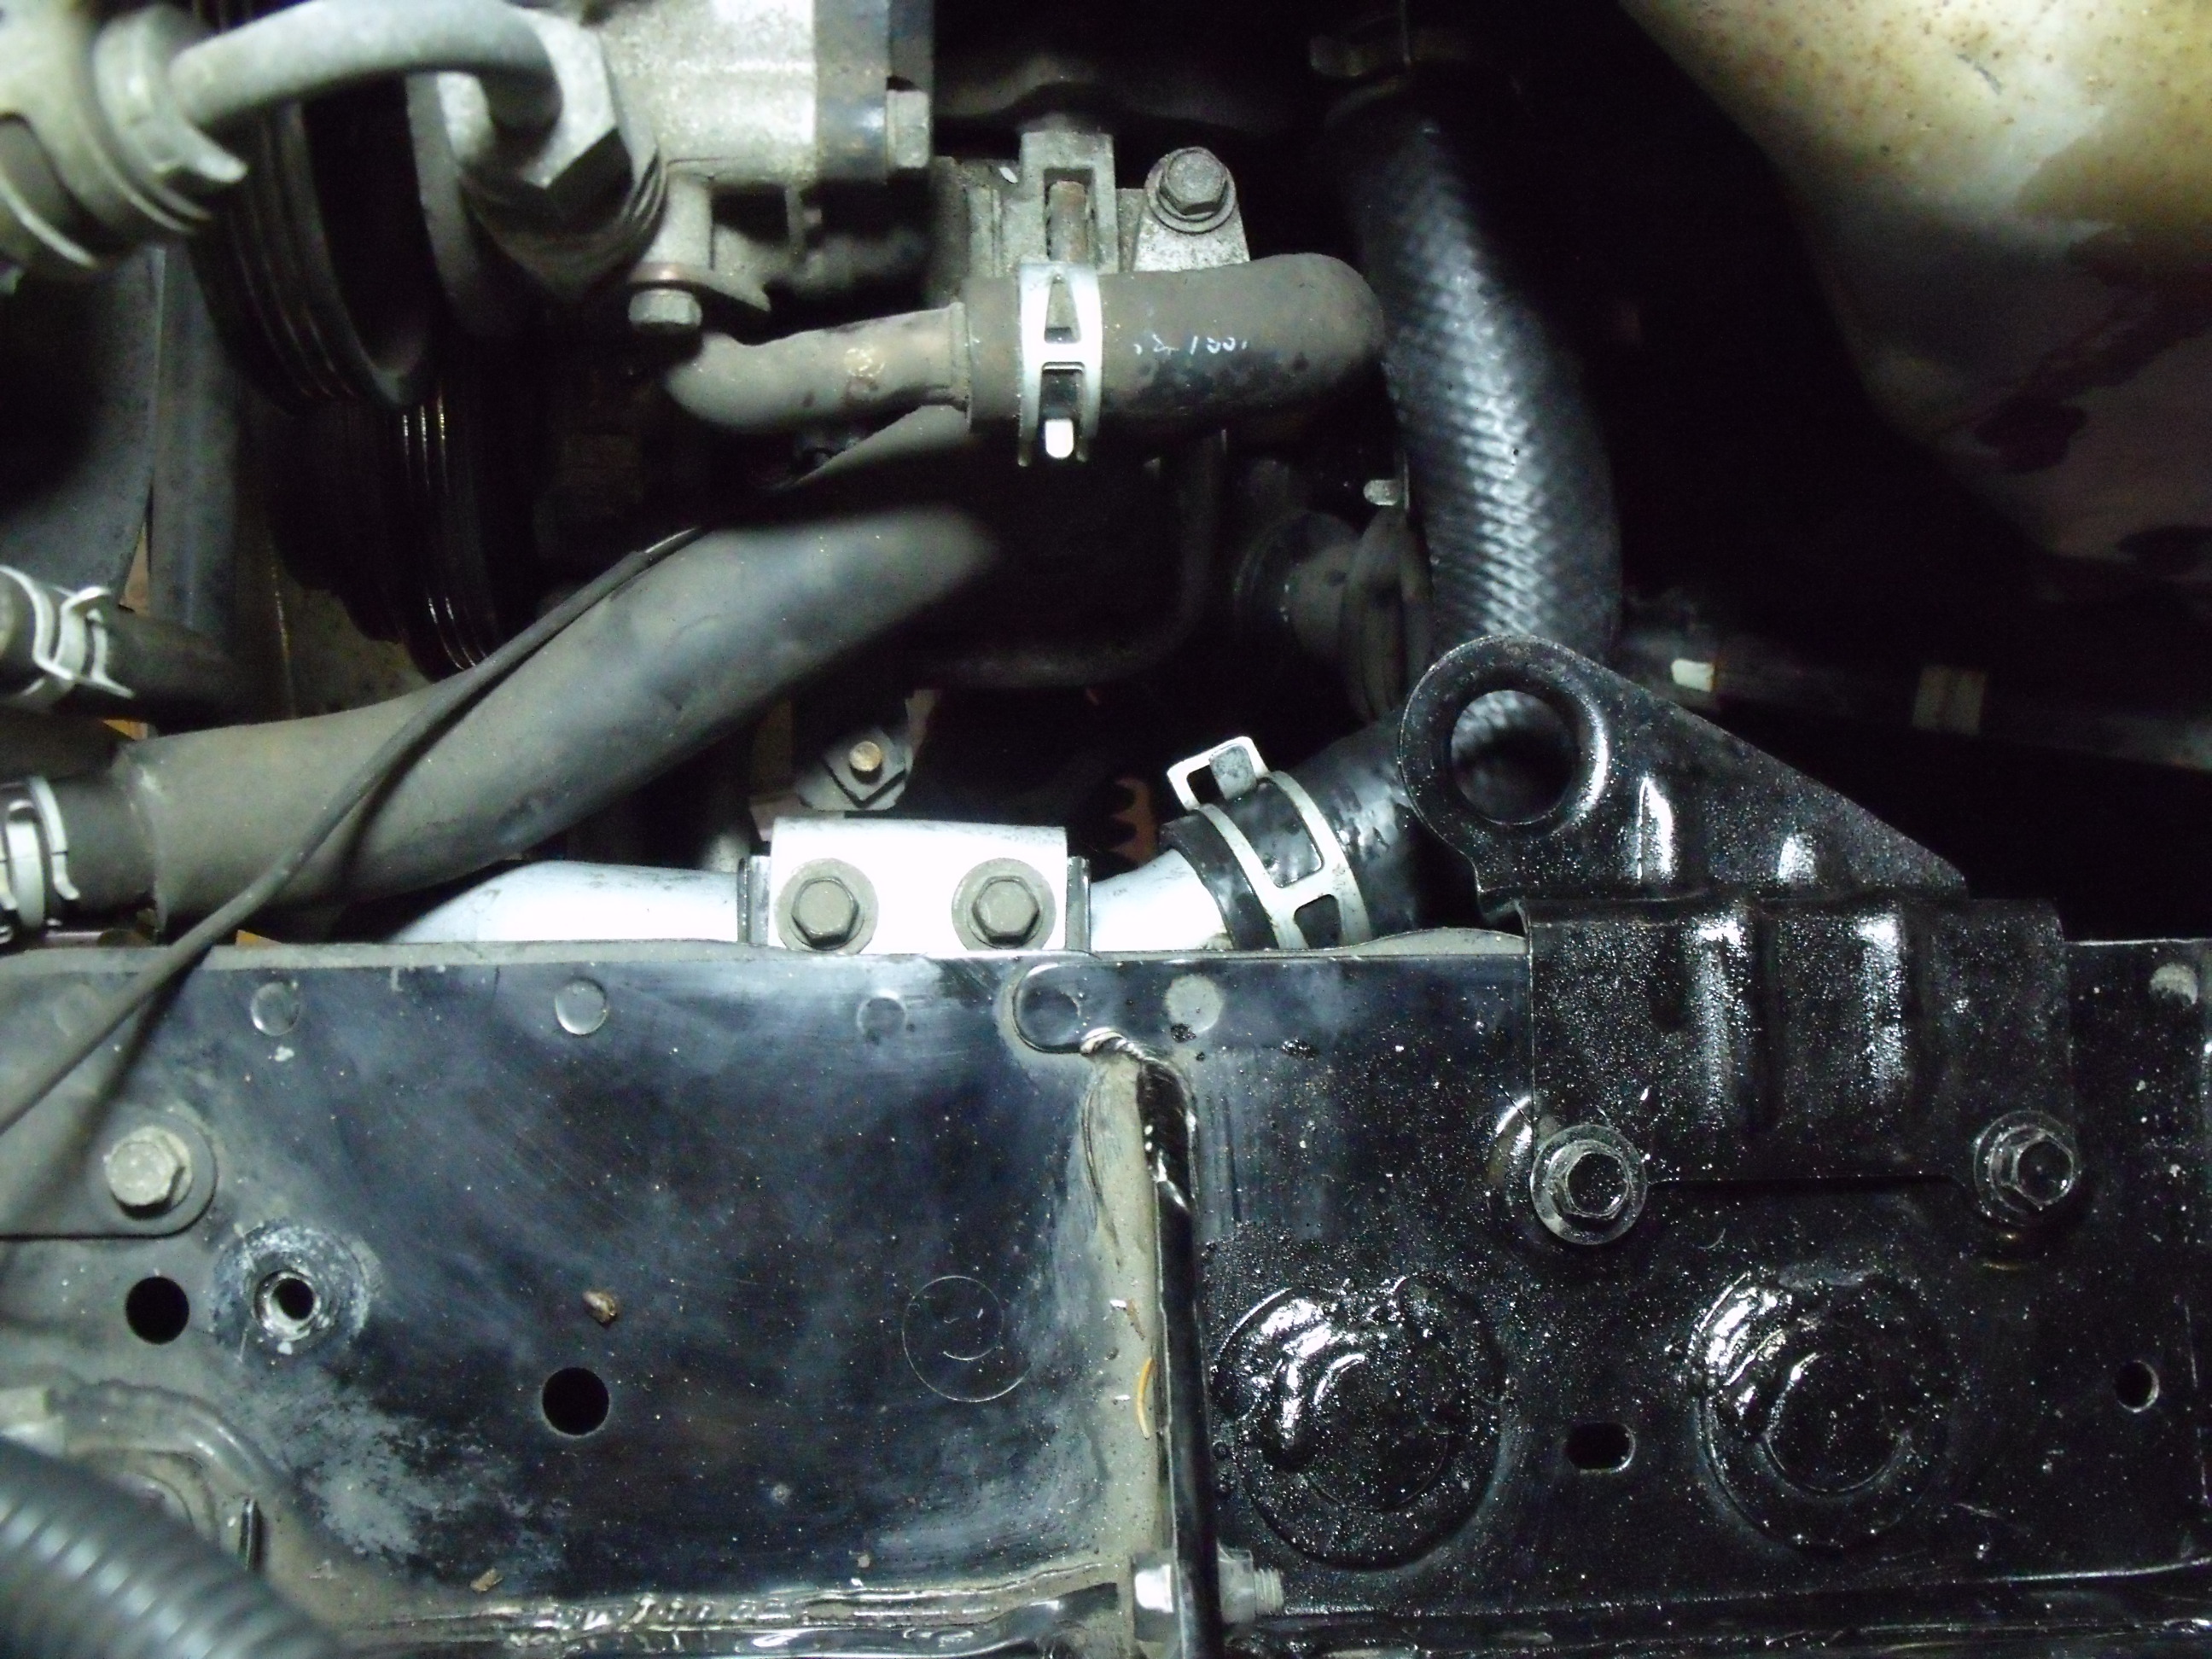
My favorite story concerns the Alfa Romeo Alfetta I brought in for recall work. Alfa had announced a recall on its catalytic converters, which at that time were filled with coated pellets. The recall was necessary because the converters had not been completely filled at the factory. The repair was simple enough: unbolt the converter, remove the plug at one end, get the box of pellets from the parts counter, fill up the converter, and put everything back together.

My job complete, I let the car idle in my stall while I wrote up the repair on the back of the RO. Suddenly, the guys across the aisle started to yell. “Hey, Reina, your car is shooting at us!” What? I walked around and saw small white objects leaving the car’s tailpipe. Back at the workbench, I found the plug which I had forgotten to reinstall – the car was shooting its catalytic pellets like a BB gun. I needed to do the job all over again, and, bear the wrath of the Parts Manager (“this box of pellets costs us $1,000!”). Talk about not making flat-rate….

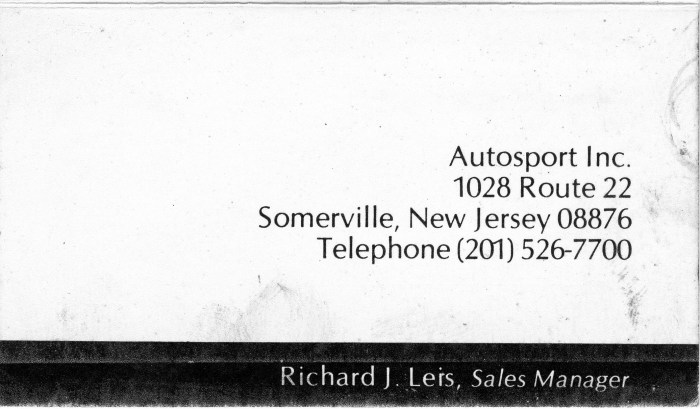
A year into the job, the Sales Department was abuzz because Jerry Lustig, the dealer principal, was going to add a nameplate to the showroom: Autosport had signed up to become a DeLorean dealer. In anticipation, the Sales Manager printed business cards with his name. Alas, it never happened, and whether that was due to Jerry L. or John Z., I wasn’t there long enough to find out.

Two years after starting at Autosport, it was time to find the next opportunity. Andy had told me about a Volvo dealer where, he had heard, service was run more smoothly. Walking in cold off the street, I applied for a job as a B tech at Smythe Volvo in Summit NJ, and was hired. When I left Autosport, my take home pay was not much more than when I started. As a tech at Smythe, I would be paid hourly; their technicians did not work flat rate. That was fine by me.

A portrait of the mechanic as a young man. Note the hipster pocket protector.

My first two years wrenching on cars were like a college education all over again. I learned as much on this job as I had learned in four years at the university. Best of all, the skills I acquired have stayed with me and have been put to good use working on my personal and hobby cars.

Thank God for my time with Andy Finnegan. He was late every day, smoked like a chimney, and regularly mouthed off to the boss. But he patiently helped me every day he was there, and taught me everything he knew about Volvos and car repair in general.

Years later at Volvo corporate, Andy and I became colleagues, and although we did not work directly together, we kept in touch. About ten years ago, he became quite ill and passed away. Before he left us, I visited him and told him how much I appreciated what he did for me. To this day, when working on any of my cars, he’ll cross my mind. I feel that I owe my career to him.


All photographs copyright © 2016 Richard A. Reina. Photos may not be copied or reproduced without express written permission.


Demo Day at the Simeone Automotive Museum: June 25, 2016

Red Italian cars rule

The Simeone Foundation Automotive Museum, located in Philadelphia PA, is far from your typical car museum. There are several attributes which contribute to its uniqueness. First, the cars in the collection are almost exclusively race cars, further specializing in “sports cars” which have been or could be used as dual-purpose road/race cars. Next, the museum practices preservation over restoration, believing that they have an actual duty to preserve and maintain these vehicles in their “as found” condition.

Last, Dr. Fred Simeone and his staff regularly exercise all the cars in the collection, and to that end, they invite the public to attend “Demo Days” to witness the running of the cars. The popularity of these has led to an expansion of Demo Days from once a month to twice a month. Saturday June 25 was such a Demo Day, and several friends and I found ourselves there to observe the goings-on.

While not a V12, 308 is stunning '70s shape
While not a V12, V8-powered Ferrari 308 is stunning ’70s shape

Each Demo Day has a theme: for our visit, it was “cars with 12-cylinder engines”. Demonstration runs are held behind the museum in a paved lot, several acres in size, and the crew brought out their Ferrari 250 Testa Rossa, Bizzarrini Spyder, Auburn V12 Speedster, and Alfa Romeo Tipo 33. Several other cars likely belonging to customers, including a Ferrari 308GTS and a Mercedes Benz AMG GT-S, were also on hand. There is no need here to delve into the history of each vehicle; for further reading I refer you to the museum website and/or Google. Below, we will cover each vehicle chronologically, providing comments on observed features.


THE 1933 AUBURN V12 SPEEDSTER

The Auburn is gorgeous from any angle

This stunning shape startles you when you realize that this car was designed in the early 1930s. You are again startled when you note that this magnificent V12 was sold during the Great Depression. This is clearly a vehicle which represents form over function. The massive cast-iron engine must give it terrible weight distribution; there is tight seating for only two adults; and there is no luggage space to speak of. However, if style and speed were your only objectives, and money was no object, in 1933 this was one of the ones to have.


THE 1958 FERRARI TESTA ROSSA

Perfection can be so simple

The shape of this sheetmetal is so pure, so perfect, yet so simple, it would be impossible to improve upon it. Note the front turn signals; unobtrusive but functional, you could take this grocery-shopping and be able to legally signal your lefts and rights. The Ferrari 12 cylinder engine, fed by three Webers, is mechanical design taken to perfection. And allow us to point out the passenger seat, if you’re so inclined to invite someone special along for the ride (NOT that there wouldn’t be a line of volunteers).


THE 1965-1967 BIZZARRINI P538 SPYDER

Bizzarrini looks almost two-dimensional from this angle

Almost all Bizzarrinis were powered by Chevrolet V8 engines. However, two of the four P538 Spyders built were equipped with Lamborghini V12s.  Photos do not do justice in trying to convey the lowness of this car. It comes up to about your knees. It is unimaginable how the V12 fits in there. This is a rare Bizzarrini, and its looks and performance will give almost any Ferrari a run for its money.

THE 1975 ALFA ROMEO TIPO 33 TT 12

The shape screams '70s race car
The shape screams ’70s race car

By the 1970s, aerodynamics played a much larger role in the design of racing machines. This Alfa distinguishes itself from its Demo Day company by its squared-off shape. It’s the opposite of the Auburn in that it’s all function over form. Note the protruding front spoiler, flat vertical sides, and tall rear view mirror. Unlike the other V12s out in the back lot, this Alfa has a flat-12, which of course contributes to a low center of gravity.

Same Alfa badge as found on any of their sedans


Seeing and hearing these cars run brings them to life; after all, cars were built to be driven. Better still, it transfers the museum experience from a dusty display of decay to an immersion in living and breathing history.

Demo Days at the Simeone are recommended for anyone who wants more than static displays. It is a trend we hope becomes contagious at other automobile museums around the country.


All photographs copyright © 2016 Richard A. Reina. Photos may not be copied or reproduced without express written permission.


Heater Core Replacement in the ’93 Mazda Miata: Third and final part

My Mazda Miata workshop manual is an aftermarket publication, not the official factory book, but it’s been very helpful. It’s well researched and written, and the photography is adequate. It’s written in the style of “we’re in a shop with an example of this car, and we are documenting our actual repair procedures”. This approach certainly lends an air of credibility to the book.

In reading the section on heater core replacement, this service manual states (and I’m paraphrasing): “the entire dashboard must be removed from the car. We know of no work-around”. The manual was published in the mid-1990’s, at the dawn of the public’s access to the Internet, and it is obvious that were it to be updated today, information gleaned from various online forums would be incorporated, including a heater core work-around.

I was able to remove and reinstall my Miata’s heater core WITHOUT removing the entire dashboard. In fact, an underdash panel held in place with two screws, a heater box cover held in place with two screws, and several hose clamps were the totality of what was removed for successful heater core retraction. (The driver’s seat was also unbolted and taken out, only to provide greater comfort when working under the dash.)

Old (foreground) and new (background) heater cores. Old one has been cut; new one, not yet.

The secret to this success came from an online forum, www.miata.net. For those who dismiss the Internet (especially automotive forums) as a waste of time, populated by flamers and trollers, one must wade through the waste to find the gems. And this was a gem: a poster at the Miata forum had discovered that cutting one heater core pipe would reduce total work time by hours (in my case, days). I used a Dremel tool to cut the pipe, and I had the old core out and in my hands, dashboard intact.

The concept is this: Mazda built this heater core with one short pipe and one long pipe, soldered to the core itself. The short pipe uses a piece of hose and a clamp to connect to a pipe running through the firewall. The long pipe goes directly through the firewall, and it’s this long pipe which necessitates dashboard removal, so that you have room to swing the core around and maneuver the long pipe out.  However, if you cut this long pipe, then join the two pieces together with a hose and clamps, there’s no need for the major disassembly and reassembly.

Hoses and clamps on pipes will be connected once core is in place

(Interesting sidenote: for the NB (2nd generation) Miata which started in 1998, the factory switched to TWO short pipes, for easier removal of the core.)

The tricky part during reinstallation was determining the EXACT best place to cut the new pipe. First, it is not in my nature to take a hacksaw to a new $150 part. Should that part be defective, its warranty would be, as they say, over. The goal was to cut the pipe as short as possible while still leaving room for two hose clamps. I temporarily installed one hose clamp to ensure that I’d have room for it, then drew a line along it, which became the cut line. It worked.

Permatex 300: non-hardening sealant designed to work with antifreeze

In the interest of doing this job so that it would not ever leak, I spent an additional $4 on another factory heater hose so that I would have the perfect ID hose for the job. I also bought a $3 jar of Permatex sealant designed to work with cooling systems (and waited 12 days for its arrival) to be absolutely sure that I’d get no drips. I hate drips. It was overkill, but I’m glad I used it.

Auxiliary drive belt, in spite of looking pristine, was replaced

The new heater core slipped into place easier than I anticipated. Working in the tight quarters under the dash was a pain, but a #2 Philips screwdriver bit in a ¼” ratchet wrench (instead of a screwdriver) was the trick to get to all the Philips screws. While this was going on, all the underhood work was wrapped up, including all new coolant hoses, new thermostat, and two new auxiliary drive belts. As recommended in the forum post, the car was started and run before buttoning everything up, to make sure it was all dry. It was.

Friday of last week, the job was completed, and I drove the Miata for the first time this season. It welcomed me like an old friend. It’s nice to know that I can look forward to a summer’s driving season without worrying  about cleaning the windshield after every drive.

All photographs copyright © 2016 Richard A. Reina. Photos may not be copied or reproduced without express written permission.

New Tie Rod Ends for Enzo’s Alfa

My good friend Enzo (“EC” to his buddies) bought his first collector car, a 1991 Alfa Romeo spider, last autumn. This was not Enzo’s first Italian car, as he had Fiats as daily drivers, albeit 30 years ago. But upon retirement, he decided to treat himself, and found this pristine low mileage beauty locally. Like any other 25-year-old vehicle, it needed attention to some small details, but EC has been fastidious about staying on top of needed repairs.

When I had had the chance to go over the car with him late last year, we found that one of the tie rod end boots was torn. It didn’t require immediate replacement, but over the winter he ordered parts, then invited me to his home for a day to be spent swapping out tie rod ends.

One of the outer tie rod ends, about to meet its demise

Upon arriving one day last week, I saw that he had ordered ALL SIX tie rod ends. I was under the now-mistaken impression that we were replacing only the two outer. (All 4-cylinder Alfas on the 750-, 101-, and 105 platforms use recirculating ball steering, with a center link and two tie rods. Each rod has two ball joints, one with right-hand thread, and one with left-hand thread, to allow for toe adjustment.)

One of the tie rods is out, with parts and parts bags strewn on the bench
One of the tie rods is out and is measured

We got to work. First order of business was to pull out the cotter pins, but these pins were so thin and rusted that half of them broke before we could retract them. We ended up forcing the socket over the castle nuts and using an impact wrench to remove all six nuts.

Part numbers marked on each end to keep track

A trick I had remembered from doing the same repair on my Alfa was to rotate the steering wheel to bring the center nuts to an exposed position from within the engine compartment. Then, using a long extension, we could gun the nuts loose from up top, which was much easier than trying it while on our backs.

Next came out the pickle fork. Persuasion from a two-pound hammer was all it took to get the links to drop.

We were cranking the tunes in the garage!

With the three links off the car, we counted threads AND measured overall length, as our best attempt to reassemble the car without changing the alignment too much. We matched up old and new parts (with EC marking part numbers on each component using a Sharpie), and had all six tie rod ends installed into their respective links within minutes.

This may have been the point when we took a lunch break. Prosciutto, Parmesan, salami, olives, and wine (!) were on the menu. Lunch concluded with a nice cup of coffee (to wake me up after the wine), and we were back to the garage.

Masking tape helps keep identification straight (wine does not)

The new parts, bought from Classic Alfa in the UK (the author’s favorite Alfa parts supplier) used castle nuts and cotter pins for the four outer ends, and locking nuts for the two inner. We did not have the correct-sized cotter pins on hand, so the ever-resourceful EC made his own from coat hanger wire. The temporary pins will be replaced with authentic pins once he gets to the store.

Much to my surprise and satisfaction, all six nuts tightened right up without giving us any trouble. I had concerns that the ball joints might spin and prevent us from reaching the proper torque, but that didn’t happen. With everything buttoned up, Enzo took the car for a test drive, and came back to report that the only issue was a steering wheel which was slightly off center. The car will need an alignment after this work anyway.

Front wheels remained attached during driveaway
Front wheels remained attached during test drive

At the rate my friend EC is moving, there is very little else that needs attention on this gorgeous drop-top. It’s running great, and he’s got the summer to enjoy it! I know that we’ll see him and his Alfa out with us on our weekend jaunts.


All photographs copyright © 2016 Richard A. Reina. Photos may not be copied or reproduced without express written permission.


Boonton NJ Cruise Night, June 10, 2016

DSC03787

The Boonton NJ cruise night, held on Fridays in the WalMart shopping Plaza, had its first show of the 2016 season on June 10. This year’s festivities were scheduled to start on June 3, but that show was cancelled due to inclement weather.

The cruise night, sponsored by the Starlight Cruisers car club, began in 2007 and has proven to be one of the better attended events of its kind in northern Jersey. The parking lot is roped off to allow parking for up to 250 cars. Because of the show’s popularity, vehicles are limited to those with QQ (NJ antique automobile) plates, or those which are at least 25 years old. The club provides music and door prizes.

The weather on the 10th was perfect – sunny, warm, cloudless, with low humidity, which brought out the crowds. The show cars were 99% domestic product, with a large percentage of them easily defined as “modified” – everything from bolt-ons to full customs in the old-school sense. GM vehicles from the 50s and 60s dominated, but there was also enough variety to keep things interesting for those who seek the unusual. There was a smattering of pre-war iron, including a lovely 1940 LaSalle convertible. Original owner and/or unrestored cars were present, such as a 1967 AMC Marlin whose owner has had it since 1971. And some imports dared to show up among all the Chevys and Fords, including an Opel GT, a Saab 93, and your author’s Alfa.


AMC products are rare sightings at any car event. This cruise night featured a number of them, including this Rebel “The Machine”, and this 1978 Concord AMX.


This 1967 Marlin was striking in several ways, most notably because its owner told us that this was his first car when he bought it in 1971. His daughter was dutifully deployed to attend to polishing duties. When asked about the missing fuel door, he replied that the door has been shipped to Sweden (!) for color-matching. We were left unclear as to why.


The number of Corvettes in attendance easily reached several dozen. What was especially impressive was the large number of C1 and C2 cars.

These C2s lined up their beautiful rear ends


It is often stated that American car styling reached its bizarre peak in the late 1950s. While that may be true, what is sometimes missed is that interior styling also captured some of that strange creativity, and that included functional items such as transmission controls. This 1958 Edsel and 1960 Plymouth both used unusual solutions for transmission control placement. (Note that the Edsel has a floor shifter as part of a complete drivetrain swap.)


Studebaker’s history began 50 years before the dawn of the motorized vehicle, when the Studebaker brothers manufactured covered wagons. By the 1950s, they struggled to compete with the Big Three. “Daring to be different” was a strategy employed by them (as well as by AMC), as borne out by this Hawk and Avanti.


Despite the dominance of 50s-60s muscle, a few cars from an earlier time were also on the show field. None was more striking than this 1940 LaSalle. The LaSalle brand was a “junior Cadillac”, but alas, could not compete in the marketplace. Production ended in 1940, making this car a representative of the marque’s final year.


Not all T-Birds are restored to AACA standards. This '56 was ready to rumble.
Not all T-Birds are restored to AACA standards. This ’56 was ready to rumble.


This Saab has been in Boonton before. Although we did not have the pleasure of seeing it run on this particular evening, the owner has kept the 2-stroke motor and has opened up the exhaust a bit, resulting in some glorious albeit raucous noises.


DeLoreans never went away; they’ve been hiding in plain sight all these years. For a vehicle which was manufactured for only two years (1981-1982) and in limited numbers, one always seems to turn up. Their collectibility may be on the rise, though, as a recent change in government regulations will allow the “new” DeLorean Motor Company to begin to legally manufacture cars again.

No BttF jokes, promise!


In 1970, if you could not afford a new Corvette, you may have been drawn to the Opel GT. Buick dealers sold them as captive imports. Built in Germany, the Opel GT was available with either a 1.1L or 1.9L inline 4-cylinder. You certainly didn’t pay the Corvette’s price, but you didn’t get the Corvette’s horsepower either.


This '67 Firebird has the optional hood-mounted tach
This ’67 Firebird has the optional hood-mounted tach


The Alfa may have looked lost among the sea of U.S. built cars (it certainly is physically smaller than all of them), but several spectators stopped by to tell the typical “I had one of those” stories. The car ran flawlessly up and down Route 287 that evening.

One last shot before wheeling the Alfa back home


All photographs copyright © 2016 Richard A. Reina. Photos may not be copied or reproduced without express written permission.


My First Collector Car: The 1957 Ford Skyliner

September of 1977 was a month of new beginnings: I began my first post-college job, working in NYC for the U.S. Department of Labor, and purchased my first new automobile, a 1977 VW Rabbit. Commuting from Staten Island to Manhattan, though, did not involve driving. As it is for the vast majority of New Yorkers, public transport was the way to go. In my case, the one-way journey was a 90-minute ride on bus, ferry, and subway, giving me plenty of time to read.

One day at lunchtime, I wandered into a bookstore. On the bargain table sat a book entitled “Ken Purdy’s Book of Automobiles”. While I had never read anything by Mr. Purdy, I knew the name because David E. Davis, editor of Car and Driver magazine, had extolled the virtues of Ken Purdy’s writing in numerous columns. Perhaps best of all, the book was marked down from $9.95 to $1.99. I bought it.

This was not a book of new material; rather, it was a compendium of previously published short stories and articles. (Unbeknownst to me at the time, Ken Purdy had died in 1972.) Nevertheless, it was all new to me. The brevity of each chapter made it an easy read; I devoured the book in a matter of days. As soon as I finished it I had an epiphany: automobiles were something that I could enjoy as a hobby! No matter what daytime job I had, car collecting would allow me to indulge in my true passion. I decided to consider buying a collectible car, and that is when I remembered the Manna family.

Lou Manna was a college friend whom I had met through mutual friends. Unlike most of us in the dorms whose homes were several hours away, Lou’s home was about a 15 minute drive from campus. One day, Lou invited me to have Sunday dinner with his parents. This starving college kid said ‘yes’ before the invite was finished.

Mrs. Manna cooked a wonderful Italian meal, and I probably got some leftovers to help get me through the week. Mr. Manna (Louis Sr.), it turned out, was a bit of a car enthusiast. He drove a Fiat 128, and his wife drove a 1957 Ford Skyliner (retractable hardtop convertible), which the family had owned since new.

The Ford brochure for '57 featured the Skyliner on the cover (from the author's collection)
The Ford brochure for ’57 featured the Skyliner on the cover (from the author’s collection)

Mr. Manna Sr. told me that he always had convertibles. After the war, he bought a new 1948 Ford convertible. But he said he always hated dealing with soft tops which were noisy, leaked, required replacement, and didn’t offer enough security. When Ford announced mid-way through the 1957 model year that they were introducing a convertible with a steel roof, Mr. Manna told me he was hooked, and he purchased one. The car they bought was black with a white top and red interior. I thanked them for the meal, and did not think much more about the Skyliner.

The NY registration in Louis Manna's name (NY did not use titles at this time)
The NY registration in Louis Manna’s name (NY did not use titles at this time)

After college, I had not seen much of Lou, but in November of 1977, I reached out to my college buddy, and as luck would have it, his parents had realized that it was time to let the car go. They told me that the asking price was $1,000; my offer of $900 was accepted. The car had 140,000 miles on it, the rear quarters were rusty, but the vehicle was in otherwise decent original condition.

I took the Long Island Rail Road out to Kings Park, and drove the big Ford home to Staten Island. Mrs. Manna was so upset at her car’s departure that she cried, and went back into the house rather than watch the car leave her driveway for the last time. Even though the car was “only” 20 years old, it drove like an old car. My Rabbit with rack and pinion steering was a model of directional accuracy and stability. This Ford had so much freeplay that I could rotate that big wheel 90 degrees left and right before my inputs had any influence on vehicular direction. The Belt Parkway was a quite the challenge that night, but we safely made it.

Now that the car was home, I really didn’t know what to do with it! The Ford sat semi-enclosed in a carport my father had built next to our 2-car garage. I didn’t bother registering or insuring the car, as I had no intention of driving it that much. Fast forward to the summer of 1978, when I left my cushy Manhattan office job to begin employment as an apprentice auto technician, and my tool collection and confidence both grew. It was time to overhaul the Ford’s engine.

This was my first engine rebuild. I purchased the factory service manual, and with a rented cherry picker and borrowed engine stand, yanked the block with the vehicle in the carport. The cylinder heads and ancillaries were removed, and I had the nerve to put the bare block into the back of the Rabbit so that I could drive it to a machine shop.

Dig those labor prices!

The cylinders were bored 0.030” over, which necessitated eight new pistons. The heads were sent out for a complete valve job. In addition to the machine shop’s parts and labor costs, I spent money for new gaskets, motor mounts, water pump, and camshaft. It felt like every spare cent I earned was going into this engine rebuild, which likely was close to the truth.

The rebuild came together, the engine was reinstalled, and the Ford was roadworthy again, but still not legally so. The interior needed to be reupholstered, the tires and brakes were poor, and there was the matter of the rusty rear quarters. But other changes were coming first.

In January of 1980, I moved out of my parent’s house and into an apartment in Somerville NJ, a mile from the dealership where I worked. The Ford stayed on Staten Island, at least until 1982, when my father retired and my folks decided to sell the house and move to a retirement community.

The Skyliner was moved into a public storage garage, really a converted chicken coop, in Readington NJ. The rent at “Van’s Storage” was $18 a month, and the owner said that there were strict rules against working on the cars on site. My Ford was on the 2nd floor of a two-story cinder block building, nestled among 50 other collector cars in various states of disrepair. The storage facility also had trucks, school buses, and loads of printed material stored among the classic and not-so-classic old cars.

The years were rolling by, and no work was being performed on the Ford. It had ceased to become a priority. With no garage access, I had no place to work on it. In the back of my mind, this was a “one day I’ll get to it” project, with the reality that “one day” could be a long way off.

One evening in the summer of 1984, enjoying a quiet weeknight in my apartment, the phone rang. It was “Van” of Van’s Storage. The voice said “I have bad news. We’ve had a fire out here. Everything’s in bad shape. You need to come out and see what you can salvage of your car.” I was upset, but not that upset, thinking I could rebuild the car or at worst, sell off the car for parts.

I waited until the weekend to drive out to the site. Four days after the phone call, the pile of ashes was still smoldering. The building was gone, and so were all 50 cars. Amazingly, I could spot my Ford. The fact that it was on the 2nd floor meant that as the building collapsed, my car was on top. But I was horrified at what fire can do: the glass, engine, wiring, and much of the sheet metal were consumed. The only component potentially salvageable was the rear bumper. It was all I could do to snap a few photographs and walk away.

Newark Star Ledger article
Newark Star-Ledger article

As reality sank in, I was angry only at myself for my own immaturity: I never had bothered with insurance on the Ford. The fire was investigated by the local Police Department, and was ruled accidental. Van’s was not responsible; in fact, the rental agreement I signed absolved Van’s of any responsibility for theft, fire, etc. My total monetary investment in the Skyliner was about $4,000, now literally all up in smoke. At the age of 30, I felt foolish for fancying myself a “car restorer”.


Letter from local police department


This was a tough way to learn some difficult lessons. One lesson was to ensure that my first order of business needed to be attending to my legal and financial obligations. Insurance exists for a reason. There was the more subtle lesson that letting a restoration project “sit” for years is not a workable approach. If I wanted to succeed in the restoration of collector cars, I’d need to do better. Losing the Ford was a wake-up call. I’d like to think it helped me as I moved forward with my other projects in this hobby.


All photographs copyright © 2016 Richard A. Reina. Photos may not be copied or reproduced without express written permission.


Heater Core Replacement in the ’93 Mazda Miata: Part 2

Last we left off, your intrepid garage hack was somewhere in the process of replacing the engine compartment coolant hoses, as part of a heater core replacement on his 1993 Mazda Miata. In this installment, we will provide an update on the progress of said hoses.

You may be saying to yourself, “the blog post is entitled ‘heater core replacement’, but there are nary few words so far about the actual core”. This would be an accurate observation, as in fact, the heater core has been removed from the vehicle, but I am not quite ready to begin the installation of the new part. Instead, I’m documenting the work that’s been done most recently (the hoses), and will soon be writing more about the core. At least I certainly hope I will be, as it’s almost June and I haven’t driven this car since last fall.

Intermediate pipe, painted with high-temp paint, was cured with heat gun

Back to the hoses. In Part 1, I gave mention to a “heater hose kit” from Moss Motors. The kit comprises of 7 hoses: 3 larger-diameter pieces, and 4 smaller-diameter ones. The larger hoses are your typical radiator-to-engine coolant hoses, excepting the fact that Mazda has a 3-part lower setup, with a rubber hose running to a metal intermediate pipe, followed by another rubber hose. But it was the 4 small ones which threw me the curve ball, as I had no idea that the car had these additional coolant hoses. As Moss did not provide a diagram, I also had no idea where in the engine compartment they were.

The two hoses, running parallel between intake and valve cover, are coolant hoses

Poking around the area of the thermostat housing, I found two; the other two were over at the intake manifold. The function of these hoses seems to be to provide a “warm engine temperature” signal to the idle control and the radiator fan control. I didn’t research it further as I wanted to devote the time to getting the spring-loaded hose clamps off.

Note clamps under and to the right of thermostat housing

These clamps were not only difficult to reach; the clamps ears in some cases were rotated away from what might be the most accessible positions. It is possible that these were built up as subassemblies before the engine was dropped into the car. In any event, they had not been touched since the car was built, and I needed to get them off. Using various shaped pliers, including needle-nose, curved nose, and slip-joint, most of them eventually came loose. One clamp in particular, under the thermostat housing, was twisted back and forth until it broke off (I was very mad at it). Like many other underhood jobs, components which were in the way were removed for better access.

Old and new hoses side-by-side. Old ones were hard but not leaking (yet)

Besides the clamp which was twisted to death, there were two other casualties: the A/C-power steering belt was removed with a hacksaw, because I intend to replace it anyway; and the fan temperature sensor switch in the top of the thermostat housing fell victim to an errant wrench. New parts have been ordered and are on their way.

Switch is NOT designed to be removed in this fashion
Switch is NOT designed to be removed in several pieces

As of today, the upper radiator hose, lower rear hose, and all four smaller hoses have been replaced. On the smaller hoses, several spring clamps were replaced with screw clamps for easier installation. With this part of the job basically done, we’re soon moving back to the heater core.


All photographs copyright © 2016 Richard A. Reina. Photos may not be copied or reproduced without express written permission.


Finally, my first new car: the 1977 VW Rabbit

Upon my return home from the 3-week adventure which we nicknamed “Coast-to-coast in the Swedish car”, a letter was awaiting me. The U.S. Department of Labor was offering me an interview to be considered for employment in their Bureau of Labor Statistics. I interviewed, was accepted, and was told I could start in mid-September. Elated at the prospect of full-time employment, I especially looked forward to a full-time paycheck! Since I was still without wheels of my own, having sold my Vega to my brother several months prior, my thoughts turned to consideration of finally owning a new car.

The car magazines which I voraciously devoured had said generally good things about Volkswagen’s newest economy car, the Rabbit. The vehicle (called the Golf in the rest of the world) was introduced in North America as a 1975 model. During its first two years on sale here, one of the few issues concerned its troublesome carburetor. In 1977, VW ditched the carb, switched to Bosch K-Jetronic fuel injection, and likewise jettisoned the catalytic converter in the process. There were other attractive features: front wheel drive, hatchback roominess, and great fuel economy. I test drove several models at my local dealer, Staten Island Small Cars. Frankly, I don’t believe I even considered anything else. At least there’s no recollection of test-driving anything but Rabbits.

It was now September of 1977, and the new ‘78s were on their way. The buff books had informed me that for 1978, VW was reducing the engine size from 1.6L to 1.5L, with a horsepower drop from 78 to 71. Determined to find the “best” ’77 I could, I bounced around VW dealers in Brooklyn, Queens, and NJ, but ended up back at the Staten Island store.

My salesman was Arthur McKeever, an interesting guy, and difficult to forget once you met him, as Mr. McKeever had no right arm. He shook hands with his left, and could shock you with his ability to drive a stick shift. As we climbed into his red demo, I reached for the seat belt. He said “oh, you don’t need to put that on”. I put on the belt, as I had been wearing one since the Mustang wreck six years prior. The Rabbit was quite peppy, and while the shift action didn’t have quite the precision of a RWD car, it wasn’t bad at all. My mom’s ’76 Honda Accord had tons of torque steer; by comparison, the Rabbit had almost none.

scan514ccc
Area code not required; Anyone care to guess what the “YU” exchange stood for?

He had three 1977 2-doors remaining (the 4-door model was not sporty enough for me, and so was a deal-breaker). One was his red demo, but I didn’t think the car looked good in red. The yellow car was attractive, but the priciest of the choices. The white car was an anomaly: a base model Rabbit, when every other car I looked at was the “Custom”. The base model had these features compared to the Custom: 145-13 bias-ply tires instead of radials; houndstooth cloth upholstery instead of leatherette; vinyl flooring instead of carpeting; non-opening vent windows instead of opening ones; and a manual rod for the hatch instead of a gas strut. But the sticker price of $3599 was very attractive.

The back of his card spells out my 3 options

A deal was struck for the white car, which looked good with its black-and-white interior. My dad had to co-sign the bank loan, but he knew I was good for it. Taking delivery of my first new automobile still ranks up there with one of the great car-related thrills of my life.

Yes, I kept the Monroney

Three weeks into the ownership, I ordered a set of Pirelli CN-36 radial tires in size 175/70-13. They truly transformed the car, and lasted 56,000 miles! I also was an early adapter of Cibie euro-style headlights with replaceable H4 bulbs, which did amazing things for night-time visibility. Both the tires and the lights were purchased from Euro-Tire, which advertised heavily in Car and Driver magazine. I put my own sound system in the car, and repainted the bumpers, but did little else other than maintain it and drive it.

The Rabbit served as my daily driver for over four years, from September of 1977 until December of 1981. I put about 112,000 miles on it, almost all of it trouble-free. The car started to use oil, a known issue with the valve stem seals, but oil was cheap enough that I just kept checking and adding it. There was also the start of some rust at the base of the A-pillars. My overall experience was so positive that I replaced this VW with another new VW. We’ll get to that story at another time.

Fuel log: average price was 68 cents/gallon


All photographs copyright © 2016 Richard A. Reina. Photos may not be copied or reproduced without express written permission.

Heater Core Replacement in the ’93 Mazda Miata: Part 1

The '93 Miata as it looked in August of 2014
The ’93 Miata at the 2014 Lime Rock Vintage Fall Festival

August of 2016, three months from the time of this writing, will mark 20 years that I’ve owned my black Mazda Miata. Aside from its incredible driving characteristics, it has been a typical Japanese-car ownership experience, which is to say, the vehicle has needed almost no repairs during the 65,000 miles I’ve put on it.

Of course any car needs maintenance and consumables, so tires, brakes and batteries have been changed out. The engine oil is replaced once or twice a year regardless of mileage. The typical tune-up items such as plugs, wires, and filters are changed regularly. Light bulbs? One headlight bulb went out a few years ago. The convertible top was replaced around 2002.

The upholstery, stereo, exhaust, clutch, shocks, springs, and U-joints are all the pieces which the factory installed in 1993. The R-12 A/C still blows cold, but did need one top-up (I still have 12 oz. cans of Freon).  The one repair which almost put the car off the road was a leaky clutch slave cylinder. It’s a common Miata failure, and the new one took about 30 minutes to install.

However: last summer, I began to notice a slight film at the base of the inside of the windshield. At first, I chalked it up to a typical dirty window. Then I noticed that using the heater made the film cover a greater area of the glass. I swiped a finger through it, and it had an oily feel. Uh-oh, said I; could this be the dreaded heater core? Each time I thoroughly cleaned the inside of the windshield, the film came back. Even with the heat completely off, it appeared. At 98,000 miles and 23 years, I knew it was time.

Heater core replacement on ANY car is not easy. My 1968 Mustang (with factory air) got its core replaced by me, and it involved disassembling most of the dash and center console. During my brief time professionally wrenching on Volvos, I did my share of heater cores on 240s. (The Volvo 240 heater core is infamous: Click and Clack, the Tappet Brothers, had a running joke on their show, in which they said that Volvo would assemble a 240 by taking a heater core, putting it on the assembly line, and building up the rest of the car around it.)

The entire air filter box must be removed to gain access to the lower rear hose (at right)

Besides a new core, it seemed to be a good idea to also replace all the original coolant hoses. The hoses are available as a kit from Moss Motors, so with said kit in hand, I drained the system and began with the engine compartment hoses. They were all hard as rocks, and most needed to be cut off their metal pipes.

From L to R: lower radiator hose, intermediate pipe, lower rear hose

The Miata lower radiator hose does not connect to the front of the engine. Rather, it passes through a metal intermediate pipe, then another rubber hose, connecting to the engine at the rear. This pipe looked terrible, so I removed it to give it a closer look. The corrosion on it was superficial, but in the interest of longevity, it is getting cleaned and painted.

Happened to have this in the garage cabinet; my experience with Hirsch products has been excellent
Had this from a previous project; my experience with Hirsch products has been excellent

The main hoses are off; there are 5 smaller hoses which also need replacing, and these clamps look like some knuckles will bleed. More to follow.

All photographs copyright © 2016 Richard A. Reina. Photos may not be copied or reproduced without express written permission.

Sunday Morning Breakfast Drive, May 15, 2016

8 a.m.: sunny before departure
8:30 a.m.: sunny before departure

After a relatively mild winter, the spring of 2016 has been taking its sweet time arriving in the Northeast. Any fears of summer heat waves in early May have been unfounded, with daily temperatures often running 10 degrees below normal. Our little driving club tried to get an early start on the season by planning a mid-April event, which had to be cancelled due to the threat of snow! Our scheduled drive on Sunday May 15 did successfully occur, in spite of cool weather and surprise showers.

Hey guys, do you want to eat, or would you rather stand around and shoot the breeze?

Checking back on last year’s blog entries, we never had more 15 participants on any one run (excepting Spousal Accompaniment Day). Today, we broke that record with 17 gentlemen occupying 12 cars. Obviously, we had 5 passengers, several of whom were joining us for the first time. Our destination was a crowd favorite, the Silver Spoon Café in Cold Spring NY.

We pull over to give those in back a chance to catch up

We pull over to give those in back a chance to catch up

The cars: we usually count up the Chevys, and then all the rest. Today, the Europeans won the day with a total of 7 cars: 3 Germans, 2 Brits, and 2 Italians. We had 4 U.S. brand cars, and one Japanese. There were old(ish) and new(ish) vehicles in all the subcategories with multiple vehicles.

The Mother Country was beautifully represented Rich S’s black MGB and Rich L’s white Jaguar F-Type.

The MGB of Rich S
The MGB of Rich S


The F-Type Jag of Rich L

The 2 Italians cars were both Alfas: EC was the proud papa bringing his ’91 spider out with us for the first time, while your humble scribe brought his trusty, un-rusty ’67 GT Junior.

Enzo's 1991 Alfa Spider
Enzo’s 1991 Alfa Spider


The author's '67 Alfa GT Junior
The author’s ’67 Alfa GT Junior

German marques ruled the roads today with 3 cars: Peter’s stunning red 911, Sal’s BMW 325is, and John M’s new Audi A3 cabrio.

Peter's Porsche 911
Peter’s Porsche 911


John's Audi A3
John’s Audi A3


Sal's BMW 325is
Sal’s BMW 325is

Among domestic product, it was all Chevrolet, including 3 Corvettes: Bill’s C1, Ron’s C4, and George’s C6. Larry ran his reliable Camaro.

Bill's C1
Bill’s C1


Ron's C4
Ron’s C4


George's C6
George’s C6


Larry's '94 Camaro
Larry’s ’94 Camaro

The sole Asian car was Jim N’s Datsun 280Z.

Jim's Datsun 280Z
Jim’s Datsun 280Z

We departed the Sheraton Crossroads parking lot (almost) right on time and headed north. As soon as we did, the skies darkened, and the clouds threatened. In spite of the weather, several drivers motored with convertible tops down. After a beautiful ride along Seven Lakes Drive and over the Bear Mountain Bridge, we were at our destination with 10 minutes to spare. The staff at the Silver Spoon had a table for 17 waiting. Coffee was almost immediately served, with hot breakfast plates soon following. As always, the camaraderie around the table made it difficult to leave.

The obligatory wave before breakfast

When we finally wrenched ourselves away from the food and endless caffeine, we stepped outside to some slight sprinkles. Those who had left their tops down scurried back to their cars. Several of us continued to linger and chat, not wanting the festivities to end. But end they eventually did. We’ve assured the group that we’ll do our best to get out at least once a month this driving season.

A crowd favorite is the Silver Spoon Cafe, on Main St. in Cold Spring NY
The Silver Spoon Cafe, on Main St. in Cold Spring NY, survived our visit

All photographs copyright © 2016 Richard A. Reina. Photos may not be copied or reproduced without express written permission.