It’s long been a tenet in the old car hobby that cars like to be driven; they don’t do well when they sit; and as long as you’re on top of maintenance, there’s no reason not to expect some reliability from an older car.
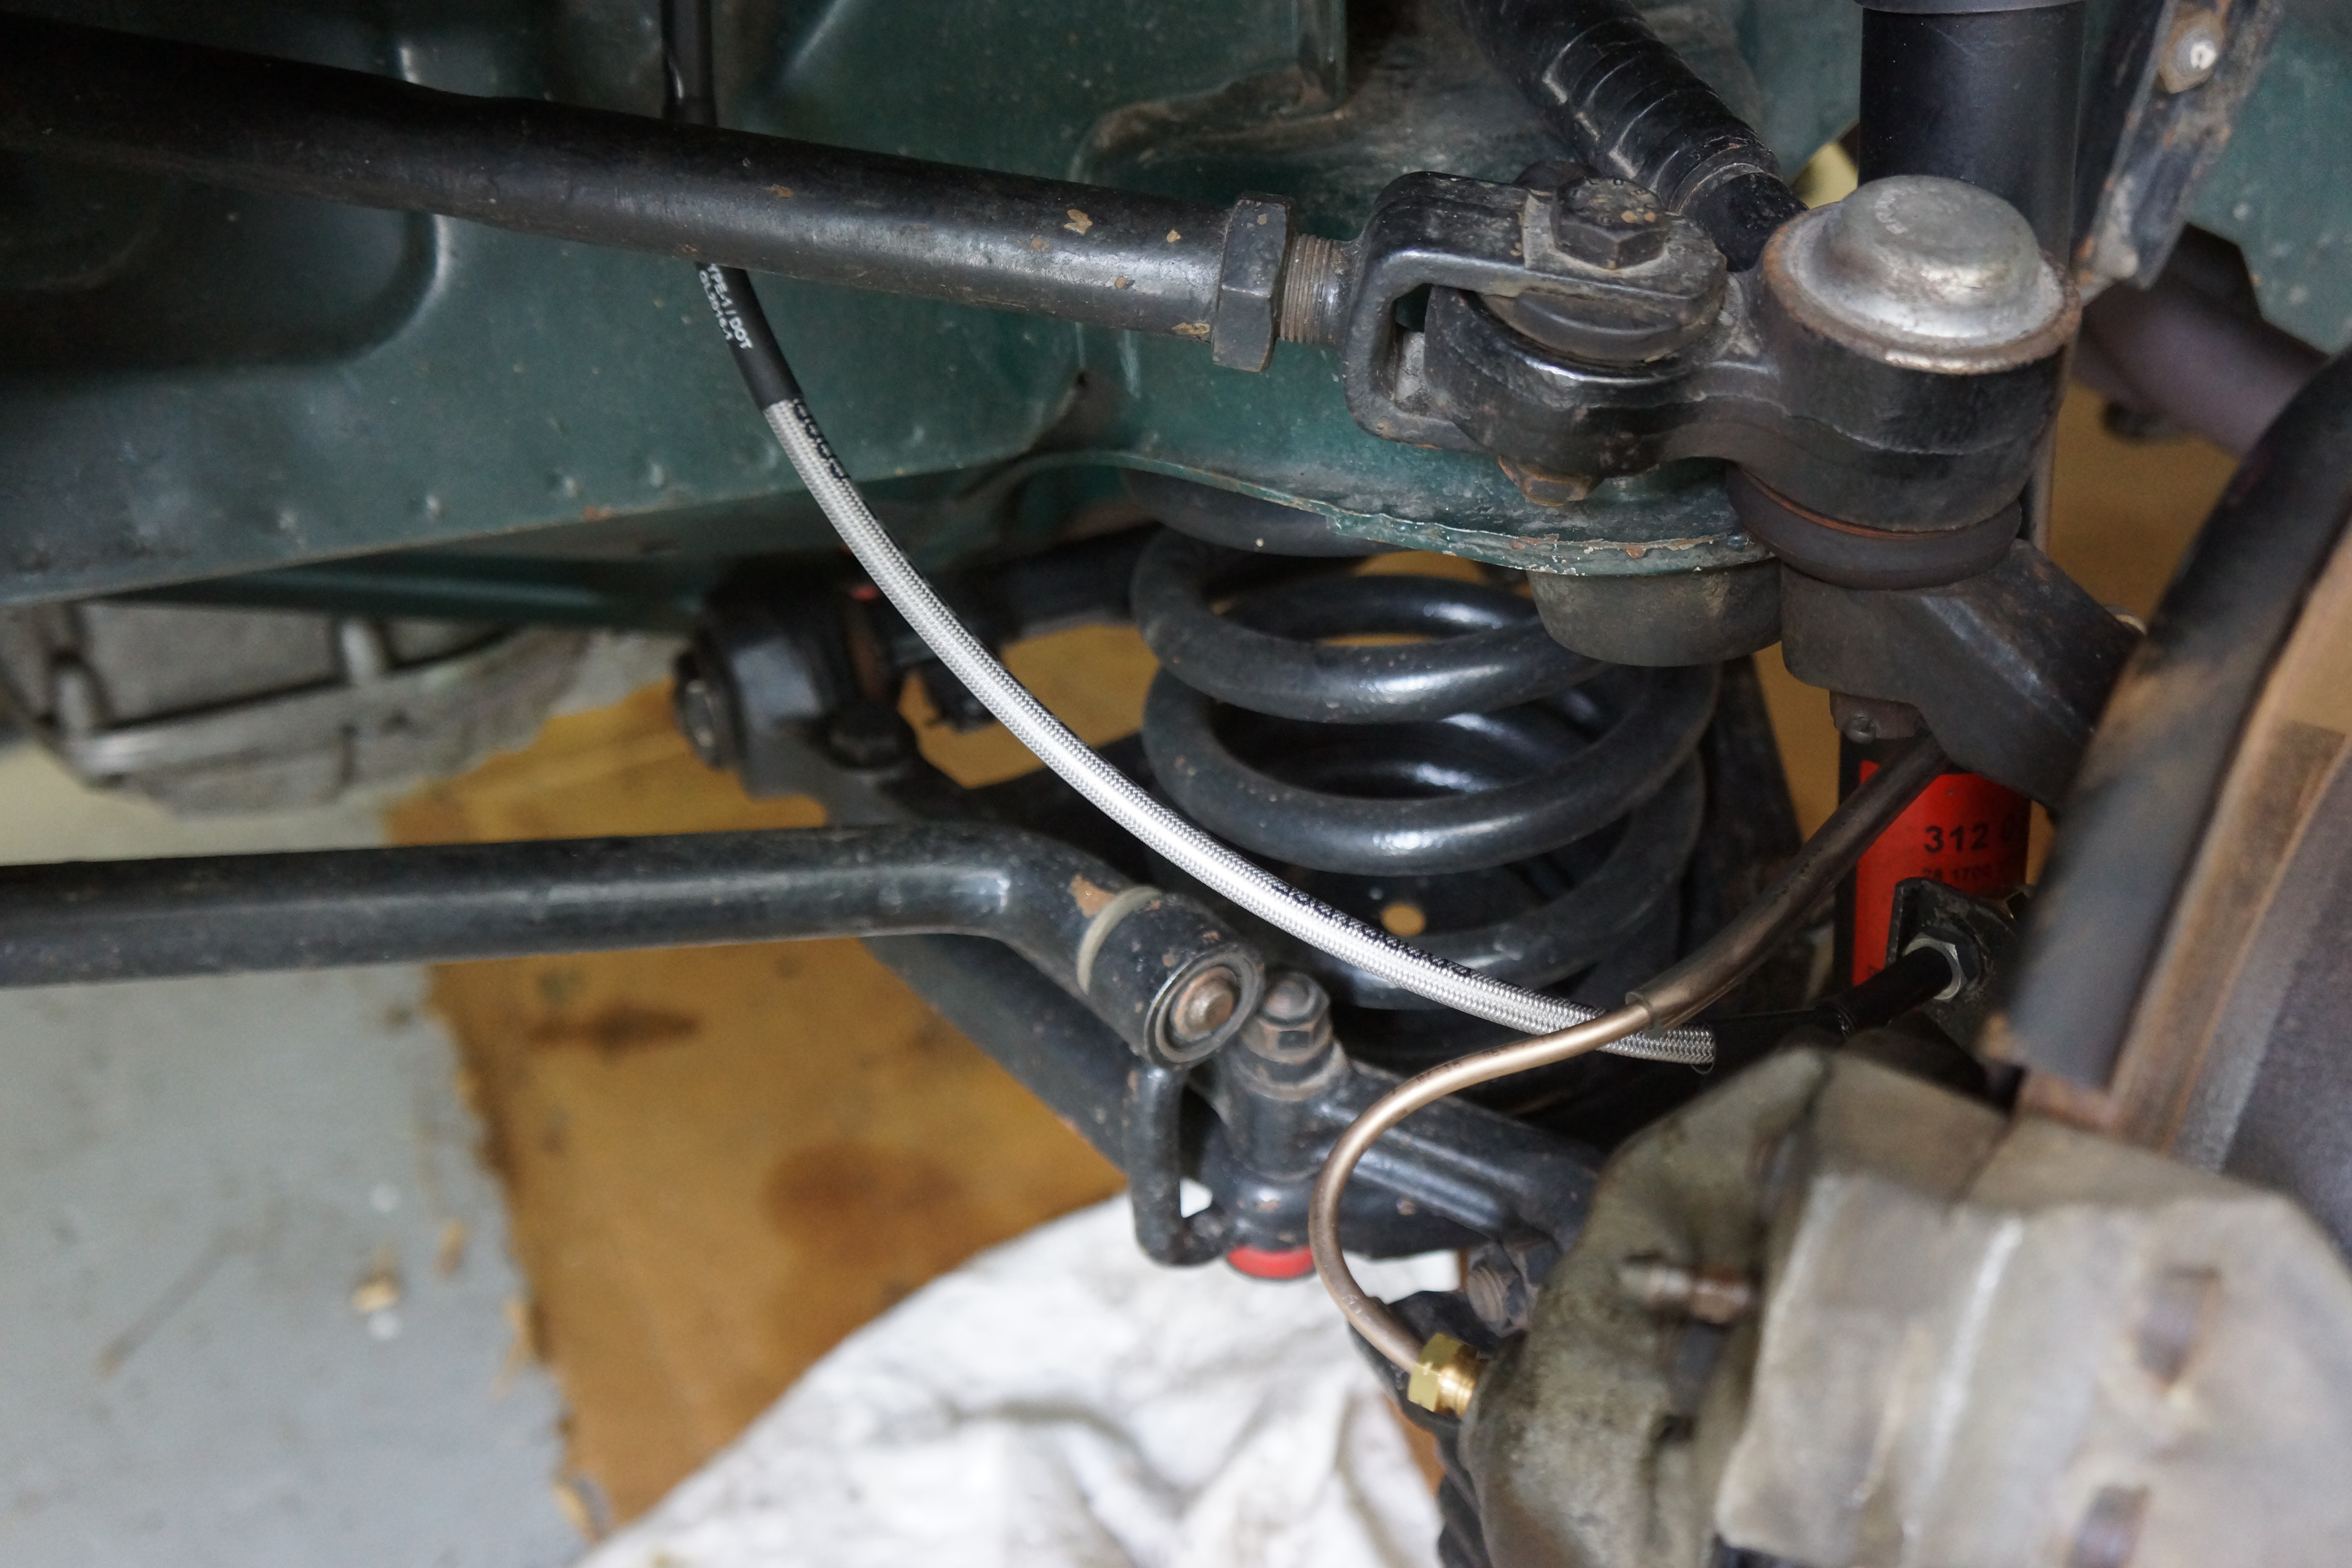
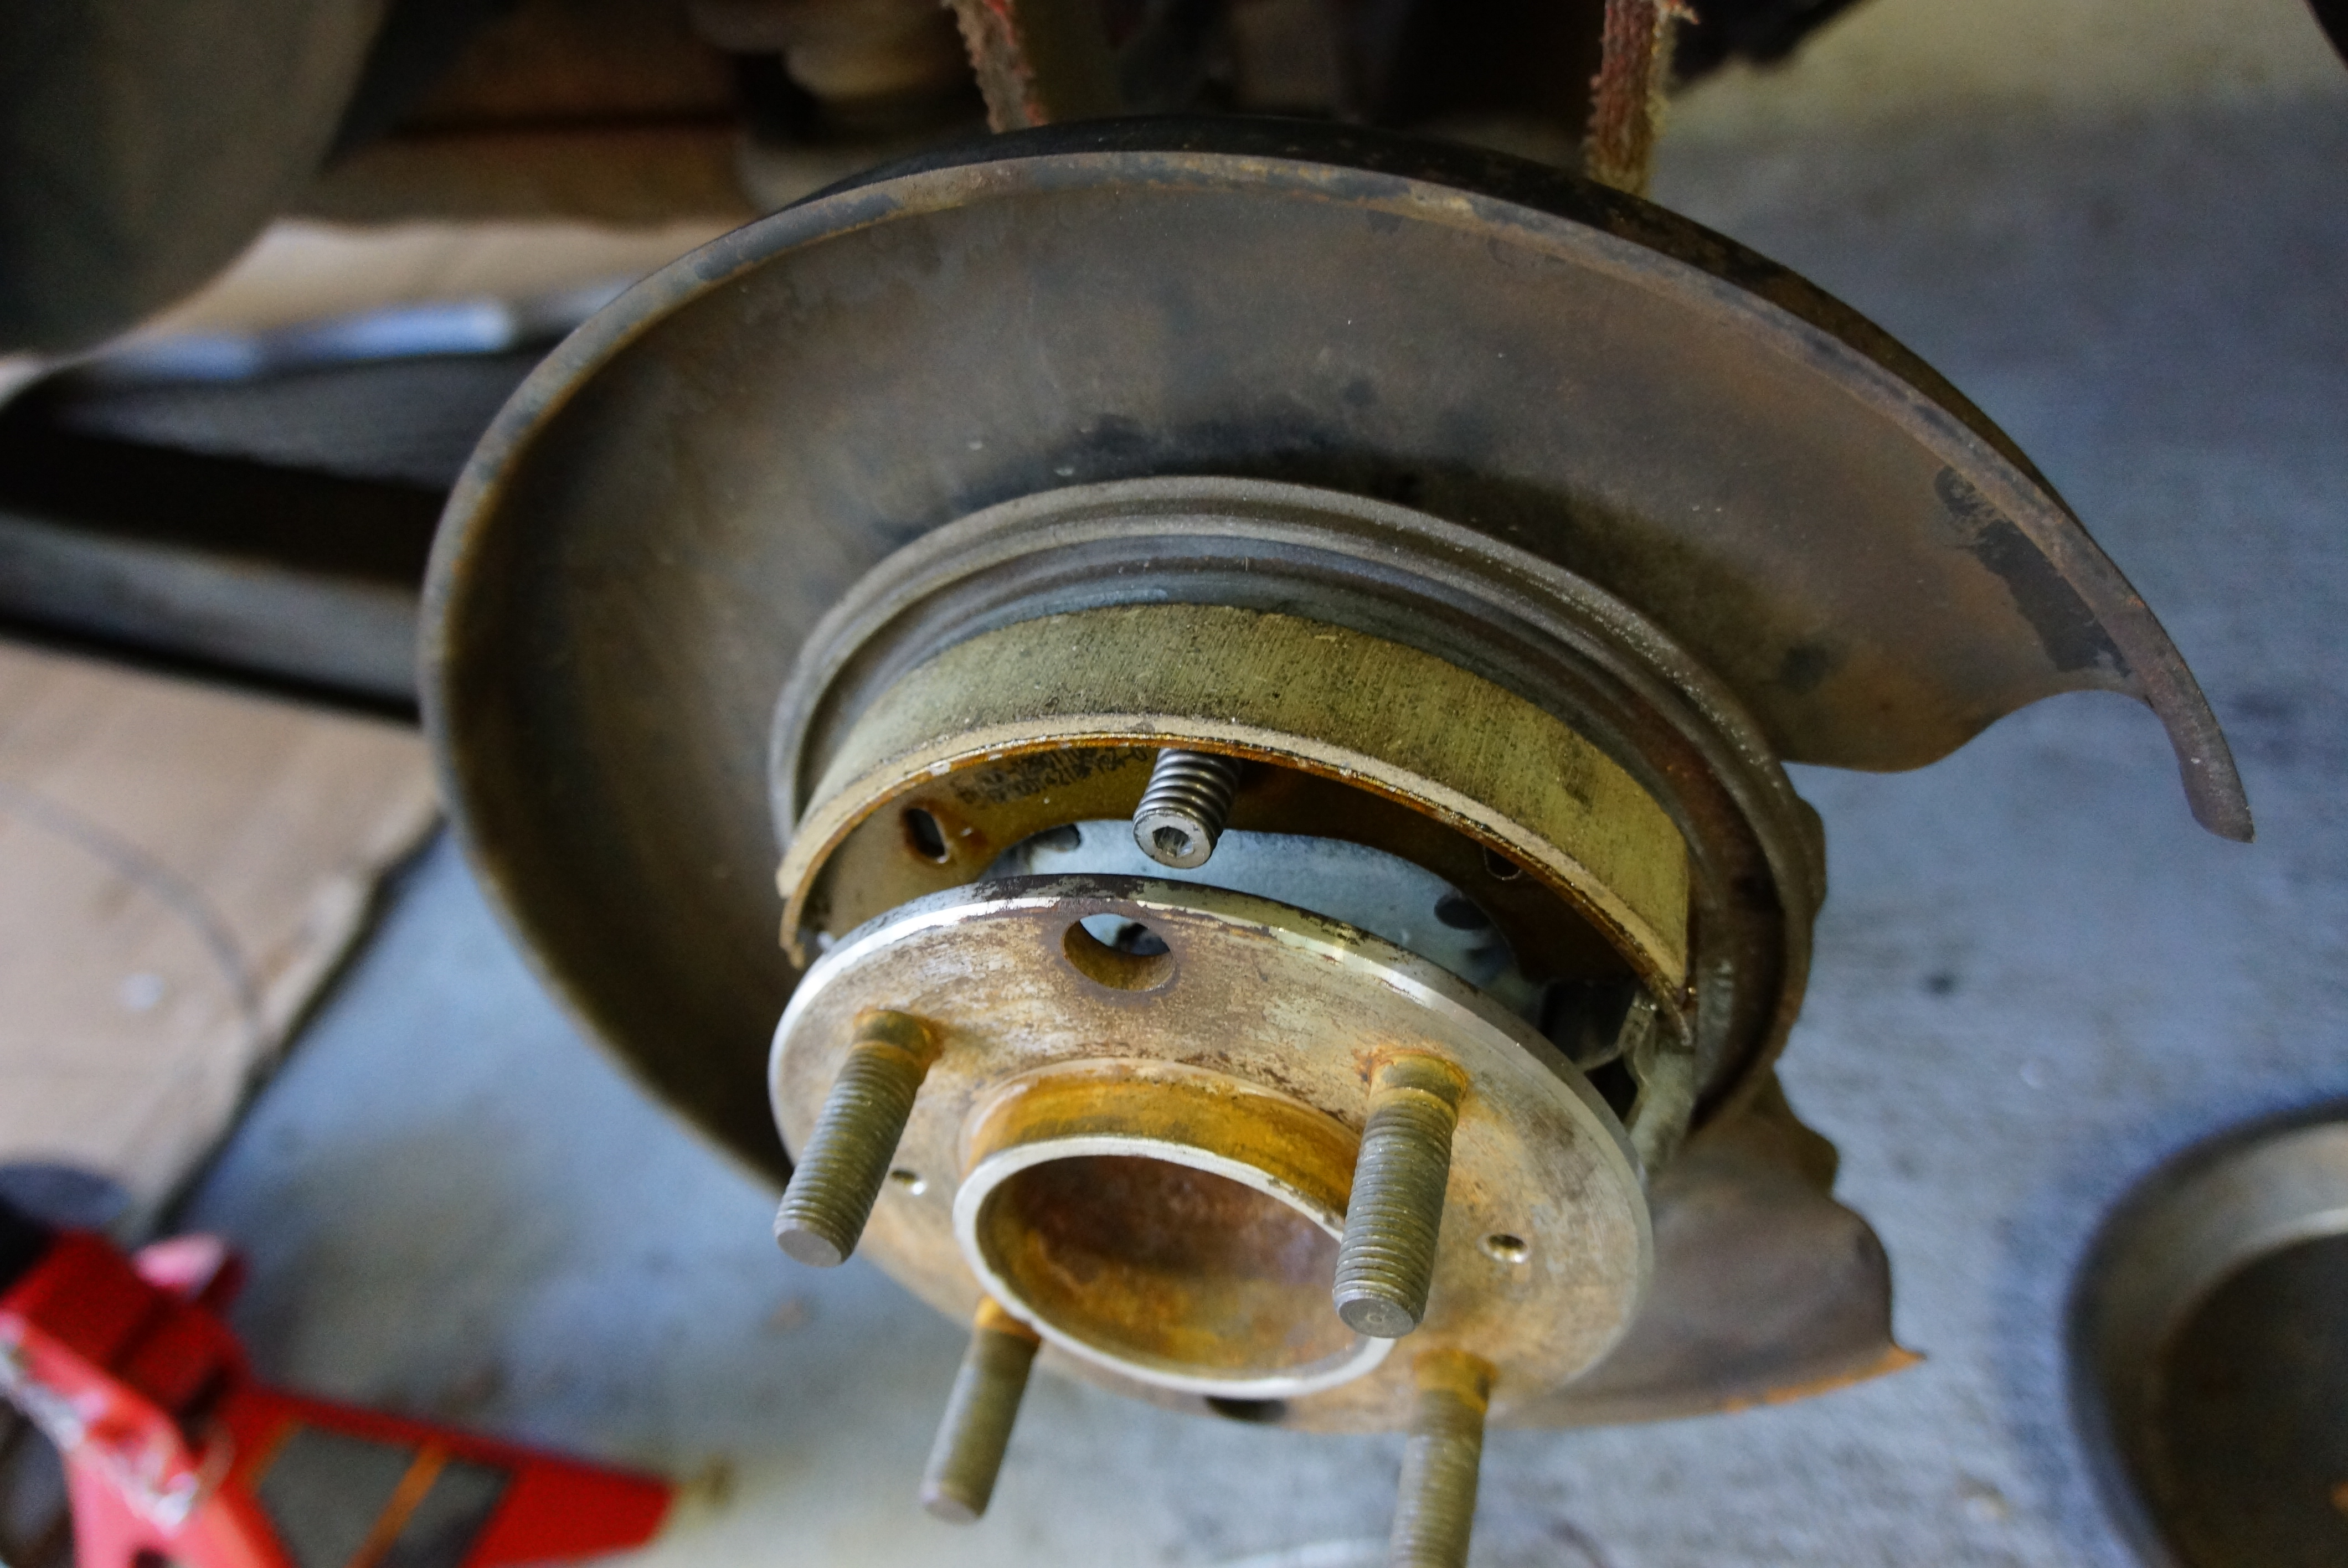
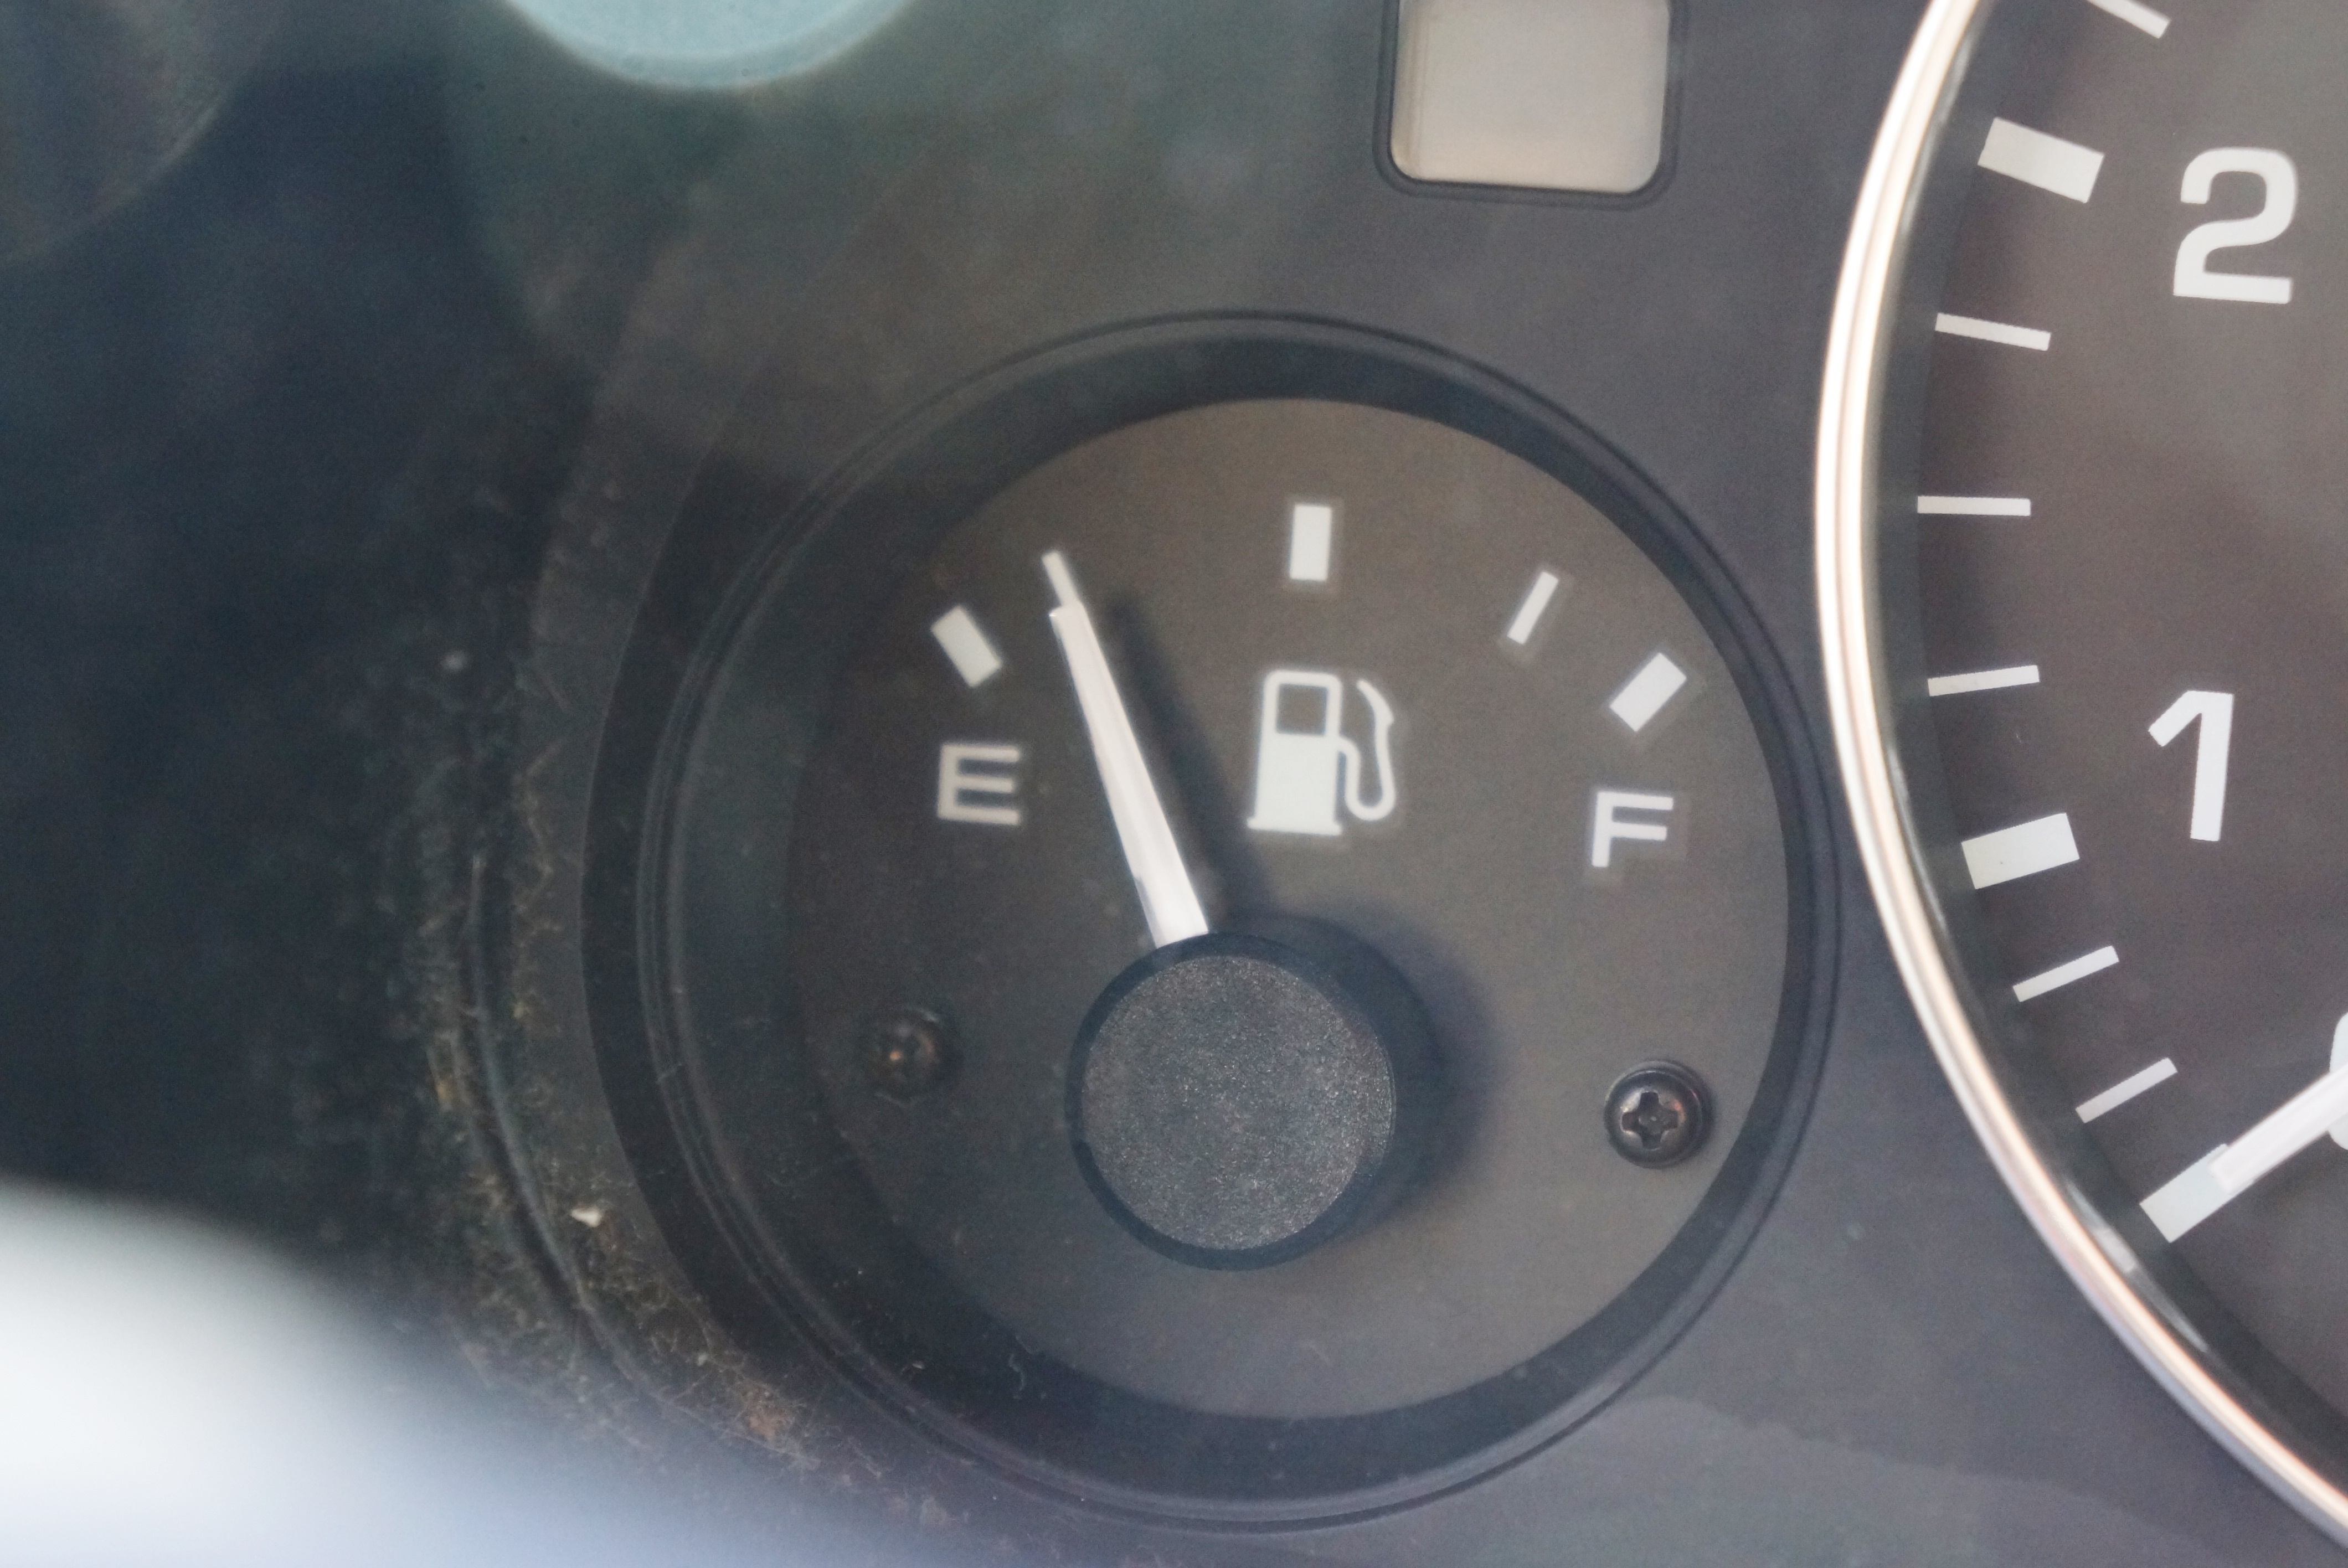
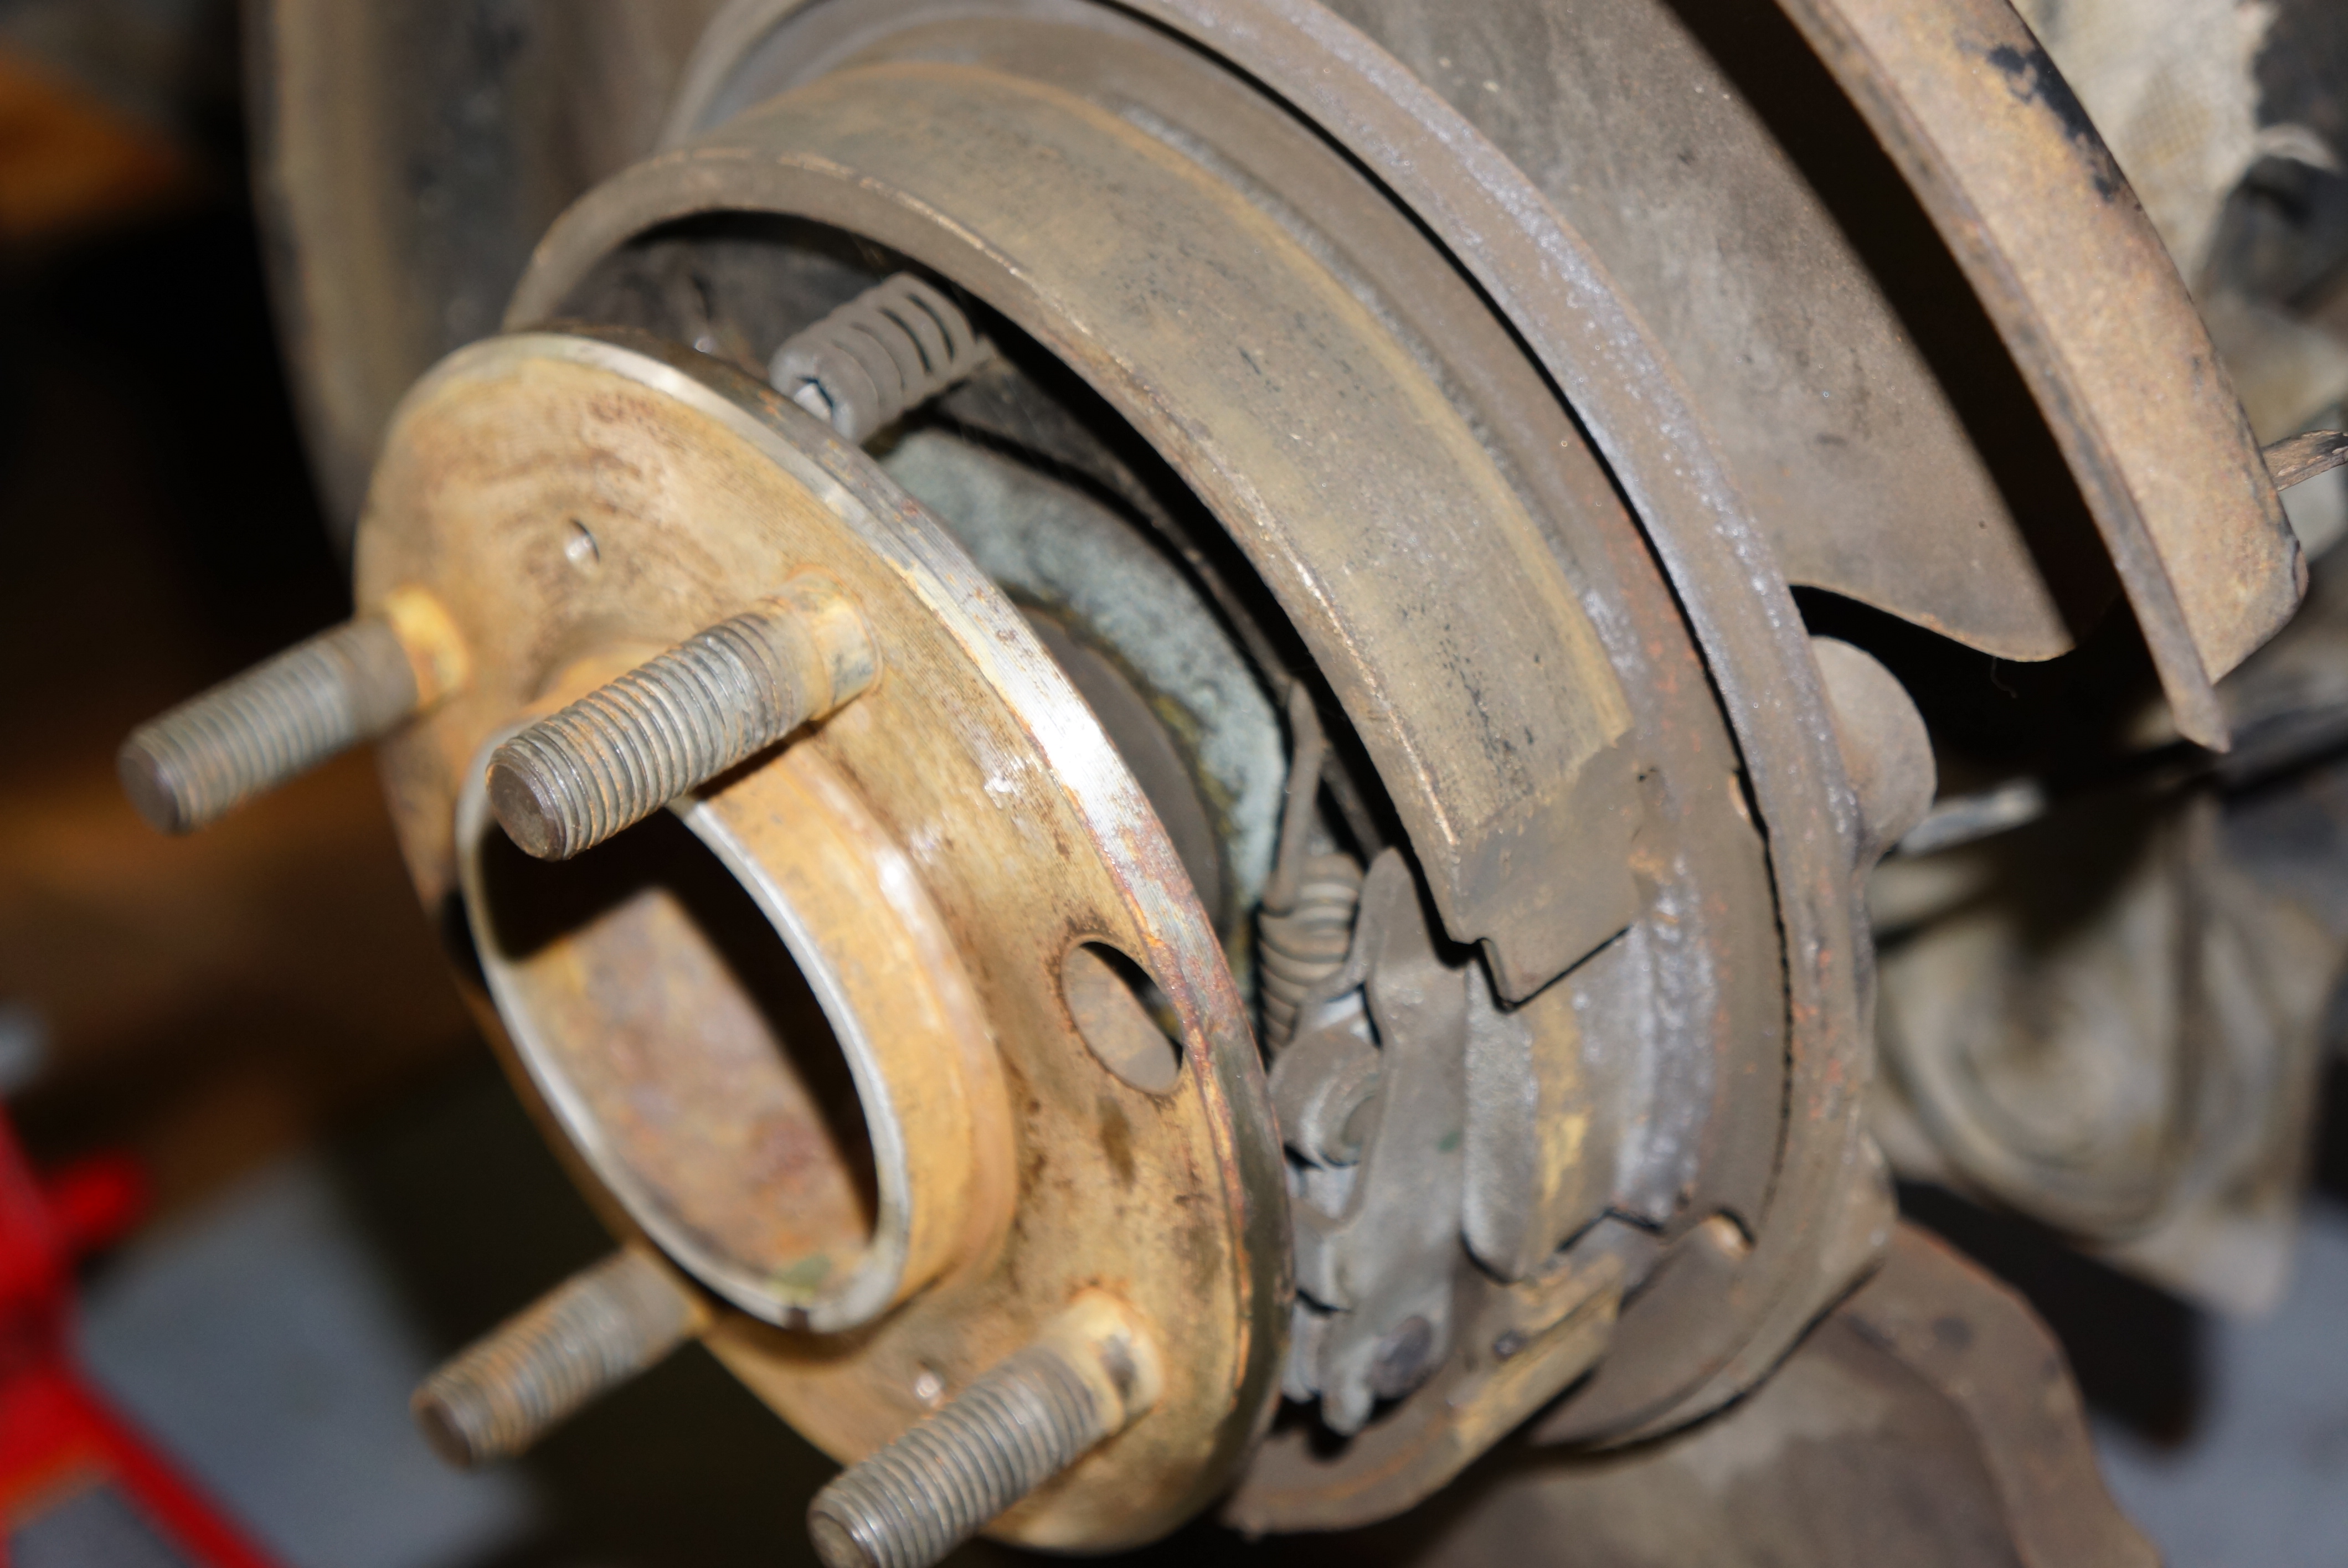
I’ve been lucky with the Alfa Romeo (although frankly, luck has little to do with it): having purchased the car in March of 2013 with 54,000 miles on the odometer, by July of 2019, the car had just shy of sixty-six thousand on the clock. In a little over six years, I managed to drive a 1967 Italian car almost 12,000 miles, which neatly works out to 2,000 miles a year. That changed, though, when the brakes seized, resulting in a complete teardown and rebuild of the braking system that took a year to complete. The car had not sat silent under my ownership for that long before, and when I did restart it, it ran poorly. Suspecting the fuel had gone sour, I drained the tank, added fresh premium, and swapped out the plugs. Success! Except … now I had a fuel leak under one of the carbs.
So, much of September was spent reading up on Weber carburetors. At first blush, they seem unnecessarily complex. Add to that complexity the words of the late Pat Braden, as he wrote in The Alfa Romeo Owner’s Bible, a copy of which I own (and I’m paraphrasing here): “if your car is running fine, don’t touch the carbs. Everyone wants to fiddle with the carbs. If it’s running ok, leave the carbs alone”.
Well, Pat, the car does ‘run’ fine, but liquid fuel dripping onto my starter motor does not get me very excited, at least not in a good way. I did some more research, including reading some very helpful posts on the Alfa BB (Bulletin Board), and concluded that the gaskets and seals were probably old, and the float height should be measured and adjusted, but other than that, I am going to leave the carbs alone!
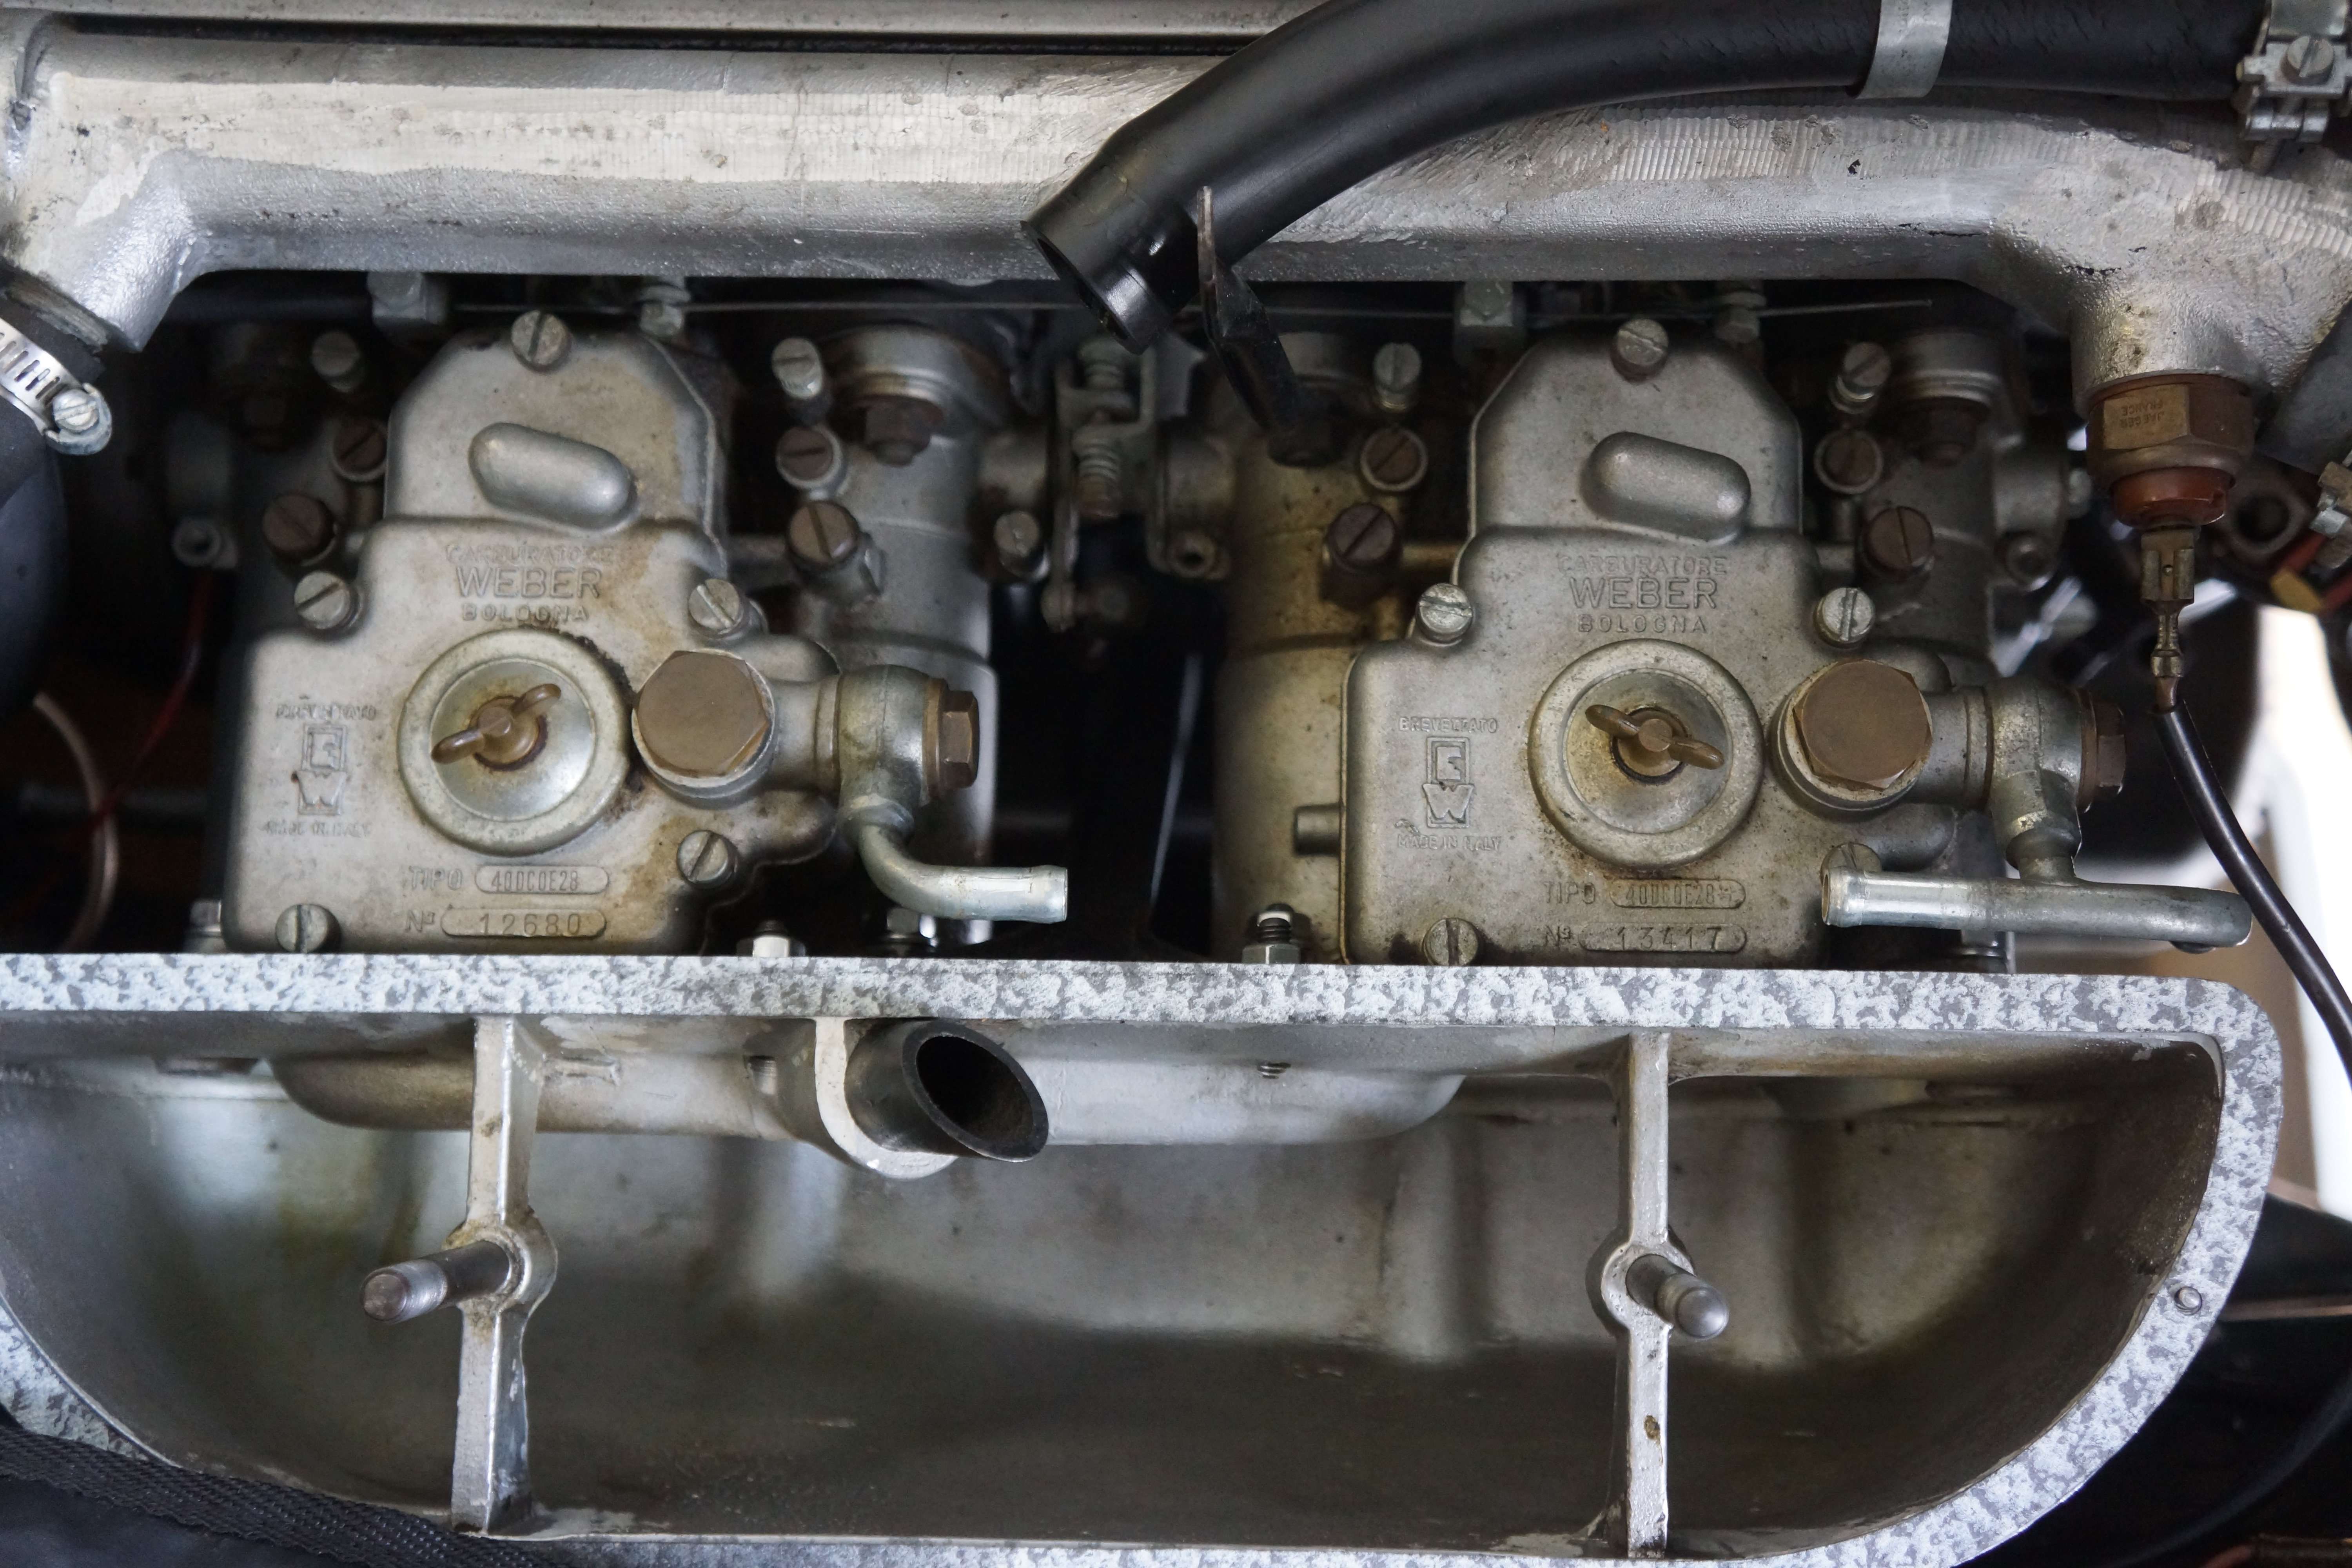
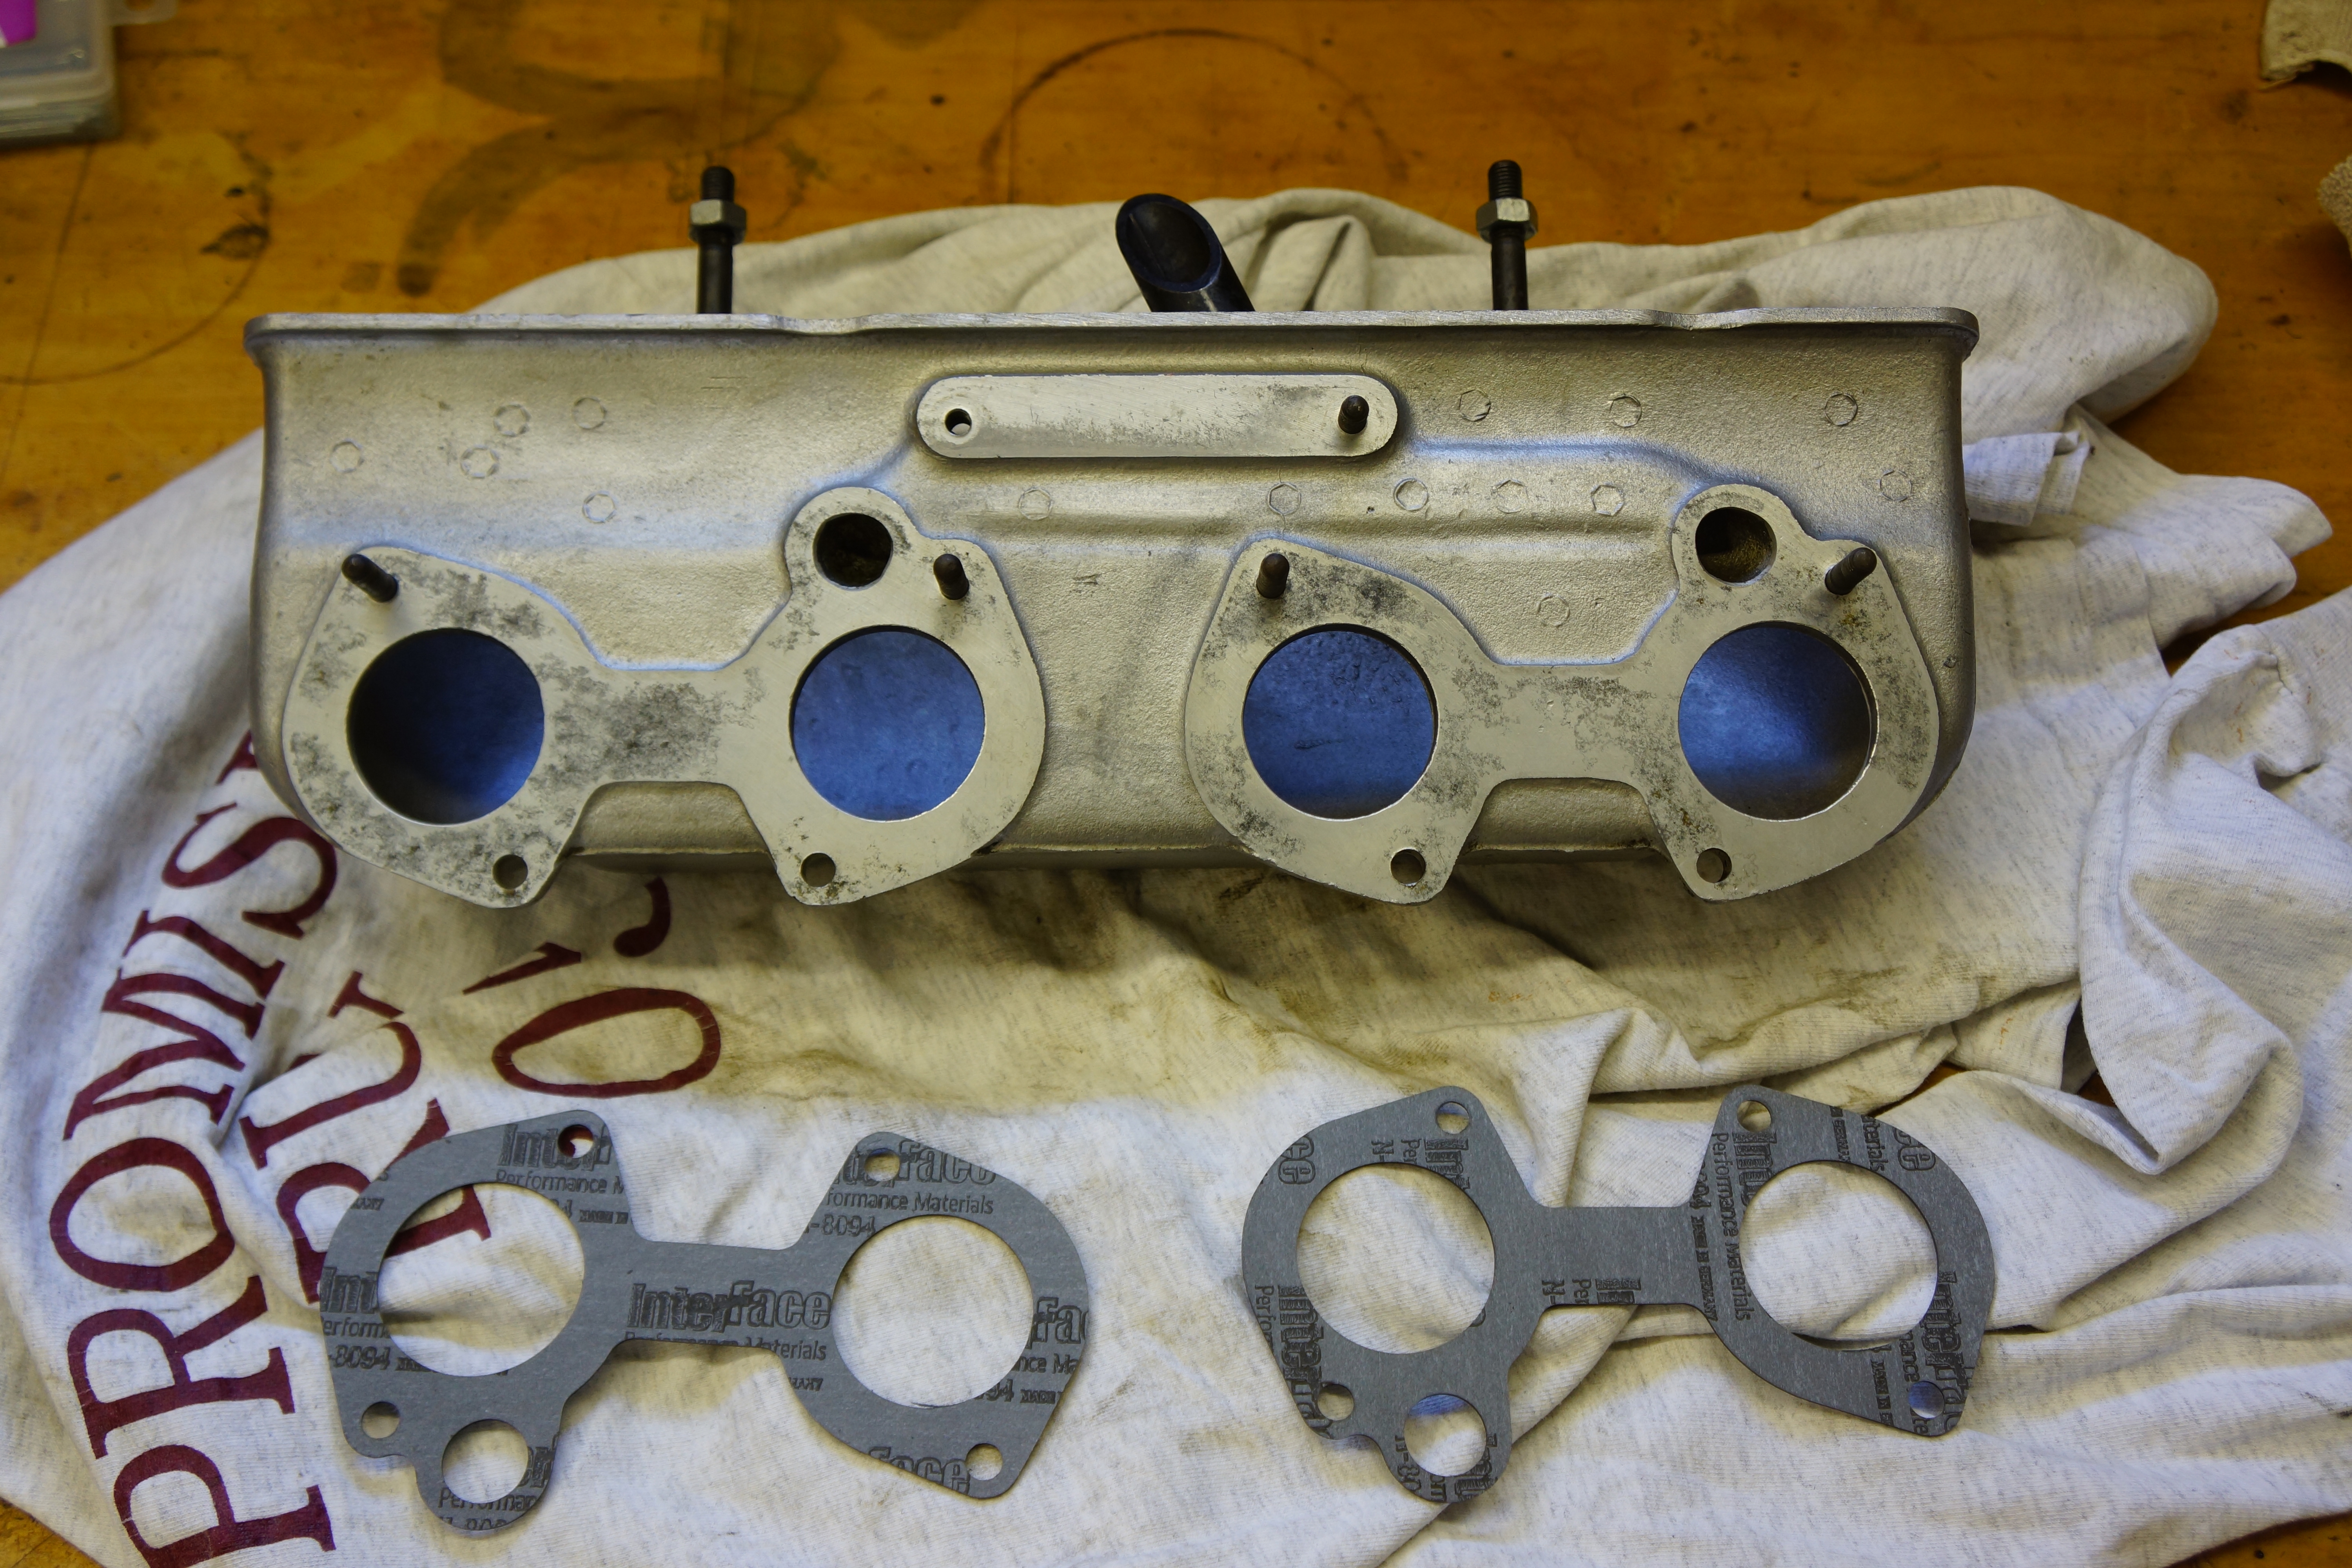
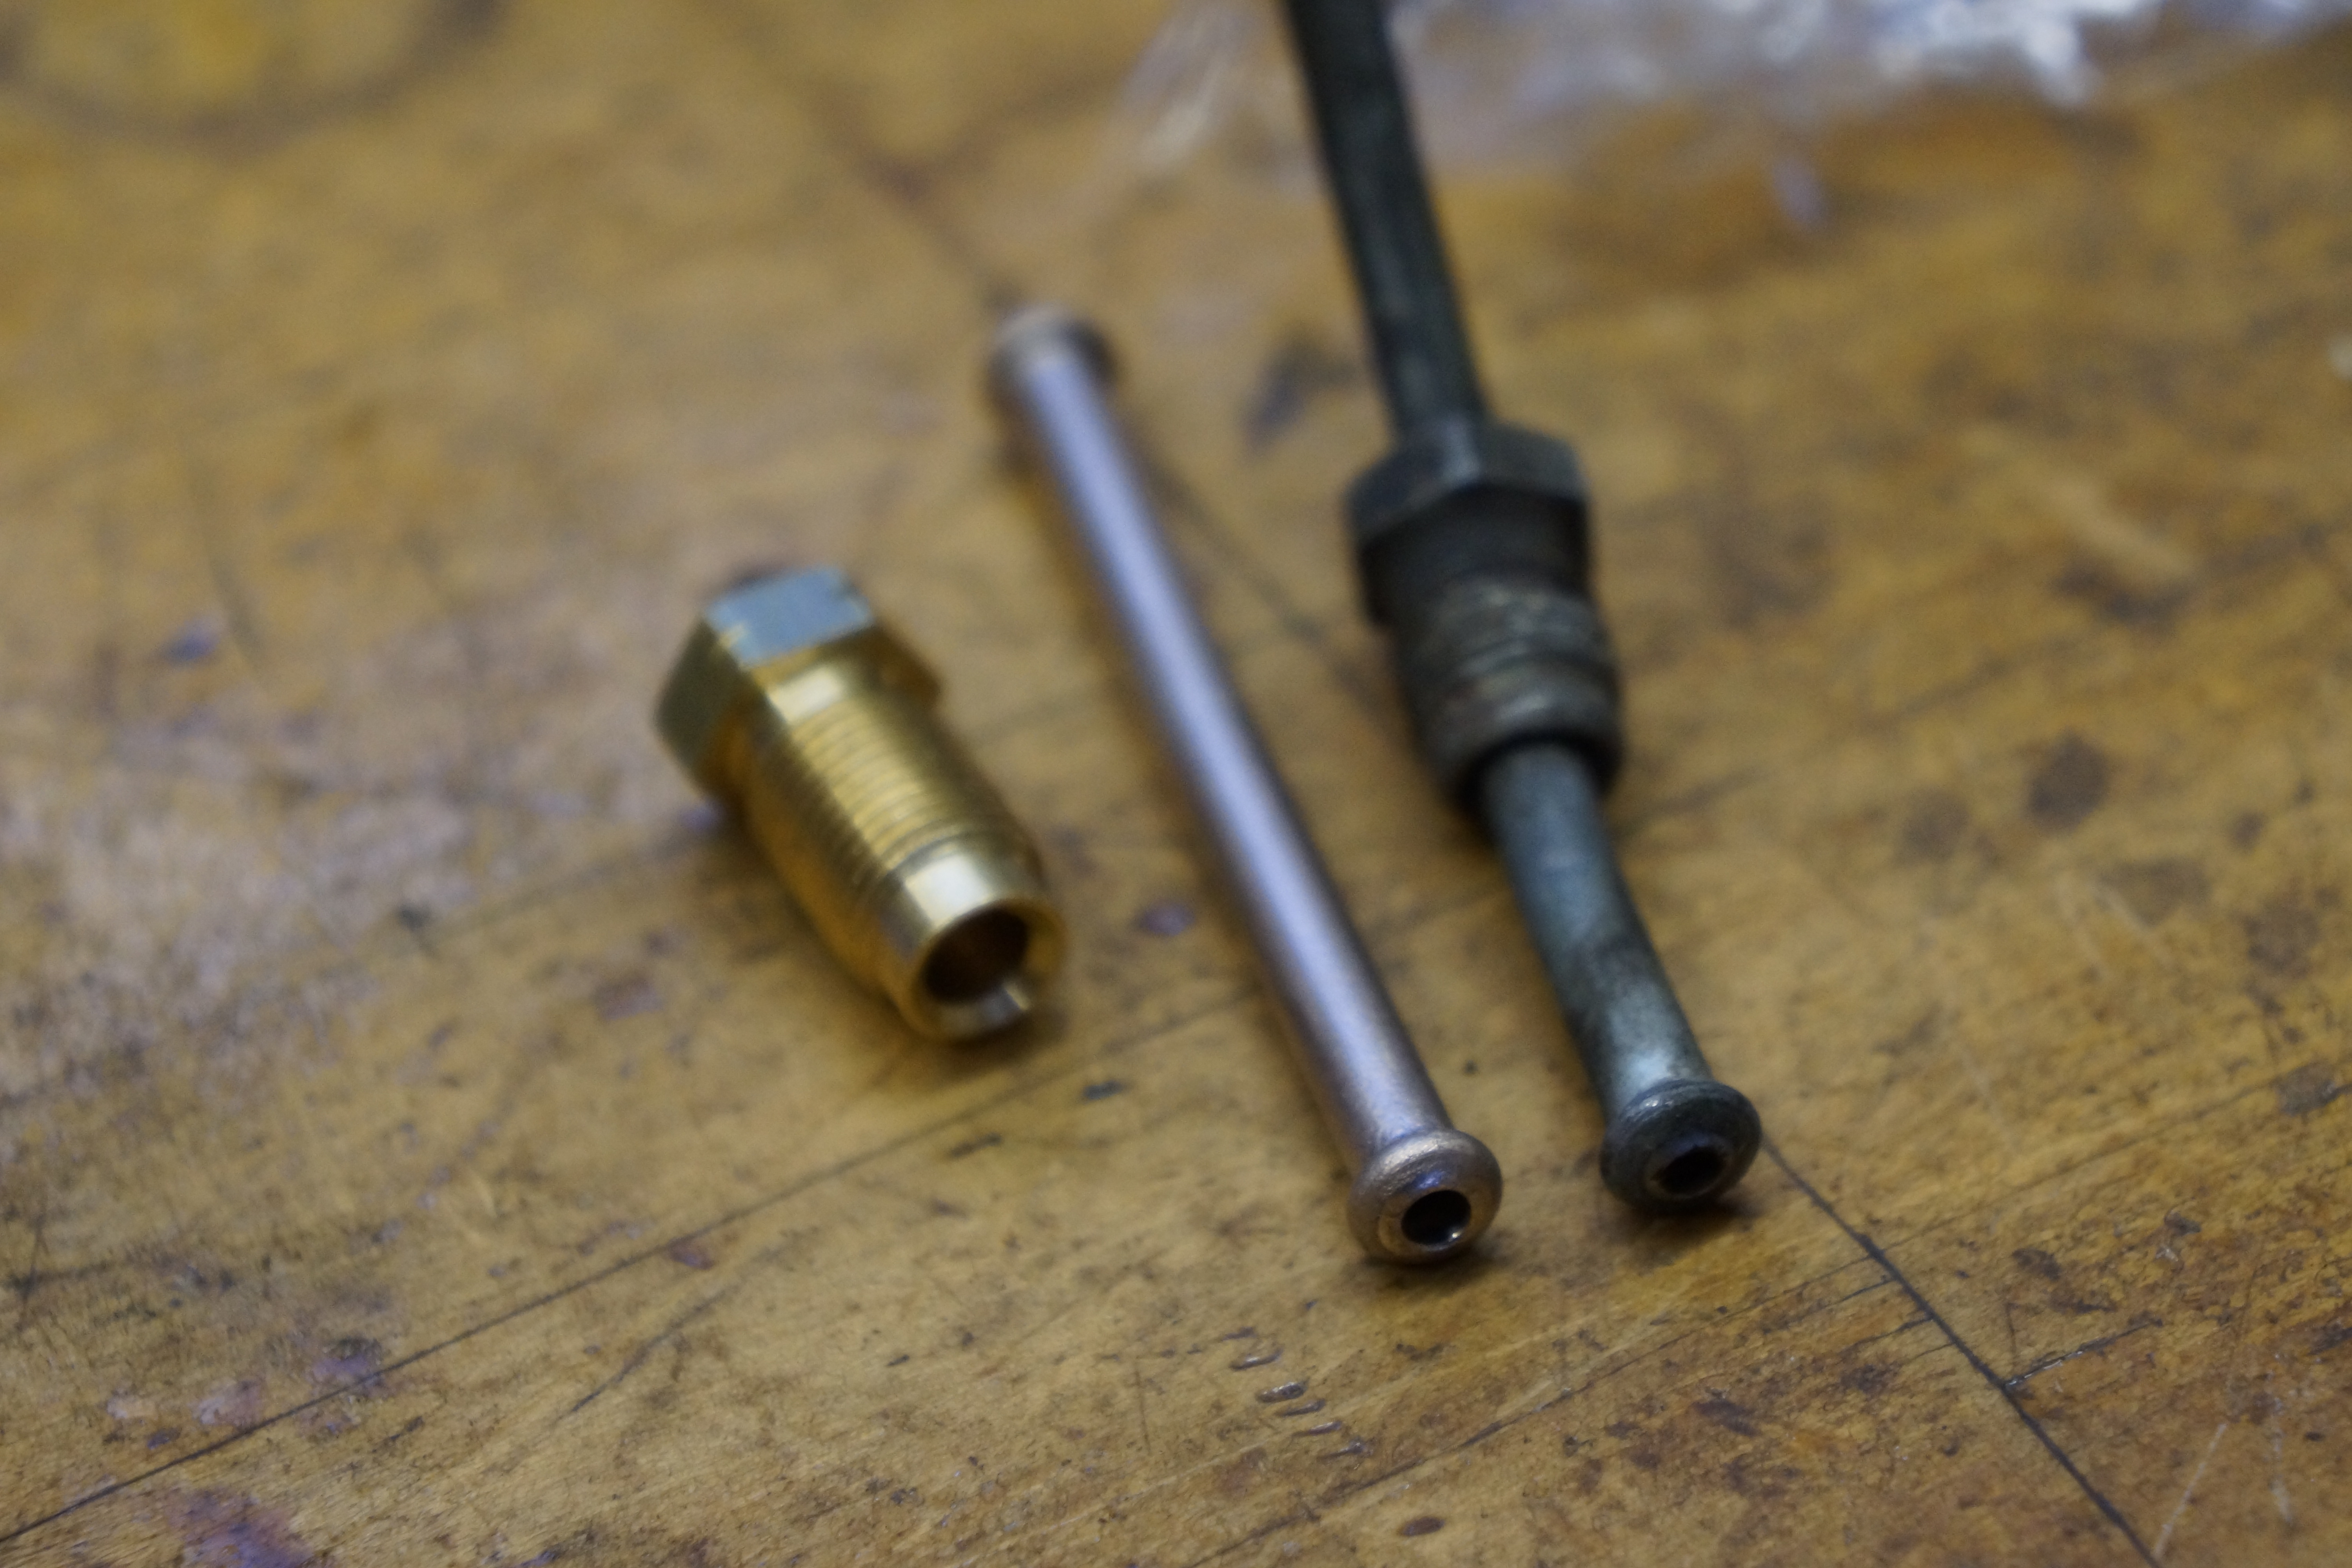
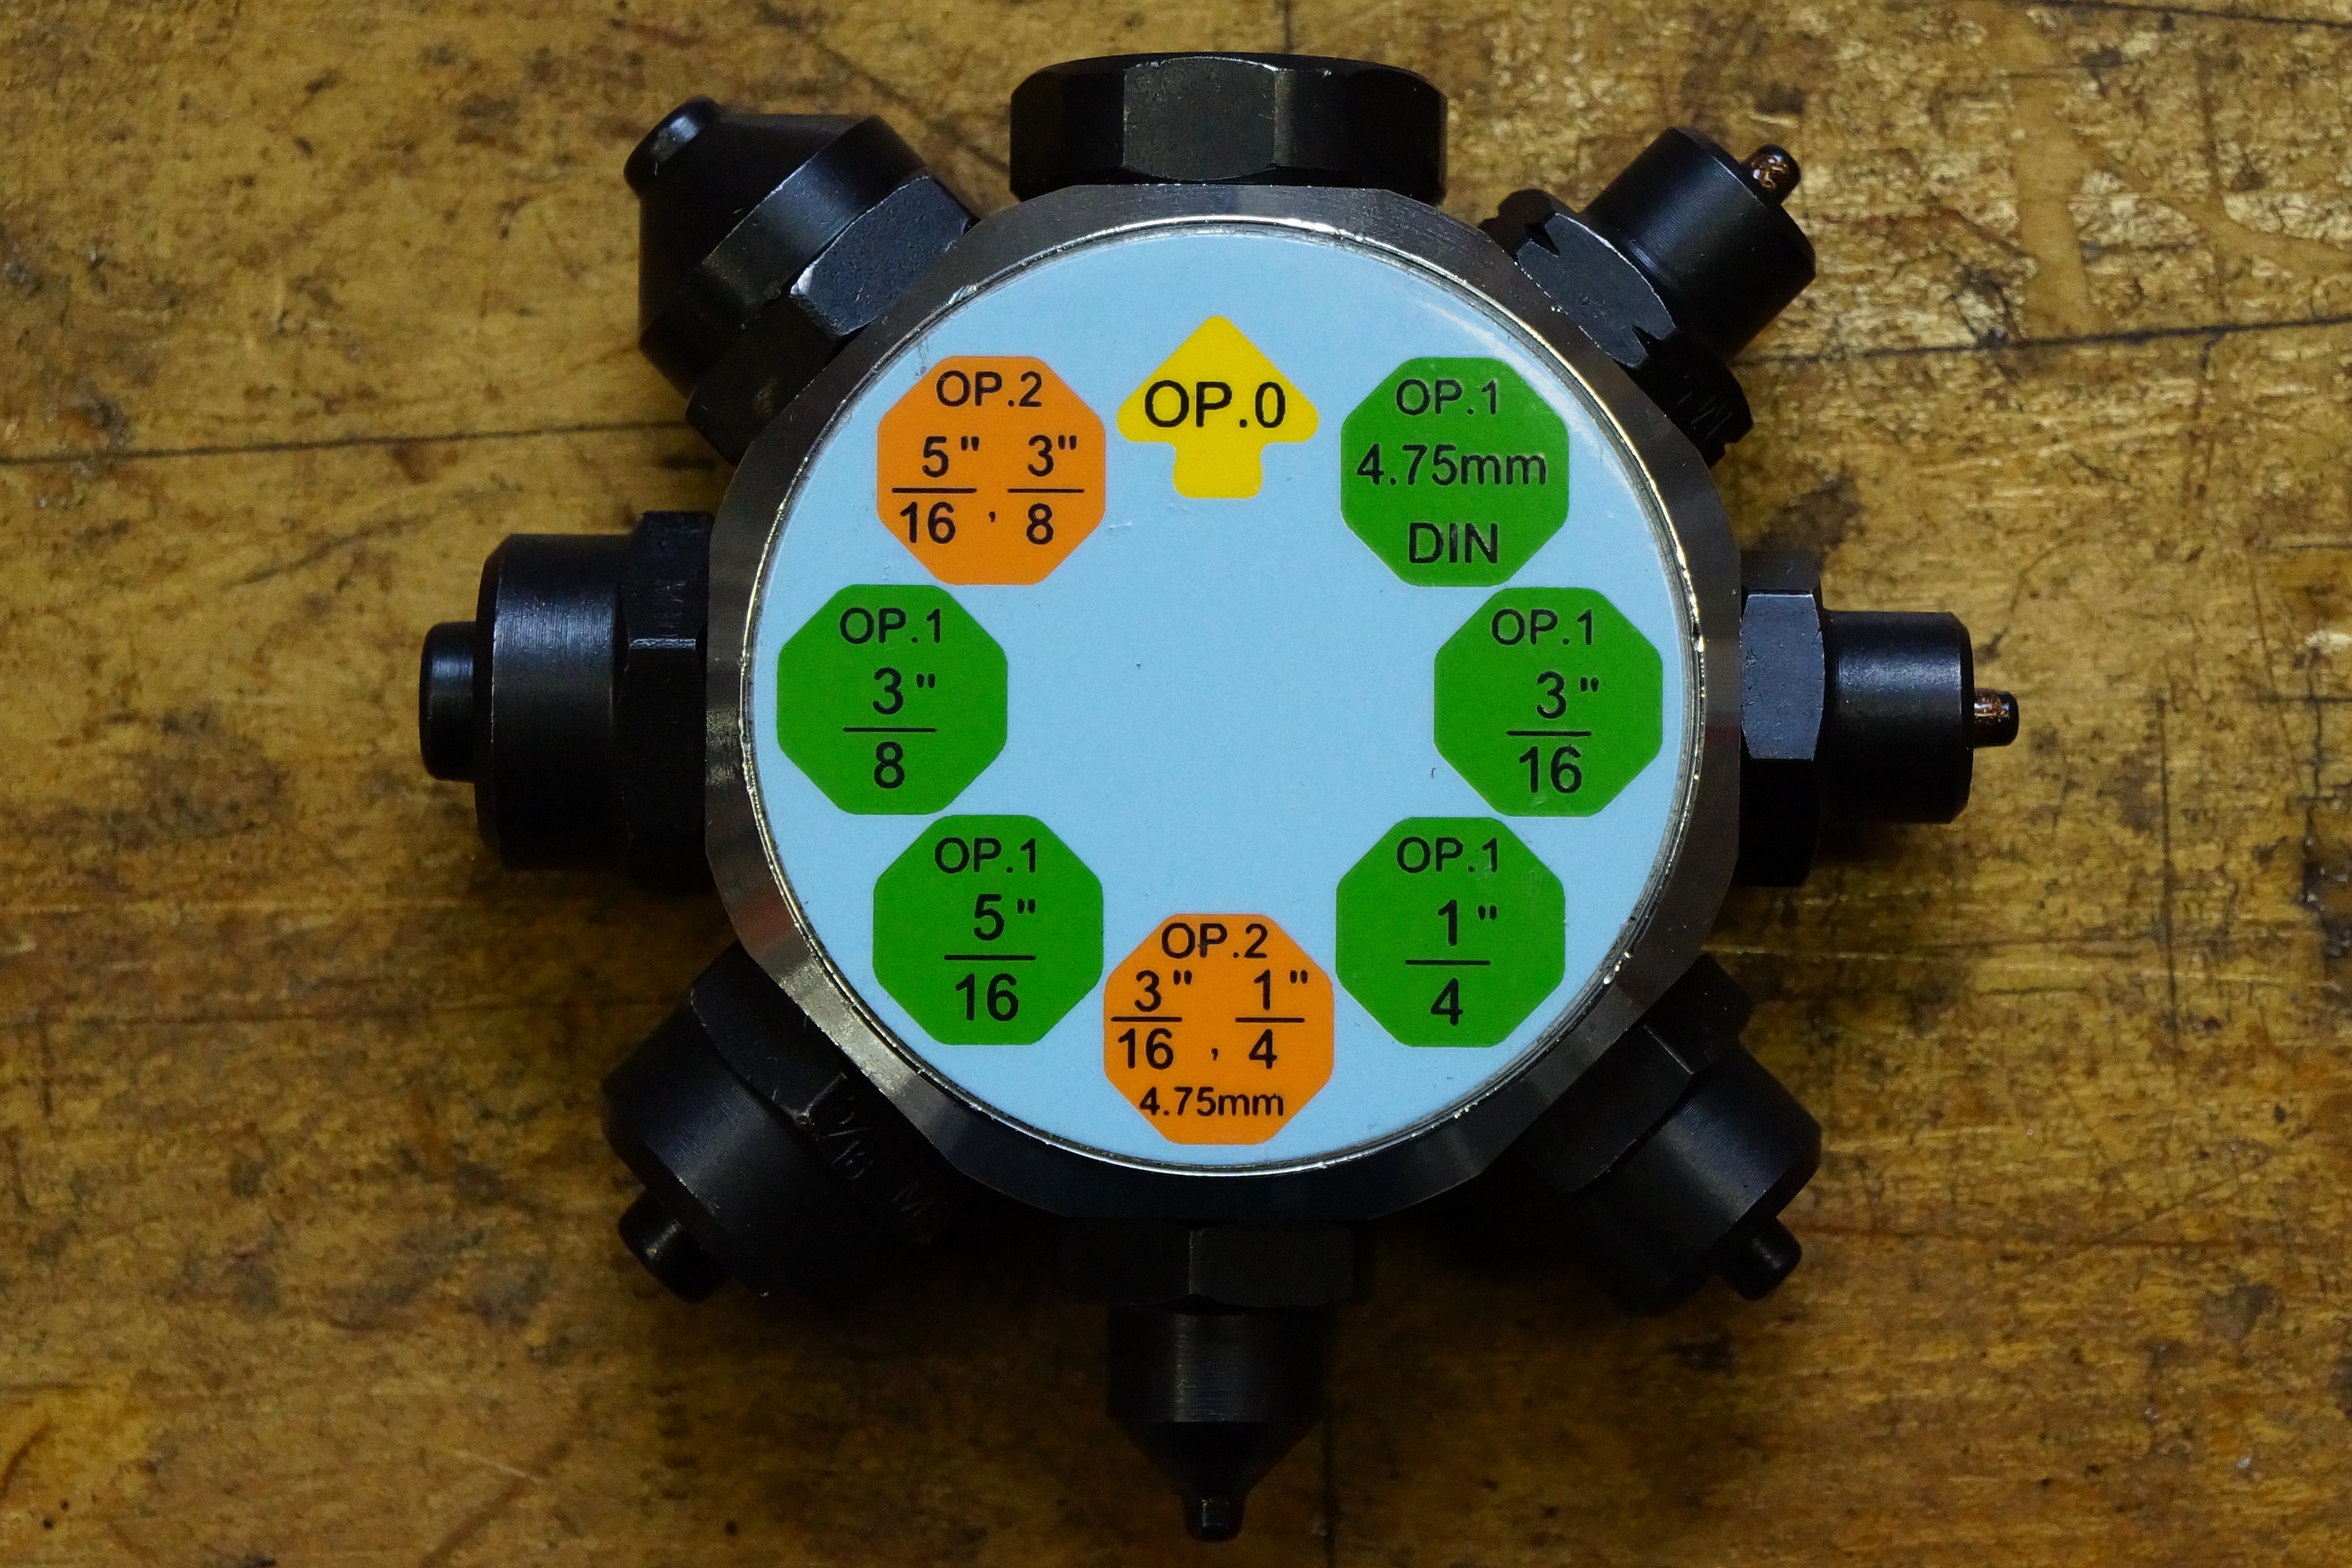
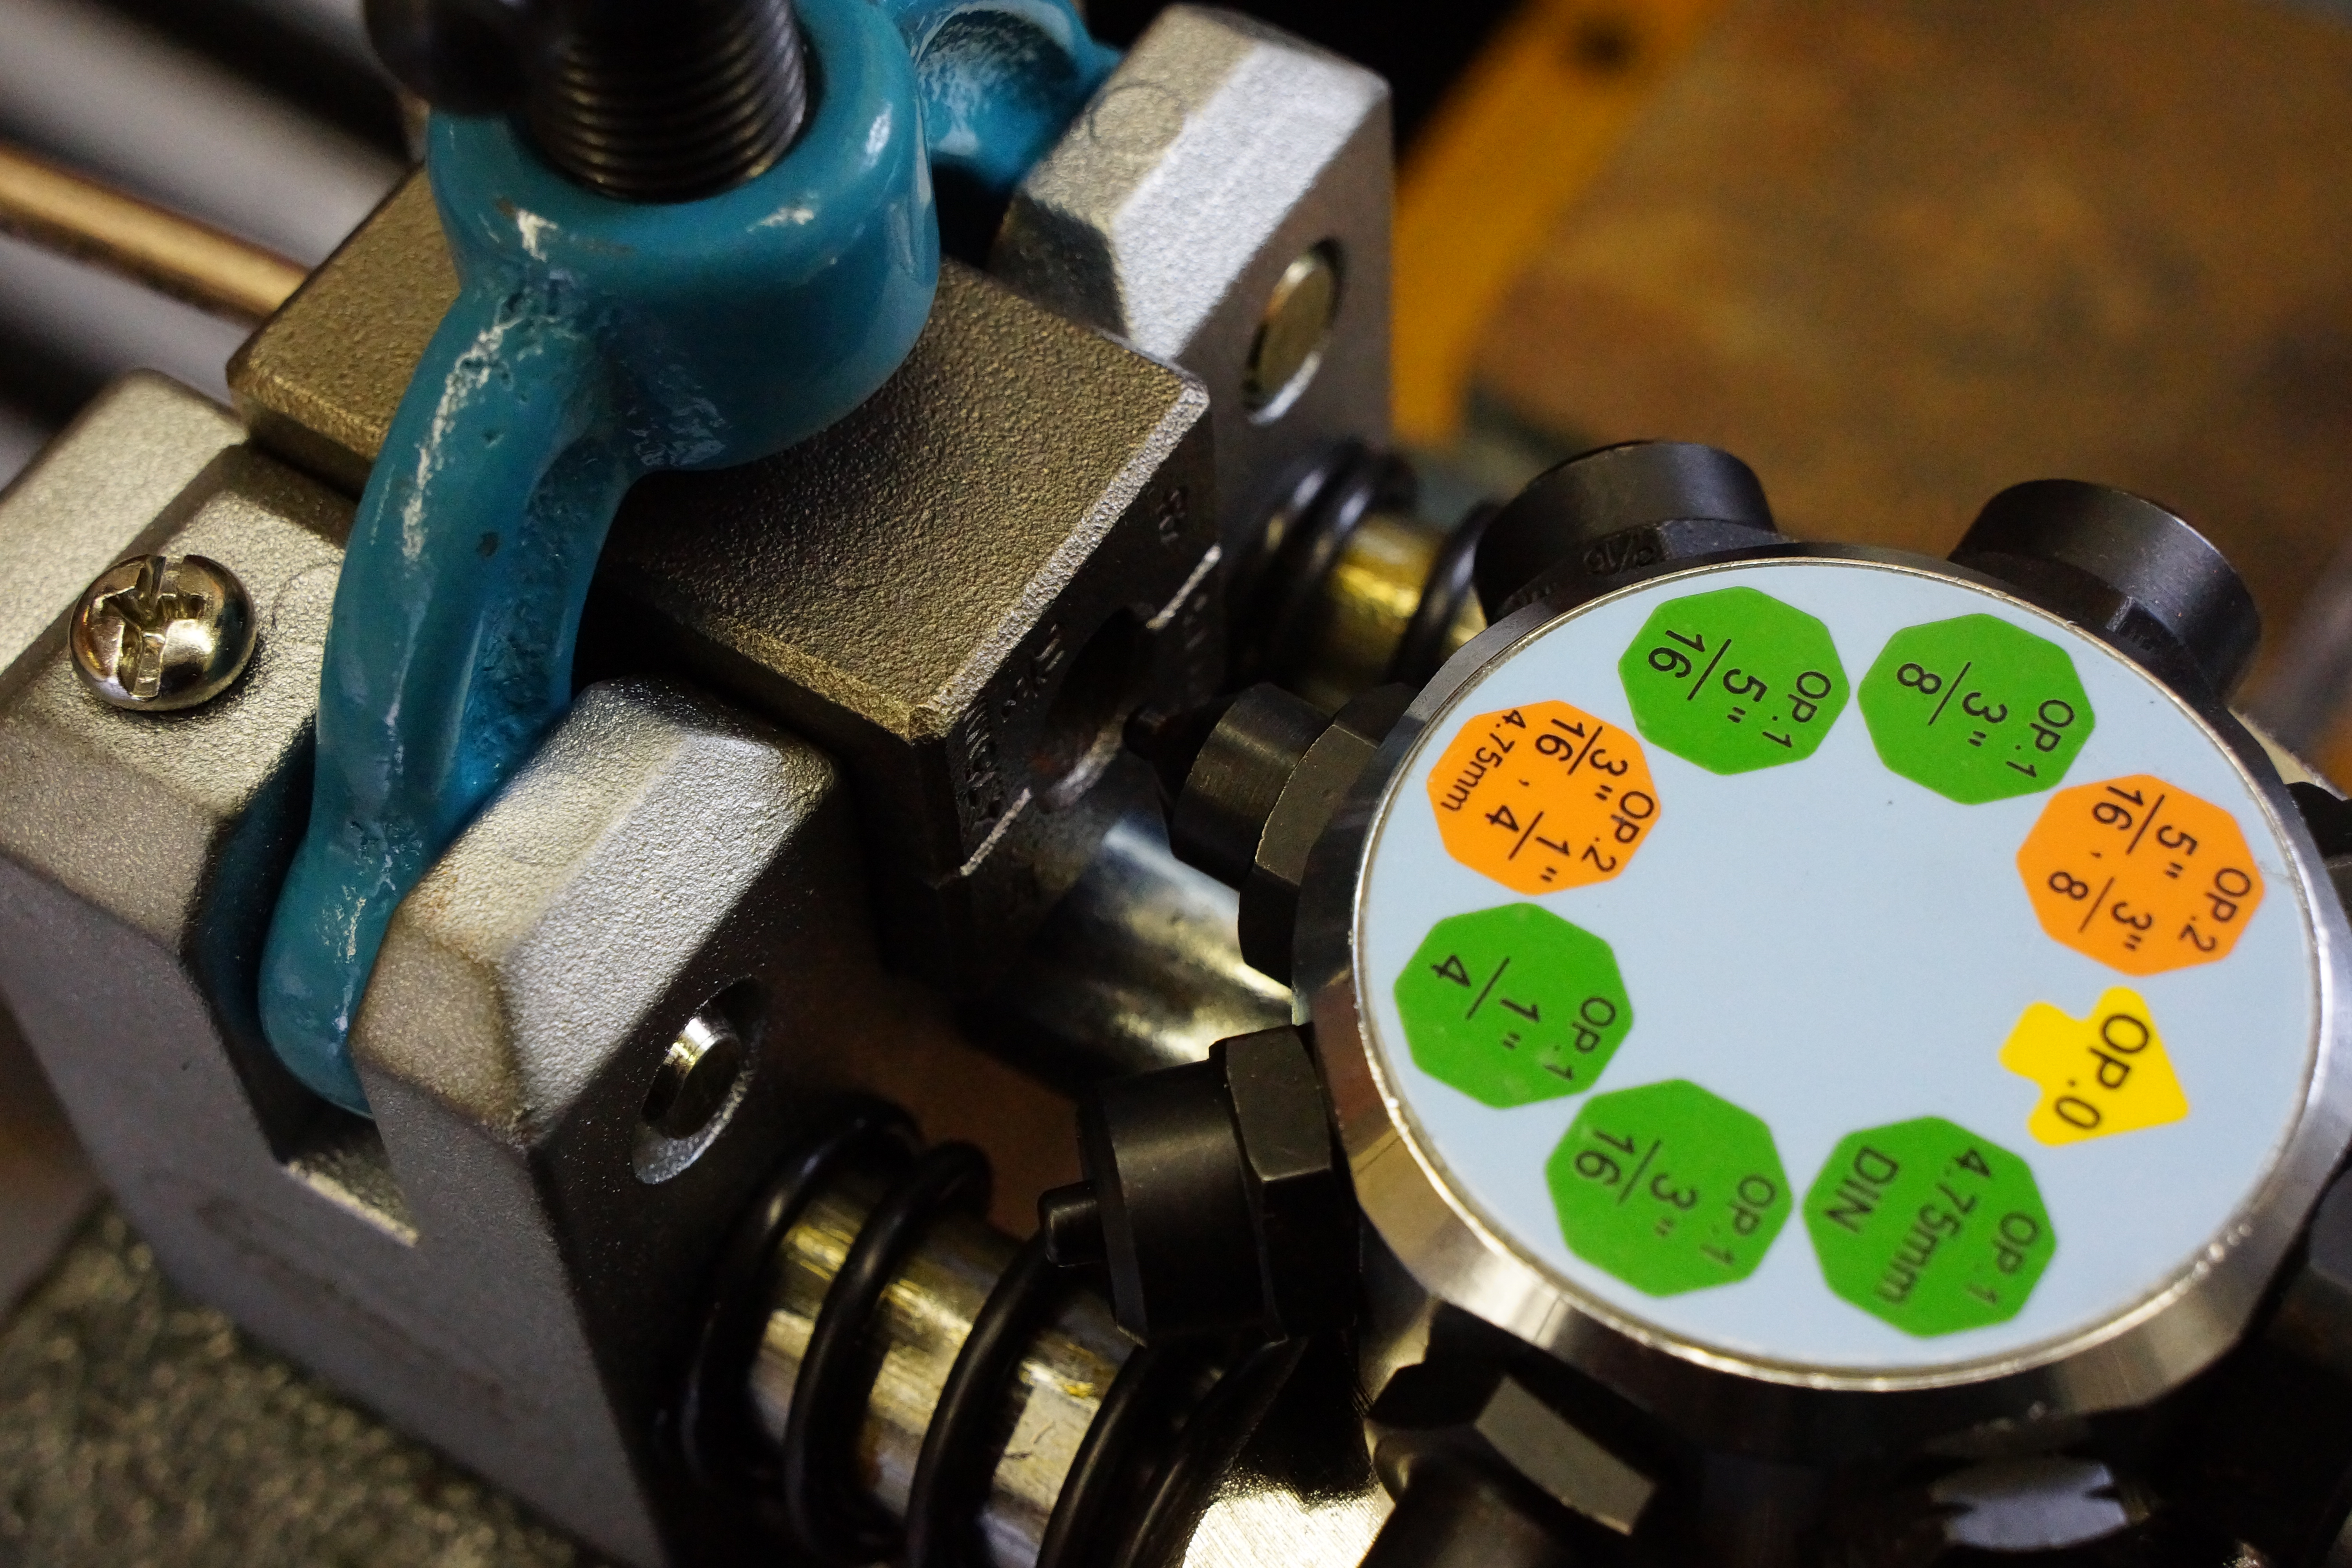
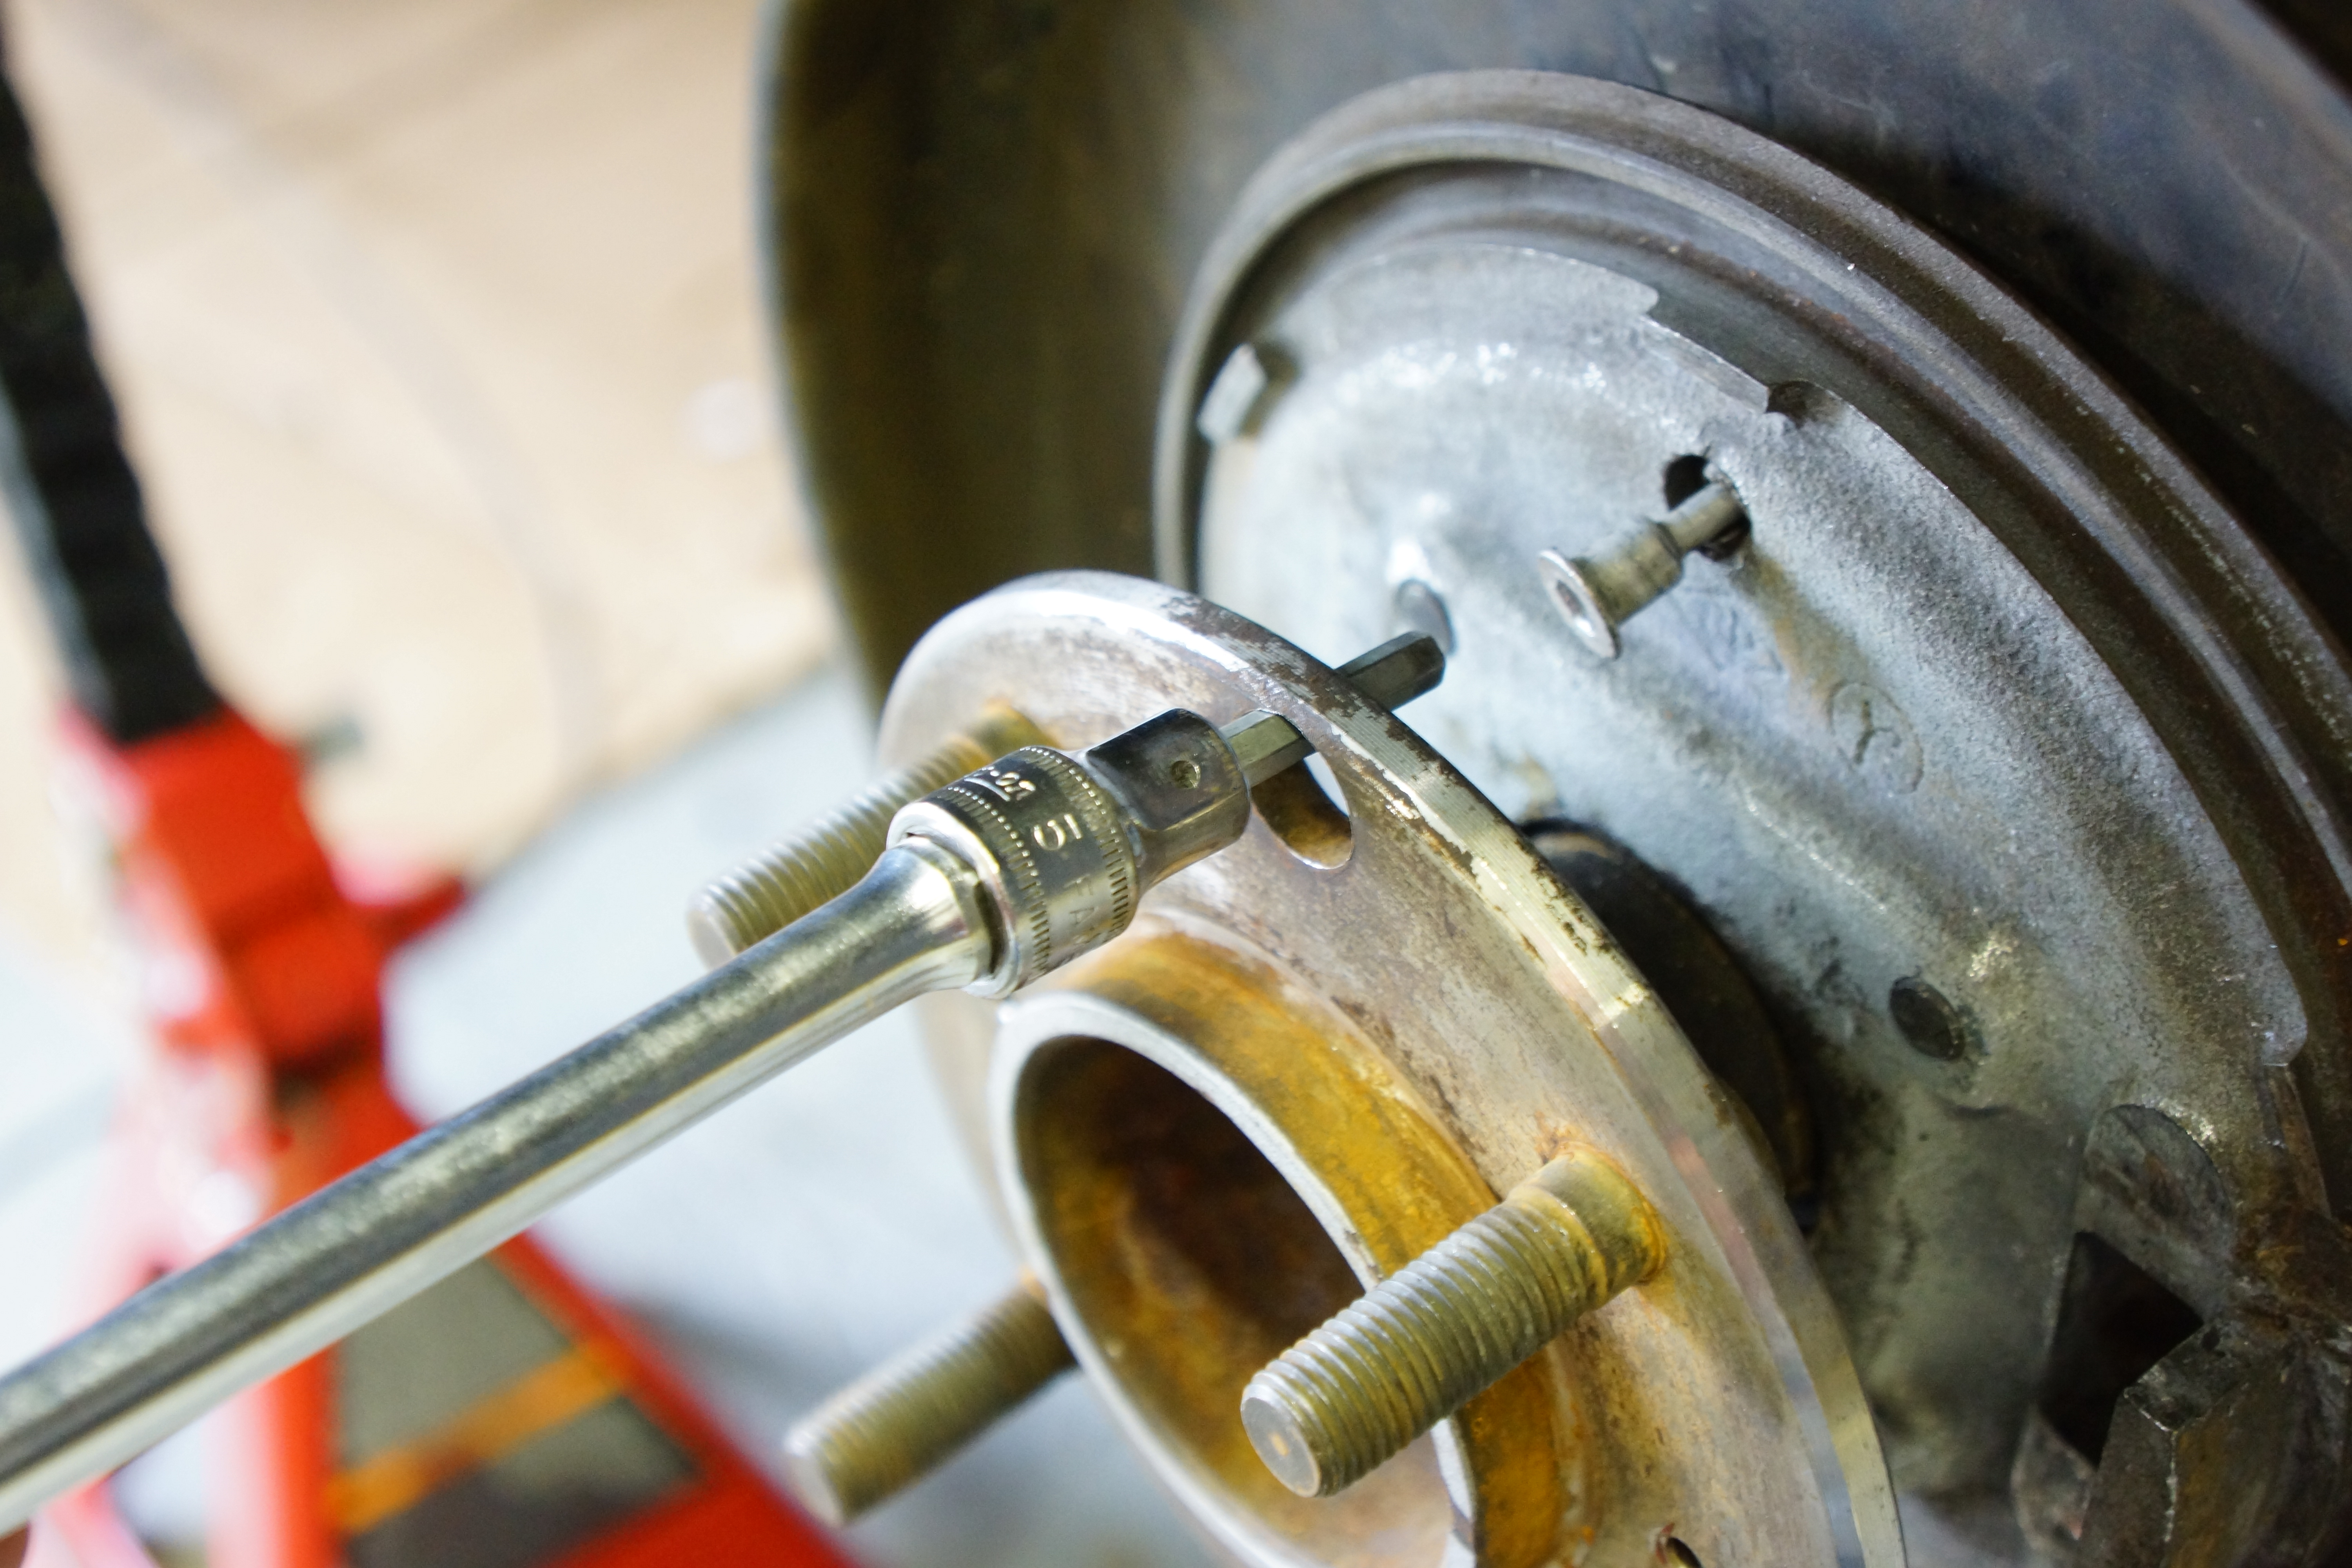
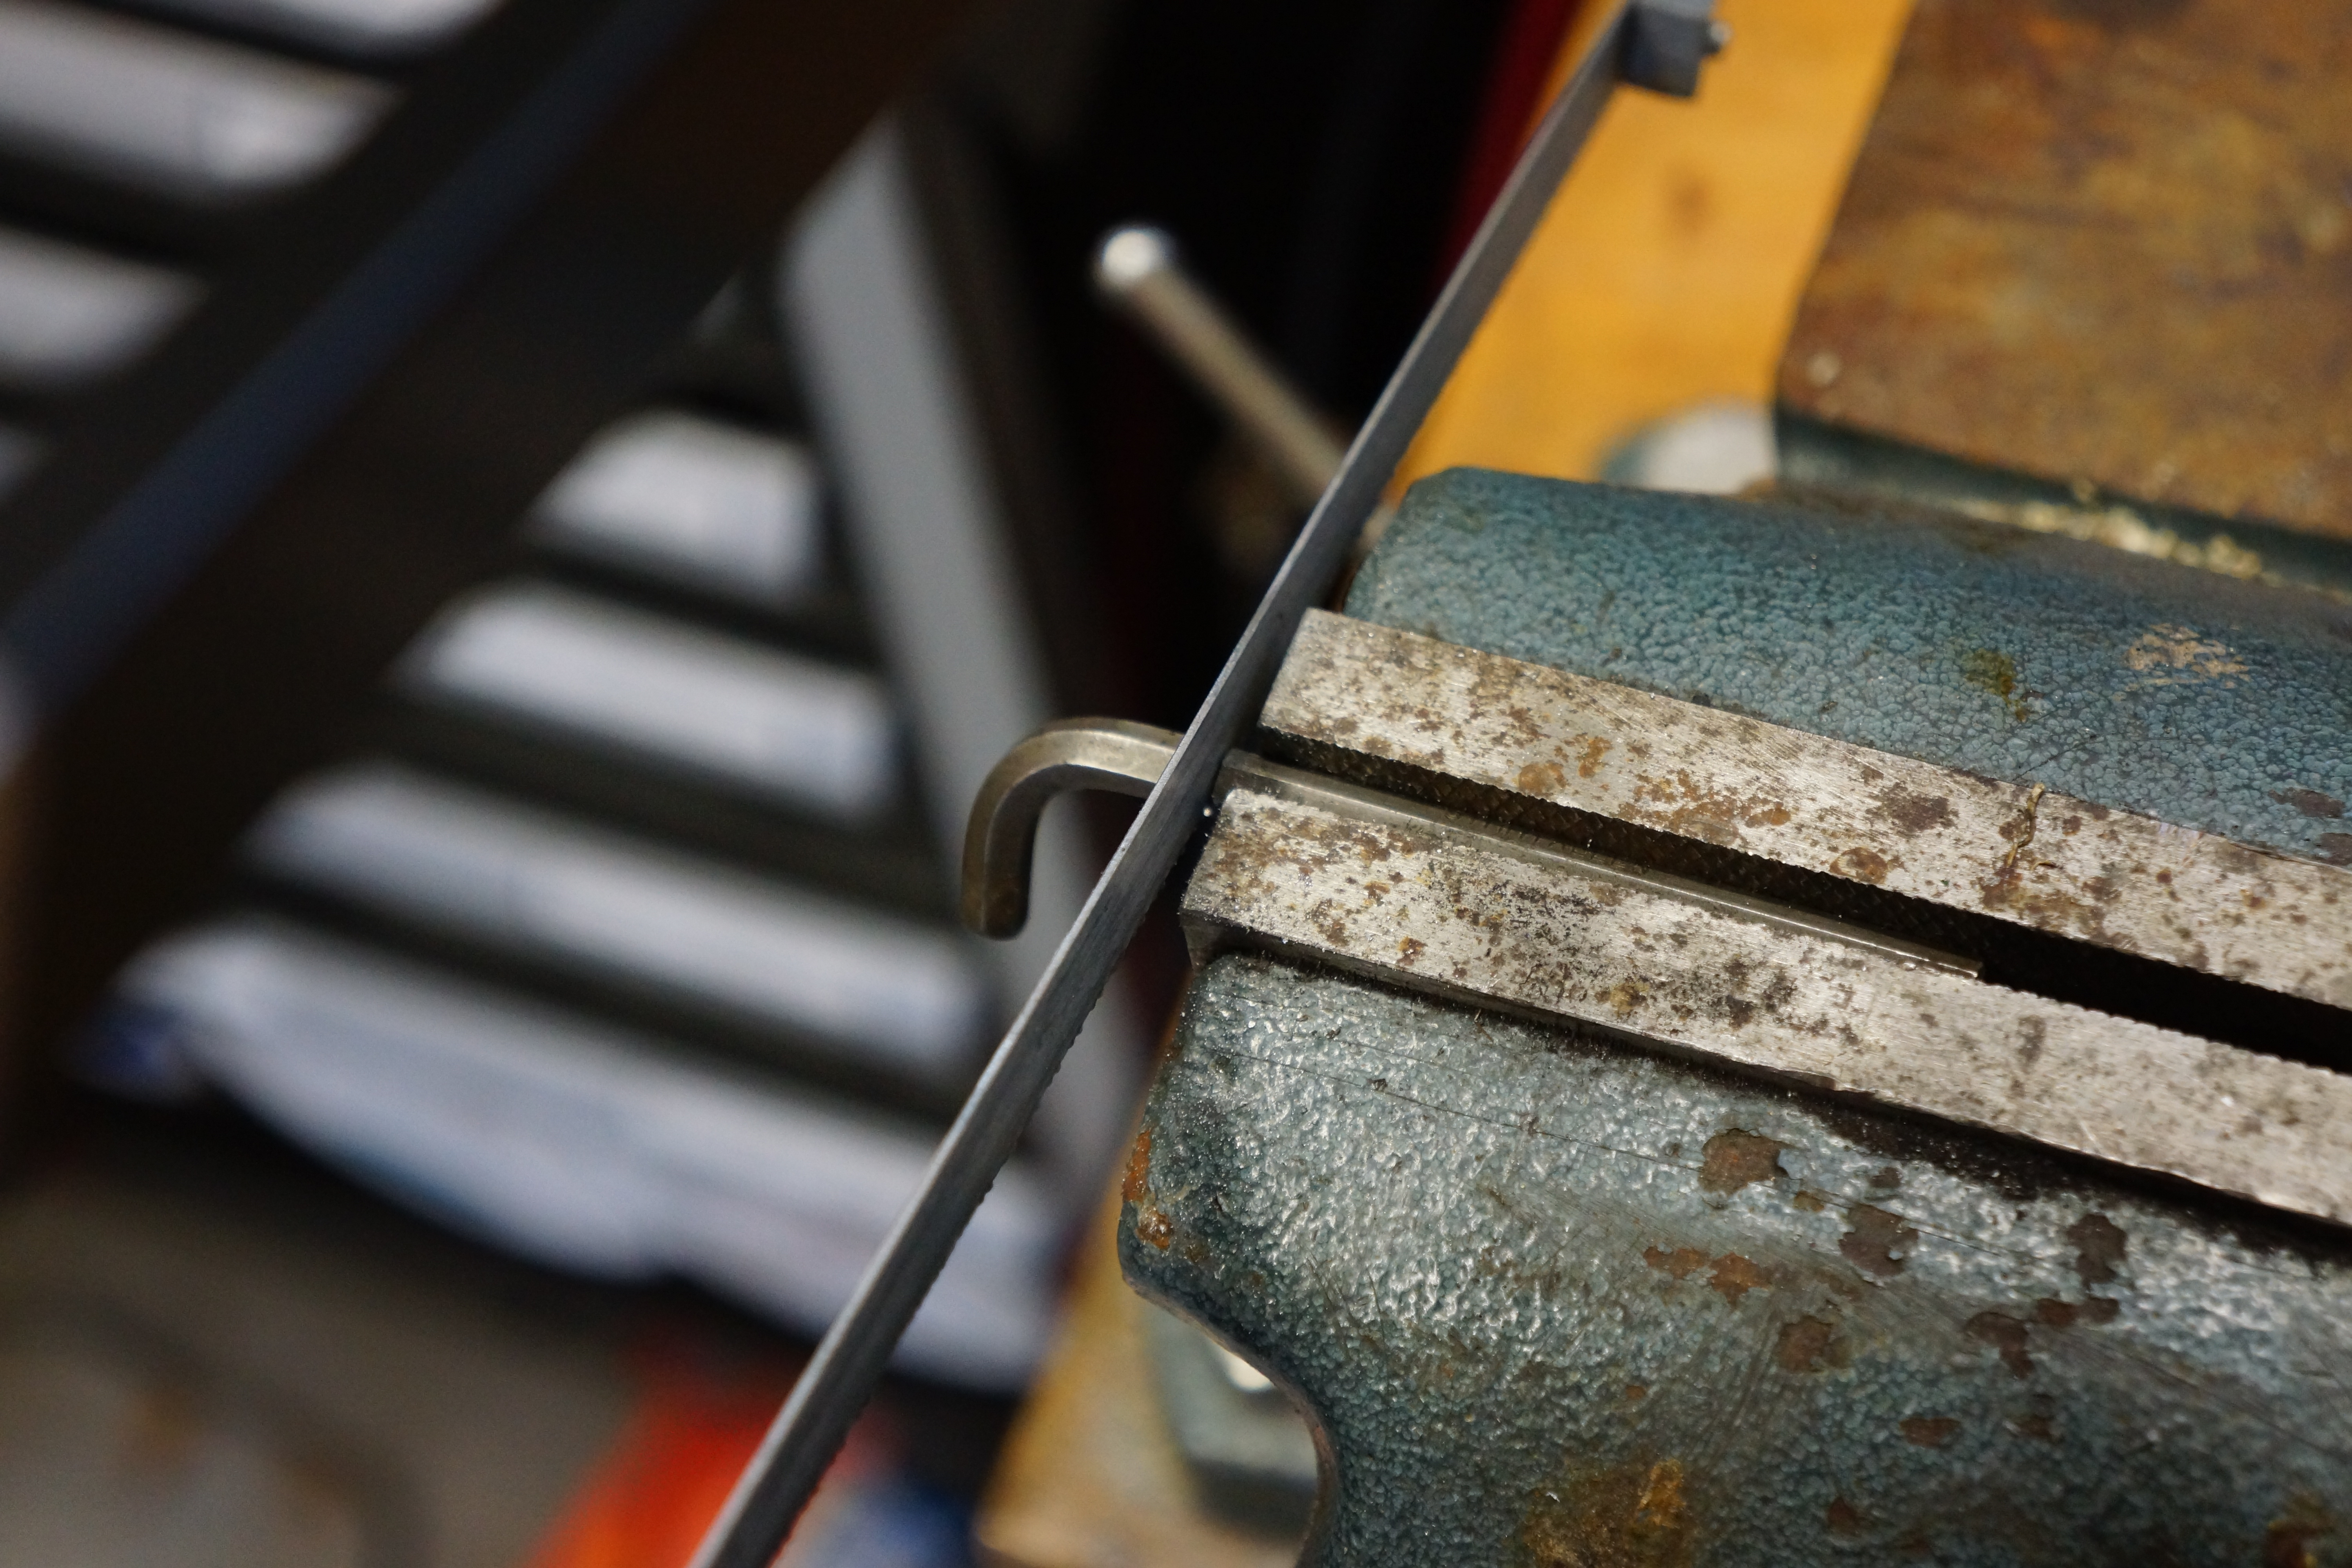
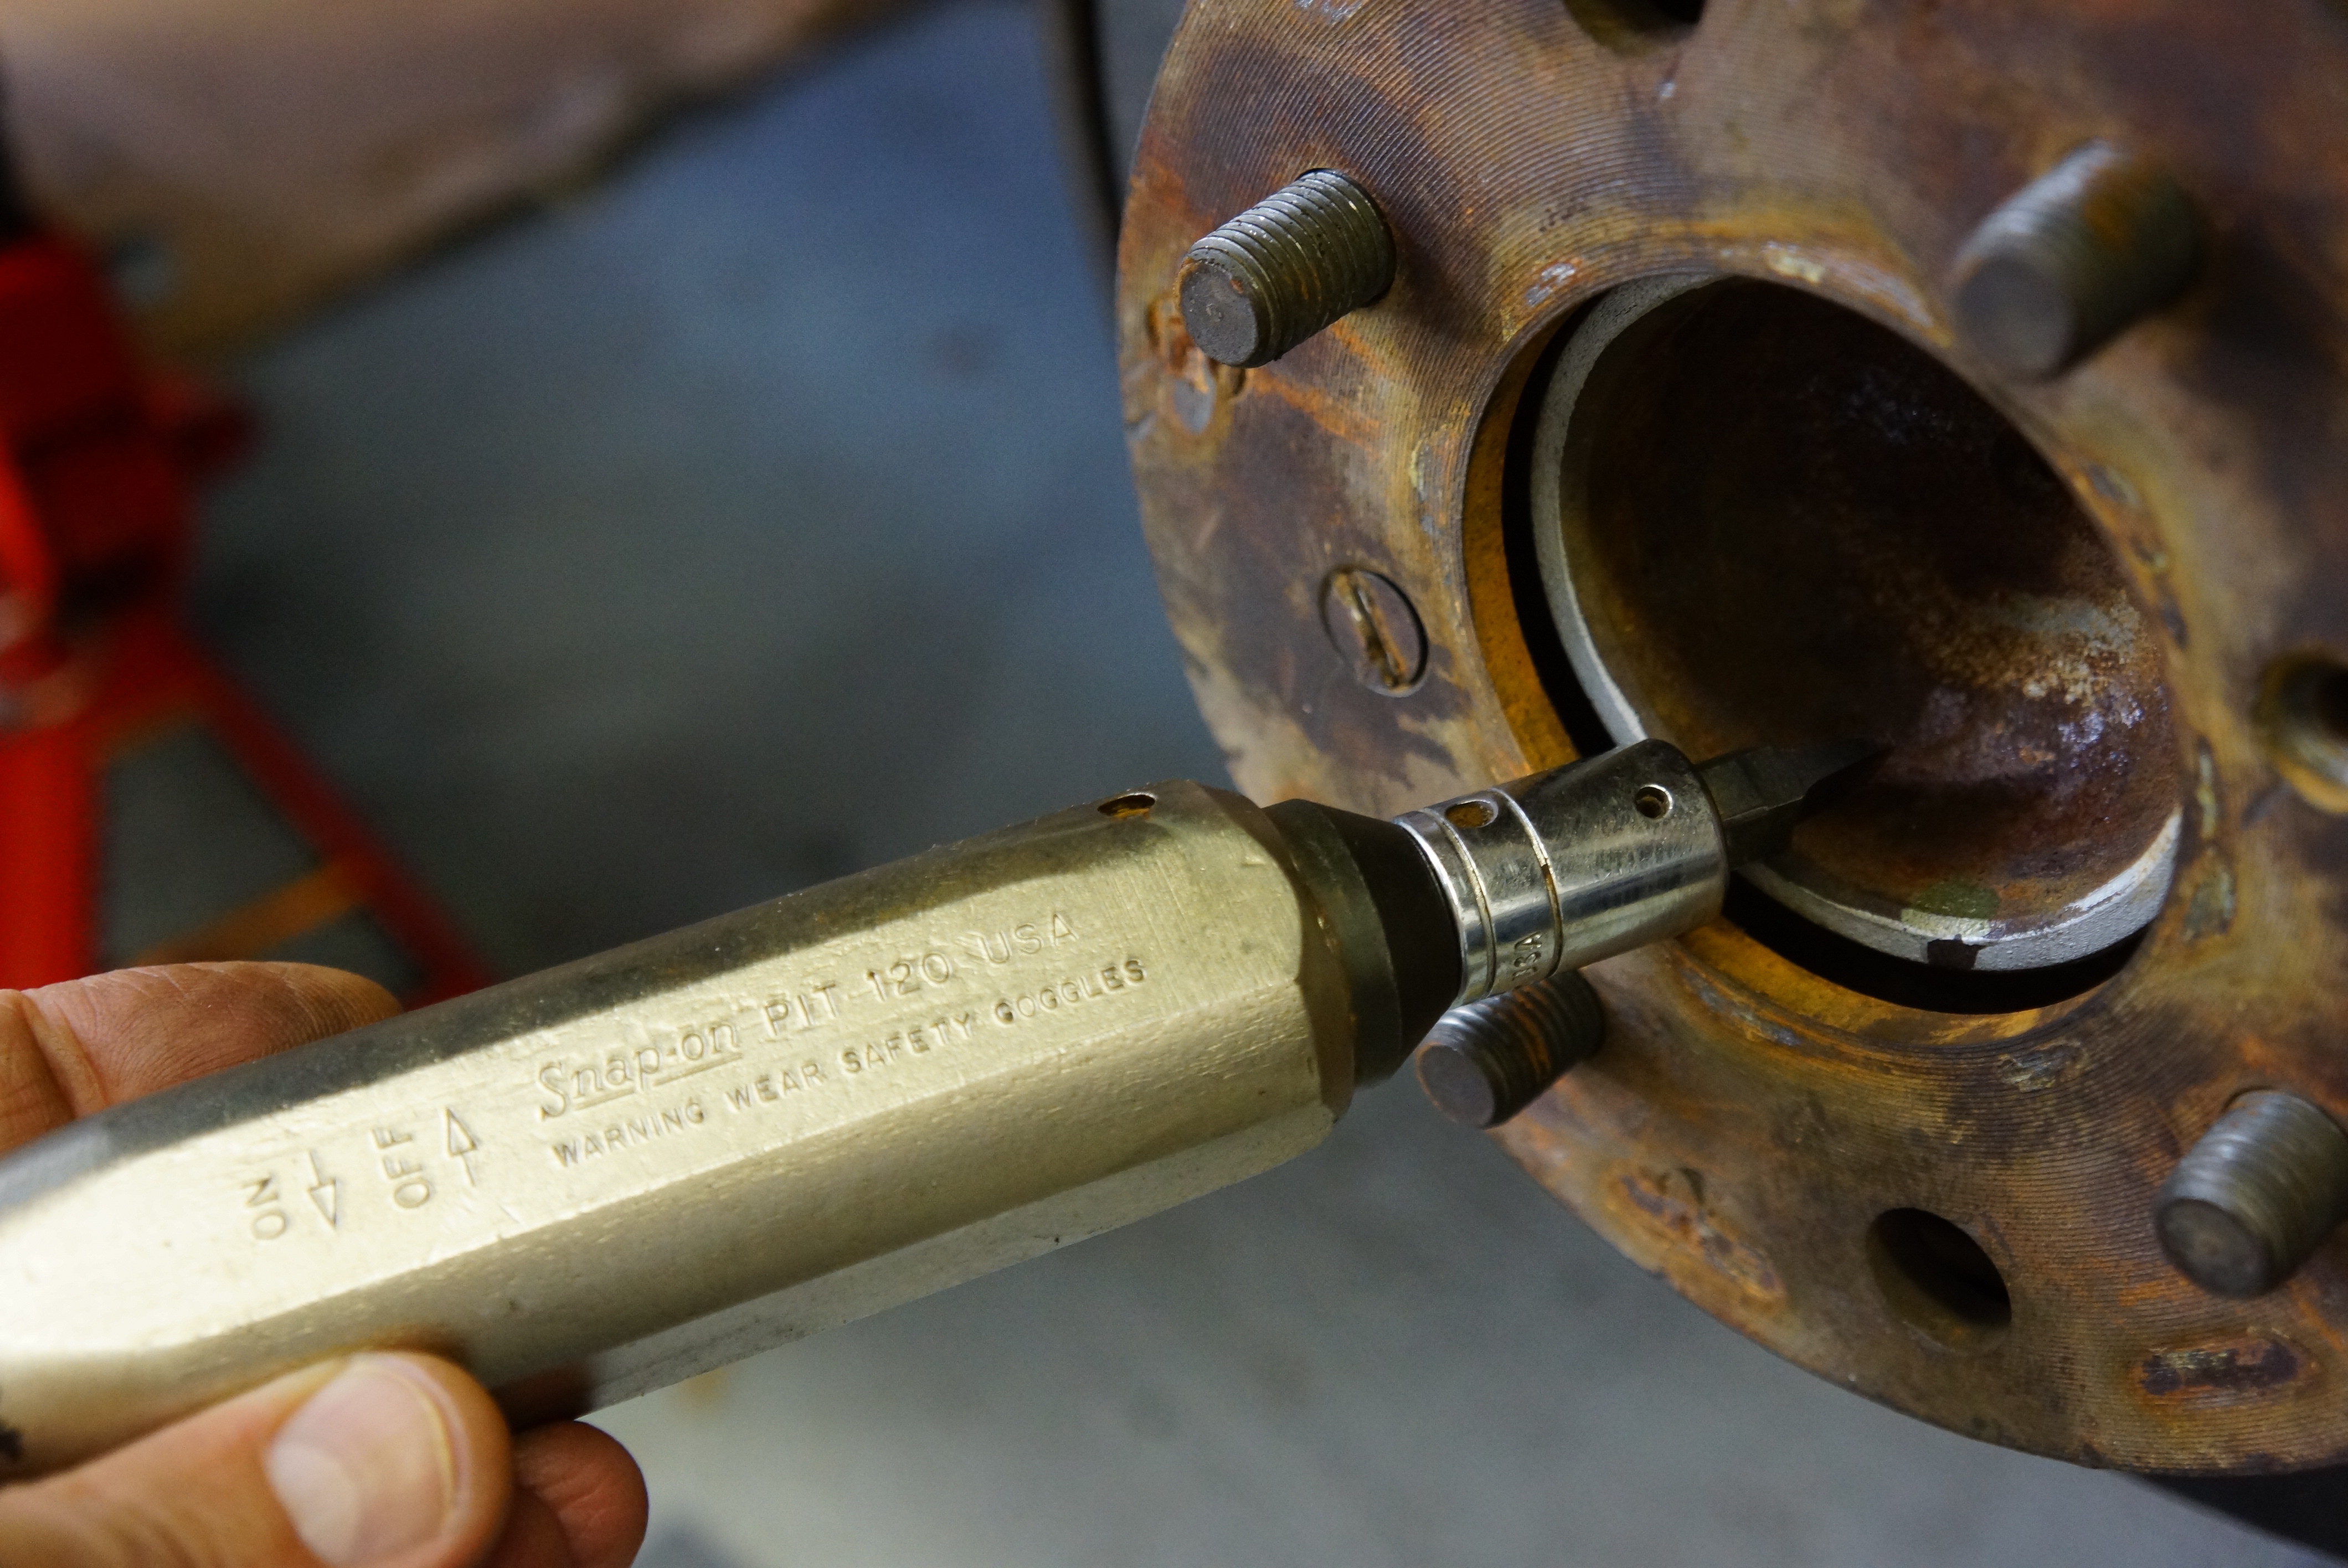
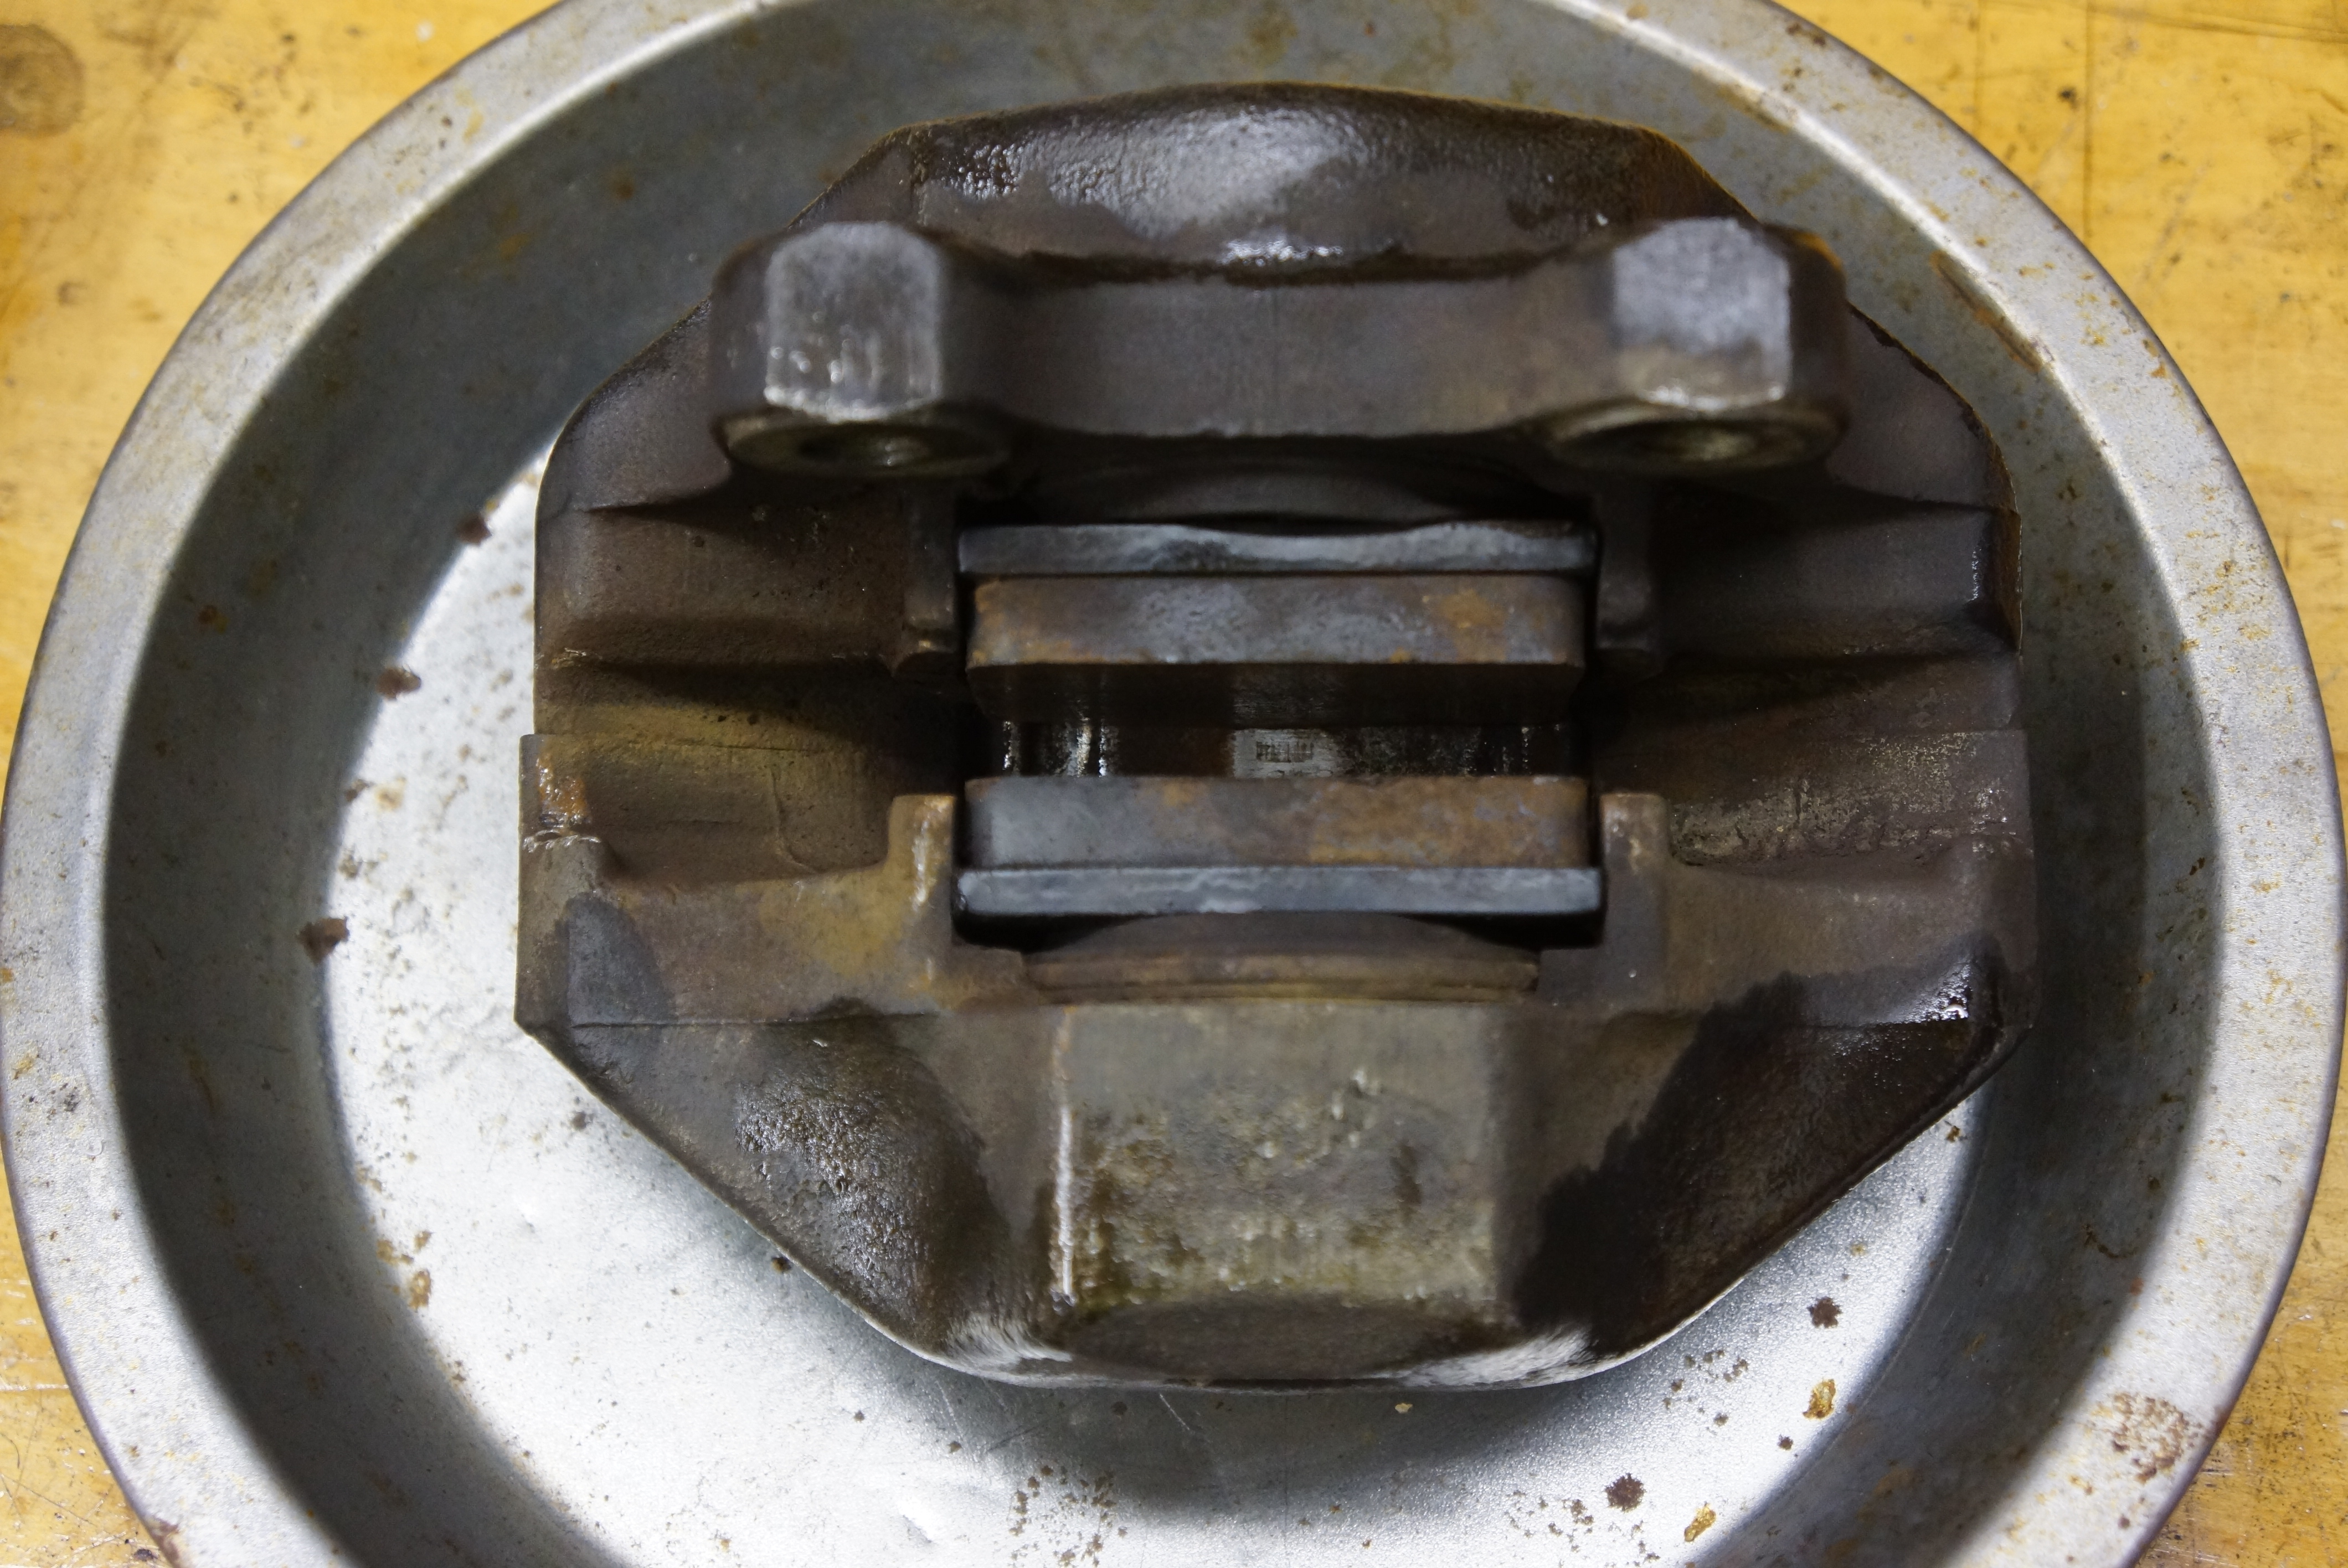
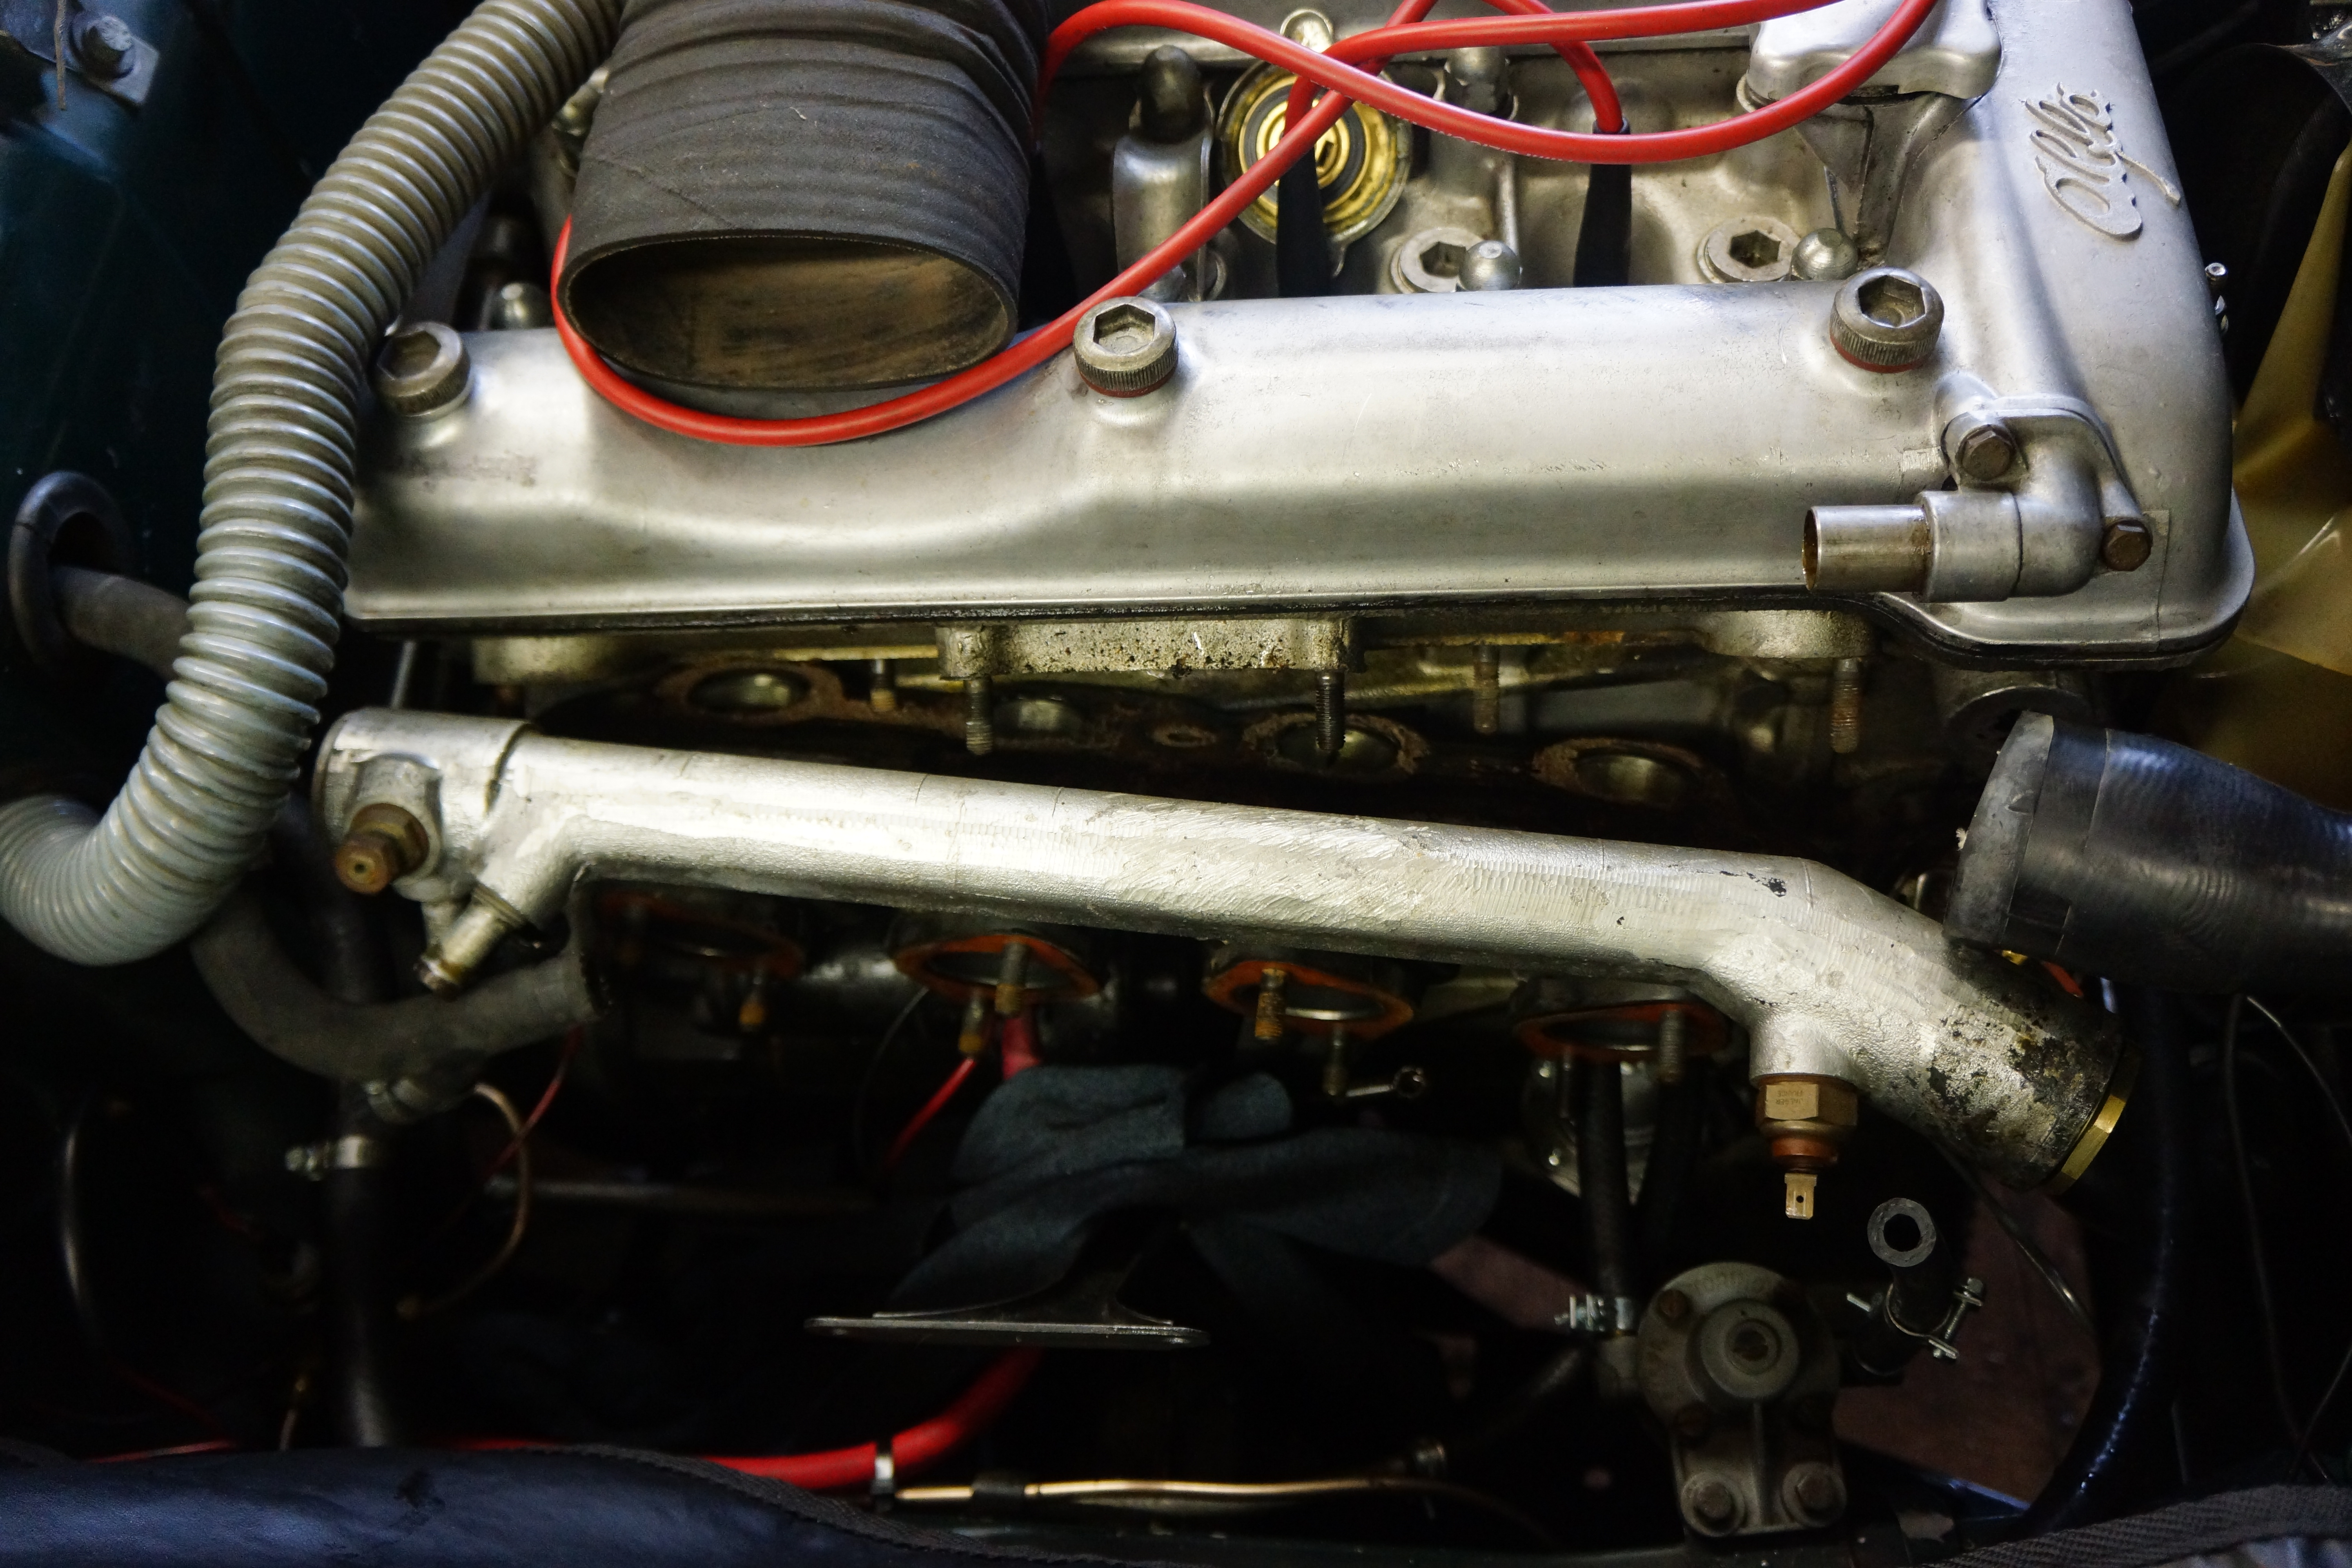
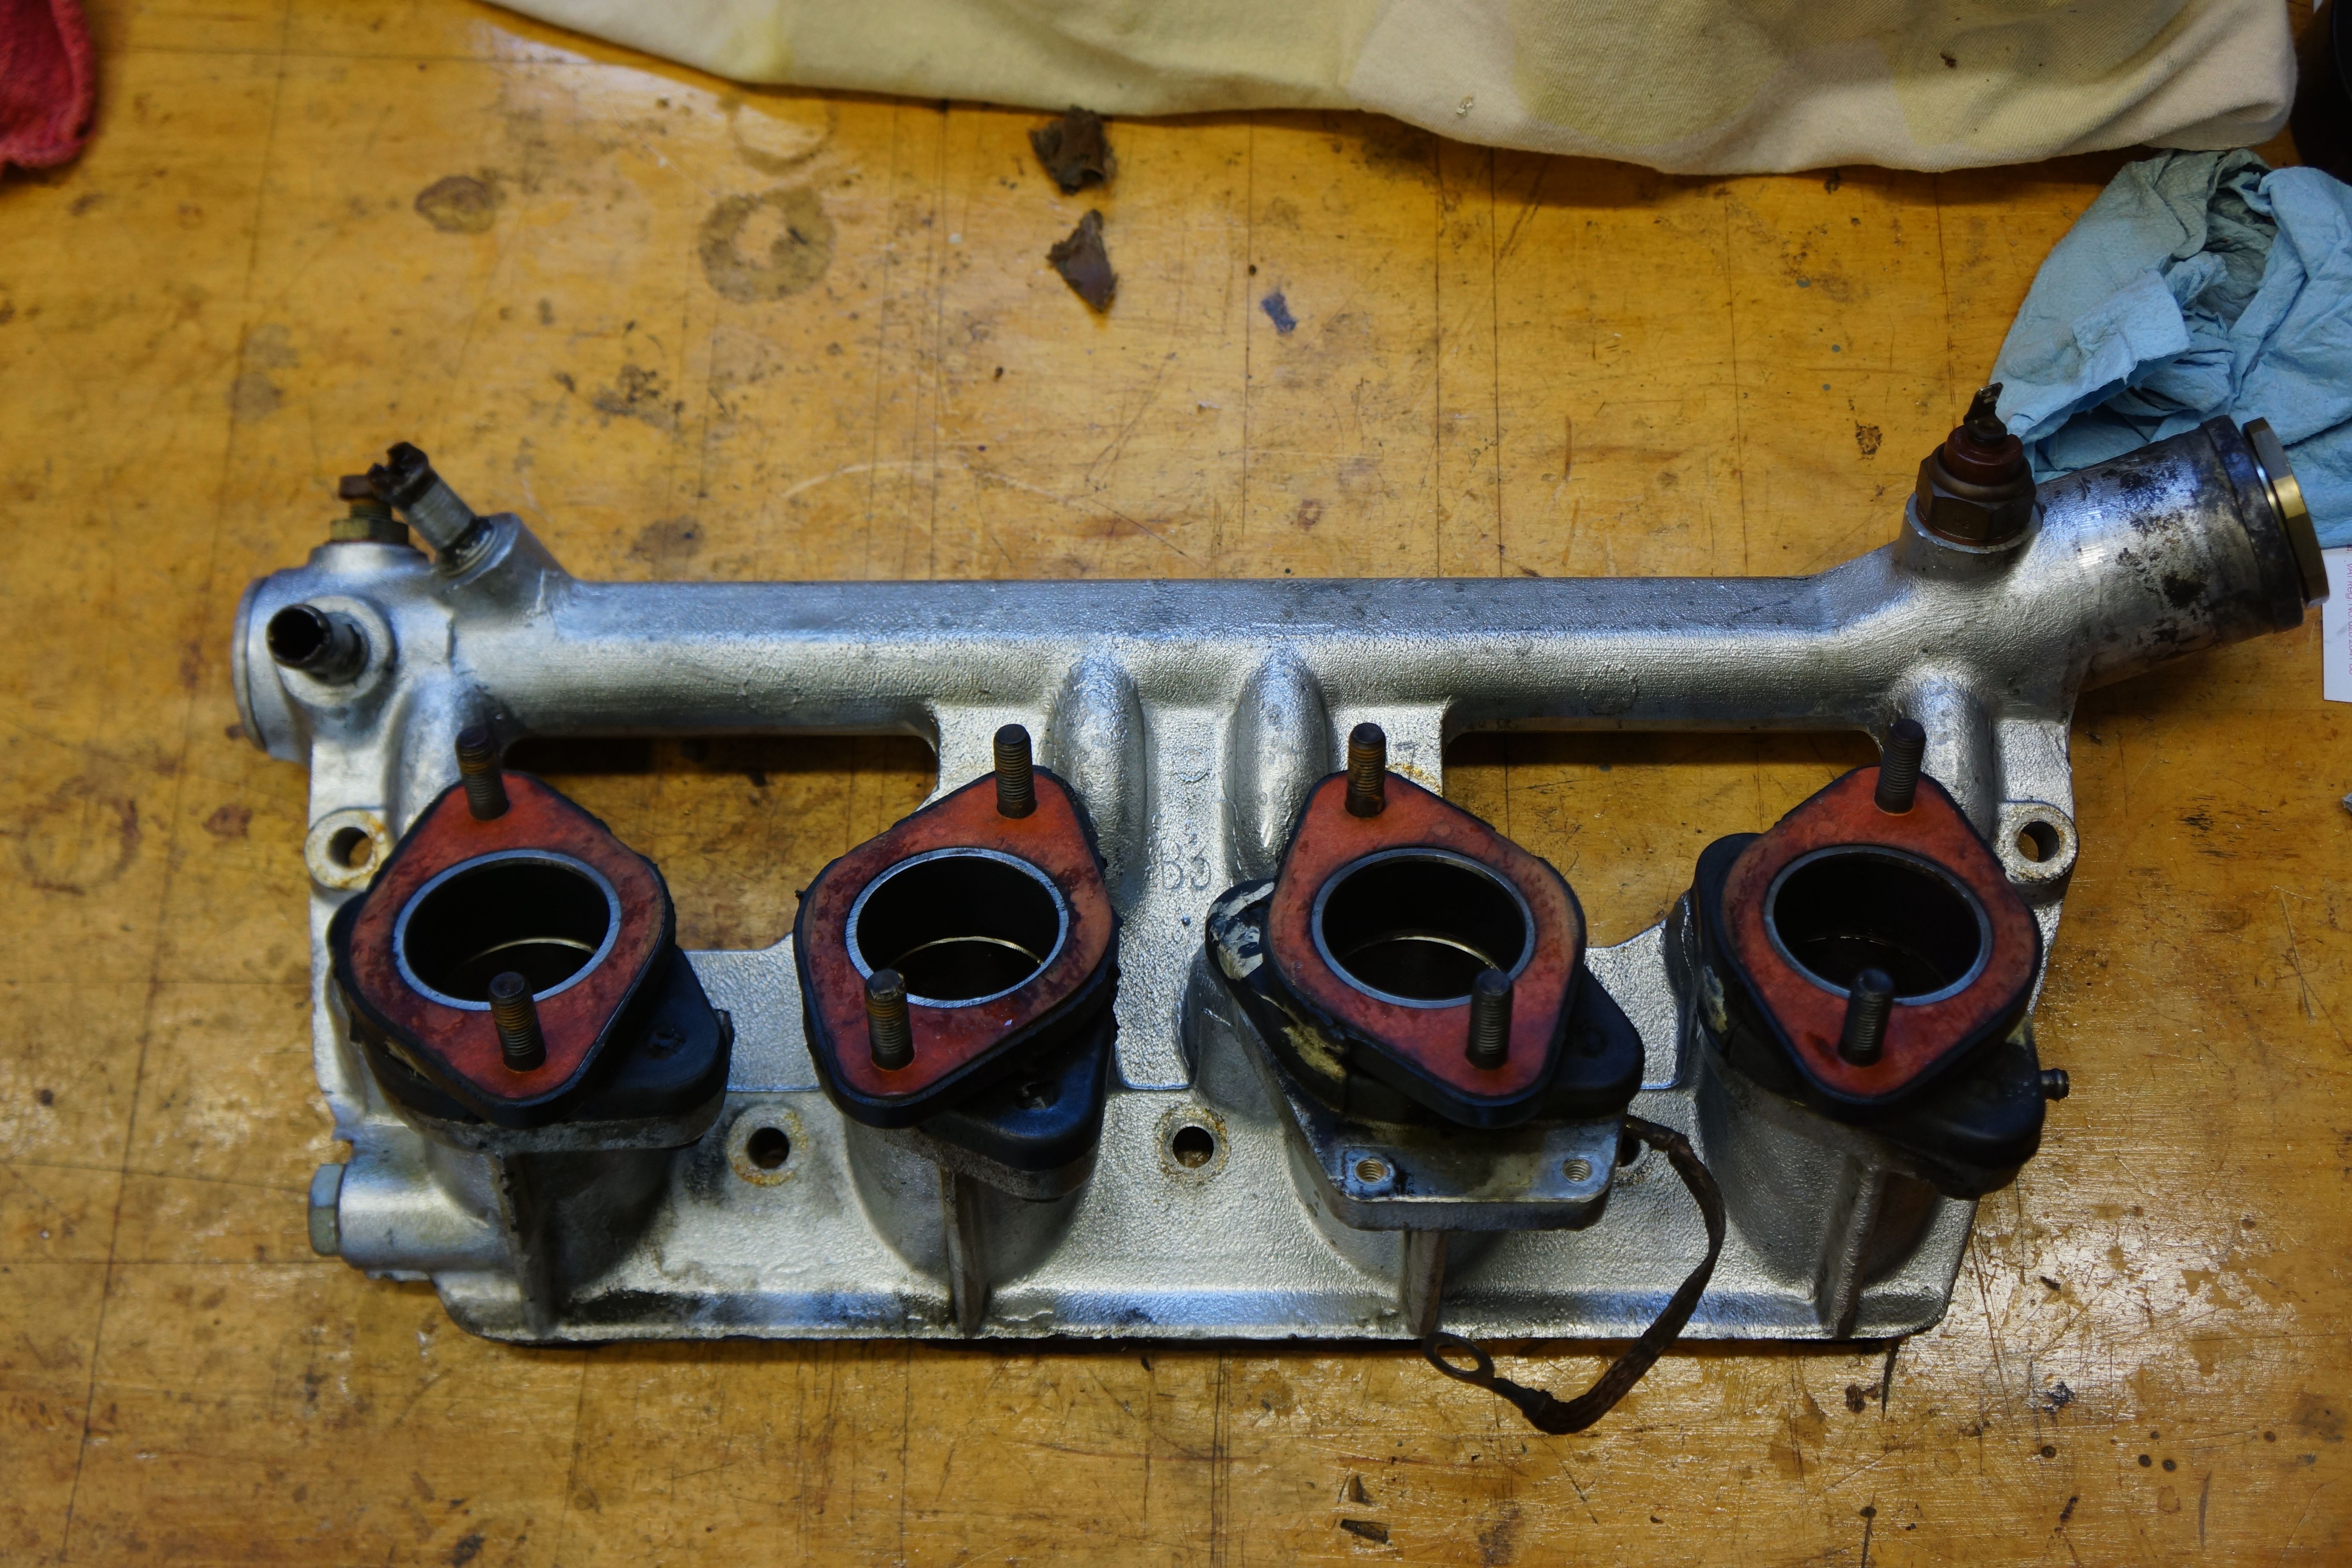
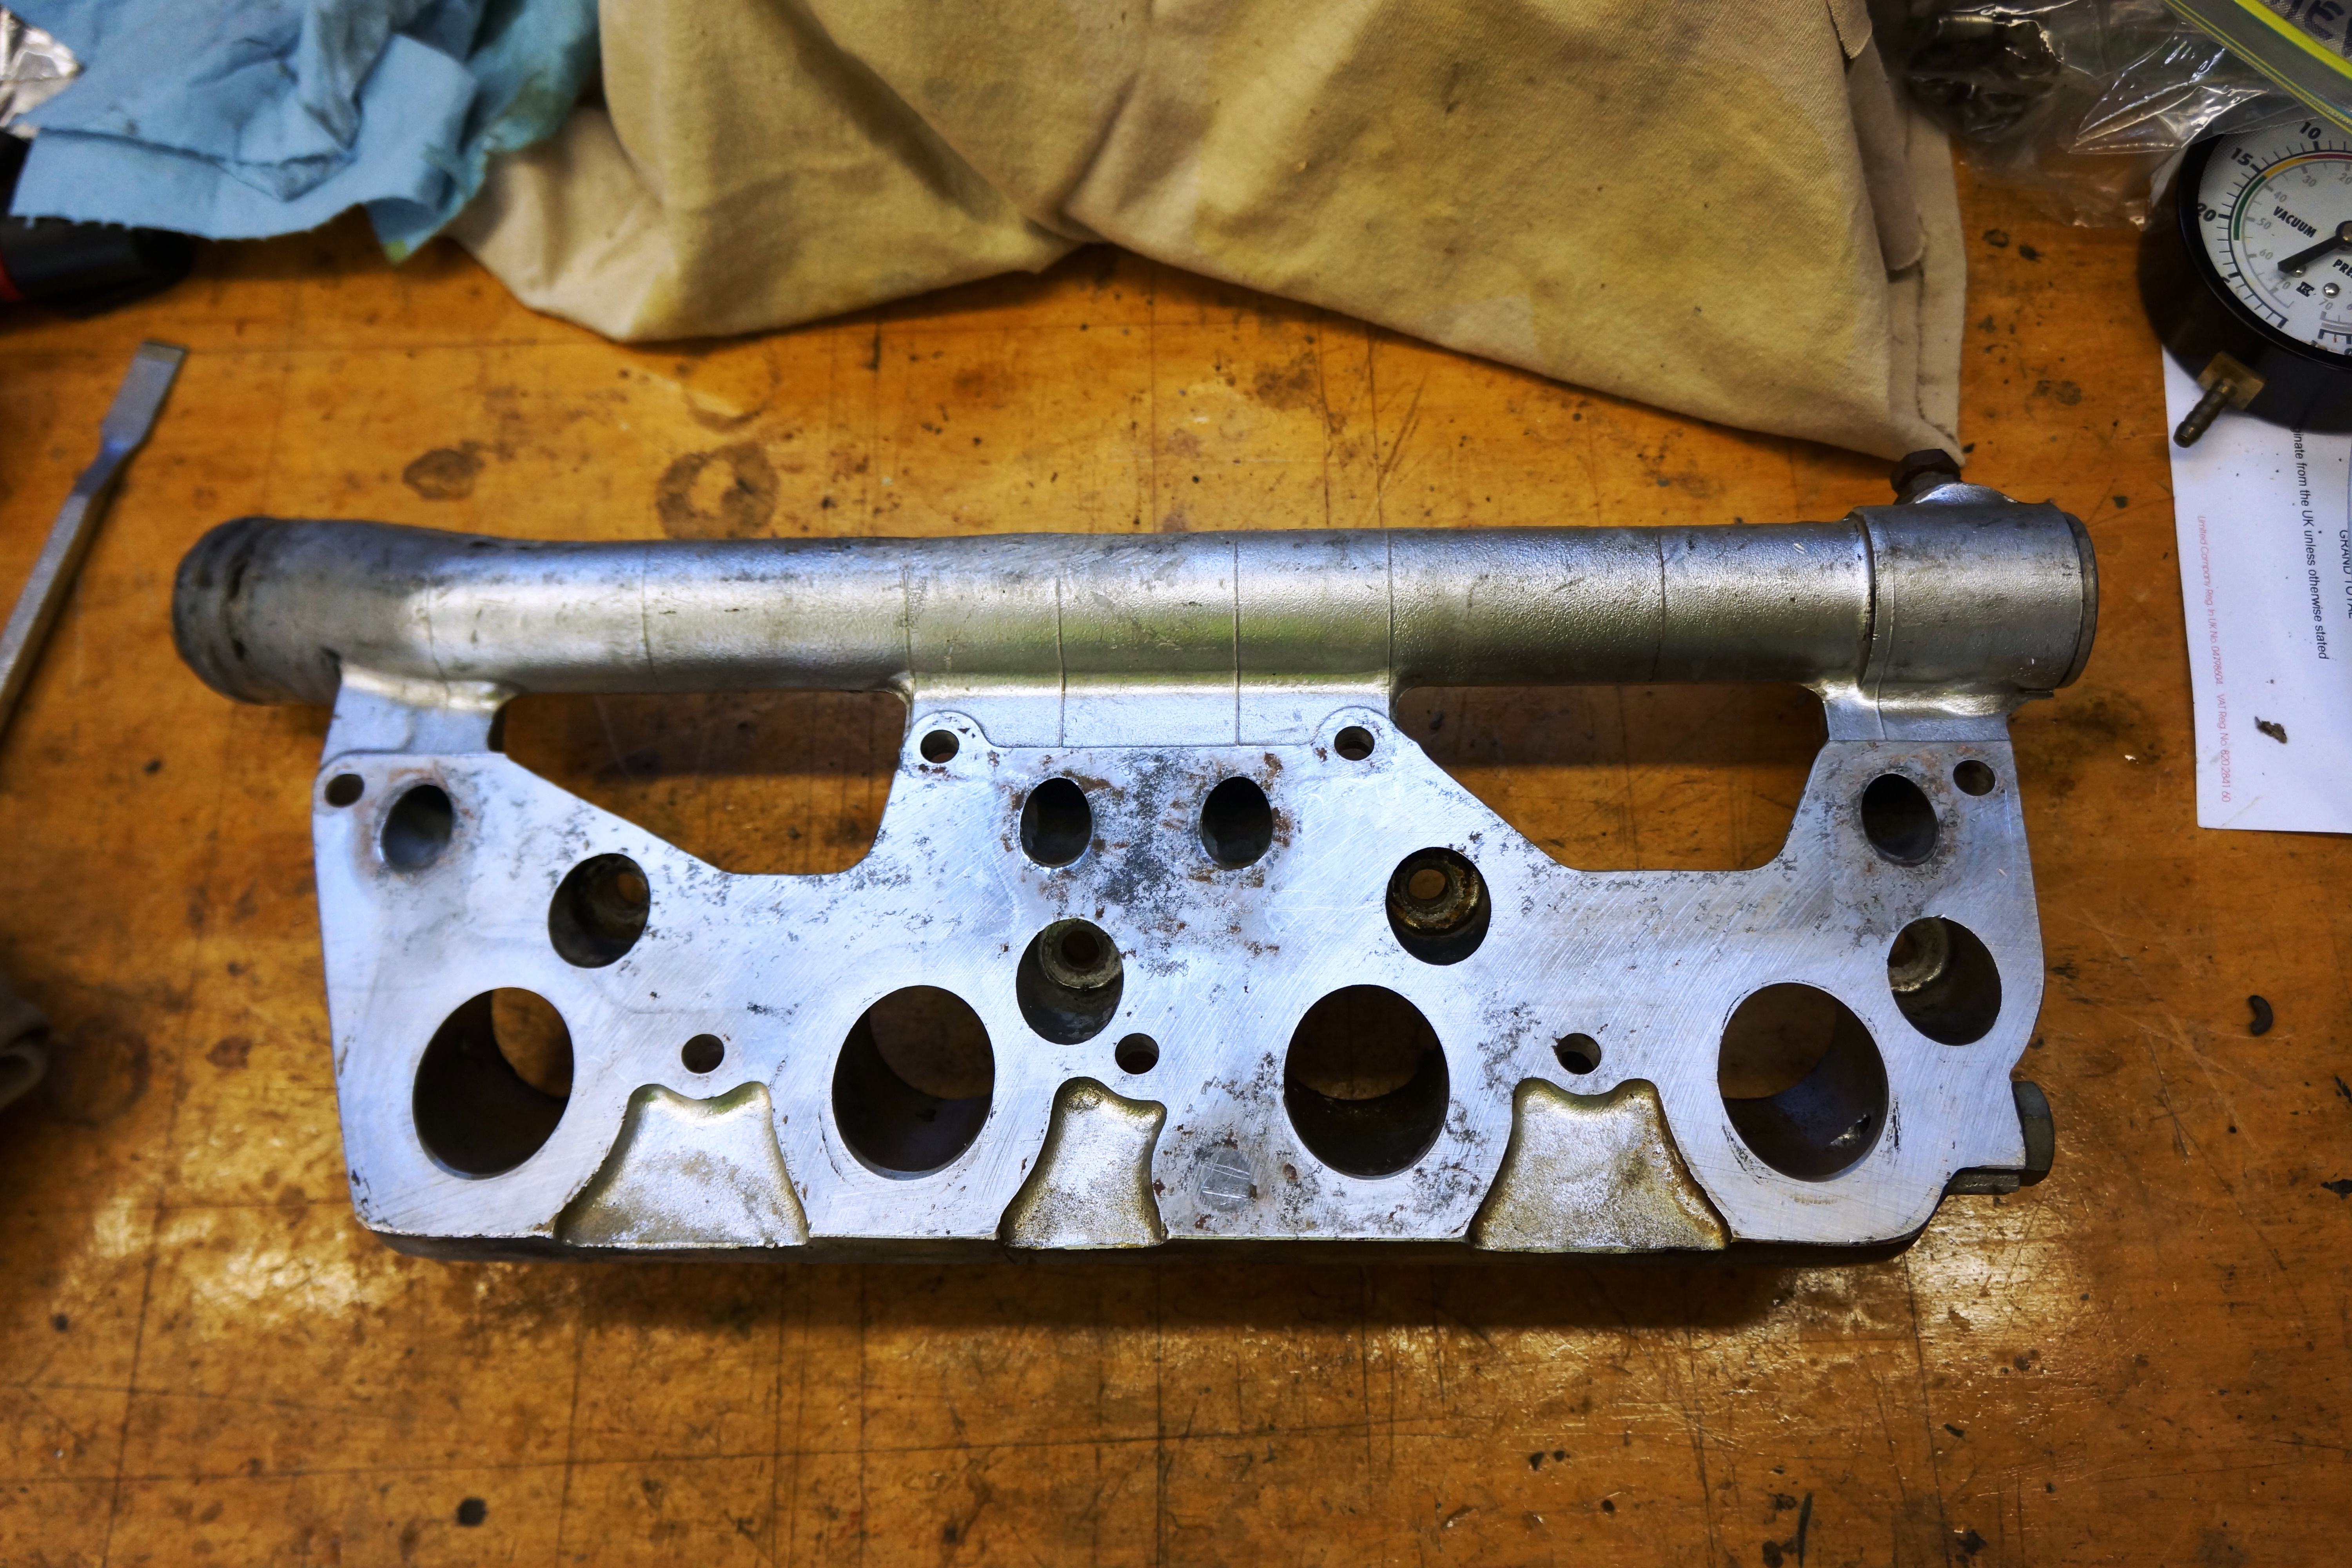
I’ve never removed the Webers from my car before. Removal didn’t look complicated, but would certainly prove to be time-consuming. First, the upper plenum is removed (two hose clamps, one bolt, and two nuts, all easily accessible). Next, the lower plenum comes off (ten nuts and washers, four of which are totally blind). Now one has access to the carbs themselves (eight nuts, four of them blind). Once the banjo bolts for the fuel connections are undone, the carbs can be removed from the car. The carburetors bolt to 4 rubberized mounts, each of which has 4 studs. To remove the mounts, one first must remove the intake manifold, as 8 of the nuts for the mounts are only accessed if the intake manifold is unbolted from the cylinder head (7 nuts, some of them only reachable with an open-ended wrench, which only allows 1/6 of a turn at a time).
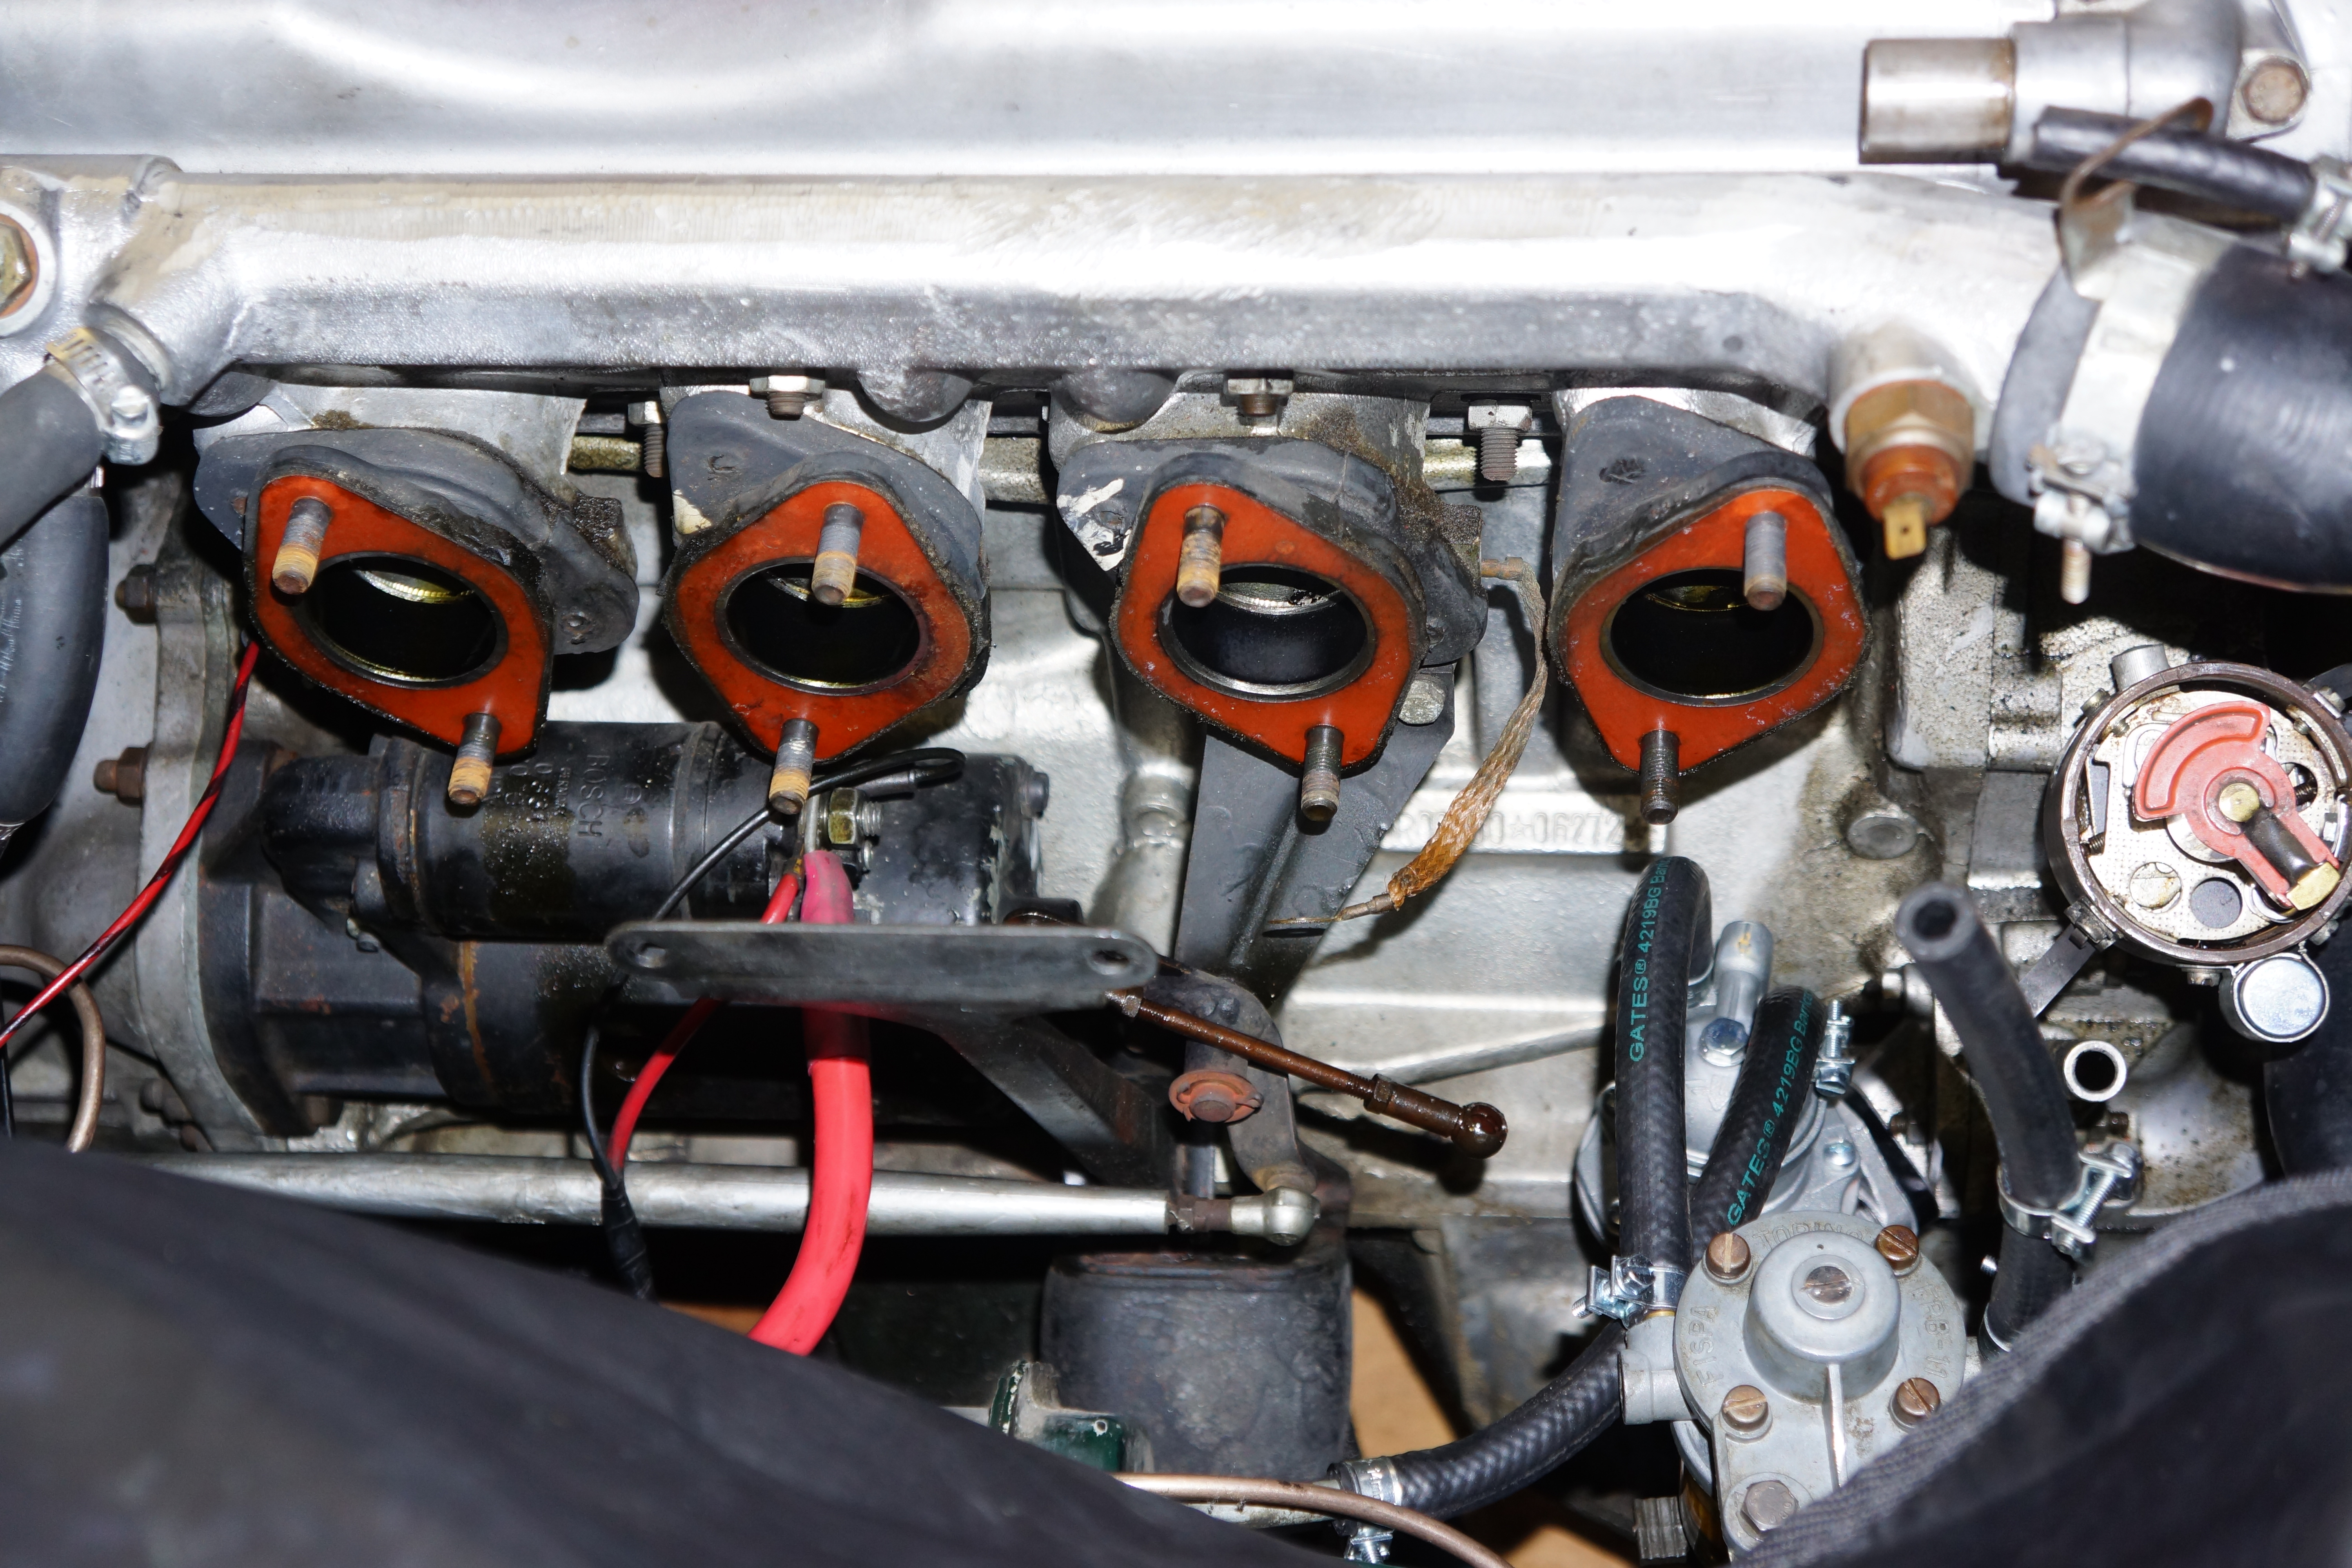
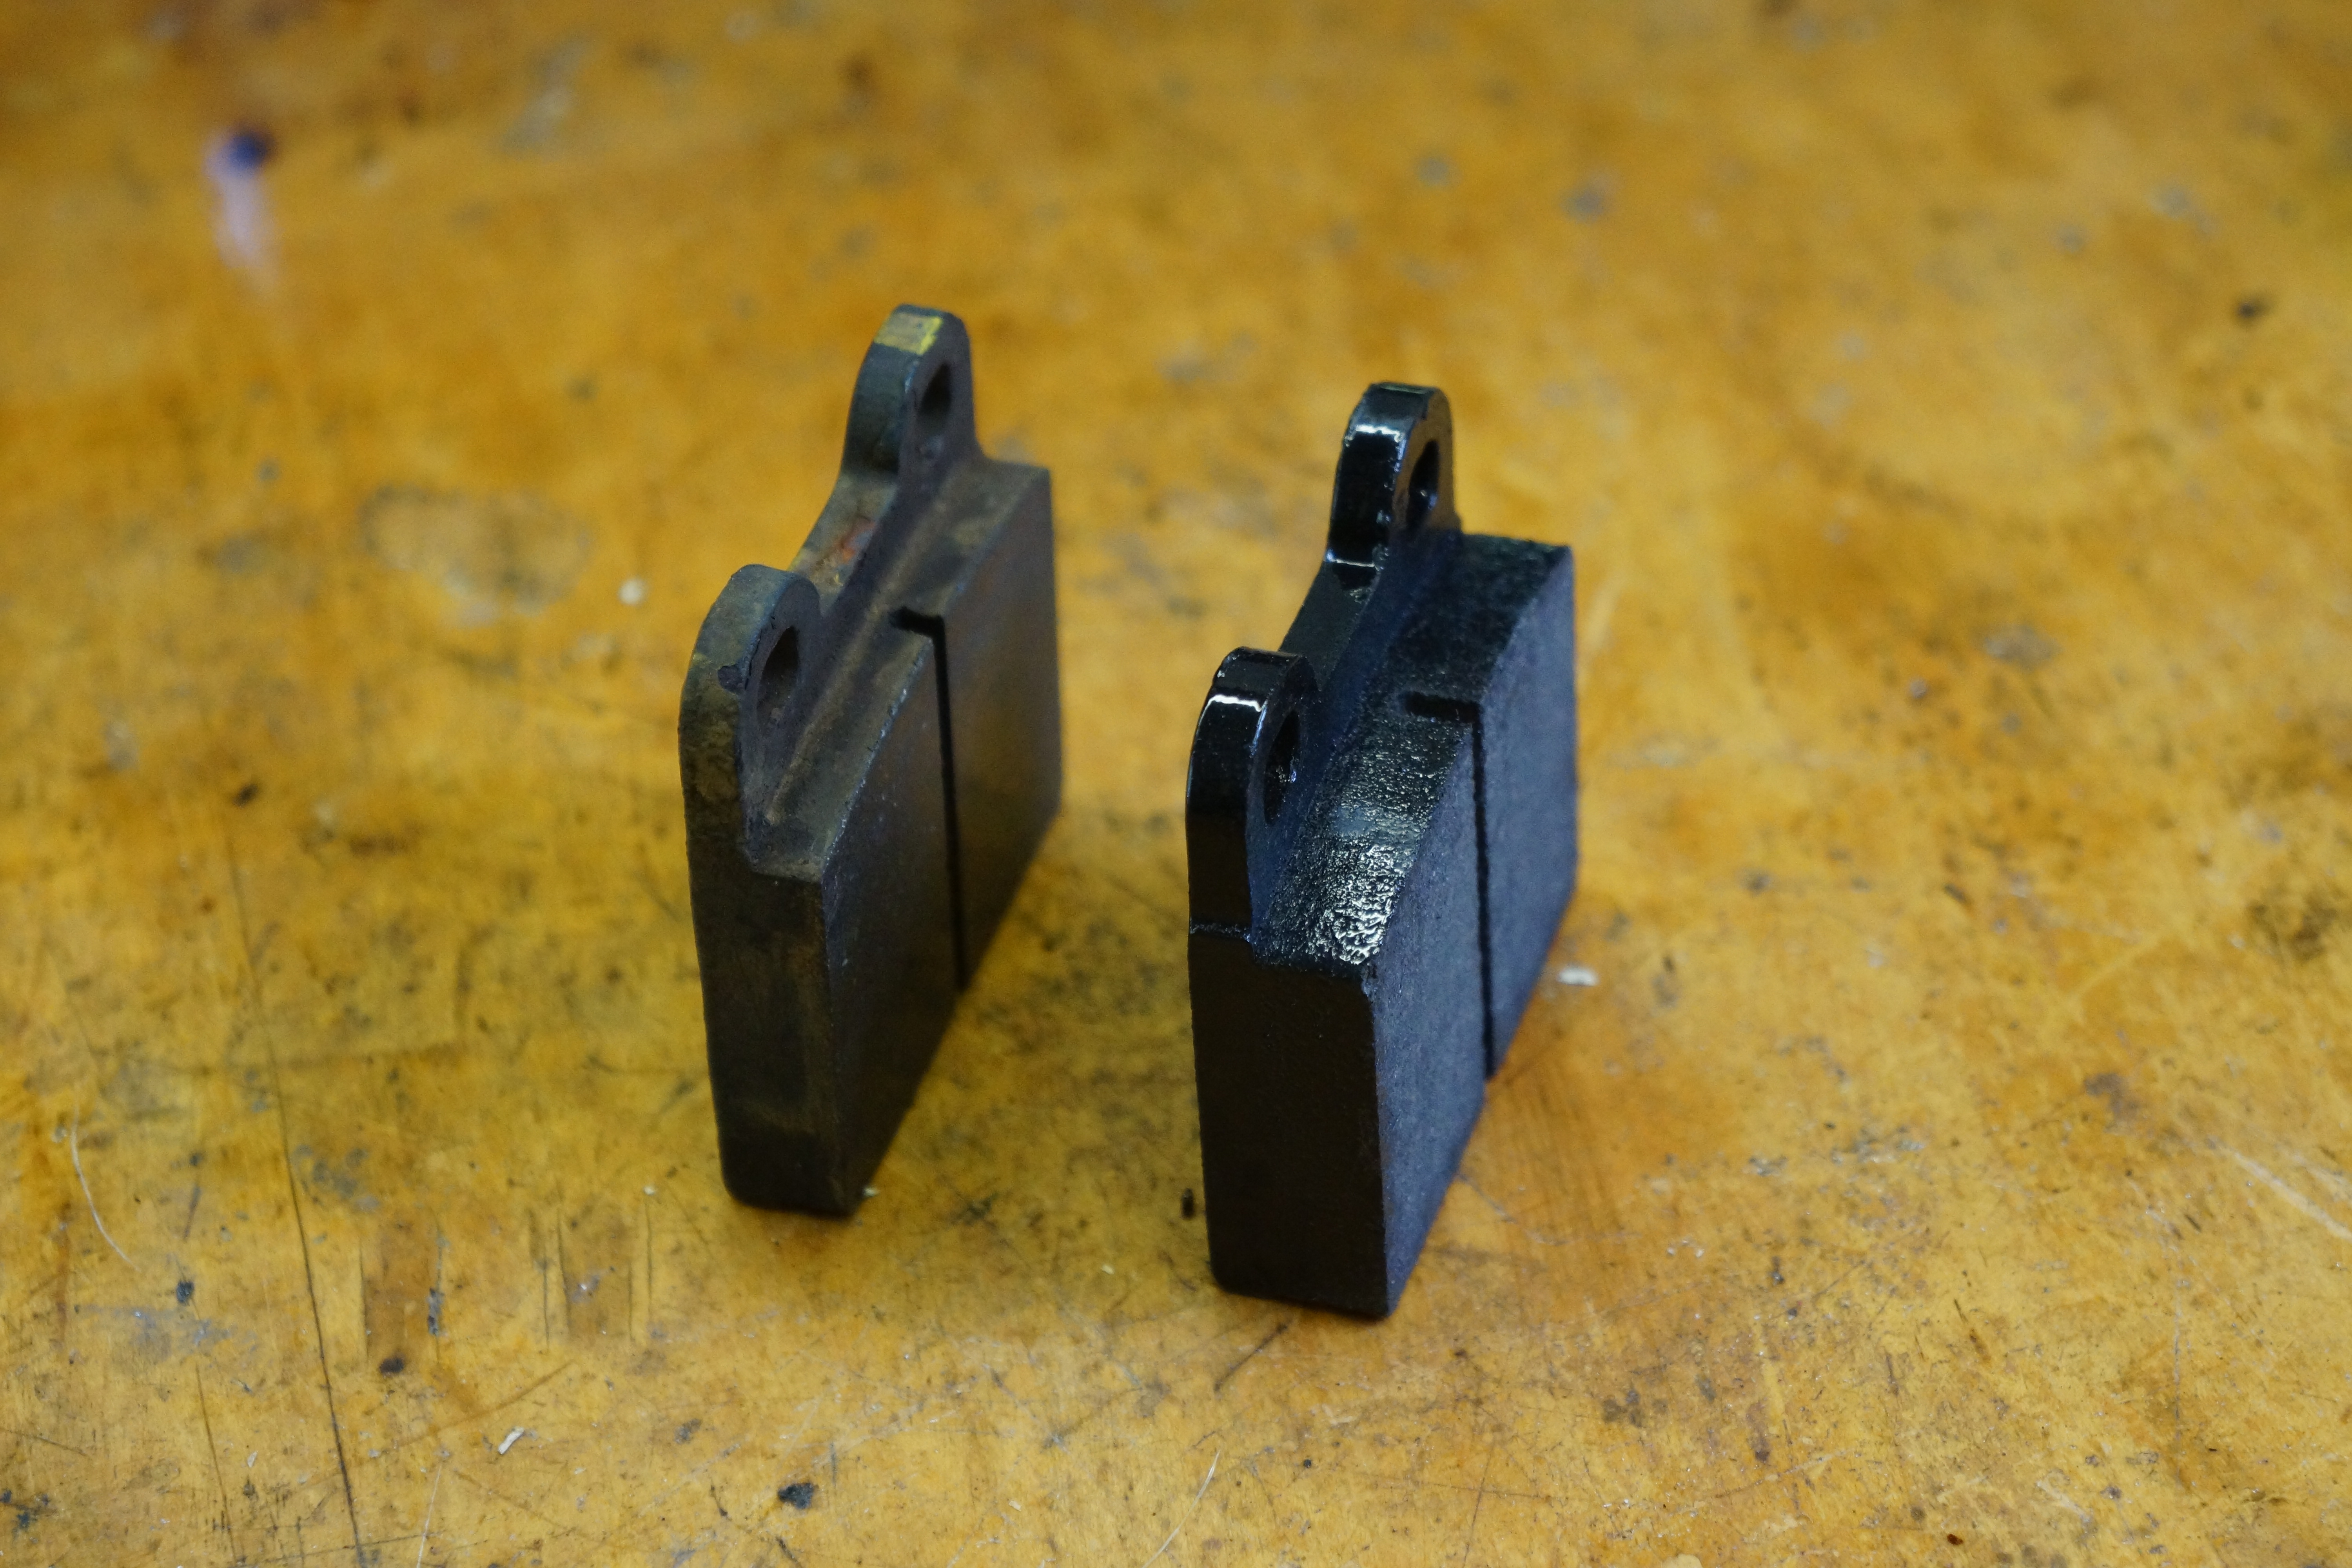
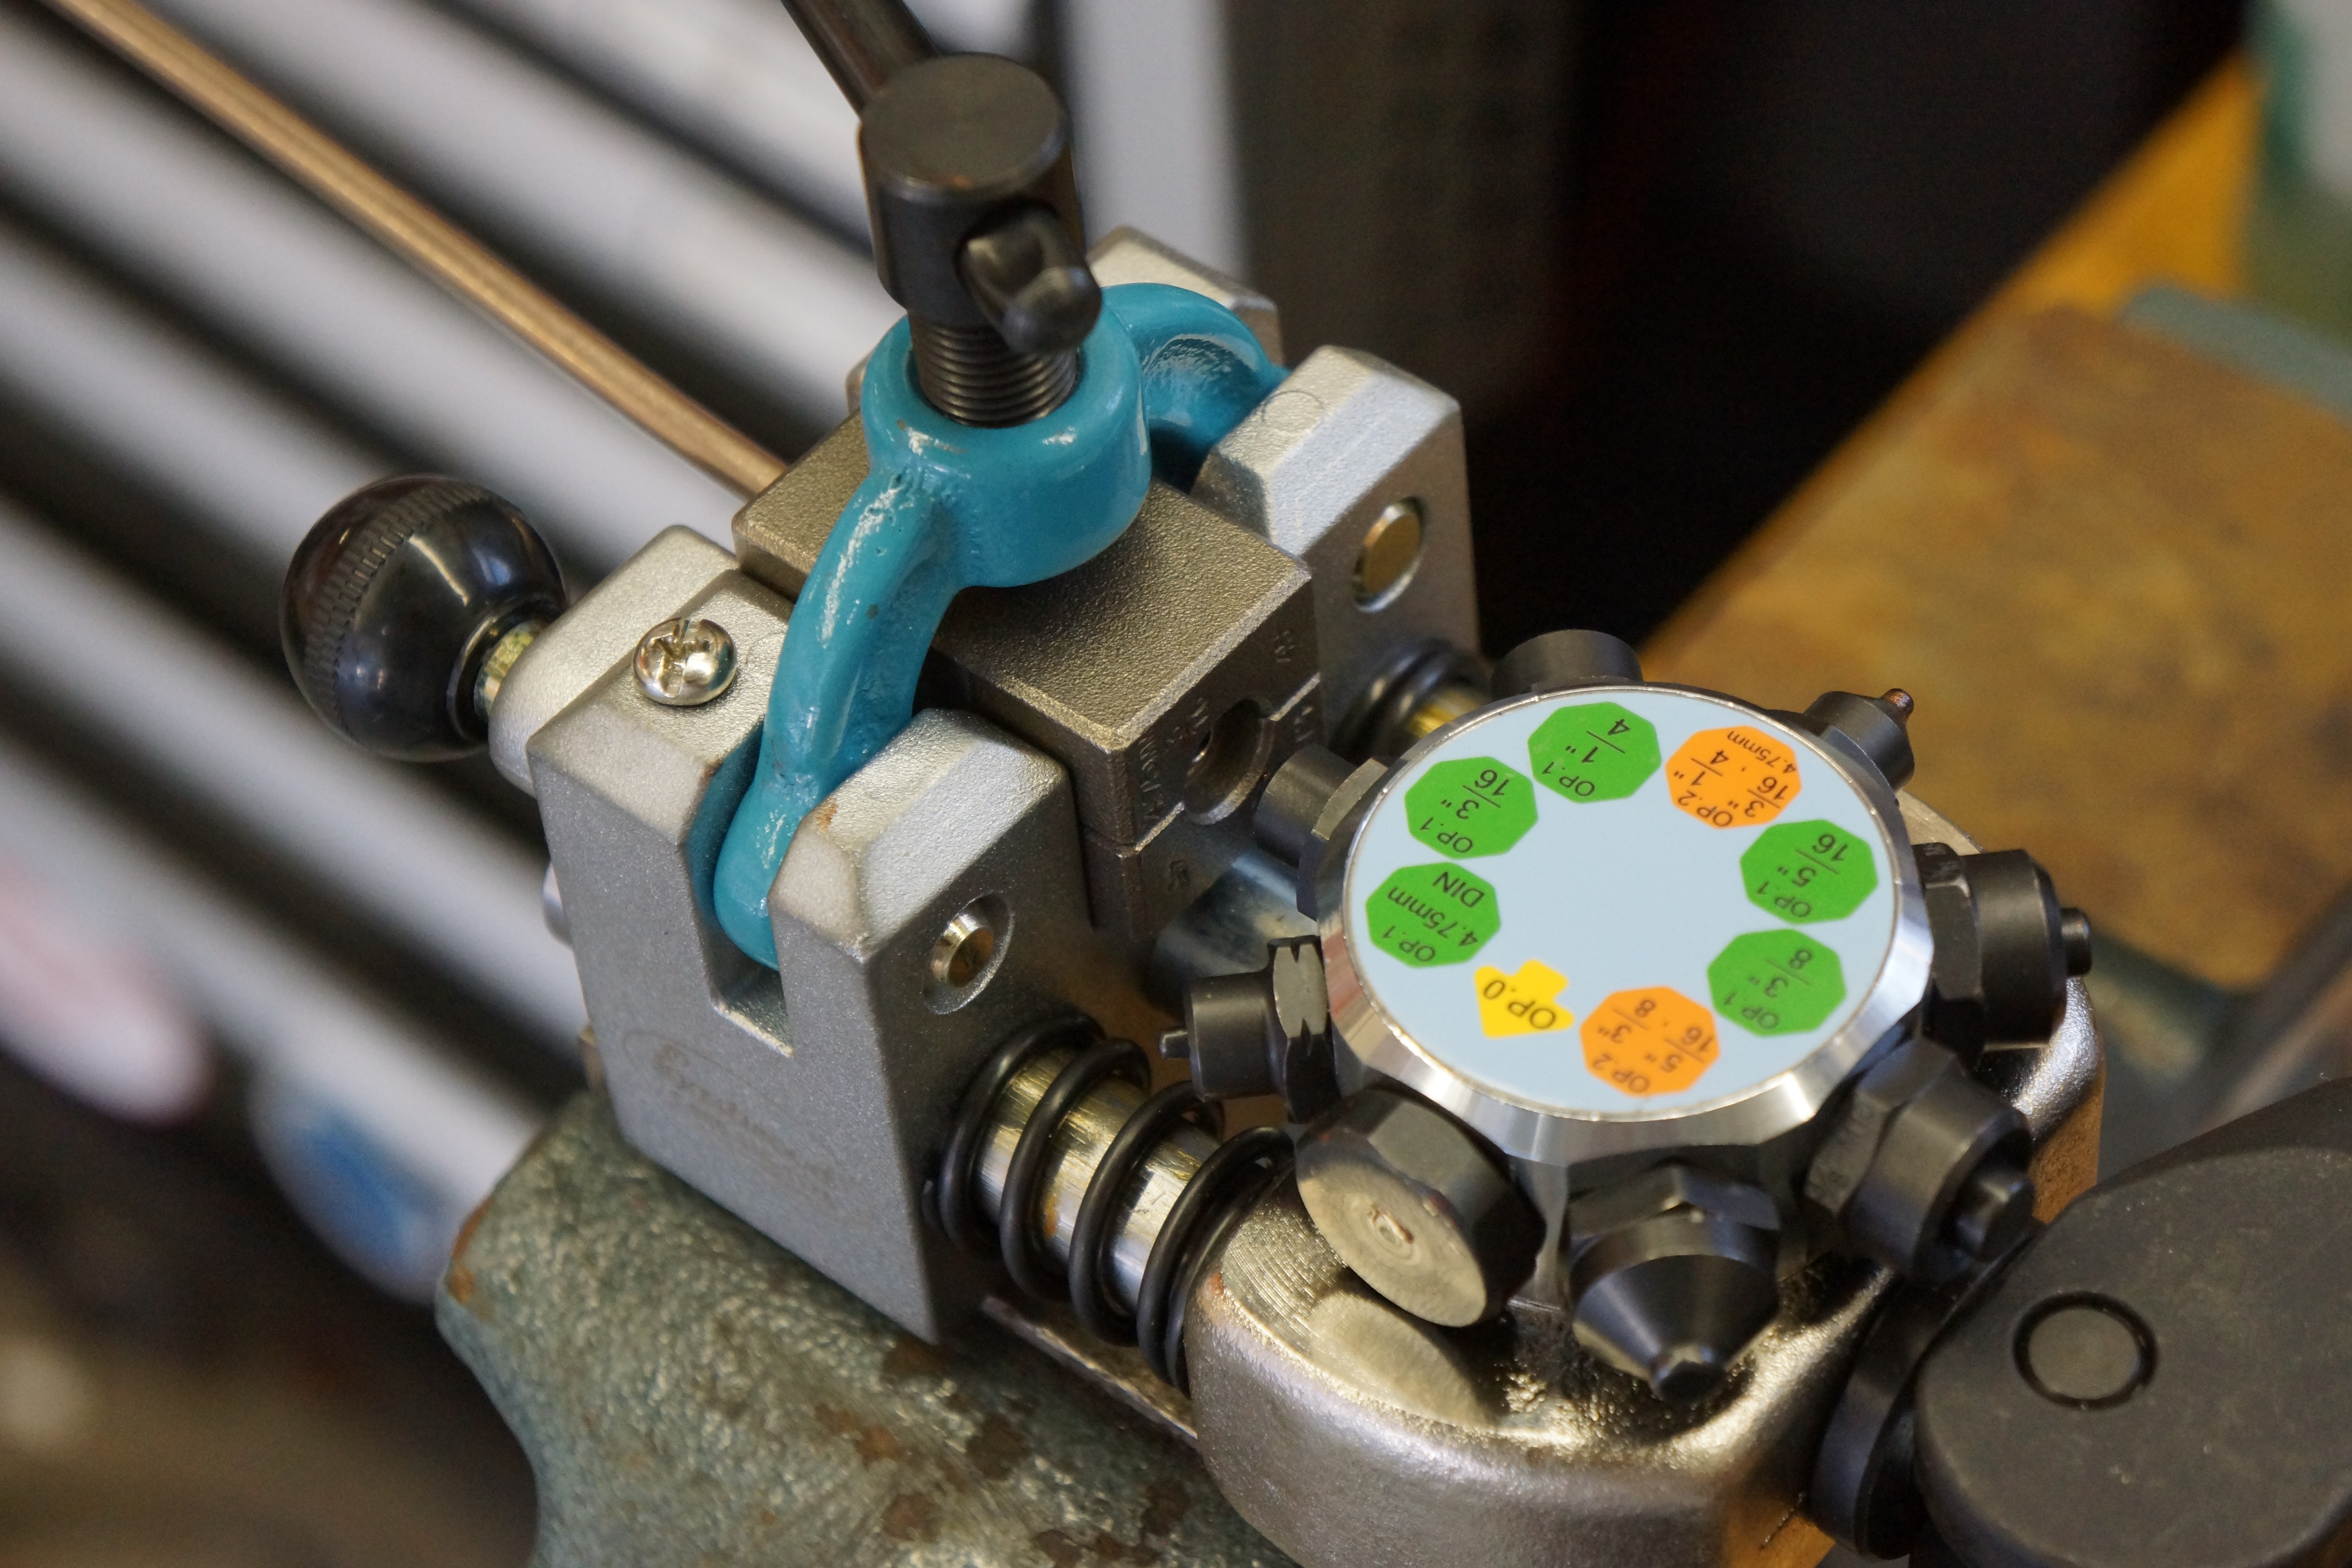
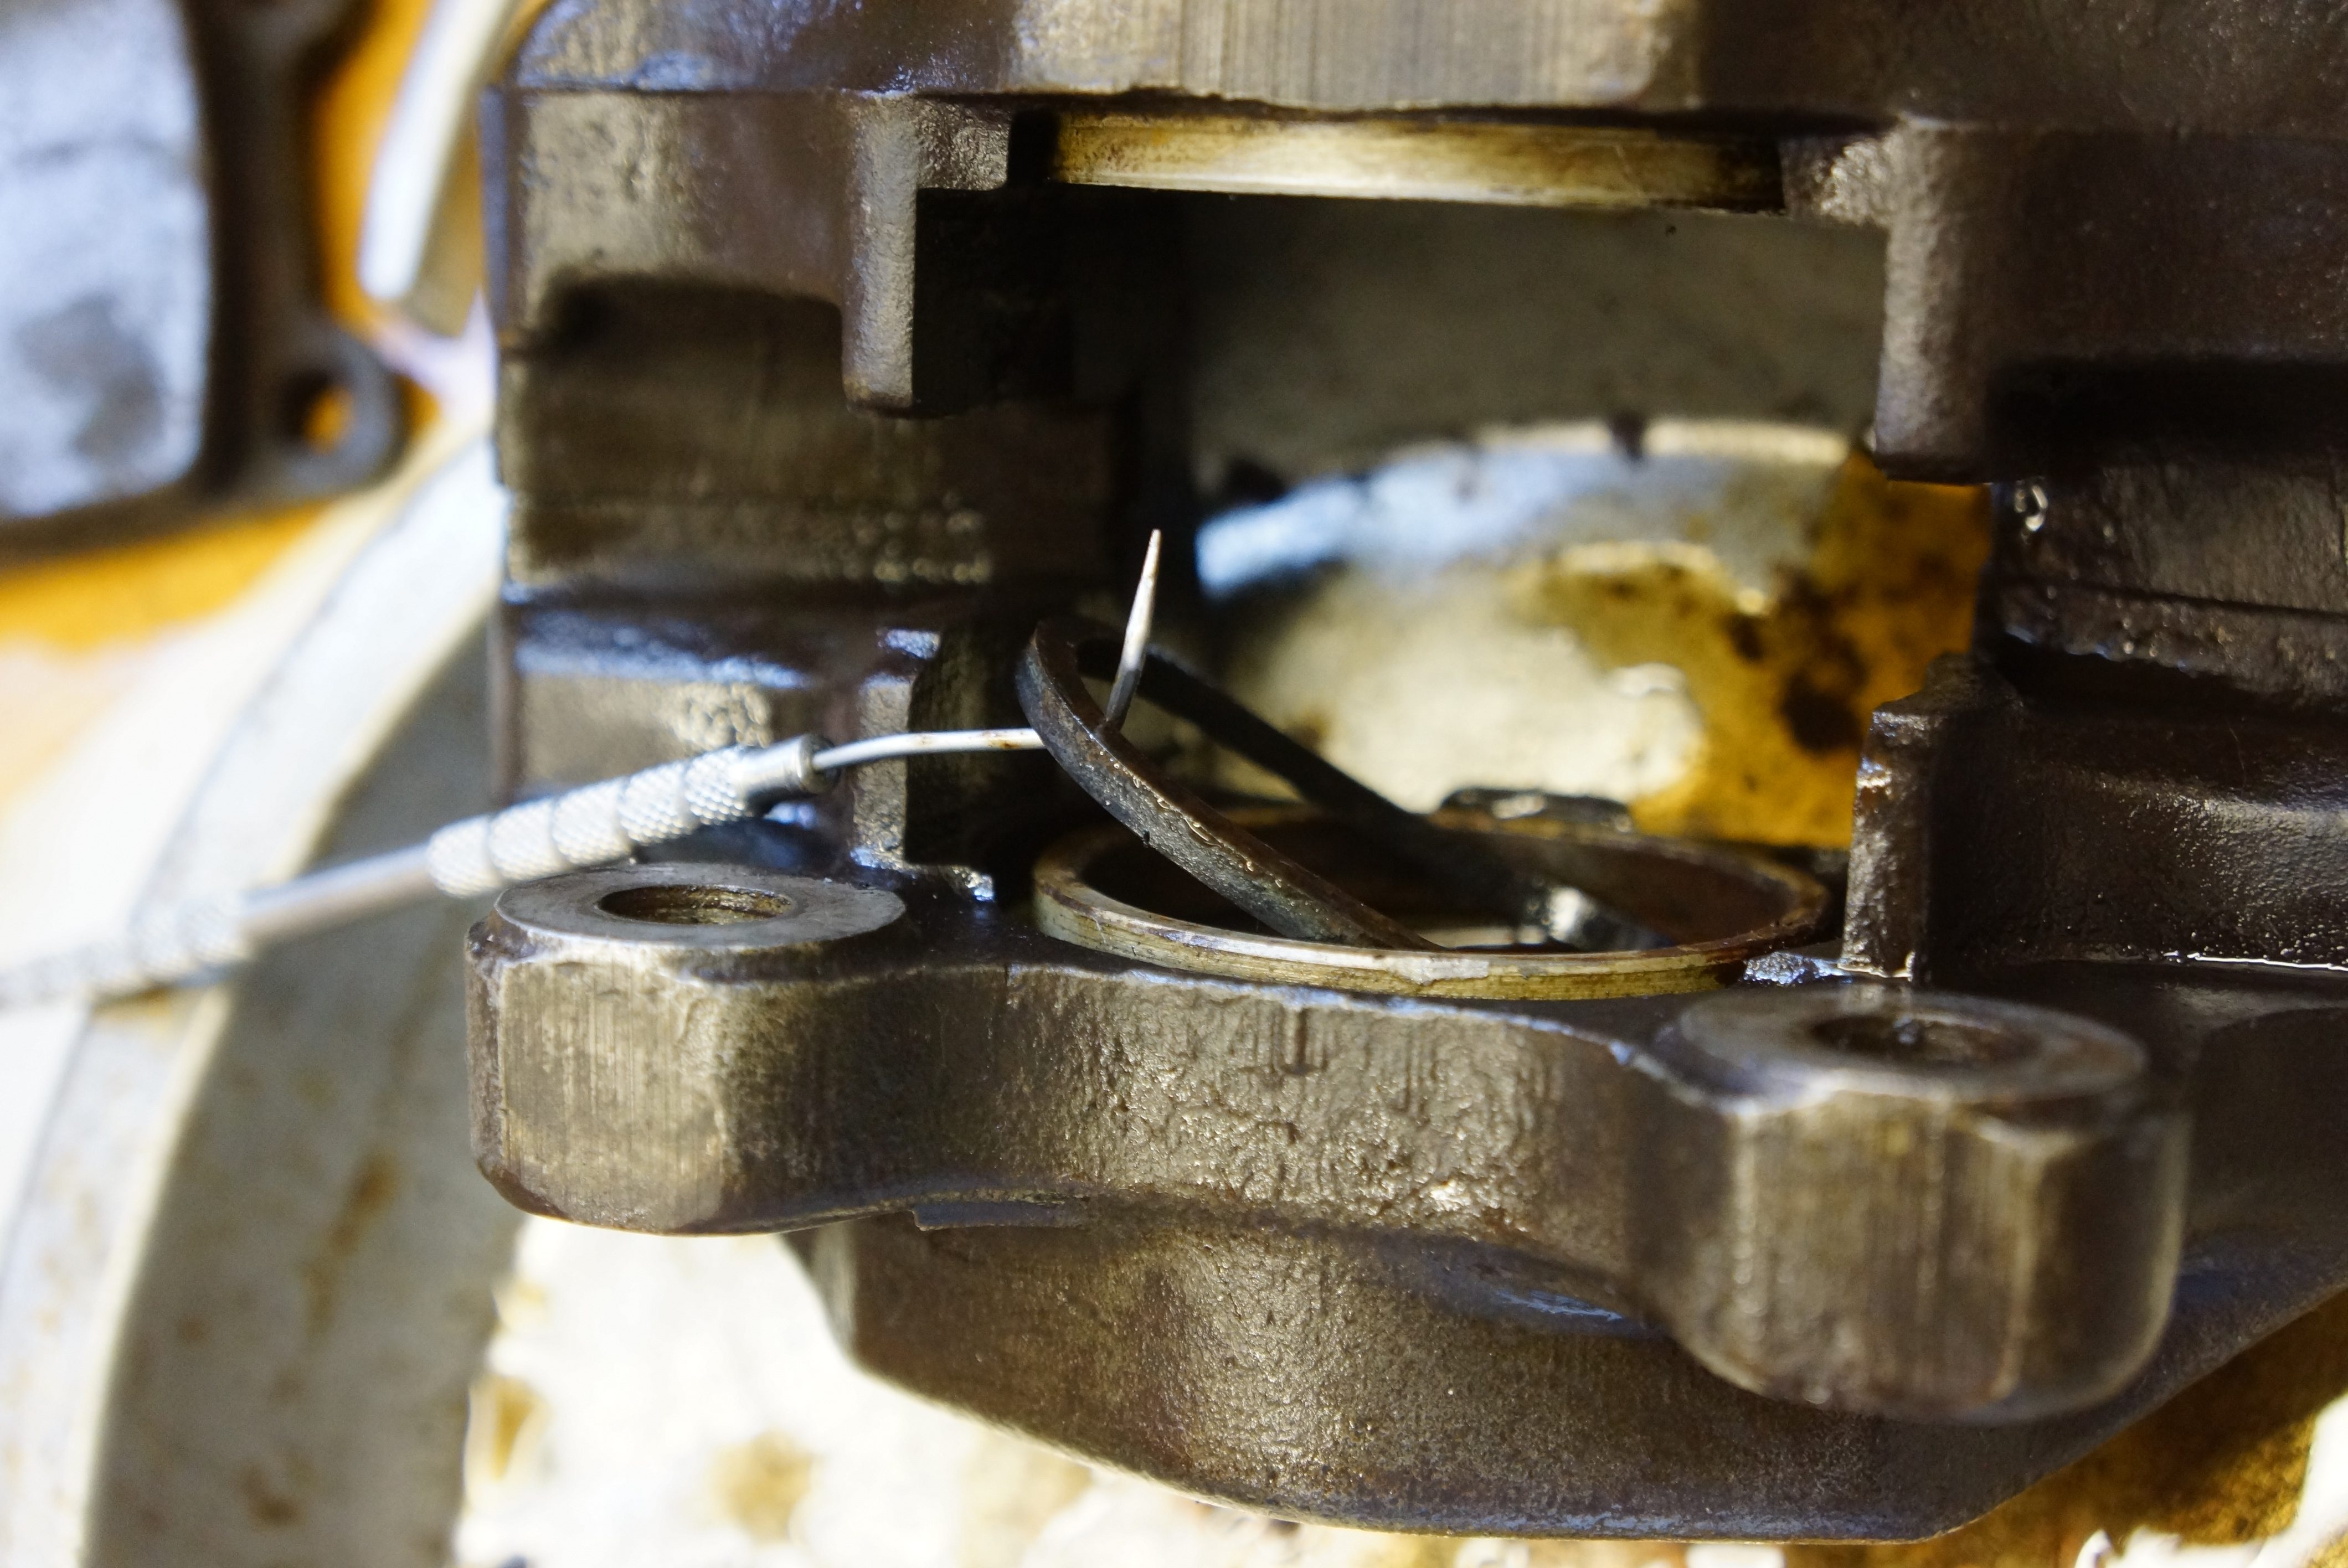
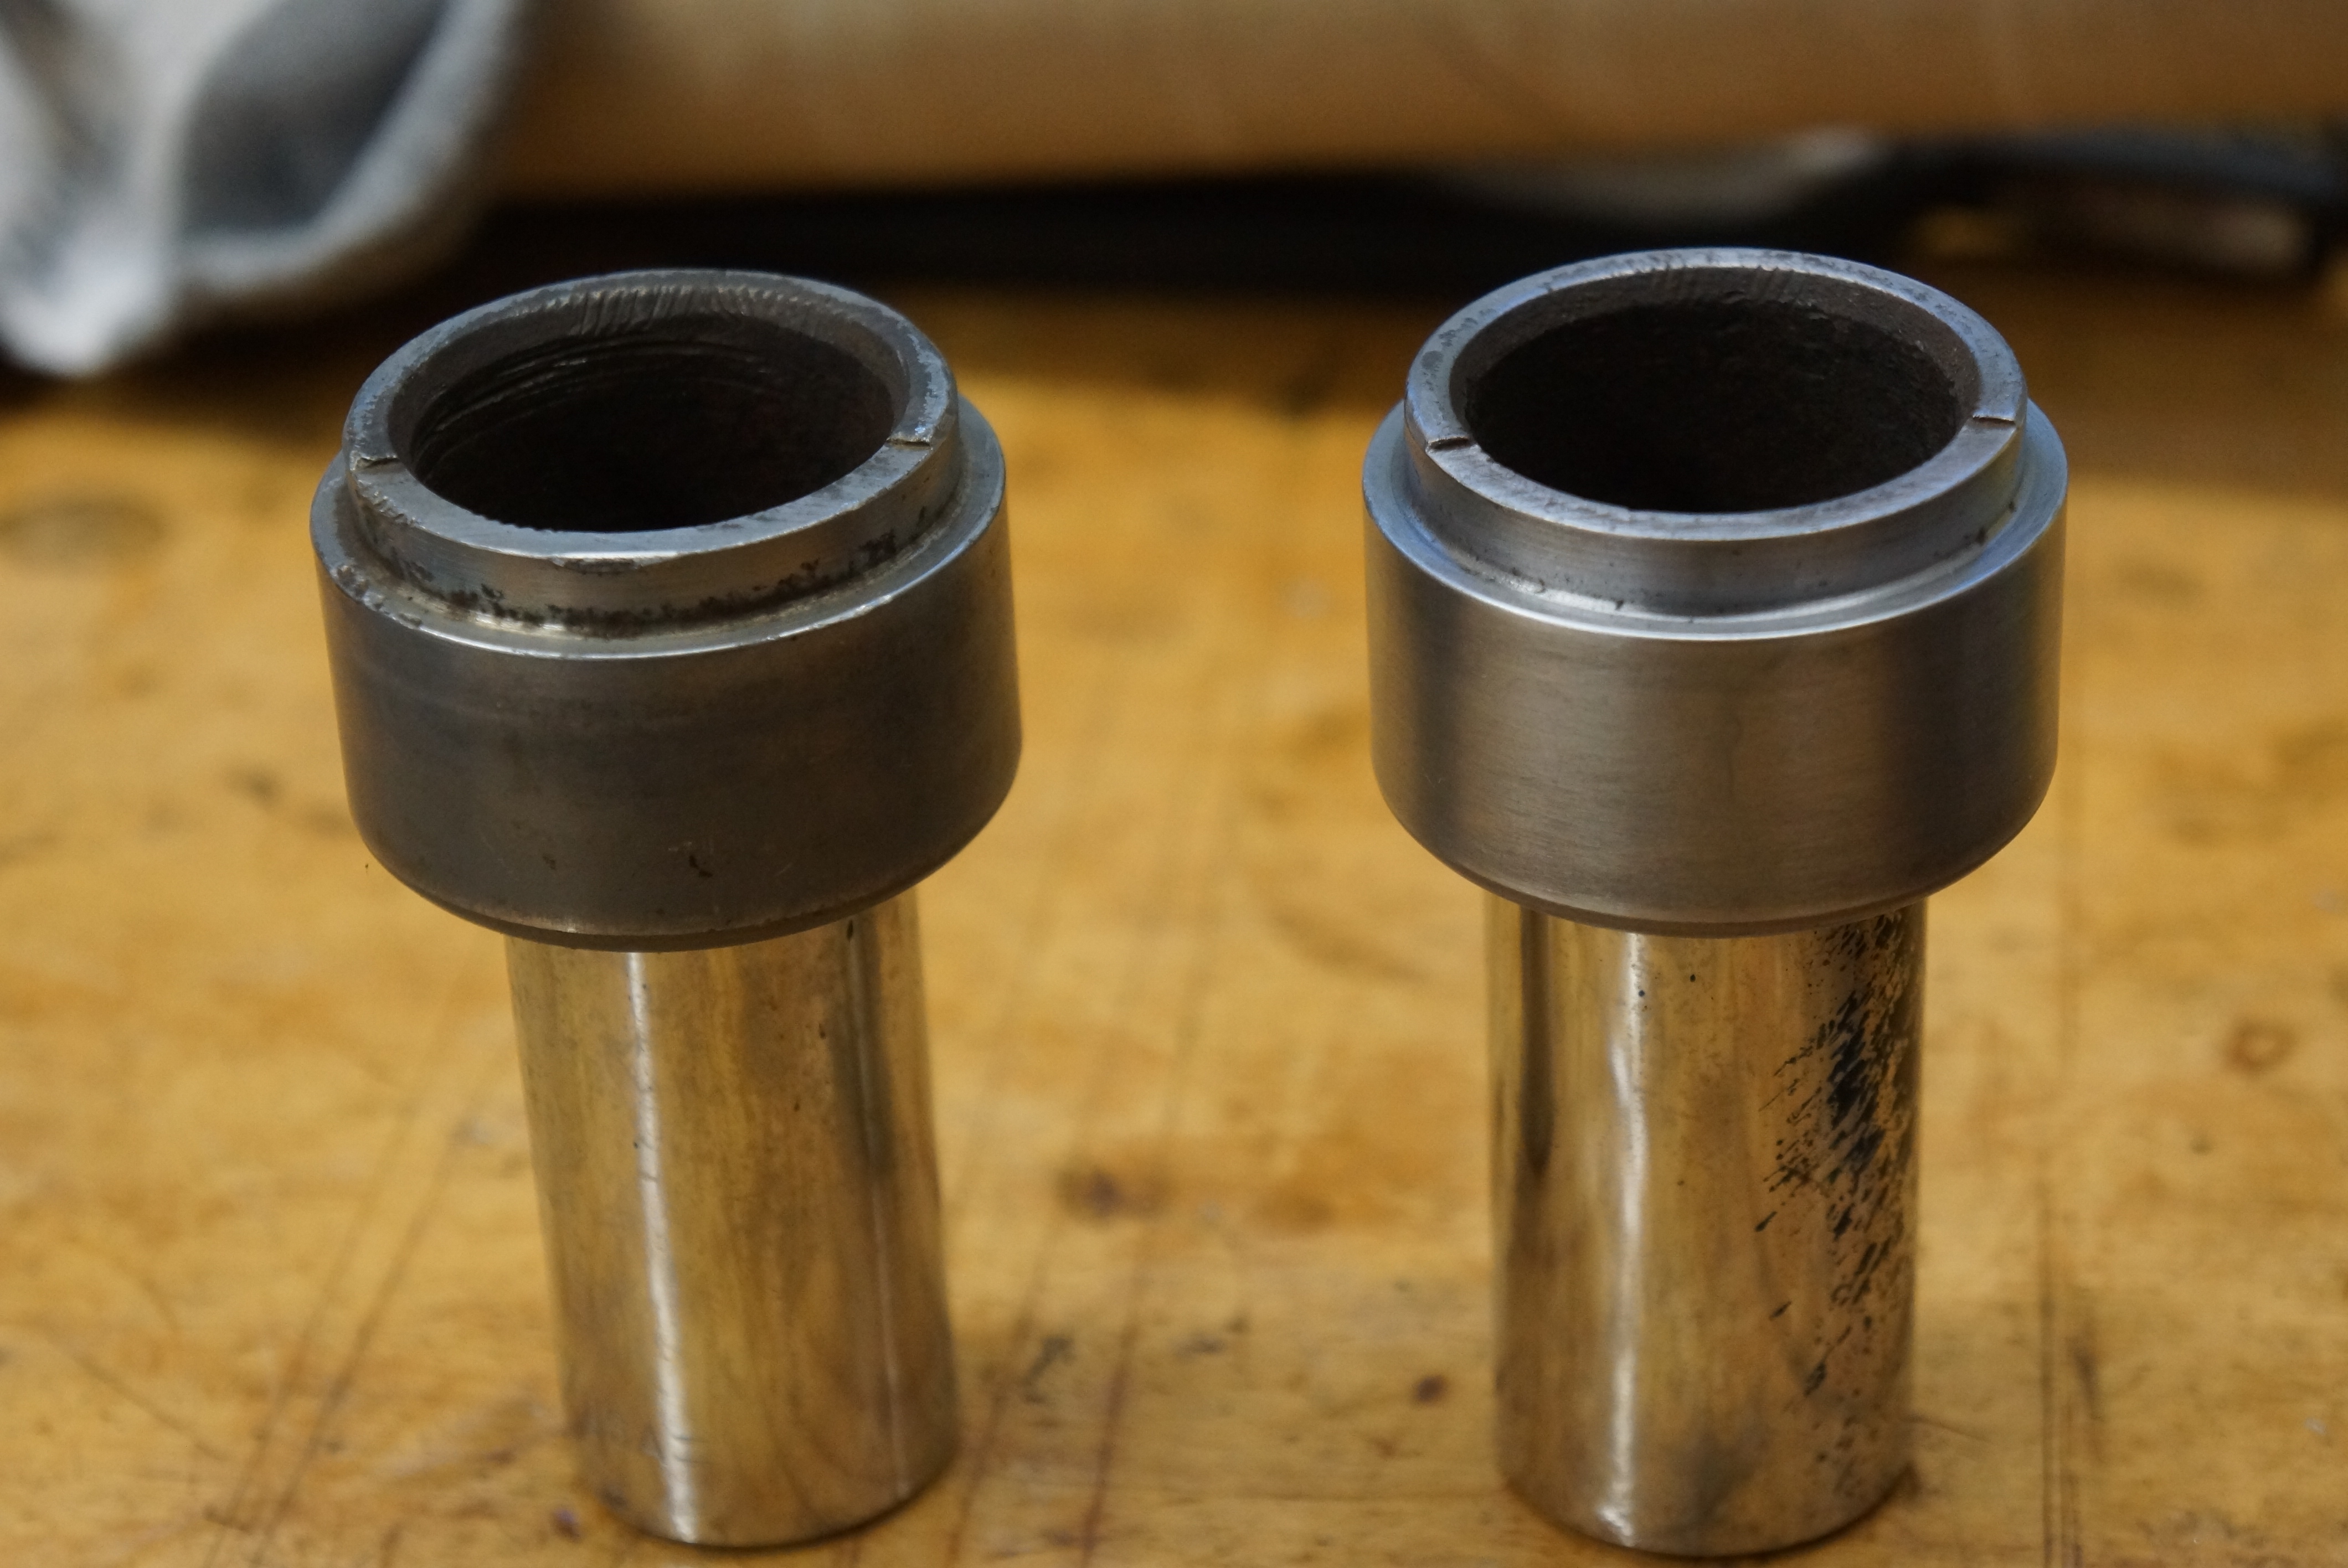
Back to these rubberized carb mounts: it was eye-opening to learn from the Alfa BB that side draft carbs, hanging off the right side of the cylinder head, are prone to enough vibration to cause fuel delivery issues. To combat that, Alfa employed a bracket extending upward from the right motor mount to the lower plenum, and mounted the carbs on rubber mounts which absorb vibration. But a number of the Alfa owners on the BB stated that these mounts should be considered service items: eventually, the rubber hardens and develops hairline cracks which allow air to enter the intake stream, throwing off the fuel-air mixture.

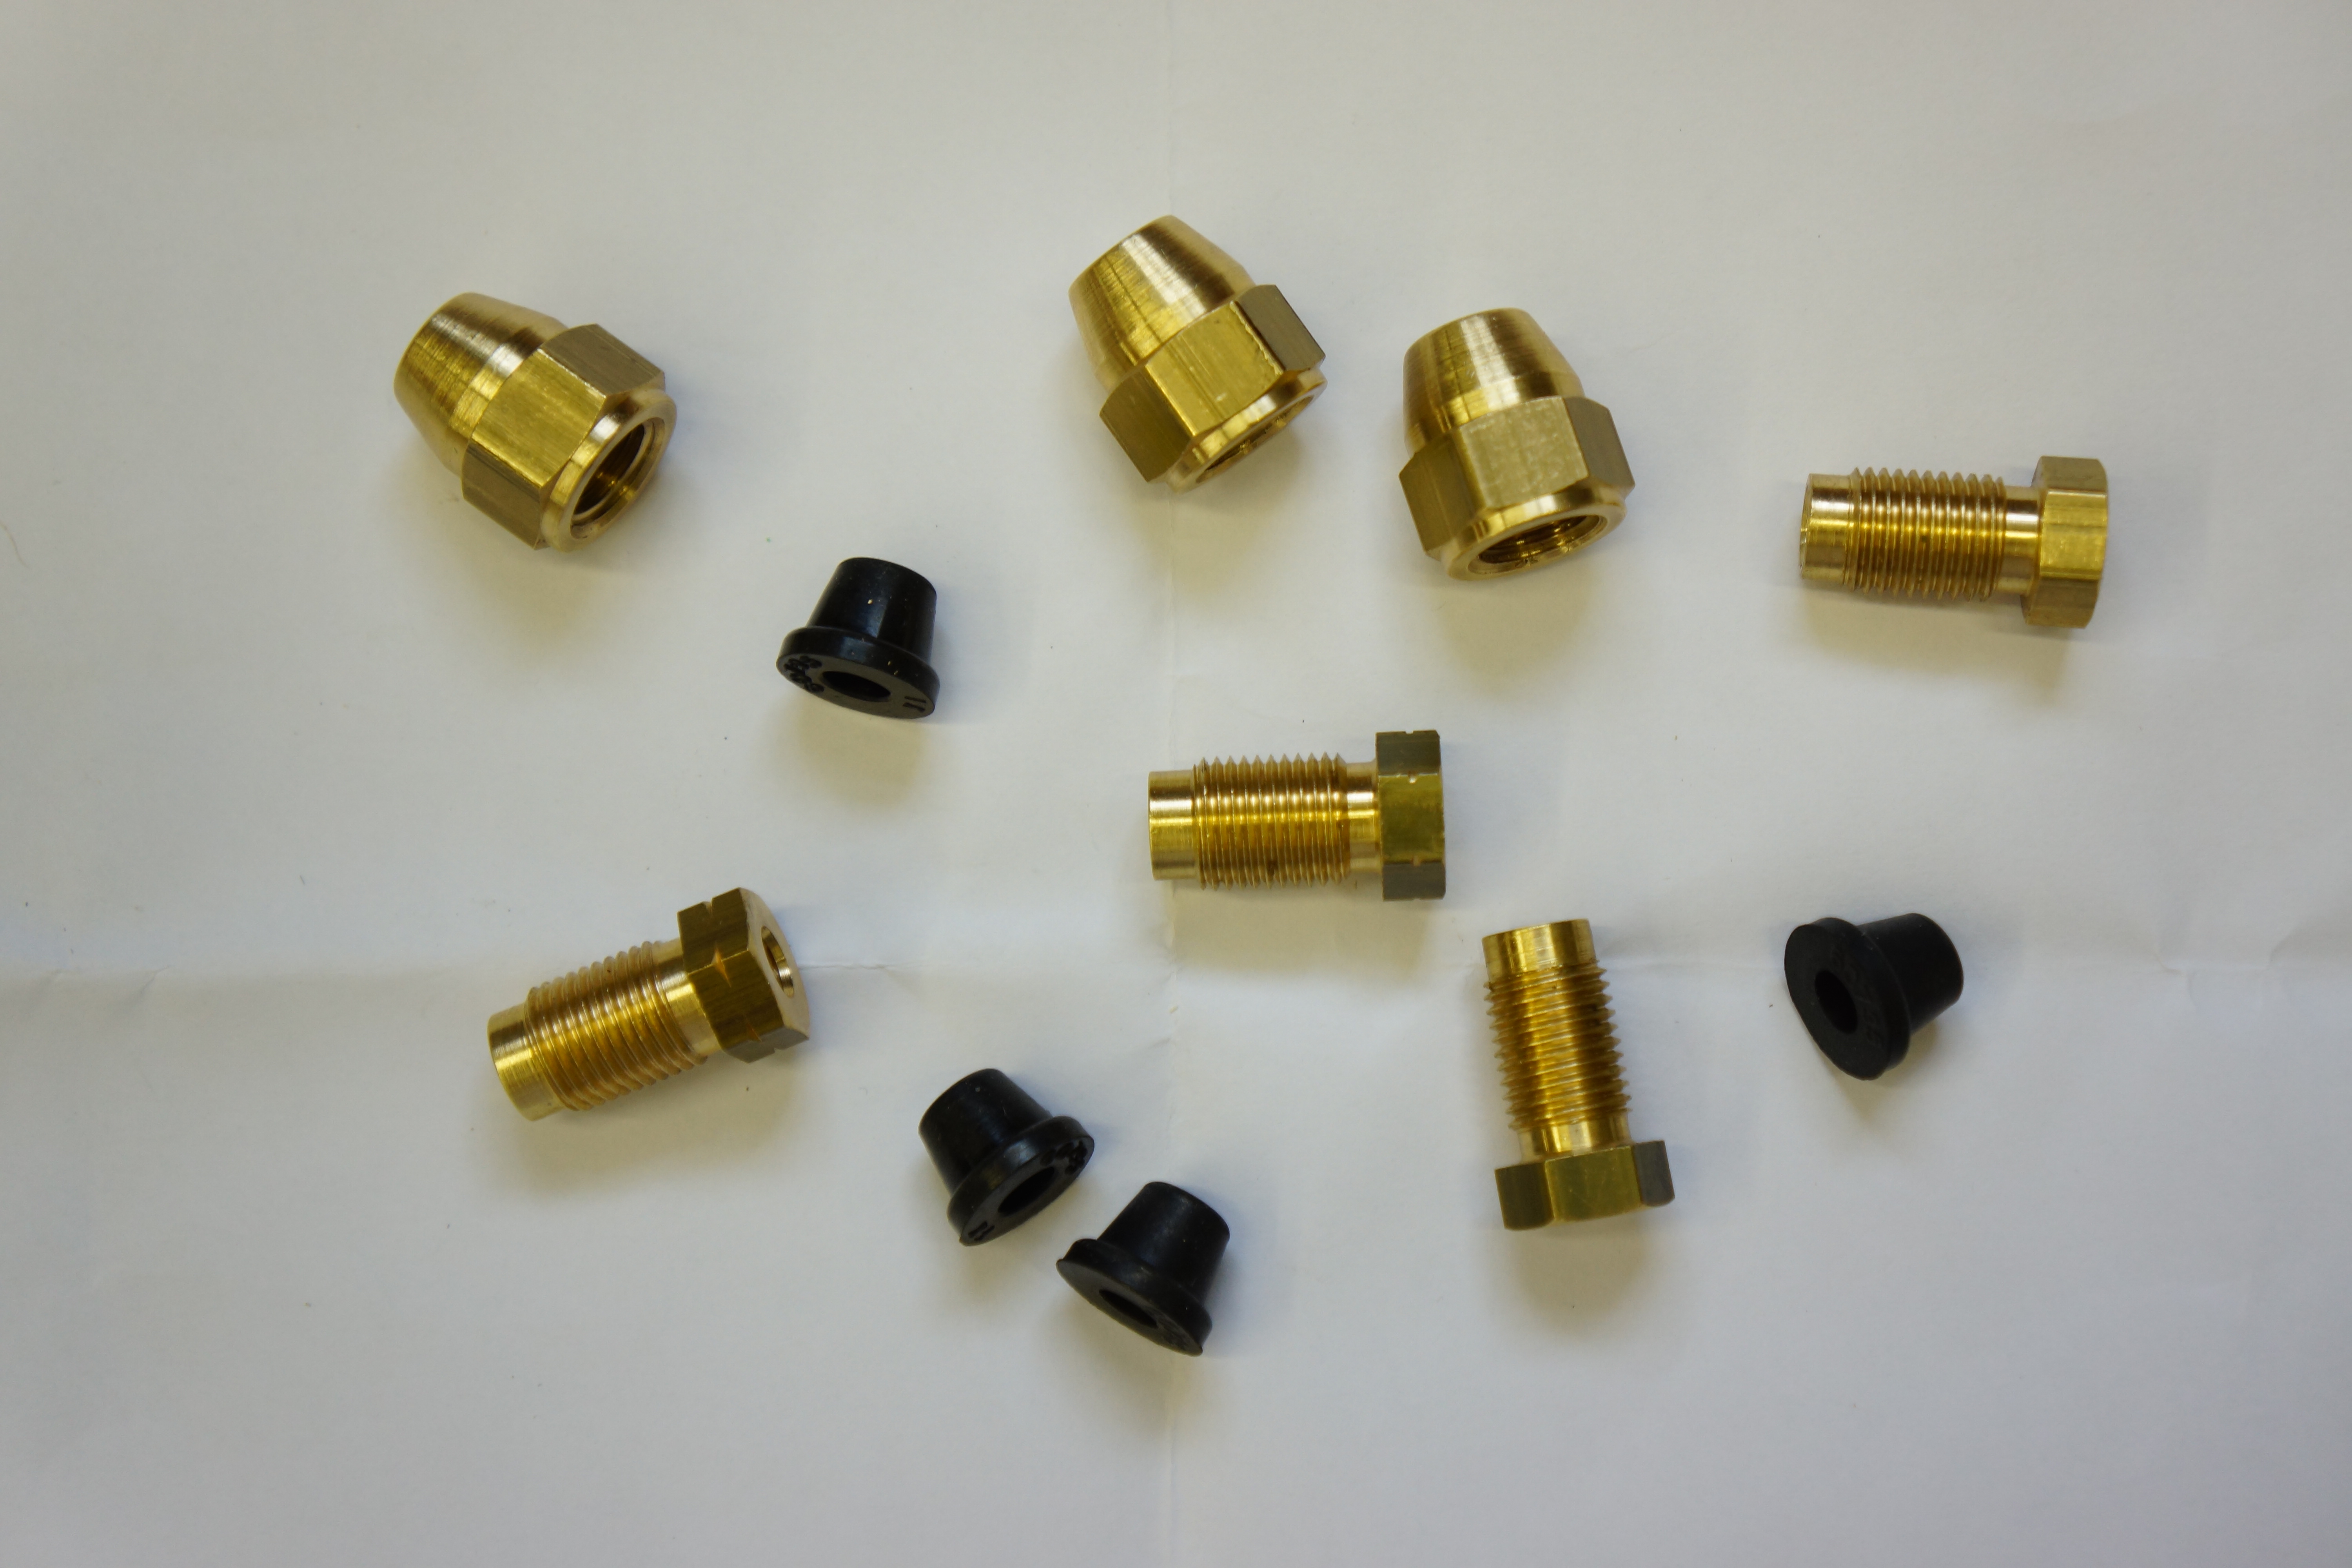
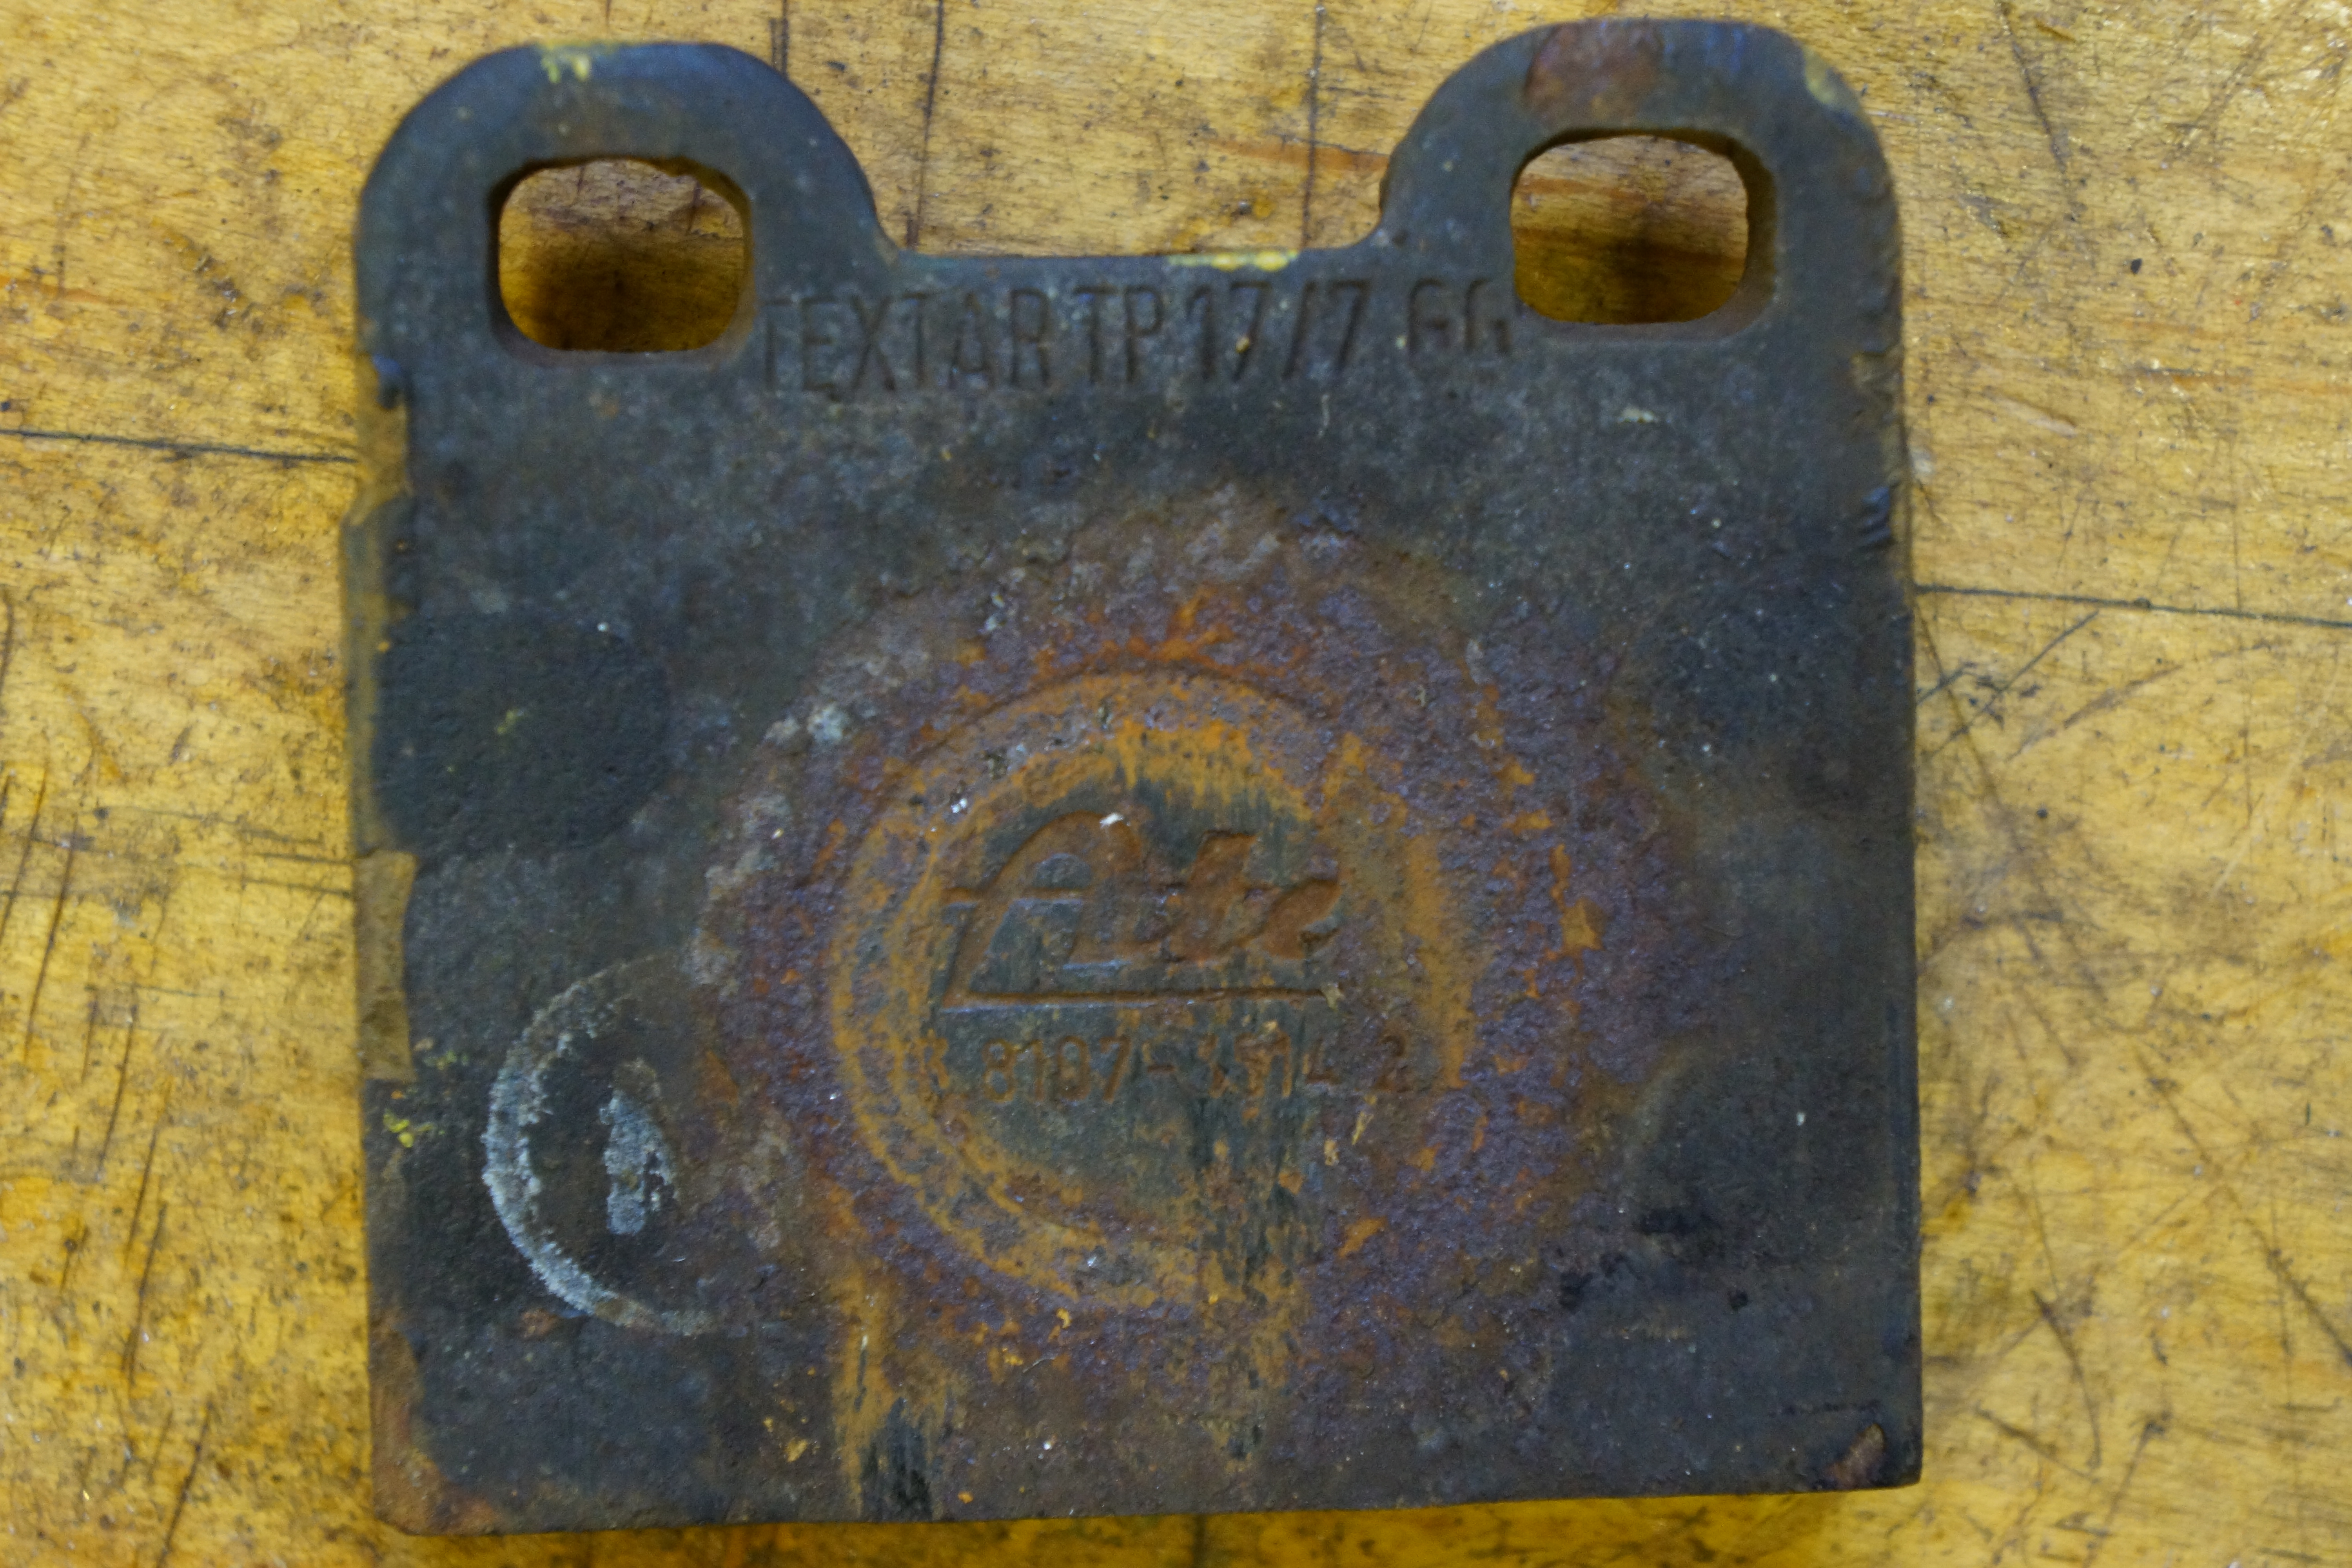
Former owner Pete must have replaced them at one point, because I had an old set among the spares he had given me. Checking the website of my favorite (really only) parts supplier Classic Alfa, I saw that they had a carburetor gasket kit for $35, and new carb mounts for $25 each. That all seemed reasonable enough, and as usual, my order arrived from the UK 48 hours after I placed it. I was ready to get to work.

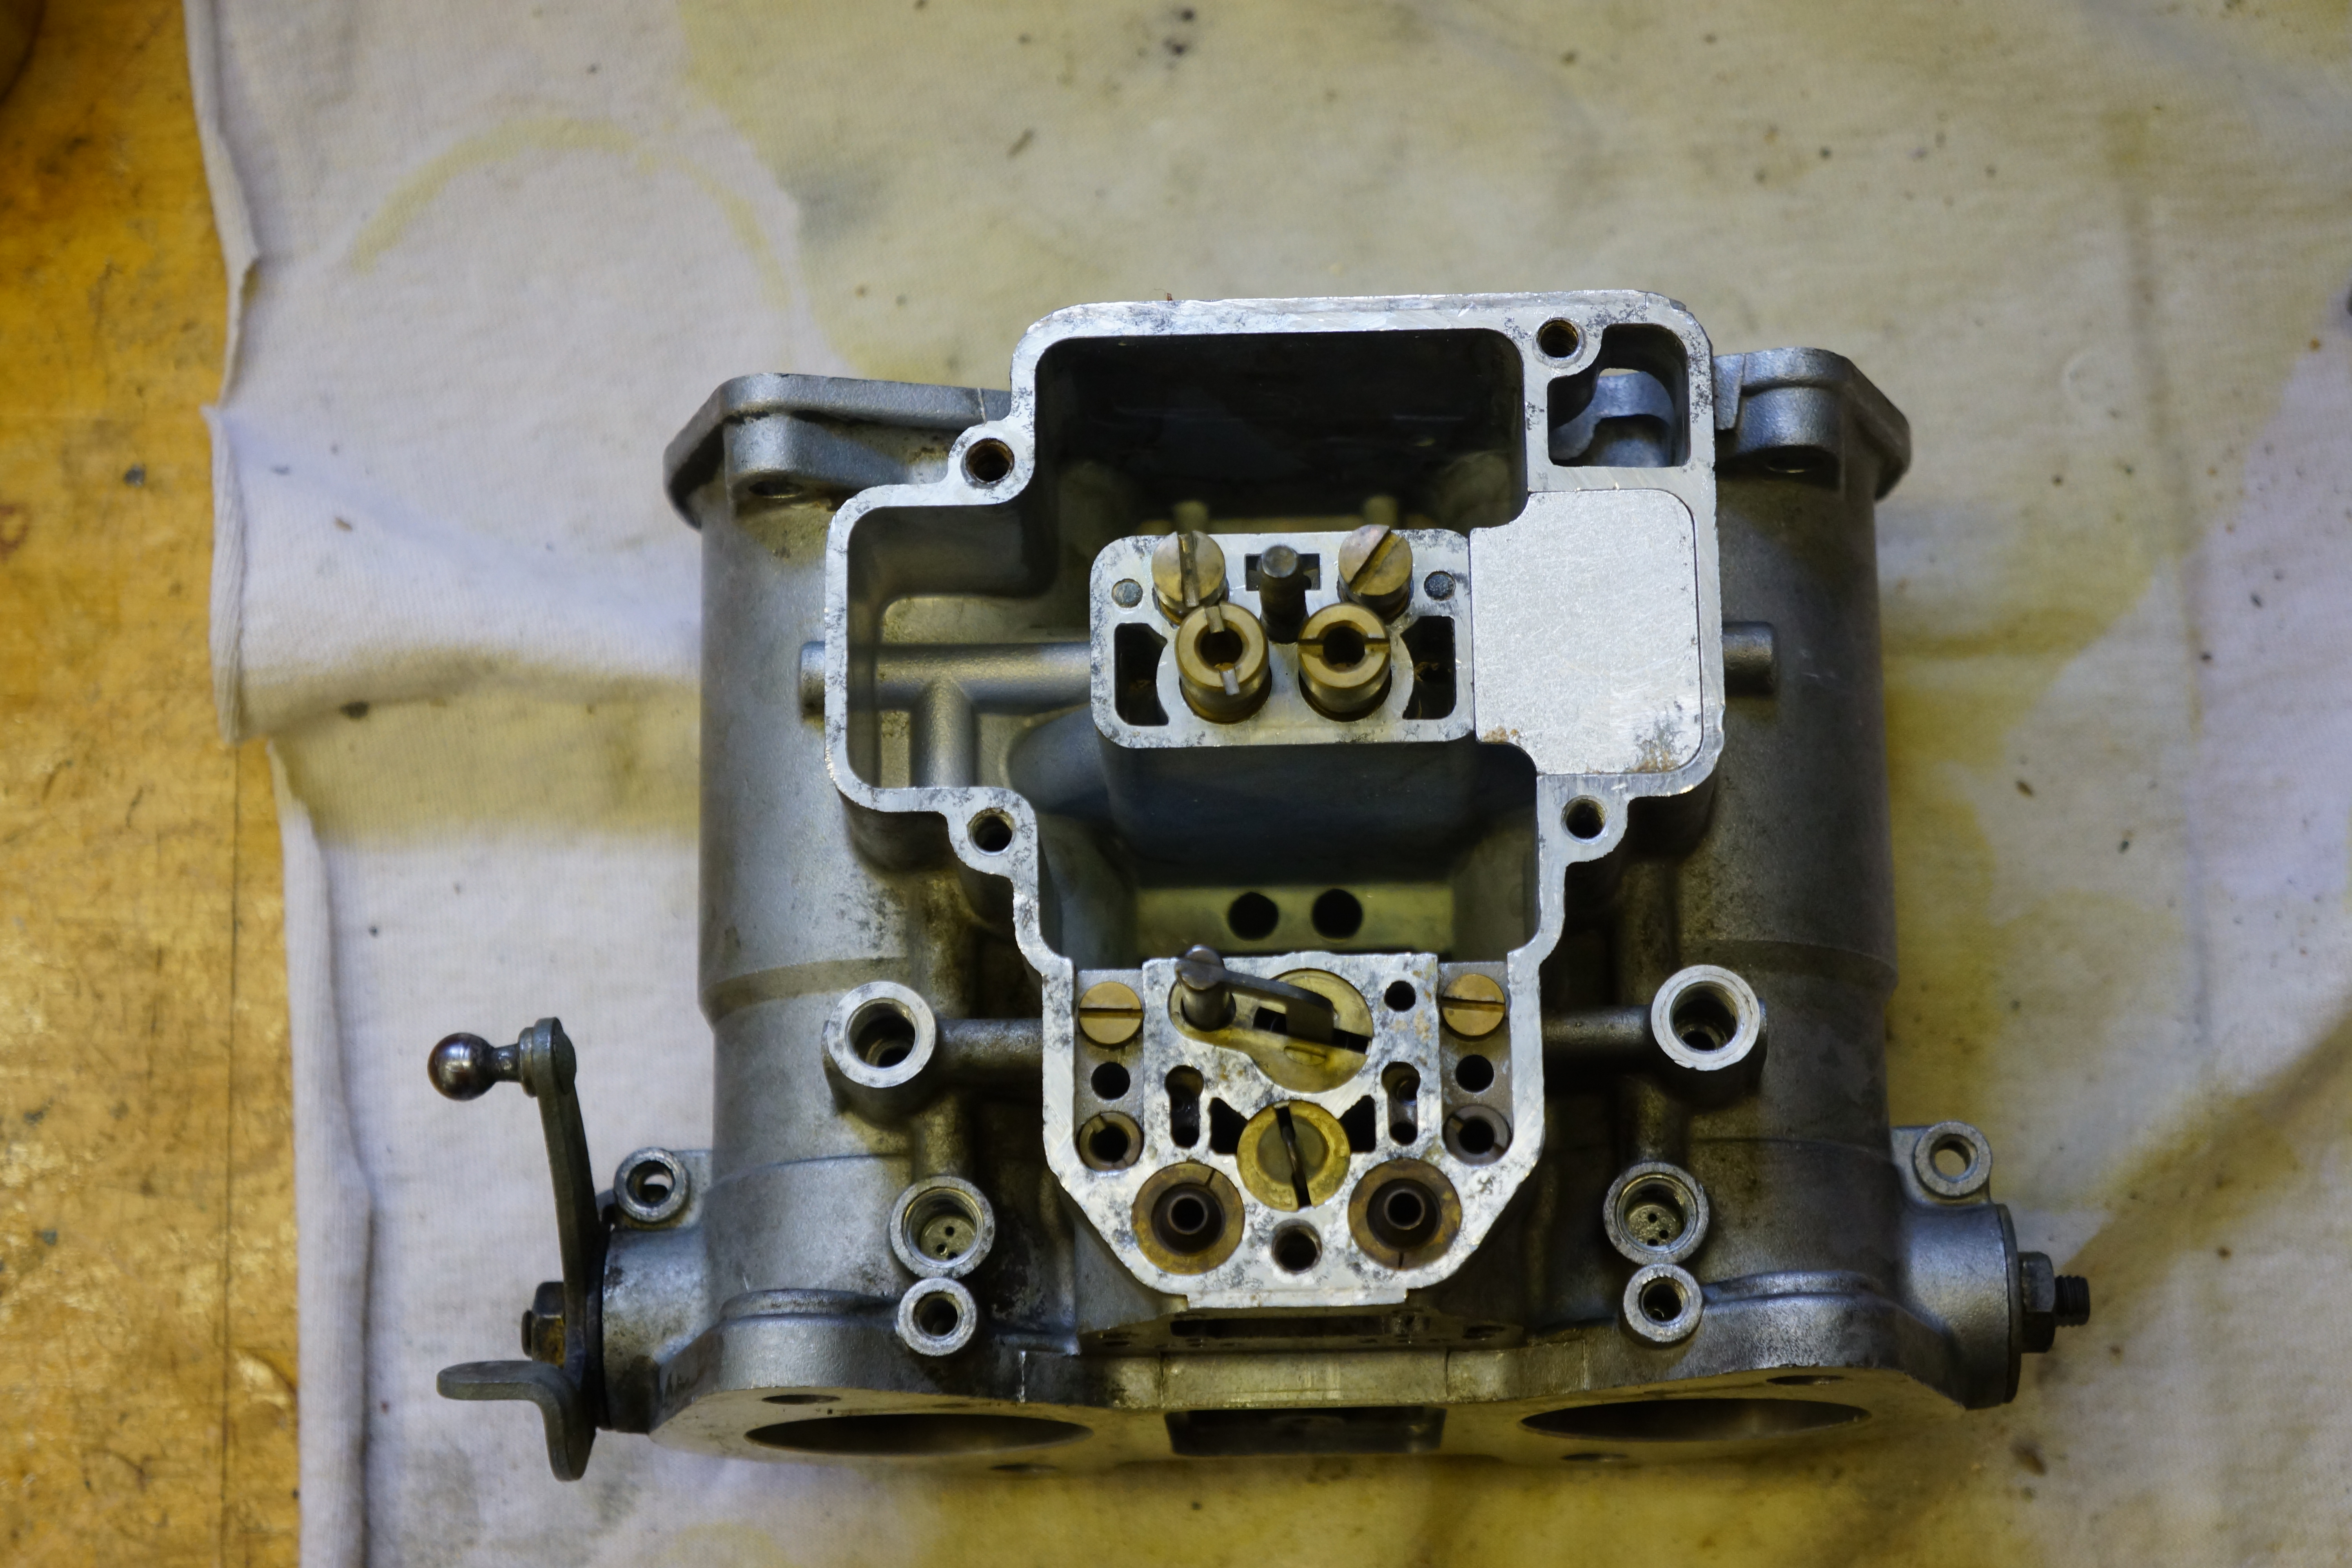
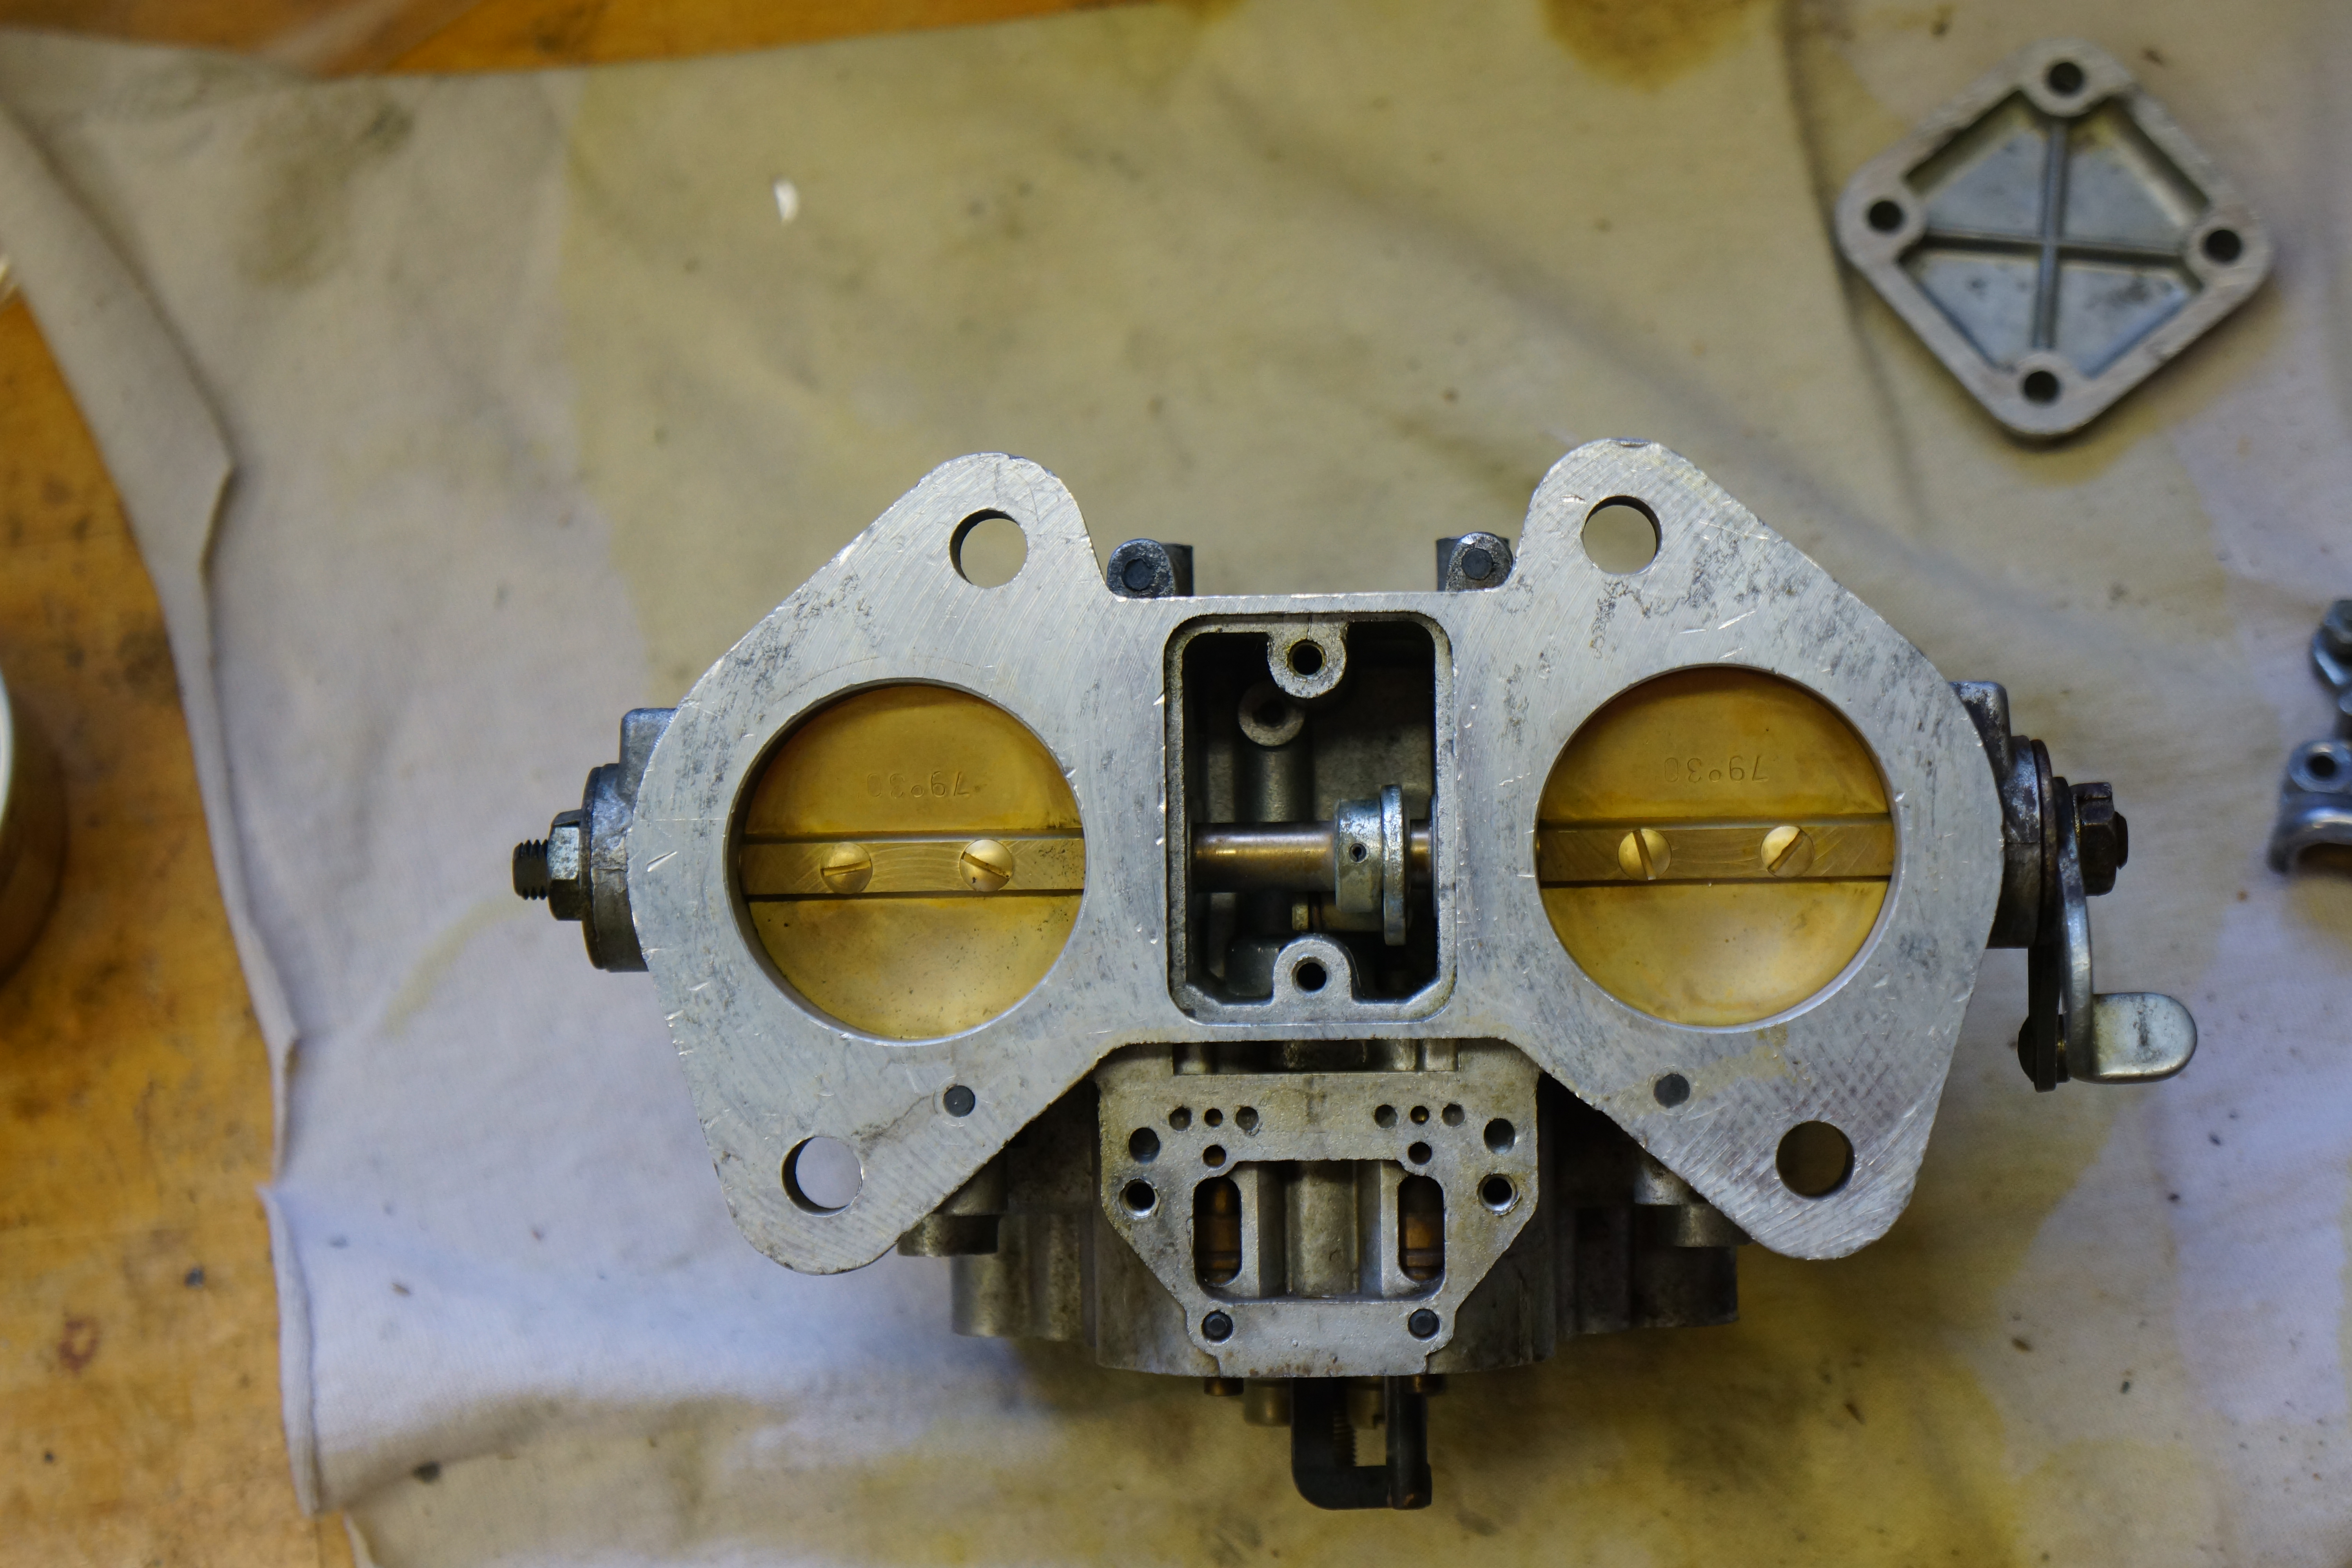
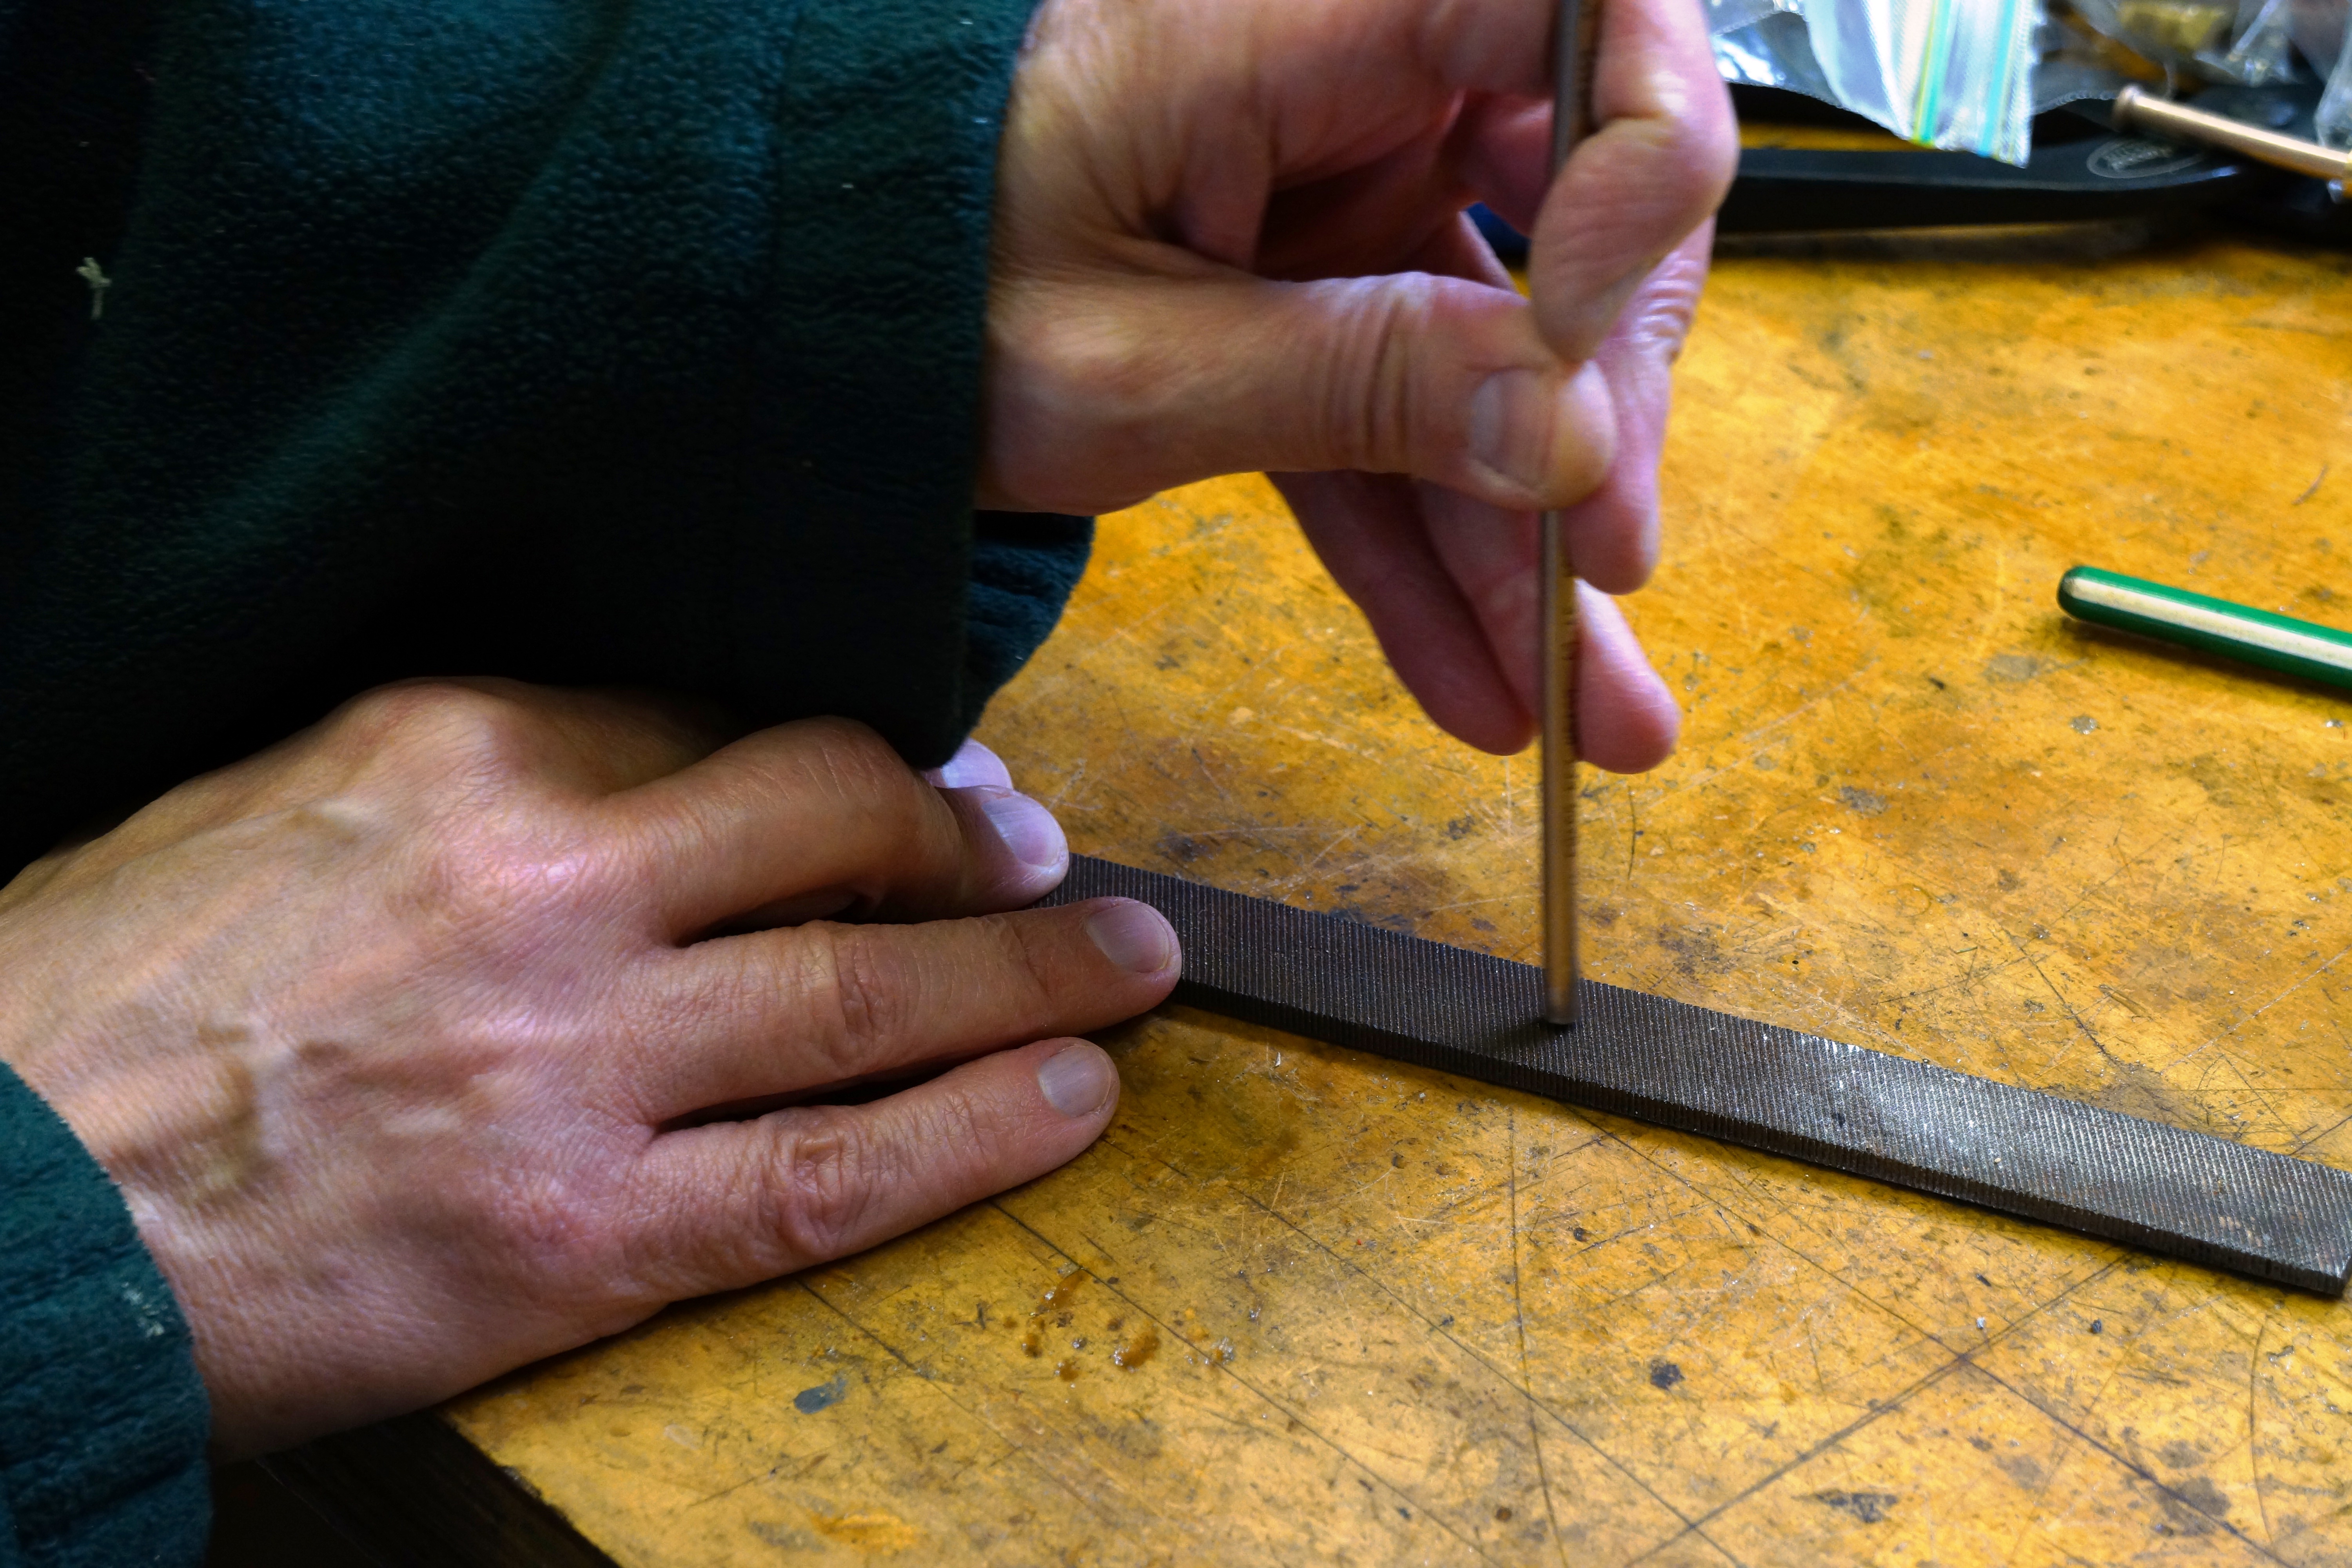
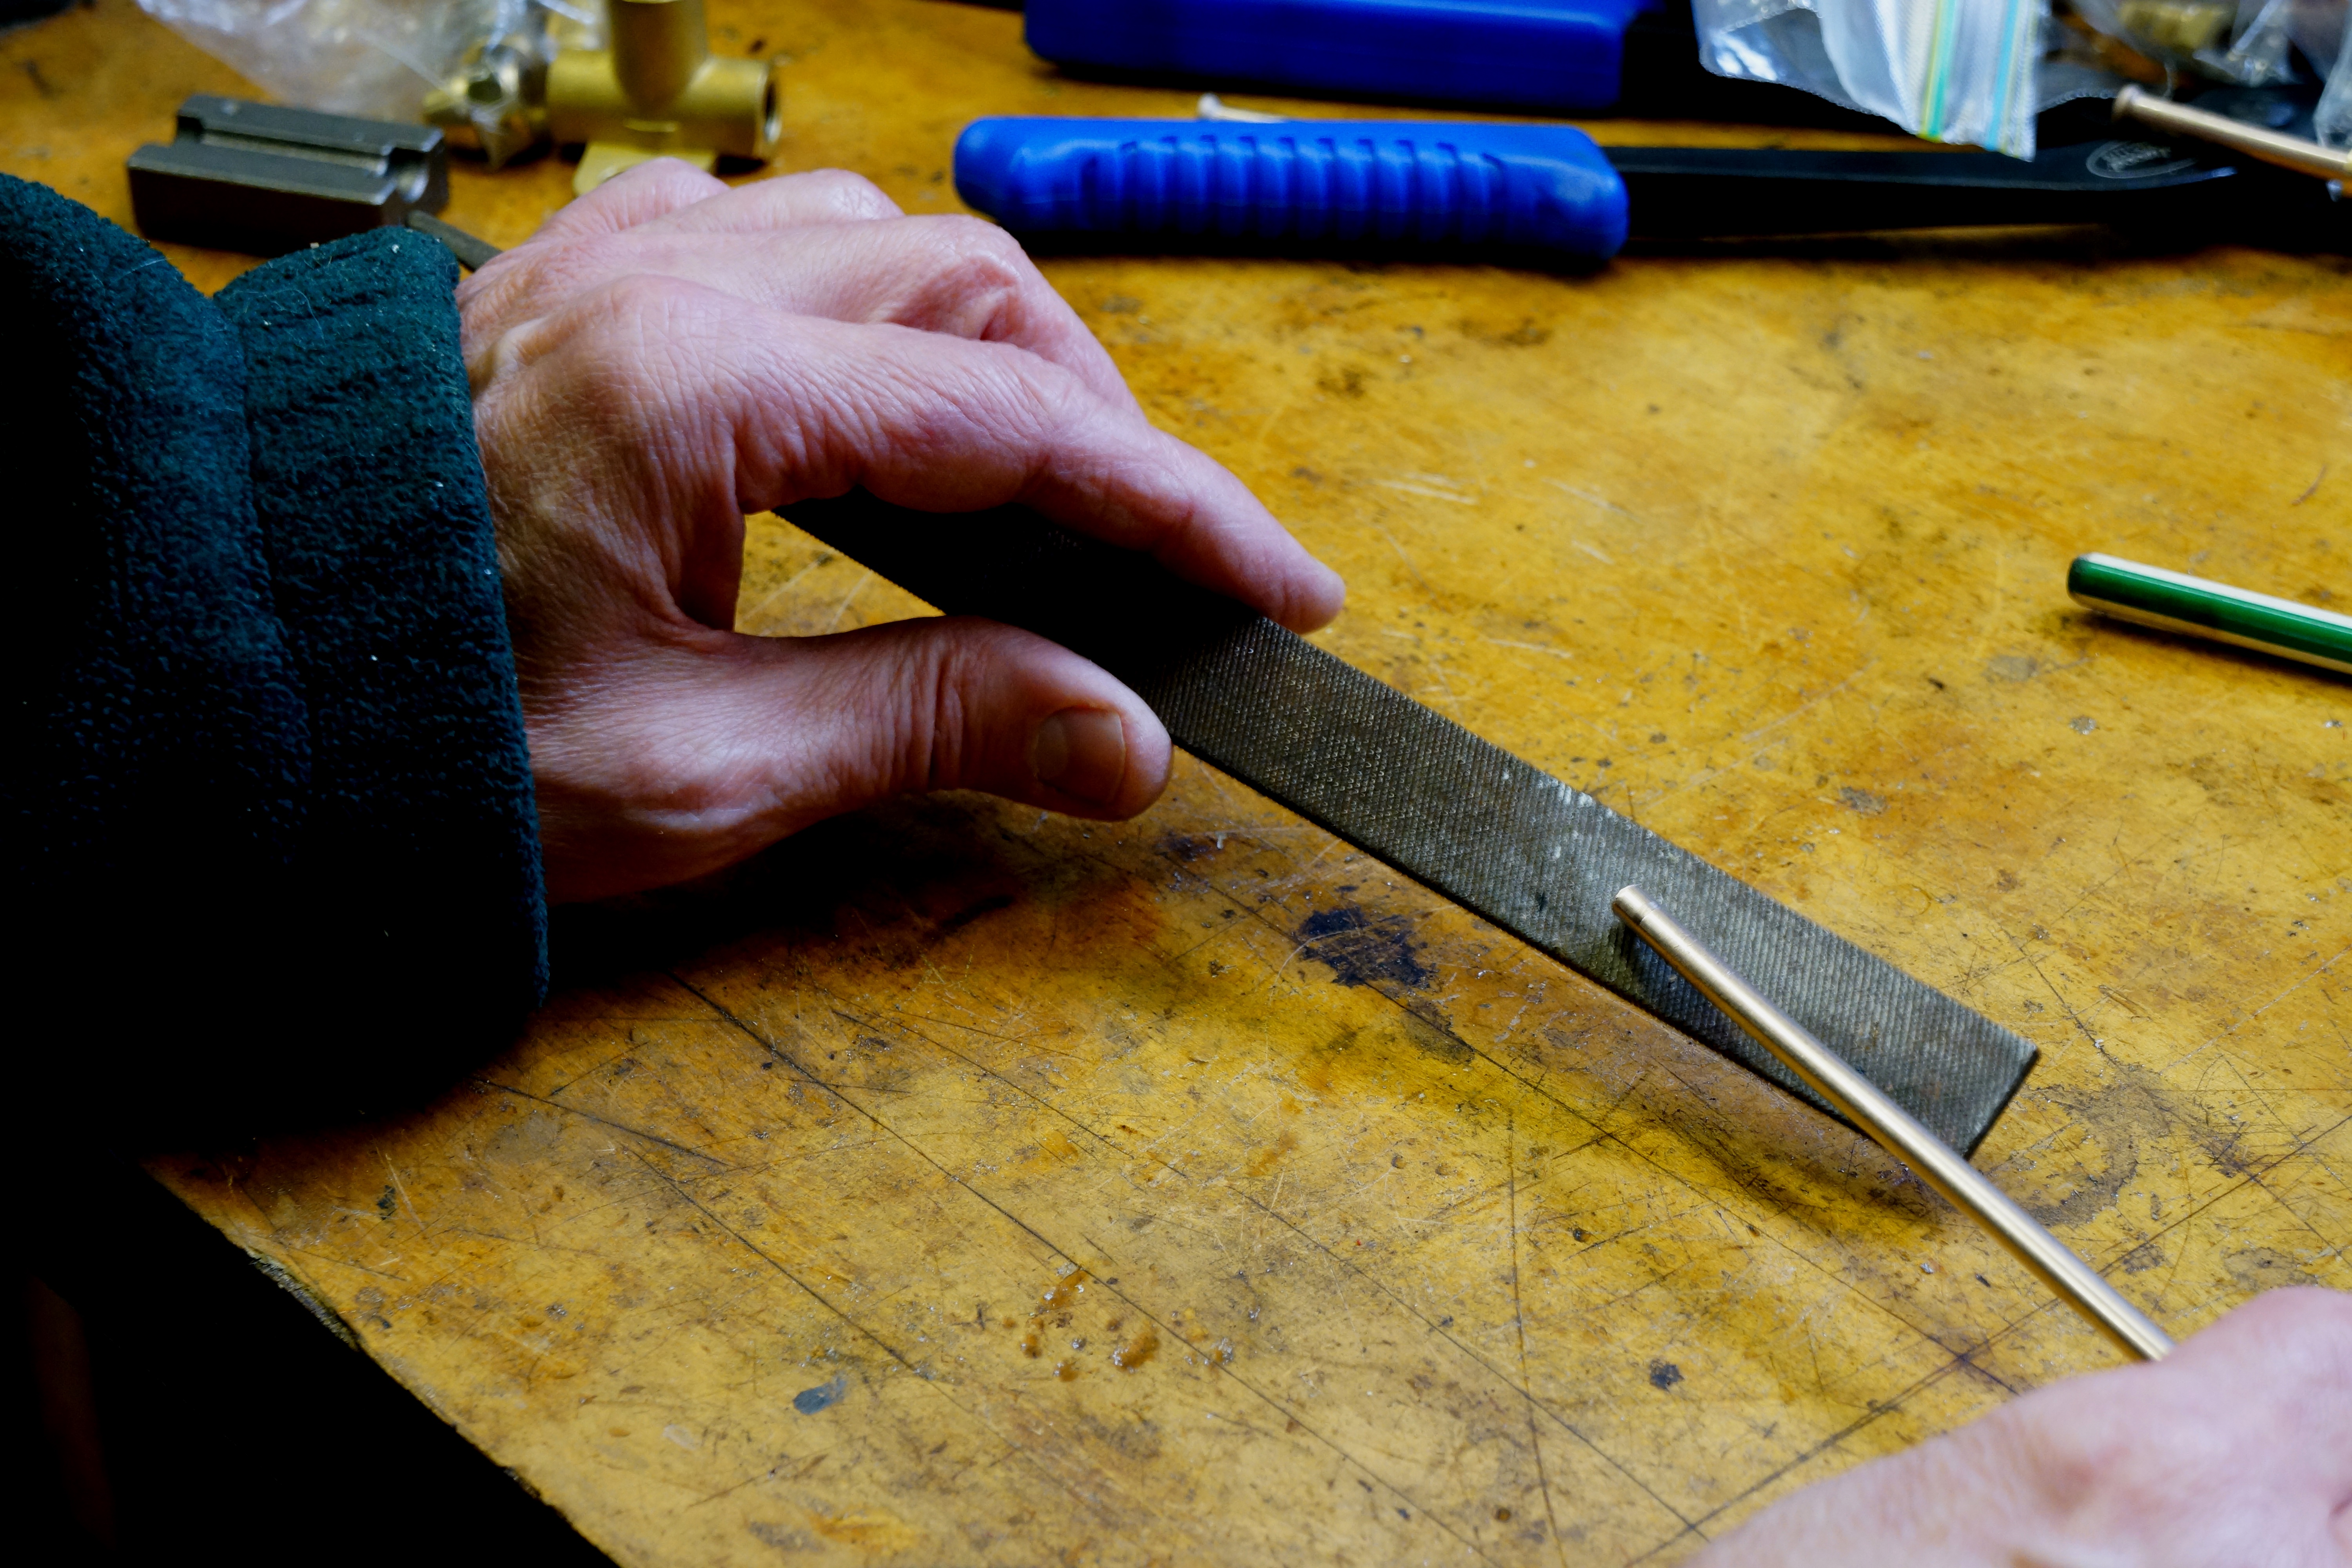
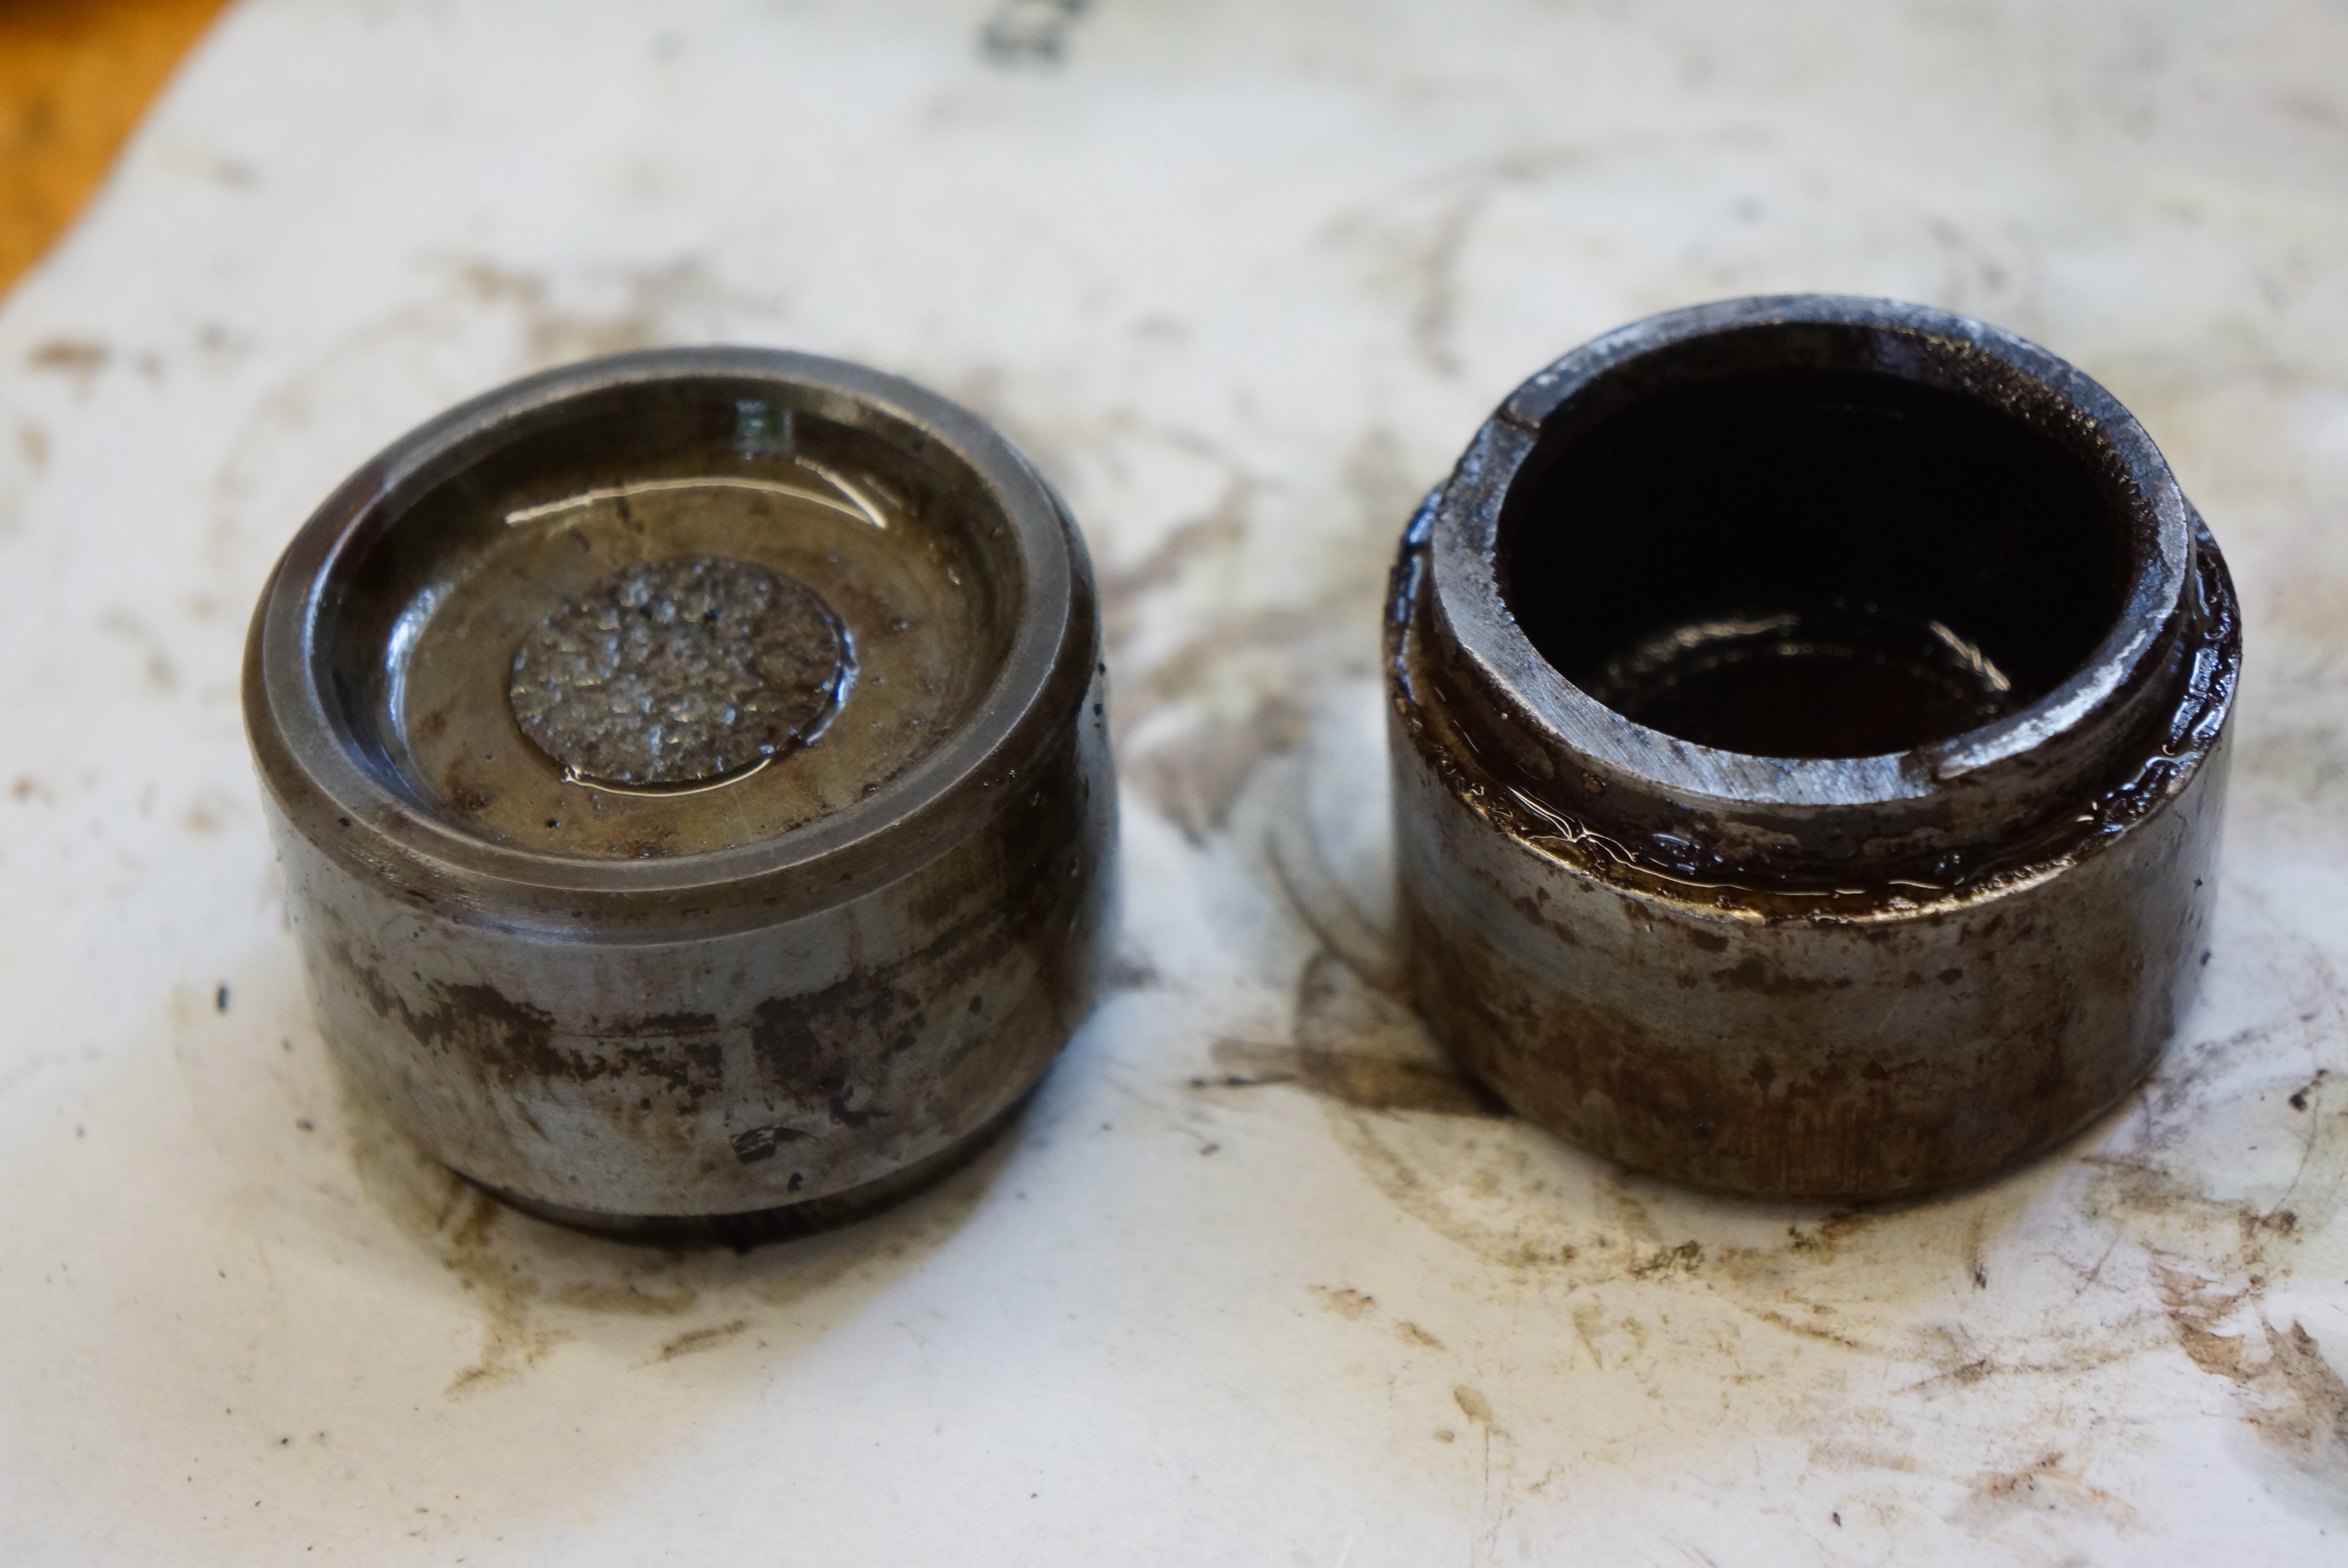
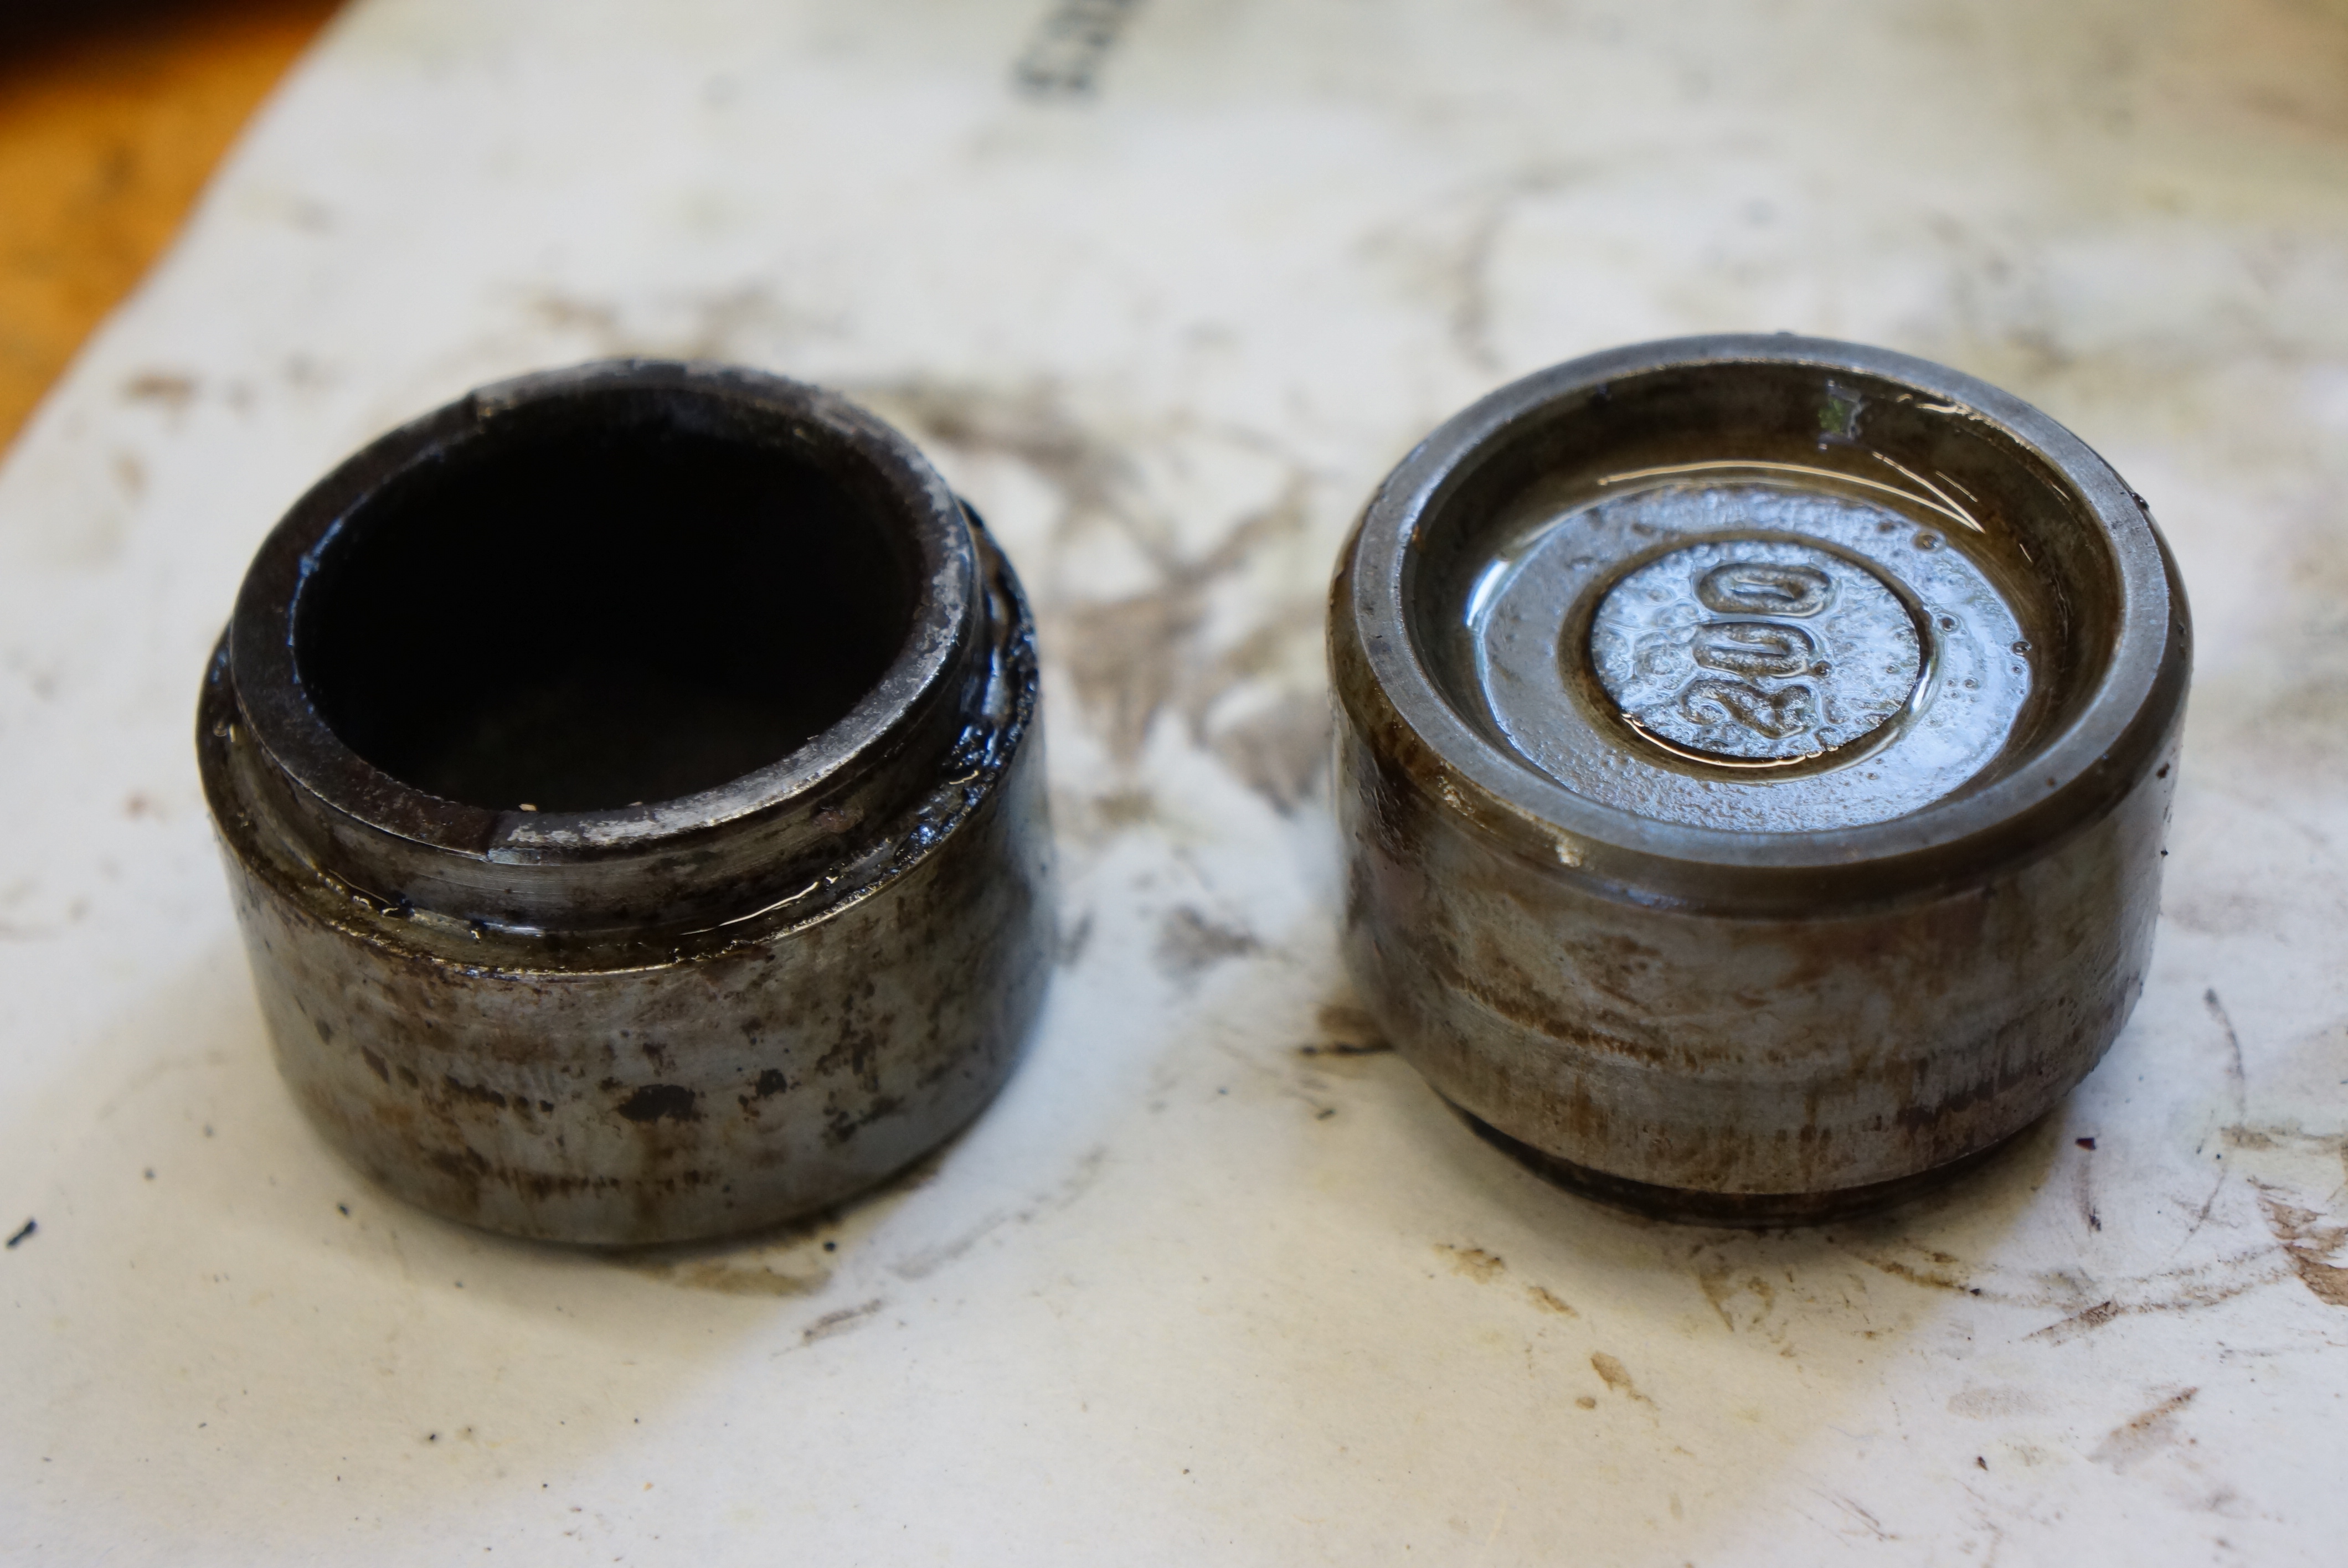
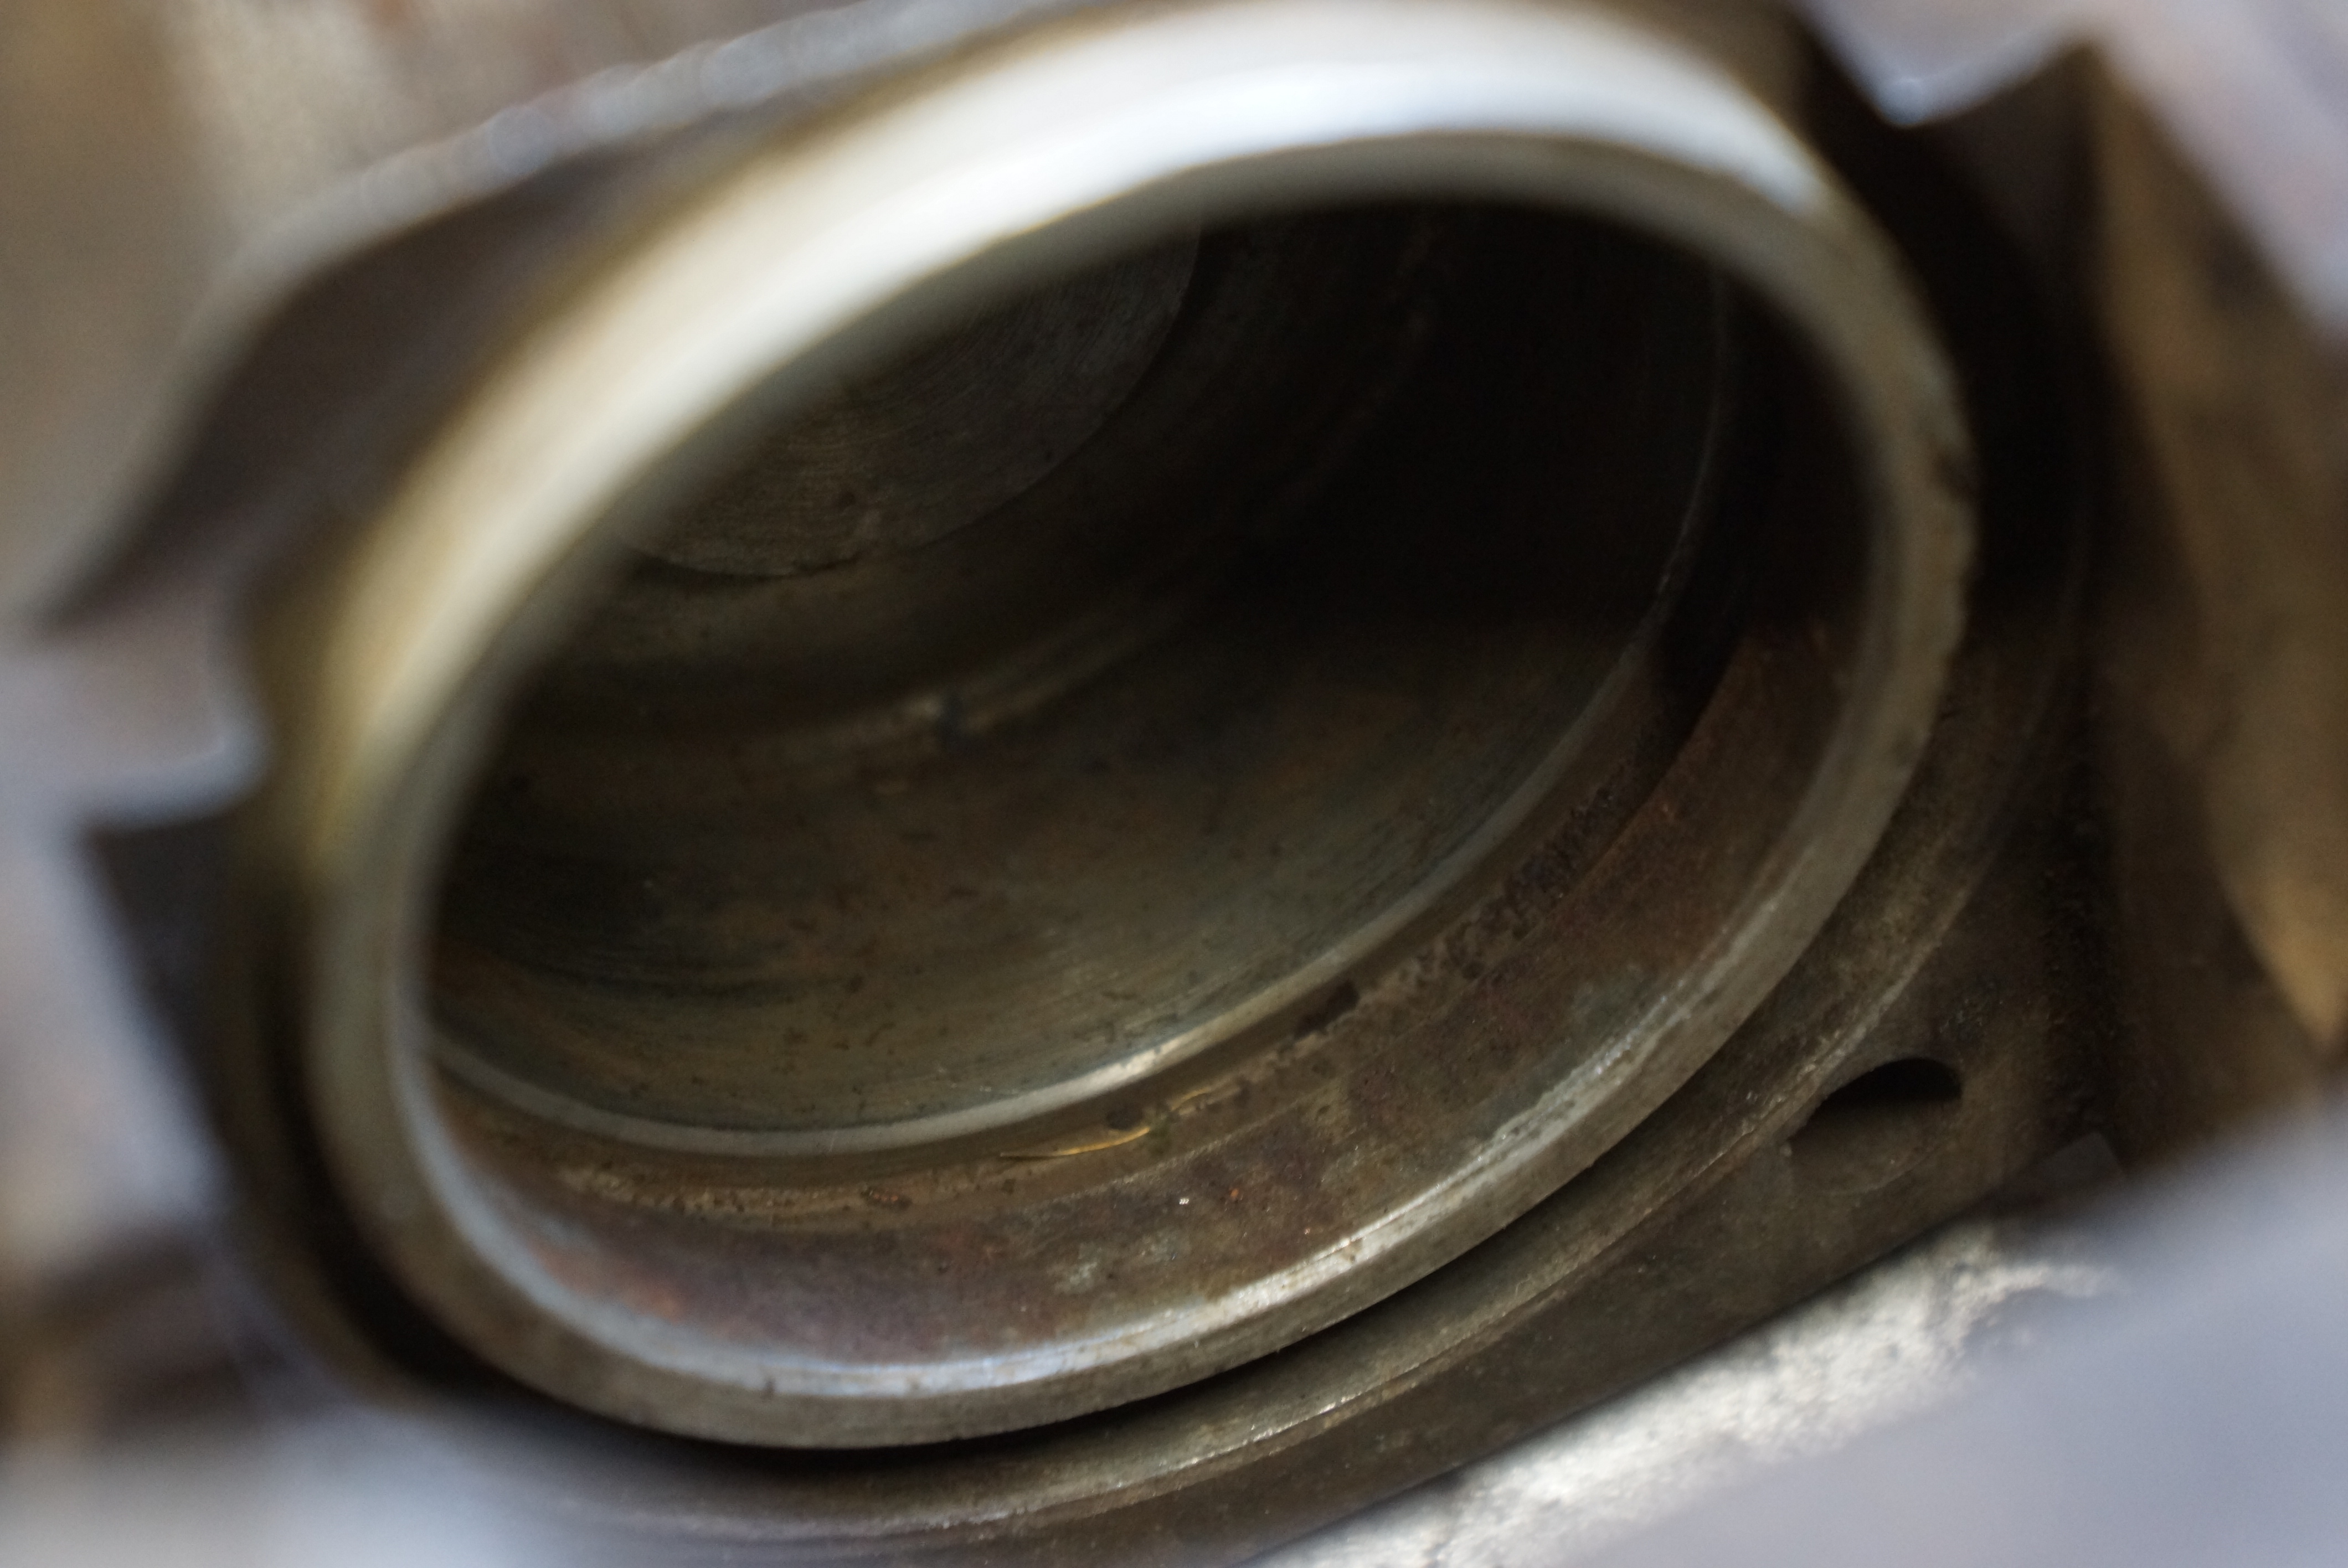
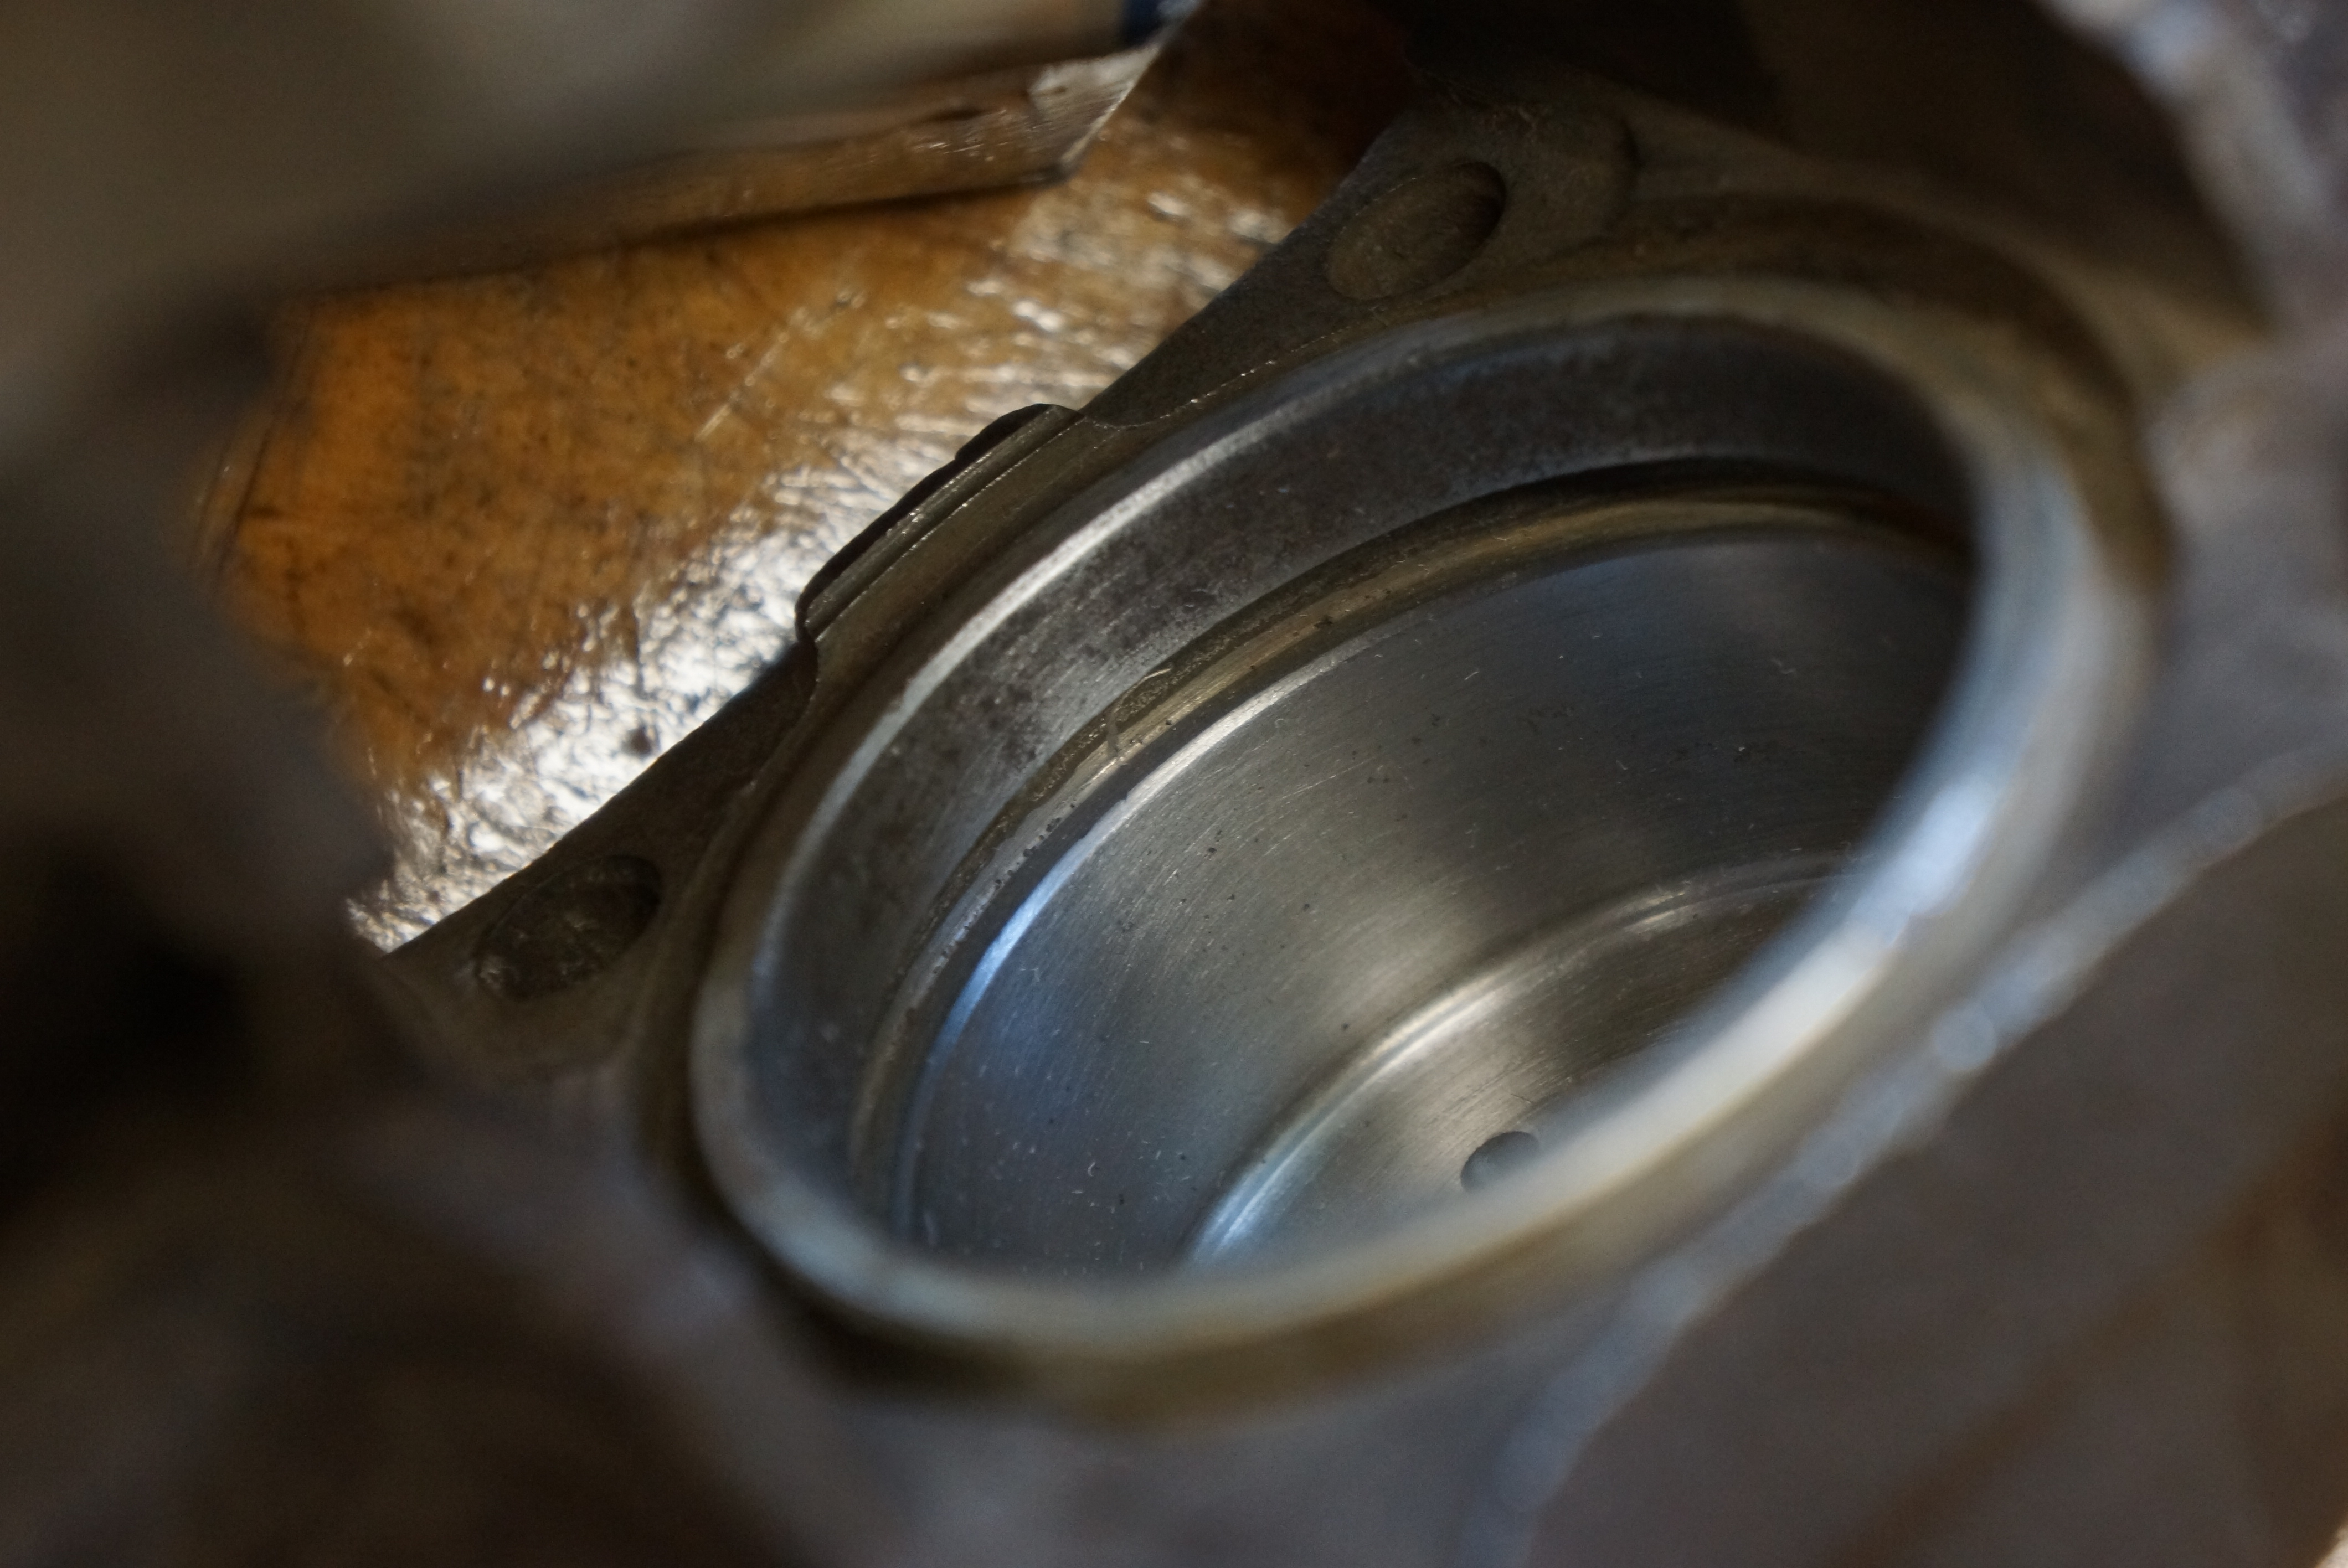
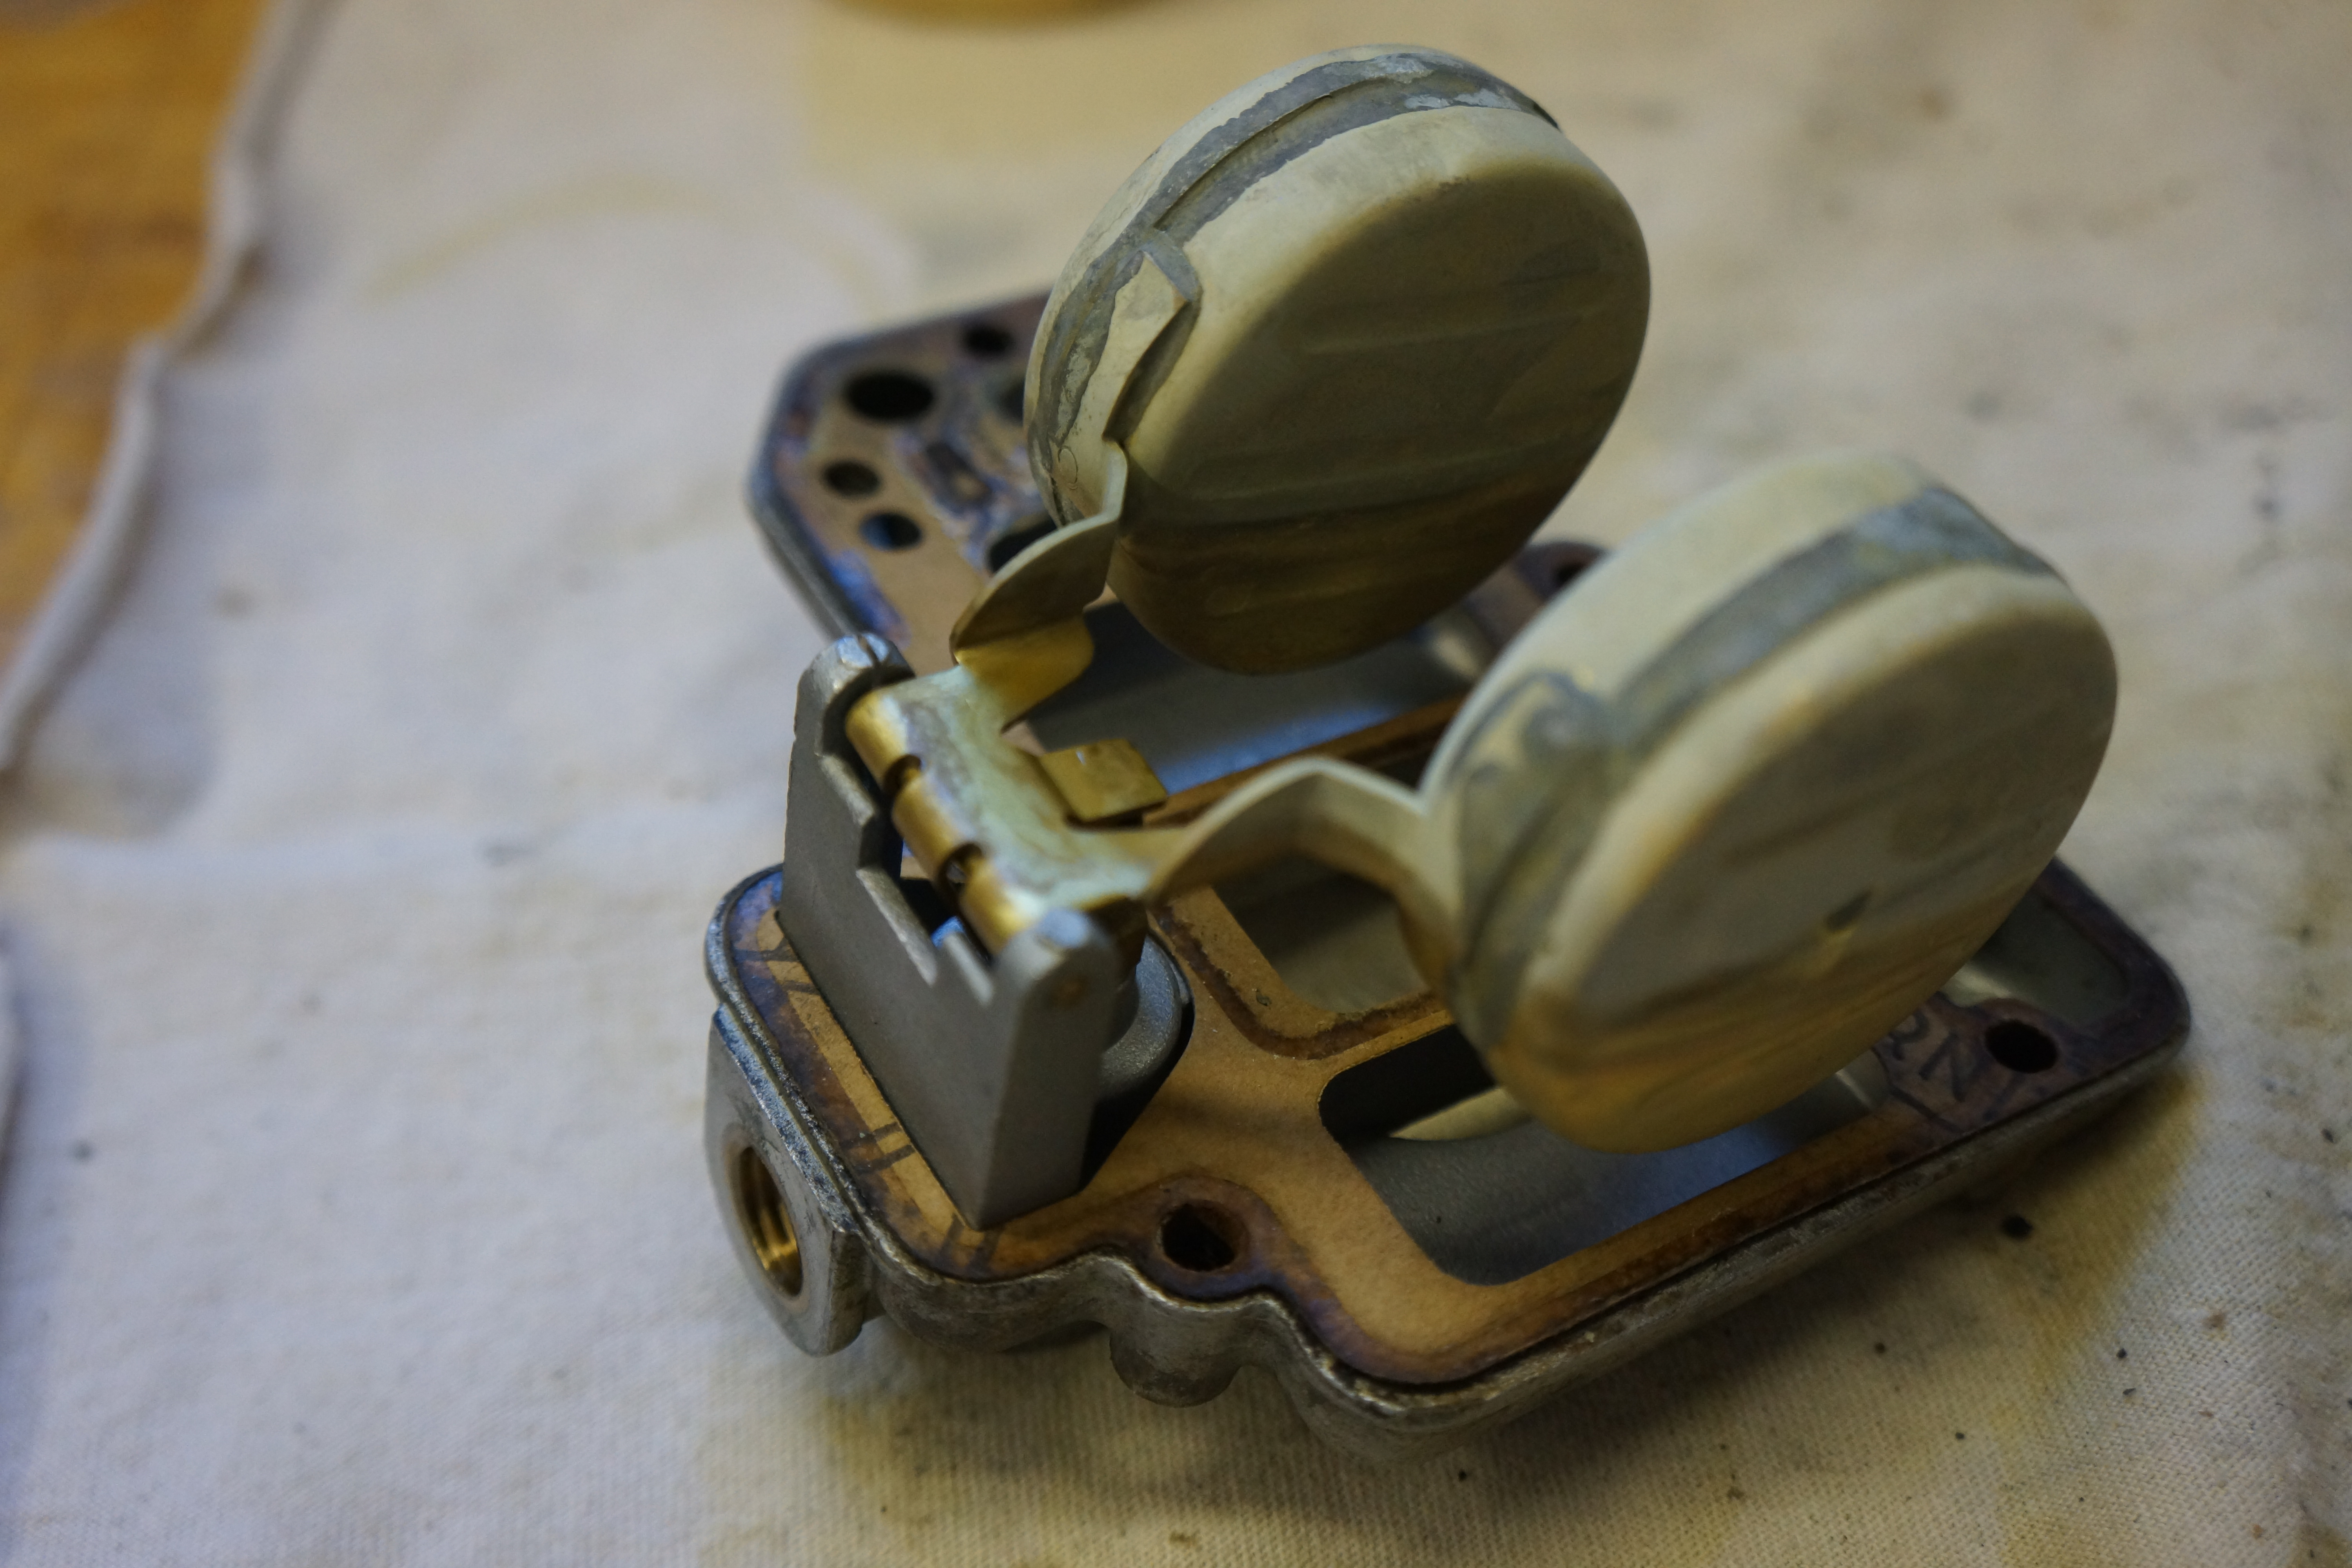
It was important for me to stay focused on the goal: I wanted to clean out the carburetors, inspect them for any obvious faults, then reassemble them using all new gaskets. Perhaps it’s from a lifetime of dealing with old cars, but I do have the habit of over-repairing my vehicles. The issue with Webers is that other than setting the idle mixture, idle speed, and float height, any other adjustments involve a lengthy trial-and-error game of swapping jets. One more time: aside from the fuel leak, the car ran fine. I selected the rear-most carb (the leaker) and removed all the covers.

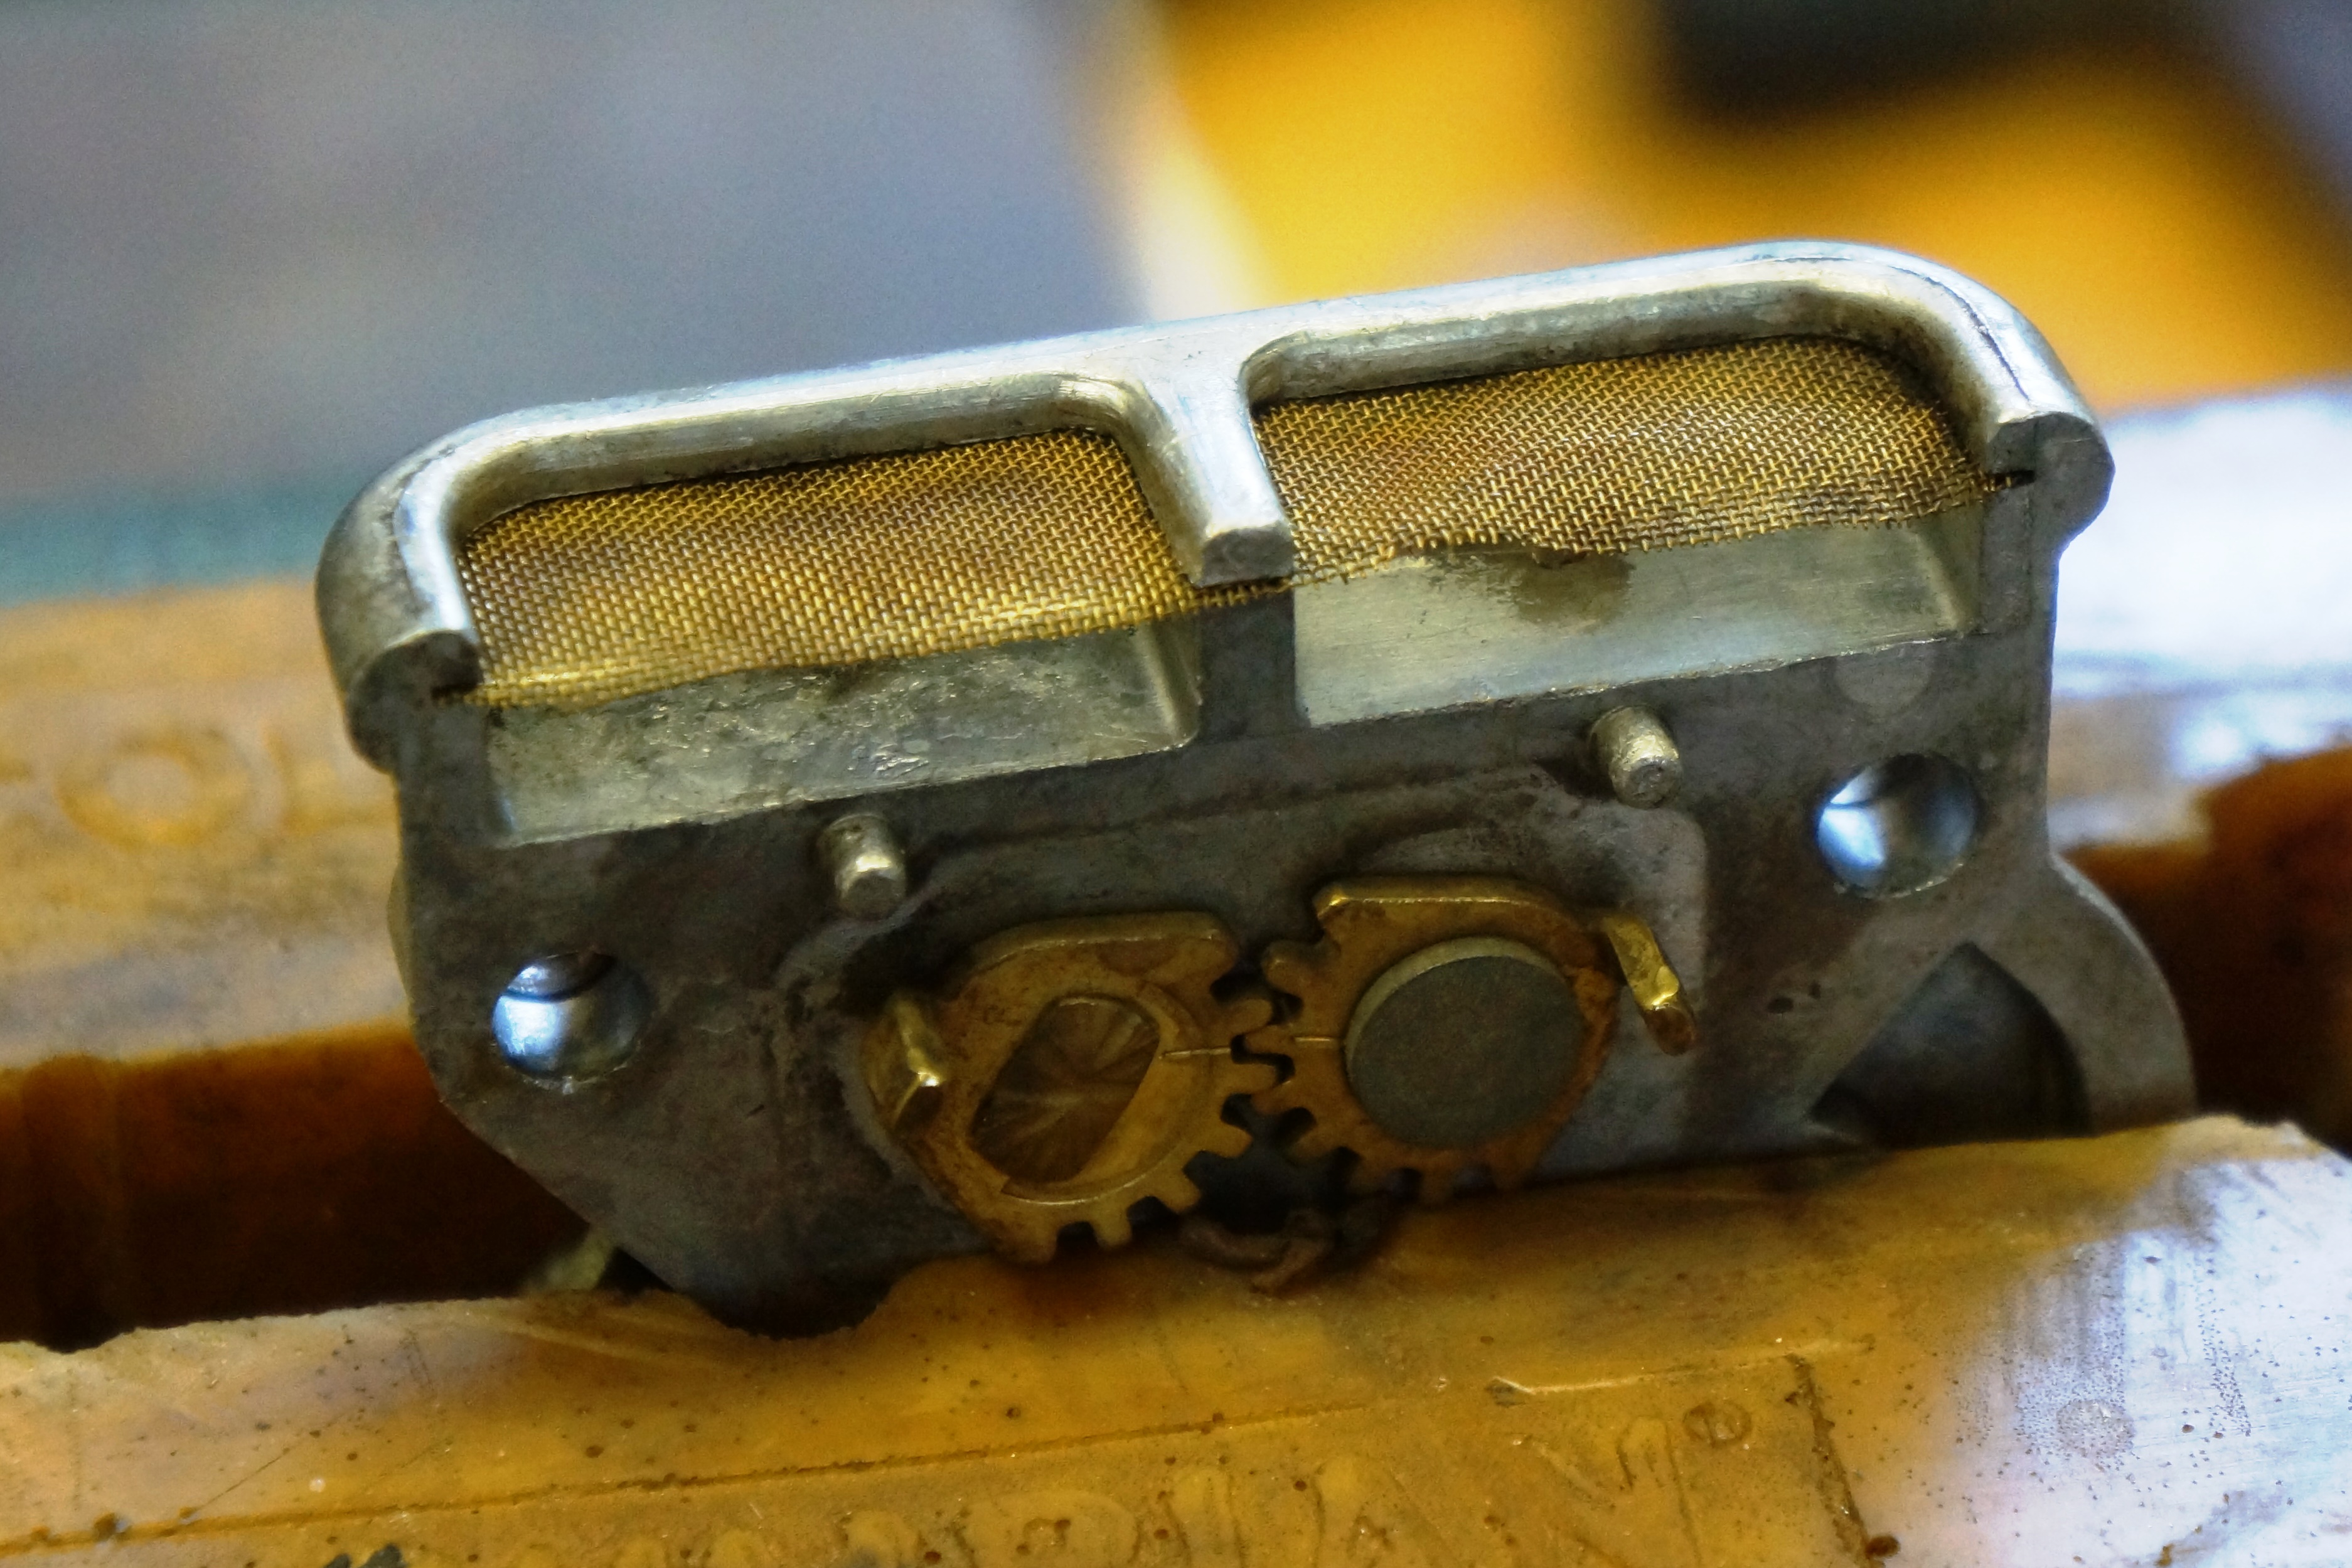
Having several service manuals with exploded diagrams at my side, things didn’t look too bad. There was clearly some dirt built up, but no obvious faults or defects as far as I could see. Numerous cans of Gumout were emptied to clean things up, and I’ve been pleased with the progress. The float needs to be carefully measured and adjusted, and once that’s done, reassembly will commence, which is where I will pick up next time.


All photographs copyright © 2020 Richard A. Reina. Photos may not be copied or reproduced without express written permission.