Why do I belong to a car club? (I actually belong to five at the moment.) It has its disadvantages. There are dues to pay. Meetings to attend. Activities for which one is “volunteered.” Internal squabbles to irritate one’s nerves. I admit that there are times when some of these rear their ugly heads and make me think twice about my commitment. However, like many relationships, the pros can, and do, outweigh the cons. There are the events spent with like-minded people. The camaraderie. The availability of technical help. The feelings of accomplishment. The NJ Region of the AACA (Antique Automobile Club of America) had been a regular part of my life for over fifteen years, and overall, it’s been a great ride.
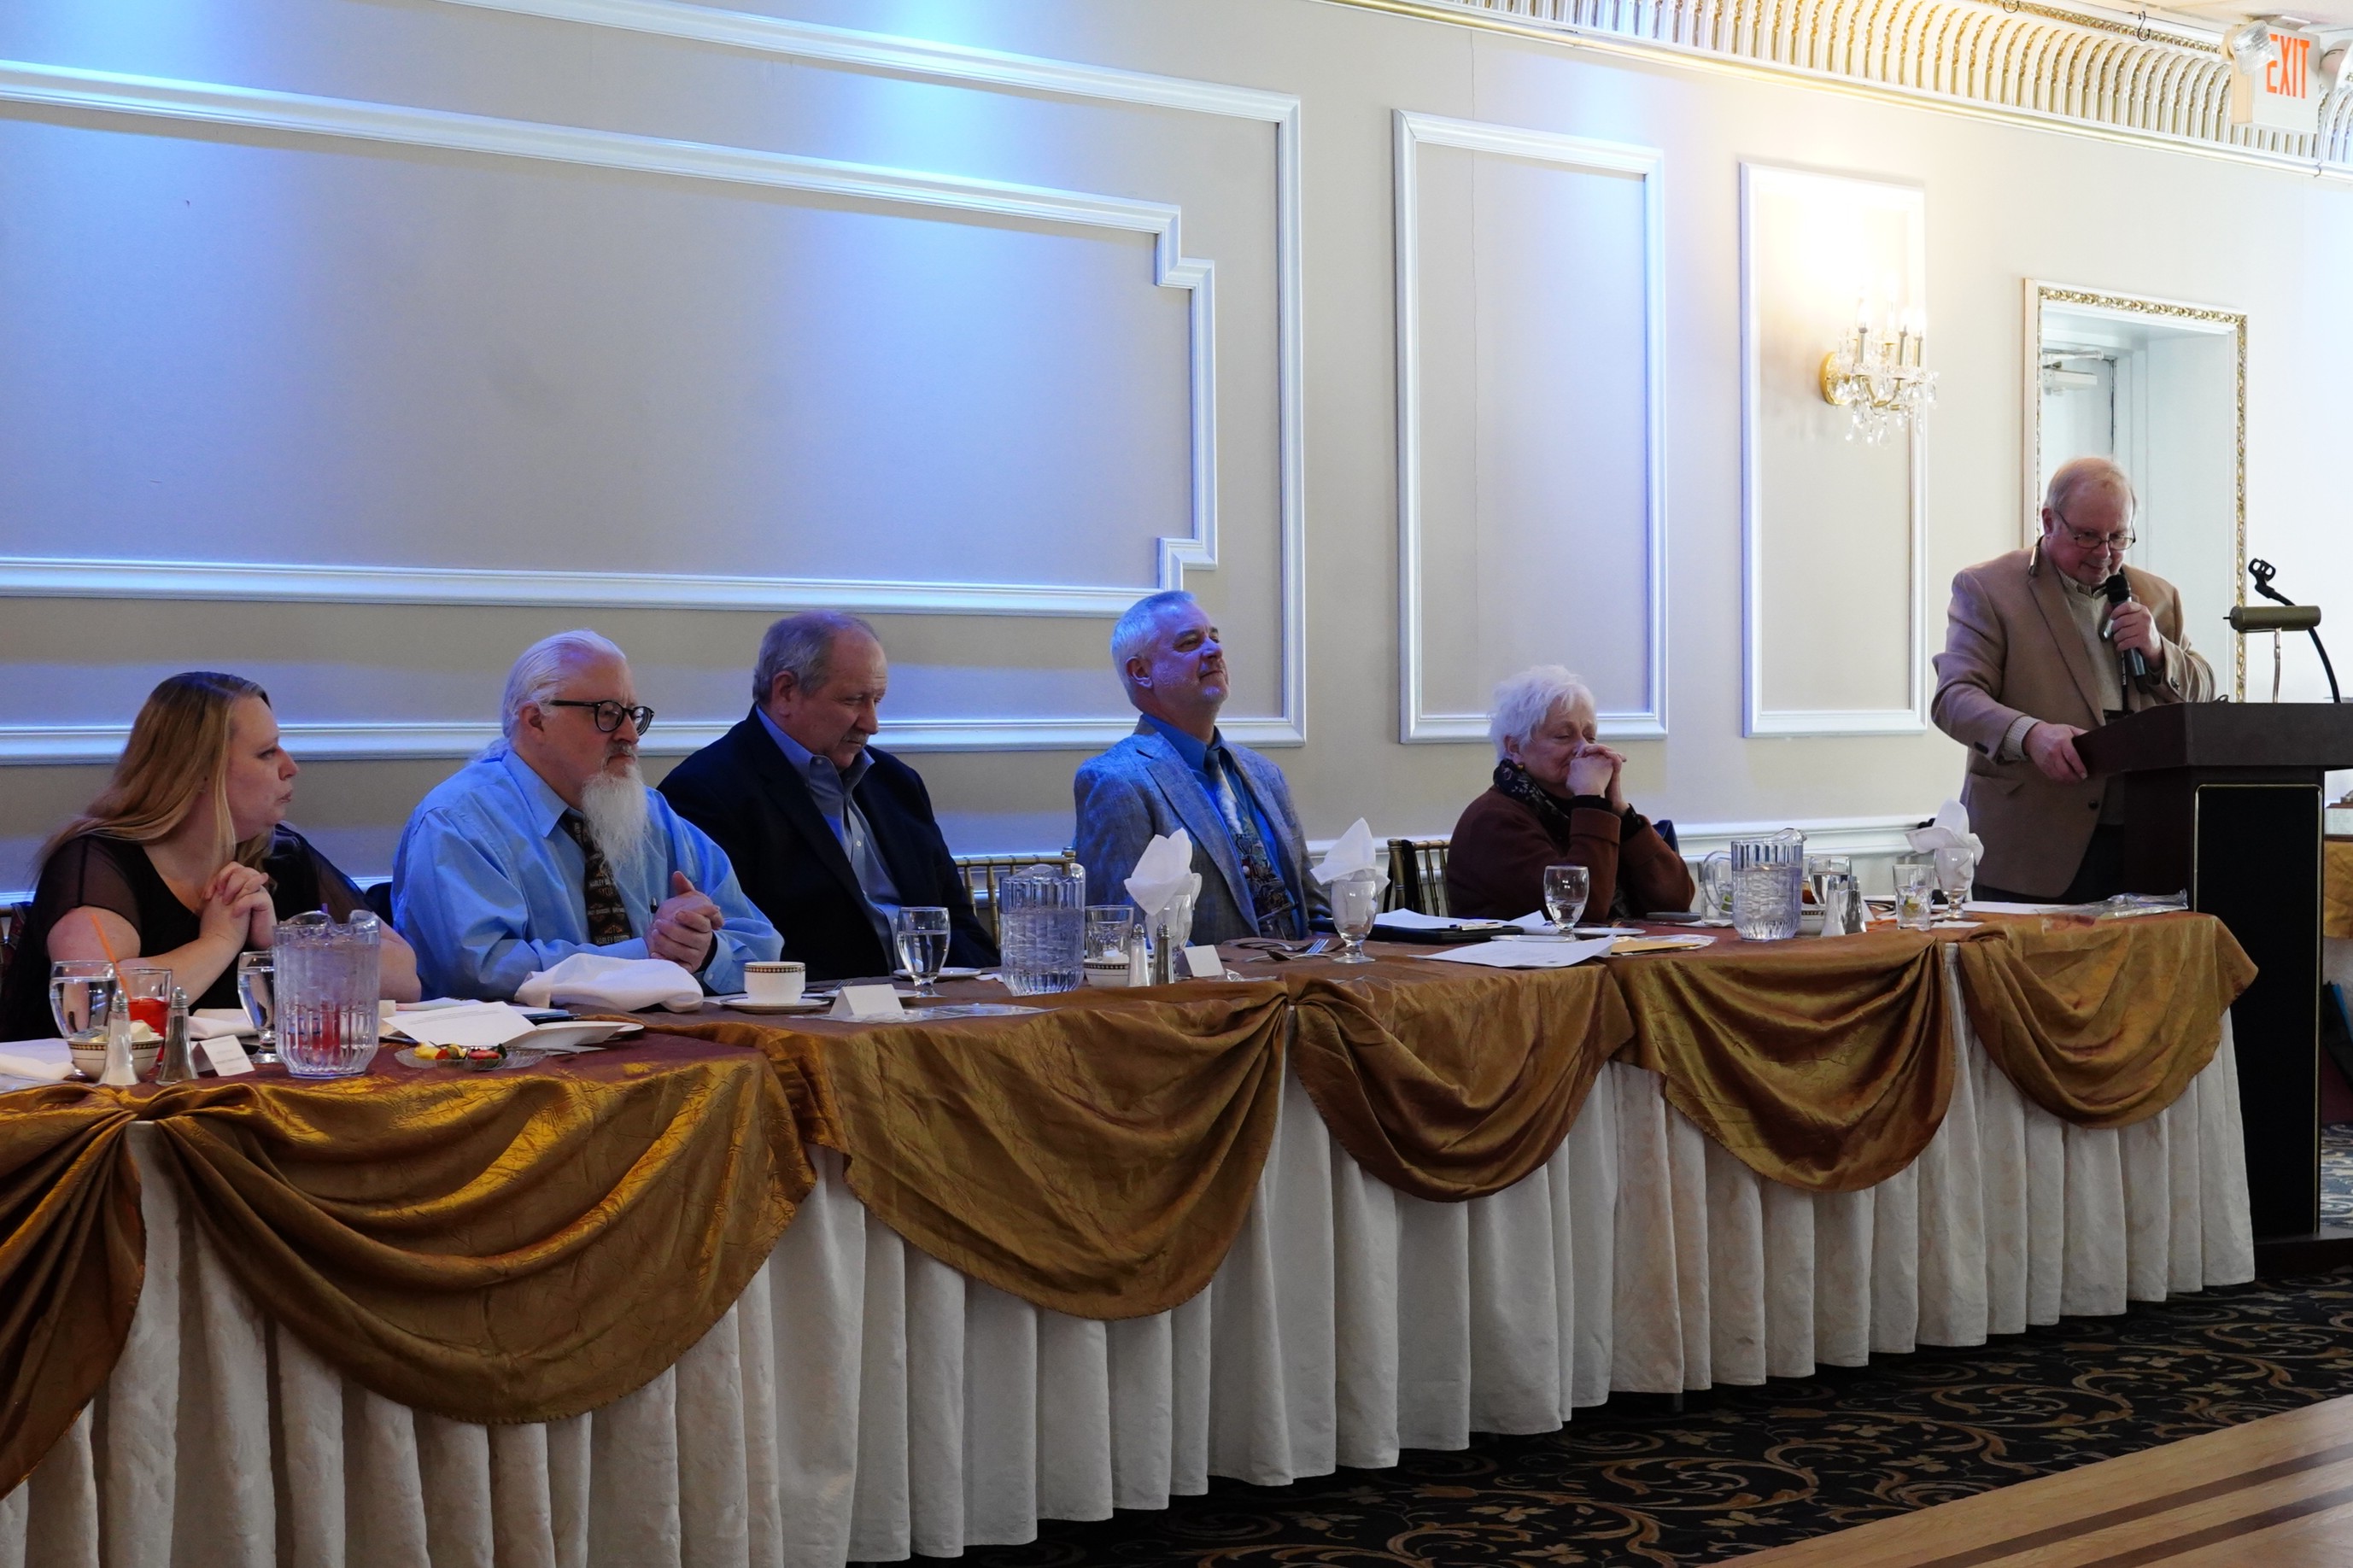
In addition to its monthly meetings, the Region has an annual banquet, held every January. Two major business items are on the agenda: the swearing in of our new officers (President, Vice President, Secretary, Treasurer, and Membership Secretary), and the awarding of various trophies, certificates, and similar awards. Our 2026 banquet was held this past Sunday, January 4, at The Chandelier at Flanders Valley, a restaurant/catering hall that has been hosting us on a regular basis. A crowd of perhaps 70-80 members and guests enjoyed cocktails, appetizers, dinner, and dessert for a reduced price (the Region covered a percentage of the cost). Awards were handed out based on a member’s level of participation. For example, attending an activity results in earning points, and the top twelve earners are given a brass plaque.
Our 2026 officers (seated) are sworn in by our President Emeritus
Other awards are up to the discretion of a Board member or committee chairperson. Dick Bettle, who is editor-in-chief of The Road Map, our Region’s monthly newsletter, selects a person each year that he feels has made the largest contribution to the newsletter. I’m proud to say that for 2025, Dick chose me, because of my monthly column, “Rich’s Ramblings,” which I’ve been submitting to him for the past five plus years. I was given a trophy, and I was truly honored.
More importantly: the conclusion of awards meant that we could enjoy dessert and coffee! Seriously, I do enjoy my time with this bunch, even if I am one of the only members without an American car. (My Alfa has won its share of AACA trophies as well.) I wasn’t sure how to end this post, so, for the first time, and maybe the last time, I asked AI to write me a summary, and here it is:
Joining a classic car club can significantly enhance your enjoyment and understanding of vintage automobiles, while providing access to a vibrant community and valuable resources. However, it’s important to weigh the associated costs, commitments, and potential drawbacks to ensure the club aligns with your interests and lifestyle.
The NJ Region of the AACA has held its annual Spring Meet (car show) on the first Sunday in May for as long as I can remember, and probably much further back than that. Traditionally, the Chief Judge for the Meet holds a judging seminar a week or two before the show. Last year, our long-serving Chief Judge retired from the position, and with a new Chief Judge comes a fresh look at the way we do things. Our new Chief Judge Anthony decided to make two rather simple changes: one, conduct more than one judging seminar, and two, conduct the first one a few months before the show. The overall intent is to increase the number of volunteer judges.
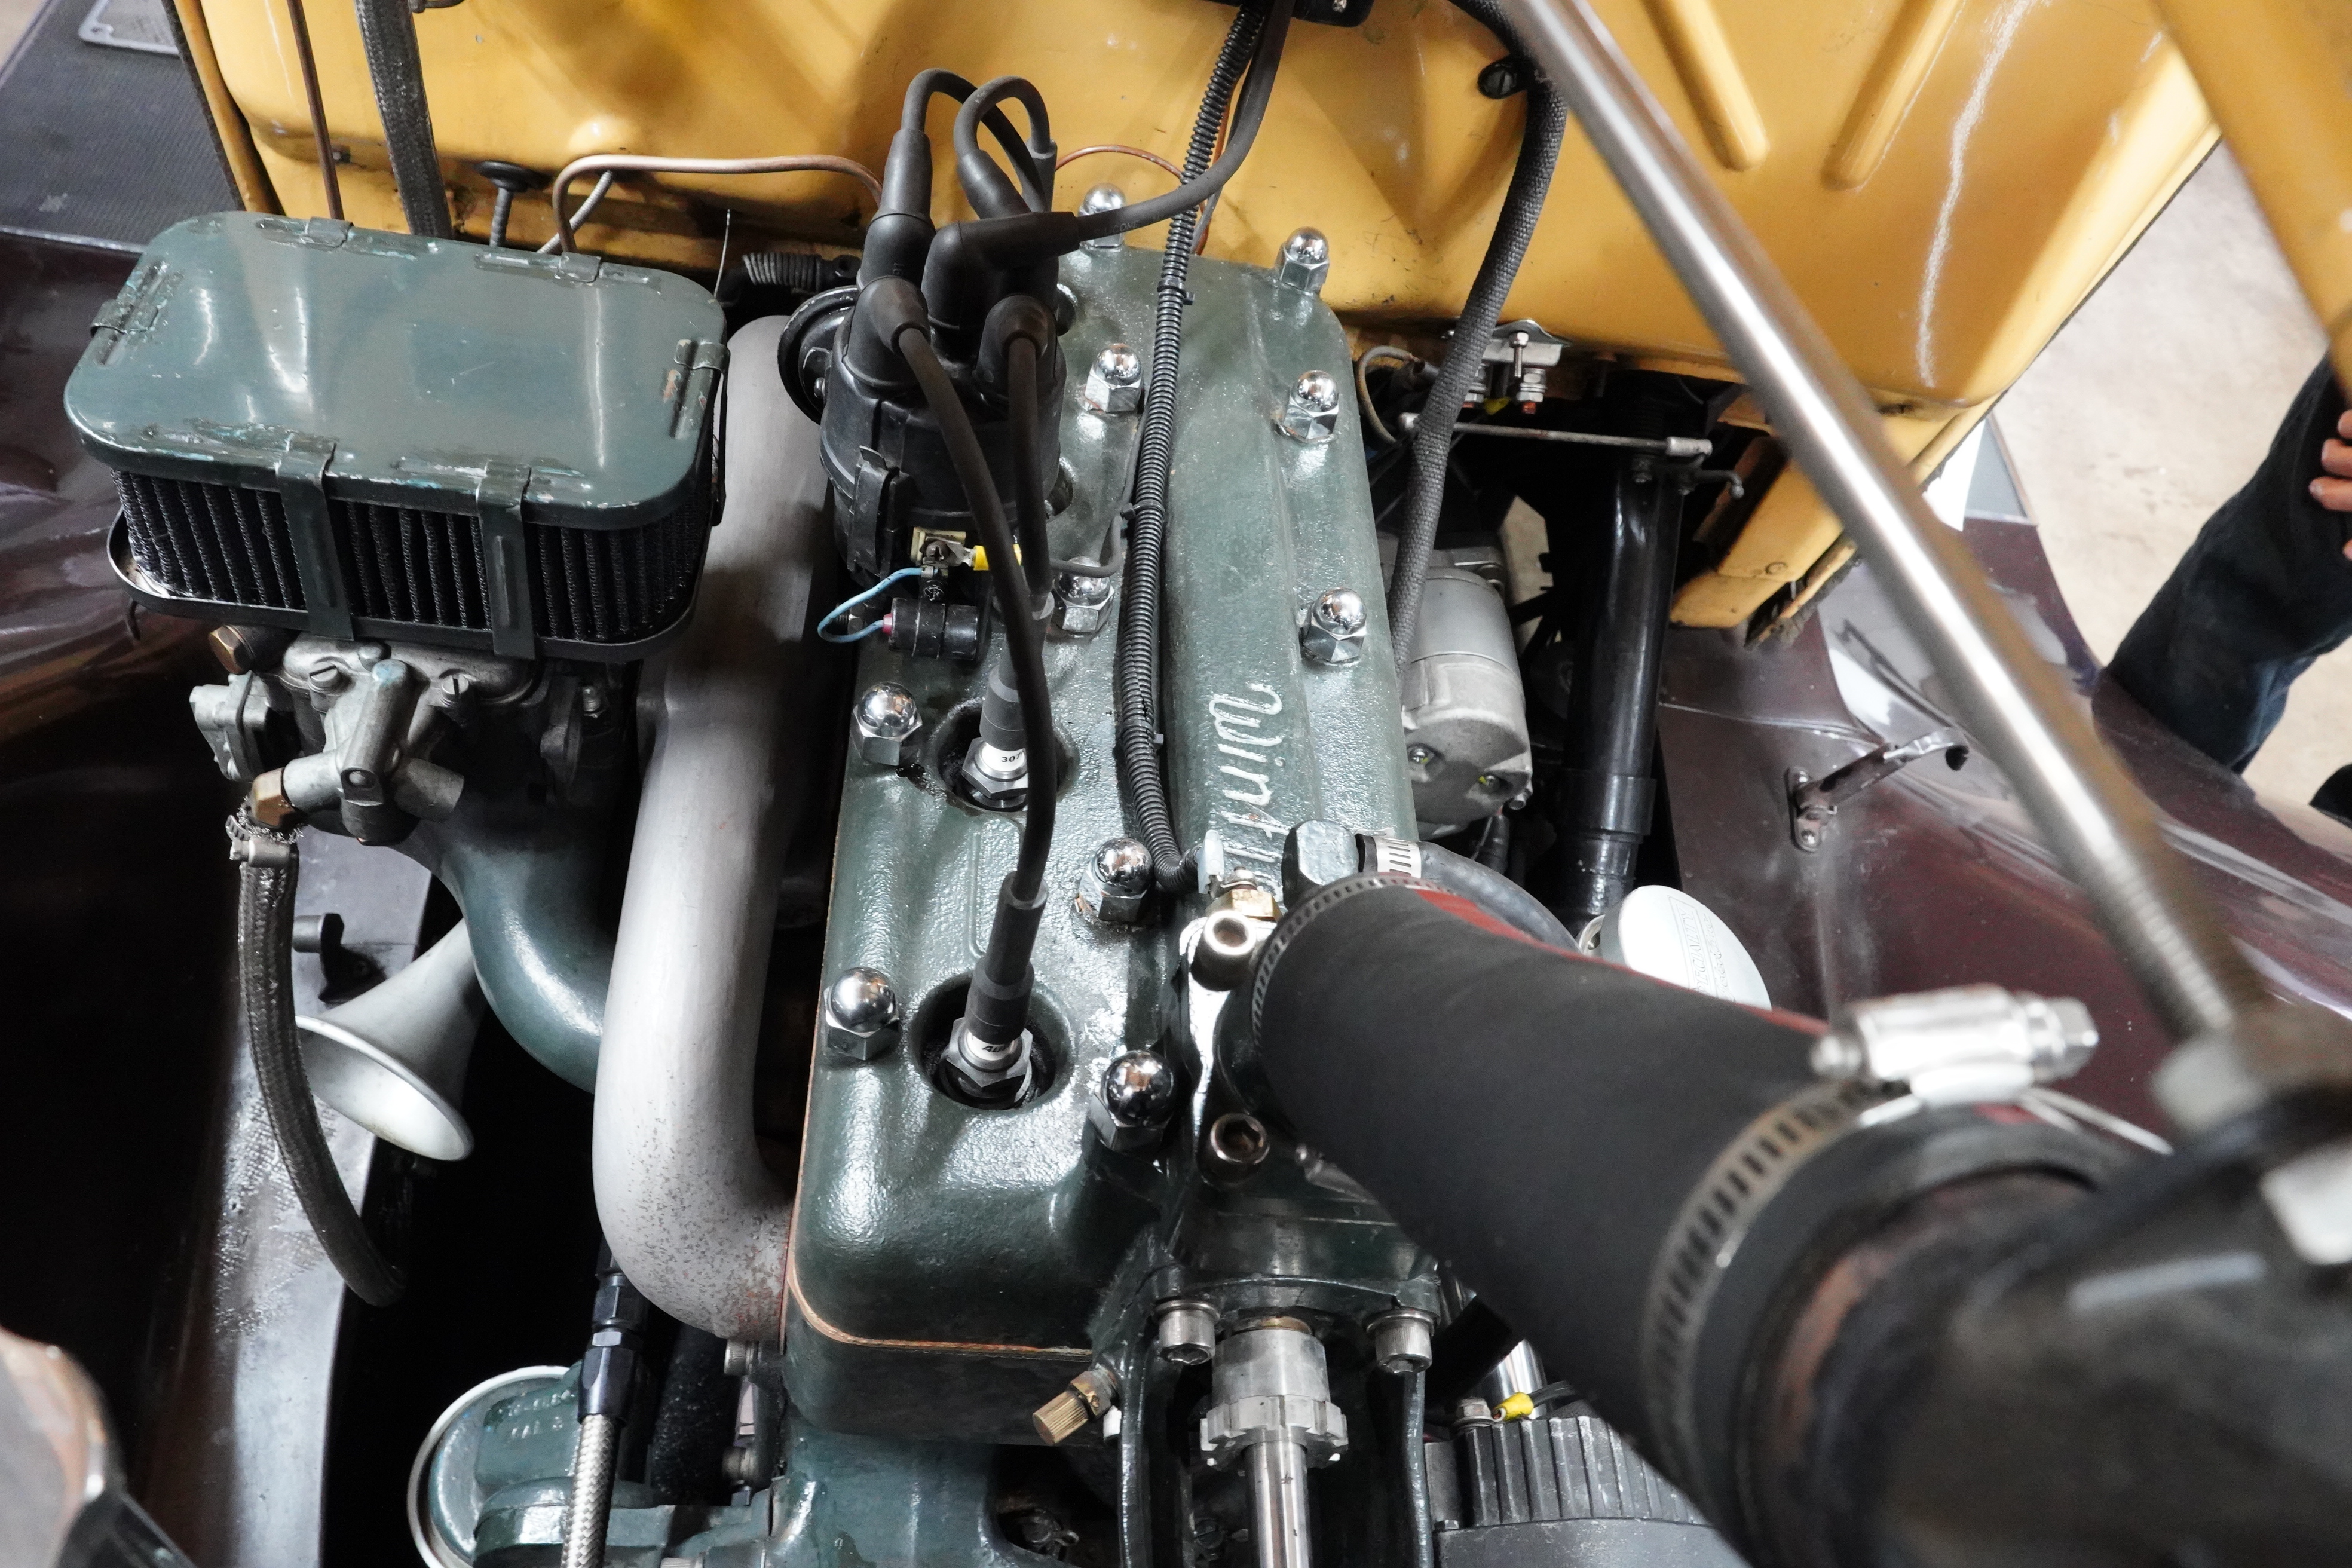
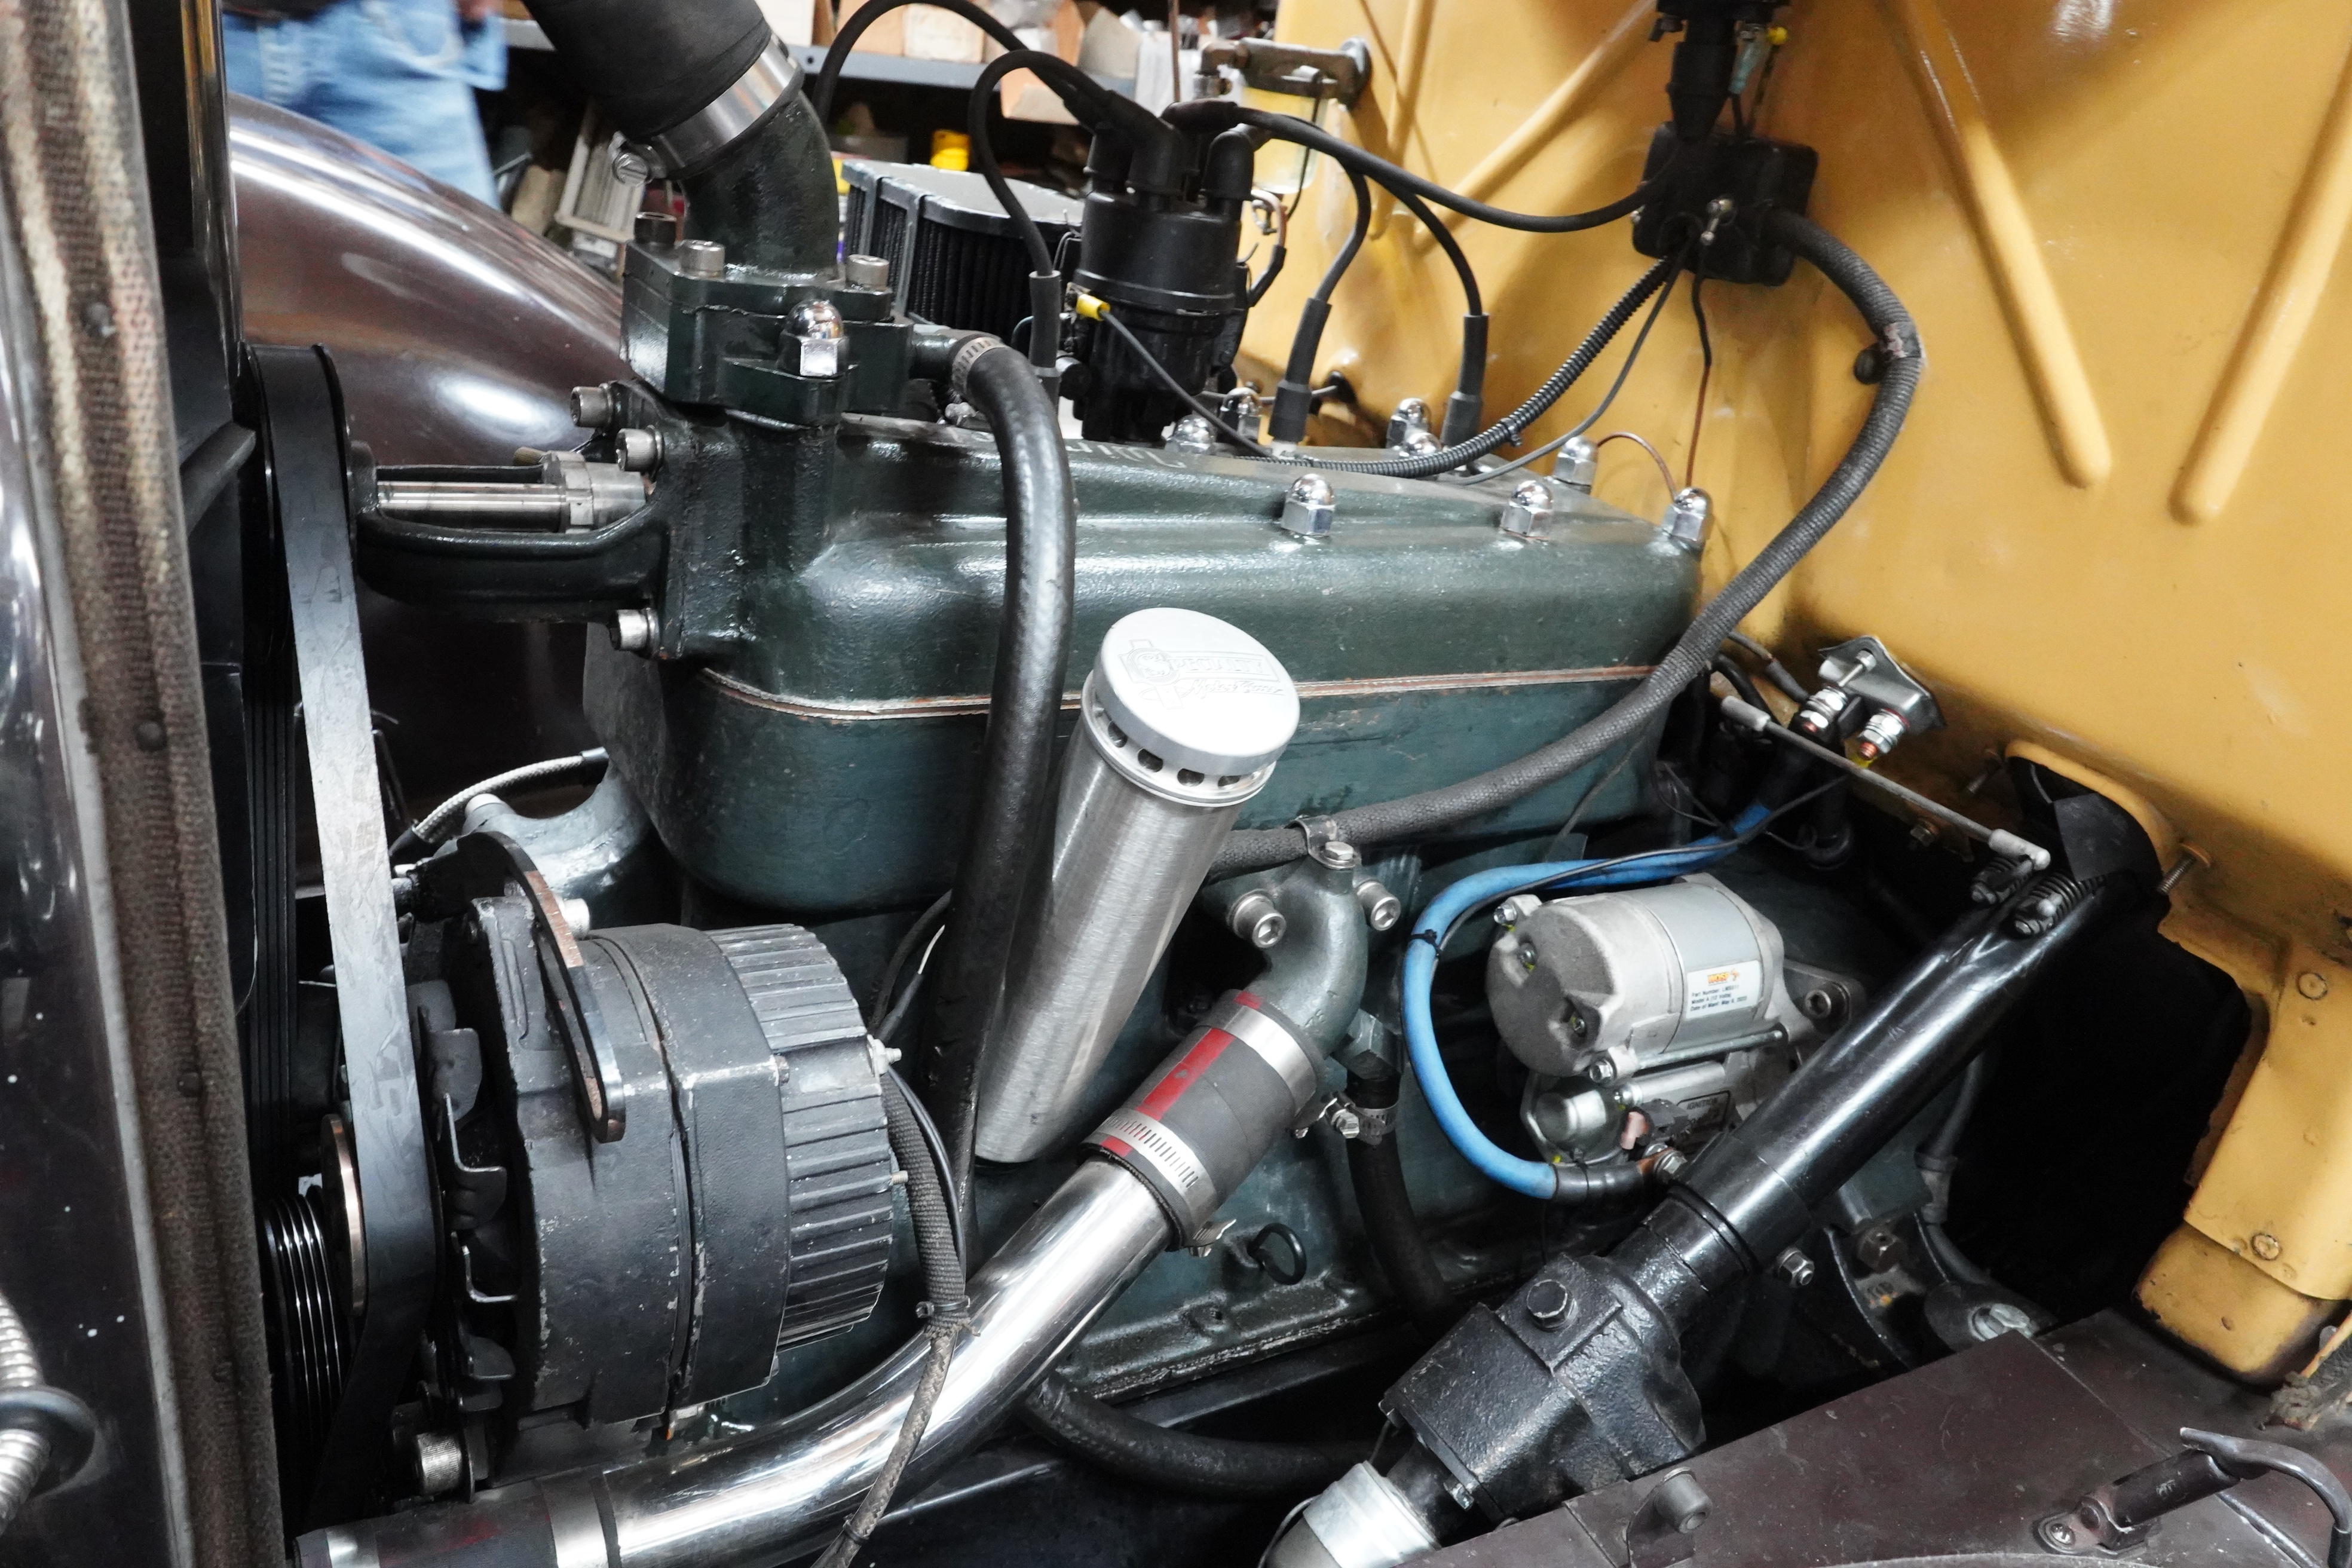
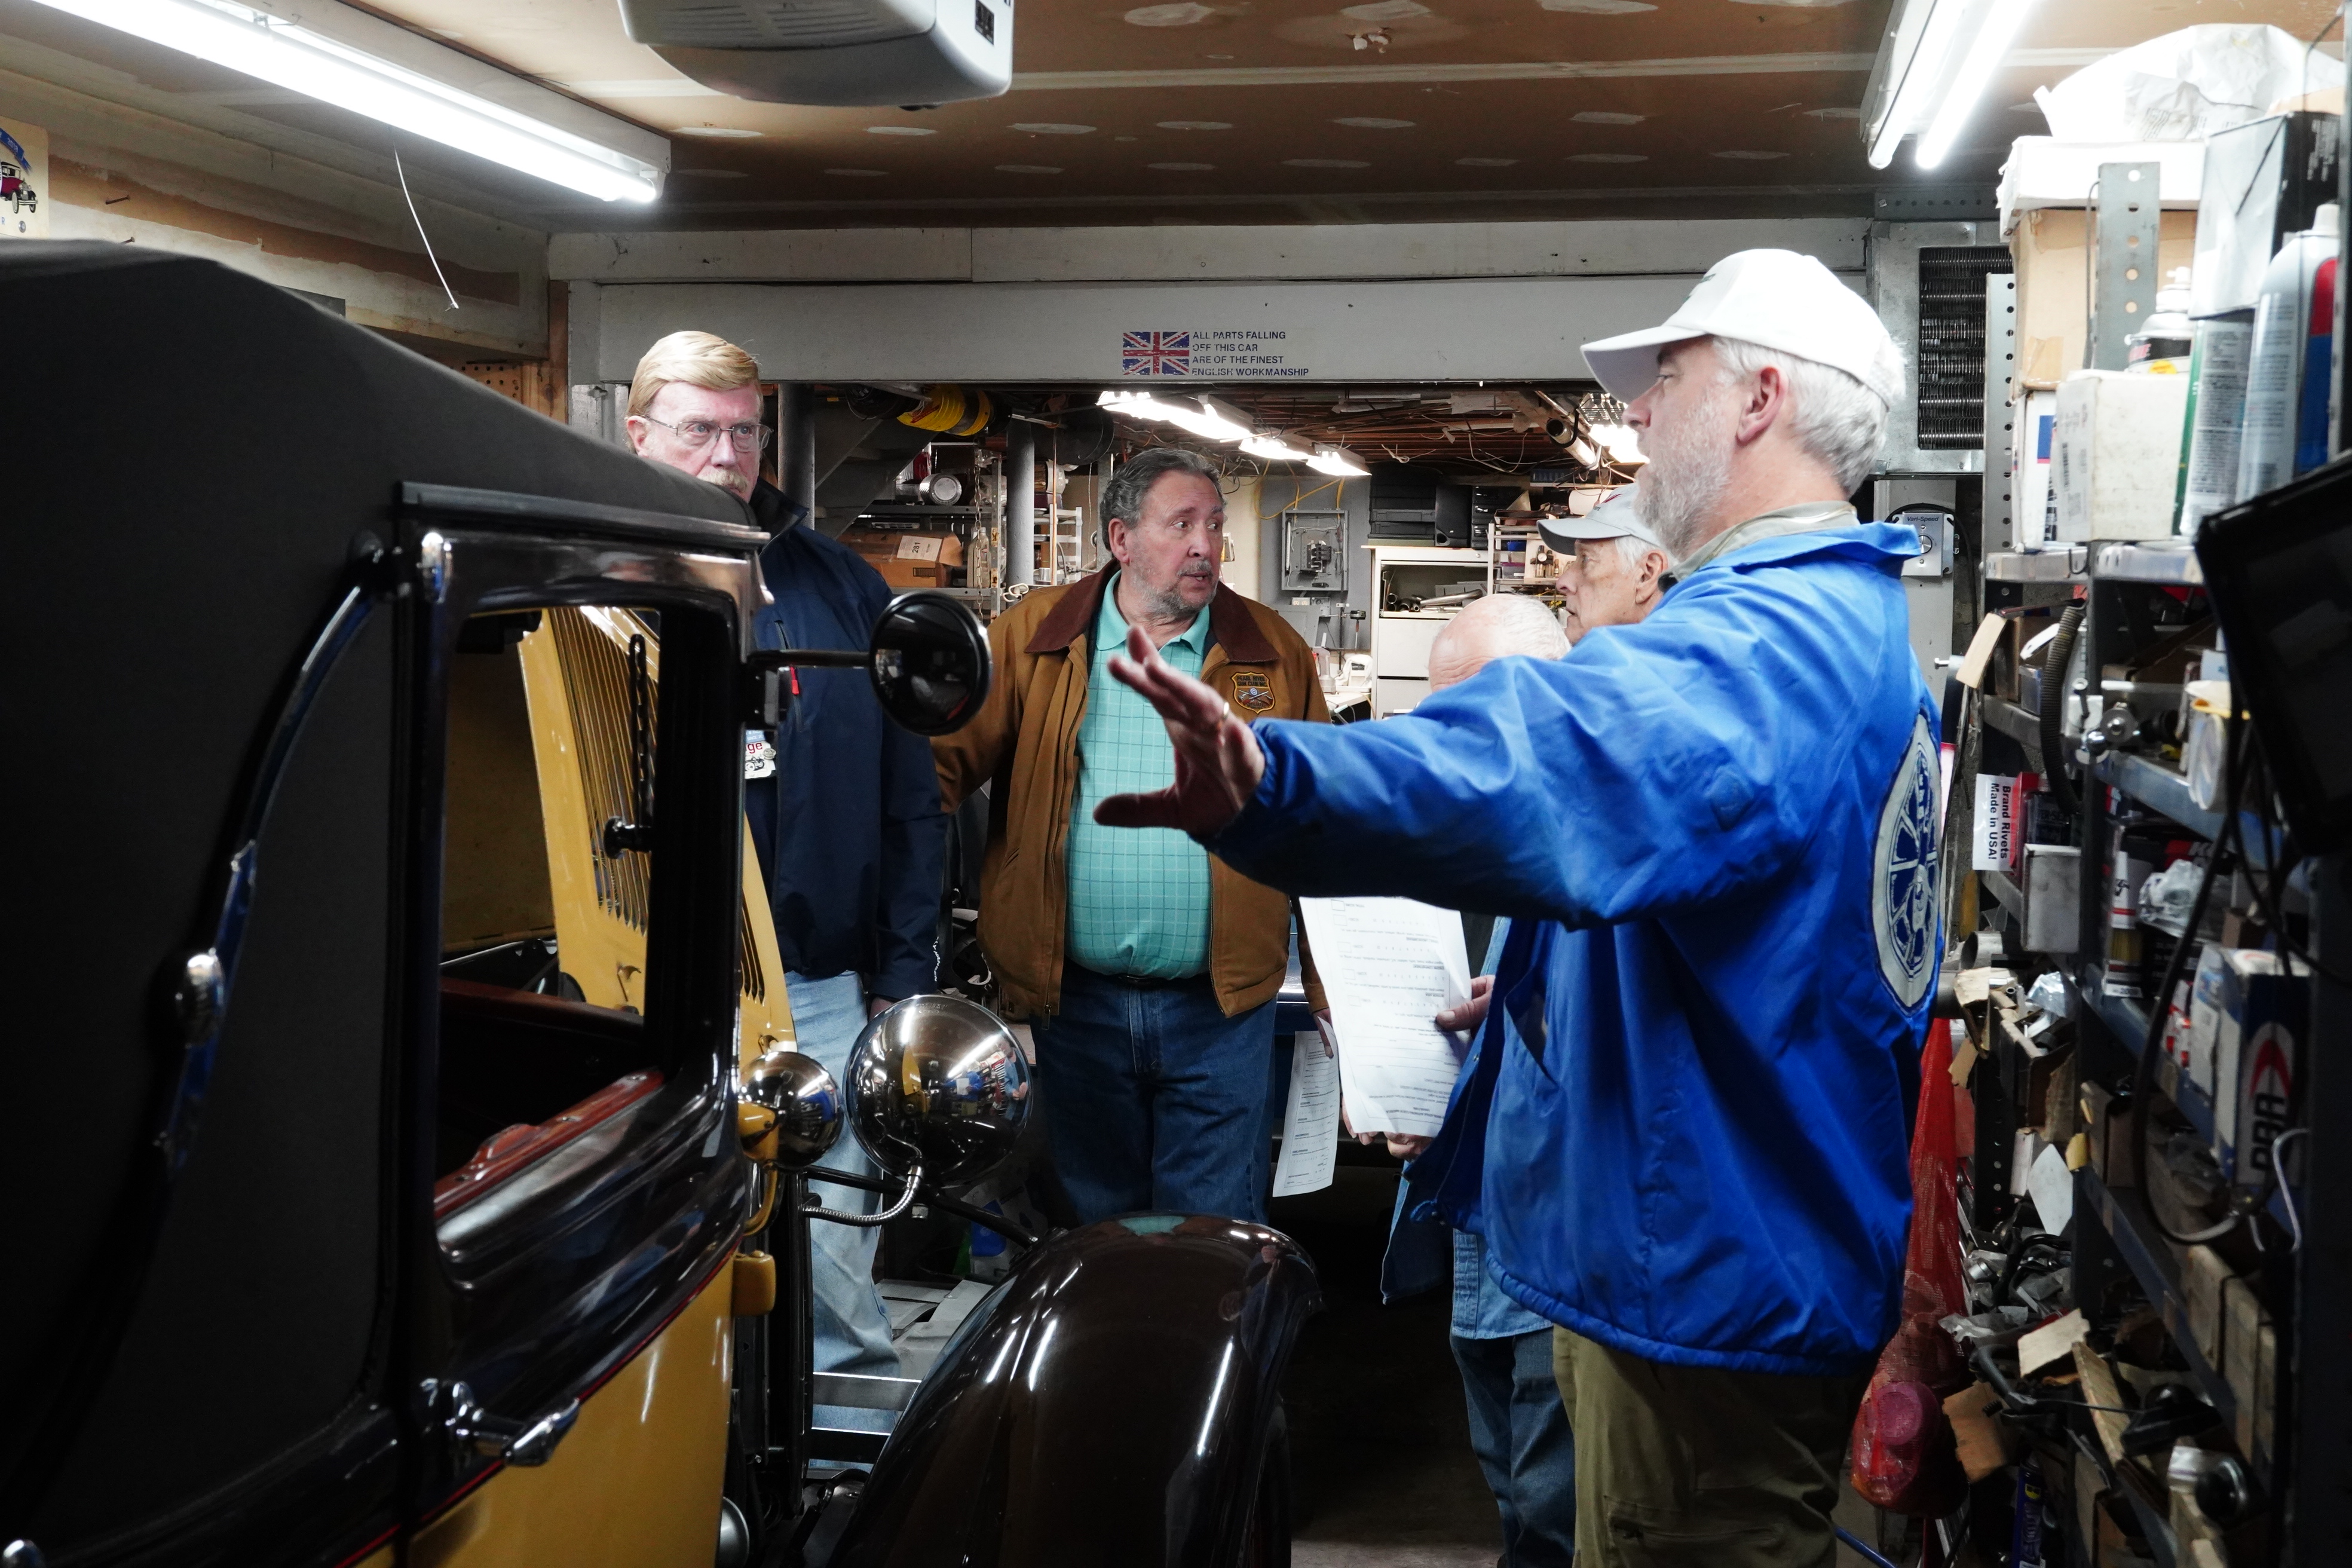
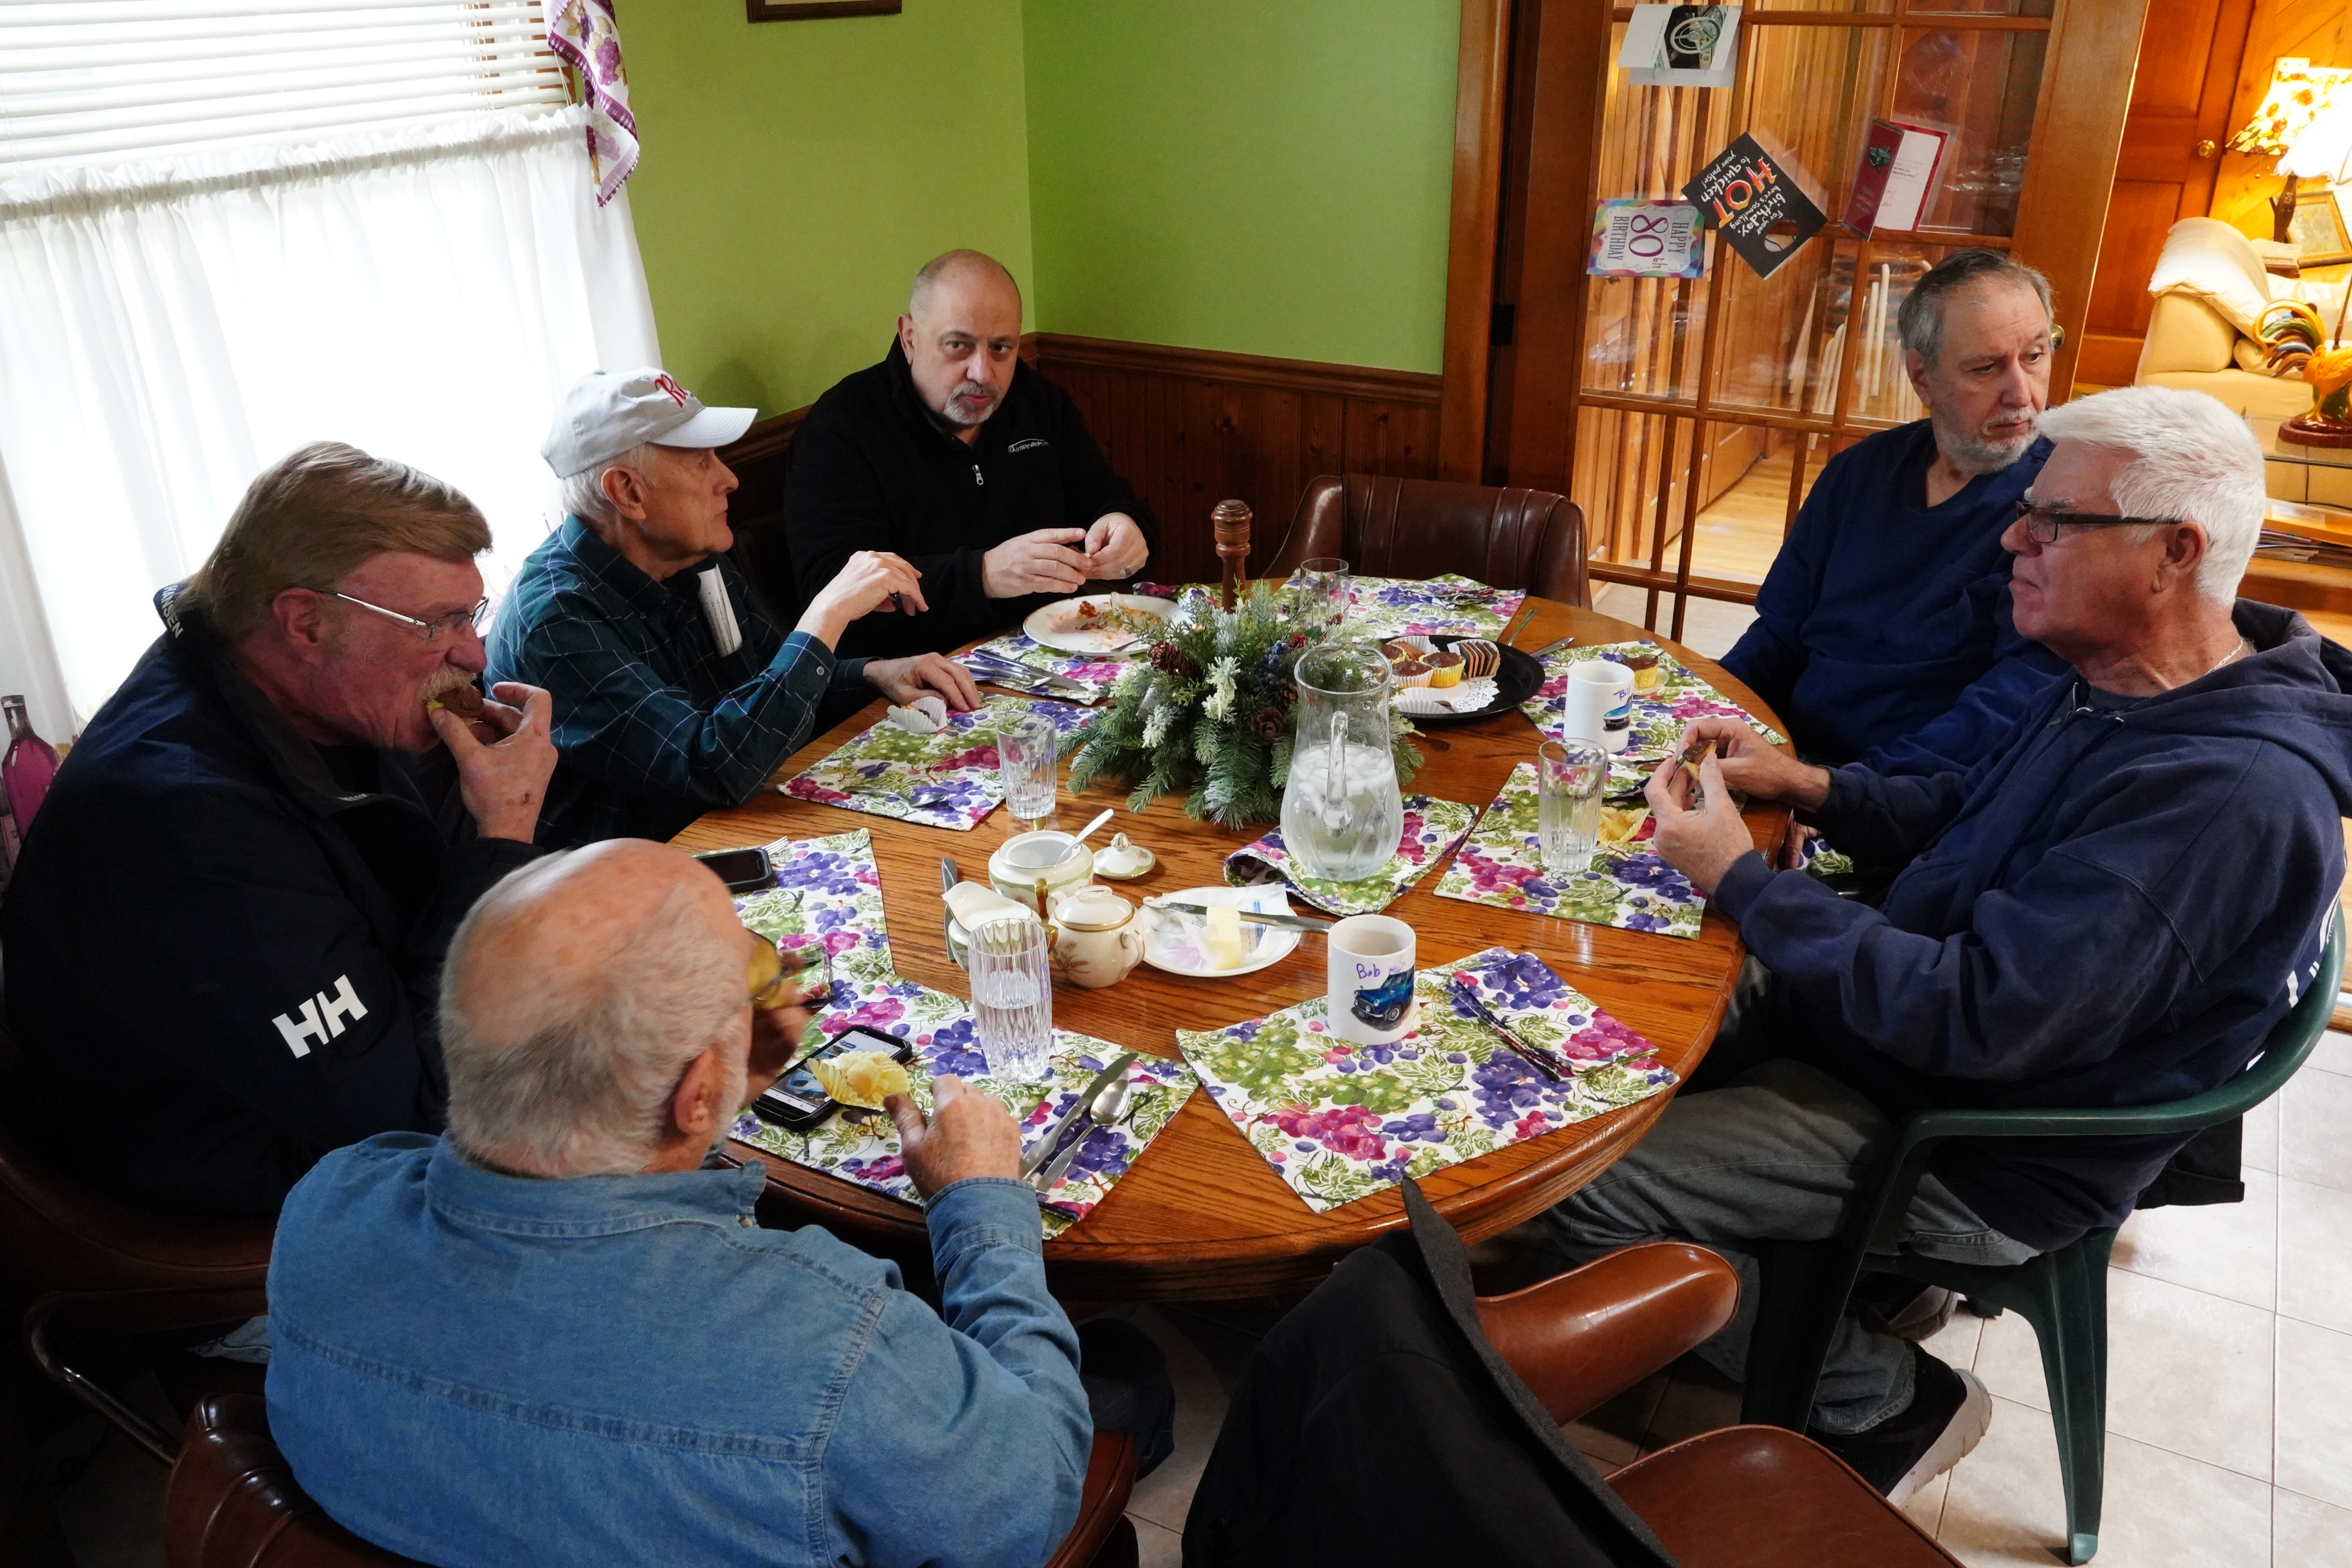
Our newsletter editor-in-chief, Dick Bettle, graciously agreed to make his garage available for the first of these seminars, which was held on a ‘balmy’ (40-ish) January Saturday. Including our host, 17 members of the club turned out, which I felt was an impressive showing. Craig Kunz, our Regional VP, agreed to stand in for Anthony, who is dealing with some medical issues. We surrounded Dick’s 1930 Ford Model A Coupe which was our vehicle exemplar for the day.
Several attendees are experienced National AACA judges, having judged at Hershey and other National shows around the country, and their input is valuable at these kinds of seminars. At the same time, AACA uses a 400-point judging system and drills down to a microscopic level which our Region does not. The NJ Region’s judging sheet uses a 40-point system, with 10 points each assigned to exterior, interior, engine compartment, and chassis. One of the major learnings which Craig successfully delivered was understanding the difference between the National 400-point judging sheet and our 40-point one.
It was a fun exercise with Dick’s Model A. Most club members are all too familiar with this car, as Dick and his wife Bobbi routinely put 4,000-5,000 miles a year on it (that is not a typo: four THOUSAND to five THOUSAND miles a year). To the casual observer, this is a bone-stock 1930 Ford. However, Dick, a life-long car fanatic whom I consider to be one of the most technically savvy people I’ve met, has executed dozens of modifications to this A. Among other upgrades: radial tires on smaller-diameter wheels, an alternator, a Honda distributor, a performance cylinder head, and upgraded electrics including a navigation system (yet he has retained cable brakes). On a 40-point scale, we ended up deducting 13 points for a final score of 27. The radials and the engine mods were major deductions. While some attendees wanted to score a “0” for the engine compartment, Craig and other judges noted that the car retains its original engine block, so only 5 points were deducted.
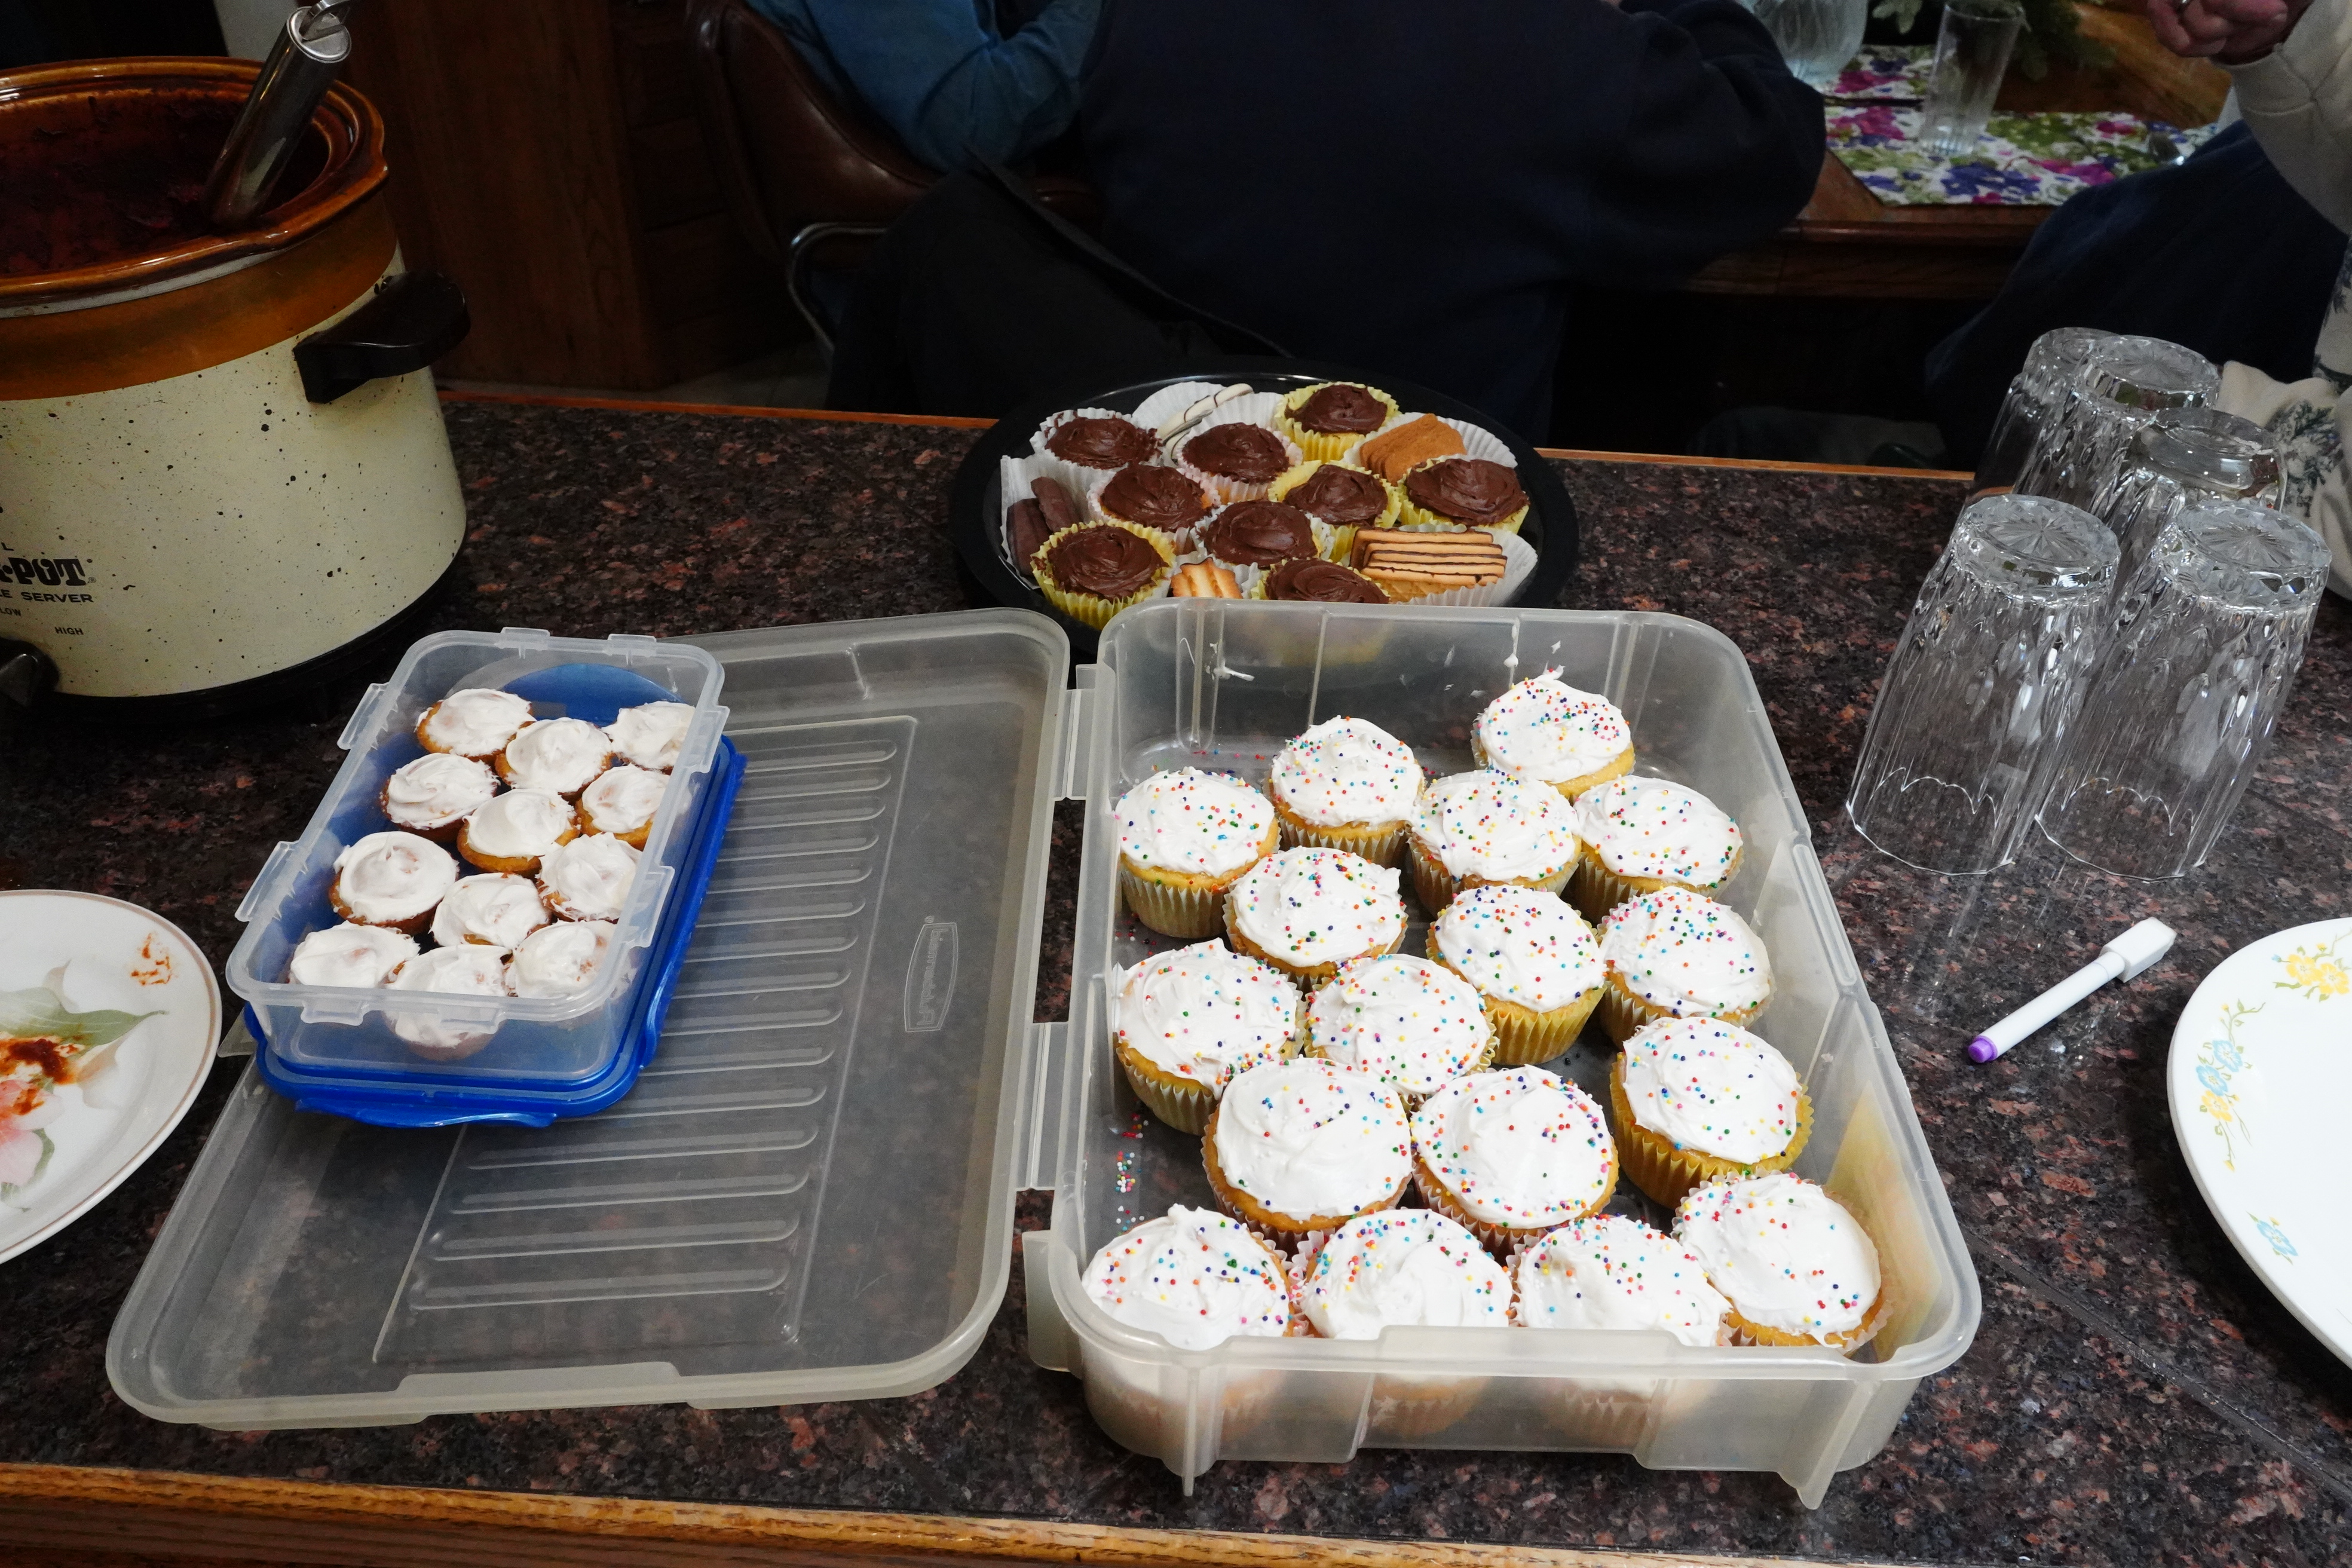
After two hours in the garage, Bobbi entered the room to announce that lunch was being served upstairs, where we found homemade lasagna, meatballs, water, coffee, and various cupcakes (some club members admitted that they were really here for the lasagna). Dick and Bobbi were generous to a fault by hosting and feeding this crowd of hungry car guys. Oh, and the next judging seminar is in March at my house. I need to go clean the garage.
Car owner Dick (hand on pole) and other attendees listen to Pete (Spring Meet Chair)
Craig (in white hat) makes a point or two
John P asks attendees to evaluate the interior
The rumble seat must be judged as well
Yes, it’s modified
“Don’t EVER touch an owner’s car!”
Bobbi takes photos while the lasagna is in the oven
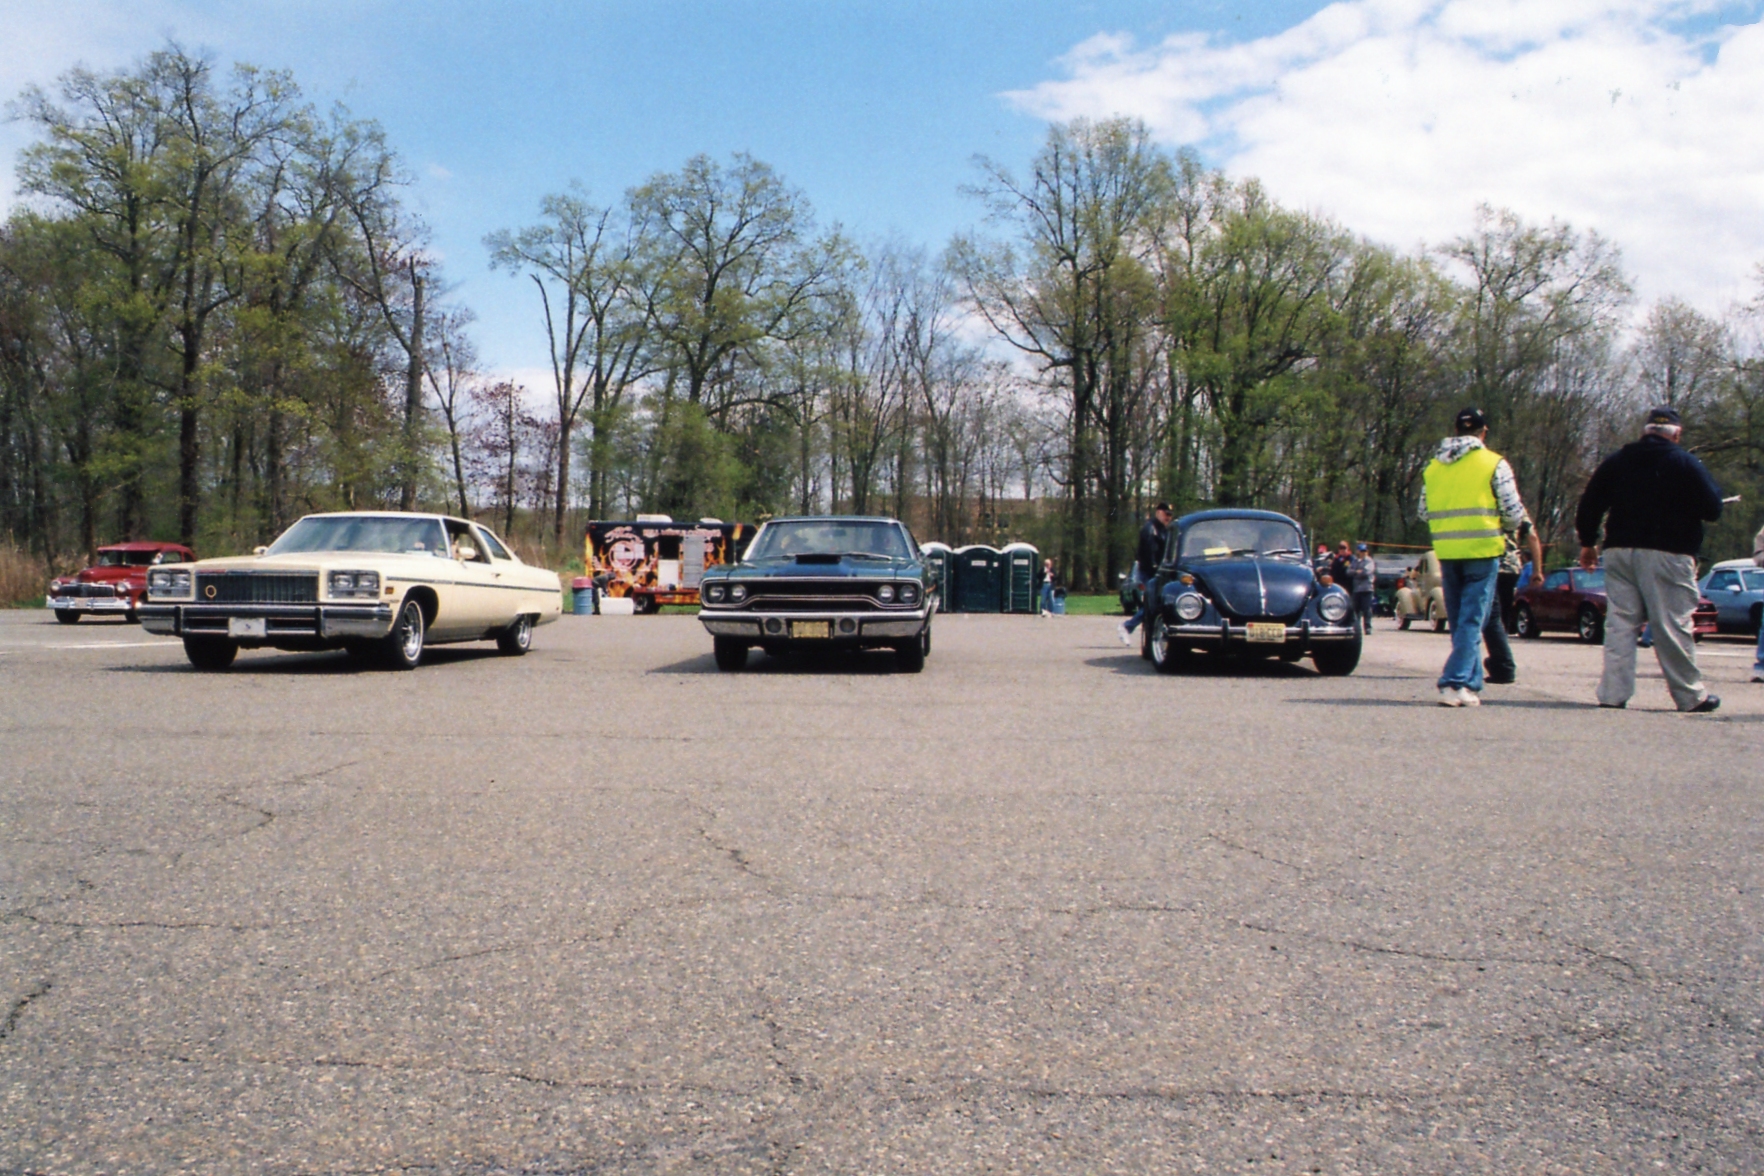
How is it that I keep coming across photographs that I had forgotten I have? I was looking through my photo album from 2014 the other day, searching for something which has now completely escaped me. But while doing so, I noticed car show photos which did not look familiar to me. Researching my blog, I found that I’ve documented the AACA NJ Region Car Shows for 2012, 2013, 2015, 2016, 2017, 2018, and 2019… but not 2014. Well, here they are, in all their Kodak glory (ALL photos below were taken with my trusty Nikon EM which I’ve owned since 1982).
We didn’t know it then, but 2014 would be the second-to-last time that the NJ Spring Meet would be held at the Automatic Switch Company’s parking lot in Florham Park NJ. After our 2015 show, the company announced to us that the lot would no longer be available due to planned long-term renovations. It was a shame for several reasons: the location had become well-known to show-goers, the lot itself was immense, and the location was ideal for Region members who resided anywhere in northern and central Jersey.
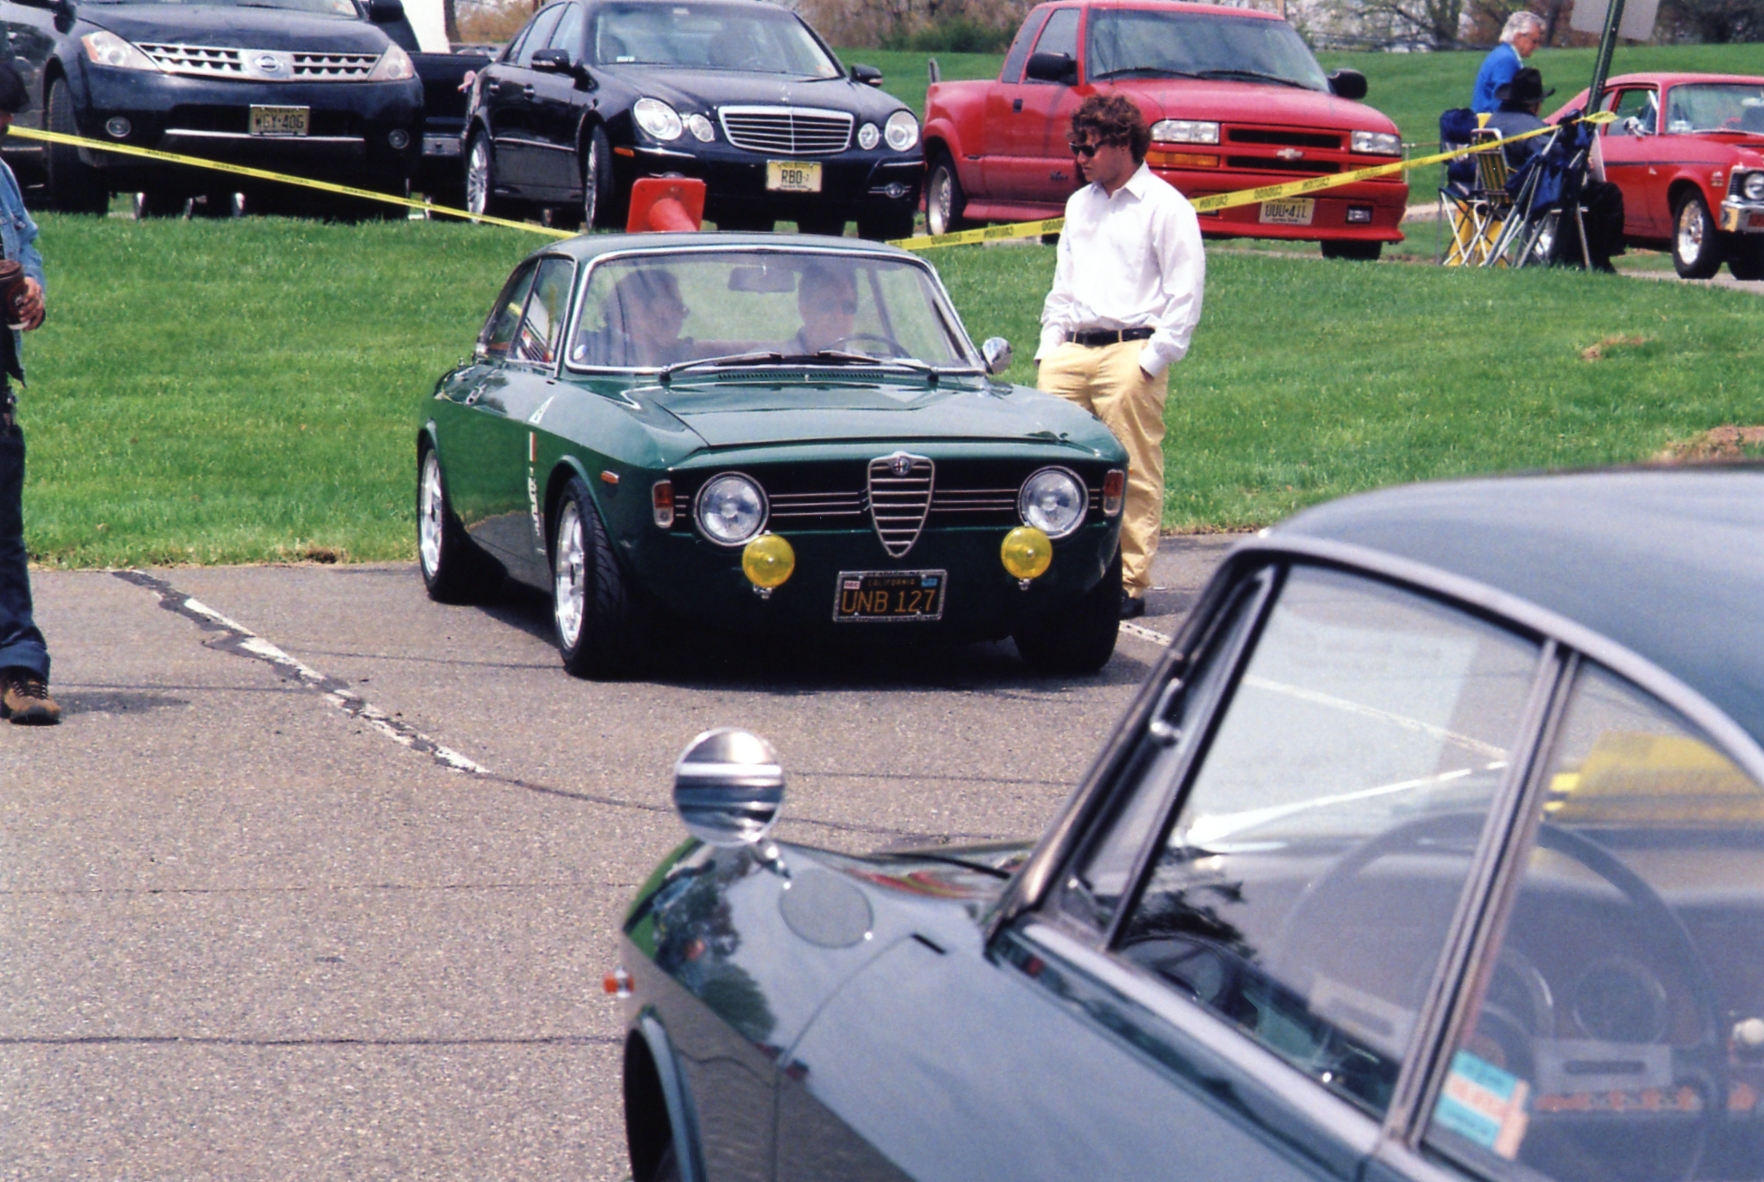
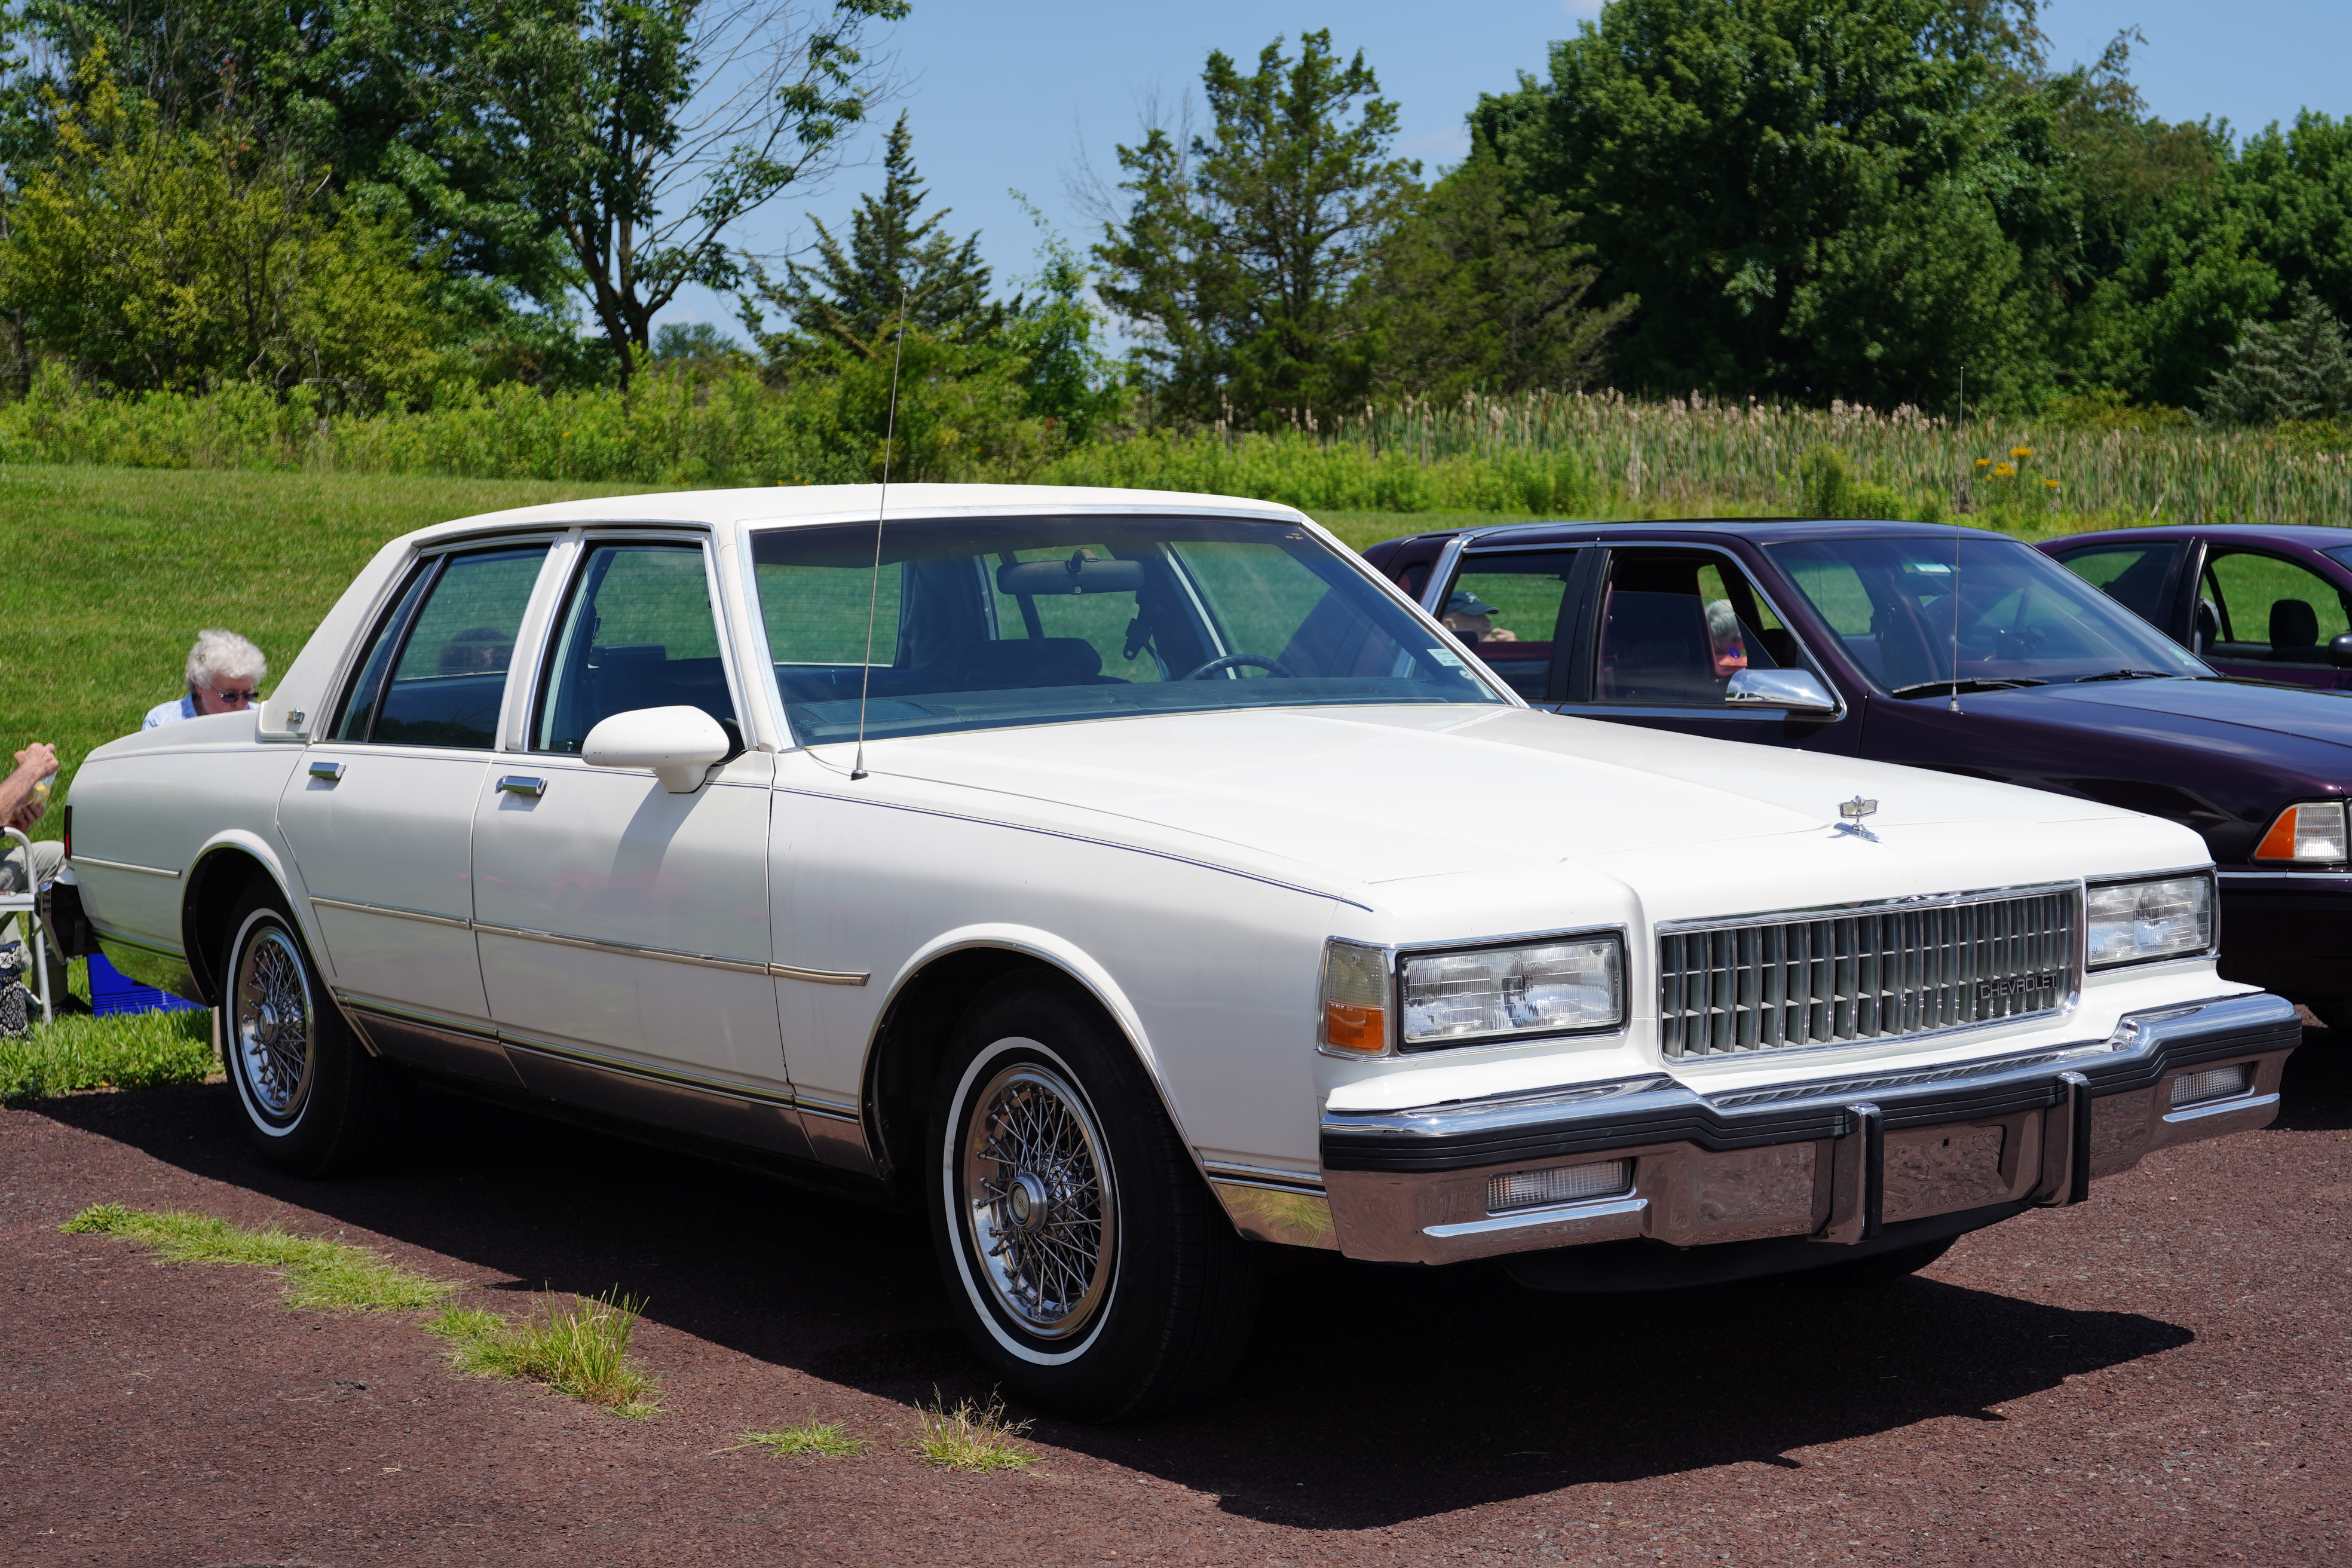
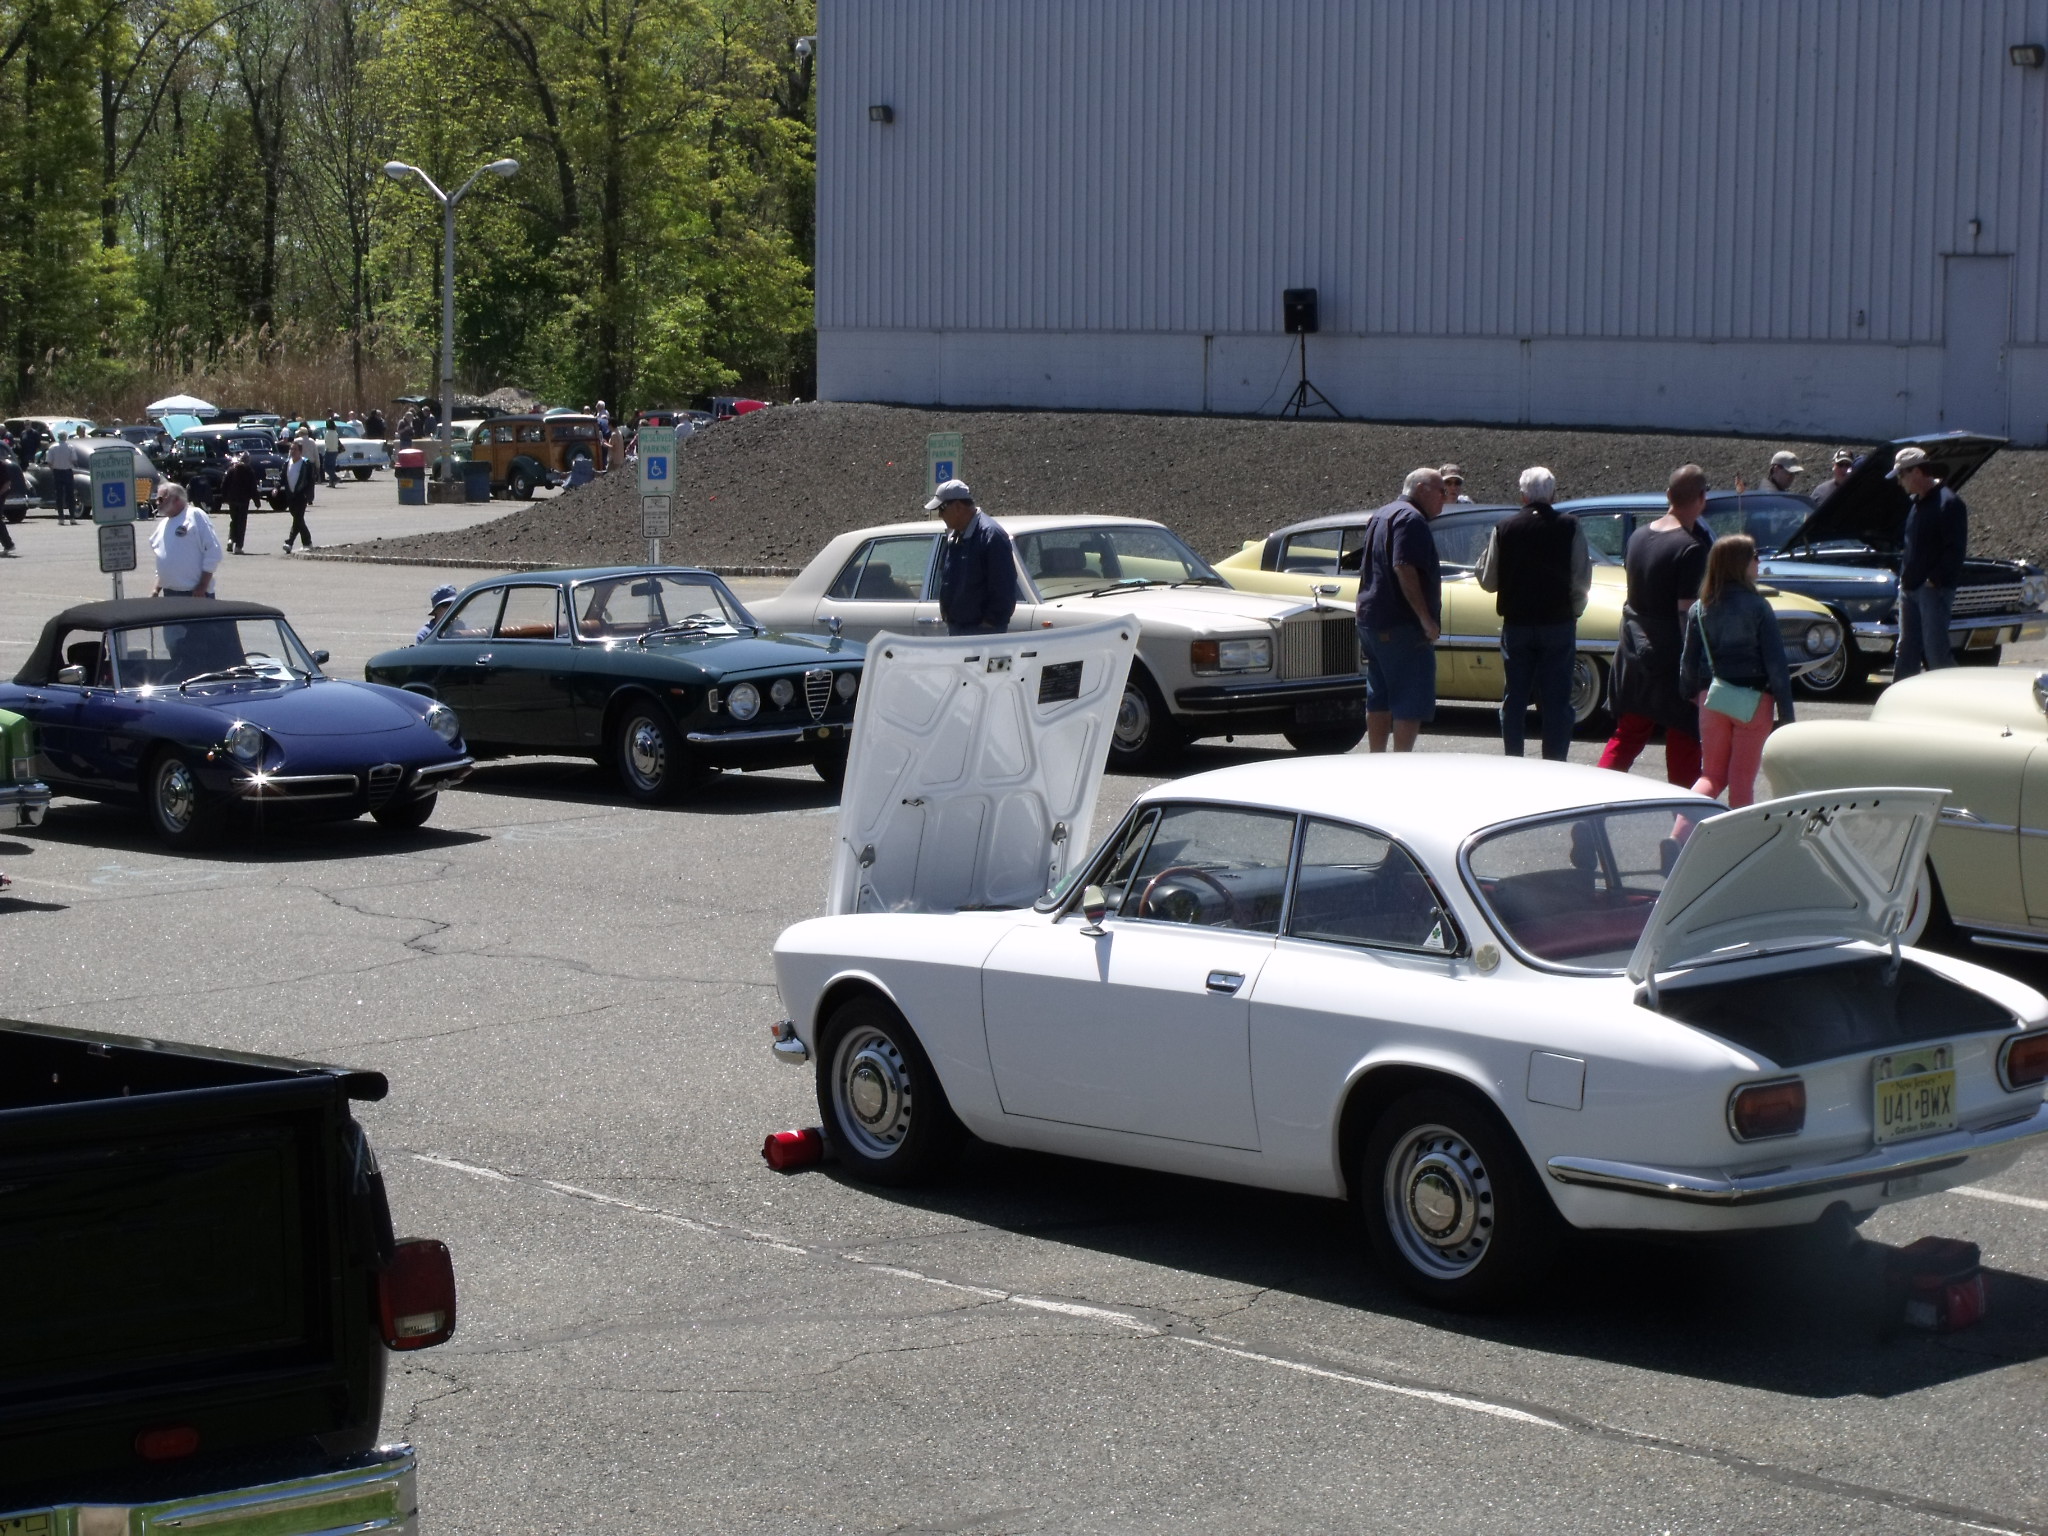
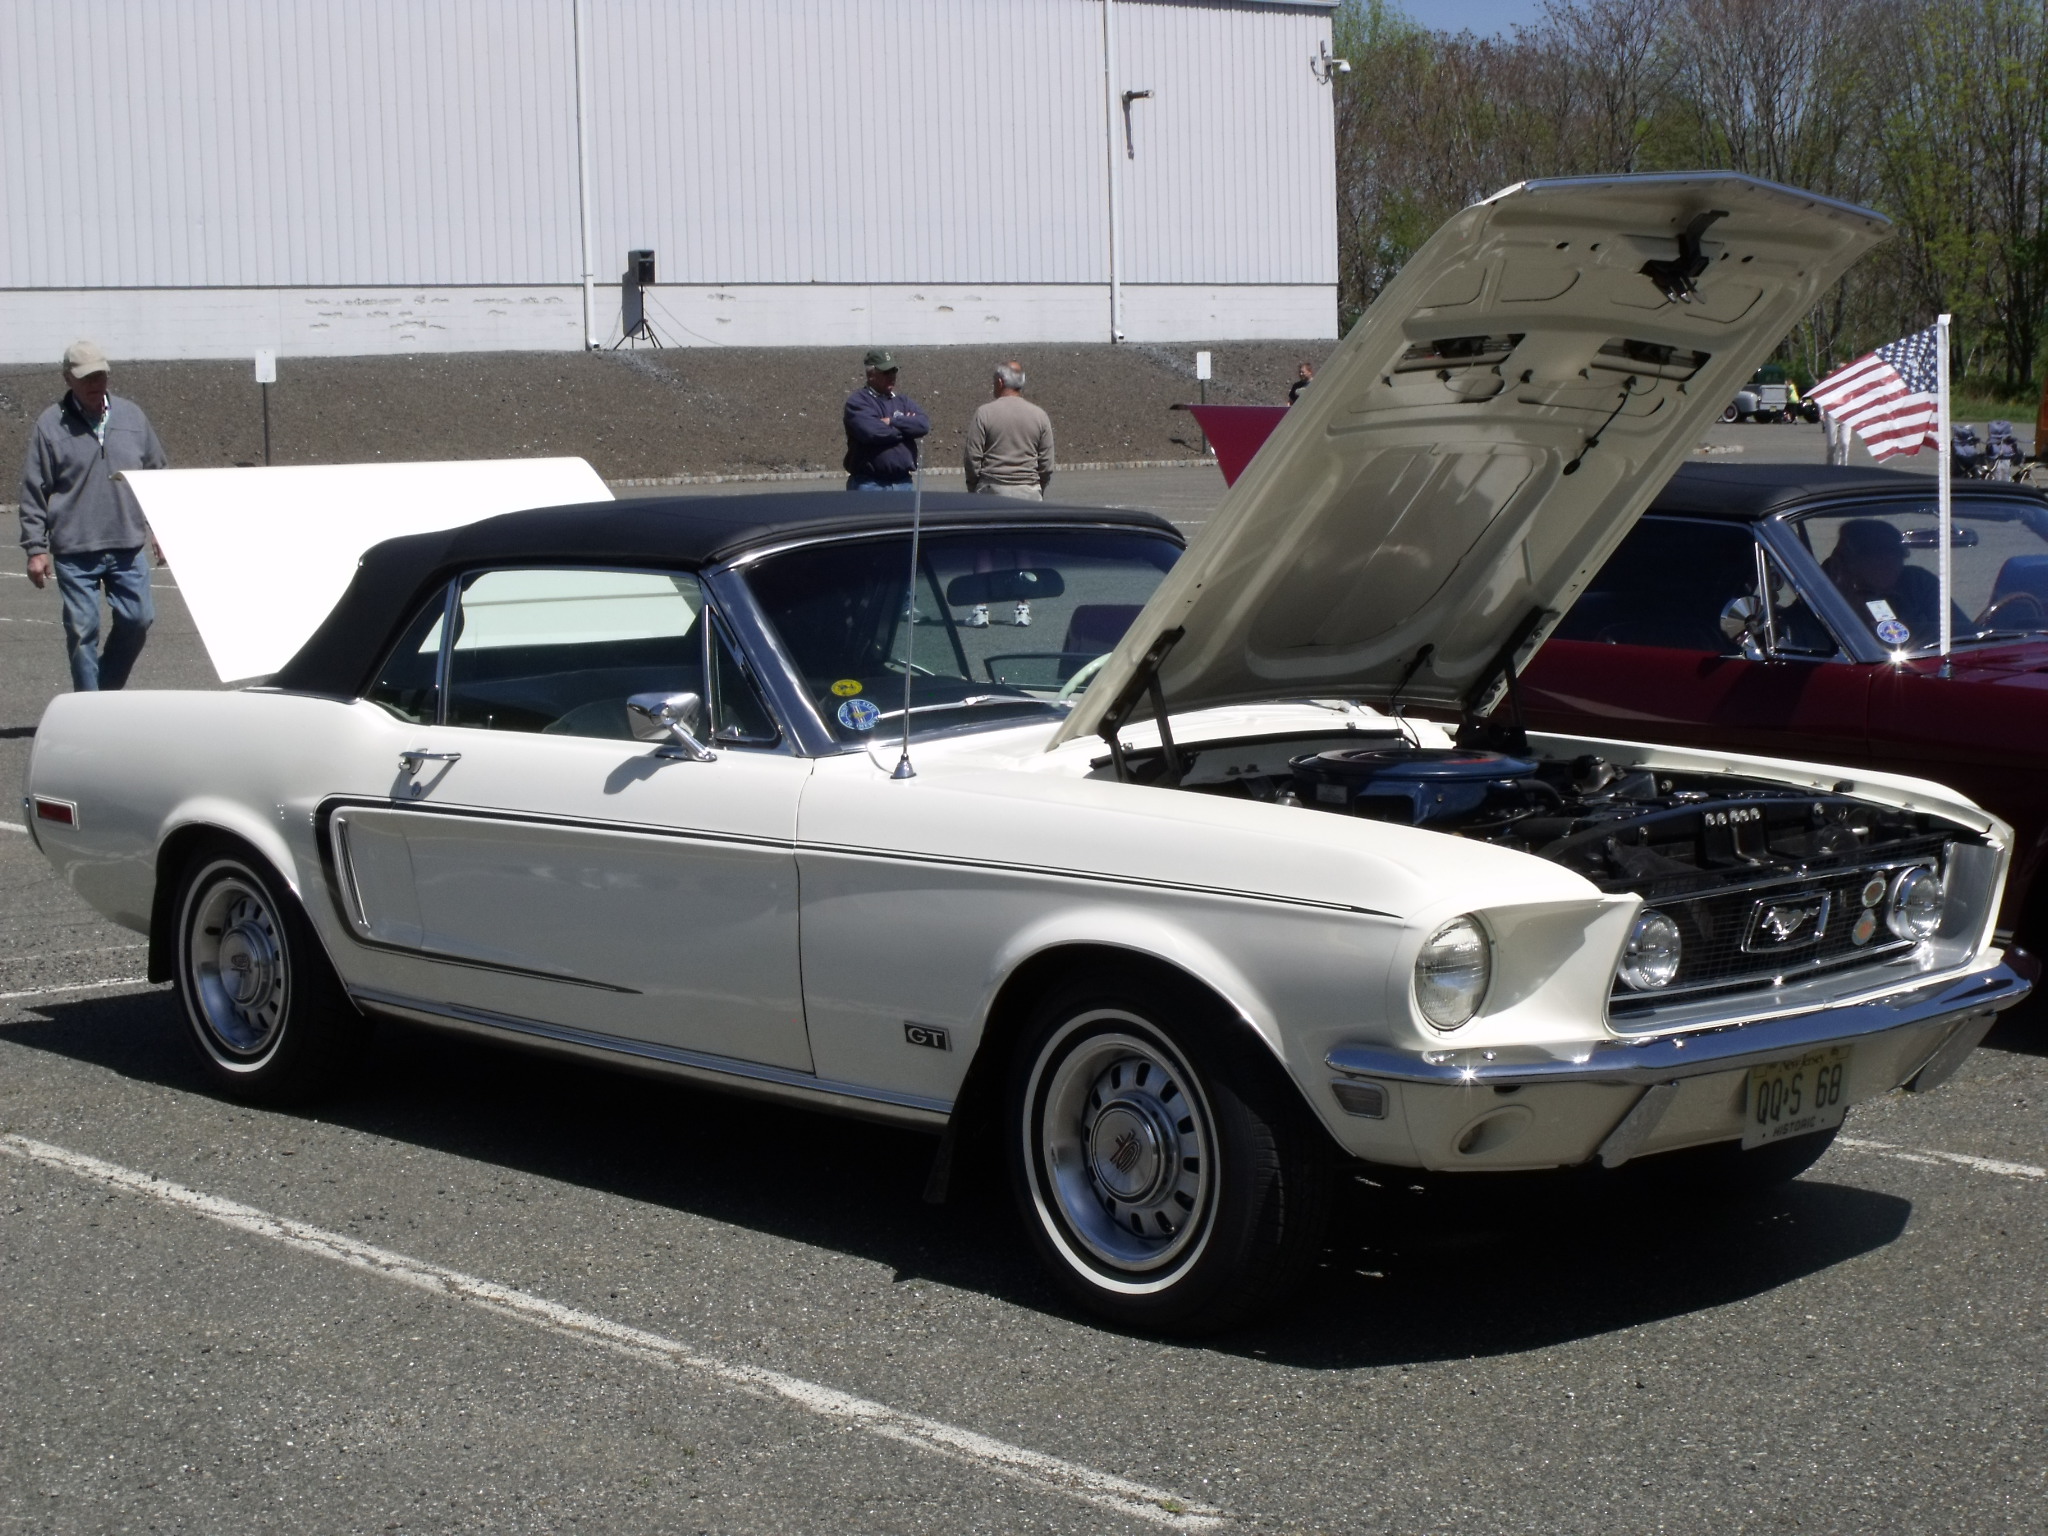
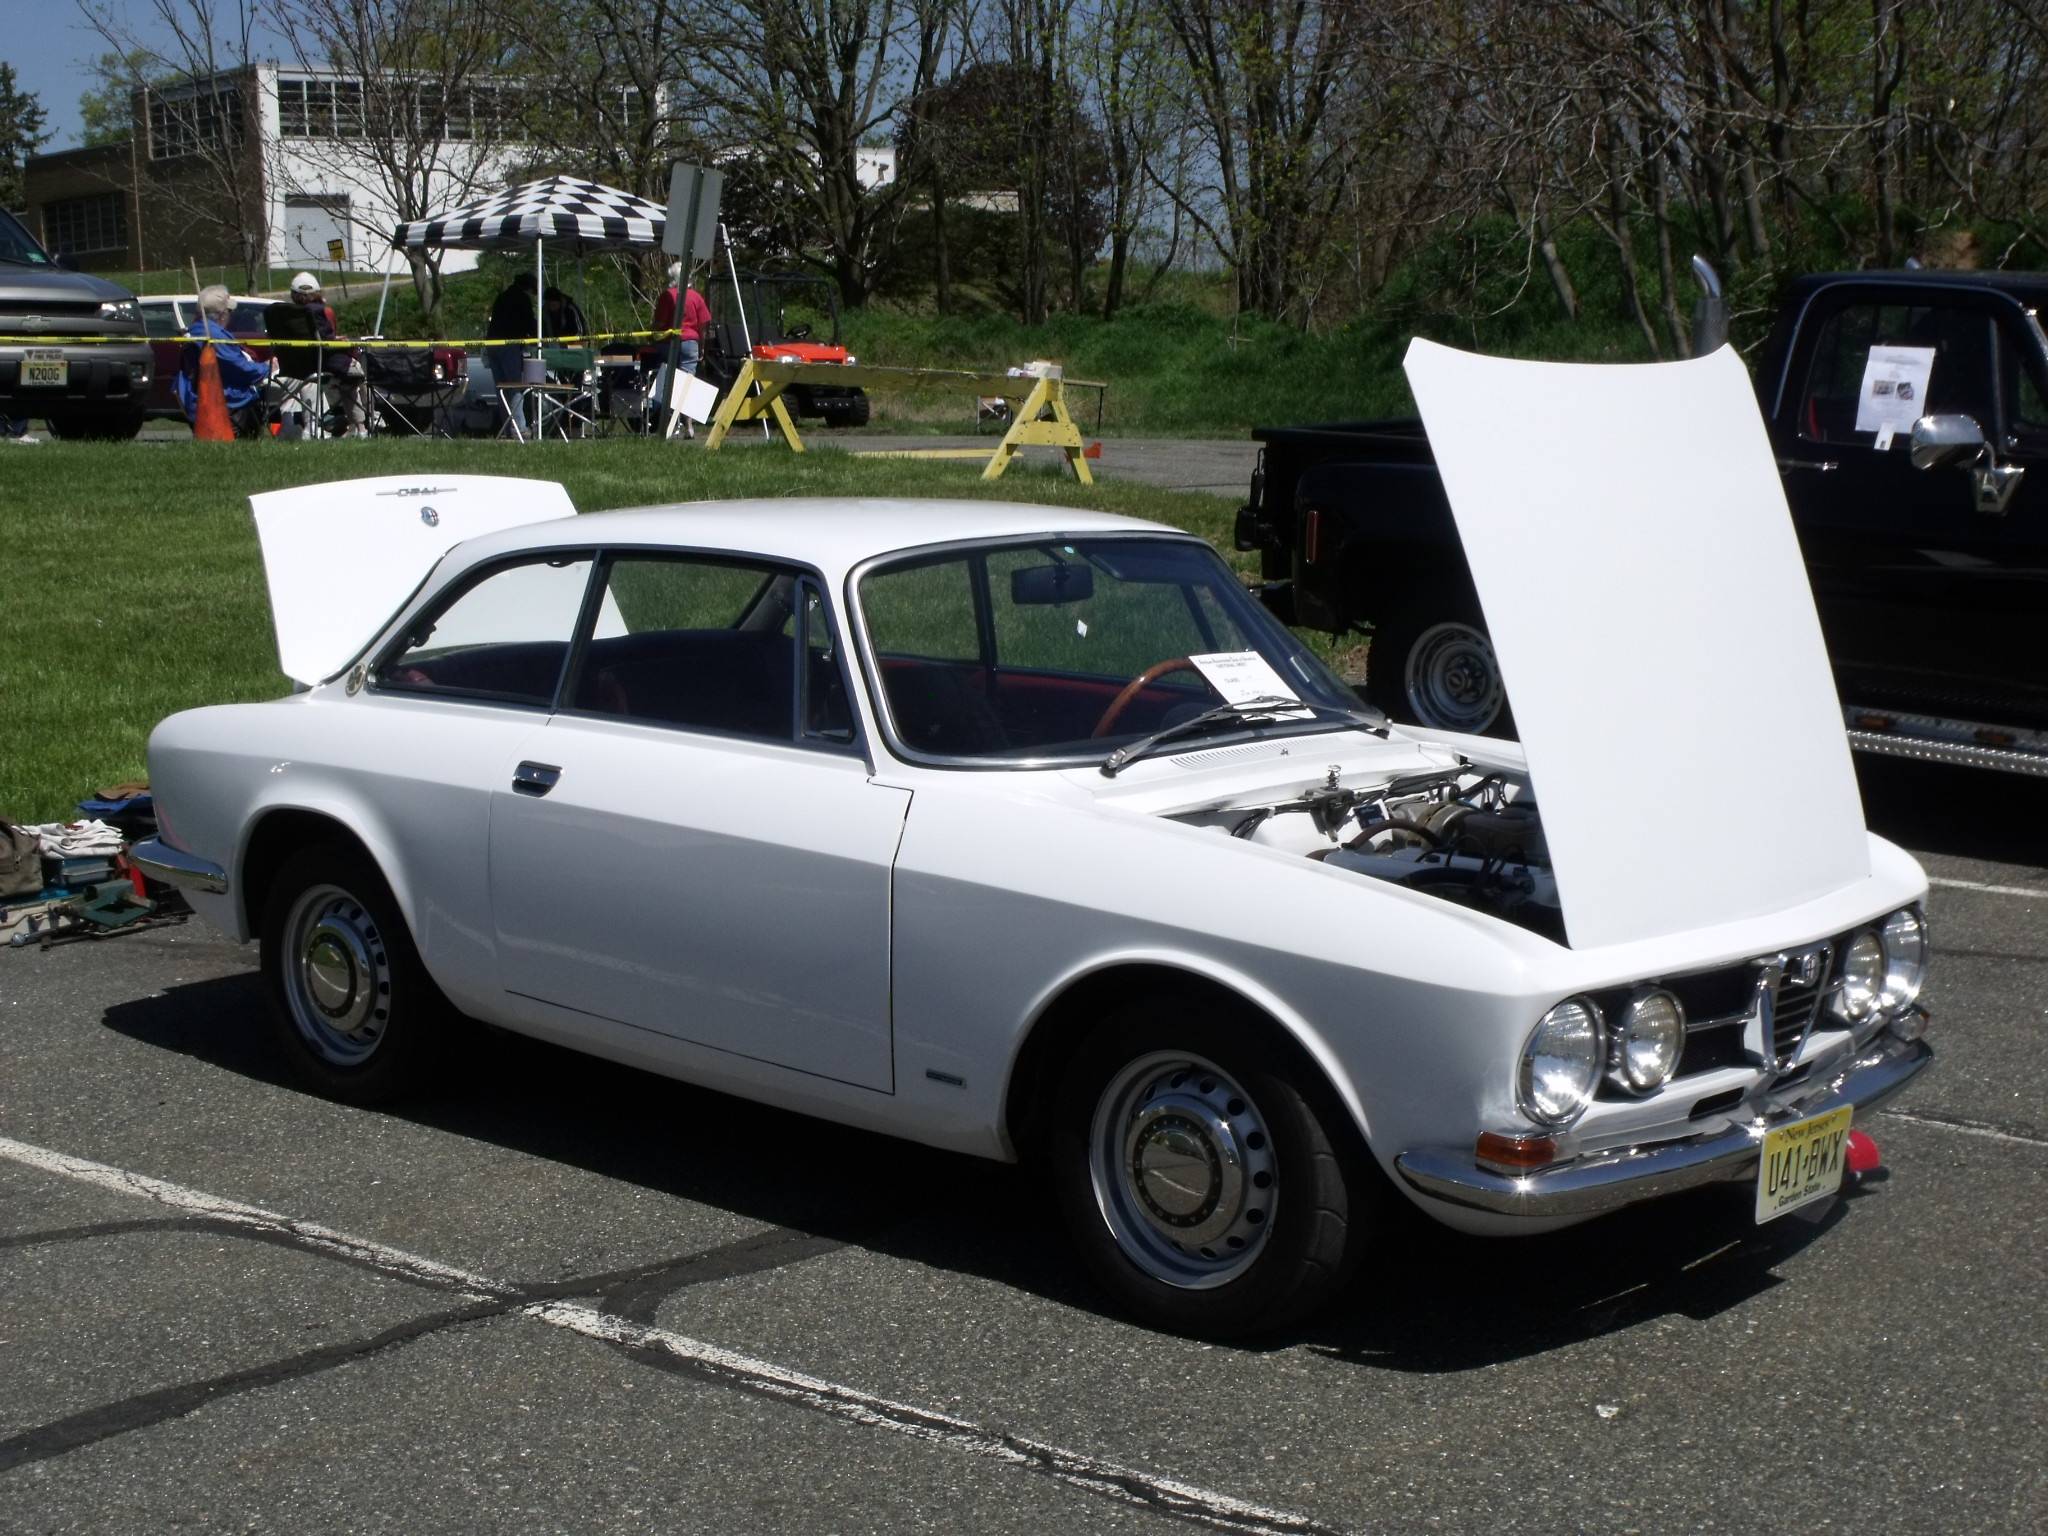
The 2014 show was also the 2nd time I had entered my Alfa Romeo. Glancing through the images reminds me of how delighted I was to finally own a show-worthy car which could be driven to and from the venue. Another highlight I note in my images is the greater number of import cars on display, a count which seems to have dwindled within the club in recent times. (I know I’ve called out that my Alfa has been the only non-American vehicle in some recent AACA events.)
To my followers: thank you for reading my blog! February will mark 9 years since my inaugural post. Wishing you a Merry Christmas and Happy New Year!
My friend Bob with his shoebox Ford
My friend Sean with his Pontiac Grand Ville convertible
ABOVE: This Alfa GTV was tastefully modified, but (obviously) not AACA-eligible, so it was not judged.
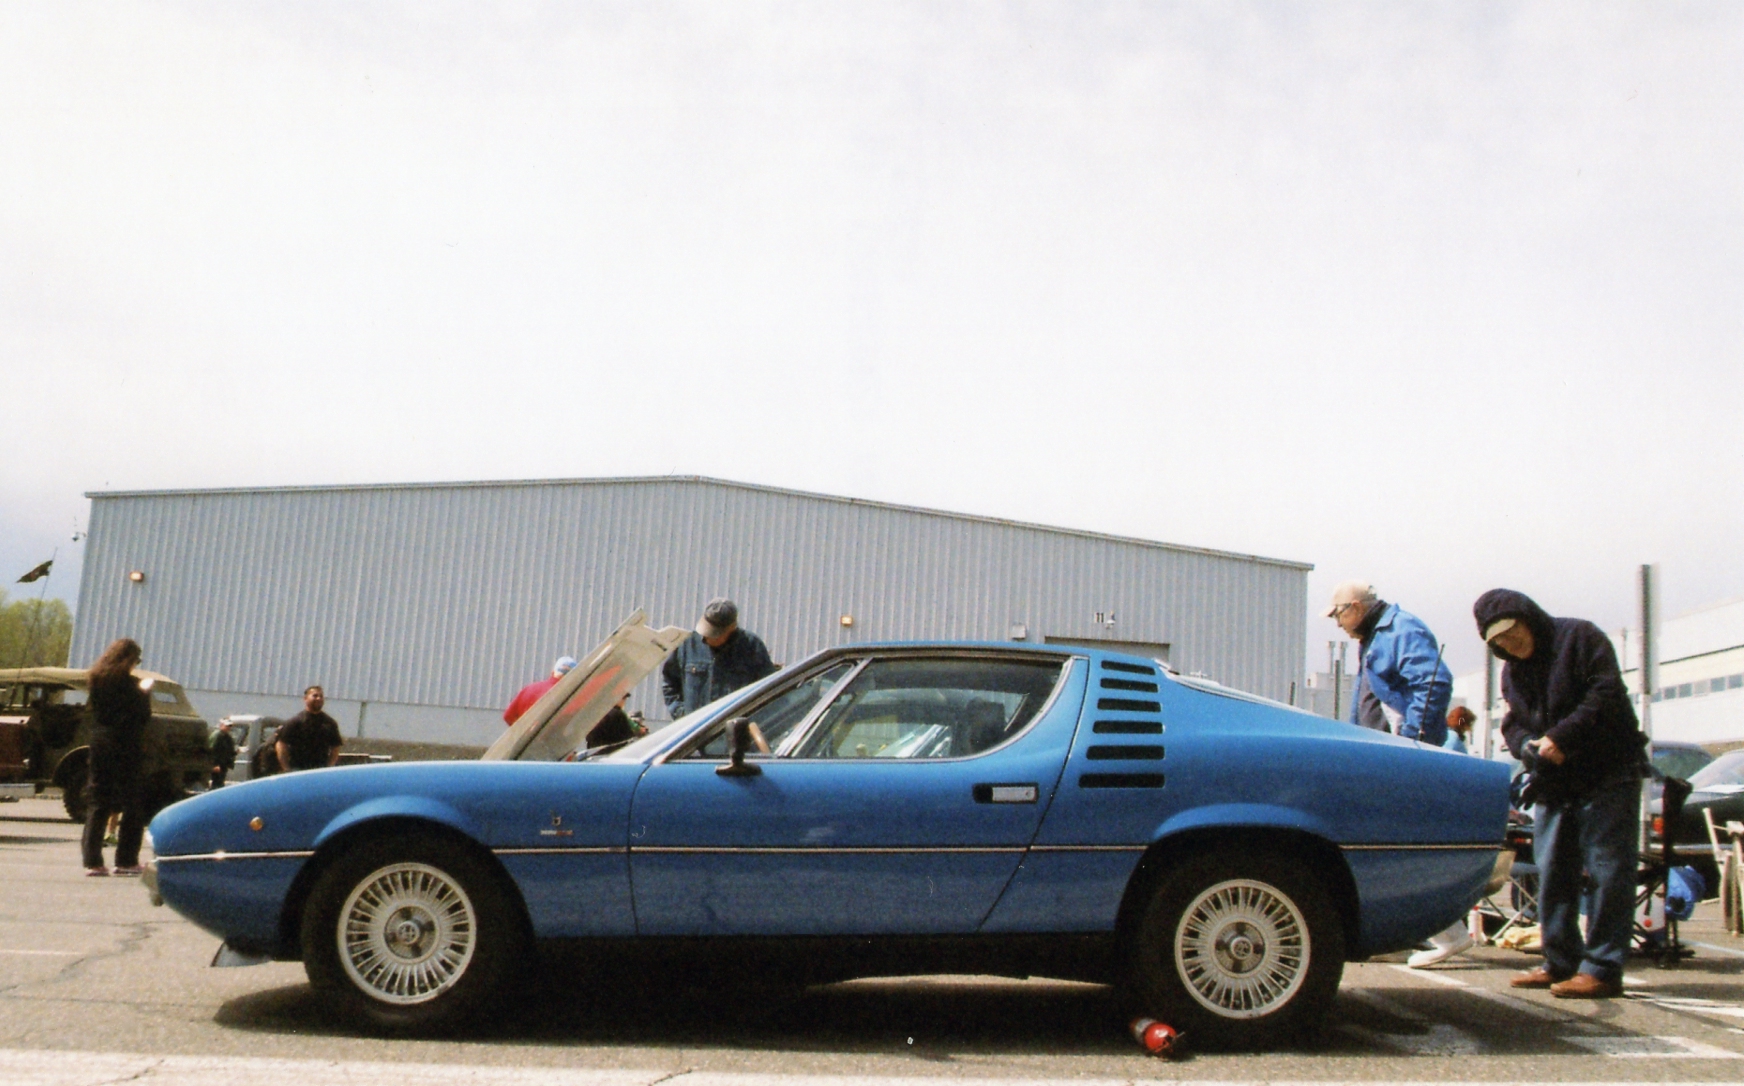
Ed’s Alfa Montreal
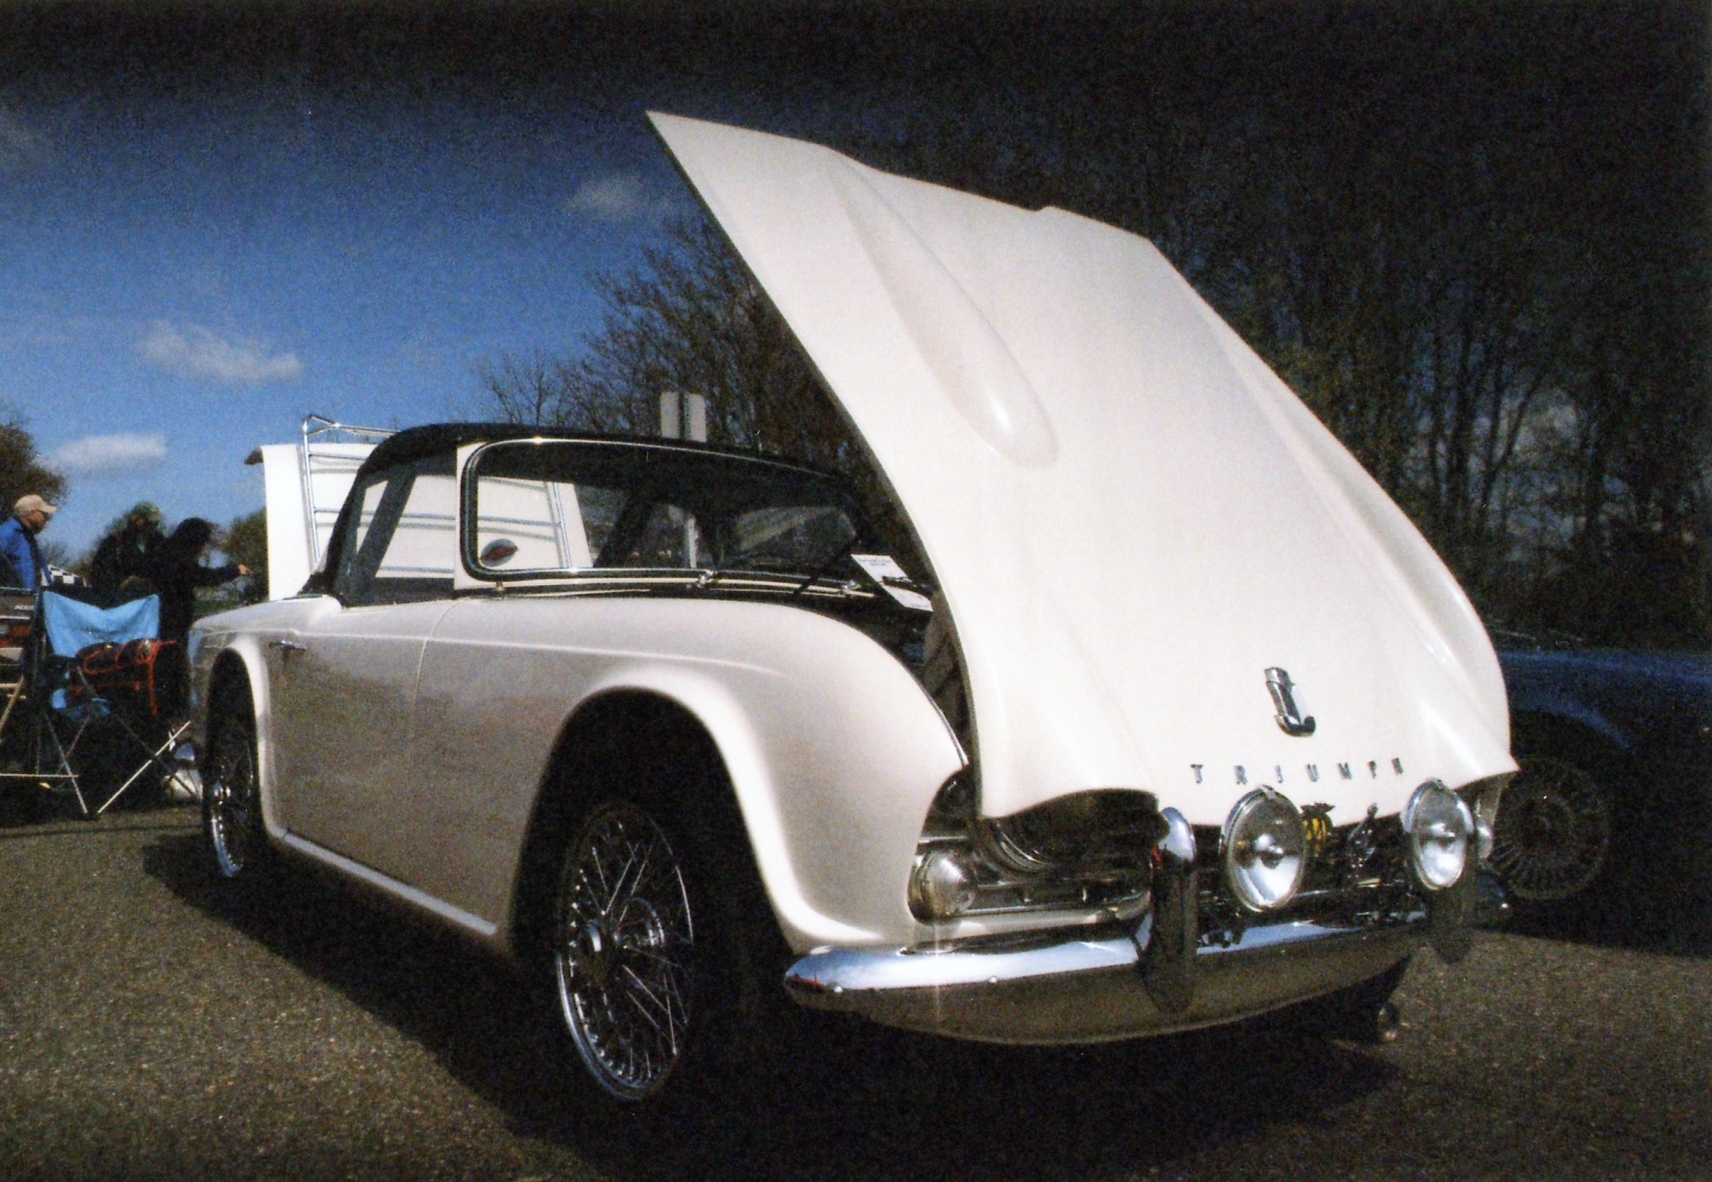
Triumph TR-4
2nd generation Corvair coupe
Jaguar E-Type Series III
Porsche 928
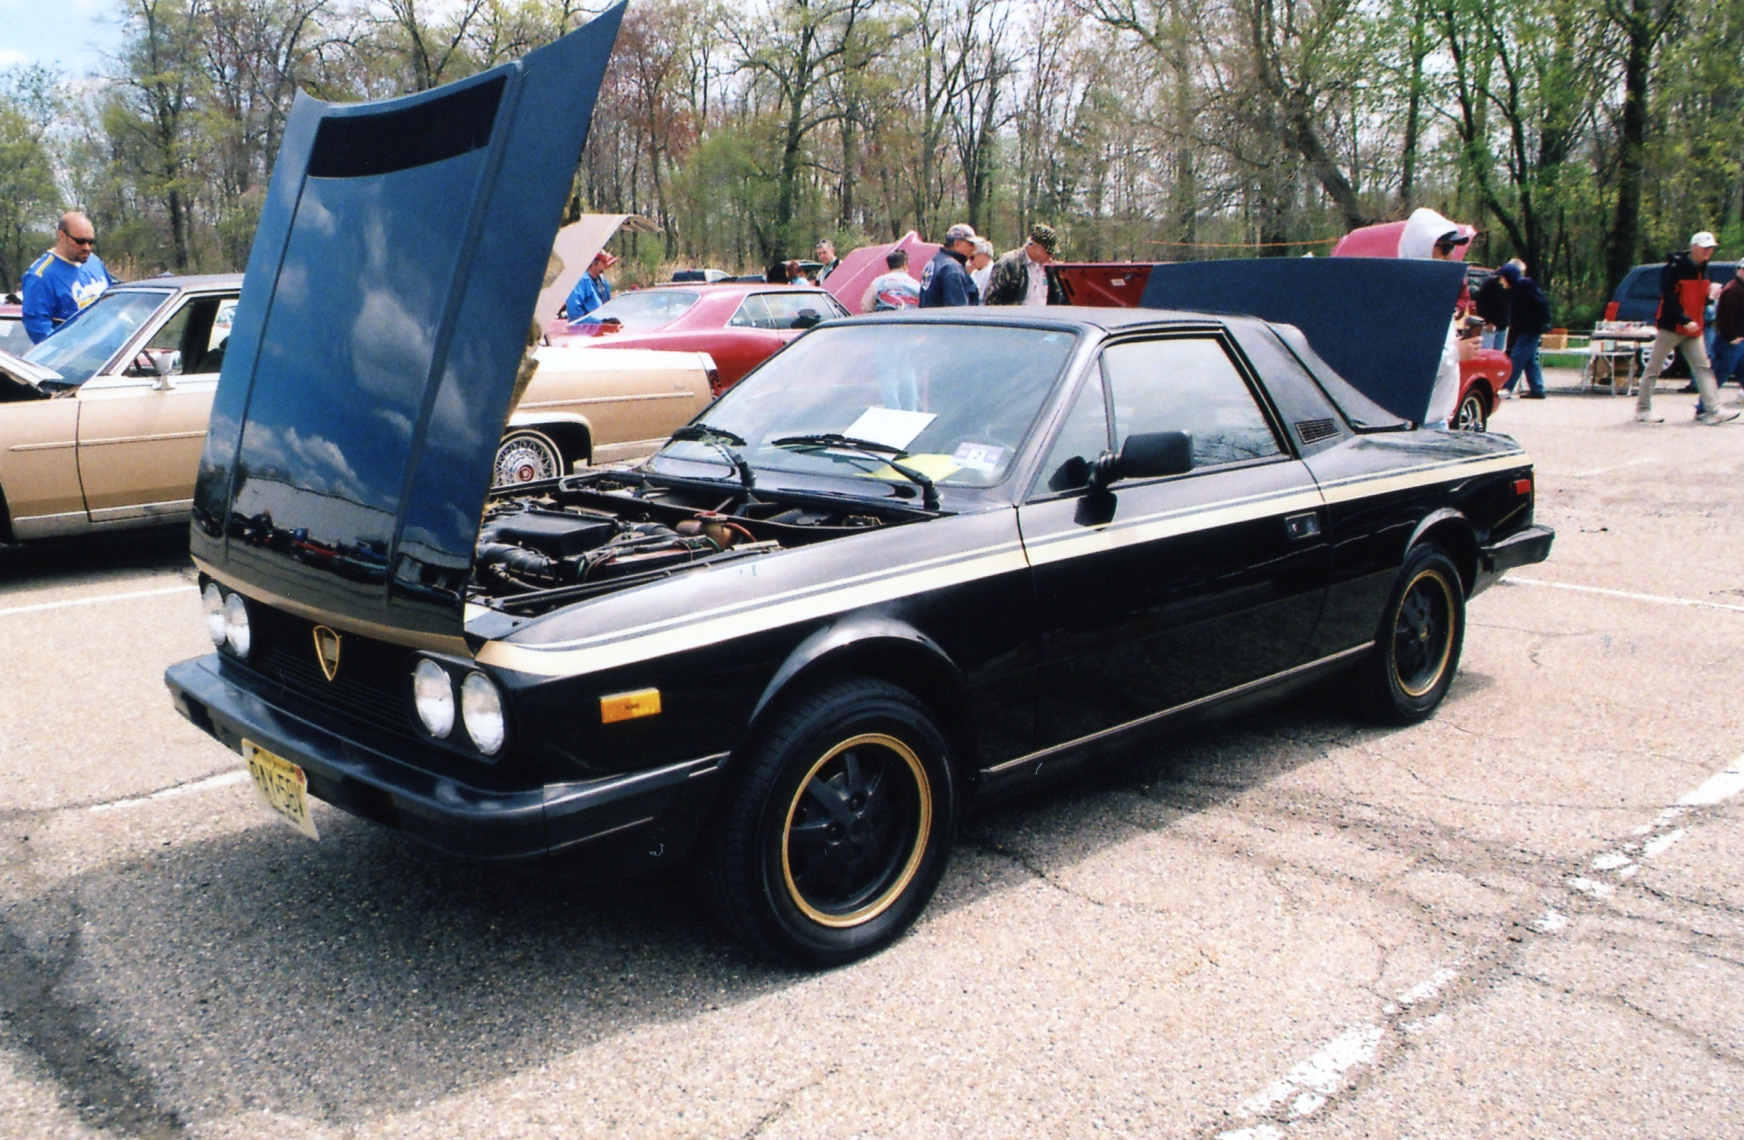
Lancia Beta Zagato
1963 Corvette split-window coupe
2nd gen (’66-’67) Buick Riviera
A BIG Cadillac
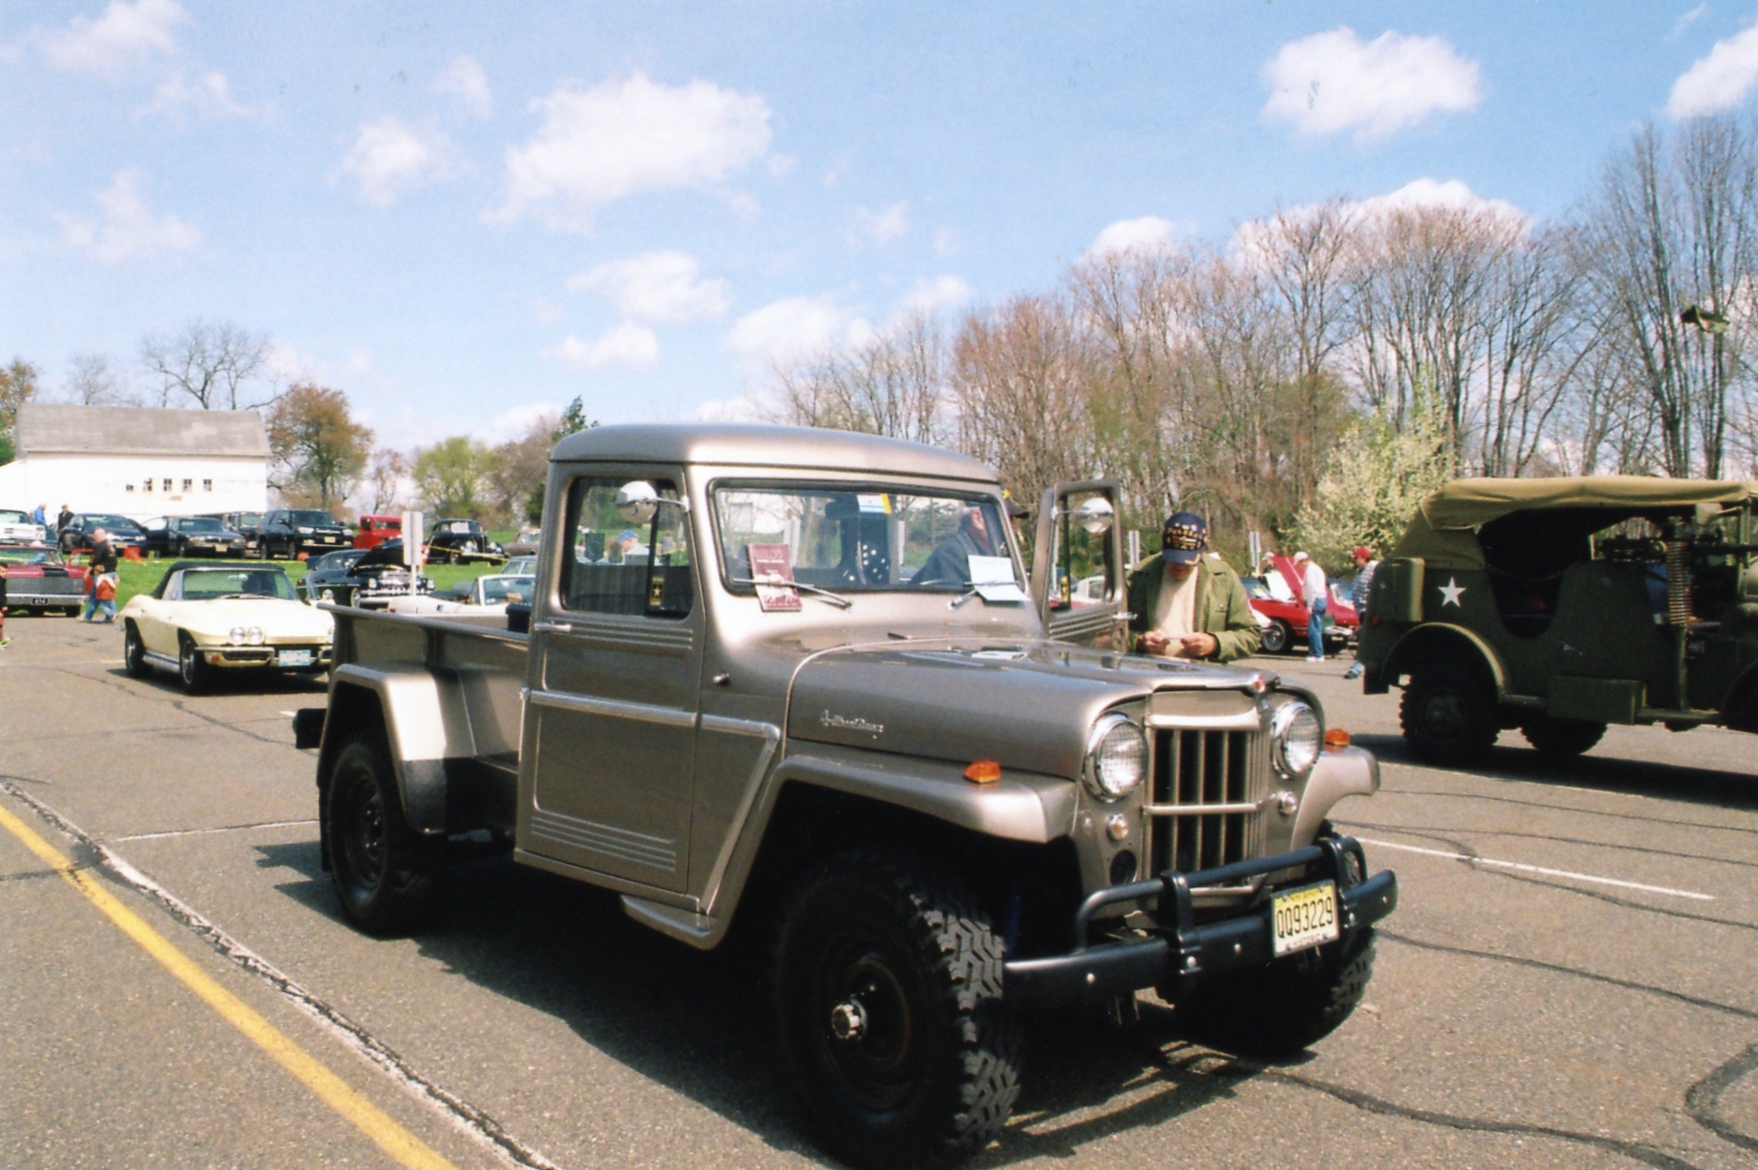
Jeep pickup
Trophies are awarded by class. At the end of the show, the 1st, 2nd, and 3rd place winners in each class line up to receive their just rewards:
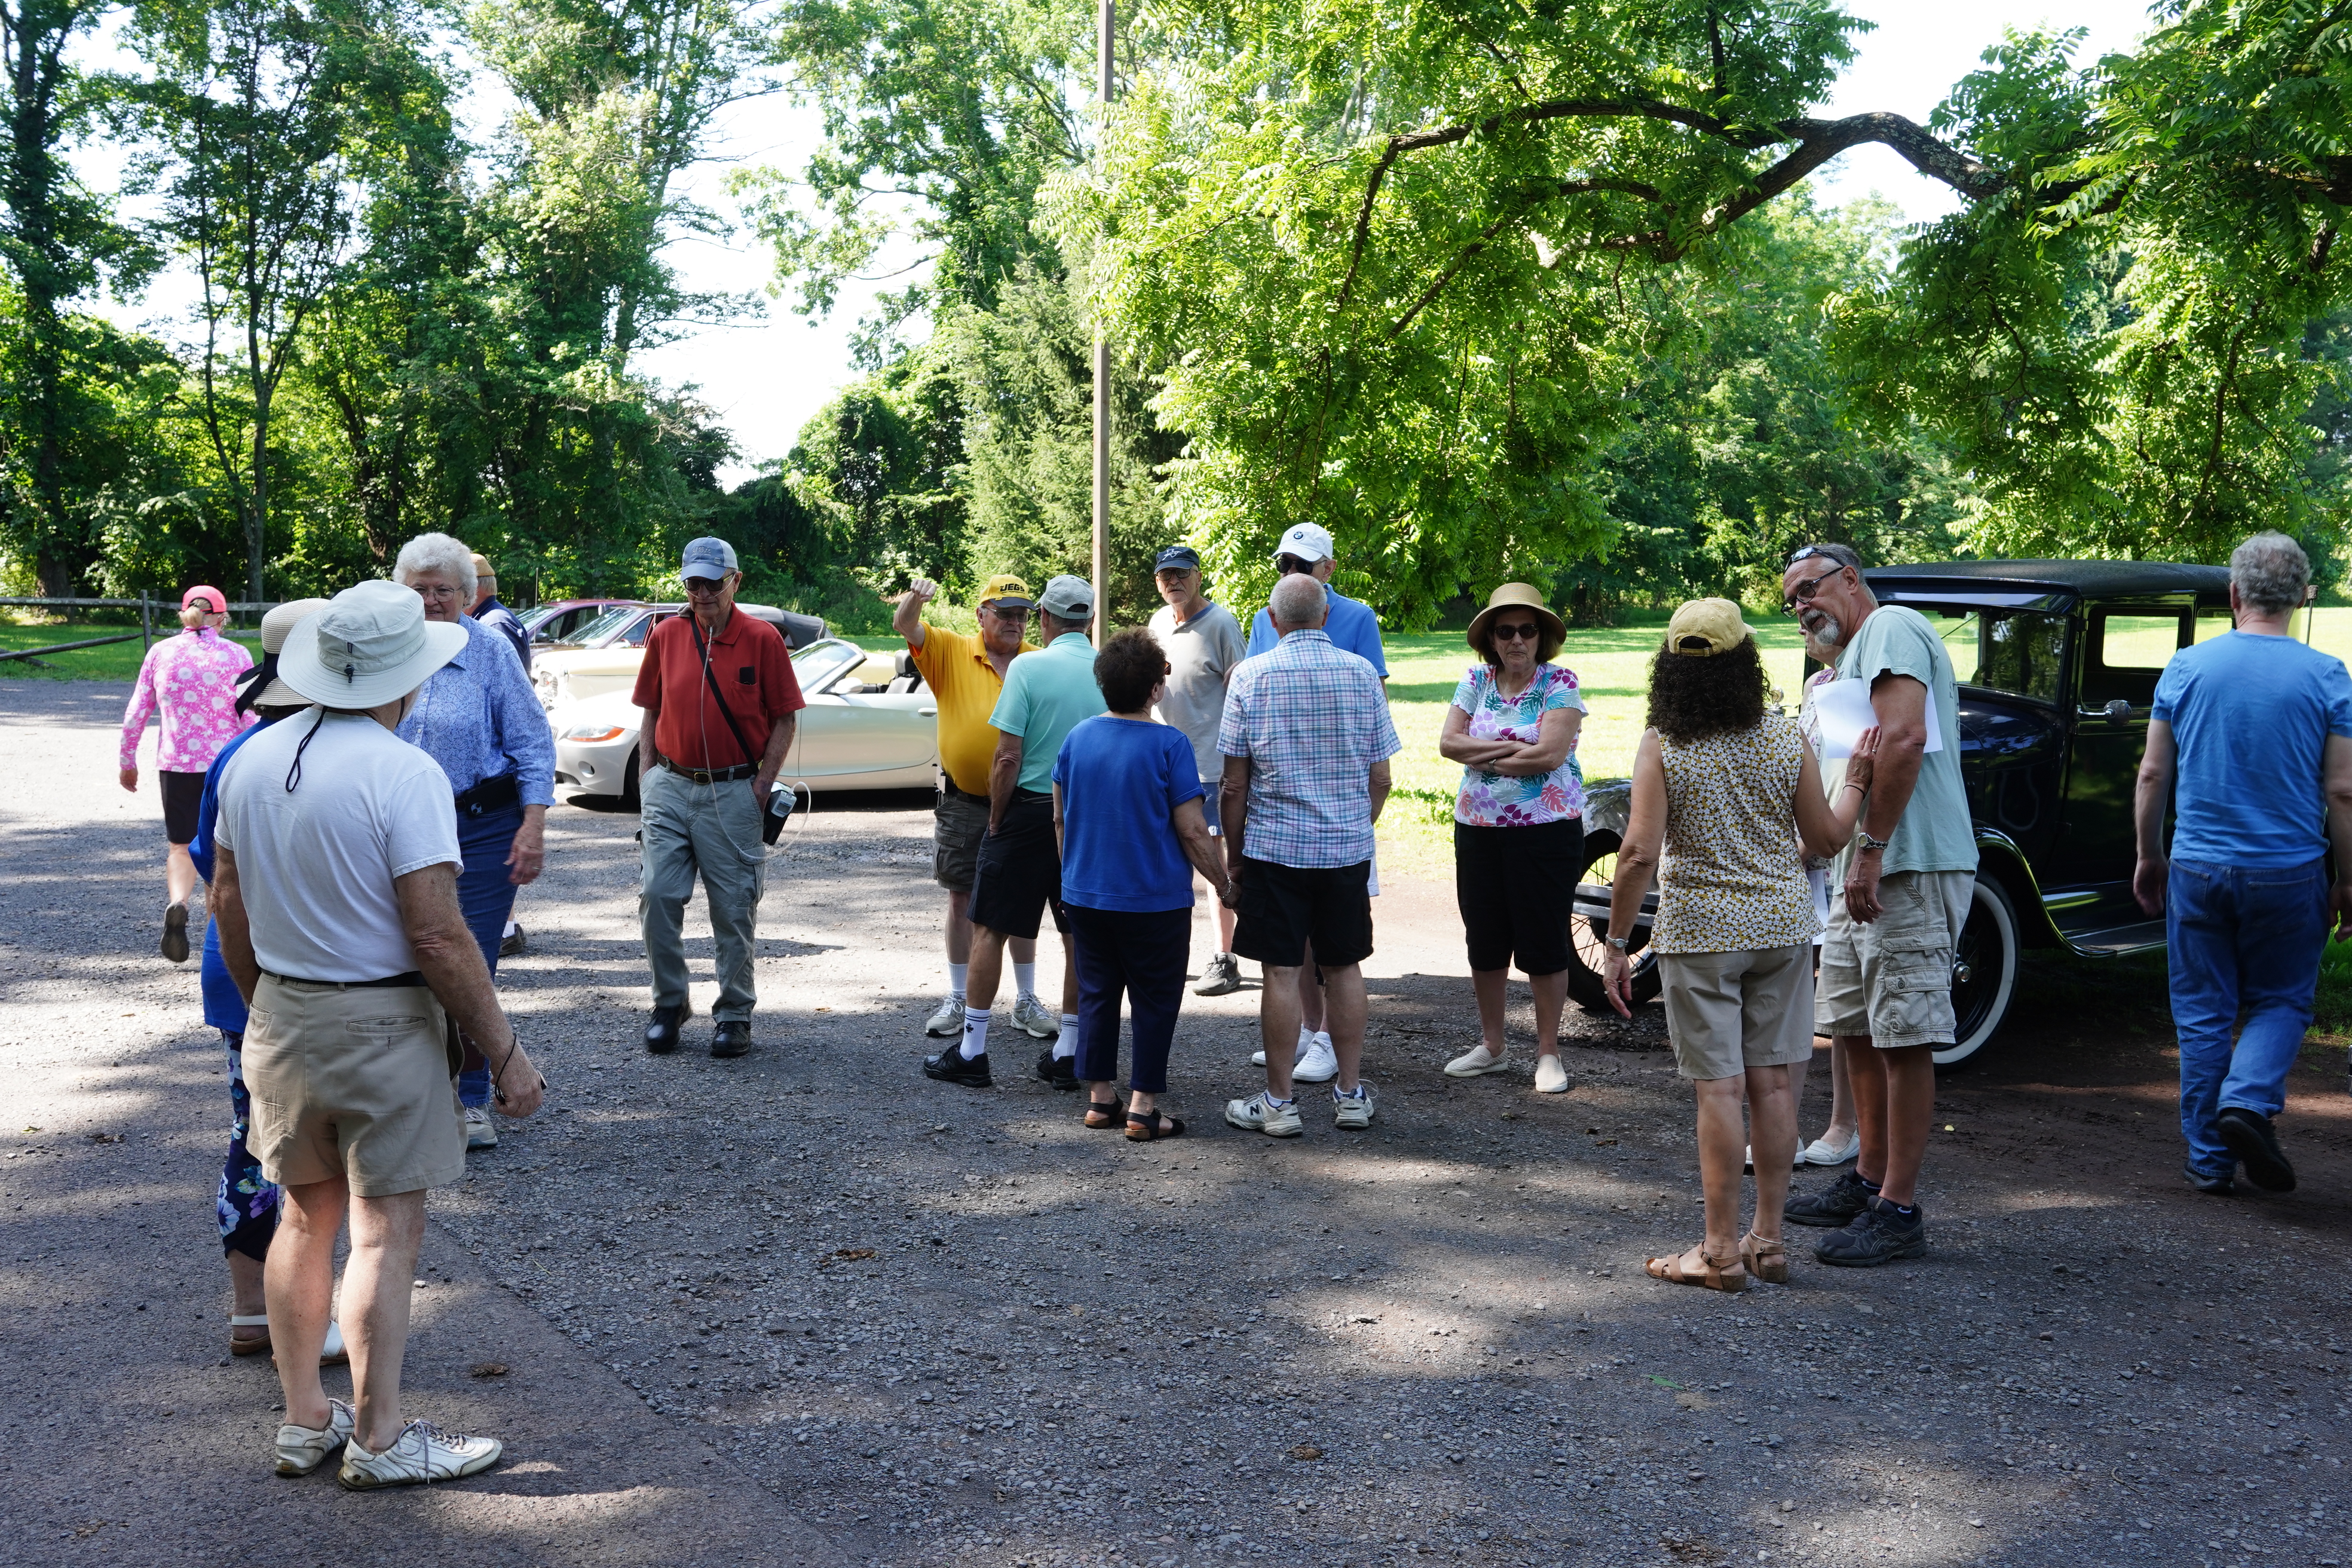
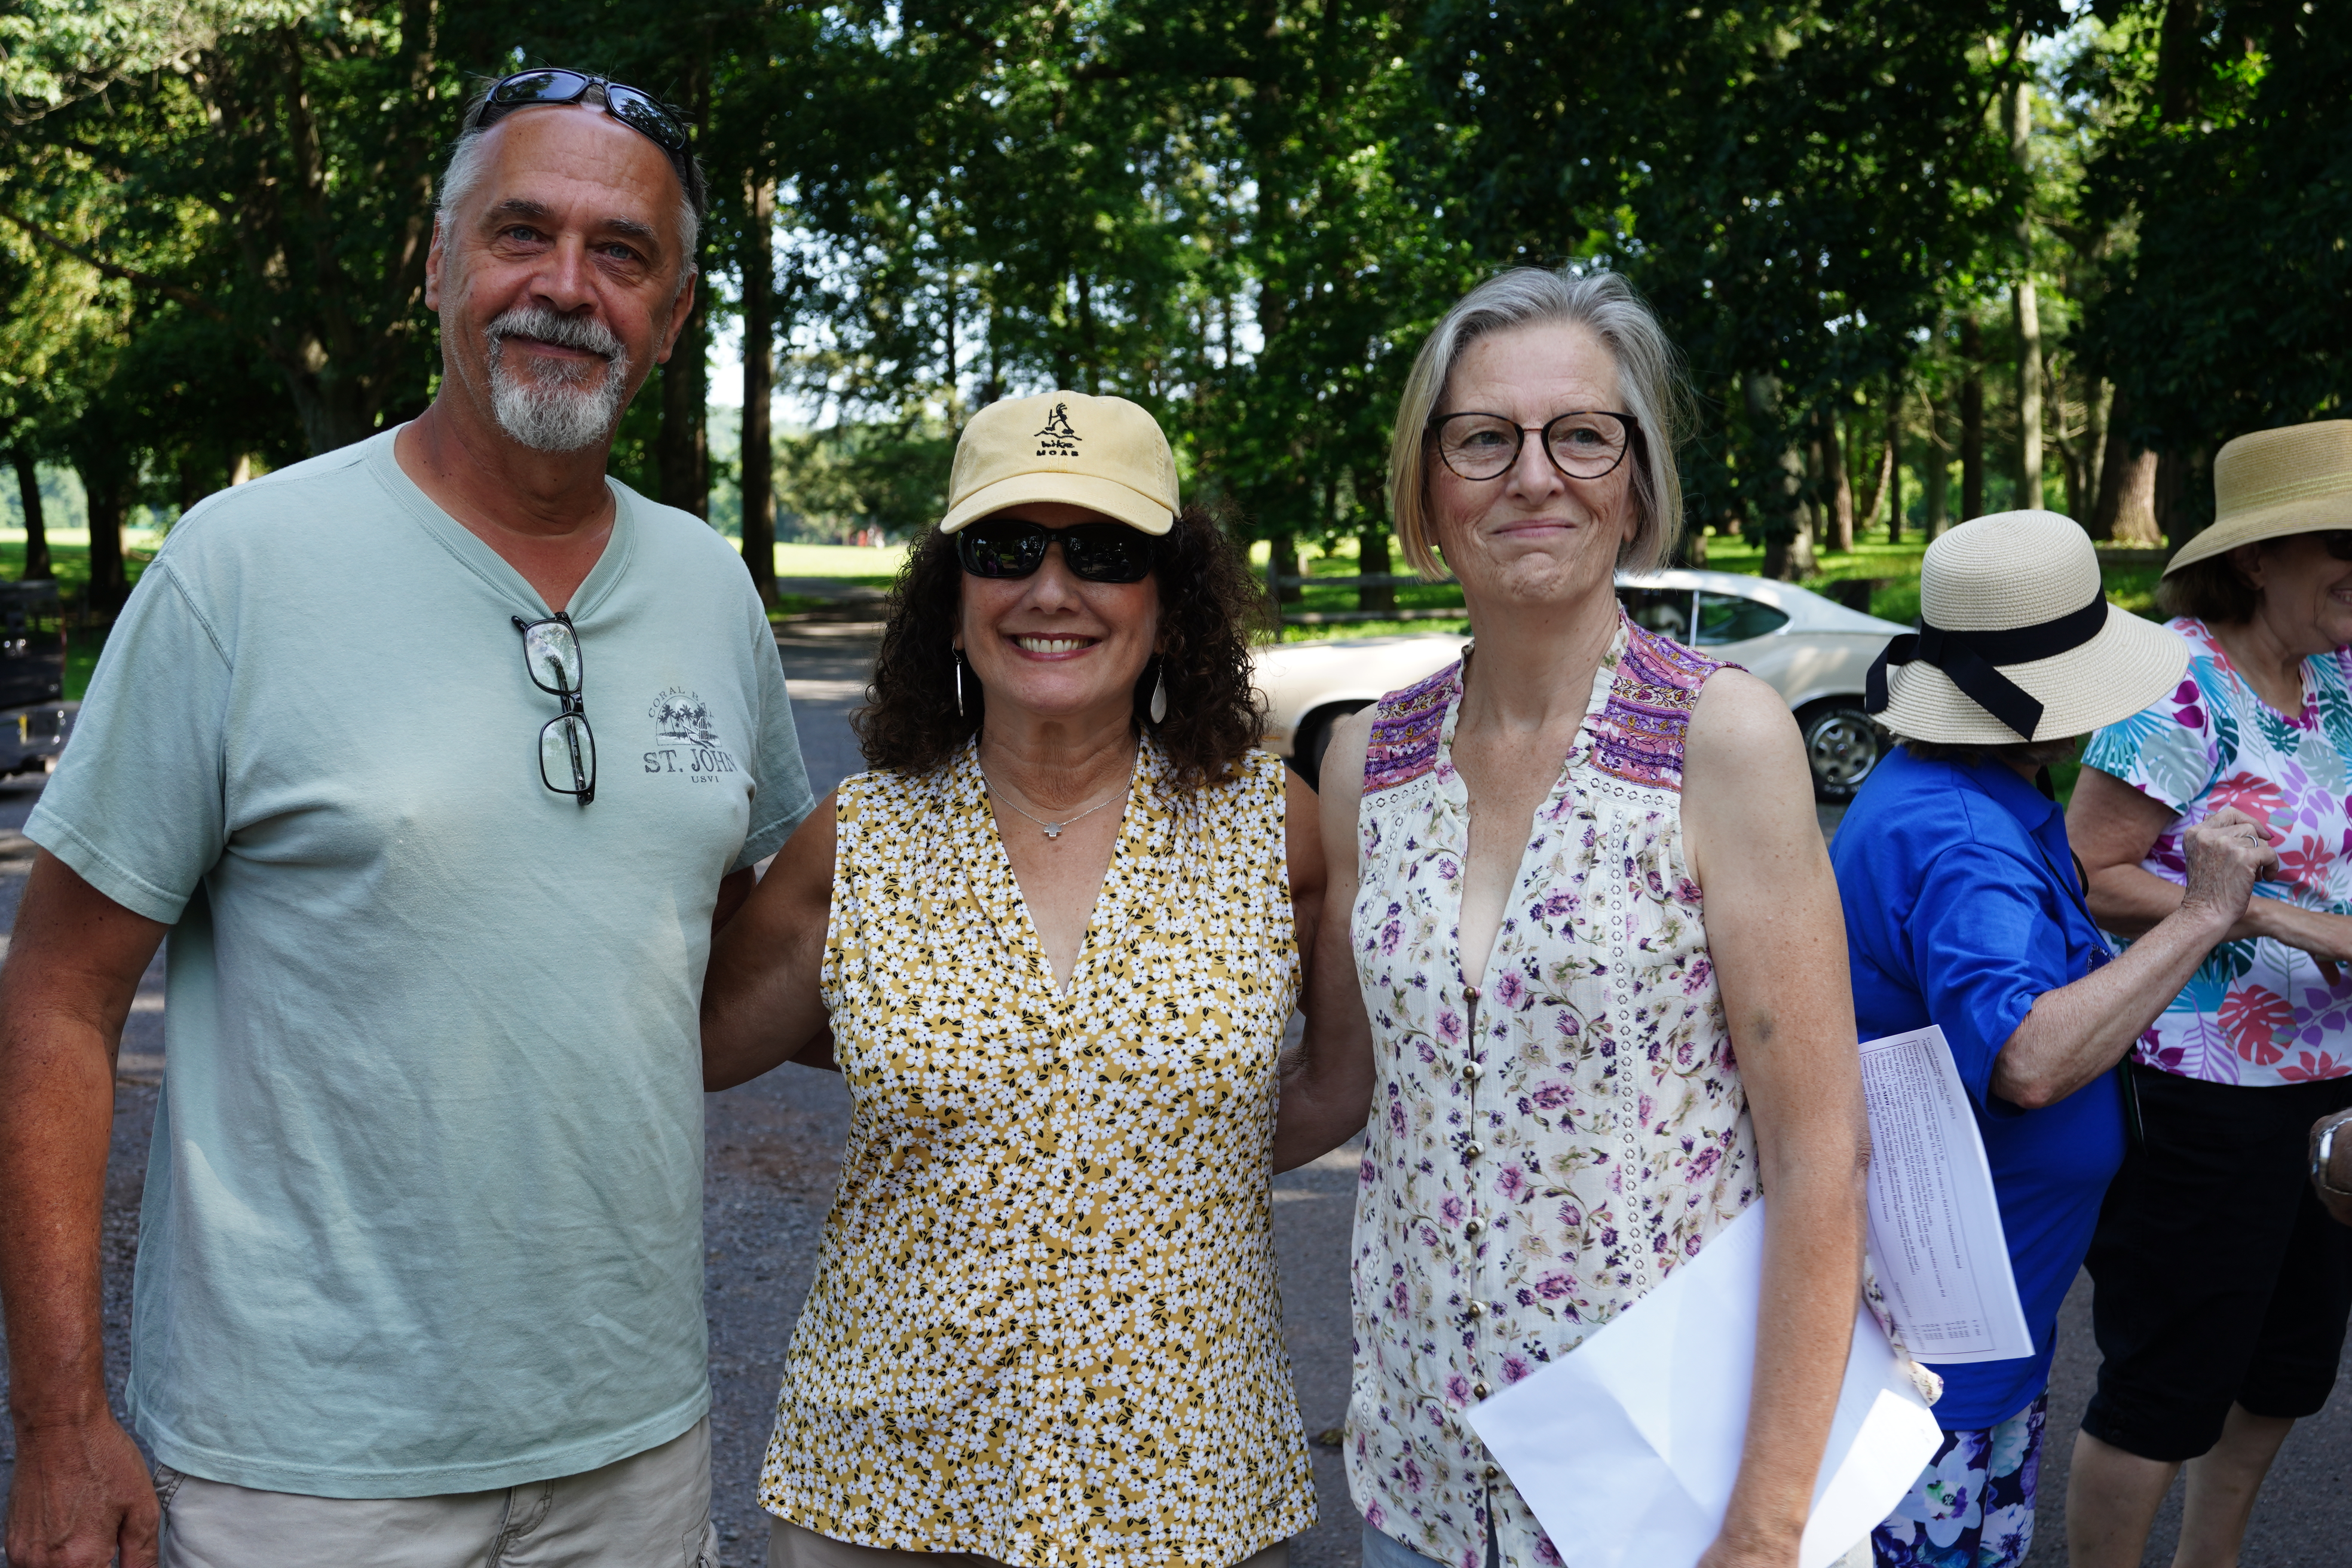
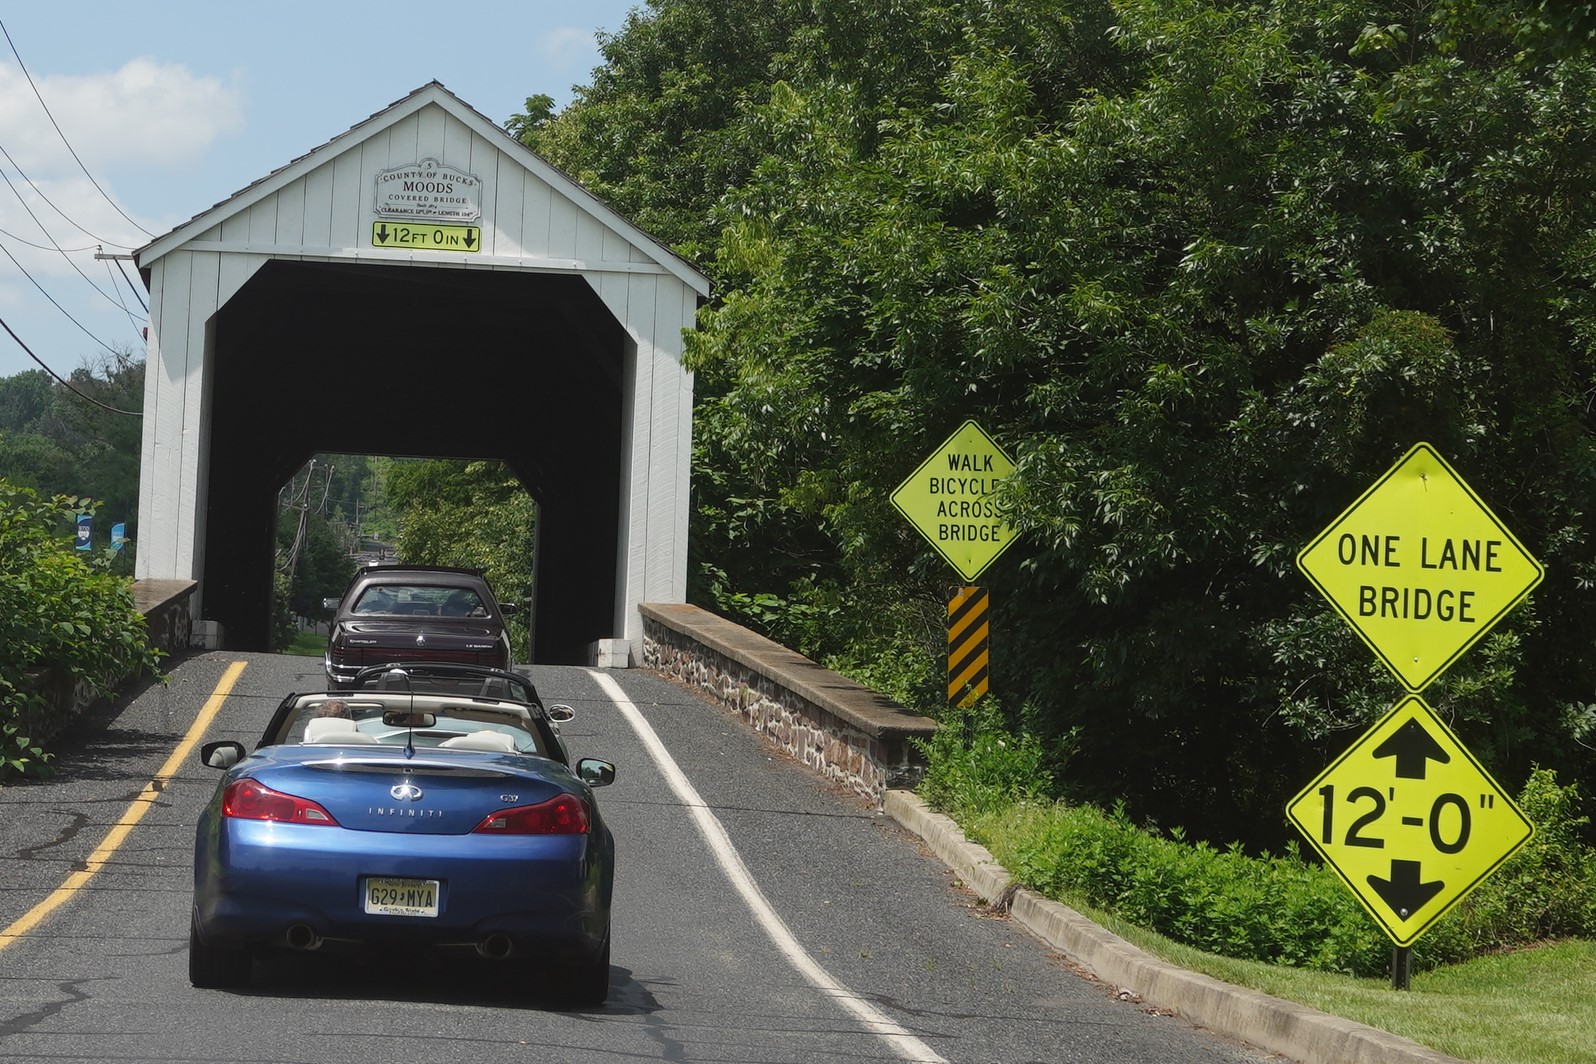
On July 22, 2023, Dick and Bobbi Bettle of the AACA NJ Region hosted a Covered Bridge Tour of Bucks County PA. Twelve vehicles were in attendance: most were AACA cars, but the group included two modern vehicles plus a handful of Ford Model As from the local Model A club. The tour took us through 8 covered bridges and included a picnic lunch stop at a nearby park.
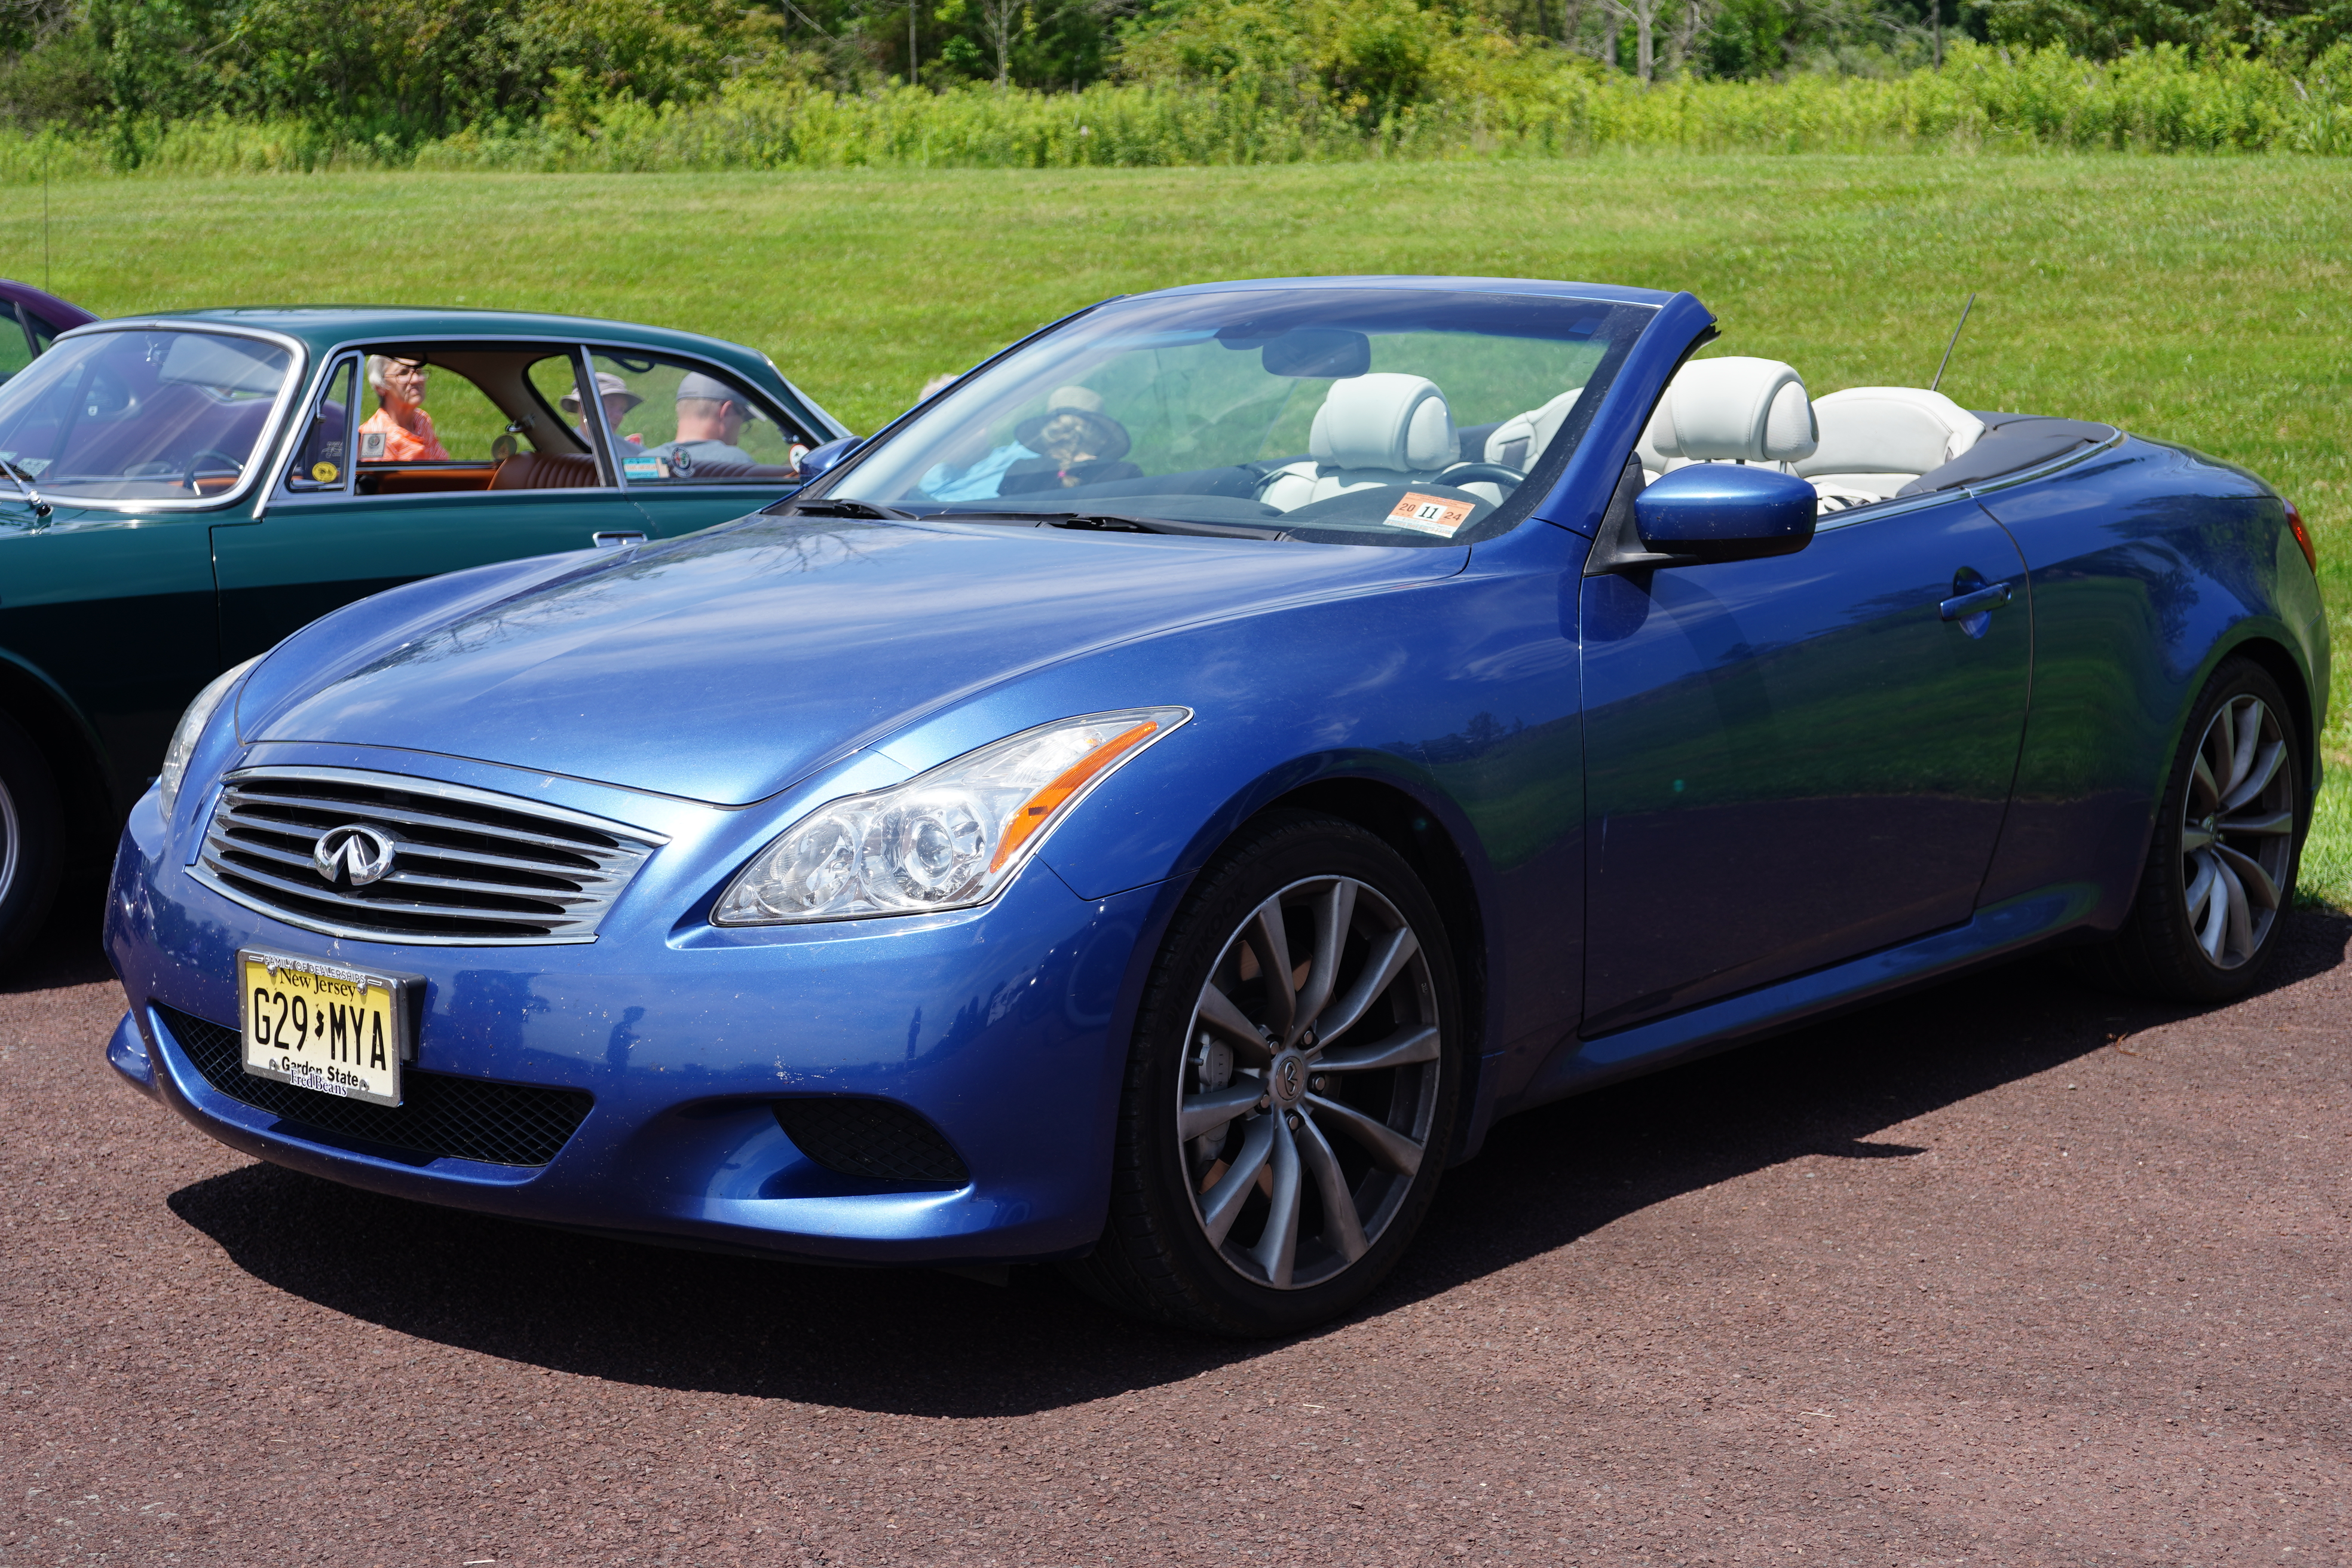
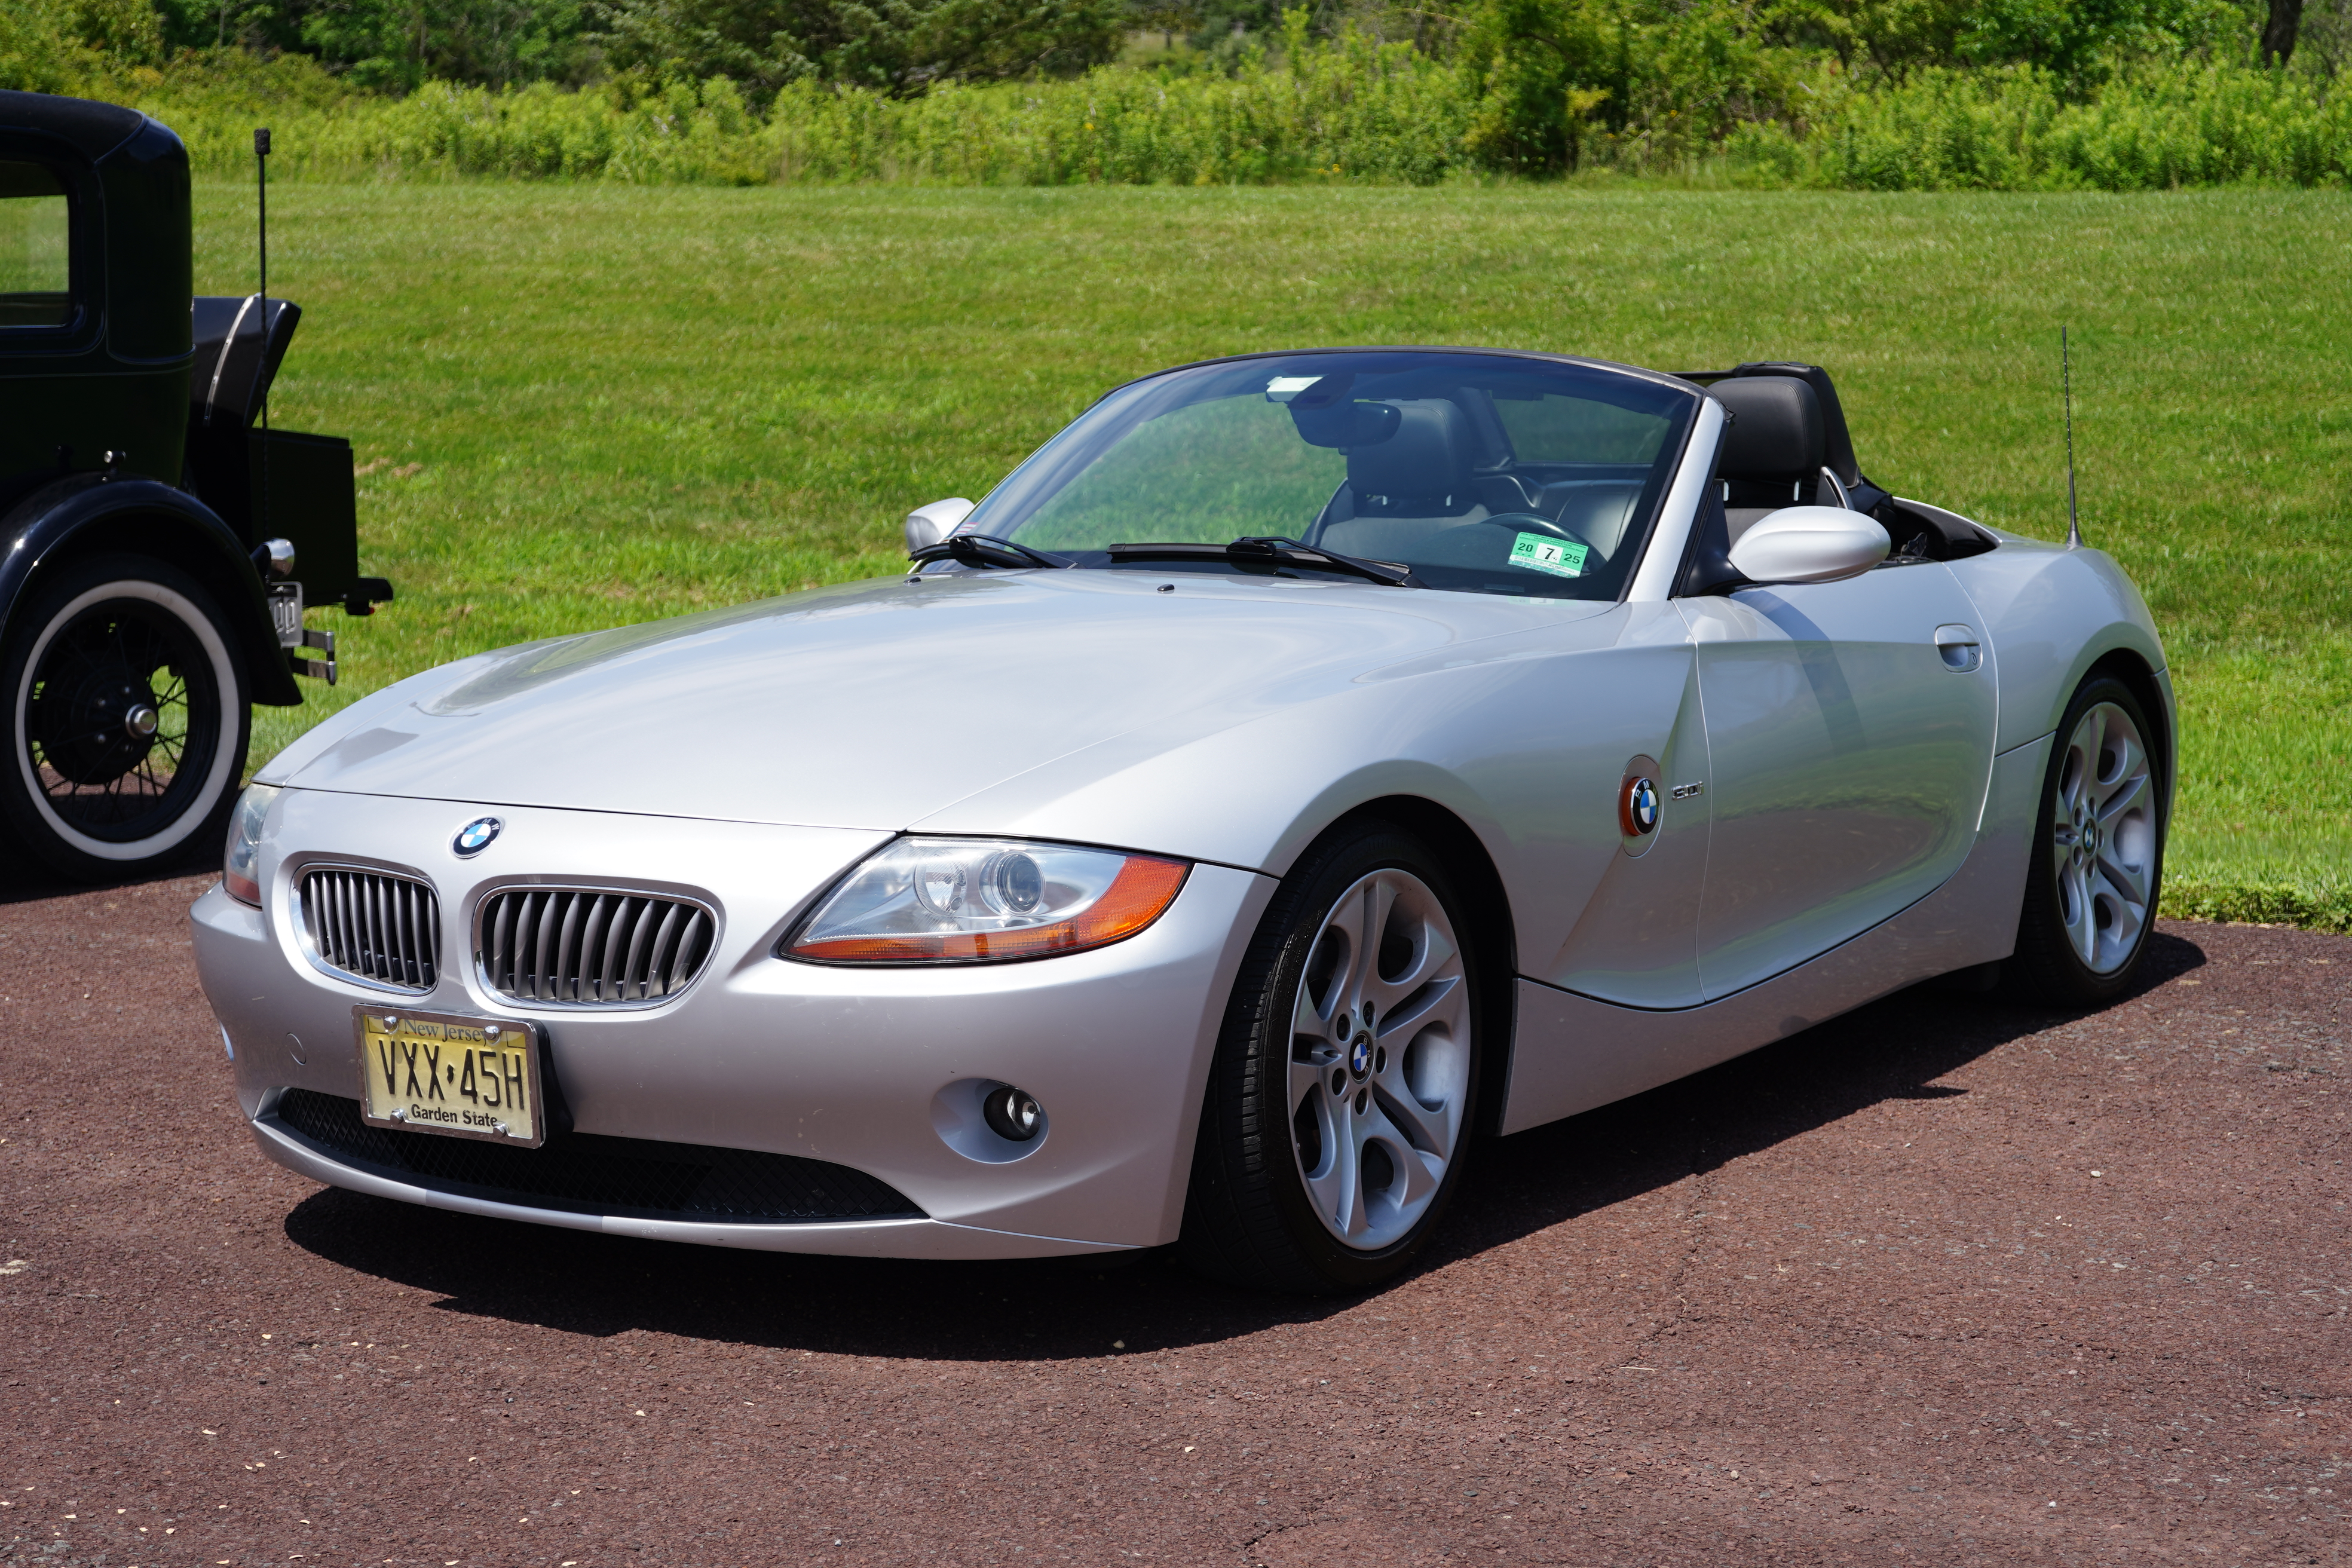
At my wife’s urging, I reached out to two sets of friends who own convertibles, although both cars are new enough to be ineligible for AACA. Our friends Andy and Greta drove their BMW Z4 roadster, and our friends George and Pat cruised in their 2009 Infiniti G37 retractable hardtop. I was thrilled that having Greta and Pat along meant that my wife was more than willing to ride in our Alfa for the day. Dick and Bobbi’s attitude about it was “the more the merrier”.
We left our house at 8 a.m. and headed to the Clinton Station Diner for breakfast. Andy and Greta followed us there in the Z4. The Diner was the official kick-off spot for the tour, as we met most of the remaining drivers in the parking lot. From there it was a short ride to Tinicum Park in PA where we met up with the rest of the contingent, including all the Model As as well as George and Pat in the G37.
The bridges were fantastic. At least 5 of these were part of the NJ AACA-sponsored Glidden Tour from last year. The bridges are all similar enough: wooden structures with creaky noisy wooden floors, and so narrow that traffic can move only in one direction at a time. George and I honked our horns inside every bridge, just because we could.
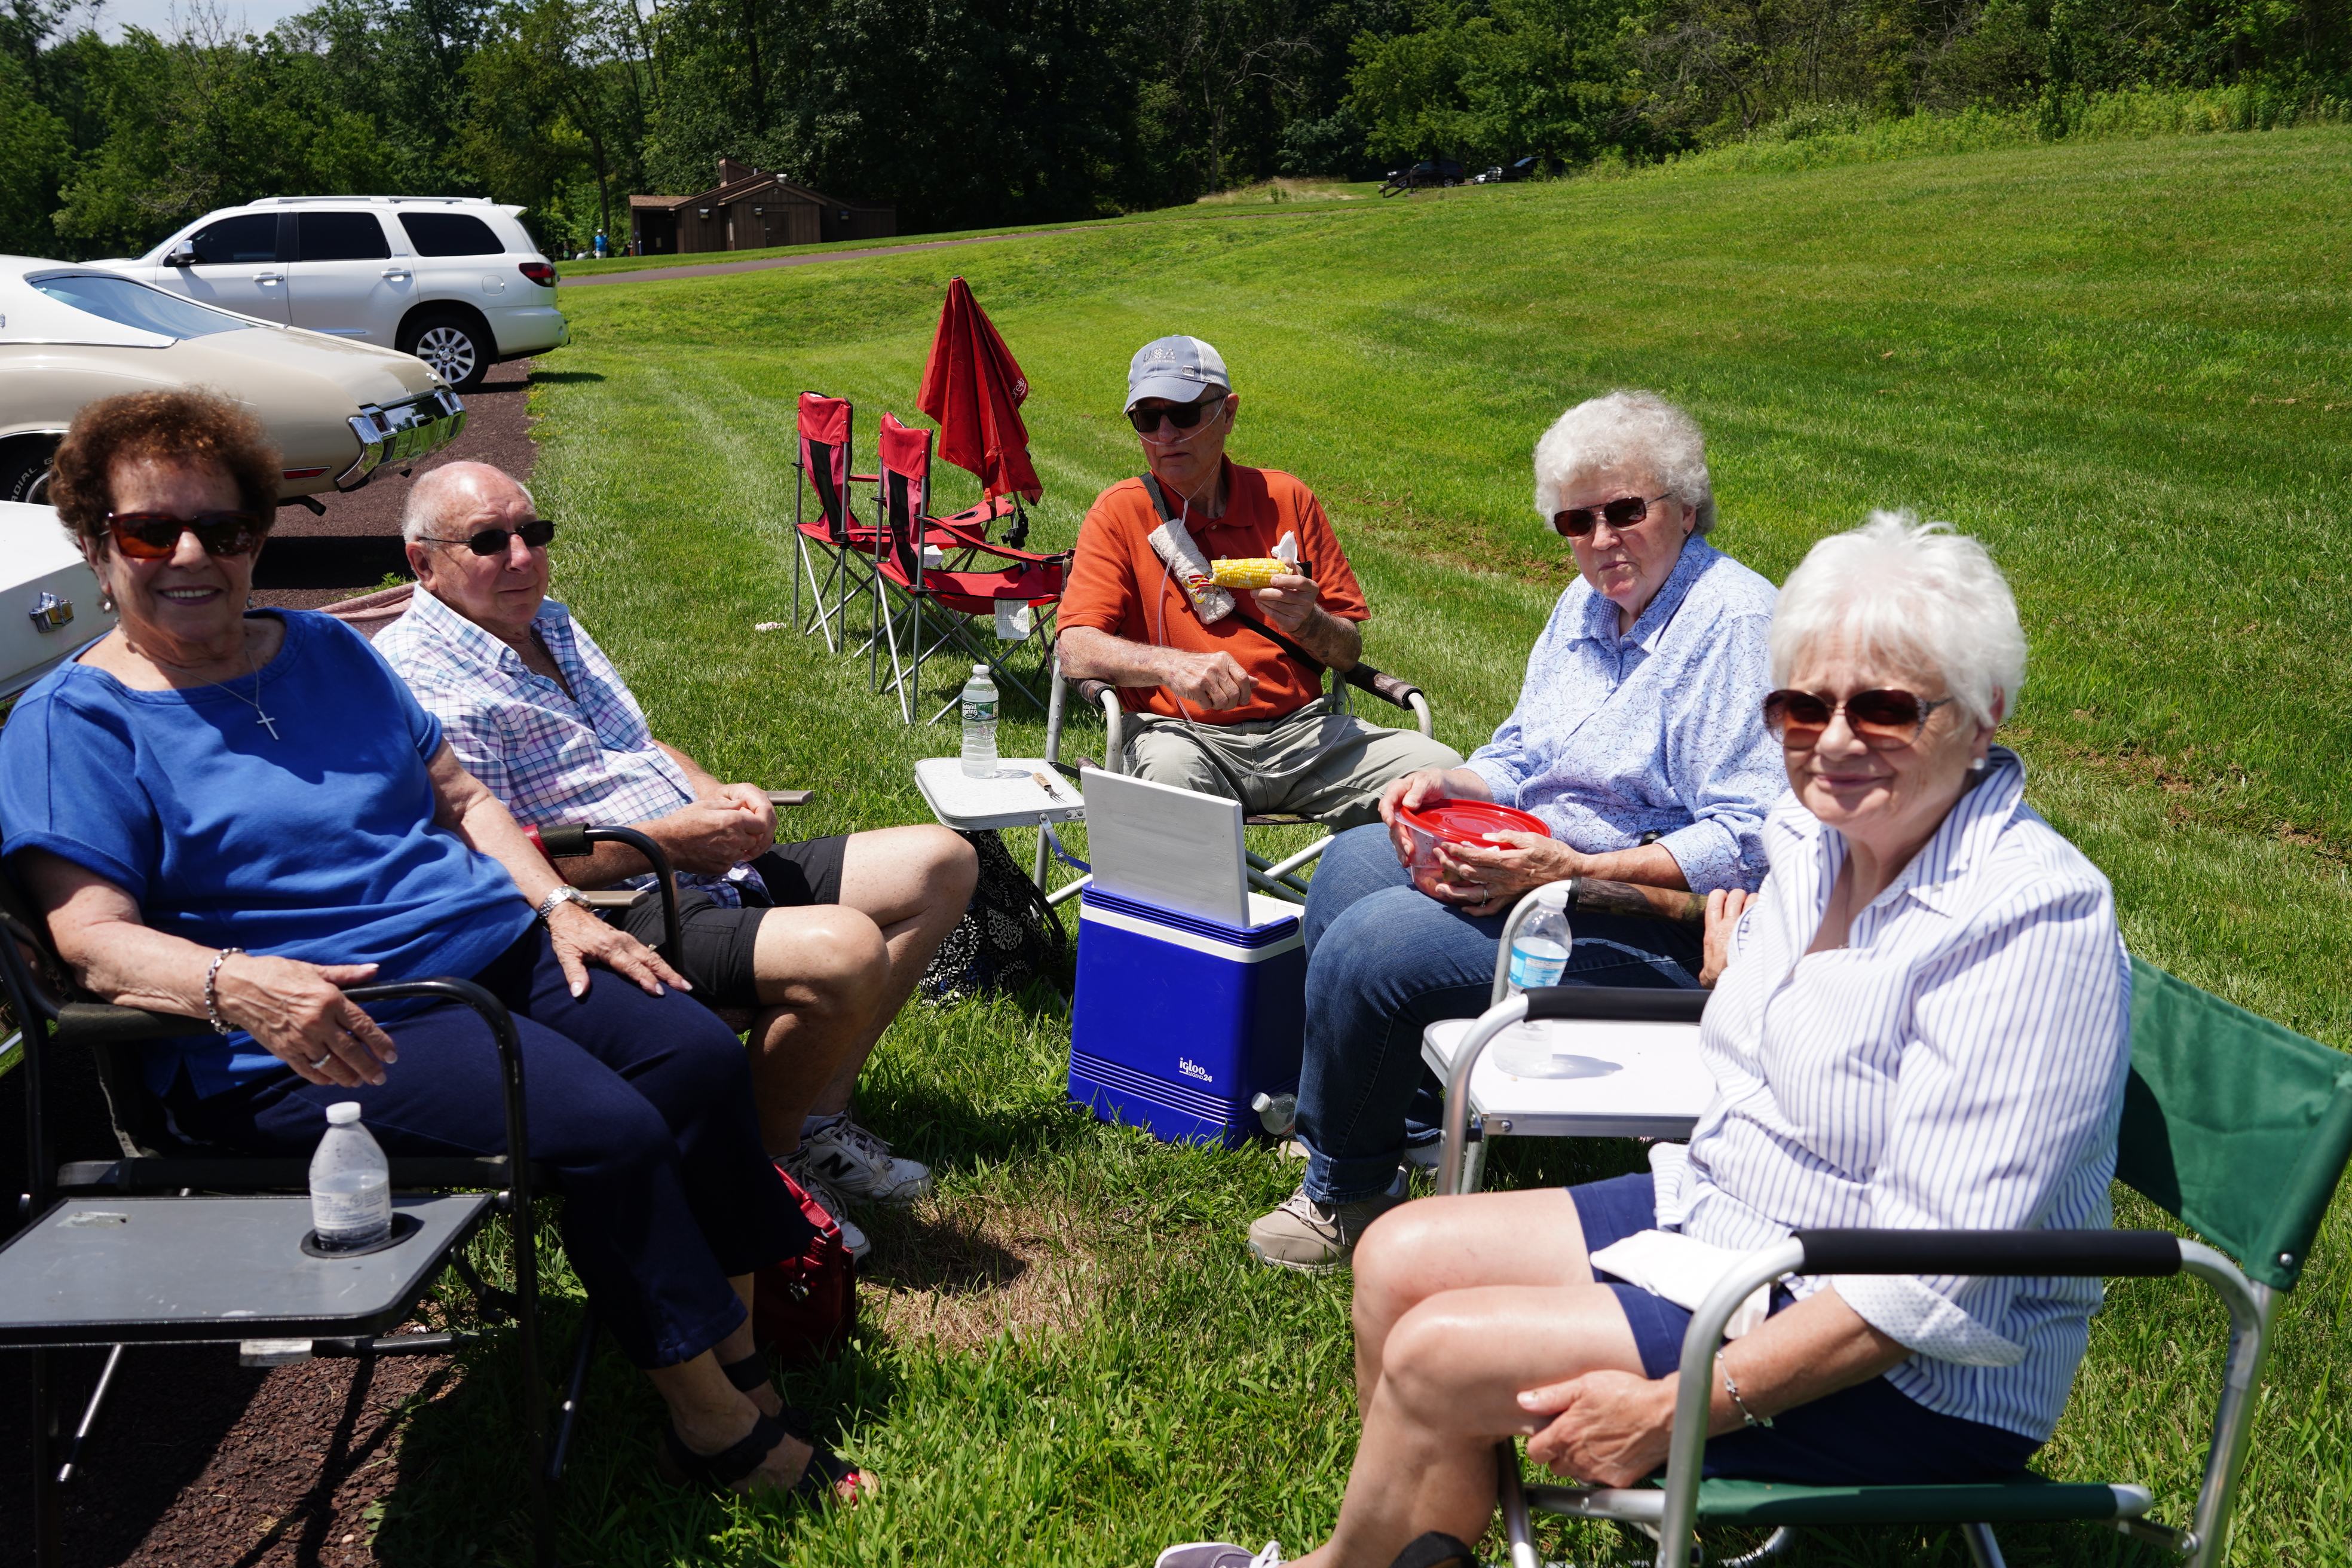
We stopped for lunch at precisely 12 noon and out came the picnic baskets and folding chairs; although it was very warm in the bright sun, it wasn’t humid. Nevertheless, we found a picnic table in the shade, which was a special relief to our friends driving topless.
After lunch, the bridge tour continued. In the morning I had been driving mid-pack, but after lunch I drove sweep. Dick and Bobbi made a point of putting the Model As closer to the front after lunch, as earlier they were the last cars in line and may have been falling back. I don’t know where in PA we were; my phone had no cell service, and we were just following the line of cars in front of us.
It was now getting near 3 p.m. and we needed to be home to meet someone, so at our final stop, we drove in, waved goodbye from inside our car, and headed home (my wife’s phone managed to pick up a Google map signal before my phone did). We were home by 4 p.m., with the Alfa trip odometer reading 138.5 as the day’s total mileage. It was a great tour, and the architectural and automotive scenery made the long day worthwhile.
Gathering to chat at Tinicum Park
George, Pat, and Margaretanne
An assortment of covered bridges:
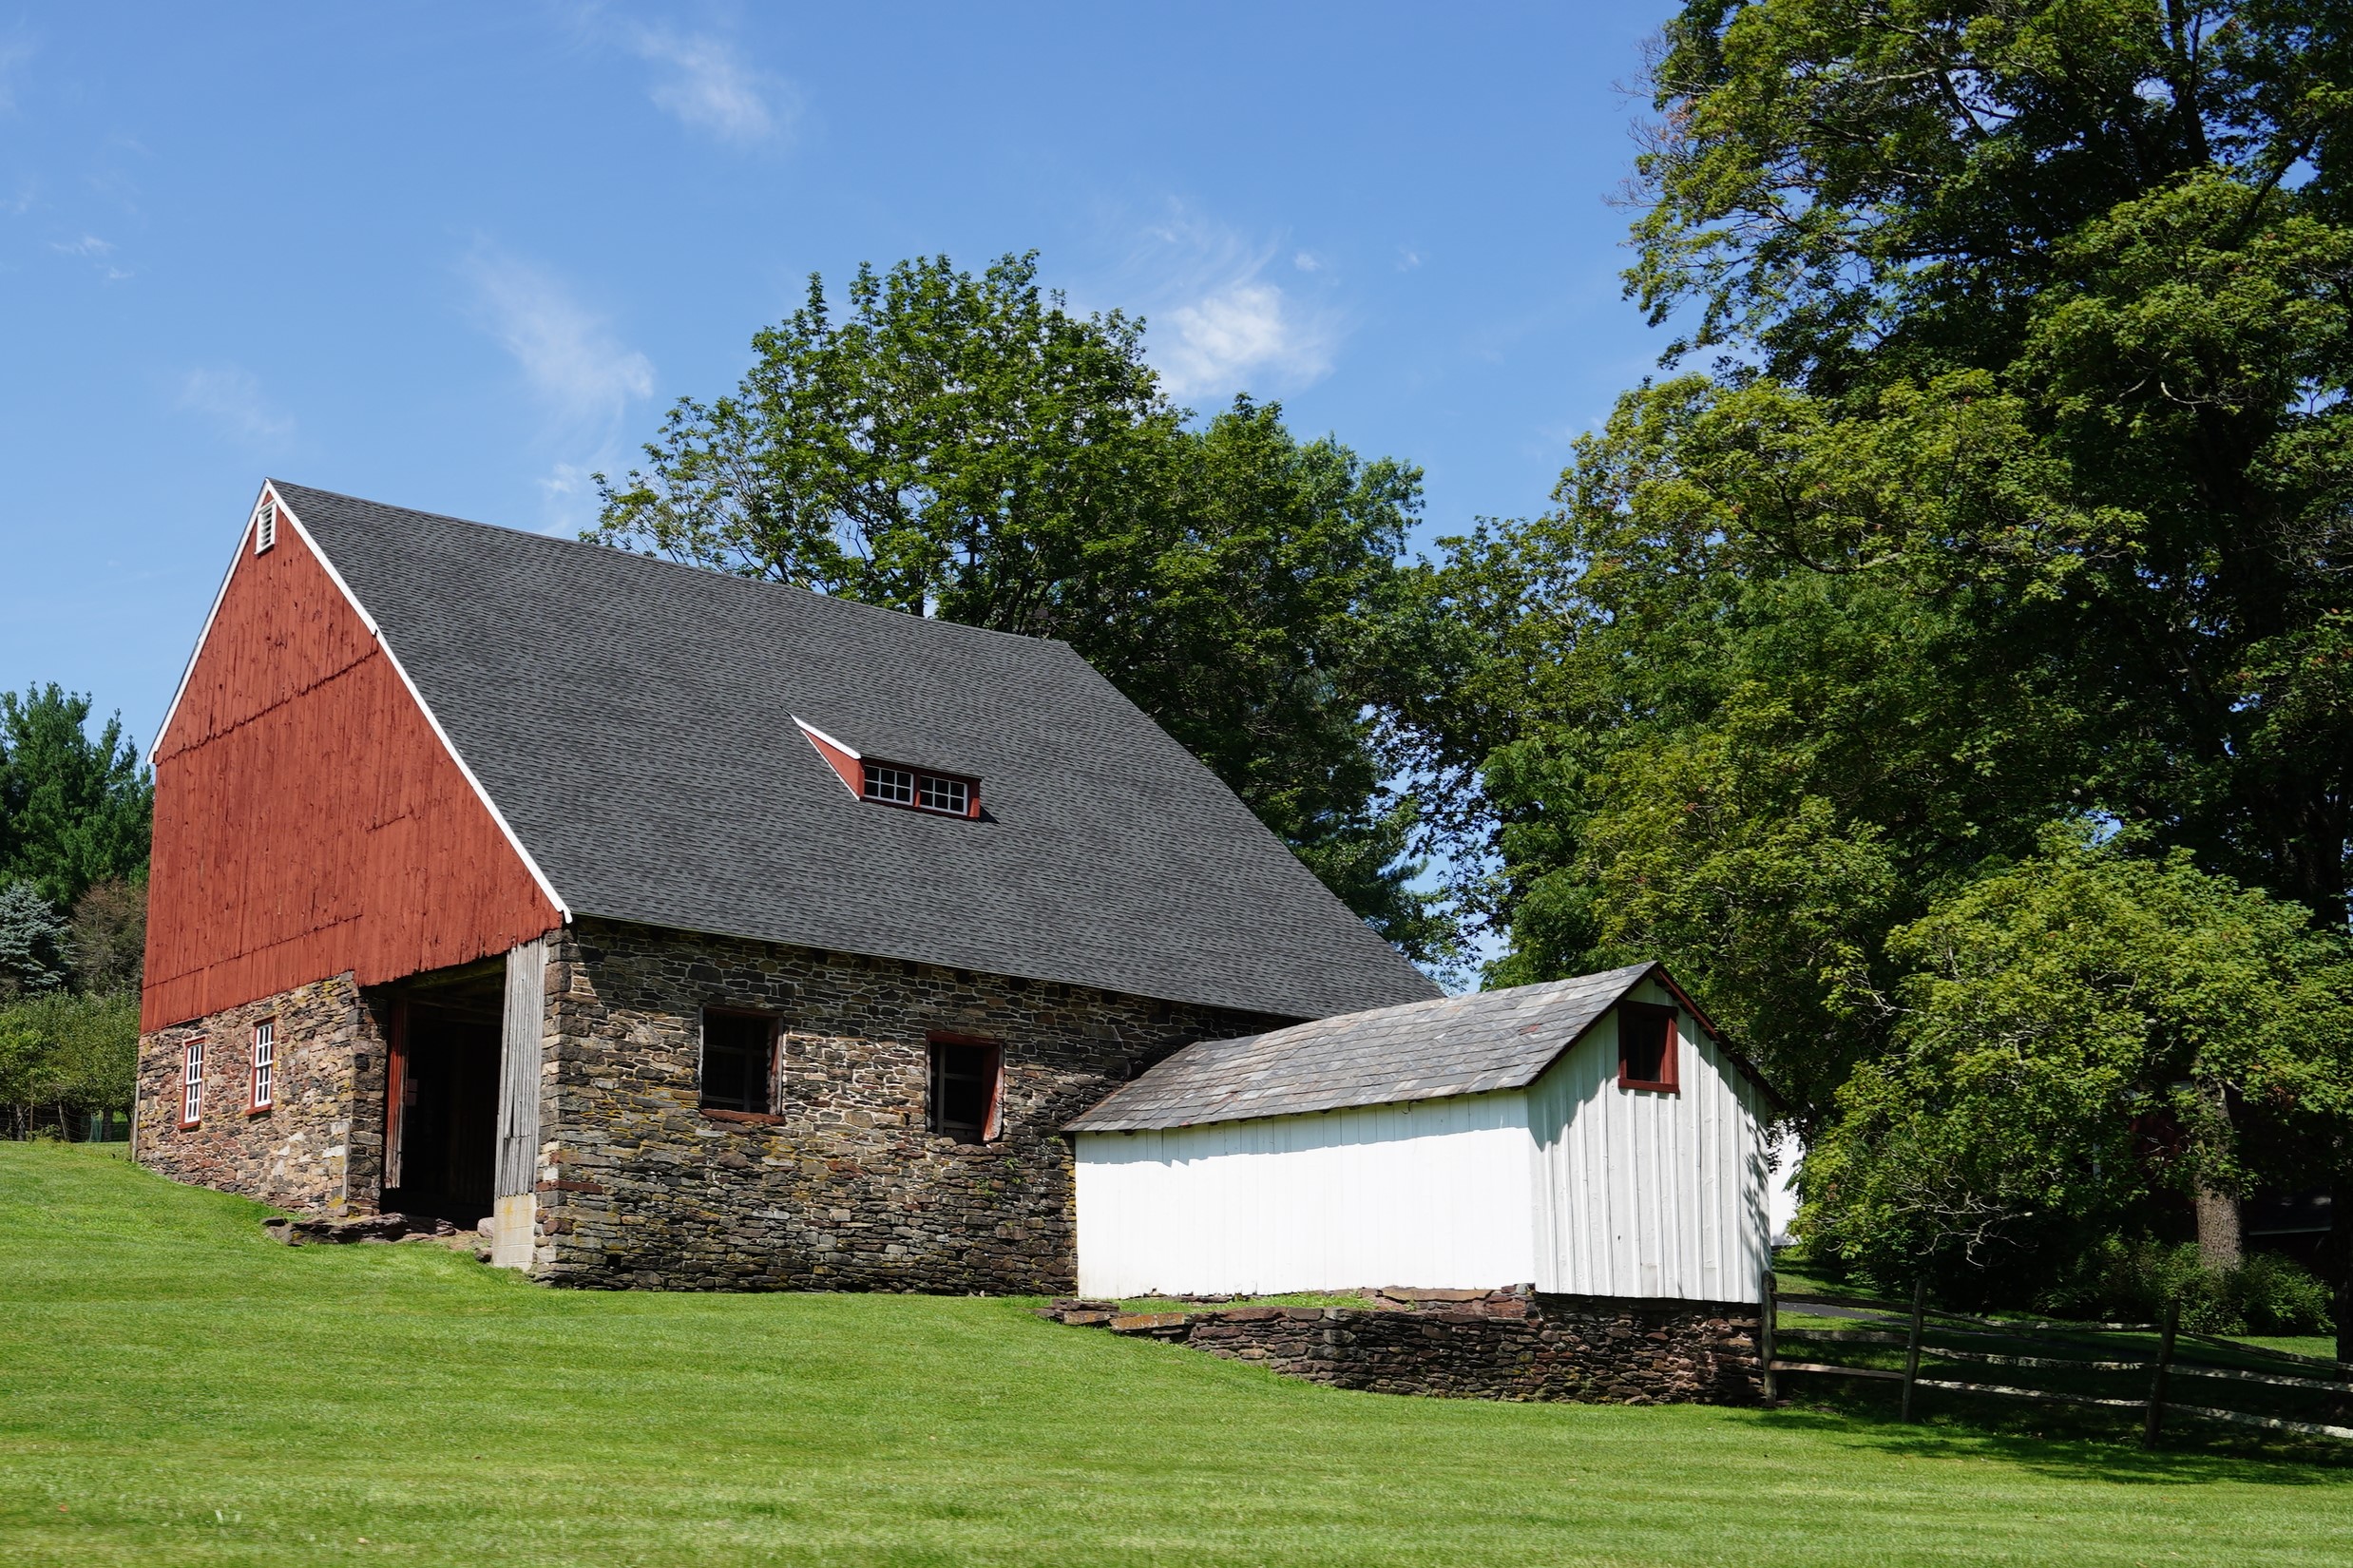
There were even a few interesting Pennsylvania barns, great for storing those extra collector cars:
The New Jersey Region of the Antique Automobile Club of America (AACA) held its 70th annual Spring Meet on Sunday, May 7, 2023. The show, traditionally hosted on the first Sunday of May, was in a new location this year: Nielsen Dodge/Chrysler/Jeep/Ram on Route 10 in East Hanover NJ.
The last few years for our Spring Meet have been rocky, to put it mildly. After literally 60 years at the same location, the club was forced to move, and we spent a few years holding our show at the Mennen Arena in Morristown NJ. (These links will take you to those shows in 2016, 2017, 2018, and 2019.) But between unbelievably bad luck with the weather, combined with Covid shutdowns, we never had a good show there. Last year, we were at a school (link here), which had its positive points, but many didn’t care for the parking layout. This dealer offered us a spacious lot emptied out for us, and we finally had the weather on our side, with a sunny, warm, and slightly breezy day. There was a great turnout of show cars (my extremely unofficial count putting it at around 150), and a large number of spectators helped by our location along a busy 4-lane Jersey thoroughfare.
Music, like last year, provided by Gup
For reasons having nothing to do with the car, I was unable to bring the Alfa to the show, even though I had registered it. I did drive up in modern iron, though, because I had volunteered to be a judge. This task needs to be completed because many owners still are in love with the concept of placing 1st, 2nd, or 3rd, and bringing home a trophy (what I’ve come to call a dust collector). All cars are placed in classes based on decade of manufacture, vehicle type, or make/model, done at the discretion of the club. There are 4 areas of the car which are examined: exterior, interior, engine compartment, and undercarriage. Each of those areas is scored on a scale of 1 to 10, 10 being the best. Maximum score is 40. Ideally, the judging team consists of 4 judges, with each judge taking on the same area for all cars in the class. In reality, we only had enough judges to form teams of 2. I was teamed with a club member who said that he is an experienced Hershey judge, although he also said he knew pre-war cars better than post-war. I thought we made a good team as we balanced each other out. He took exterior and interior, and I took engine compartment and undercarriage.
Not as many pre-war cars this year; this is a ’29 PackardBob Smith’s Dodge roadster
First class we judged: 2-seat sports cars. We had quite a few Corvettes (C1 through C4), a few 2-seat T-Birds, a Triumph TR-6 and a Porsche 912. We are judging to AACA standards: the car should appear as it would have when delivered as a new car by a dealership. The 912 had a number of mods to it, which knocked it down. All the Corvettes were nice, but the ’54 C1 was close to perfect and took first place.
Porsche 912’54 Corvette which took 1st in its class
Next class was a tough one: “pony cars”, which in this case was 5 Mustangs and a ’70 Cougar. Mustang owners tend to be meticulous in their attention to detail, especially if they have ever been judged by the Mustang Club, where the judging is much stricter than it is at AACA. My personal fave was a ’67 Shelby GT-500 fastback with inboard lights. As stunning as that car was, it only took 3rd! Two other Mustangs were that much nicer.
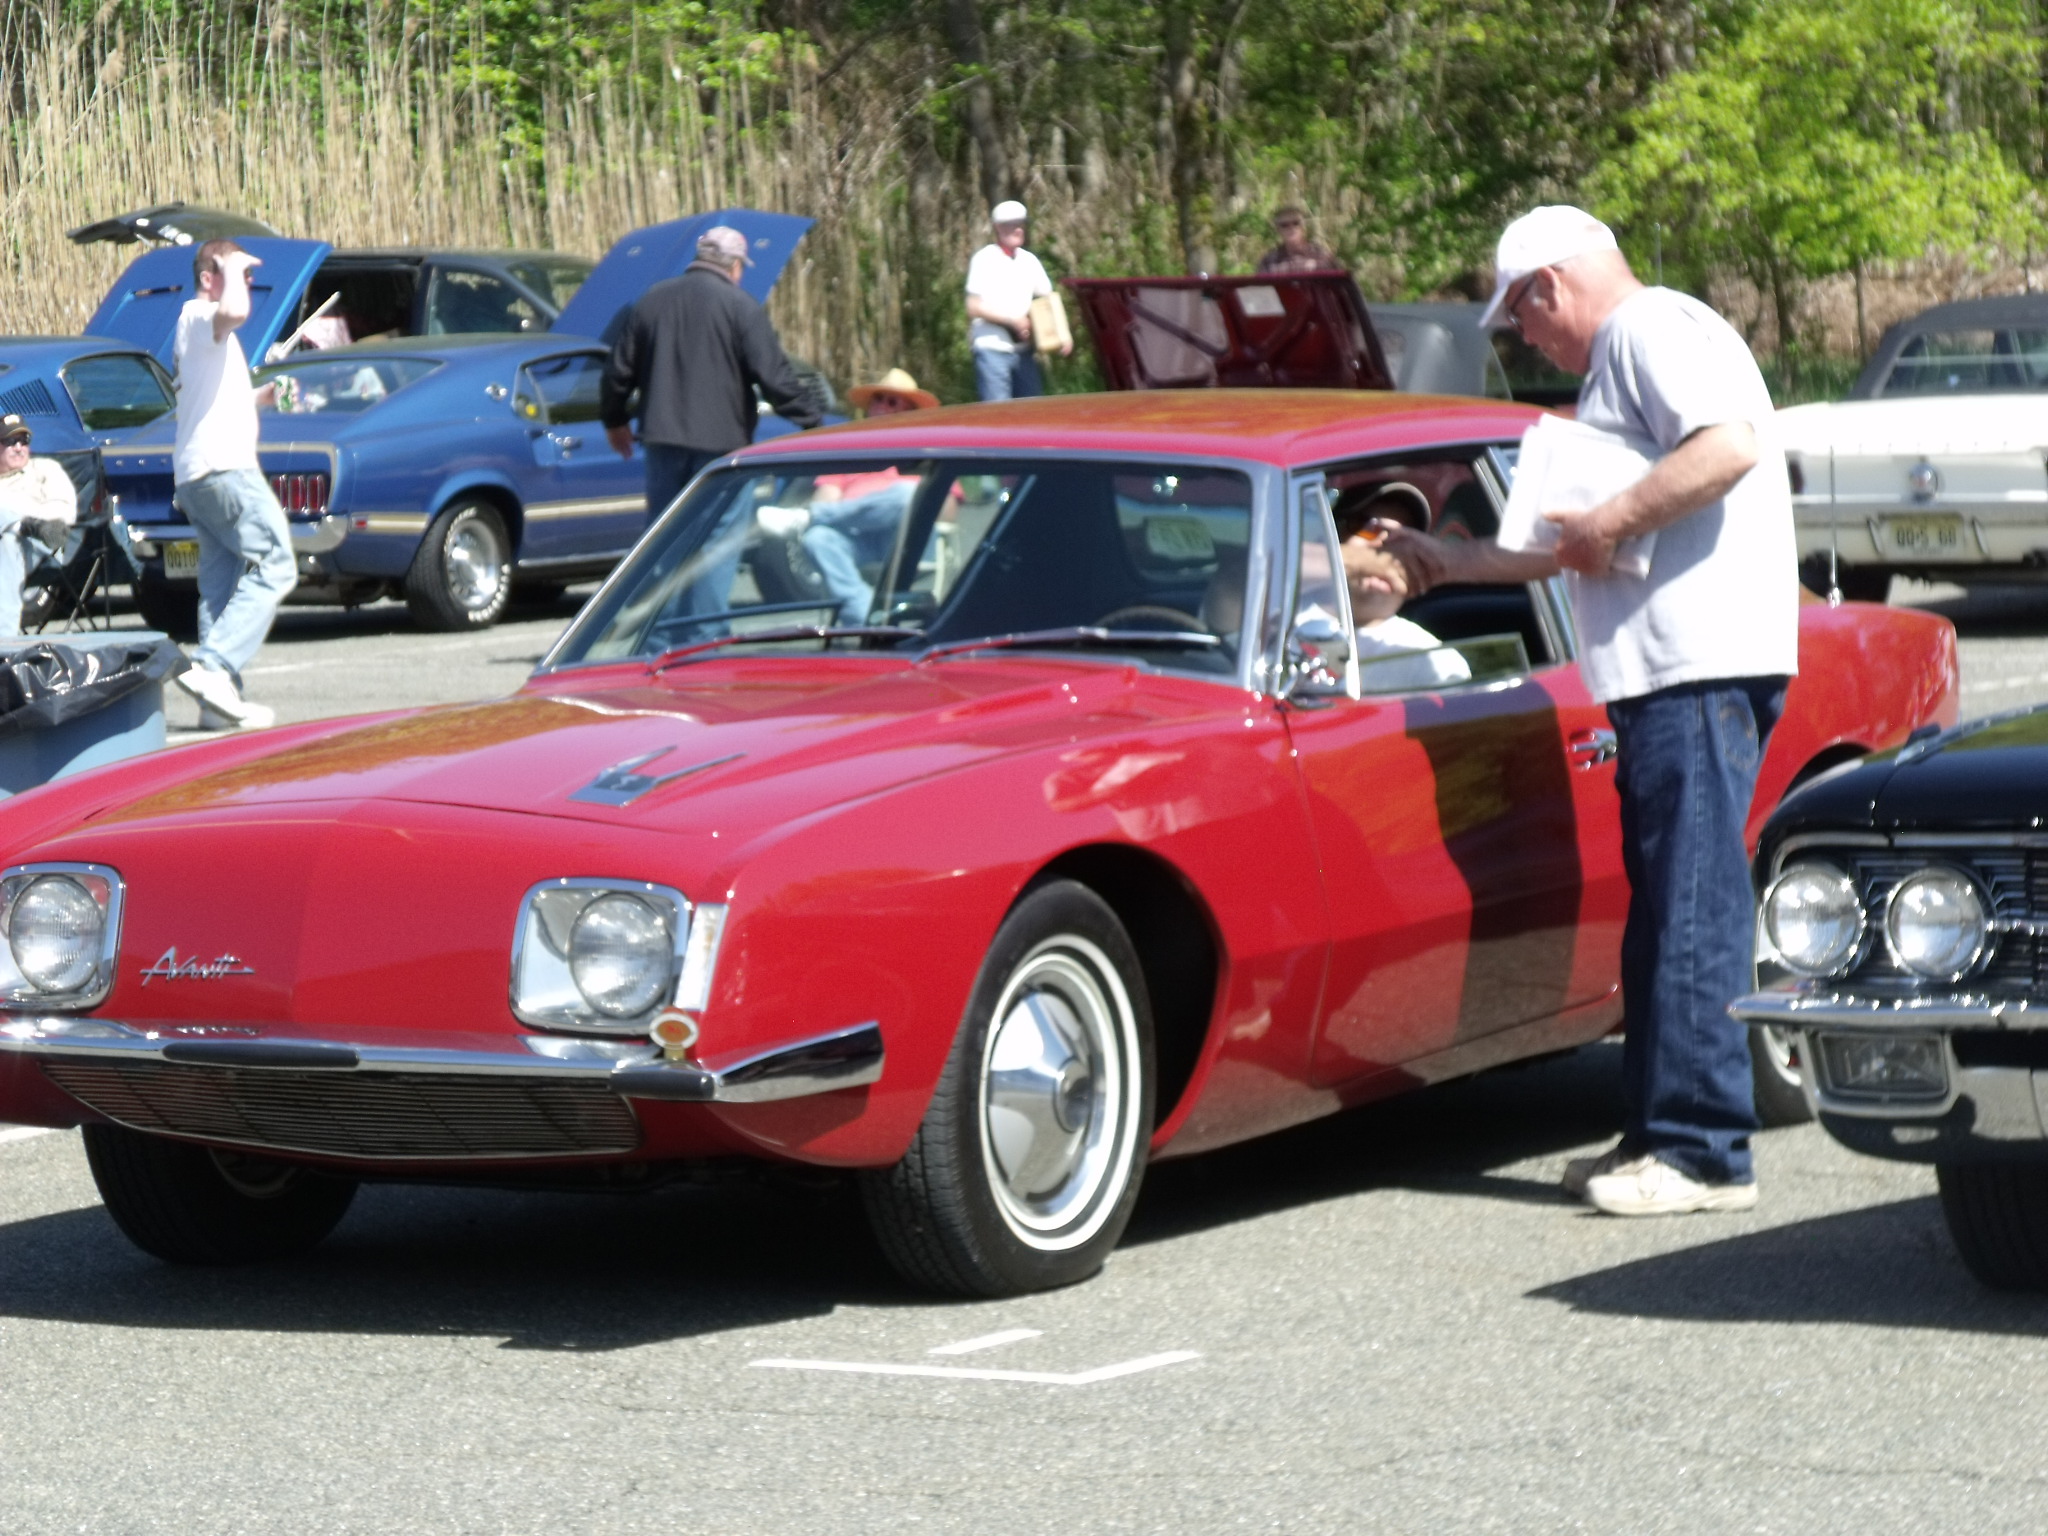
My co-judge and I tallied our scores and handed our sheets back to the Chief Judge. I sat down for a quick lunch, thinking we were done. We were not. Somehow, “Class 6” got missed and some of the owners were peeved. We were asked if we could tackle it and we said yes. This too was a tough class, as it was American cars of the 1960s. First place went to a ’67 Cadillac convertible, and 2nd place to a supercharged Studebaker Avanti. But my personal favorite which came in 3rd was a ’63 T-Bird convertible with the roadster package, in triple black. With gleaming wire wheels and white walls, it was gorgeous. But again, the competition can really be challenging.
’67 Caddy which took 1st in class’63 T-Bird’66 Olds 442
To give you some further insight, most cars that we judged scored somewhere between a total of 25 and 38. It would be very rare indeed to score any one area below a “5”, and even if we did, another area might still score an 8 or a 9. No car that we judged scored a “40”, although 2 or 3 did score “39”. Provided there are at least 3 cars in the class (and for us, there always was), we need to deliver a 1st, 2nd, and 3rd place score back to the Chief Judge. What if there was a tie? That happened twice. In those cases, my co-judge and I looked at our judging sheets, and one of us adjusted one score either up a point or down a point. We did it as fairly as possible, although we also thought about the overall impact that the vehicle made on us.
ABOVE: Baby Bird parade: a ’56 and two ’57s
Again, I thought I was done. The Chief Judge, Ed, whom I’ve known for 20 years, asked me to accompany him as we still needed to judge cars for “Membership Trophies”. Let me explain: these awards, open only to NJ Region members, are for special categories, including the 3 best unrestored cars in 3 different year ranges. During registration, owners must request that their cars be considered. There are only 2 or 3 candidates in each category, and truthfully we were just giving them a quick eyeball. The problem was that these cars were in their respective classes, and therefore, scattered from one end of the show field to the other, so we had a lot of walking to do to locate them. But we eventually did, and finally, judging was done. Looking back at my photos, I see that I was not able to take as many shots as I would have liked! Including my brief lunch break, I was walking the field and judging cars (four different classes in total) for about 4 hours! I’m sorry that I missed photographing some of the stunning cars that I judged.
This mostly-unrestored Imperial took a Membership trophy
ABOVE: Two of the many Cadillacs at the show: a ’58 and a ’73
The awards ceremony started a bit late, probably around 3pm, but most owners stuck around, and I must admit that I did enjoy seeing their grins of satisfaction as they collected their trophies. It takes many, many volunteers from our club to make this show happen, and I was happy to be part of the team which pulled it together. I overheard that the Region hopes to use the same location next year, so my fingers are already crossed that the weather will cooperate in 2024.
My friend Sean with his ’75 Pontiac’70 Fiat 500’56 Dodge’66 Chrysler’53 Hudson’71 CamaroHillman MinxLotus Elan’64 Chevy II’56 Ford
We are starting a new series with this post, all entitled “Rich’s Repair Ramblings”. What is this about? Way back during the summer of 2019, I was approached by the editor of The Road Map, which is the newsletter for the NJ RegionAACA. He asked me if I would author a monthly technical column to be published in our club newsletter. I agreed to take on the task, and I have been writing the articles ever since.
The Road Map is only distributed electronically and is available without charge and without a password requirement. You can find an archive of all The Road Maps back to 2015 at this link here. For multiple reasons, including my desire to give these articles a more permanent home with easier access, I have decided to reprint them here. For the most part, they combine automotive technical history with some basic DIY instructions; keep in mind my need to be somewhat general, as I am addressing owners of vehicles as disparate as Ford Model As, ’57 Chevy Bel Airs, and Hemi Cudas. I plan to add about one article a week; I hope you enjoy them, and let me know of any comments or questions.
RICH’S REPAIR RAMBLINGS, ORIGINALLY PUBLISHED AUGUST 2019
Hello, and welcome to the initial installment of “Rich’s Repair Ramblings”. You may know me as the Region’s Properties Chairperson: the guy who stores and sets up our PA system, tents, and signage. I’ve also dabbled as our unofficial IT assistant, and in that role I’ve traveled to the homes of several members to help with PC and printing issues.
So what qualifies me to write a column about auto repair? What you may not know about me is that I’ve spent almost my entire professional career (41 years and counting) in the automotive business, mostly on the service and technical side. I started as a dealership technician, moved to Service Advisor, and then to Service Manager. After seven years of that, I jumped to the corporate side, spending 23 years employed by Volvo Cars North America, the official importer of those “boxy but safe” cars from Sweden. Since taking early retirement from Volvo, I’ve taught auto technology at a community college, and have spent the past 8 years working for the company that runs the www.CARiD.com website, where we sell aftermarket car parts and accessories.
While all that was going on, I was also fully immersed in the old car hobby. I’ve owned a 1957 Ford Skyliner, 1967 Dodge Dart GT convertible, 1972 MGB, and 1968 Ford Mustang California Special. My proudest achievement was completing a full restoration on a 1957 BMW Isetta. All of these collector cars had most of their maintenance and repair work done by yours truly, right in my own garage.
Between wrenching for a living and performing restorations as a hobby, I’ve collected quite an accumulation of tools. Let’s start our ramblings on that topic. Presuming that you either want to learn how to work on your own classic cars, or that you want to improve your skill level, you need tools. Most folks have a few screwdrivers, hammers, pliers, and maybe a drill with a bunch of drill bits, along with an adjustable wrench. That might help you fix a loose doorknob or stuck window inside your house, but you’ll need a little more if you want to perform your own fixes on that ’62 Corvette or ’72 Triumph.
Having said that: you do NOT need to own one of every tool you see in Home Depot (or in that Harbor Freight catalog). For basic automotive repair, let’s outline the minimum necessary tools, all of them common and readily available.
Screwdrivers: Most everyone has “flat” screwdrivers, for slotted screw heads. You will want a good assortment of thin and thick tips, and short and long shanks (shafts). Phillips-head (cross-head) fittings are much more common on cars. Phillips-head sizes are noted by number, from small to large: #1, #2, #3. The #2 is the most common, so have a variety of those, including a “stubby” (the first time you need the stubby you’ll thank me). For now, I would hold off on the other sizes.
Phillips screwdrivers top to bottom: #2 stubby, #1, #2, and #3
Wrenches and sockets: If your collector cars are American, you’ll need SAE (inch) sizes; most imported cars use metric-sizes. It’s a rookie mistake to own SAE tools and expect them to work on metric fittings, or vice-versa. Always use the correct size, or risk doing damage to the fitting. Here’s what you’ll need:
Wrenches: Basic wrenches, whether SAE or metric, are either “box-end” (enclosed) or “open-end”. Box-end are stronger, but can only be used if the box end can slip over the fitting. Open-end are more versatile, but not as strong. My own preference is the combination wrench: box on one end, open on the other, both ends the same size.
My metric wrench collection, arranged (mostly) in size order
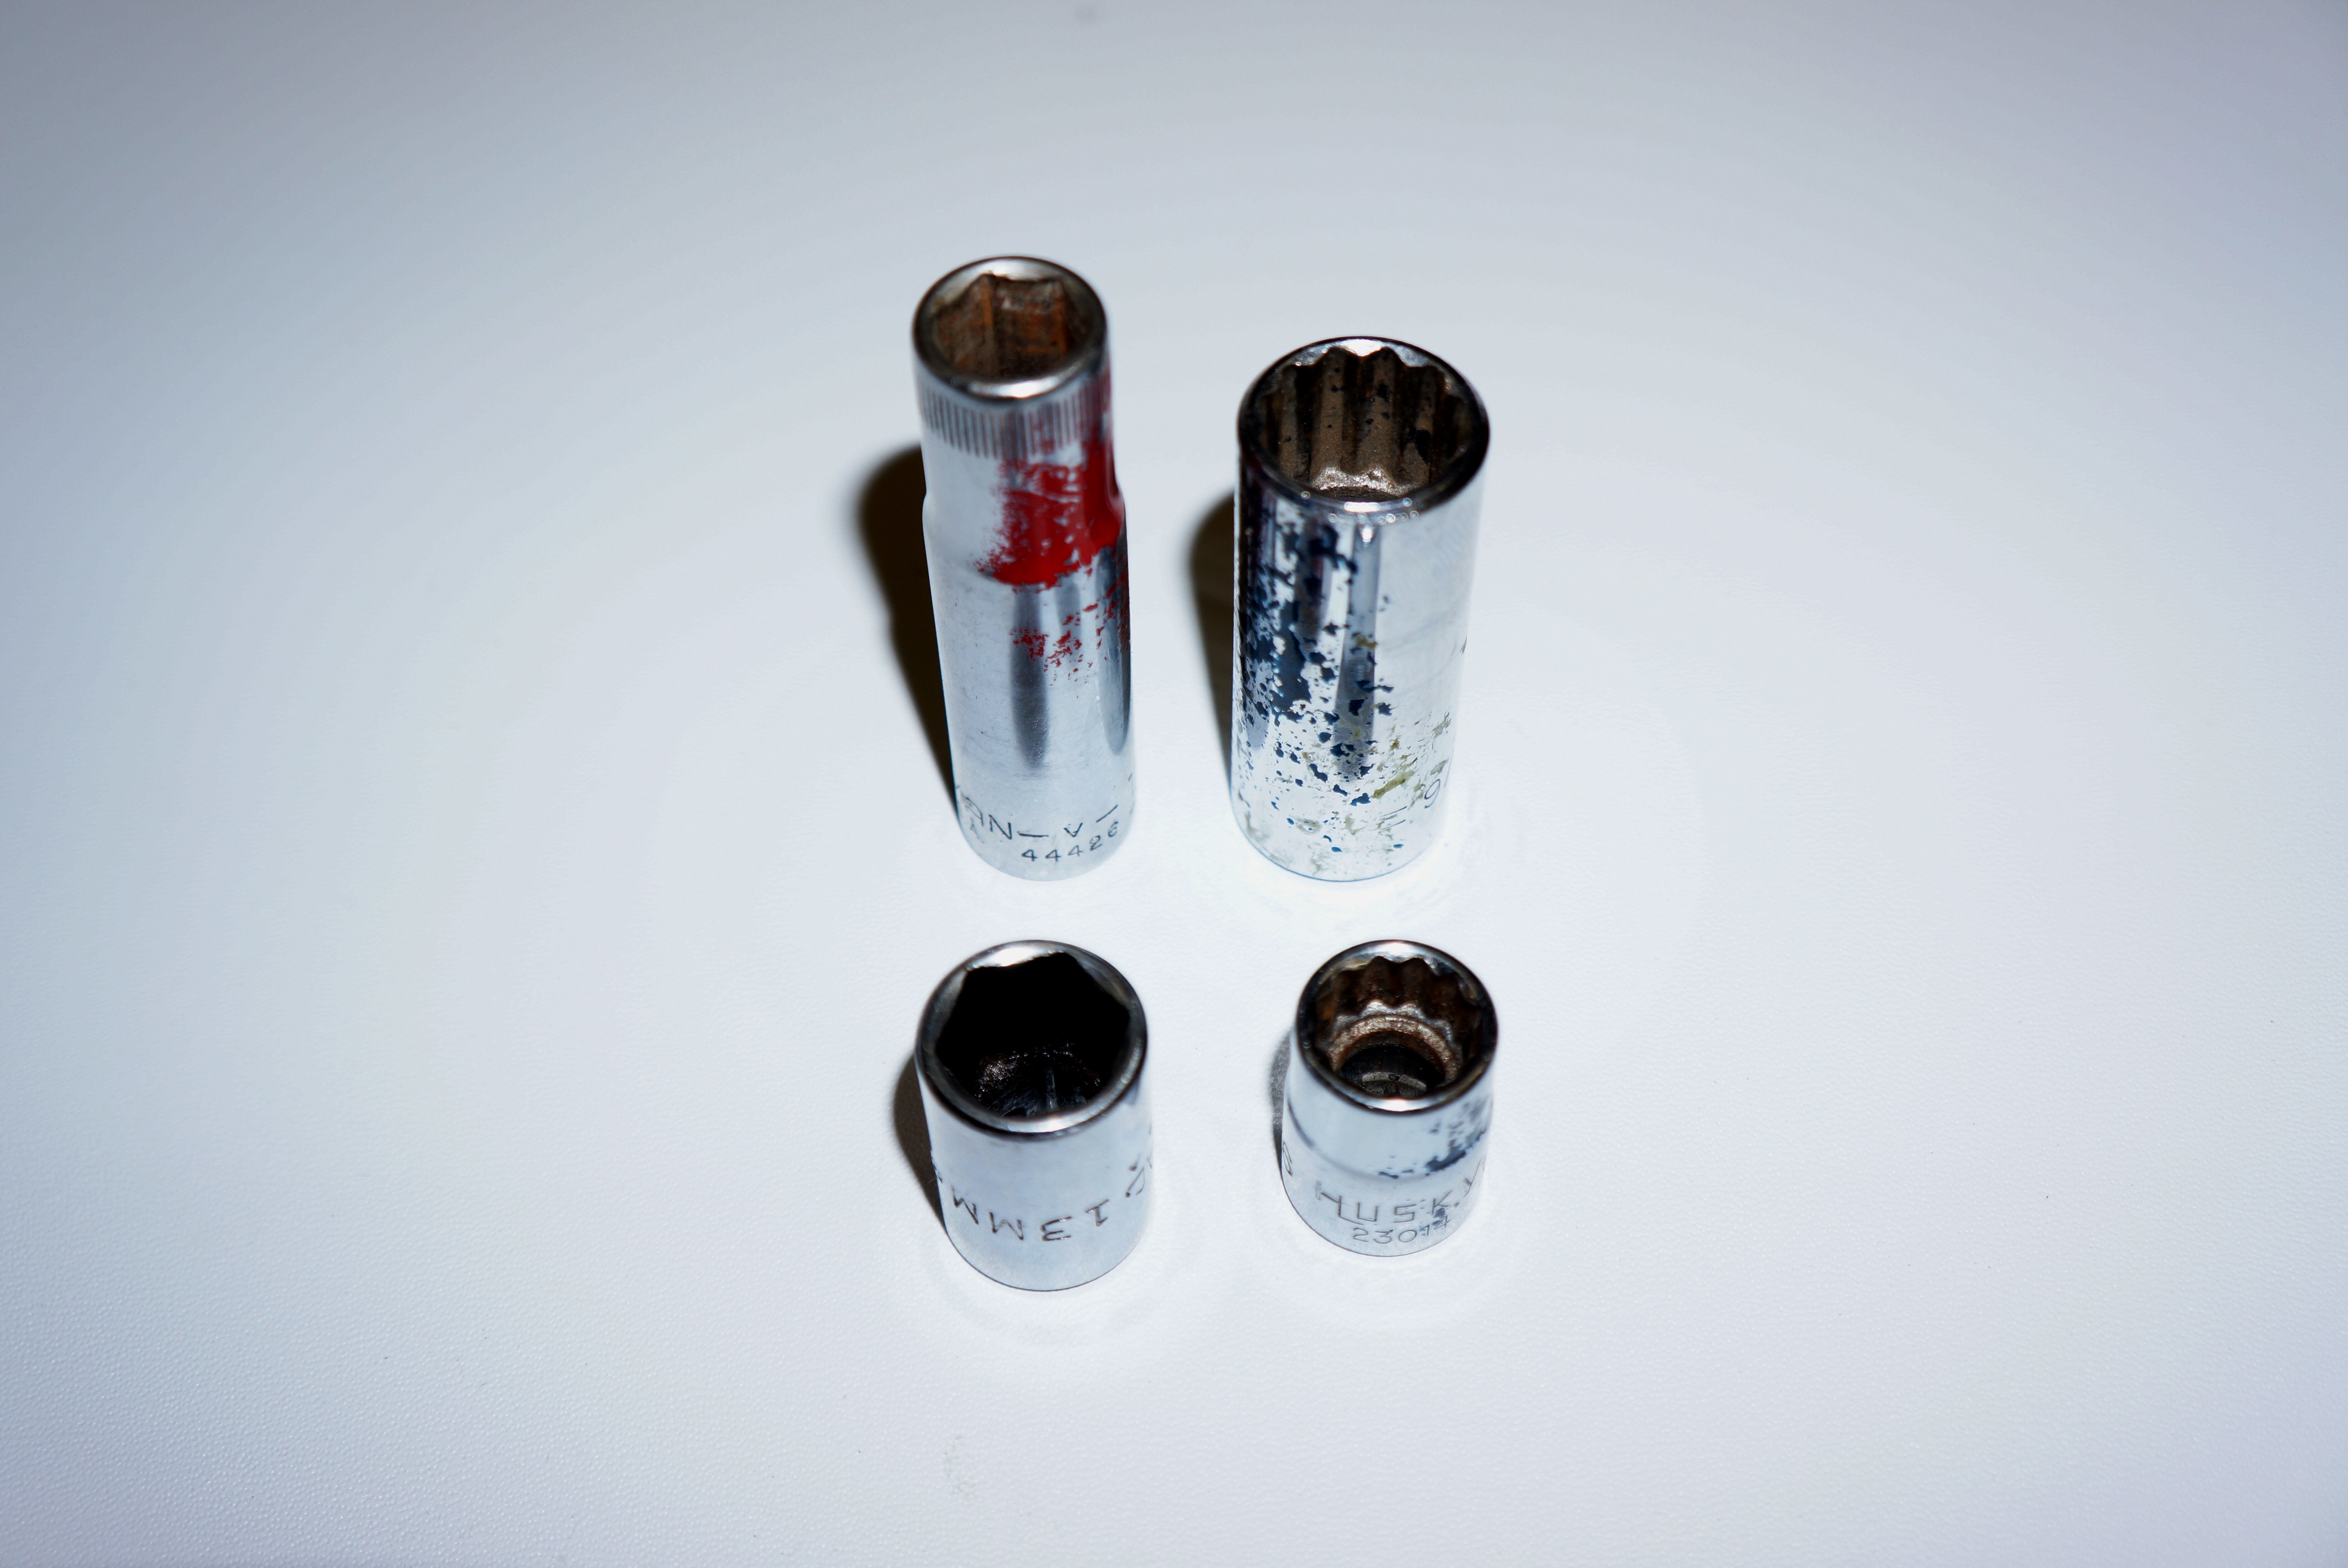
Sockets: Sockets are attached to a ratchet wrench (more about that shortly). Aside from the nut or bolt size, the square end that snaps onto a ratchet wrench is either ¼”, 3/8”, or ½”. For starting out, stick with the 3/8”. You can add the others later. Sockets are also described as either “6-point” or “12-point”, which refers to the number of edges (points) which fit around the nut or bolt. The 12-points allow you more finesse if making very small turns with a ratchet, but the higher strength of the 6-point sockets make them the preferred choice for automotive work. Finally, there’s “regular” depth and “deep” sockets. Deep sockets give you access to recessed fittings, and are good to have.
Top row: deep sockets, 6-point (L) and 12-point (R). Bottom row: regular sockets, 6-point (L) and 12-point (R)
Your starter set should consist of 6-point sockets, 3/8” drive, in both regular and deep sizes. The SAE range should be 3/8” to 1”; the metric range should be 8mm to 24mm.
Ratchet wrenches: The drive end is on a ratchet, which allows you to swing the handle in an arc as small as 25 or 30 degrees and rotate the socket. The ratchet also makes quick work of running a fastener on or off. A lever in the head allows you to reverse the ratchet direction between clockwise (tighten) and counter-clockwise (loosen). Get two or three handle lengths in 3/8” drive to match your sockets. The shorter handles are handy in tight quarters. The longer handles give you leverage for stuck fittings.
Ratchet wrenches and corresponding sockets, L to R: 1/4″, 3/8″, 1/2″
Extension bars: these fit between the socket and ratchet to give you extra reach. Get several in various lengths; you’ll need them. Be sure the size matches your ratchet and sockets.
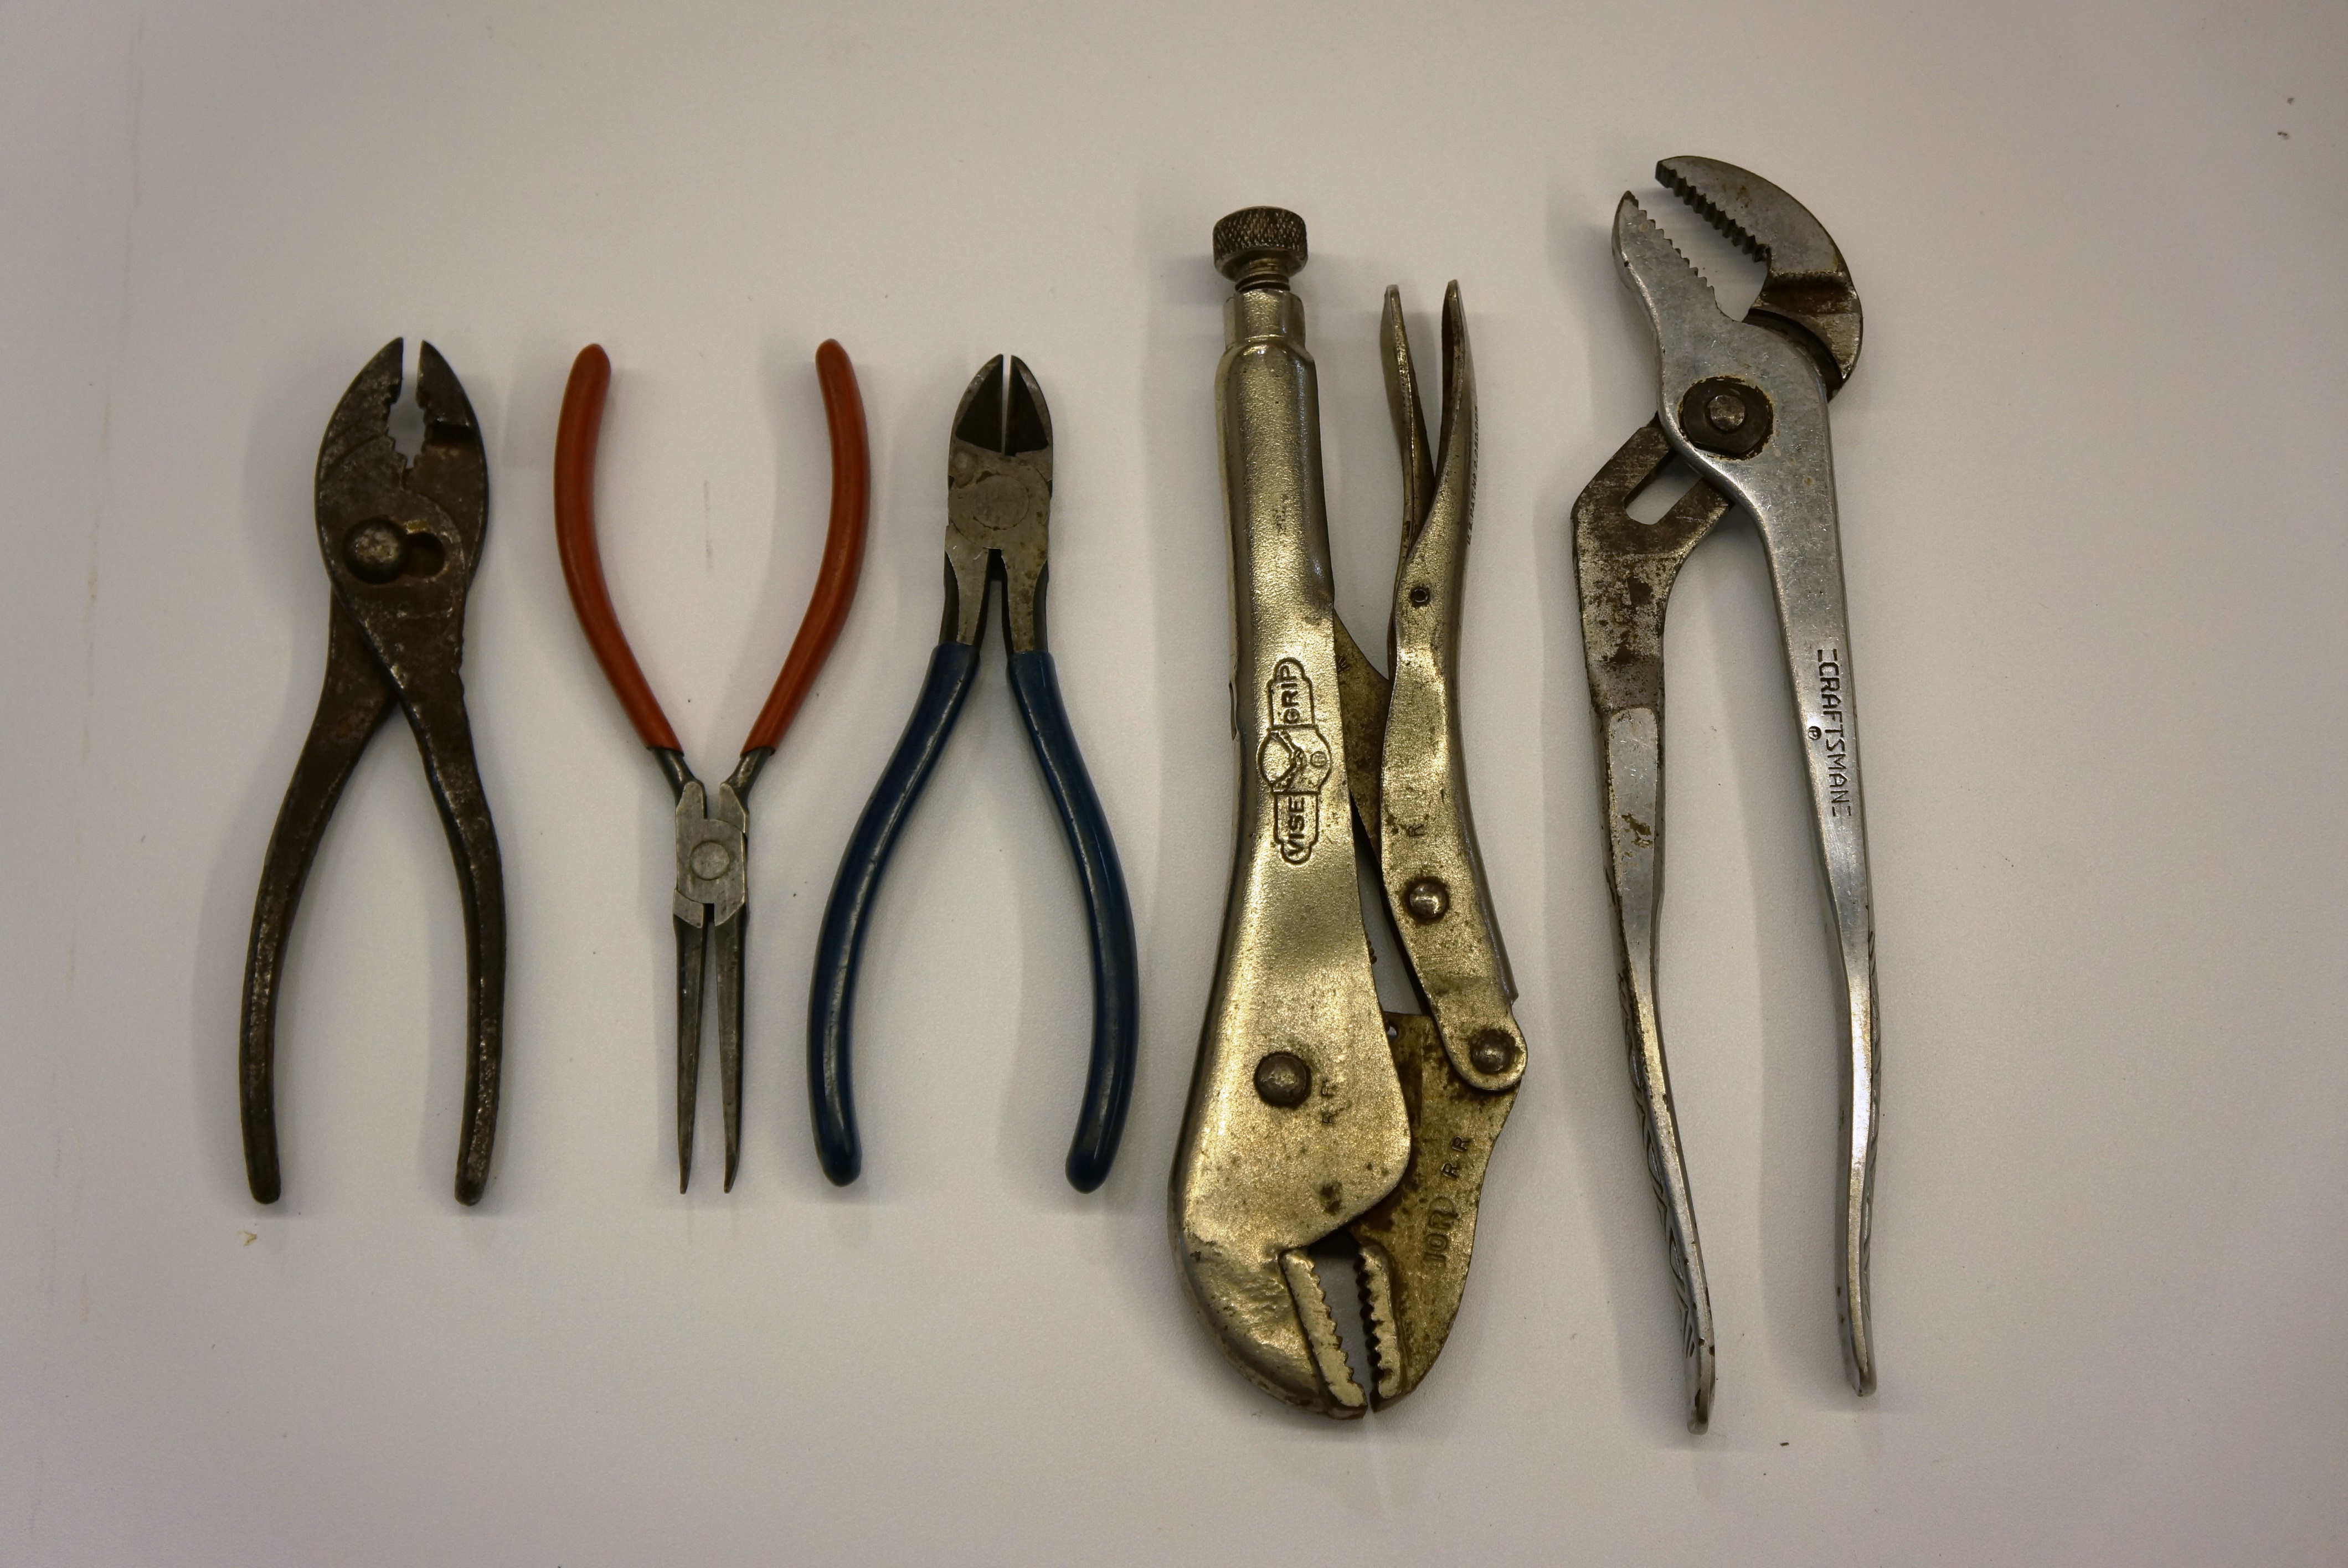
Pliers are necessary, but for starters, three or four will do. Besides the standard pair of pliers, get a pair of needle-nose, slip-joint (adjustable opening size), and locking pliers (known by the Vice-Grip brand name).
Pliers (L to R): regular, needle nose, diagonal cutters, locking, and slip-joint
Hammers should include ball-peen (rounded end) and plastic or rubber headed mallets, which deliver blows without marking or denting the surface.
If you’re building a tool collection from scratch, the above list covers over 80% of what you should have on hand for common tools. When shopping, you can look for “mechanic’s starter kits” but be wary of kits which contain tools you may never use. It might cost a bit more, but purchasing a la carte will guarantee that you get what’s on your list, and nothing more. My final comment about tools: quality tools are worth it. It’s a sad waste of money to buy a cheap tool that breaks the second time you use it. You don’t need to buy from Snap-On; Craftsman, Matco, NAPA are good and even some of the big-box brands are not bad. Avoid the “no-name” stuff that’s priced too good to be true, because it is.
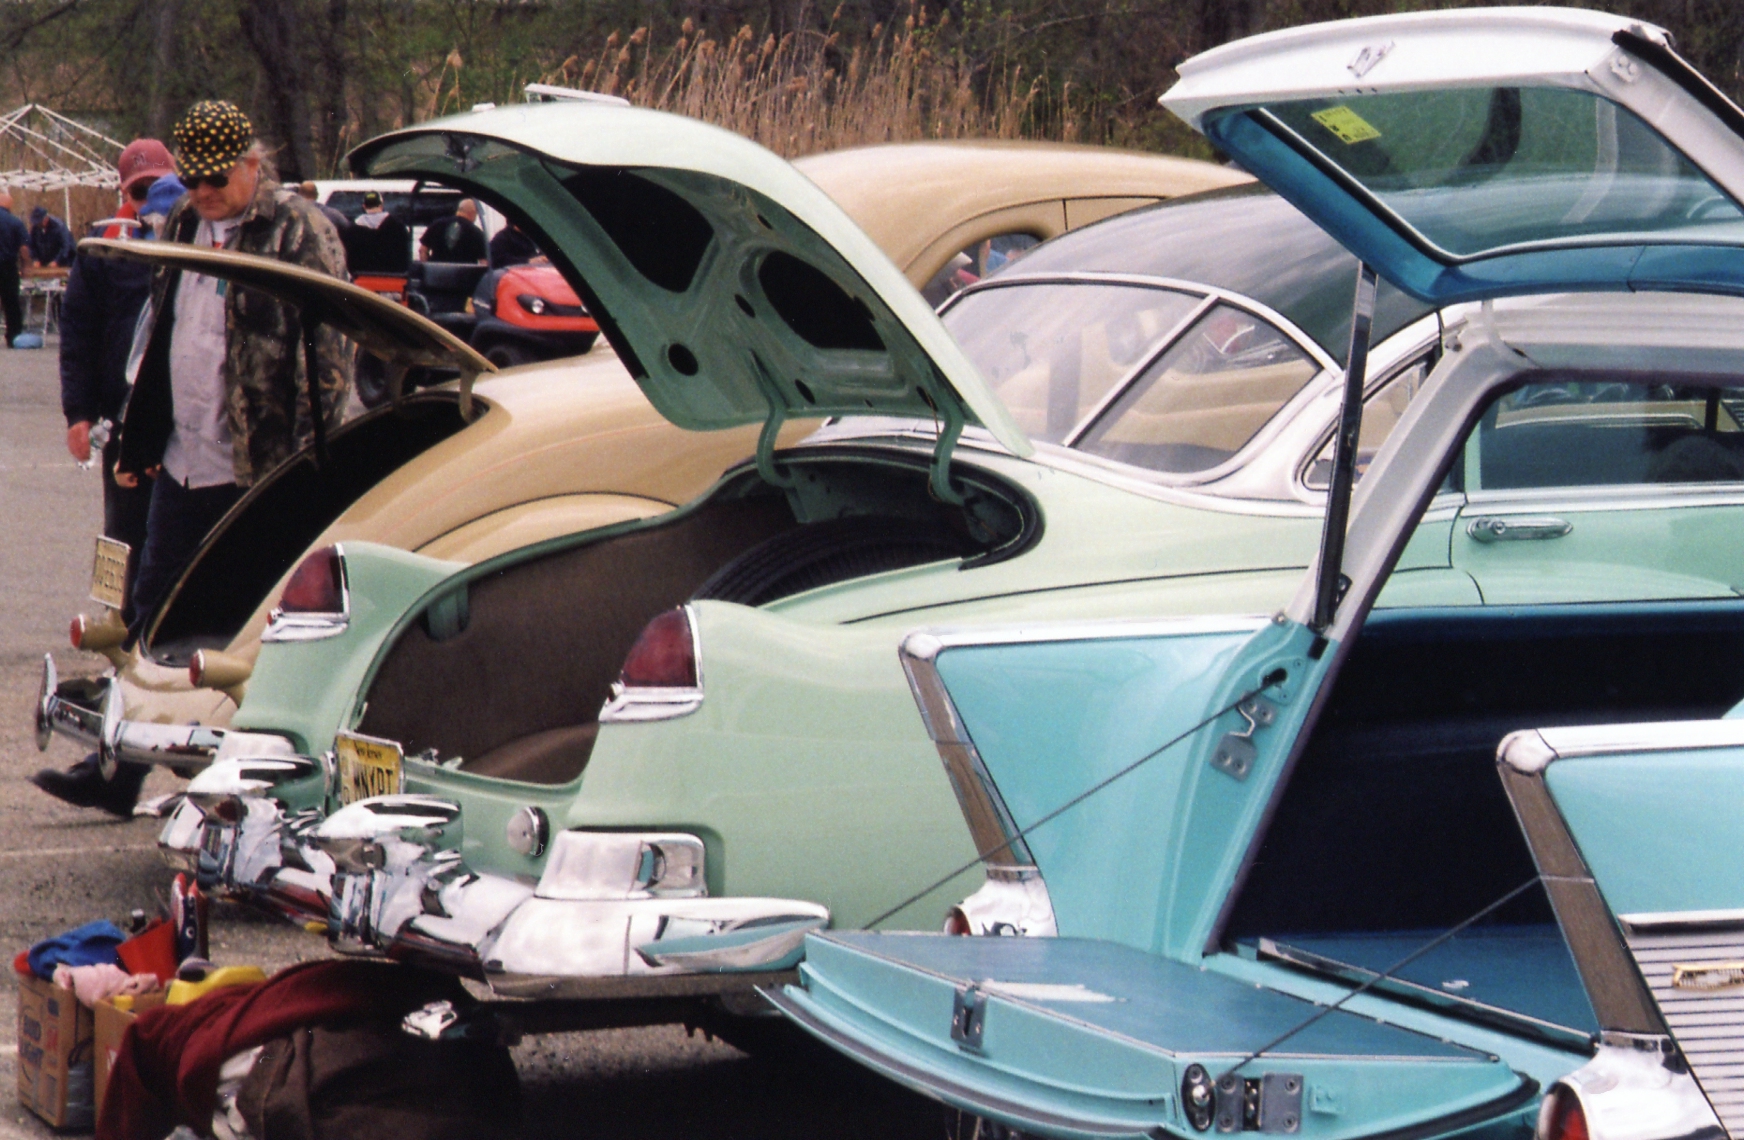
In 2012, the NJ Region of the Antique Automobile Club of America (AACA) held its 59th annual car show on its traditional date, the first Sunday in May. The show was held in the parking lot of the Automatic Switch Company in Florham Park, NJ. The Region had been using this location as far back as anyone could remember, possibly since the 1960s. However, just a few years after these shots were taken, the Automatic Switch lot was no longer available and the Region was forced to find a new locale.
These photographs were taken with a film camera, and since I don’t have any record of digital pictures from this event, the ones below are the only photos I have of the show (see sidebar if you’re interested in details about the camera and film used).
At its peak, the NJ Region’s annual show was known to attract between 250 and 300 automobiles. Without knowing the time of day my photos were snapped, don’t be too judgmental about the ‘gaps’ in the parking lot. It may well be that I took my photos in the morning as cars were still arriving. Since I was in charge of setting up and running the PA system for the club at these shows, I had work to do and did not have the luxury of wandering the show field all day.
As the scanned photos are smaller than the digital photos you’re used to seeing here, you many find it especially helpful to click on each photo, then click on it again to enlarge it to fill your screen.
From this vantage point, we can see mainly cars from the 1960s and ’70s.
I don’t exactly recall the point of the doodled-up truck, but it may have served as an attraction for any children in attendance.
This out-of-focus shot features what look like Ford Model A’s.
1967 Buick Wildcat convertible
Mercedes-Benz 190 SL roadster
Alfa Romeo 1750 Spider
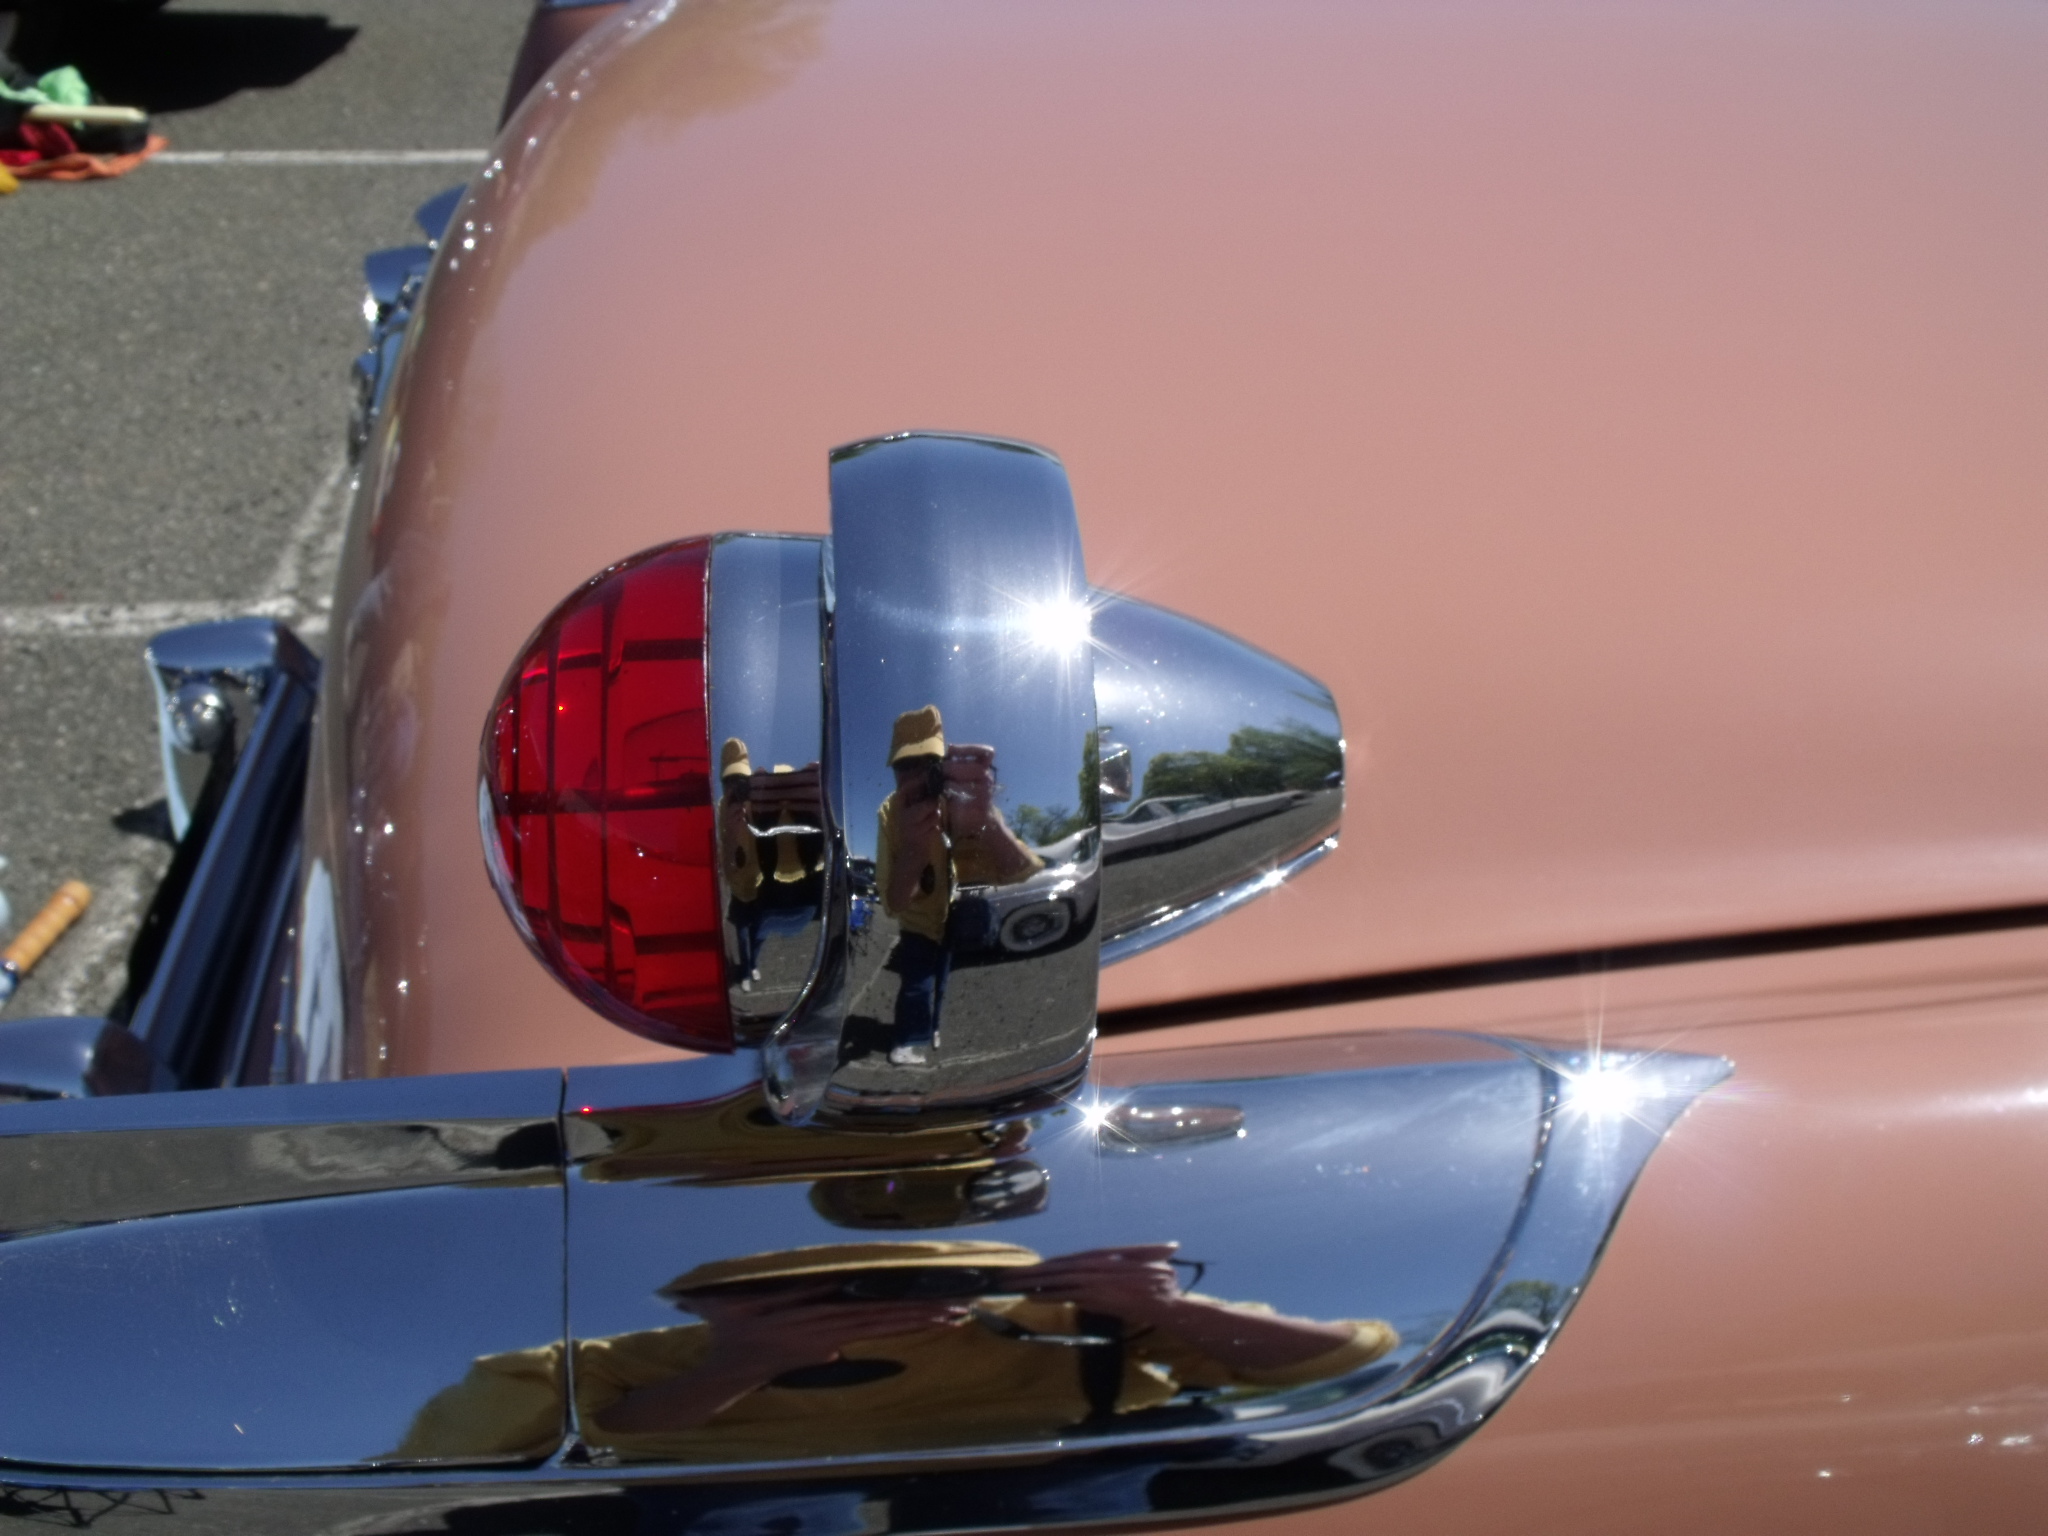
Detail of 1958 Mercury tail light
Detail of wood on a Chrysler Town & Country
Jump seats in what I recall was a stretched-wheelbase early ’50s Chrysler
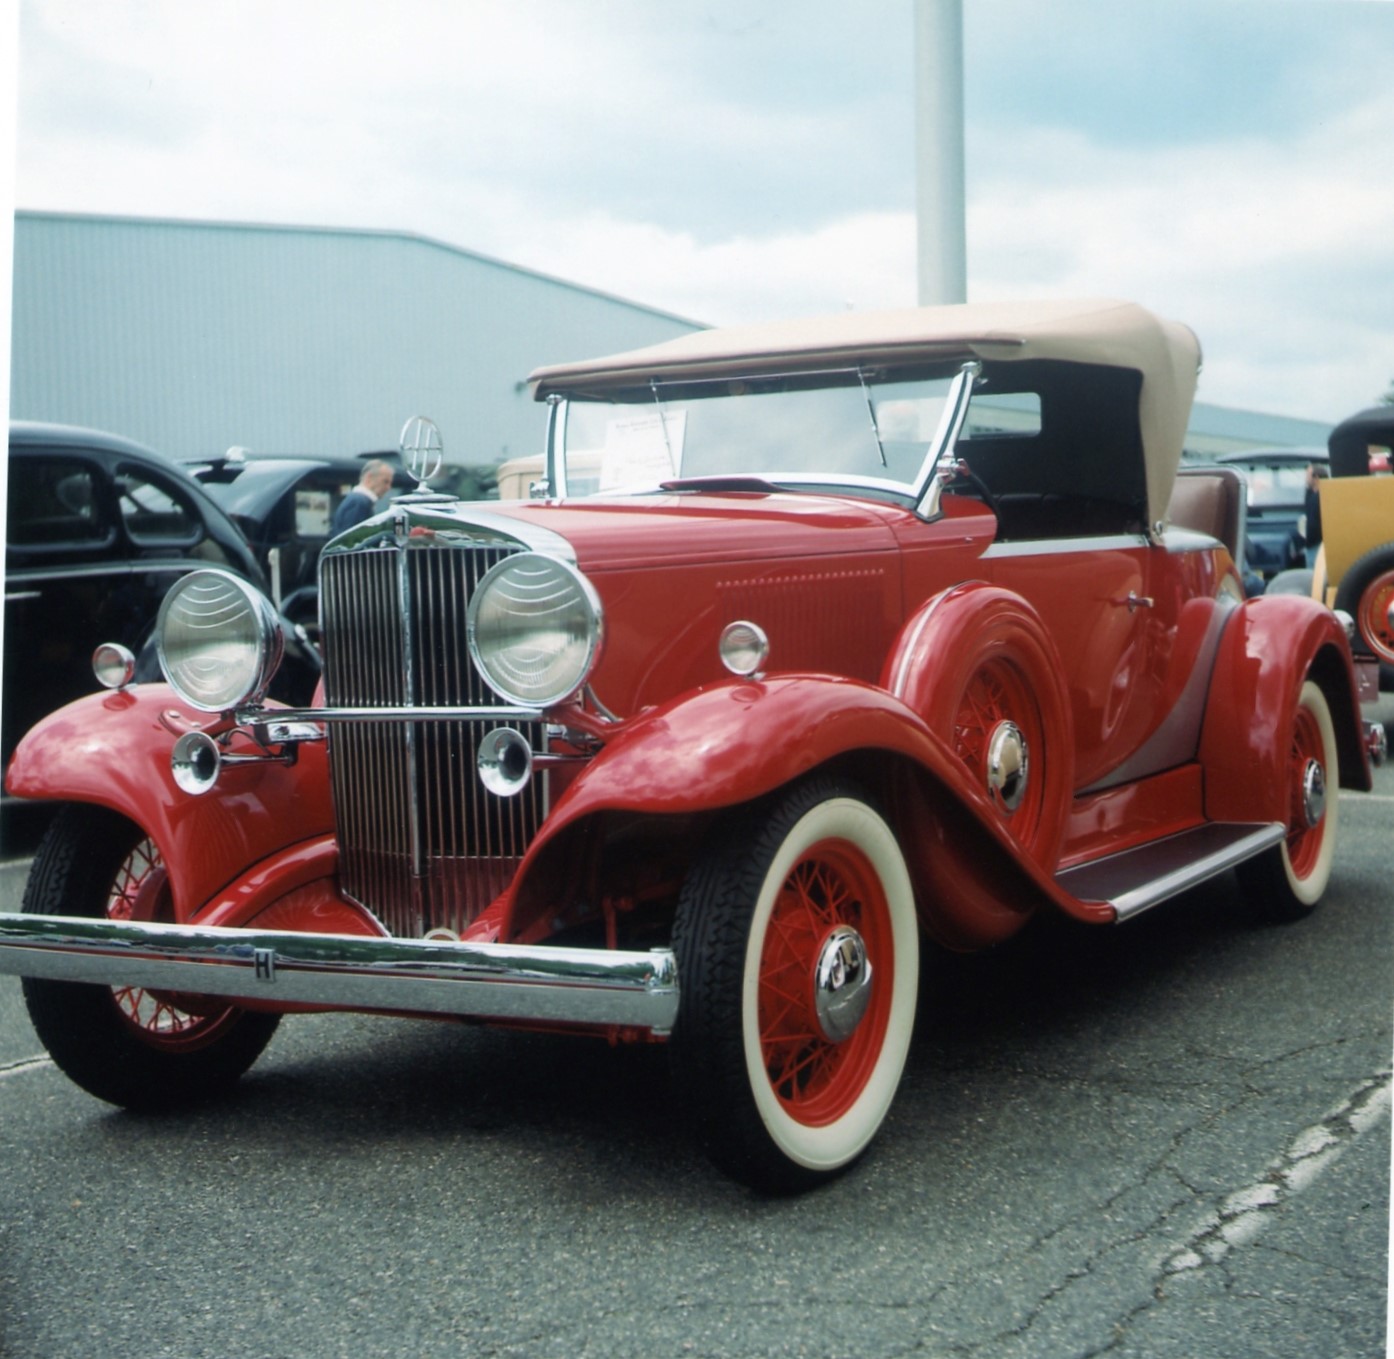
Huppmobile (note the “H” on radiator shell and as hood ornament), early ’30s?
My friend Ron with his 1936 Packard convertible
The trophy table, awaiting the announcement of the day’s winners
SIDEBAR: The Ciro-flex 120 film camera and Kodak VC160 film
I’ve been collecting film cameras for about 15 years, and I actually take pictures with the ones in my possession. This Ciro-flex camera, made in Delaware, Ohio, is the only non-Kodak U.S.-made camera I own, and luckily, it takes the readily-available 120 film size, rather than the 620 film that Kodak forced consumers to use (Kodak made out because they were the ones producing the 620 film).
I bought the camera at the Rose Bowl flea market in California, I think in 2009, and paid $25 for it. It’s a dual-lens reflex camera. The top opens, and one gazes into a ground glass while holding the camera at about waist level. It can be manually focused, and both the aperture and shutter speed are adjustable. The focal length is set at 85 mm.
For these shots, I used Kodak’s VC160 film. “VC” stands for “vivid color” (as opposed to “NC” film, or “neutral color”). It’s a bright film, and while I’ve read that some photographers find the colors to be over-saturated, I like the look. The 160 in the film name refers to the film speed. When I was shooting 35mm almost exclusively, most film I used was either 100 or 200 speed, so the 160 is almost exactly in between.
Focusing the Ciro-flex is tricky. The ground glass is hazy, and you get a clear image in it only in the brightest lights. As you can see, the focus is better in some photos than in others. In a perfect world, I’d use the camera often enough to become more accustomed to it, when in fact I use this one sporadically. Overall, though, I greatly enjoy shooting with film, because it forces me to slow down the process, think before pushing the shutter button, and delivers photos with that old-world quality look which I just don’t get from digital.
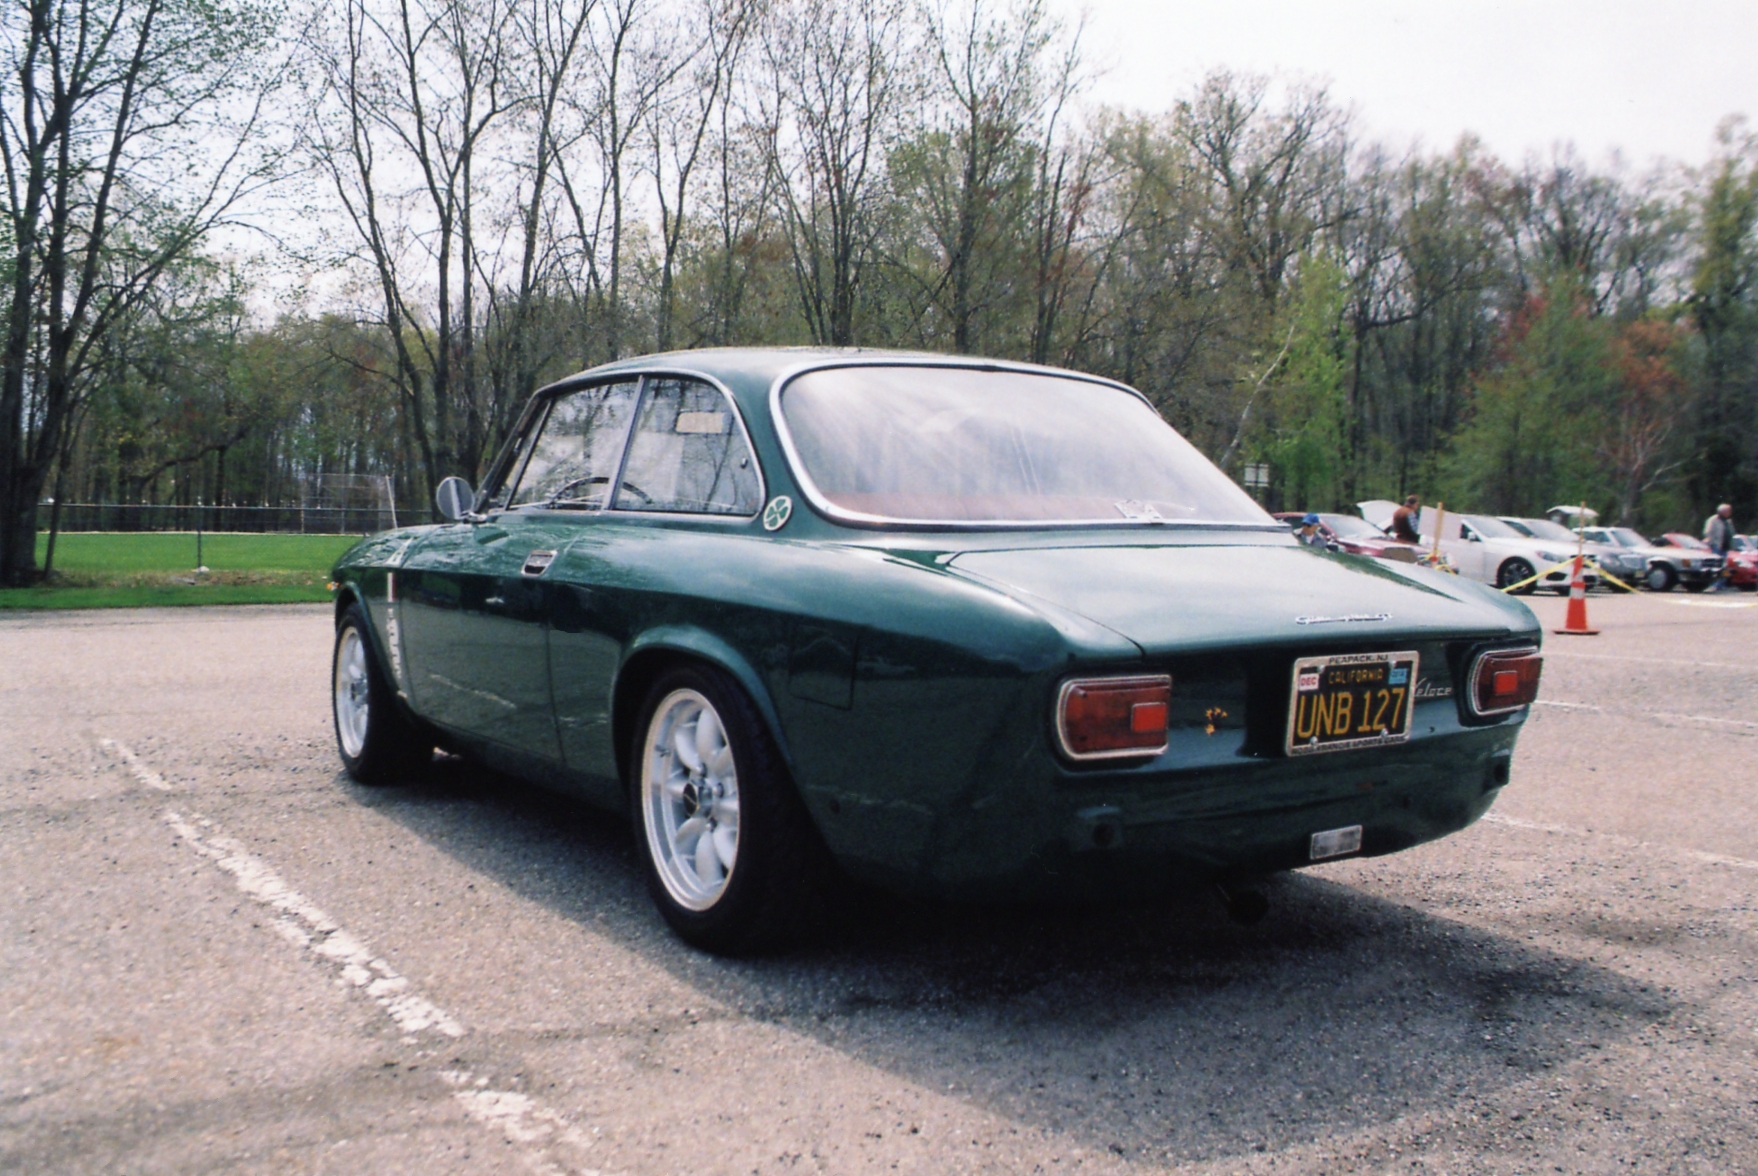
My musk green 1967 Alfa Romeo GT 1300 Junior had barely been in my possession for two months in 2013 when I entered it in its first judged show. This was the annual event conducted by the NJ Region of the AACA (Antique Automobile Club of America), held by tradition on the first Sunday in May. In 2013, the actual show date was May 5, and also following tradition, it was held in the parking lot of the Automatic Switch Manufacturing Company in Florham Park NJ. (Long-time club members simply referred to the location as “Automatic Switch”.)
The drive from our home in Neshanic Station was only 30 minutes, but it was a good test for the much longer 2013 New England 1000 classic car rally, coming up two weeks after this outing. When I had purchased the Alfa from my good friend Pete, it had already earned its HPOF (Historical Preservation of Original Features) award, and by AACA Judging Rules you cannot switch classes back and forth willy-nilly, so it was dutifully entered into HPOF. As the photos attest, there’s always an eclectic assortment of vehicles on either side of you in this class.
Arriving and parking early gave me the chance to grab my camera and walk the field, looking for other interesting cars to photograph. I was not disappointed by the fine mix of pre-war and post-war, dometic and import, all glistening under the bright spring sun.
All cars are judged (unless an owner expressly requests to be excluded), and NJ Region judging loosely follows National’s rules. By the end of the show (around 3pm), the parade of vehicles driving up to the ‘viewing stand’ to receive their trophies from the Region’s President arrived three abreast. My Alfa received a special award, considered only for cars owned by club members: it won the “Best Unrestored Vehicle” in its age group. I was pleasantly surprised at the recognition, not expecting much of anything for the car at its first outing! Aside from a battery and a set of tires, I had also not done anything to it yet. The Alfa got me home without incident, and back into the garage it went as I patiently waited for this year’s NE1000 to begin.