The AACA Annual Meeting, Phila. PA, Feb. 2018

The Antique Automobile Club of America (AACA) held its 82nd annual meeting in Philadelphia PA, from February 8-10, 2018. There is a long history of annual meetings for the club in this city. This was not the first such meeting I’ve attended, but it has been a while since I’ve headed down there. There are years when the Atlantic City Car Show and Auction conflicted with the timing (as was the case this year), but I chose the AACA meeting.

The registration counter at the host hotel, The Sheraton in downtown Philly

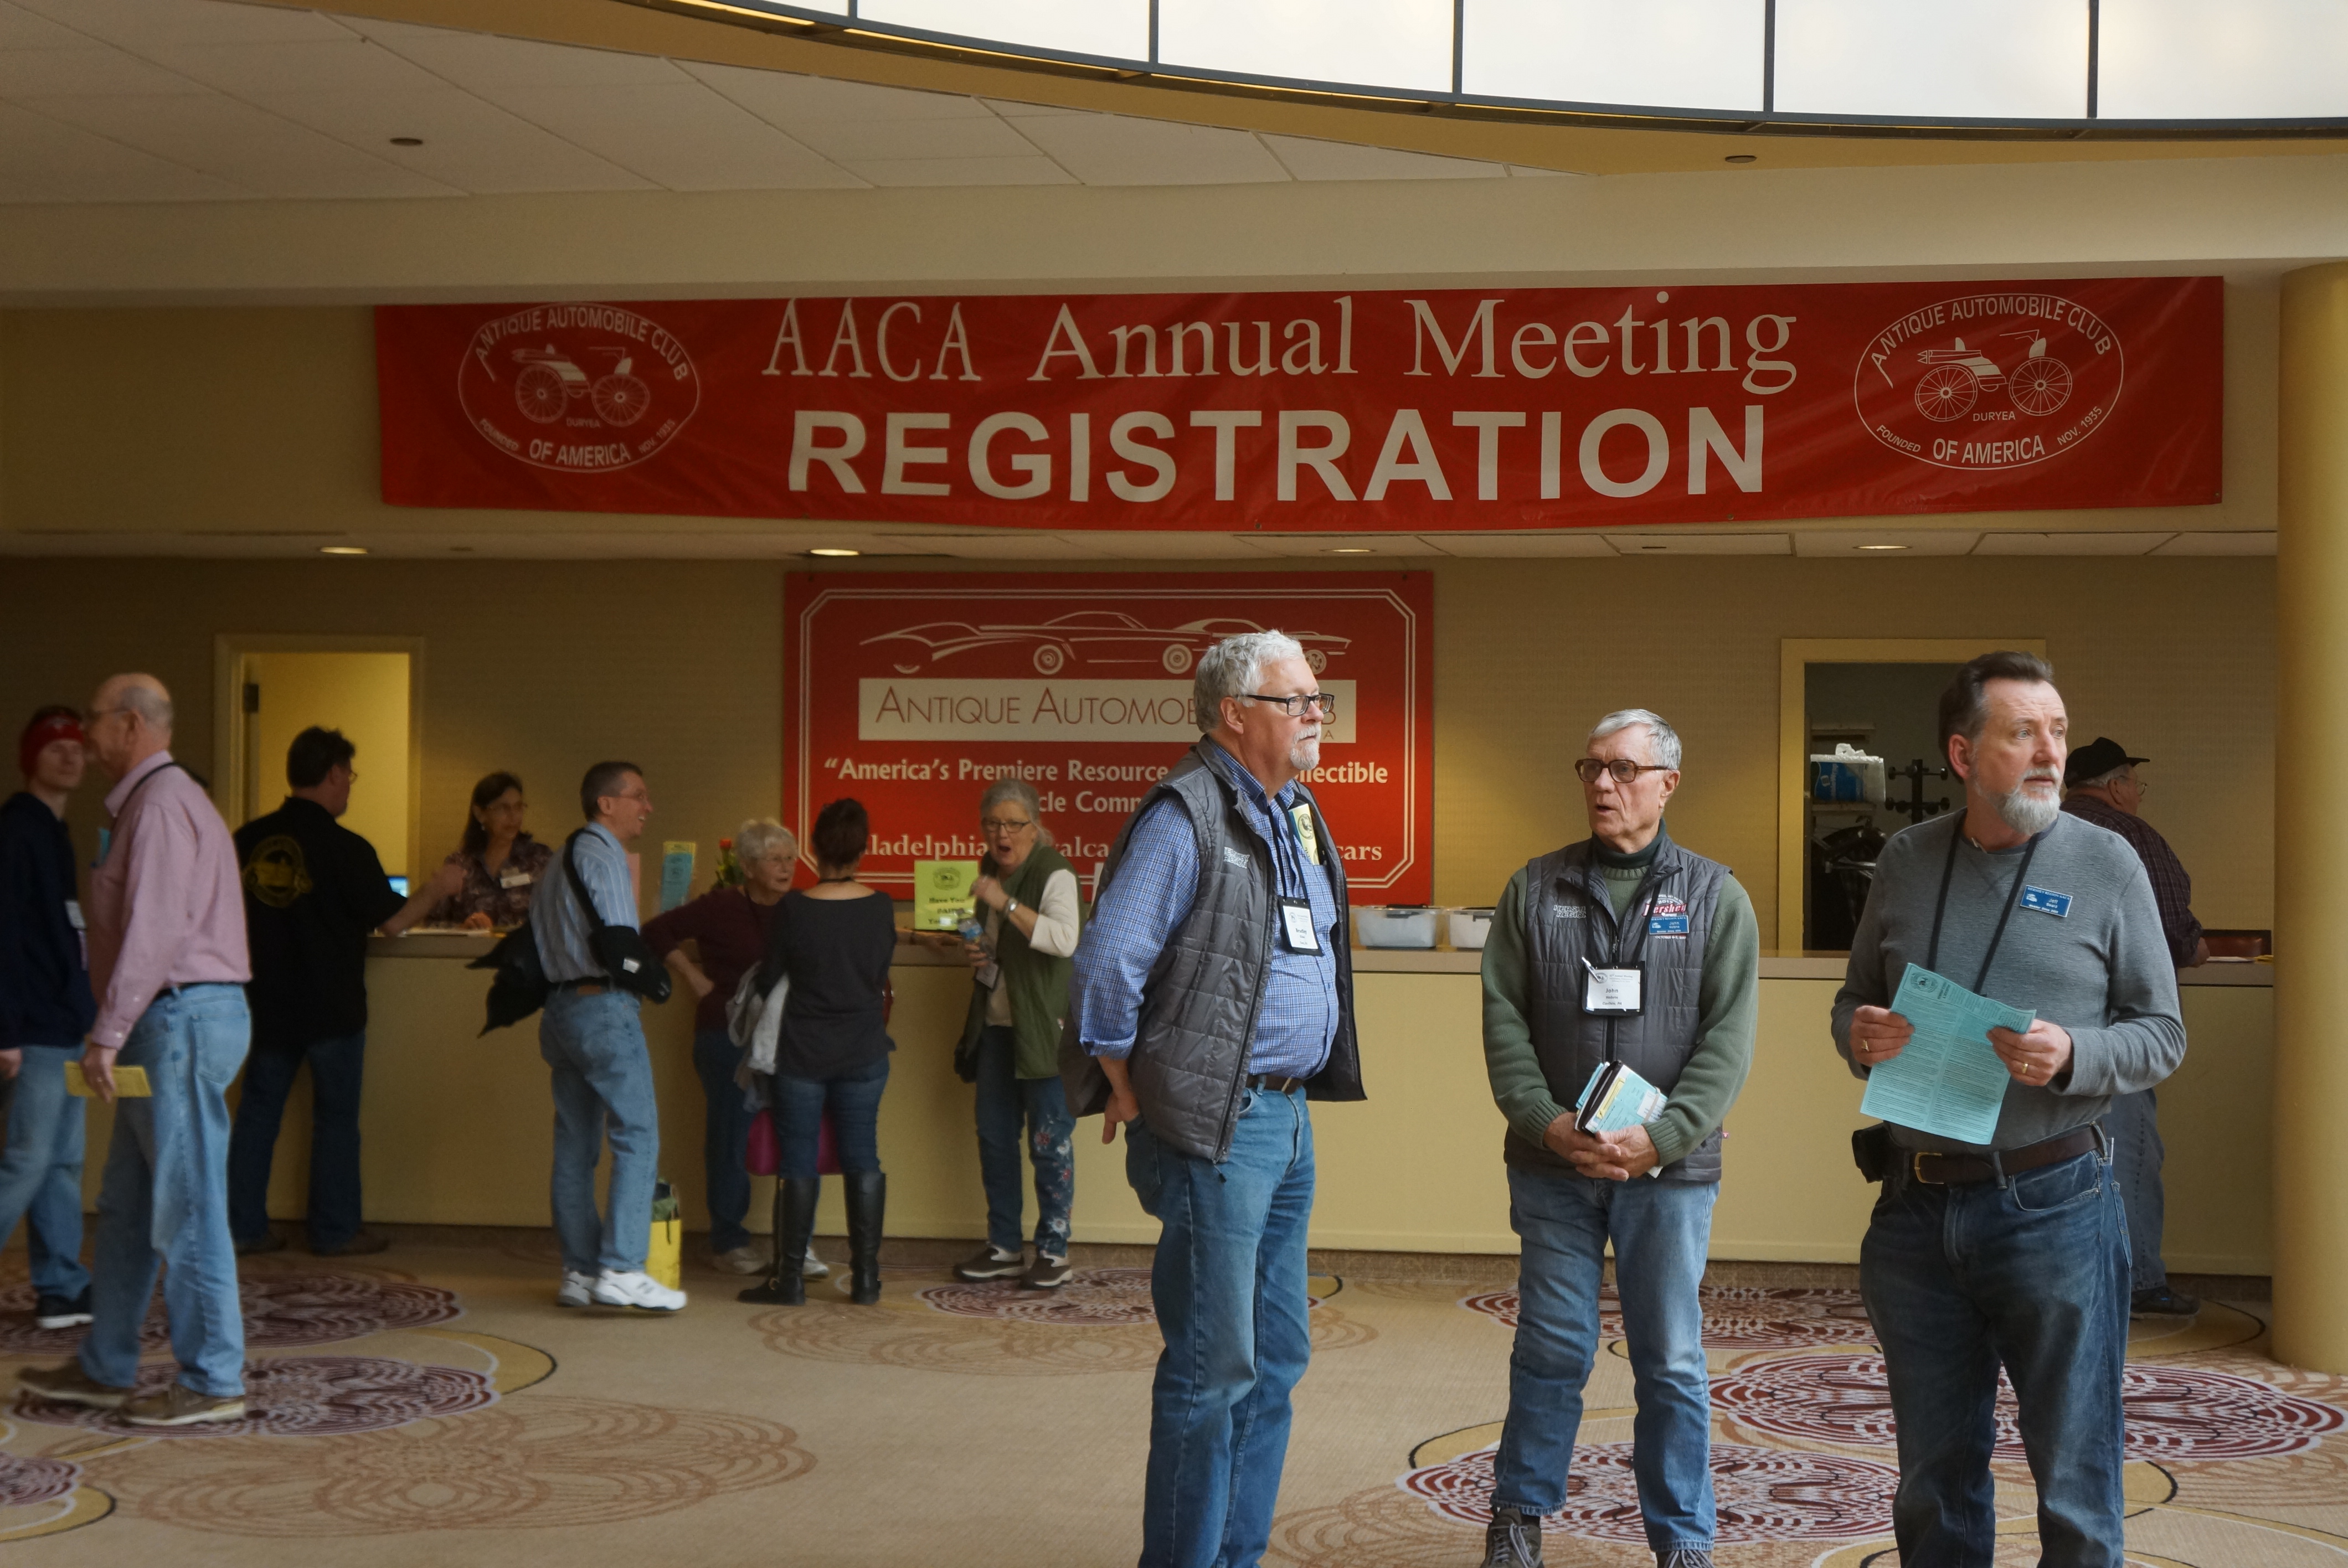
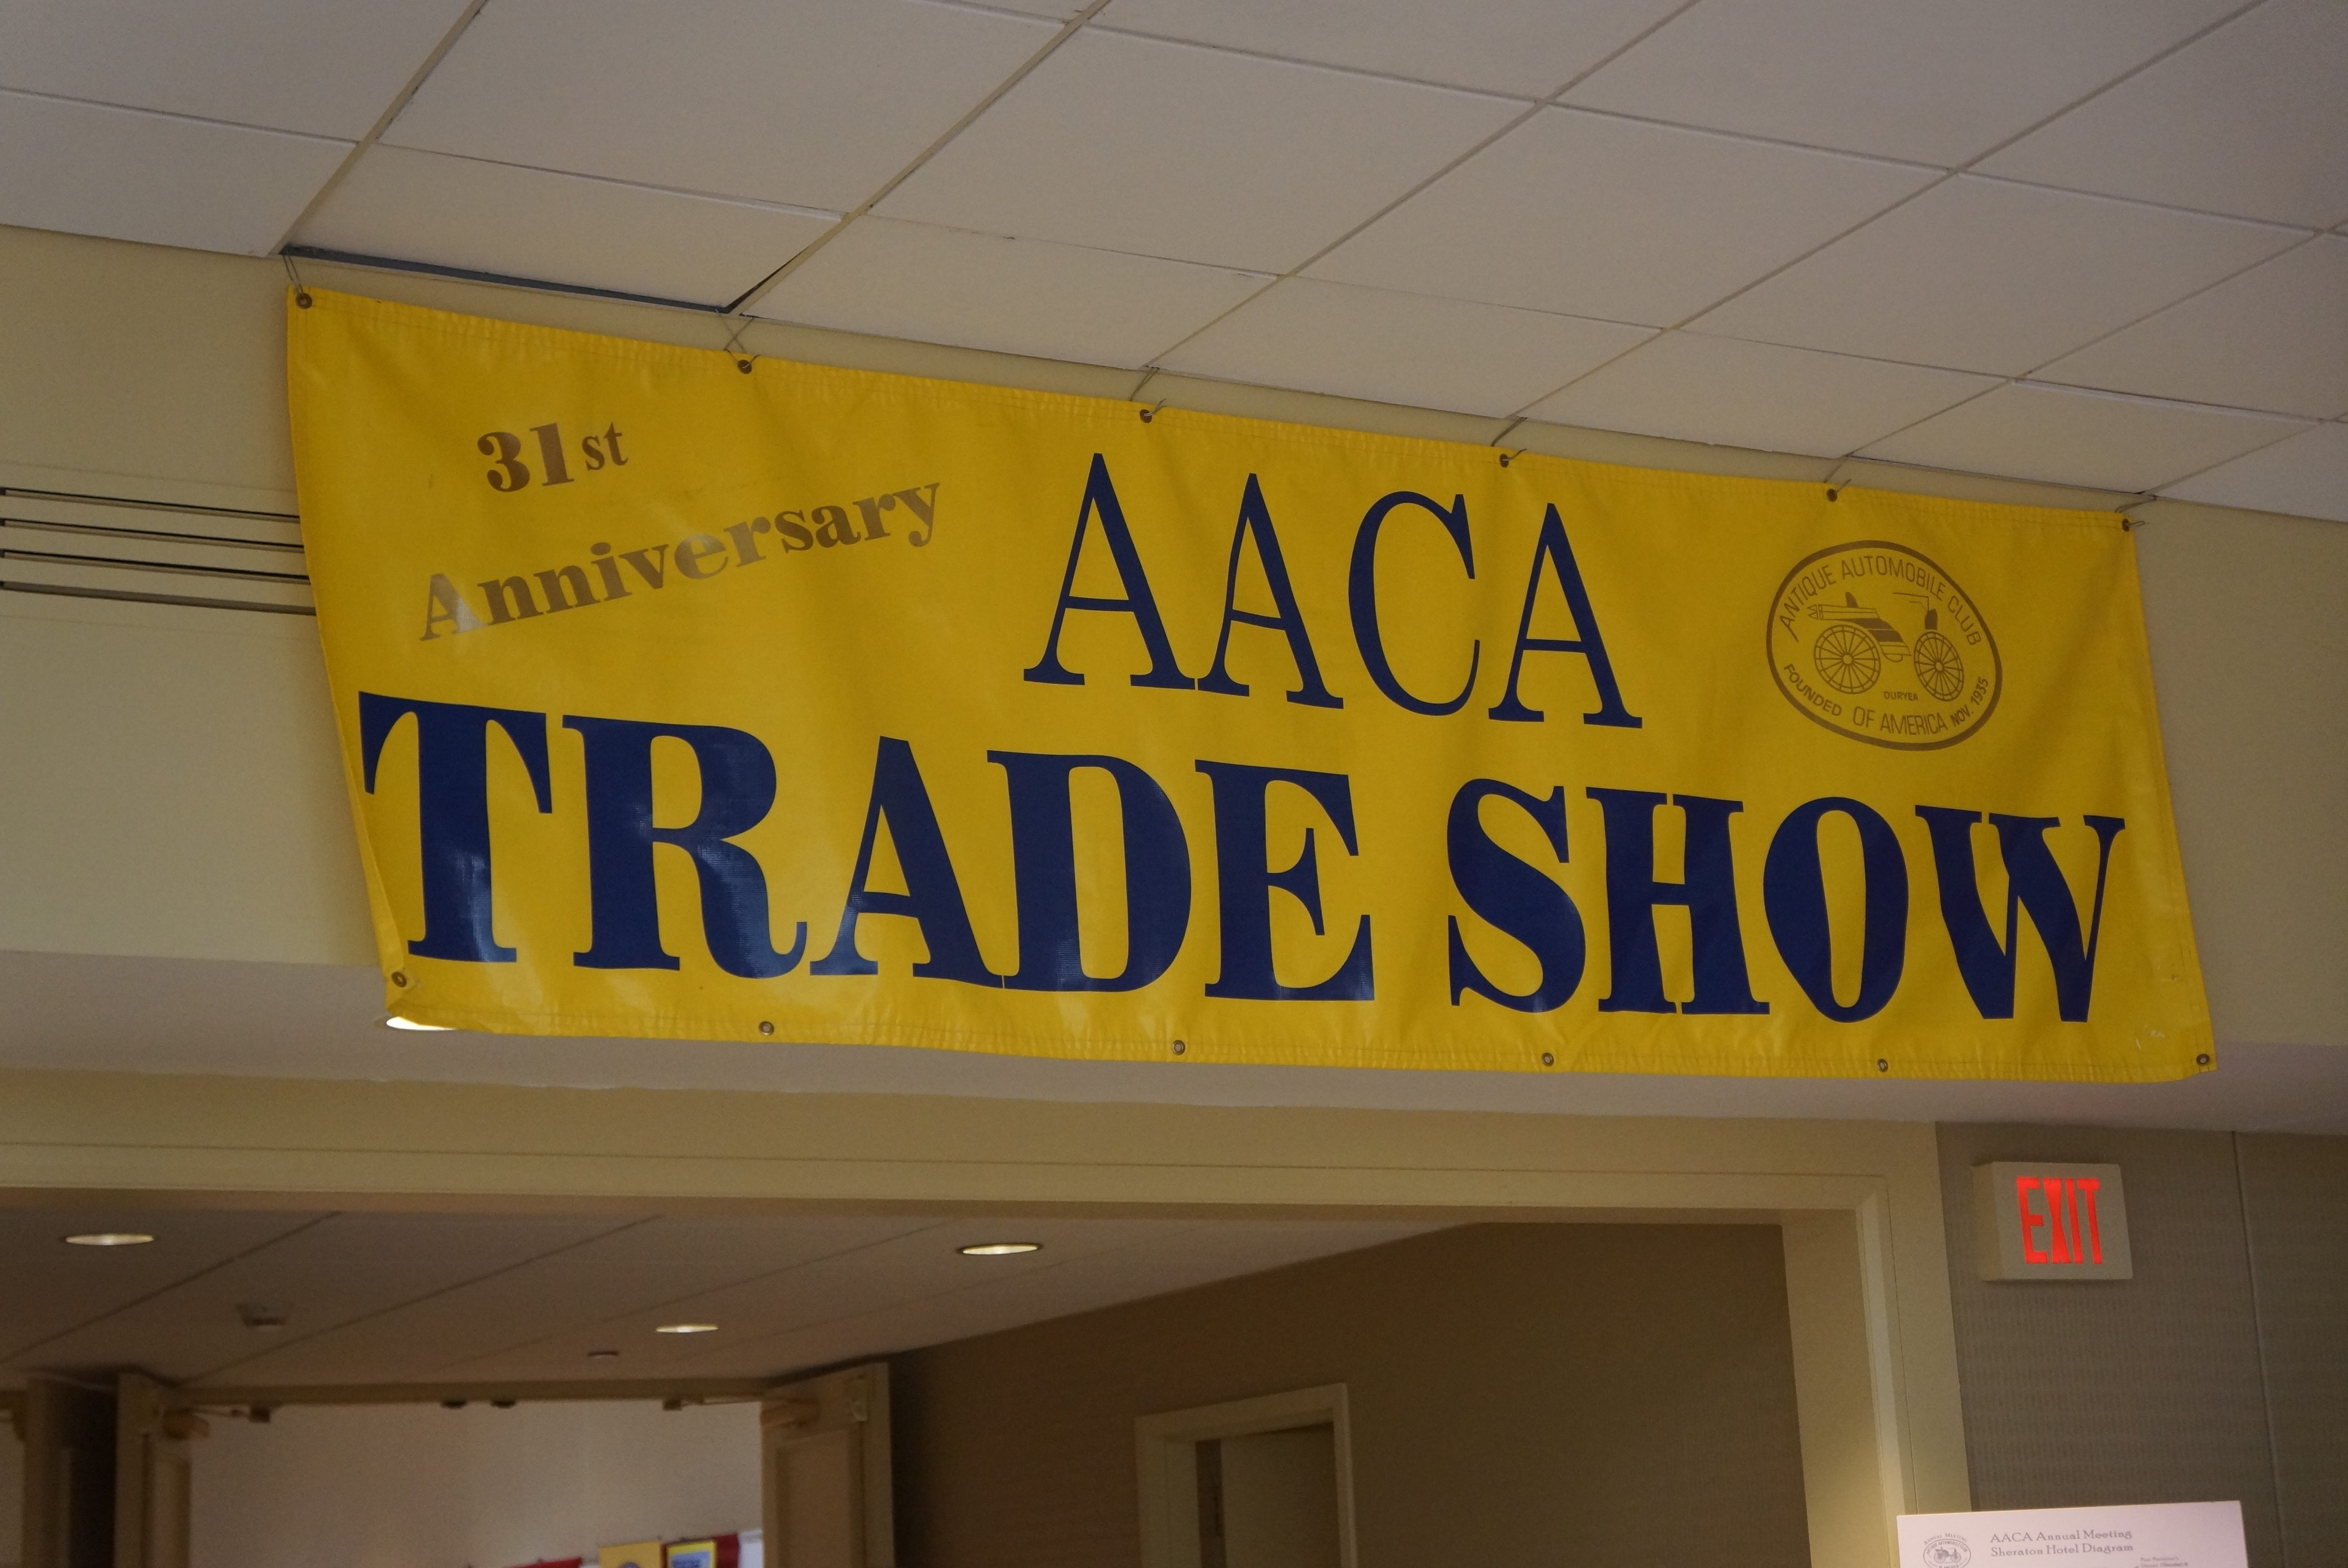
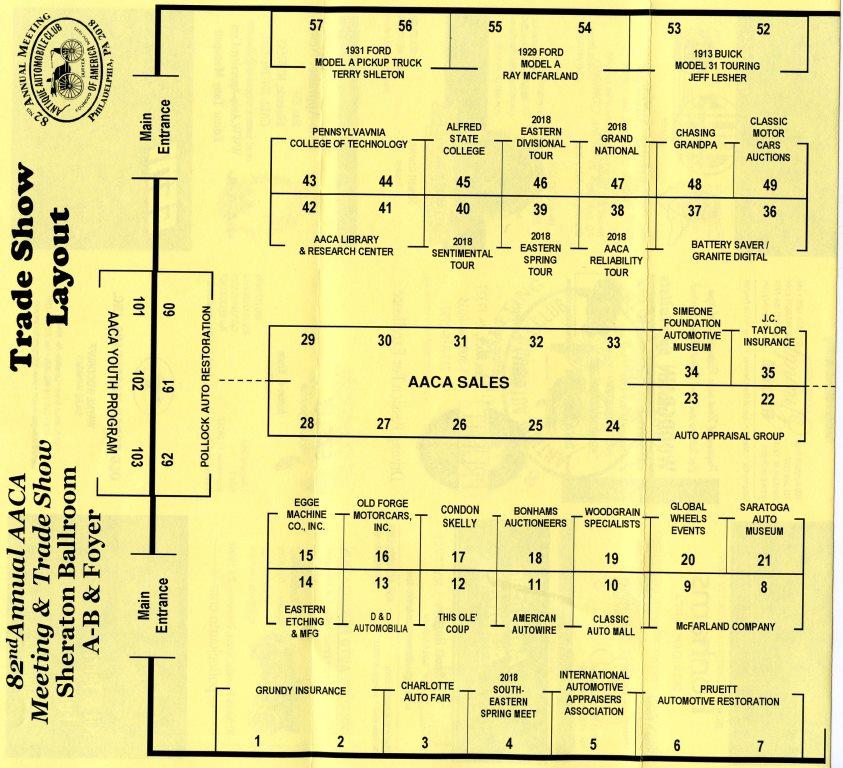
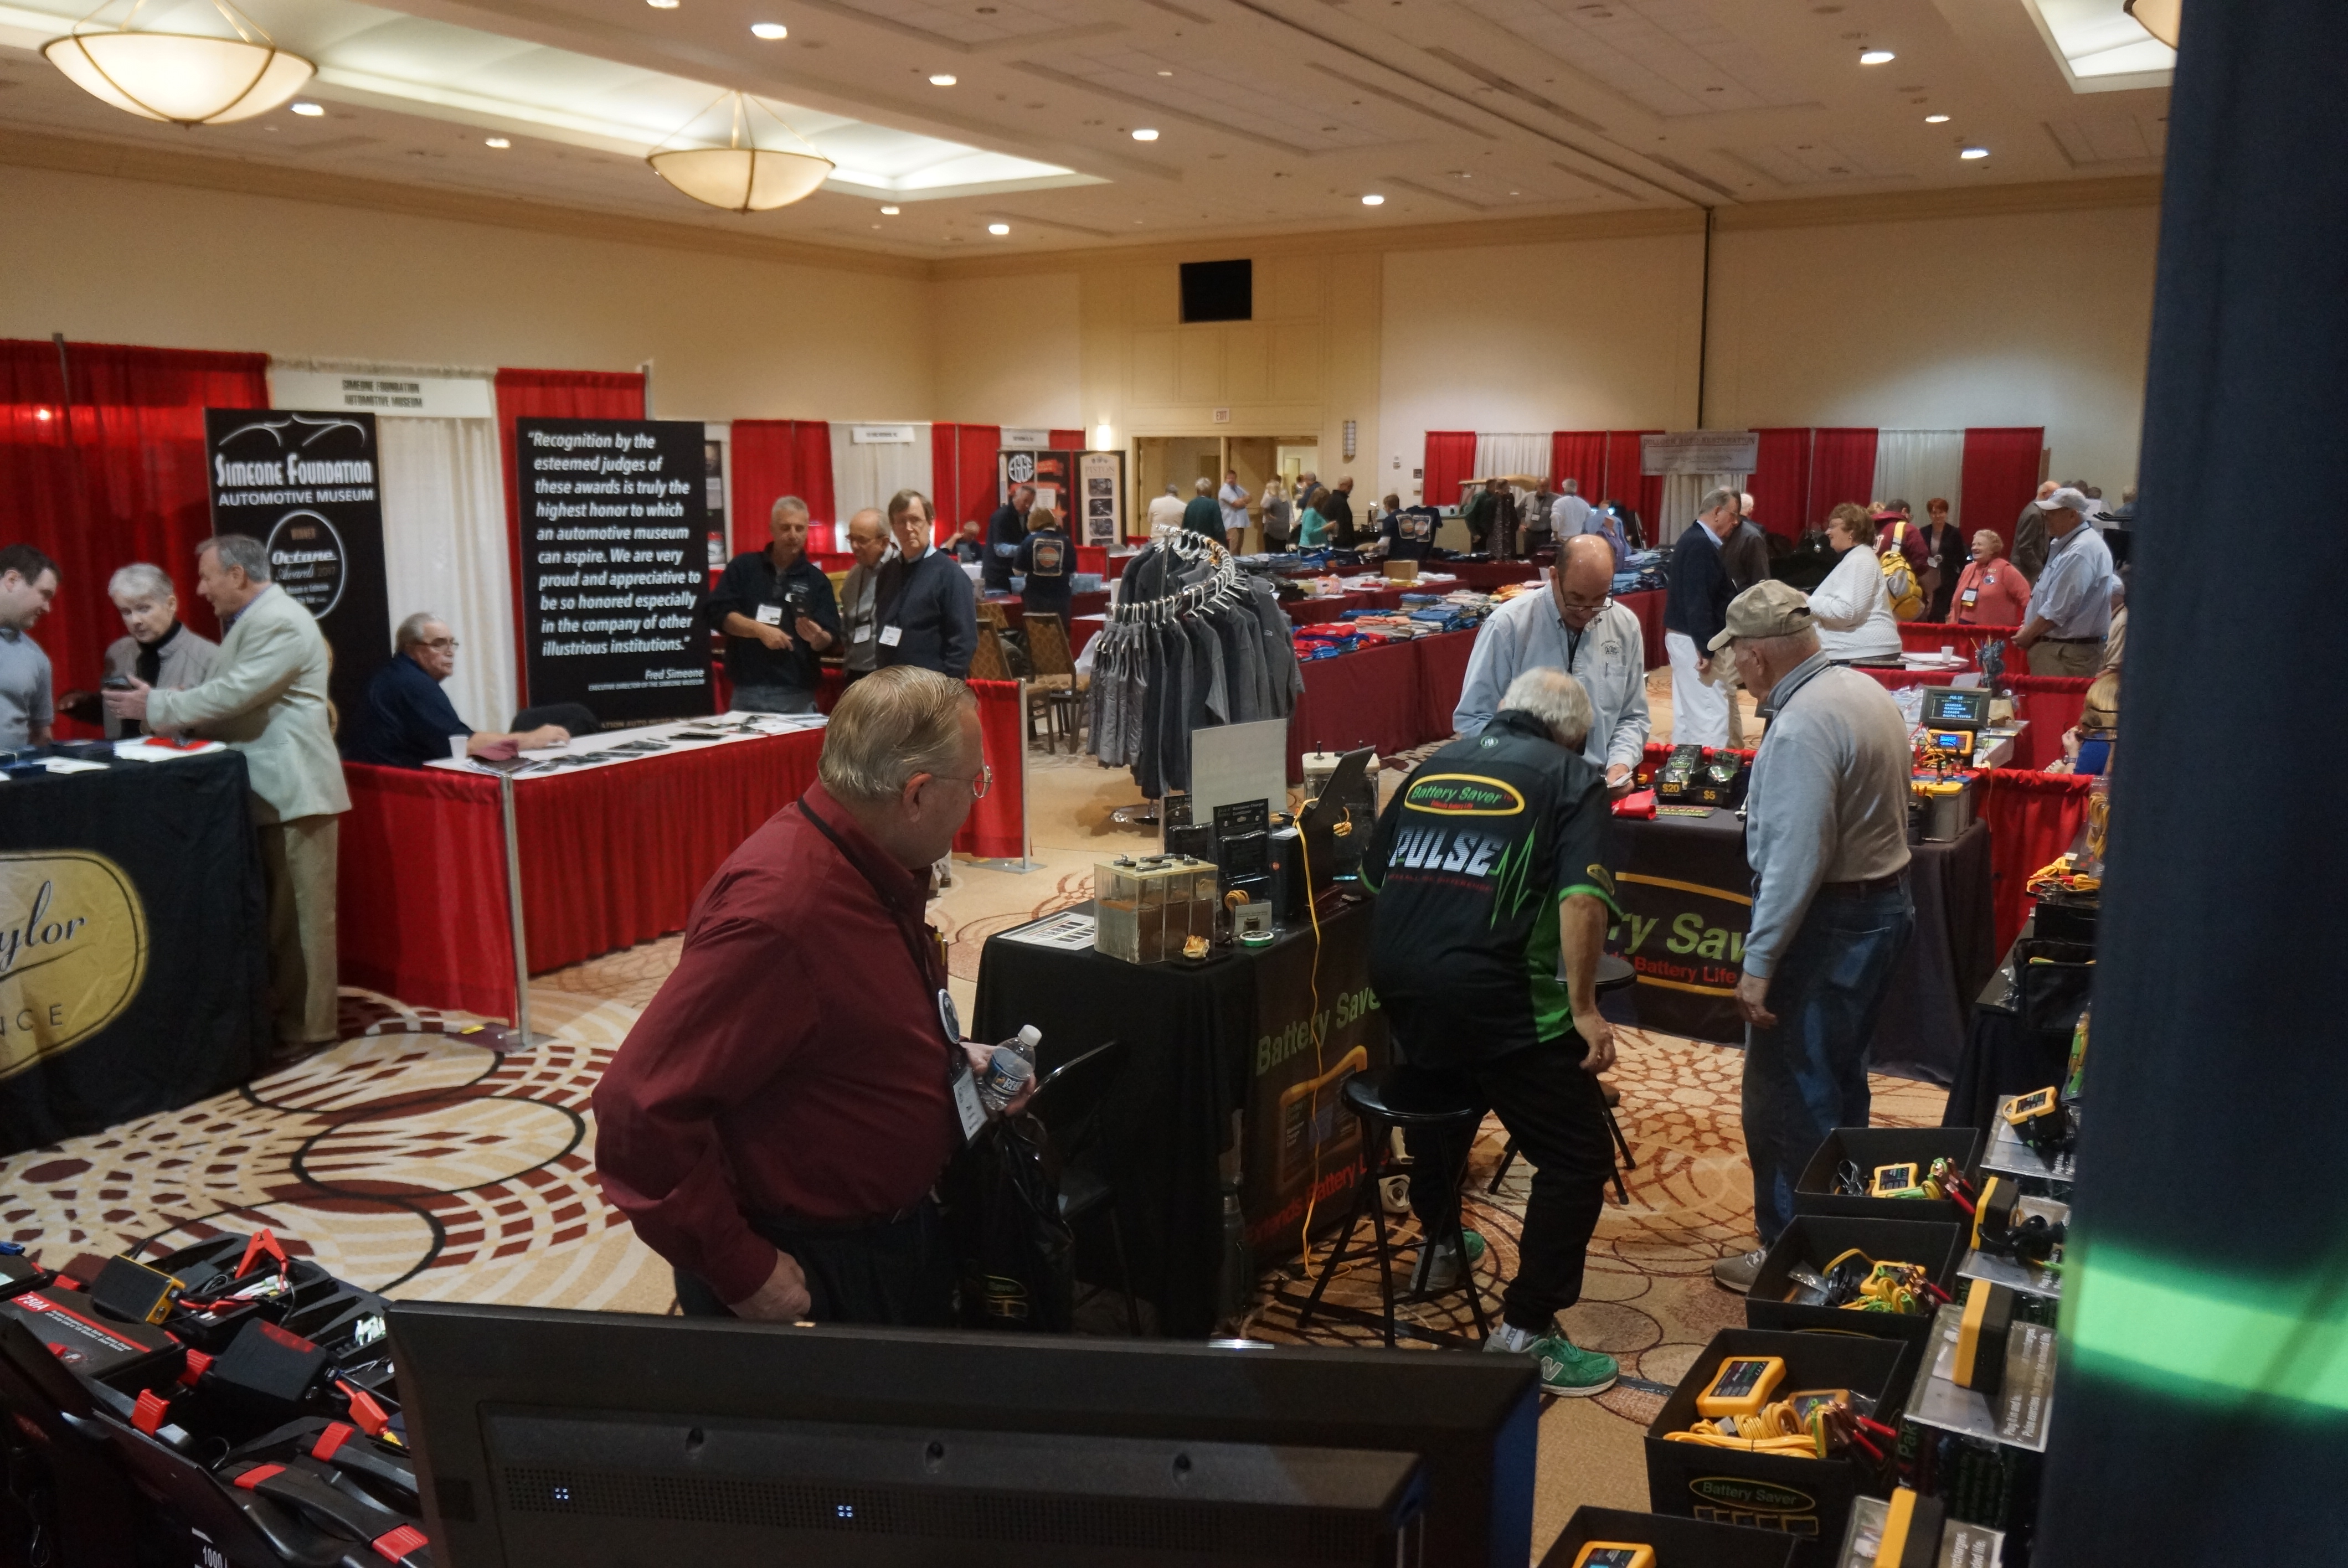
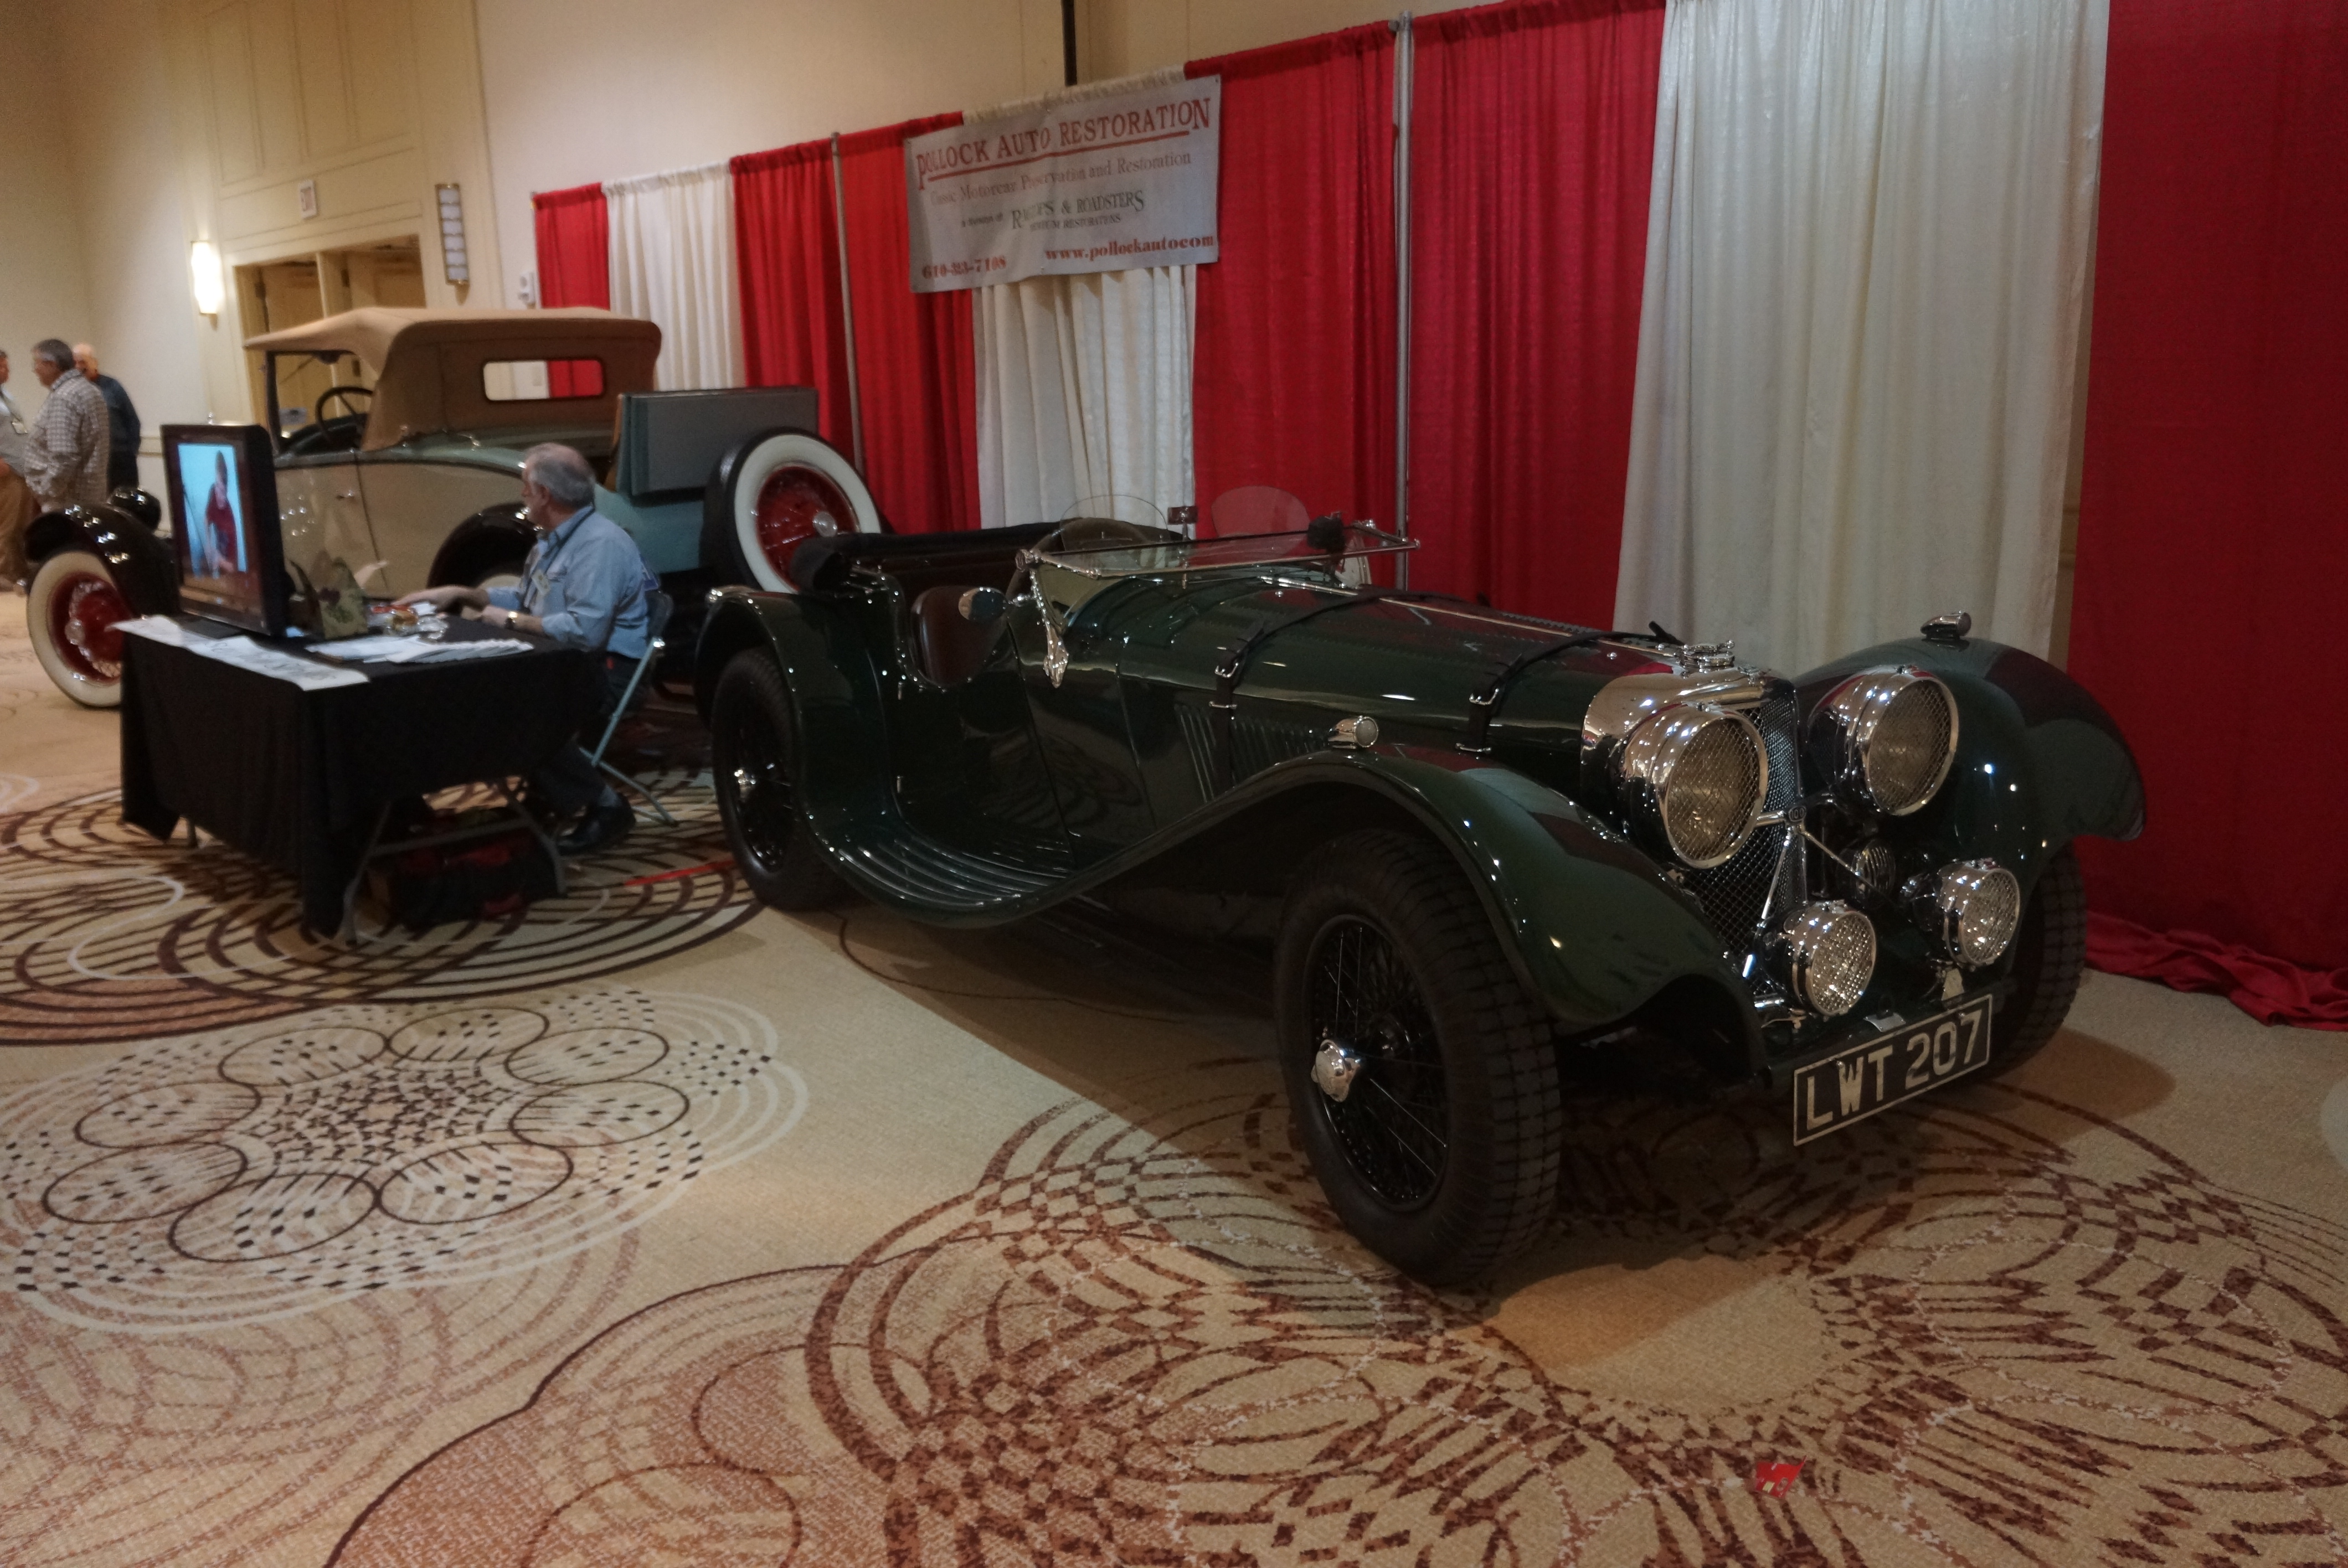
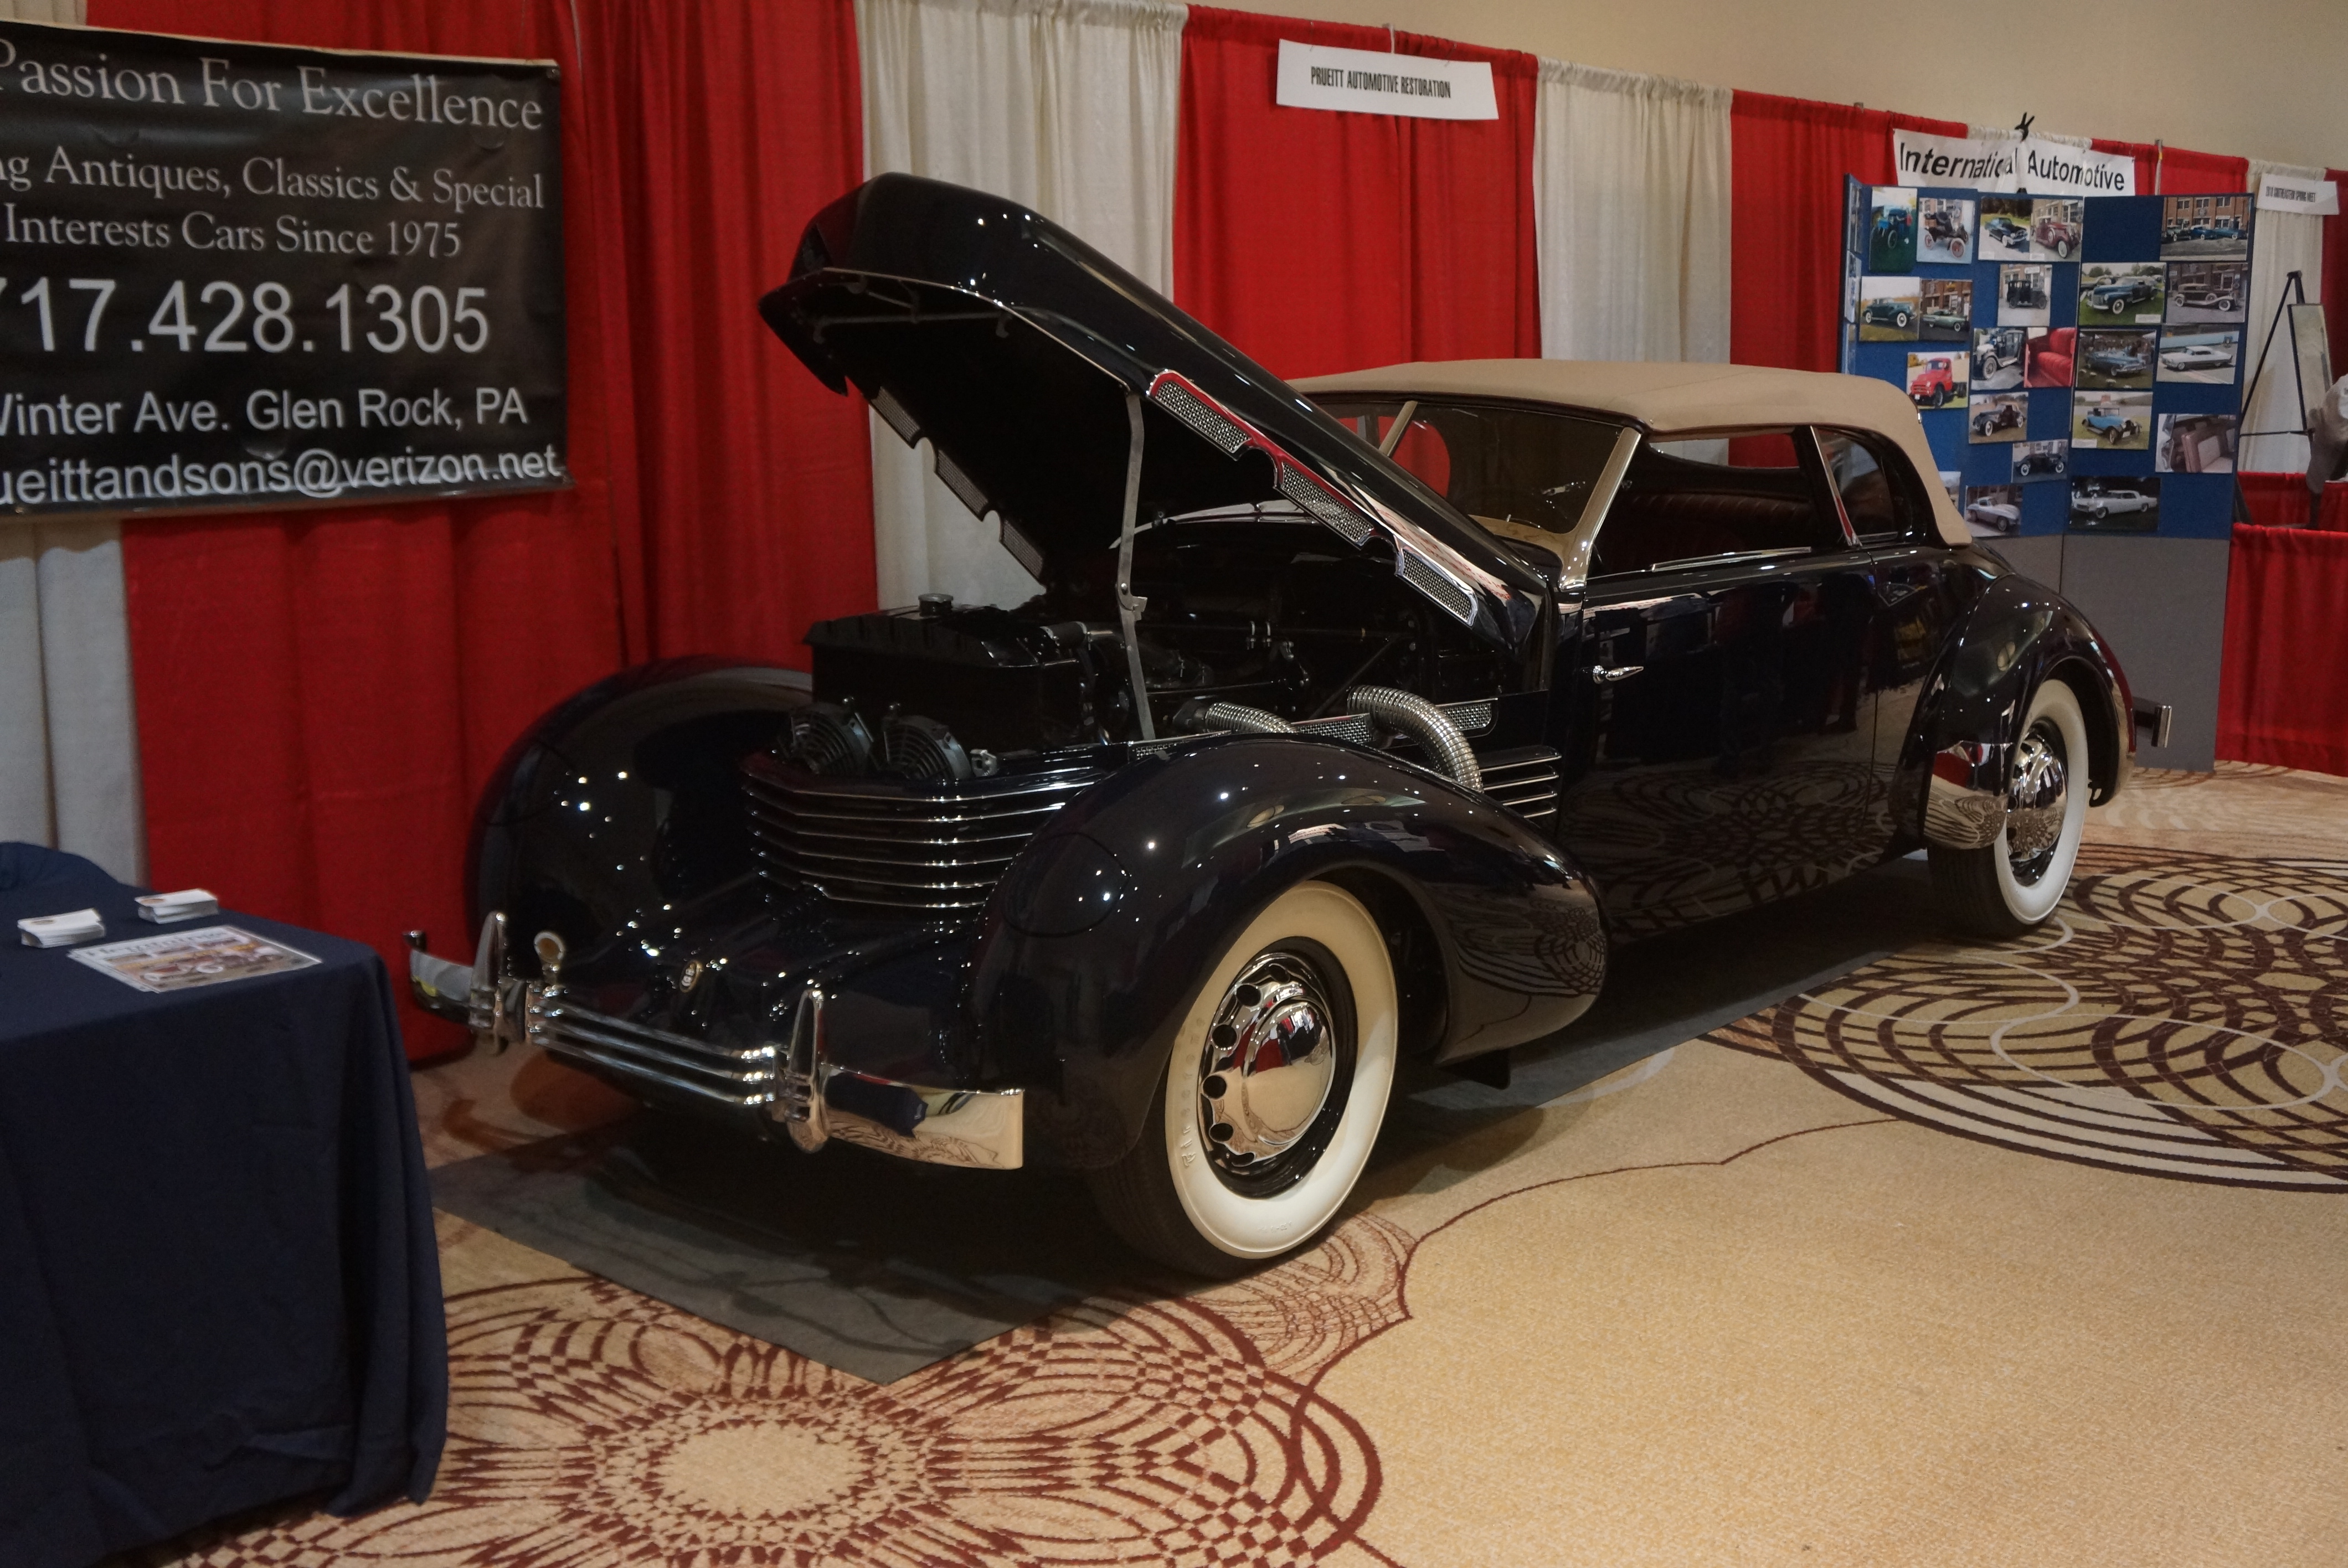
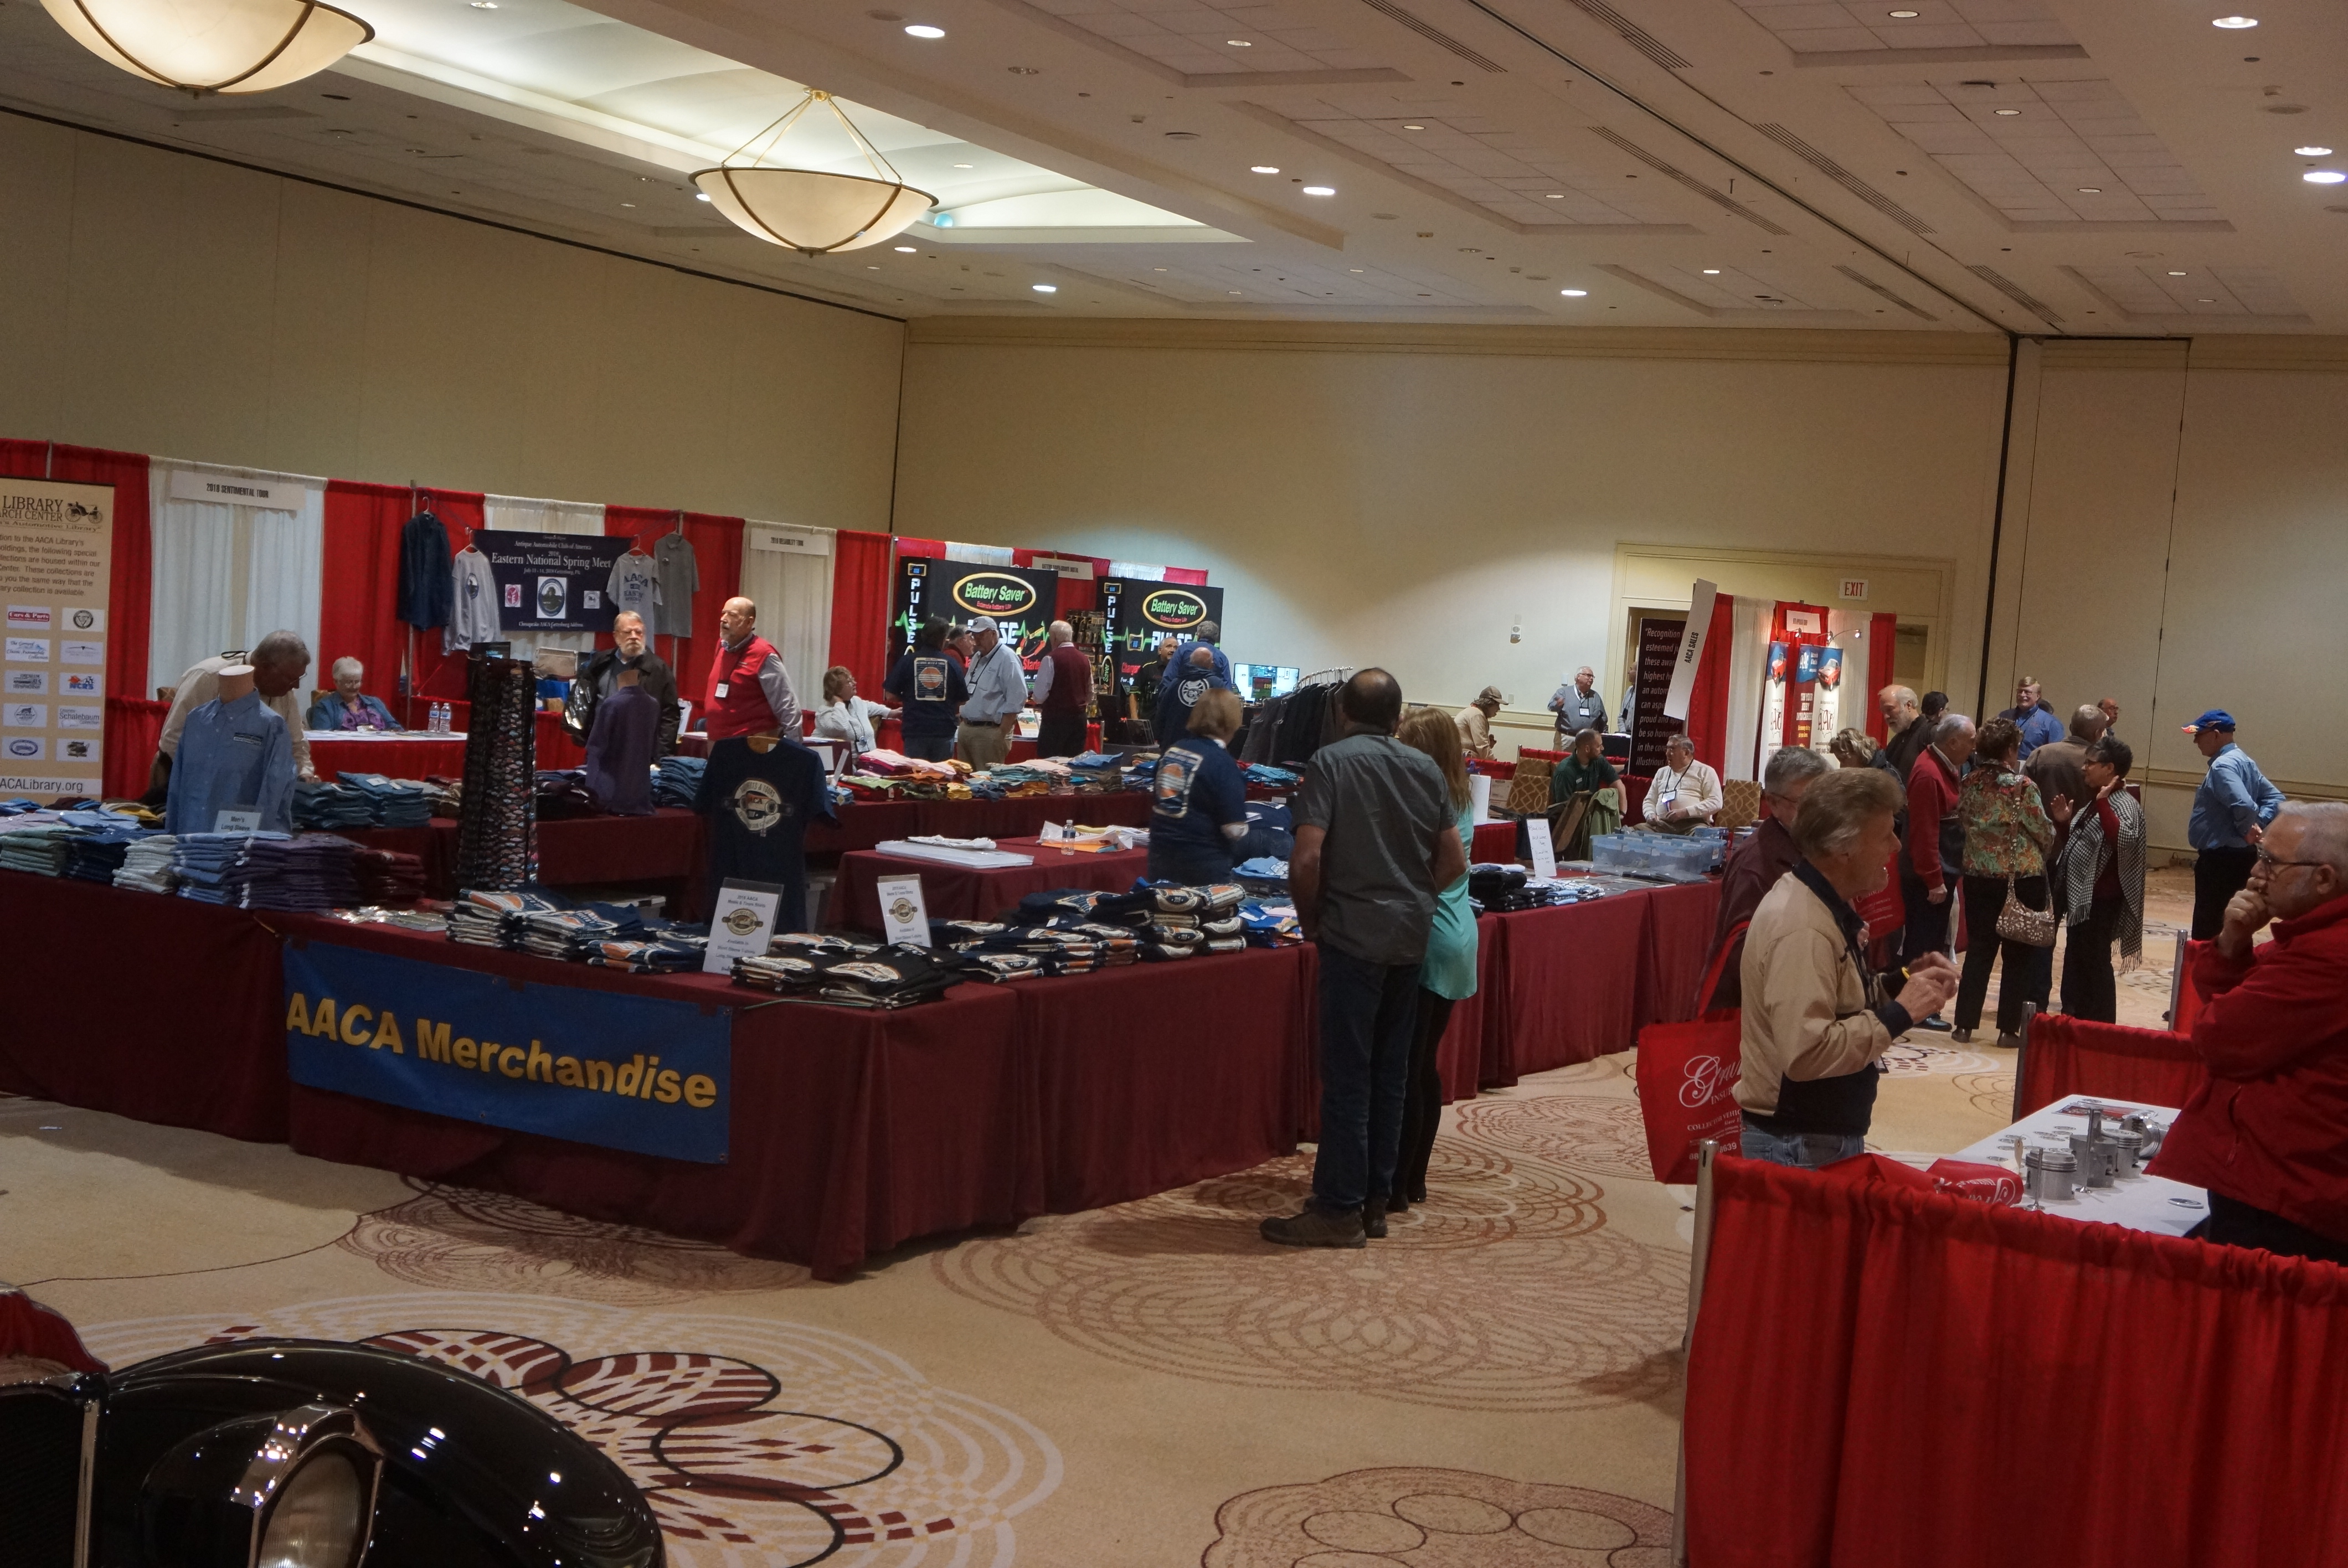
The primary purpose of the annual meeting is the Saturday banquet, during which prize winners from the previous year are recognized. There is a General Membership Meeting on Saturday afternoon. Other meetings for officers, Regional Presidents, and judges are also scheduled. Seminars on various topics of interest to the hobby are held all day Friday, and half the day on Saturday. In parallel, a Trade Show is on site, populated by businesses which support lovers of old cars. For someone like me who attended only on Friday, there is lots to see and do.

If there is an issue with the Seminar schedule, it’s that one cannot attend every seminar of interest! There are five time blocks during the day on Friday, but each time block is hosting SEVEN different seminars in seven different rooms. So you need to pick the most interesting one. Given that each time block is 90 minutes, there is the option of jumping from room to room, with the obvious downside of potentially missing something interesting.

Friday’s jammed-packed Seminar schedule

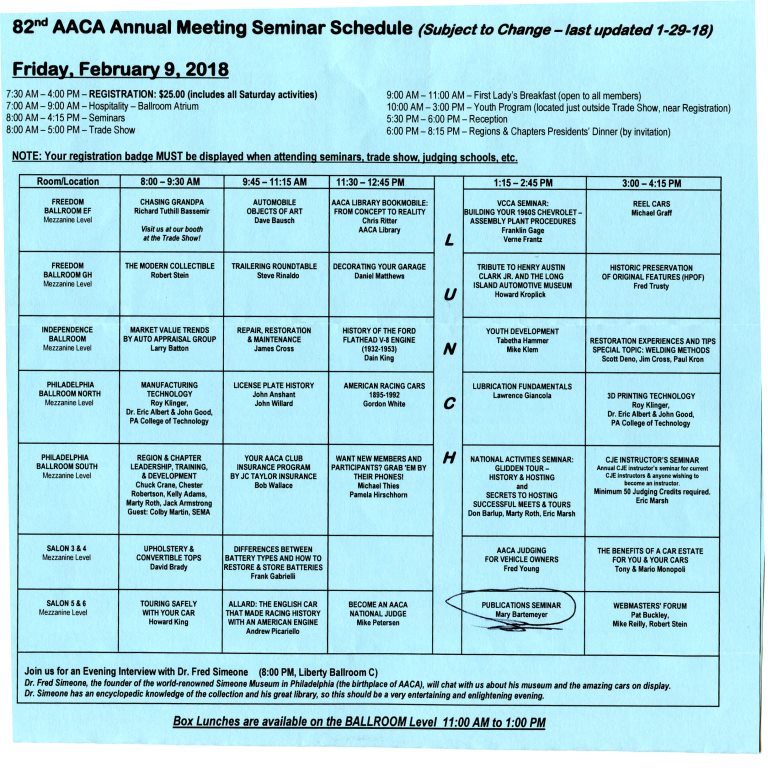
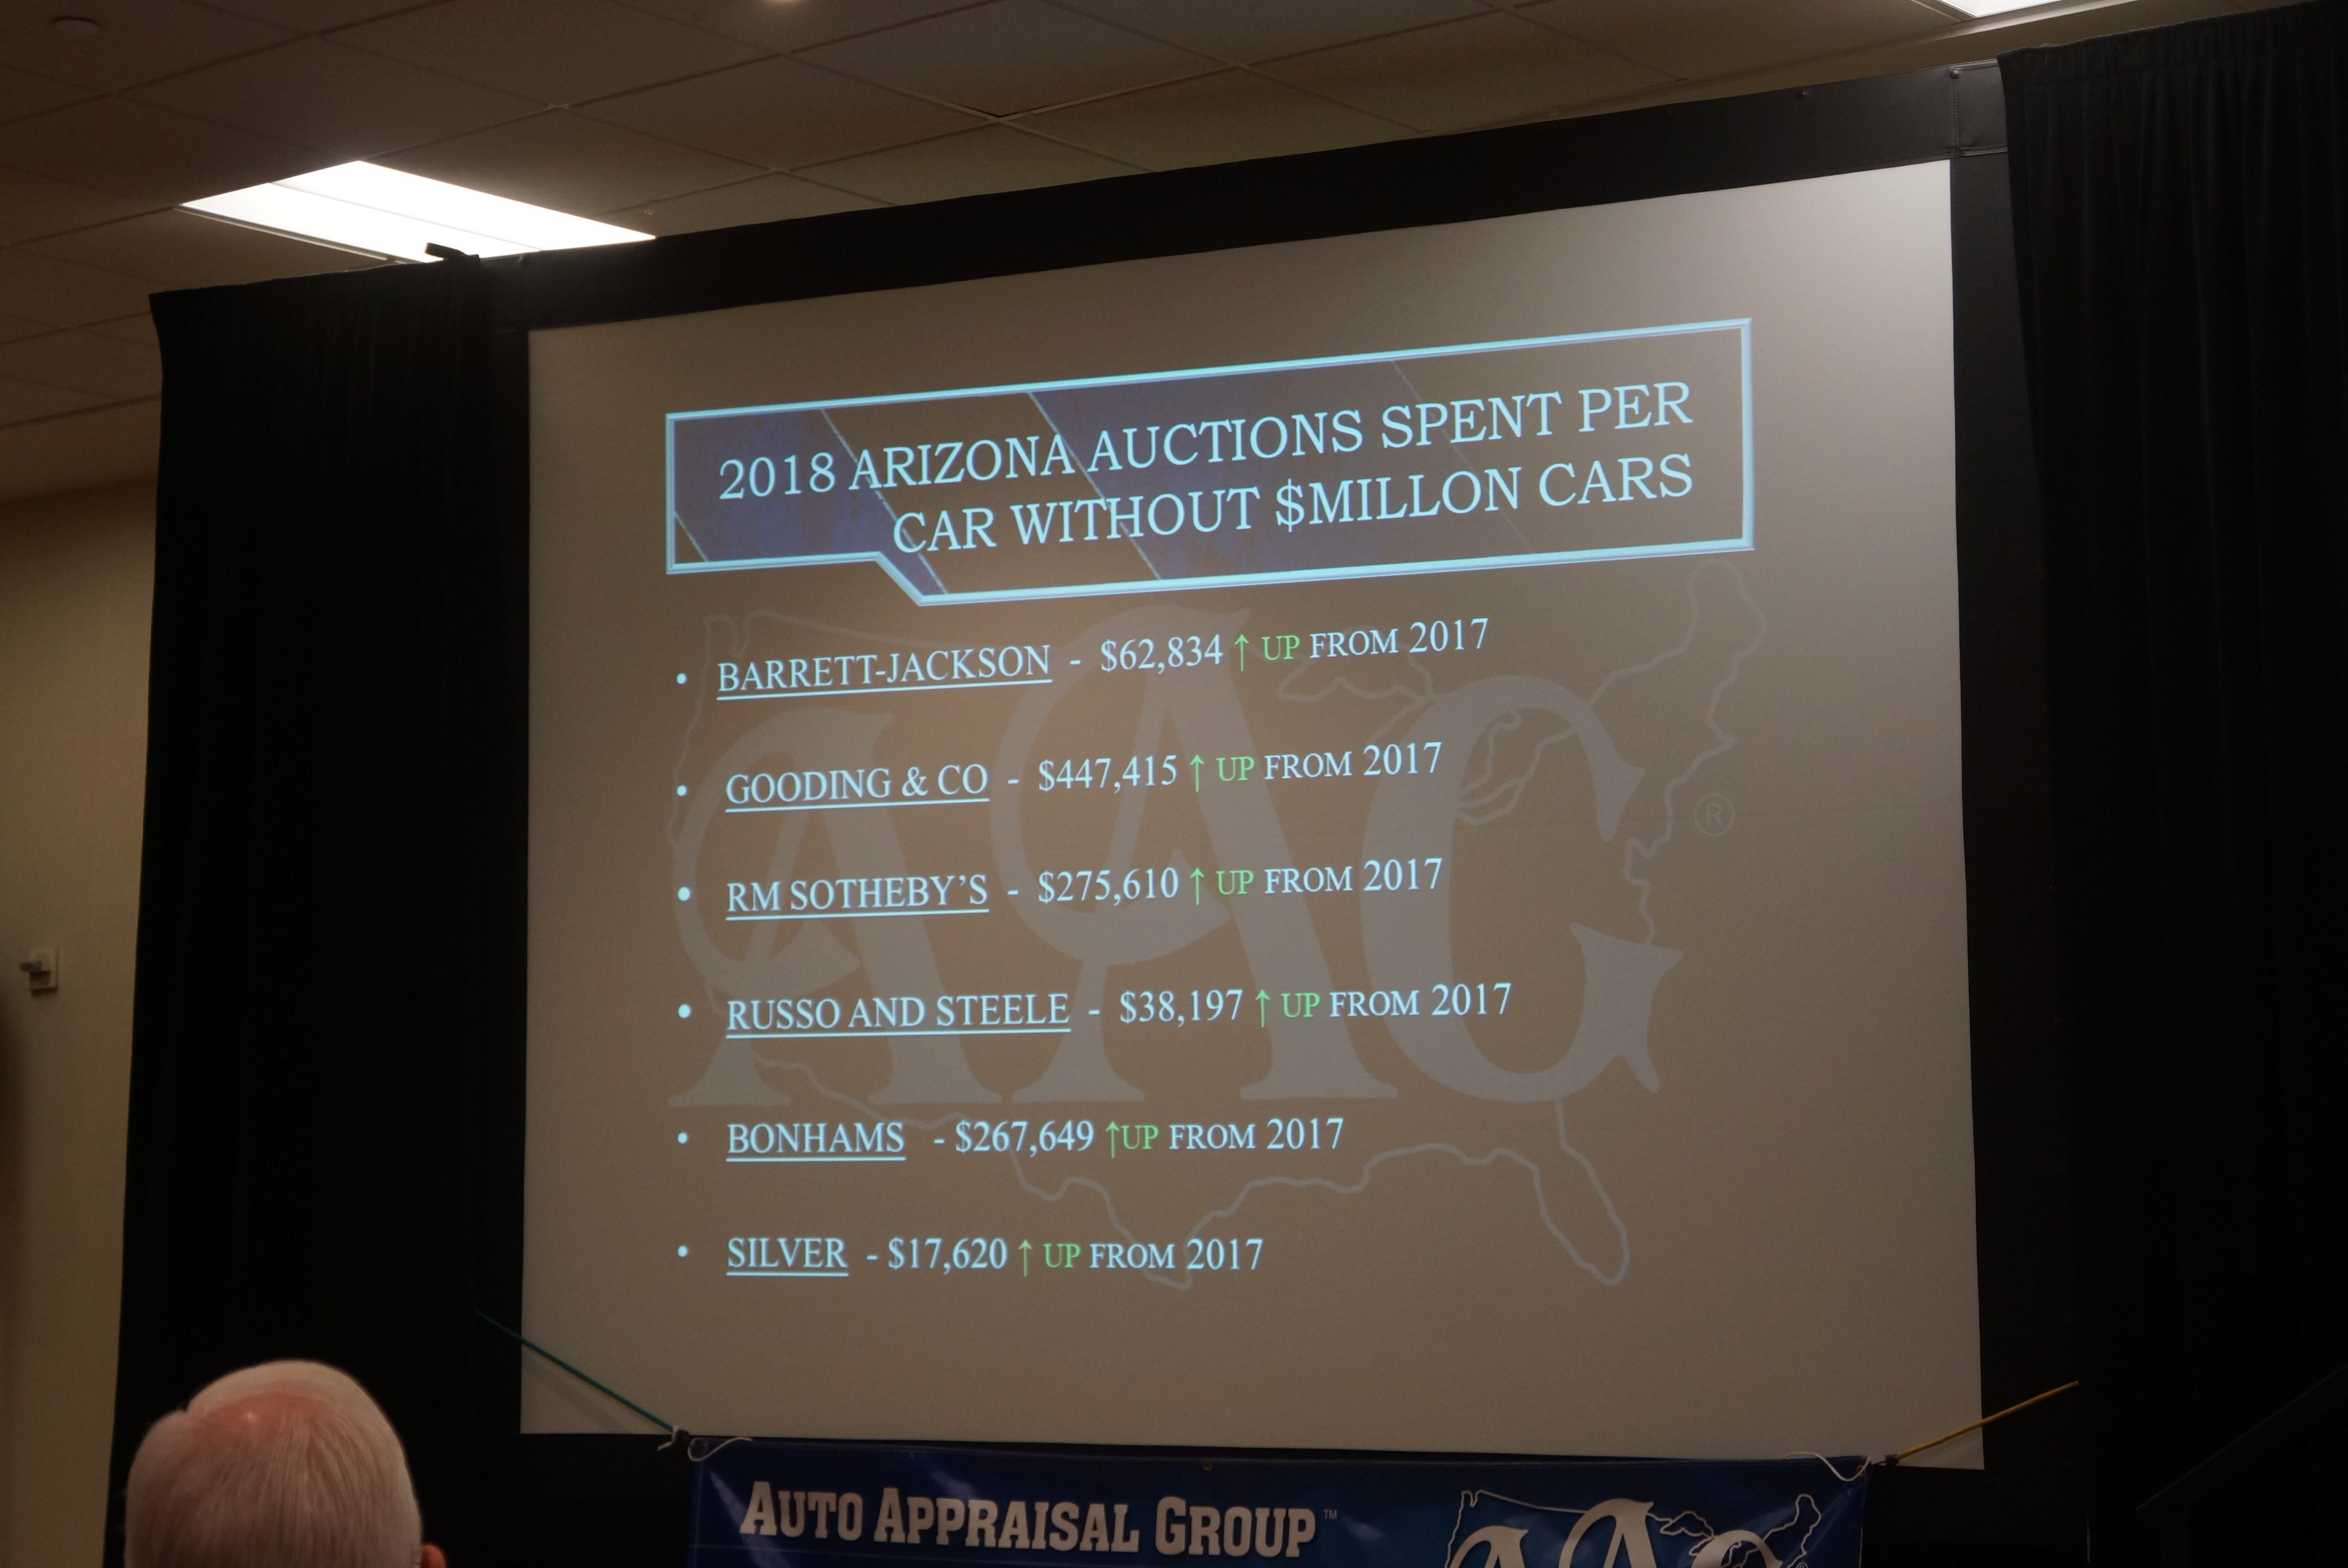
I began Friday morning in the “Market Value Trends” seminar, hosted by the Auto Appraisal Group (AAG) Company. Larry Batton was the presenter, and he showed us various slides which crunched the sales figures from the most recent (Jan. ’18) Arizona auctions. By his own admission, Larry is a numbers guy, and of course, dollars are numbers.

Larry Batton of AAG during his presentation

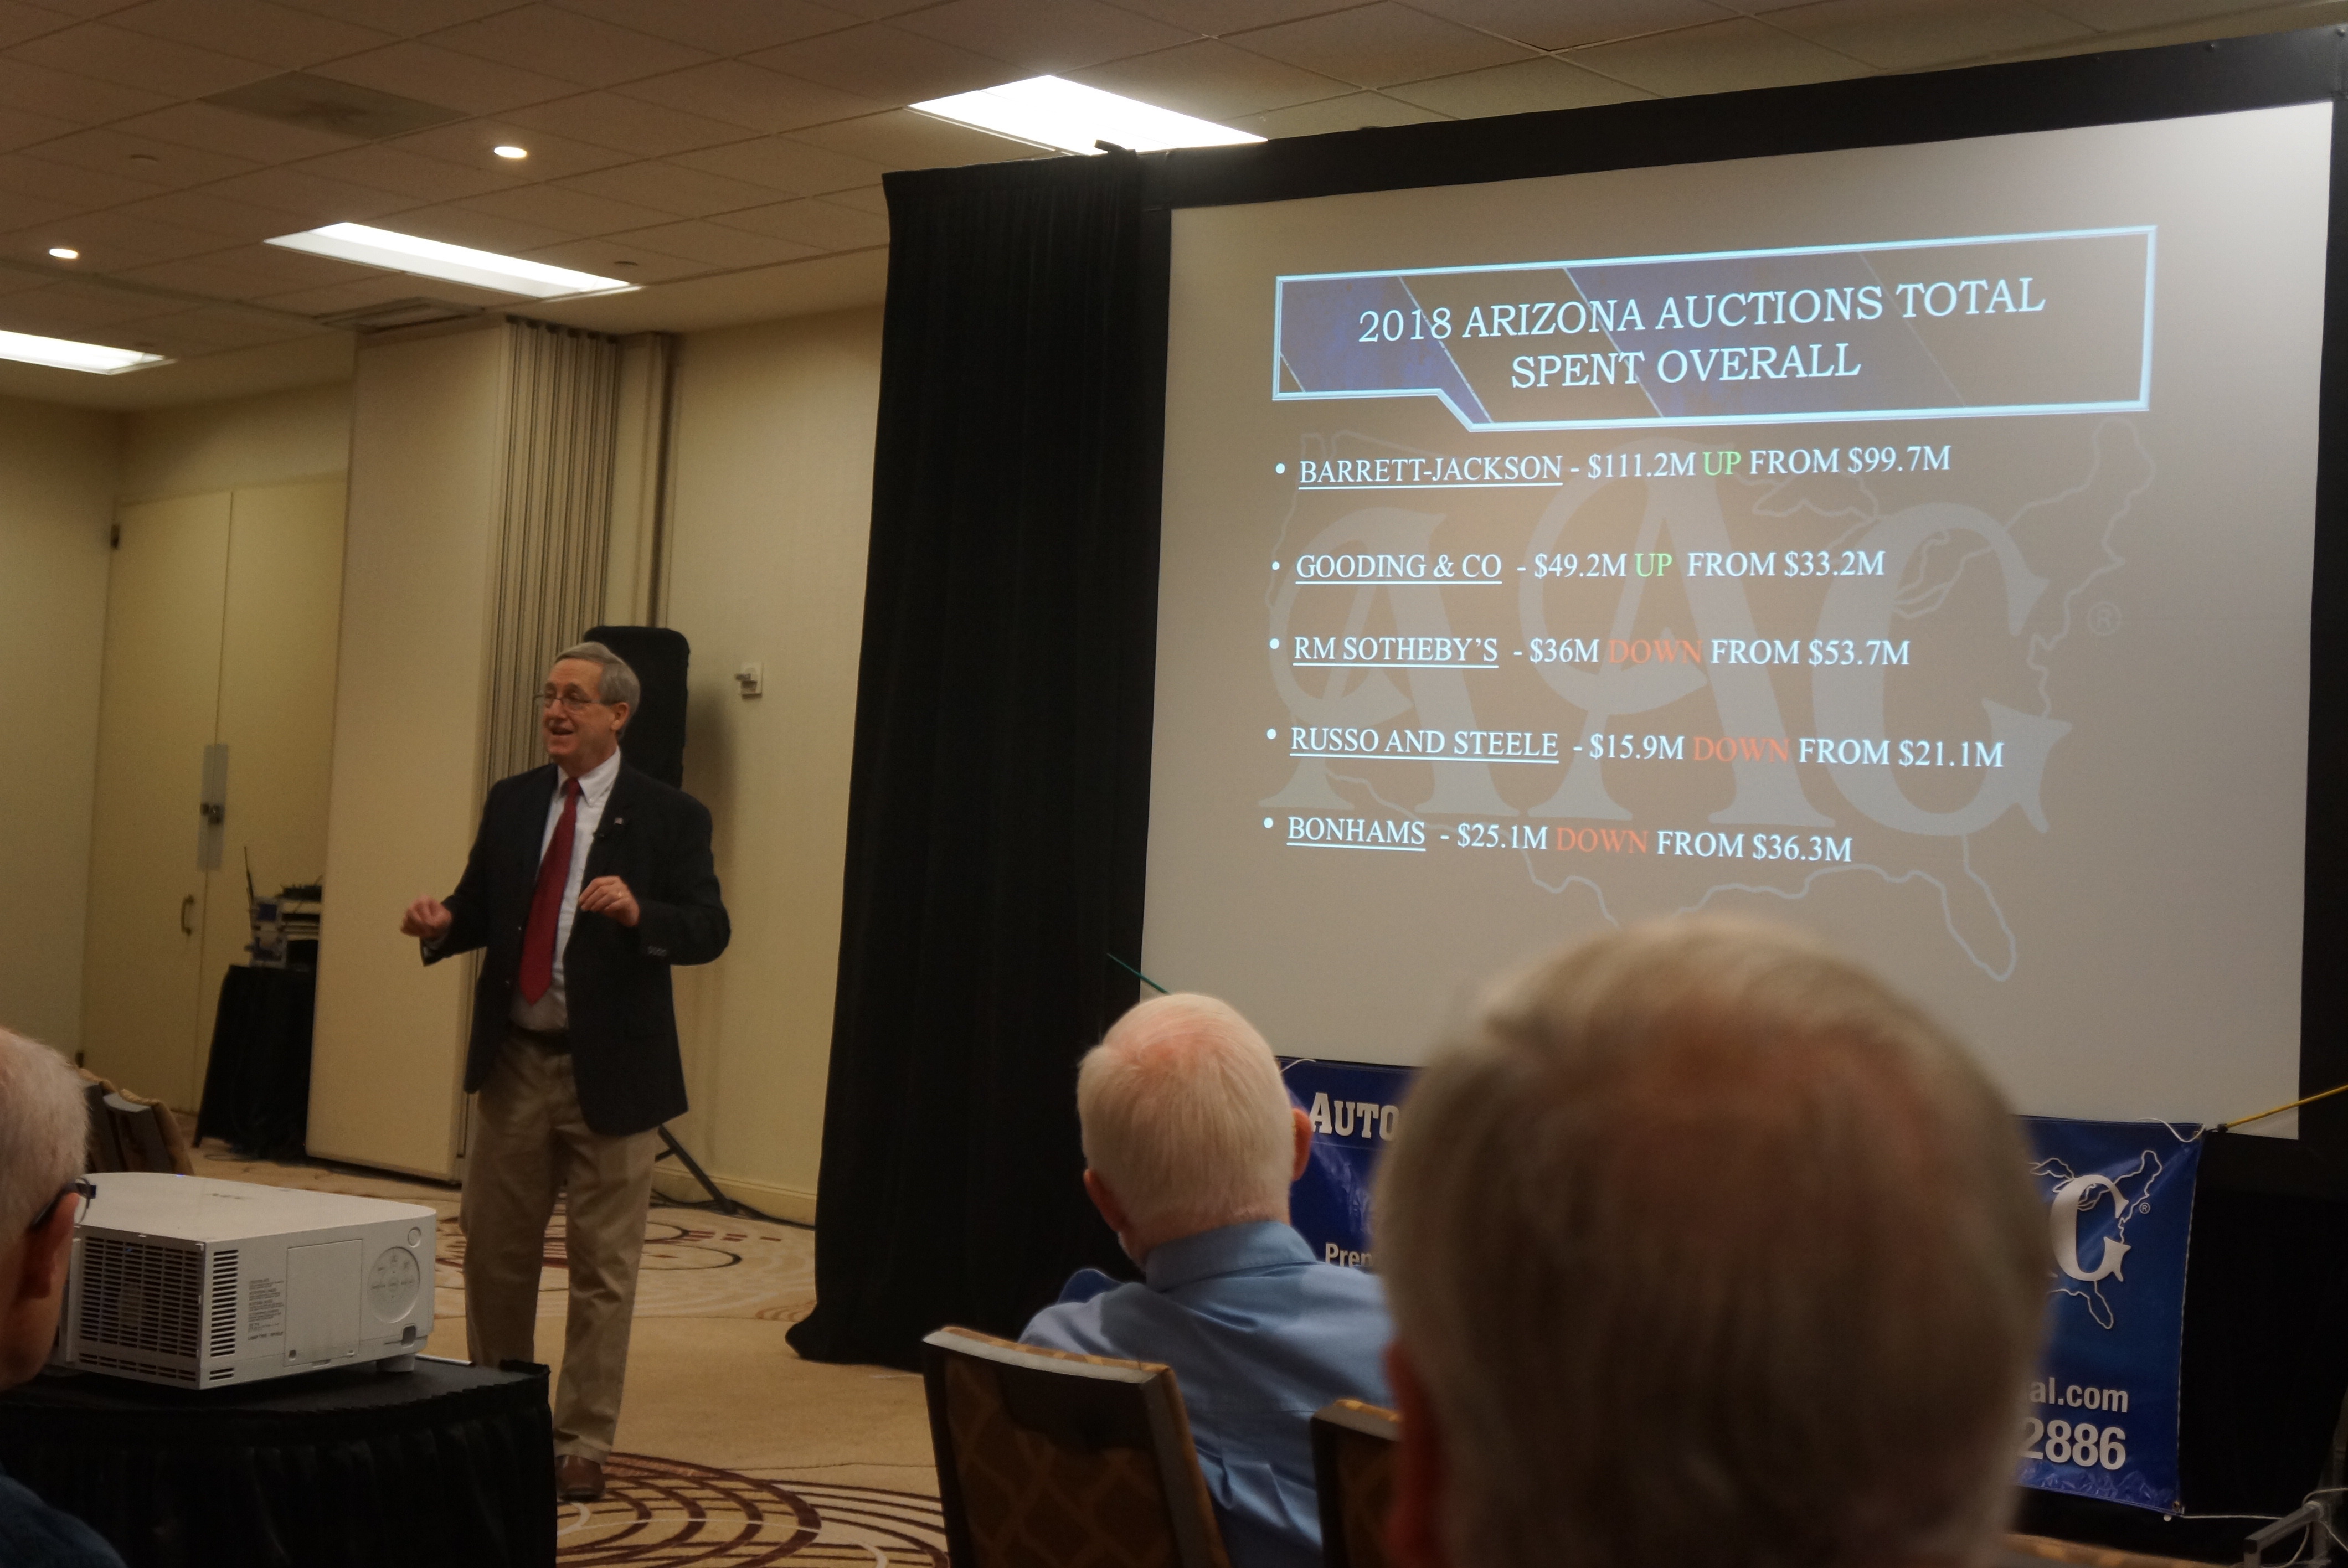
One of his more interesting observations was summarizing “average sale price” for the auctions MINUS the $1M+ sales, and MINUS the charity sales (which tend to be beyond “fair value”). It gave a somewhat refreshing look at what cars really sell for, once these outliers are struck from the equation.

Larry’s slide shows average sales prices minus the million-dollar cars

He also regaled the audience with a humorous story about a man who “bought back” his own car at an auction, and in doing so, set a world’s record price for that make and model. A few months later, the owner tried to sell the car privately, claiming that the car was worth what he bought it back for. Larry’s point? Do your homework, ask a million questions, ALWAYS ask to see the title, and seek professional help (a plug for his own company).

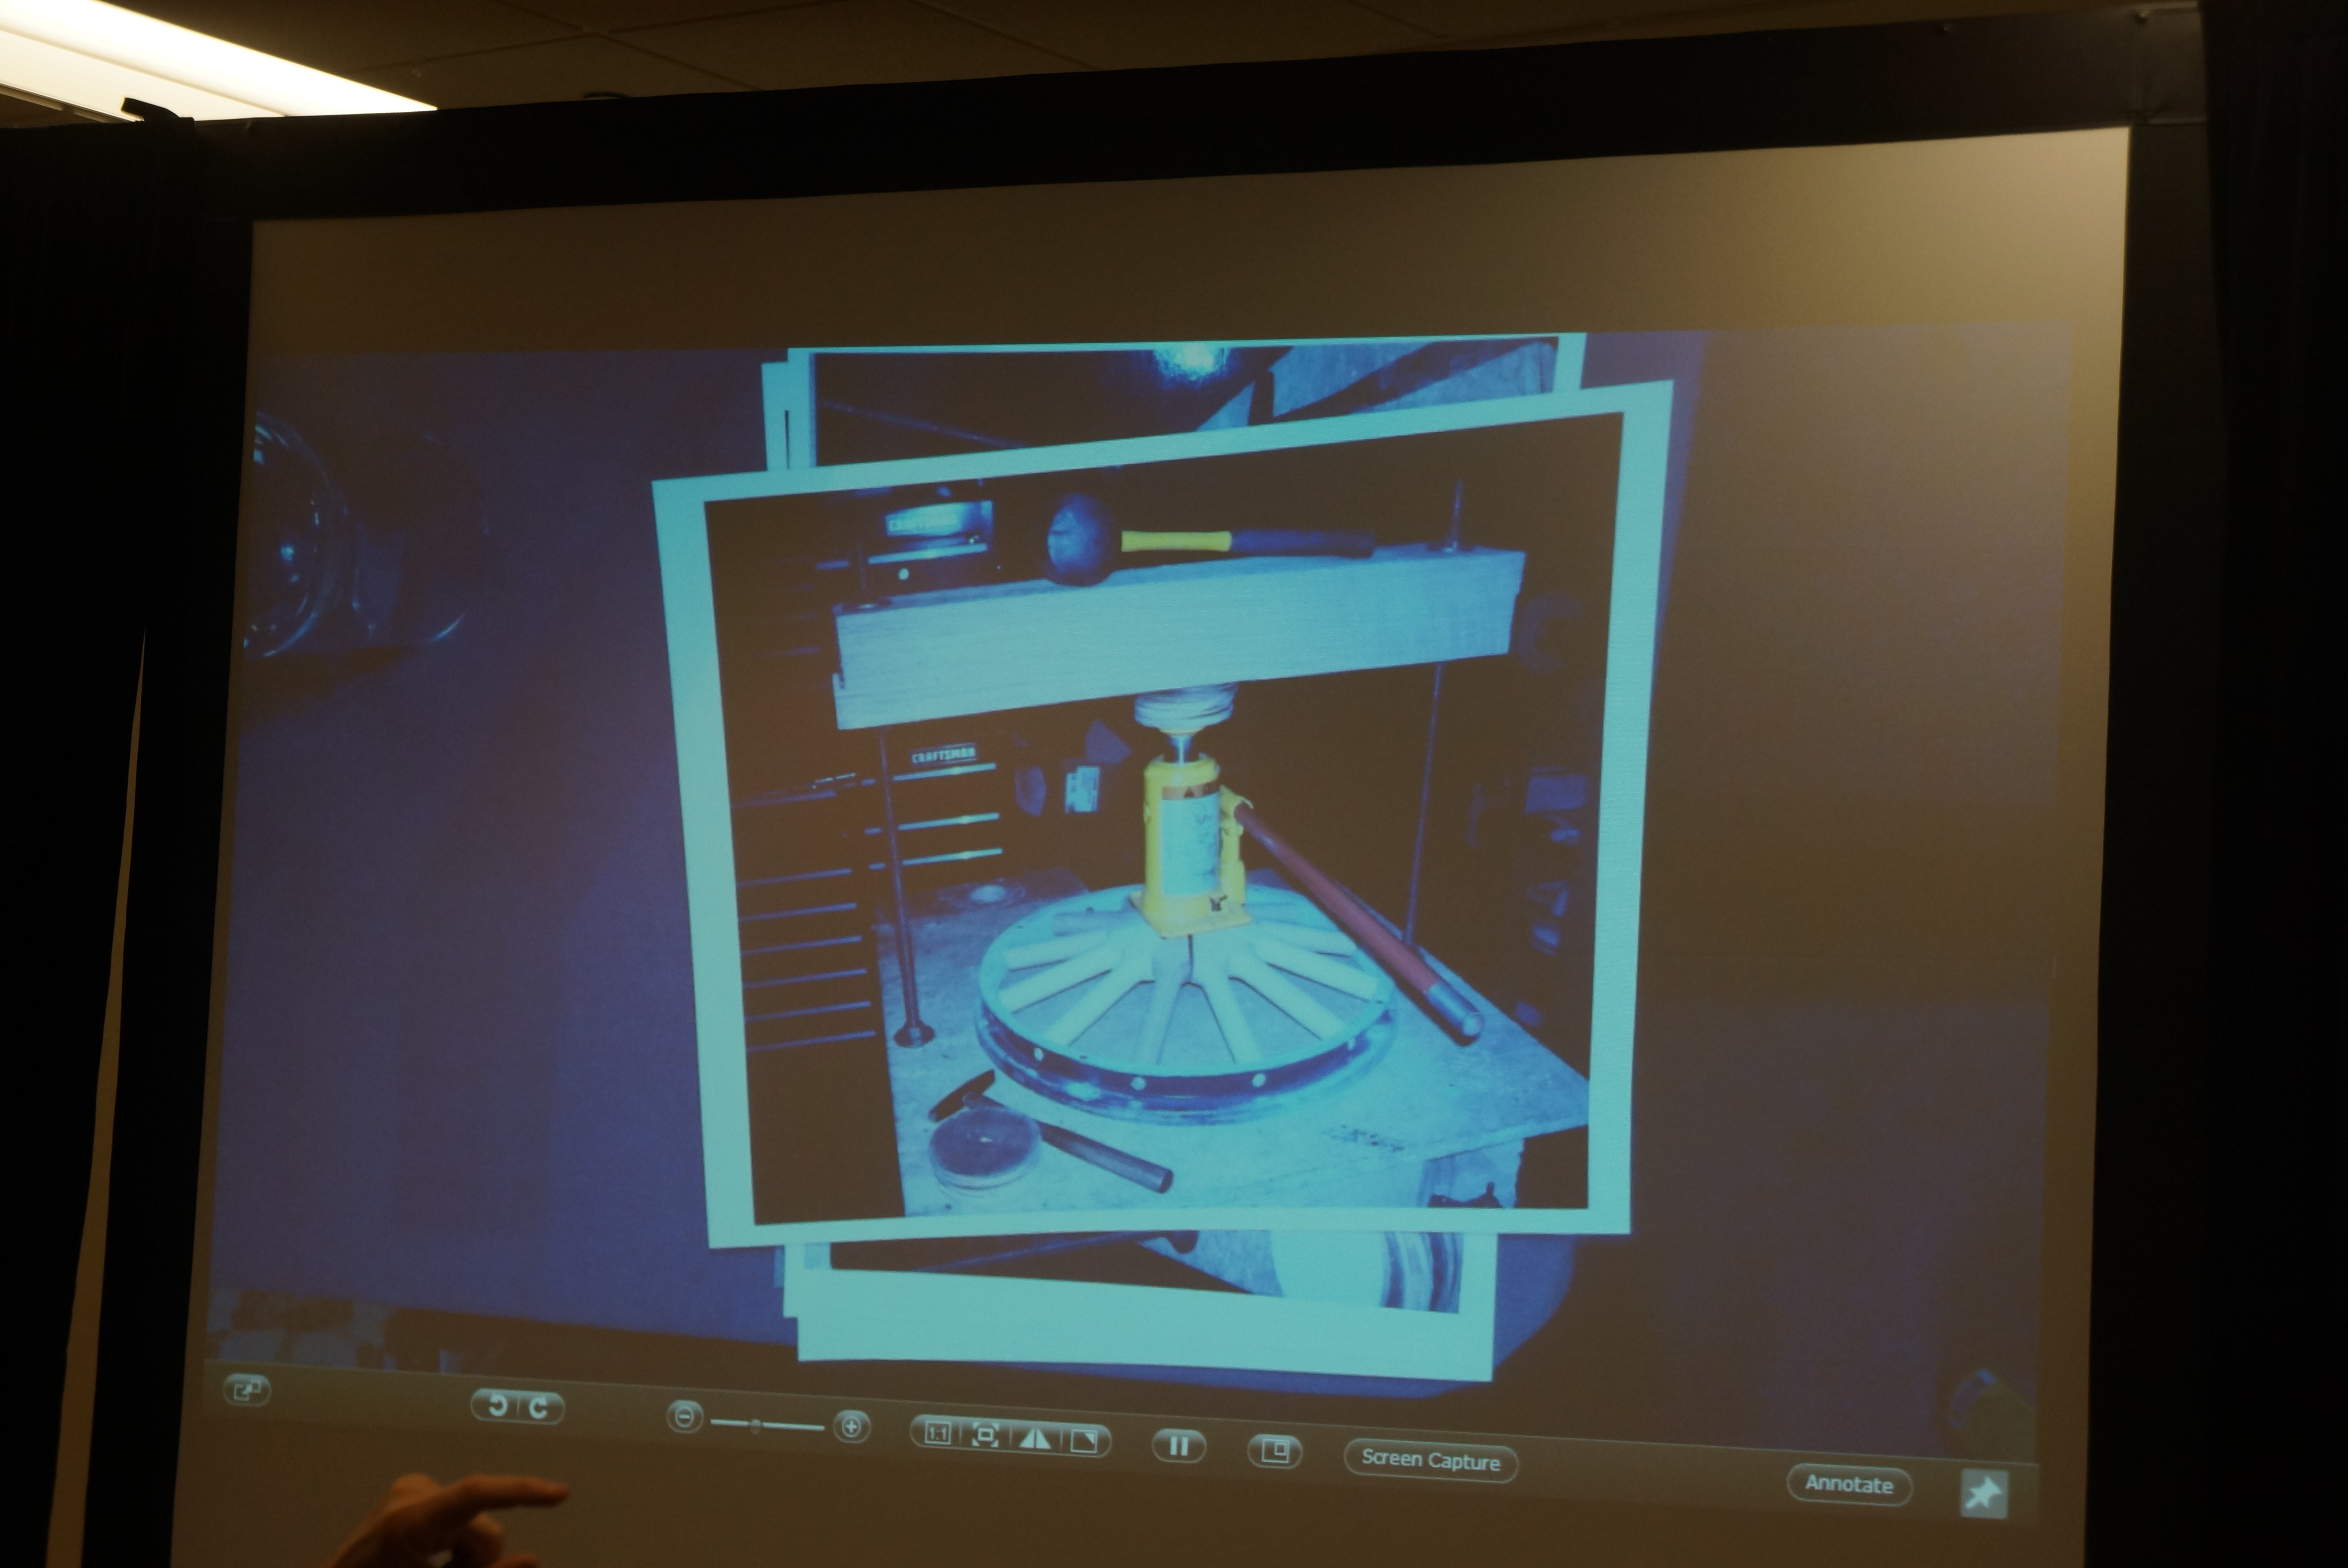
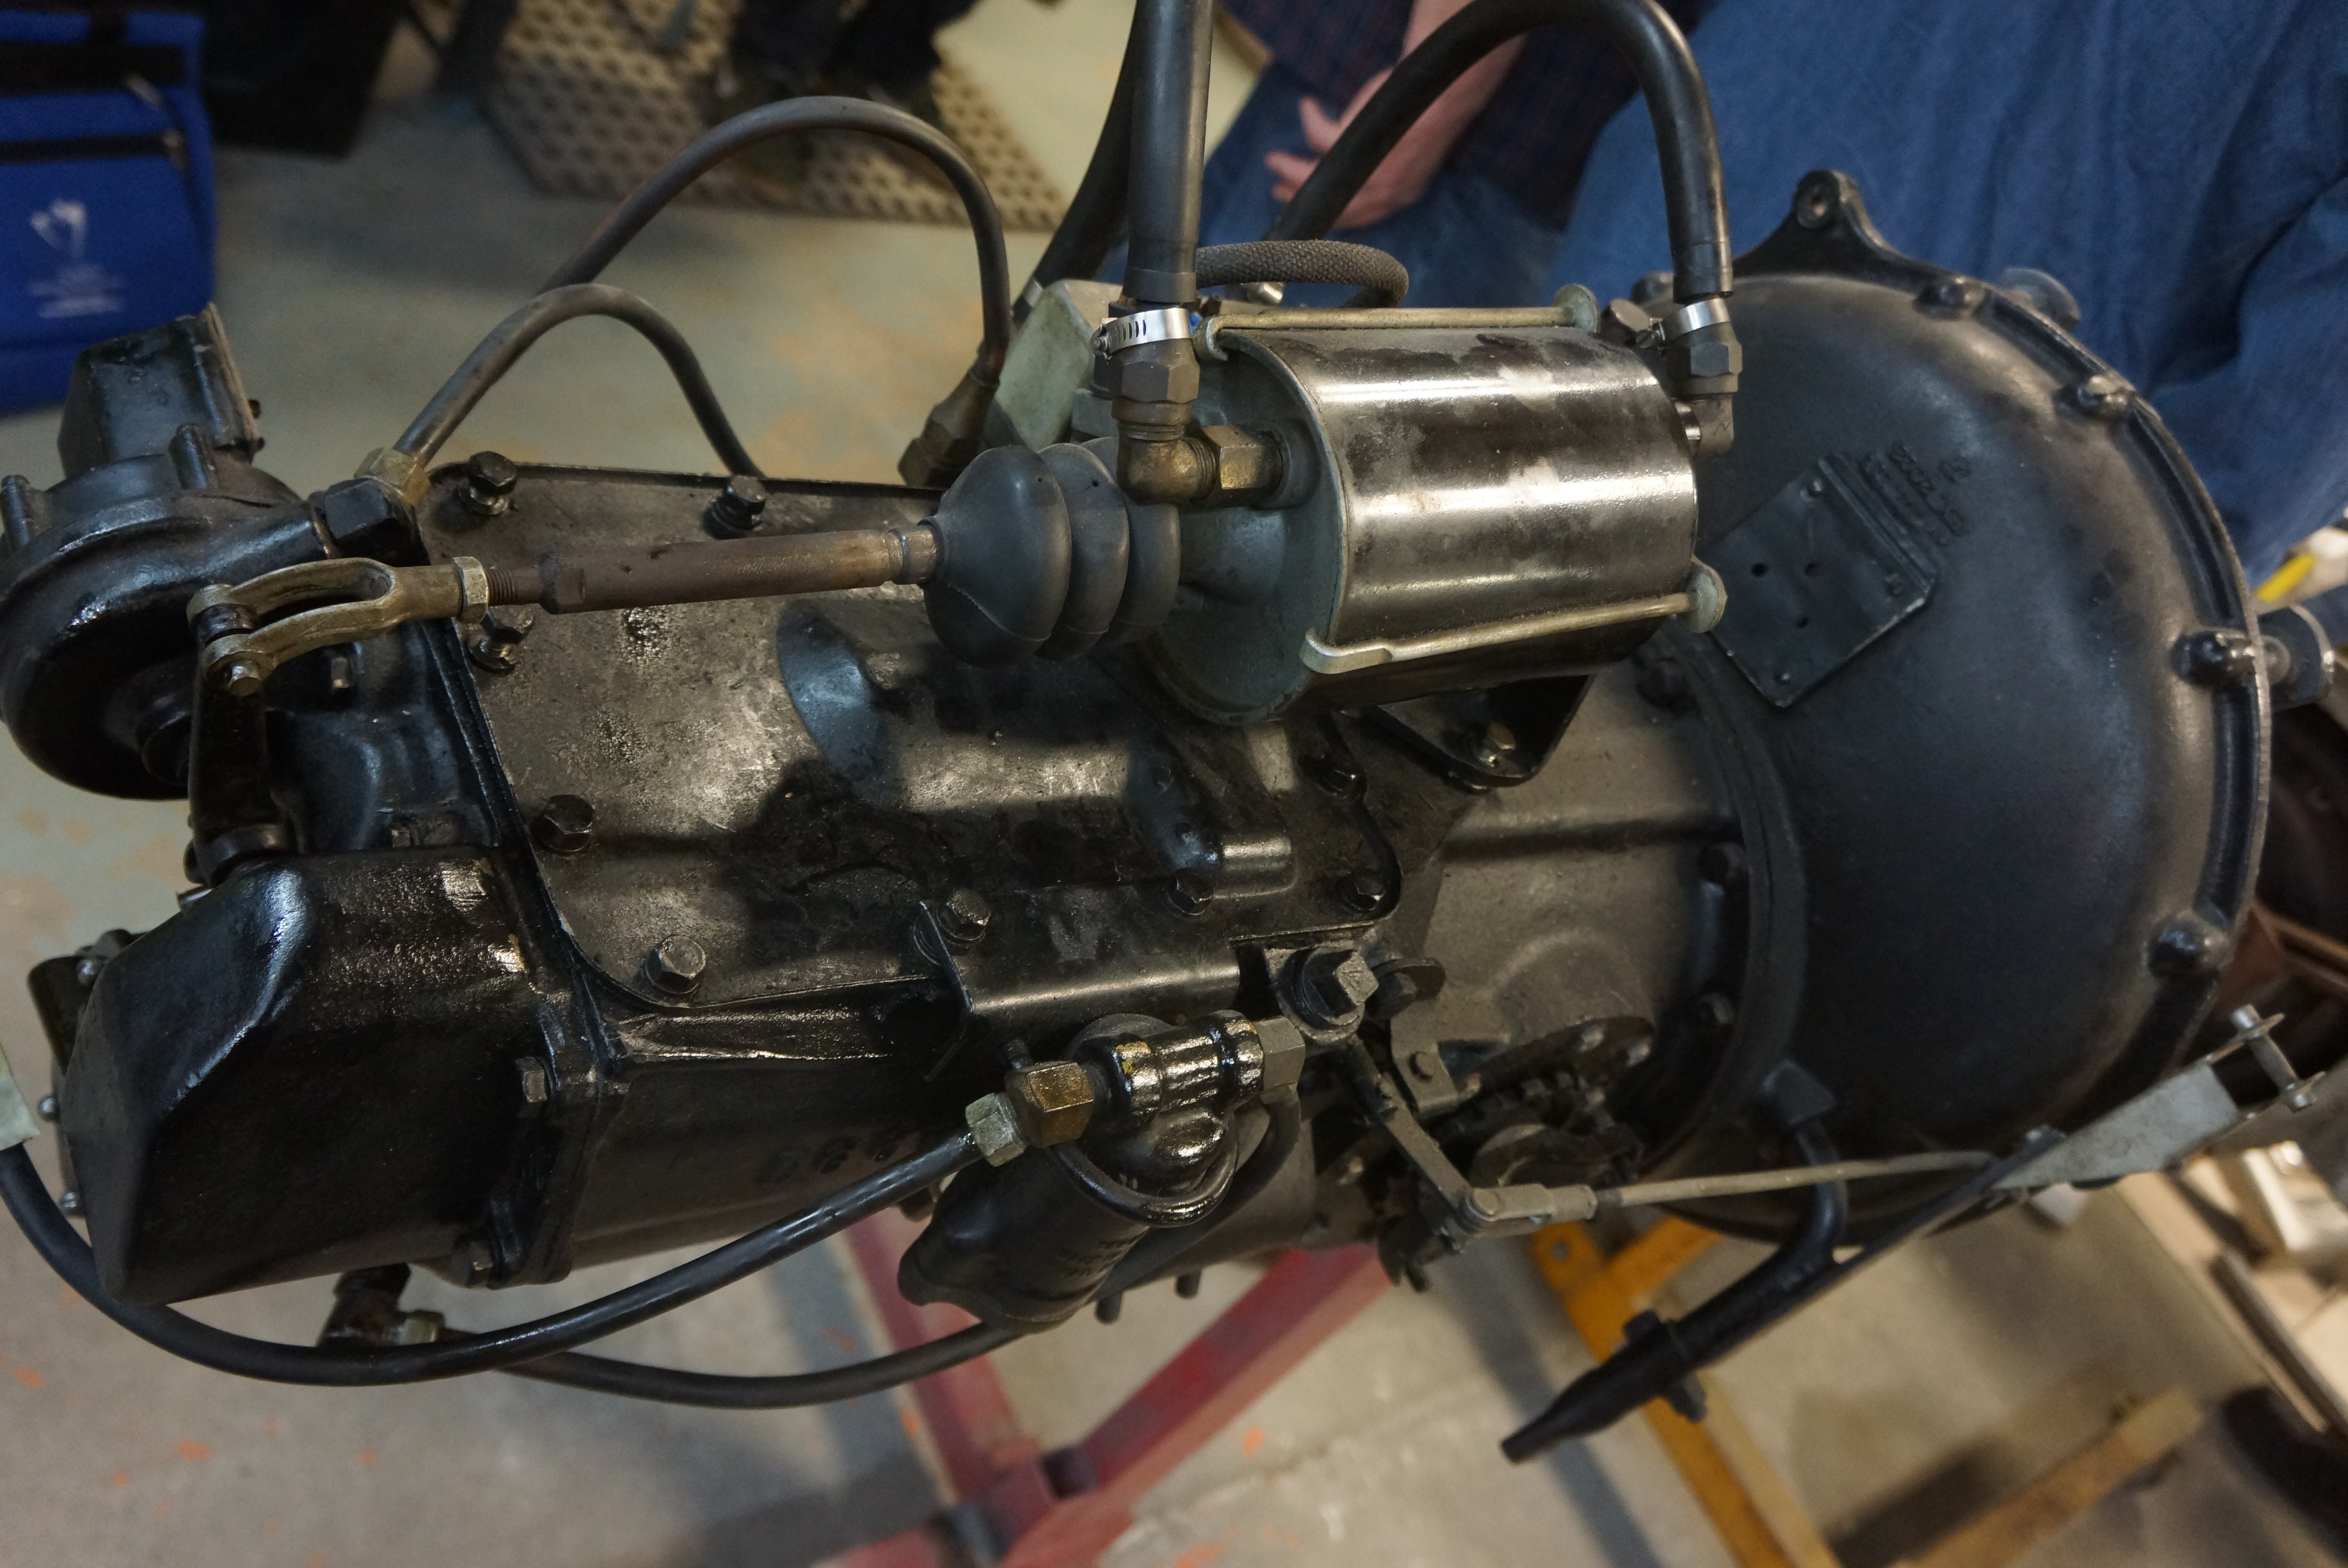
Next was a session called “Repair, Restoration, and Maintenance” by James Cross. Jim approached his topic in a folksy, low-key, somewhat random way. He’s an old-school, likely self-taught restorer who has focused much of his own collection on pre-war cars (he owns a 1909 Buick). He entertained AND educated us with his list of home-brewed remedies (for example, ketchup will clean the outside of brass radiators, and Arm & Hammer Super Washing Soda will clean their insides).

Jim Cross with a bag of his homemade gaskets

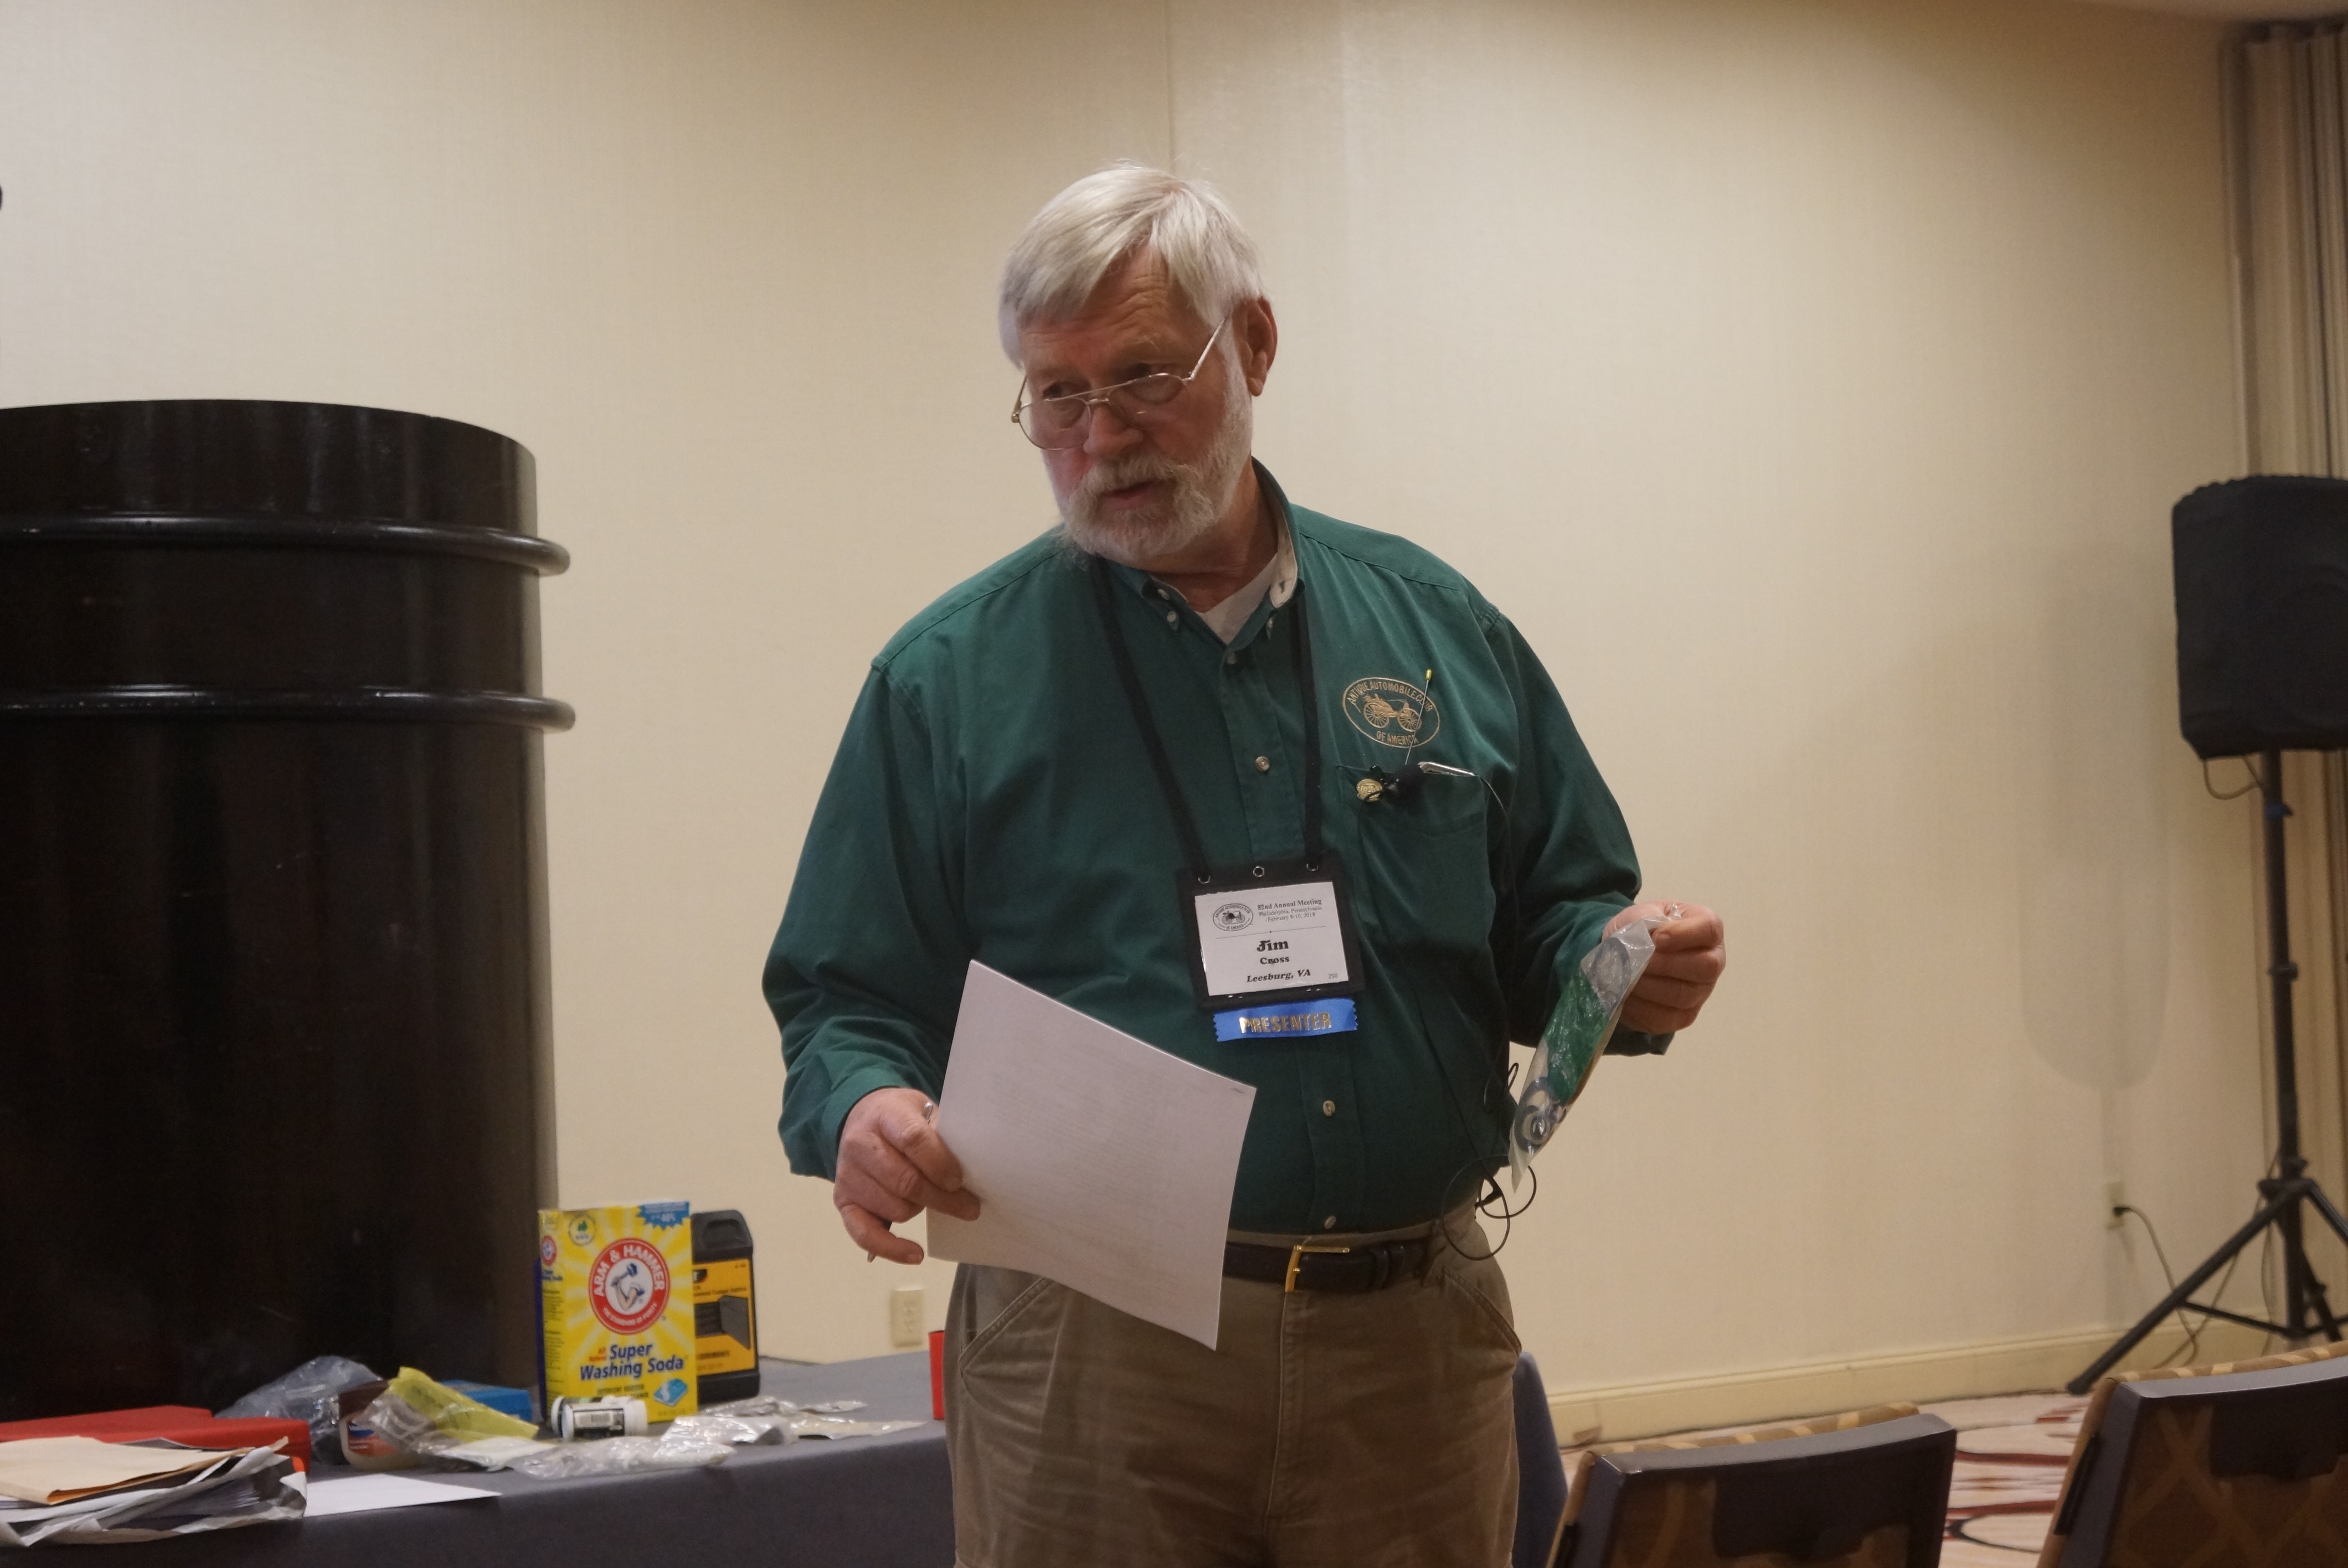
One topic covered by Jim which inspired quite a bit of Q&A from the audience was the repair and restoration of wooden wheels. Based on participants’ reactions, your humble blogger was pleasantly surprised to learn that so many hobbyists still have a need to know how to do this. And this observation brought out the one issue with this presentation (which does not cast the slightest aspersion on Mr. Cross): the room was full of old white men, not one of whom was under the age of 50. All this knowledge is great stuff; but how does it get transferred to succeeding generations? This is not an original thought, of course, and yet it remains a vexing issue for the entire old car hobby.

Jim showed this photo of his own contraption for reassembling wooden wheels

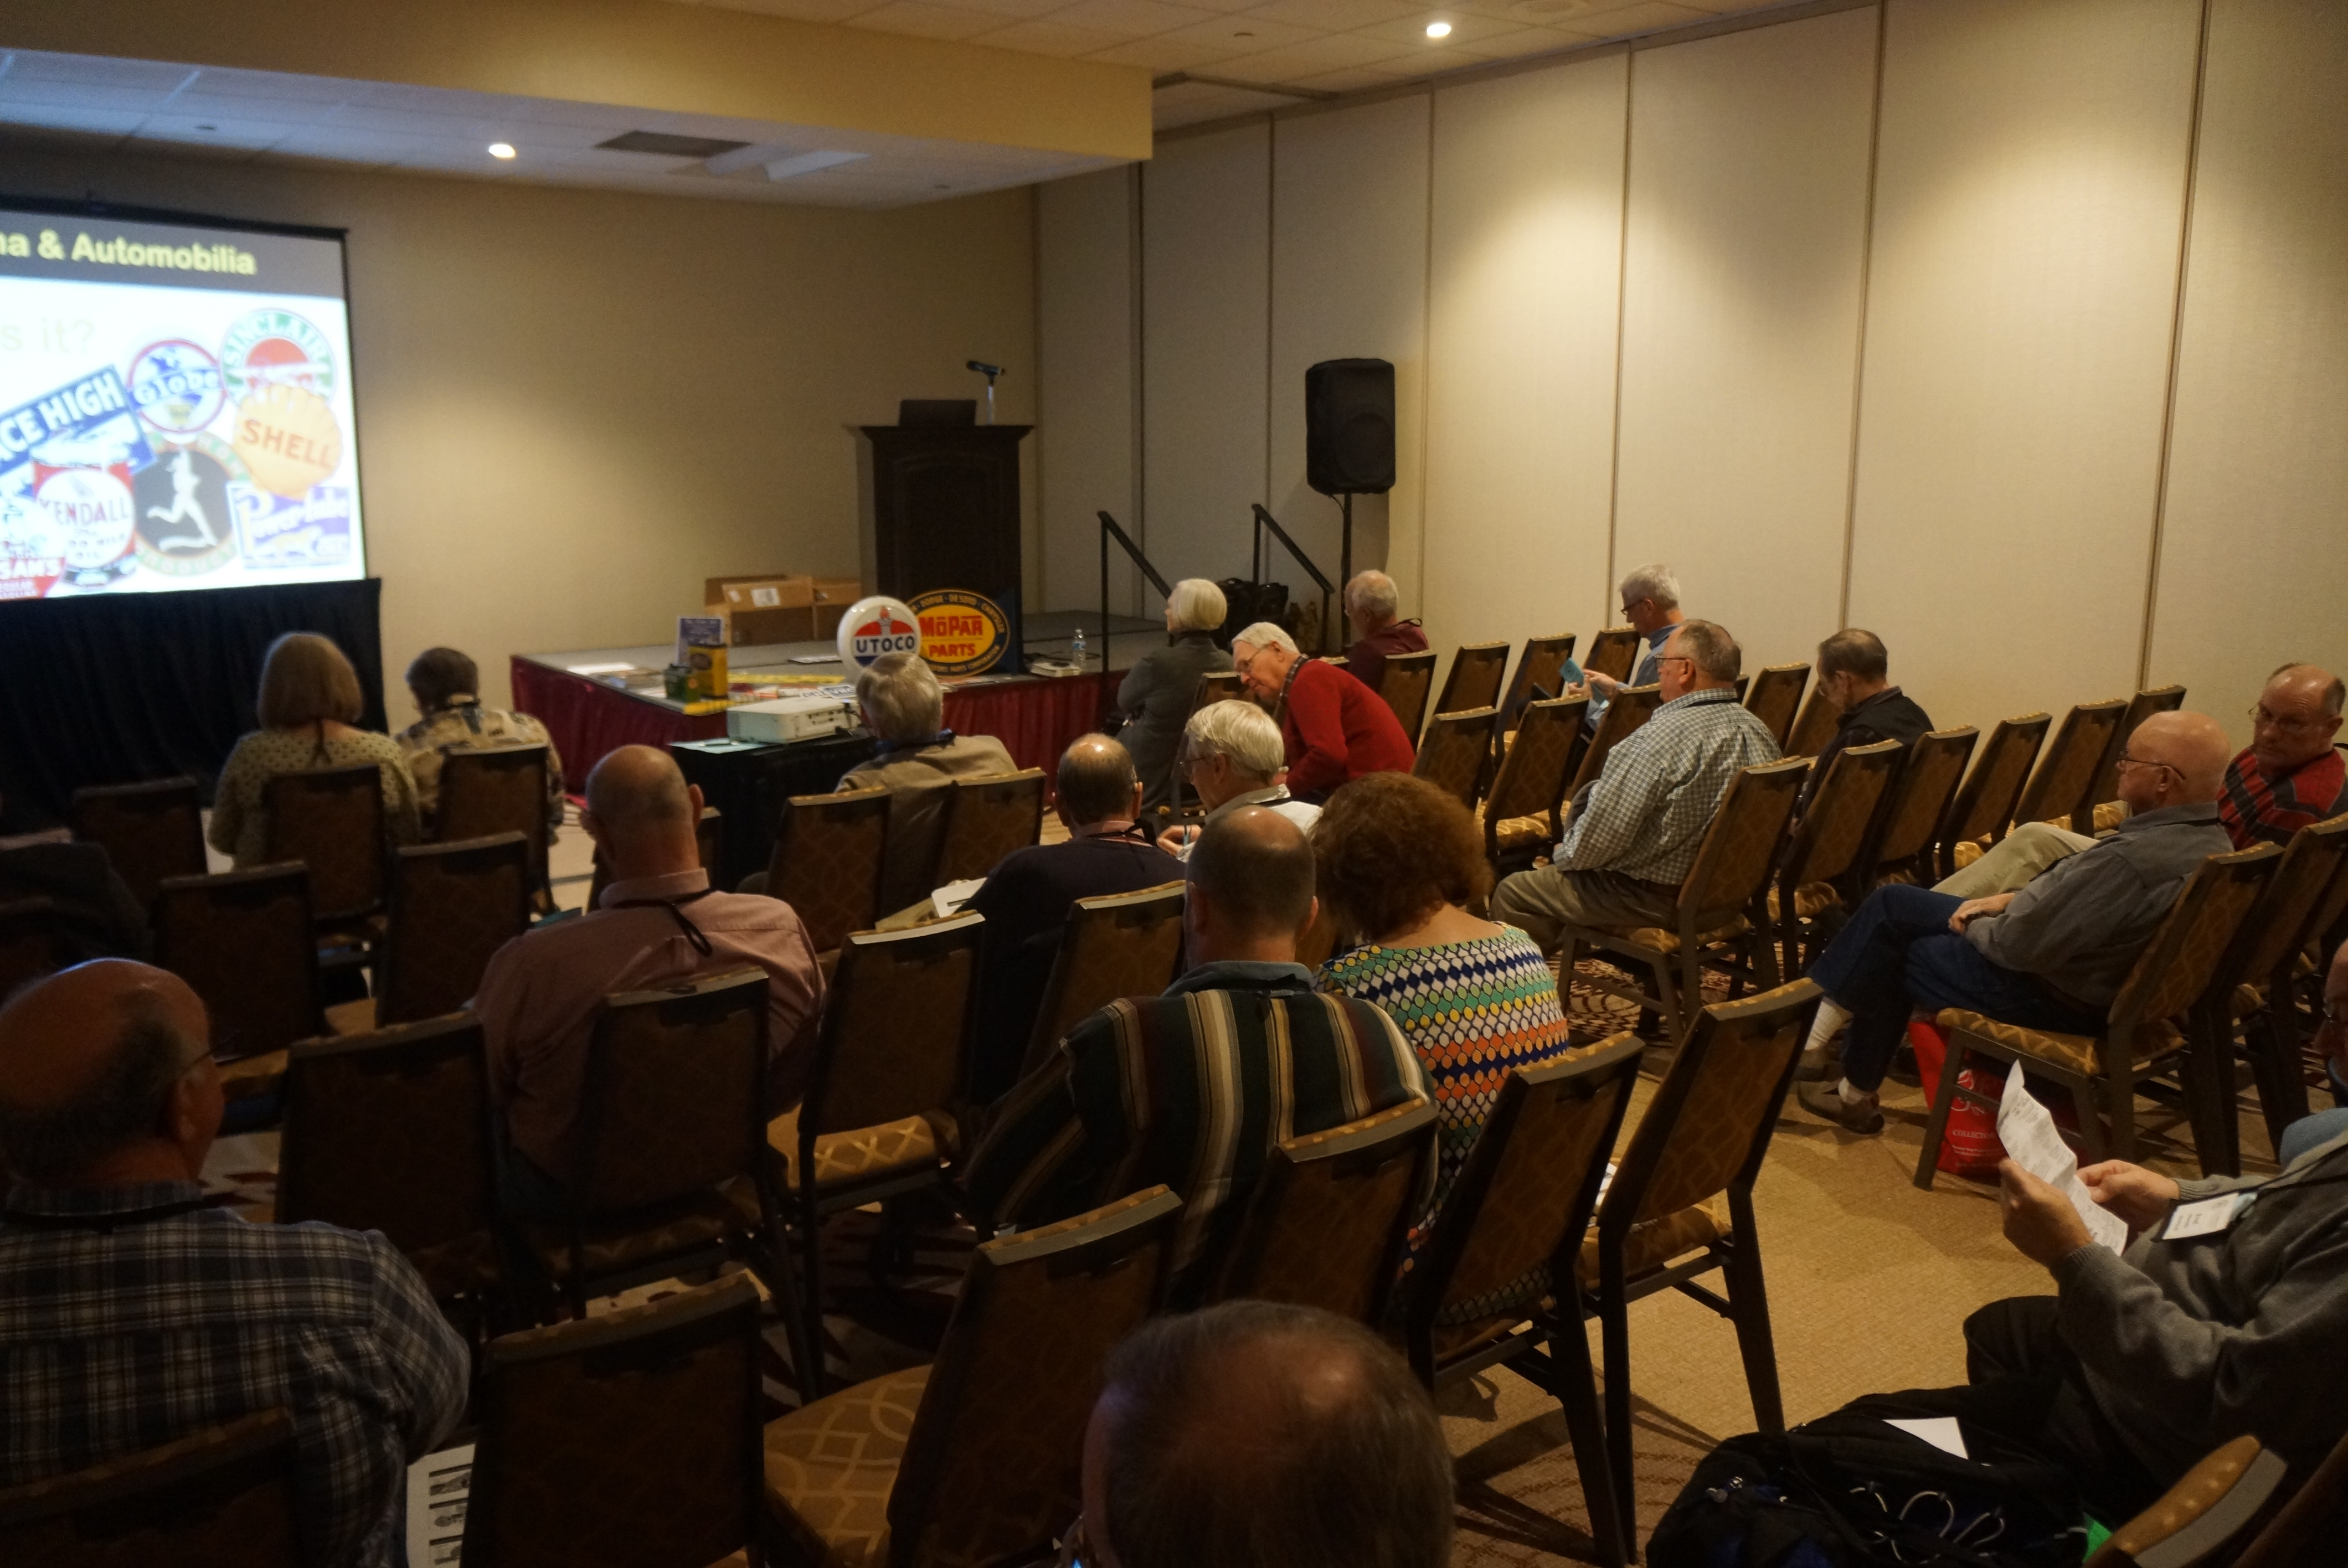
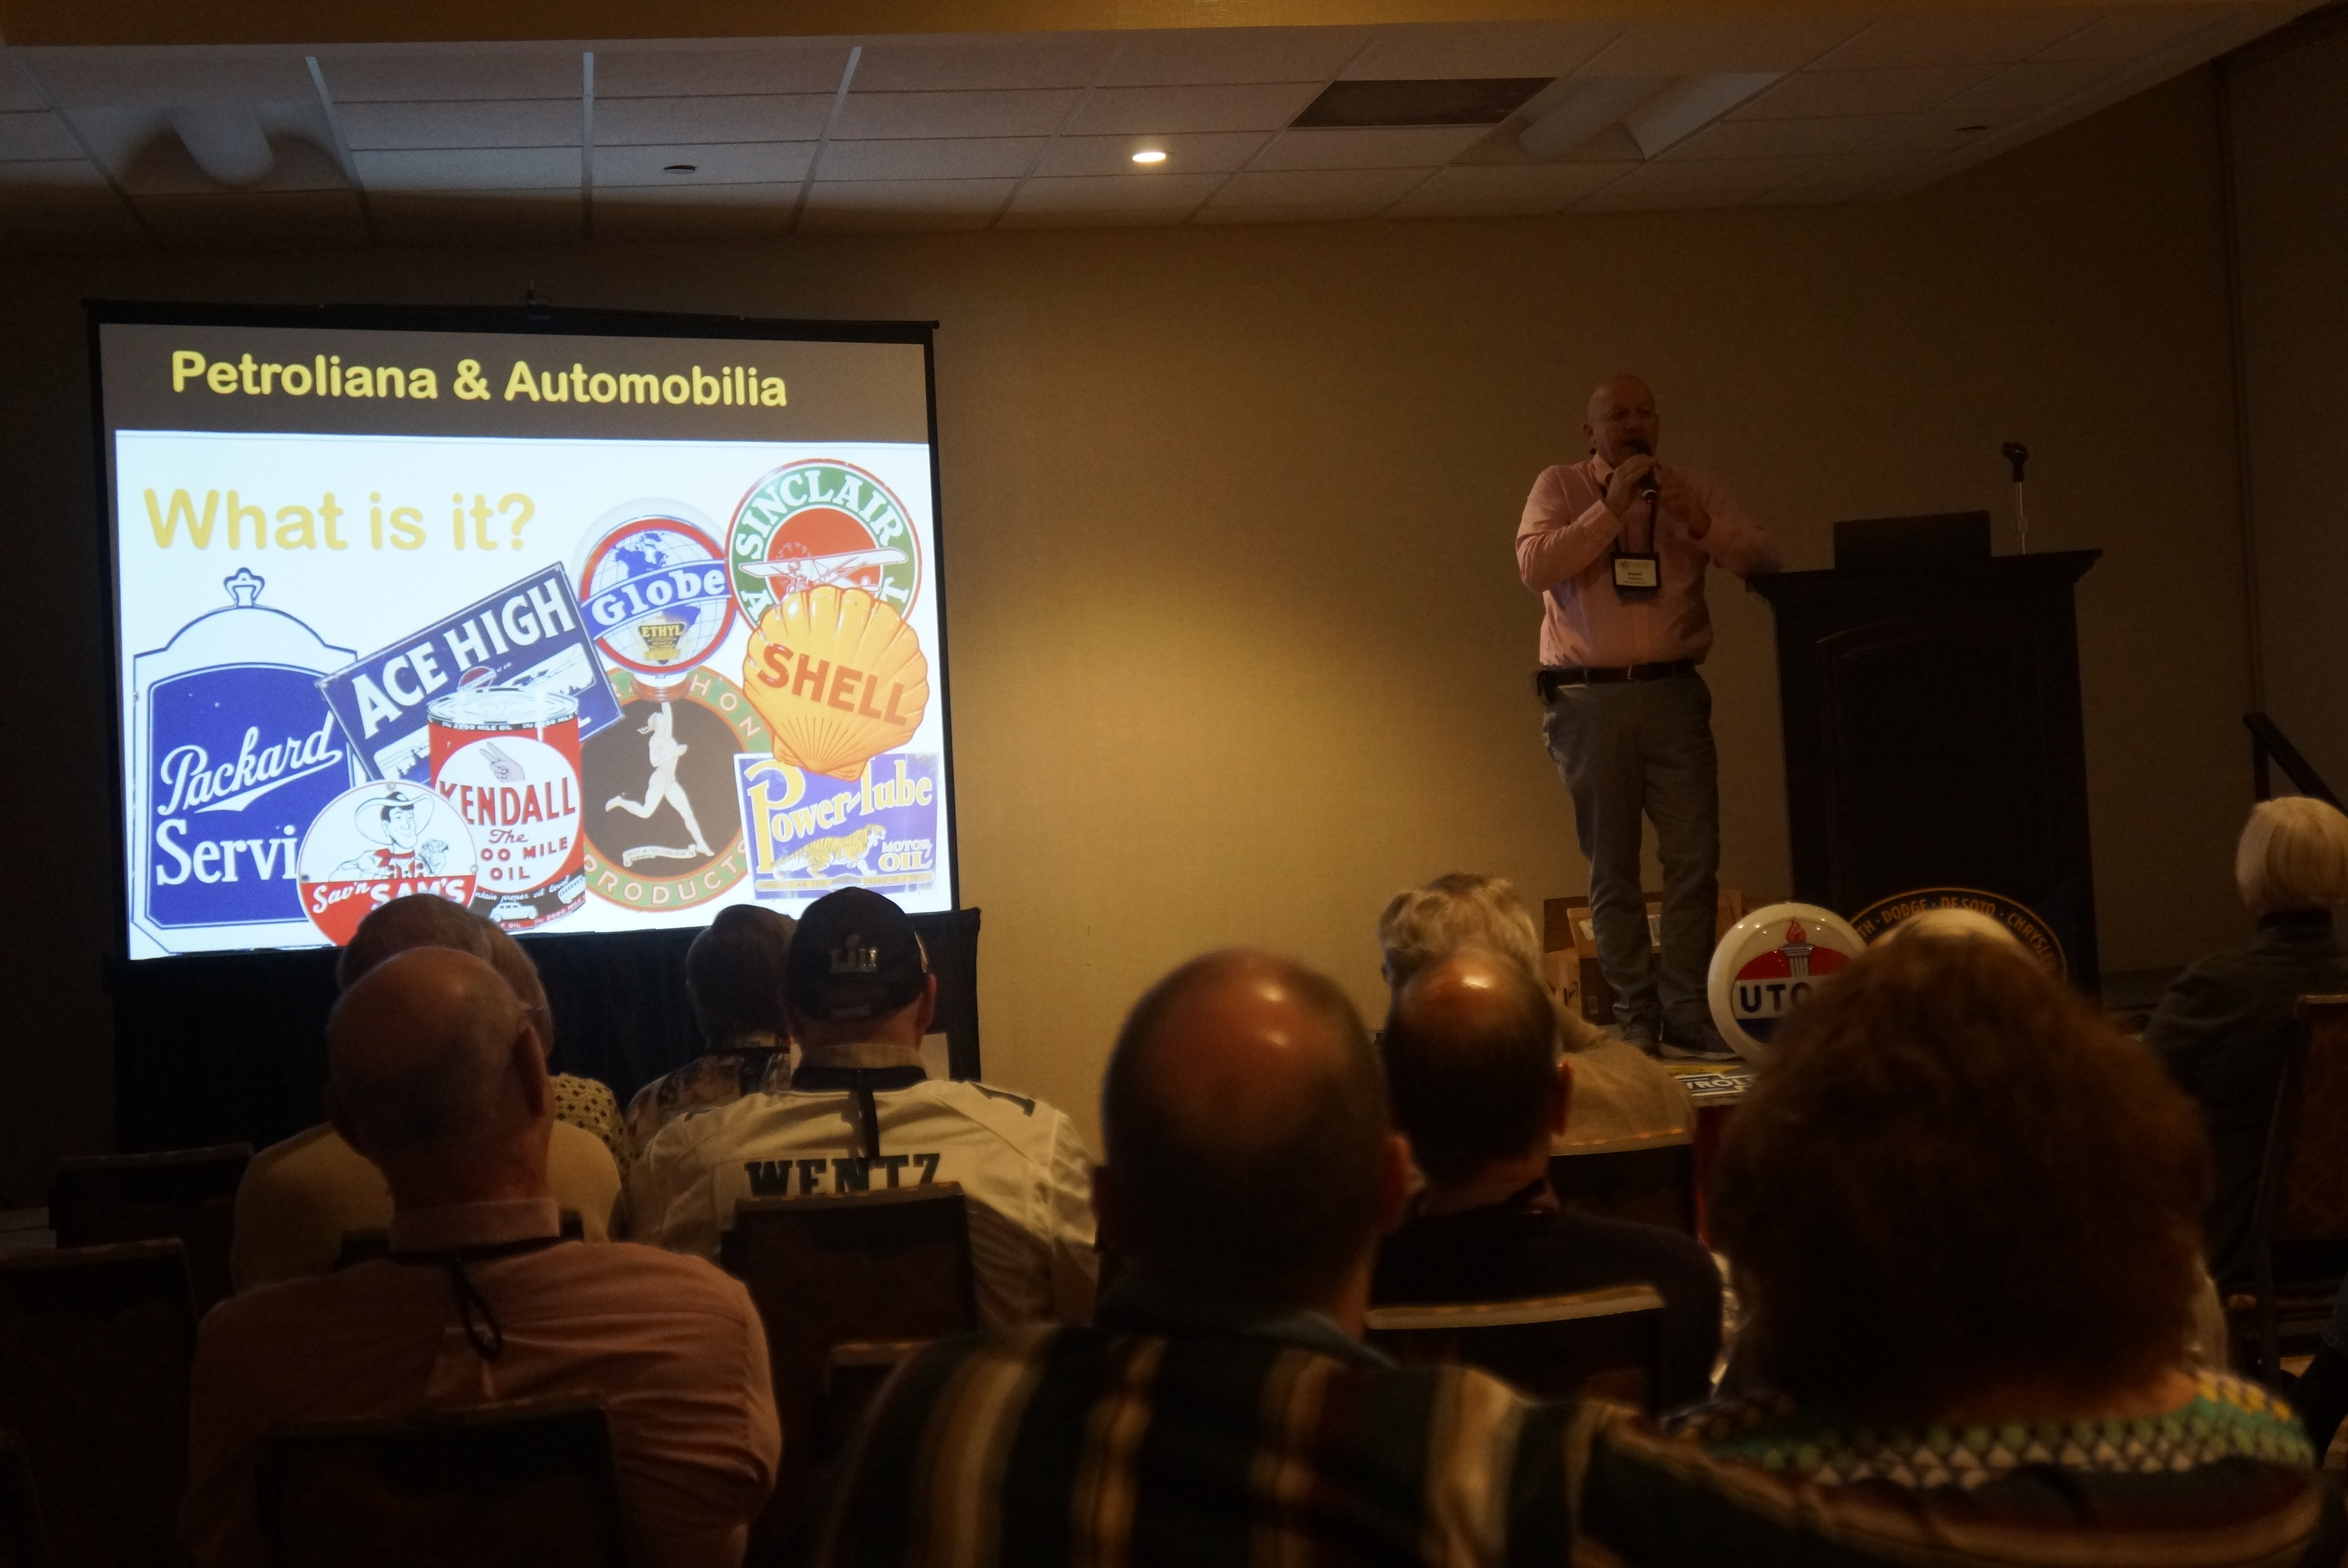
The third and final morning seminar that I joined was given the somewhat misleading title of “Decorating Your Garage”. Dan Matthews, the presenter, is an extremely knowledgeable expert in automobilia and petroliana, having written three books on the topic. His main focus was giving advice to the audience about distinguishing “real” tin and porcelain signs from “reproduction” ones. His fast-paced delivery did not always mesh well with his goal, but it was enough to highlight some of the clues one should look for.

The crowd anxiously awaits the start of “Decorating Your Garage”

It helps if one has some basic knowledge (he was able to rattle off statistics such as “there were only 12 made of this particular sign, and the last one sold for $20,000”), and perhaps one of his books on the subject would help the serious shopper. At the end of the day, the warning is one we’ve heard many times before: “if the price seems too good for it to be real, it probably isn’t”.

Jim Matthews making his presentation

My two post-lunch choices were much more AACA-specific. The “Publications Seminar” hosted by outgoing AACA Publications Chairperson Mary Bartemeyer was designed solely for those who work with their own Regions’ newsletters. (Starting this year, I will be taking a more active role in writing for the NJ Region’s newsletter.) AACA has a long list of “do’s” and “don’ts” for these newsletters, and there is special focus on copyright infringement. We were all admonished that you simply cannot take a photo off the Internet and reprint it in your newsletter.

Mary Bartemeyer, discussing Regional newsletters

We heard one sad story about a Region which violated a copyright and was contacted by an attorney. When the Regional representative said “hey, we’re sorry, we’re just a non-profit club”, the attorney’s retort was “too bad, this is the amount it is going to cost you to settle or we’re going to court”. Mary made the point that the Club’s insurance does NOT cover such matters!

Art Briggs of the NJ Region spoke about copyrights and newsletters

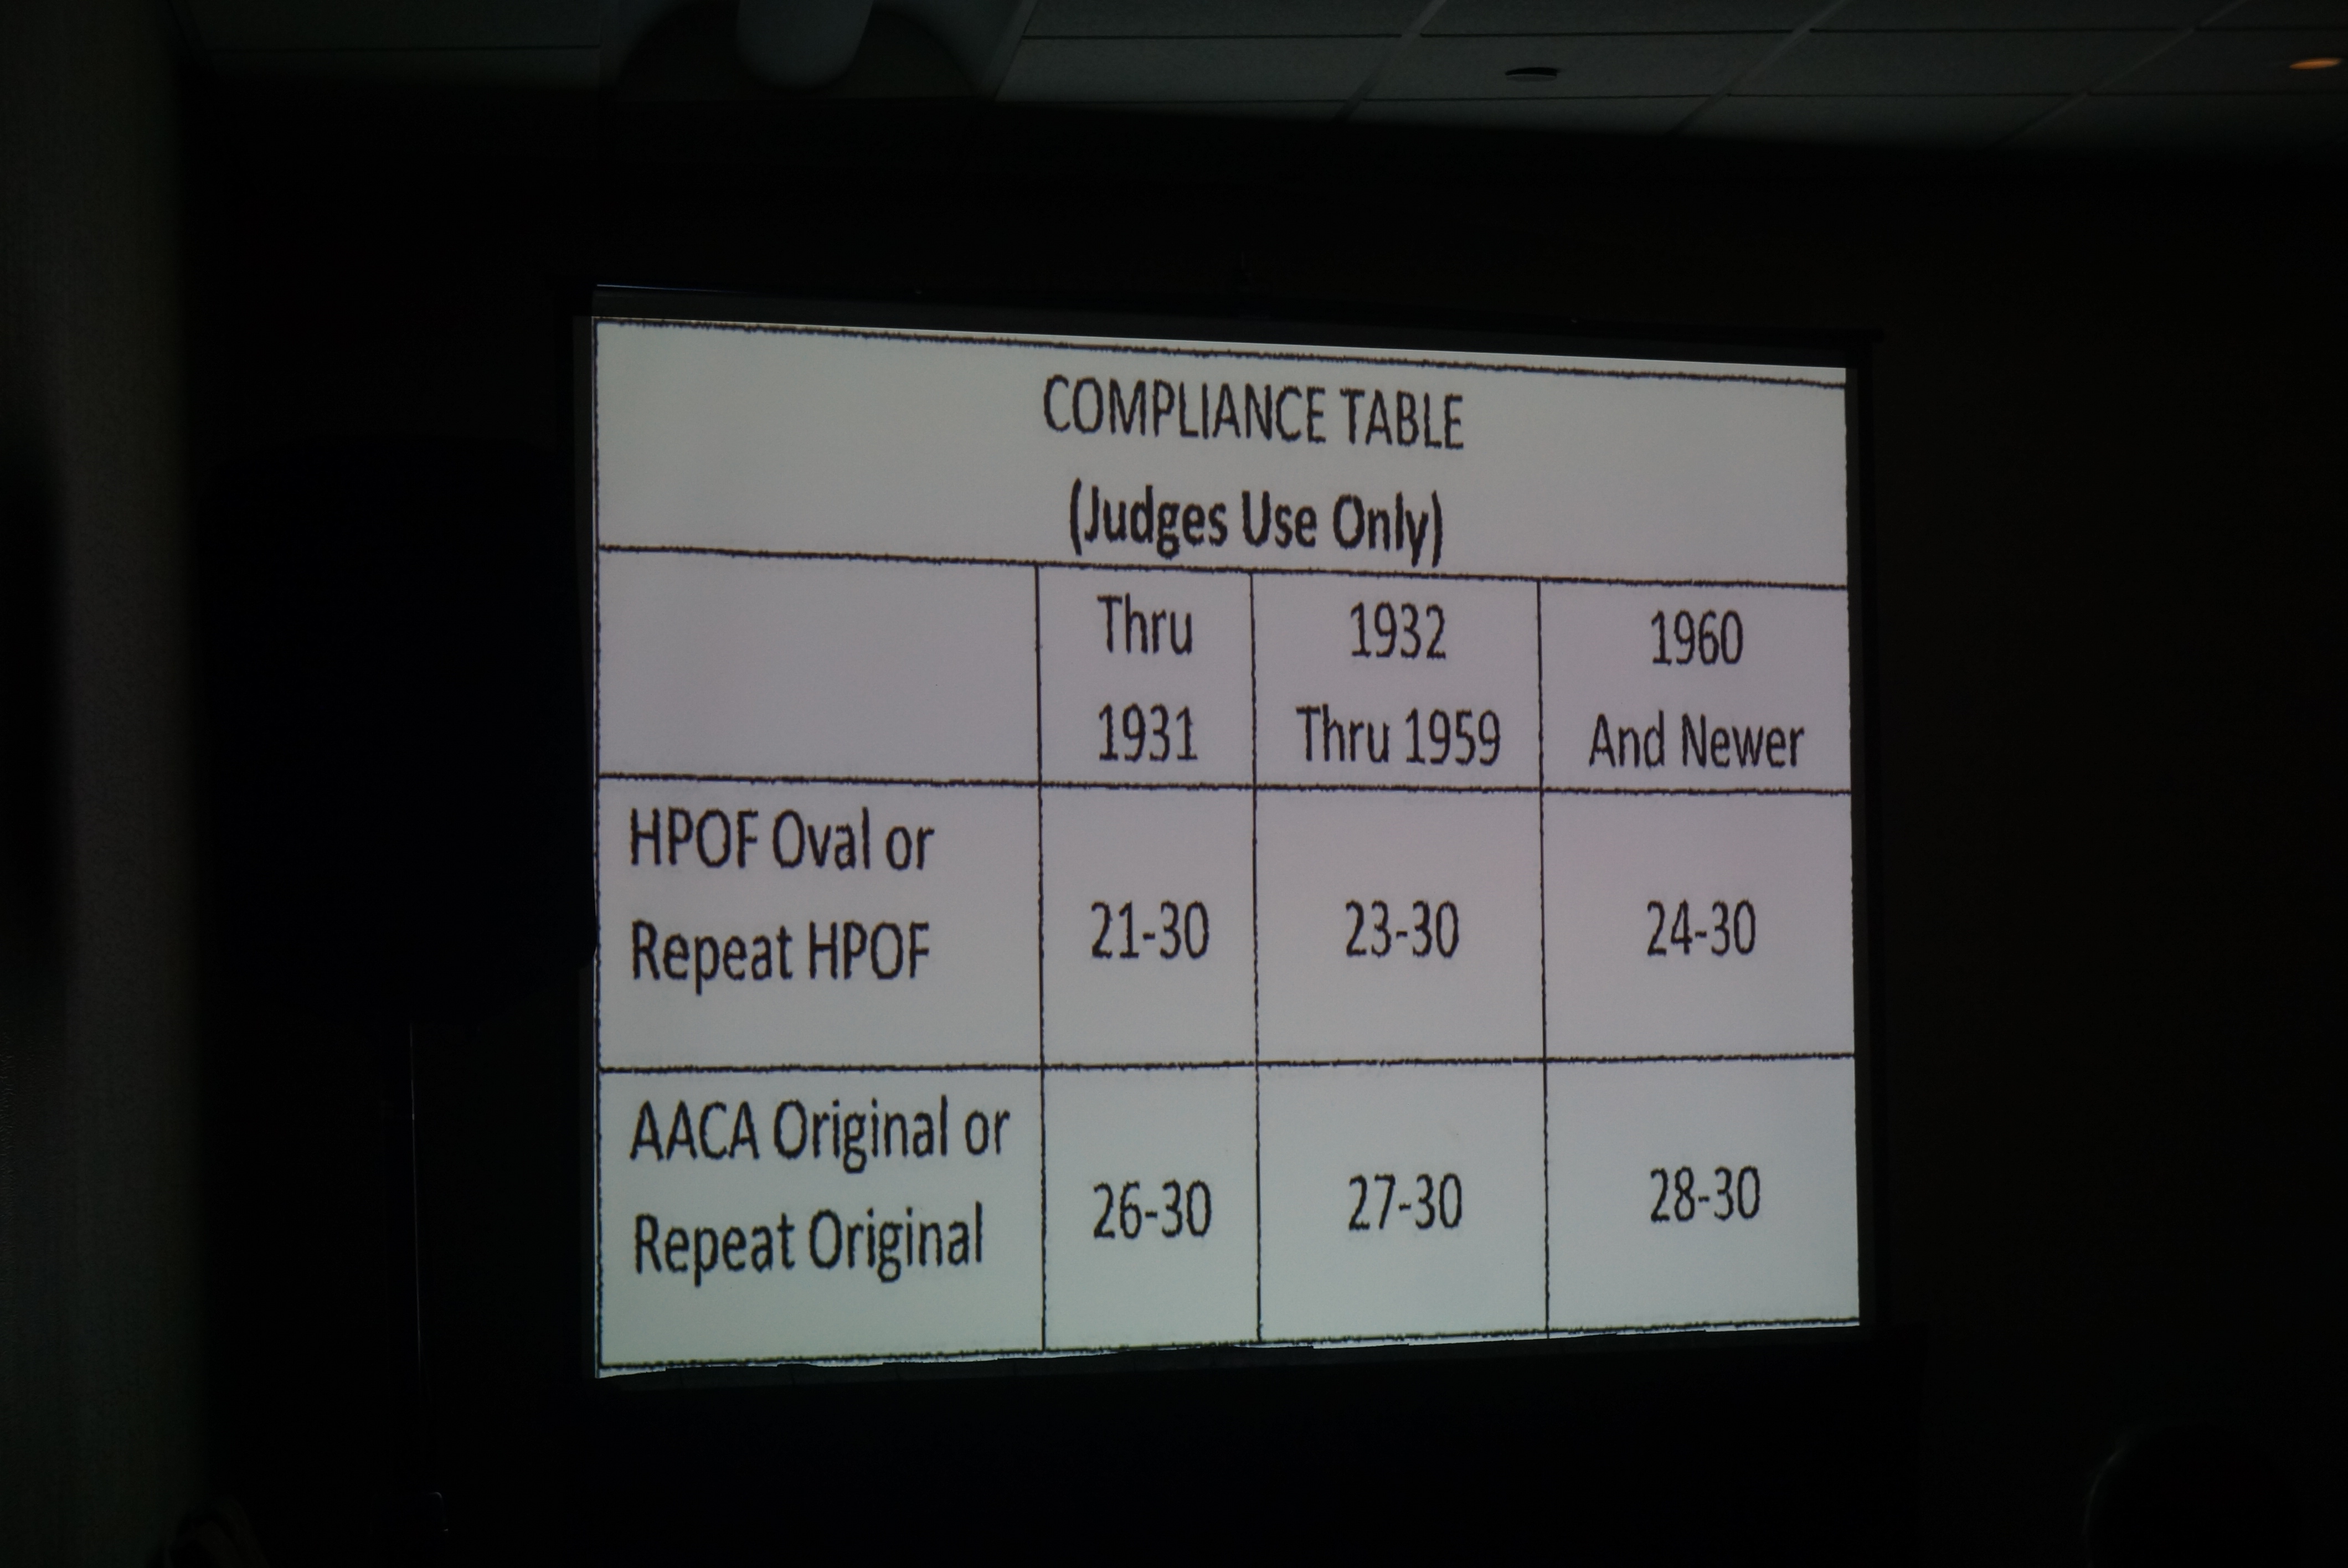
The final seminar for me was simply called “HPOF” (in AACA-speak, that’s Historical Preservation of Original Features). The presenter was Fred Trusty, who is the Chairperson for HPOF. He started with an interesting look back at the origins of HPOF. This new class one born in the late 1980s in part from the realization that many of the vehicles entered into Class Judging were over-restored, and it was no longer  possible to literally see how the factory made these cars. Preserving an original car as “original” was deemed to be in the greater interest of the hobby.

This slide from Fred Trusty highlights the emphasis on “preservation”

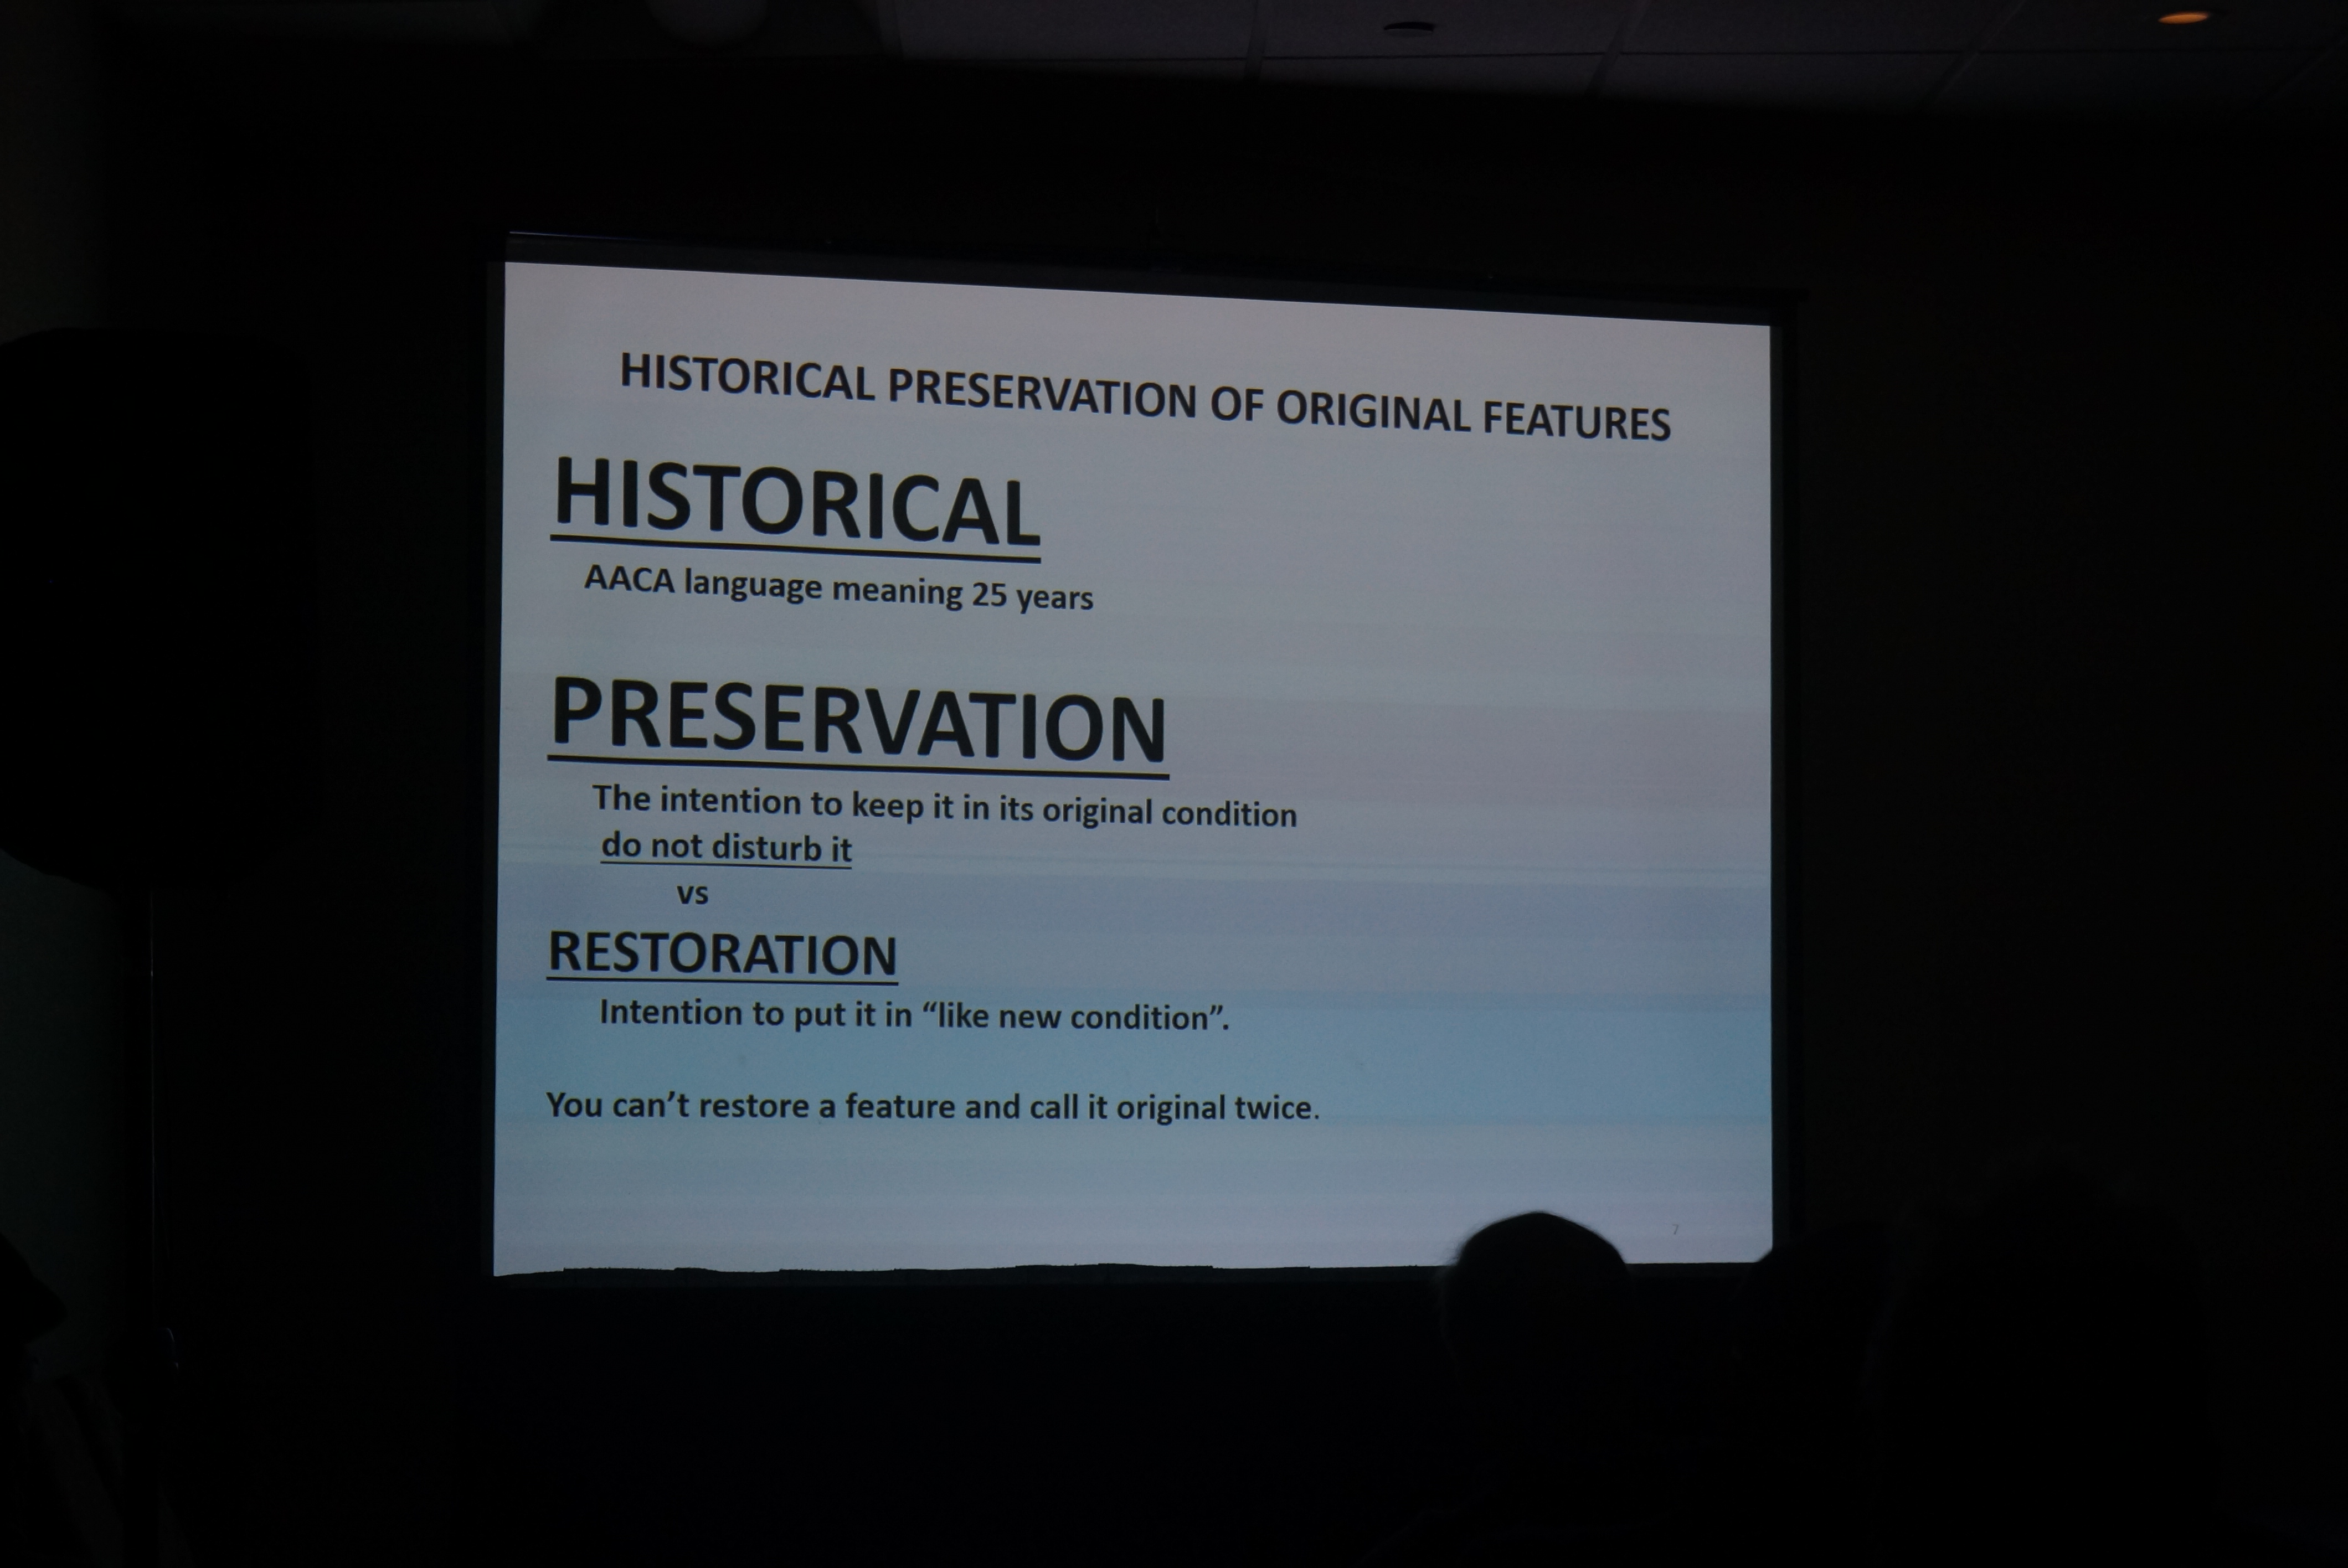
HPOF started off recognizing cars 45 years old and older; that cutoff was then moved to 35 years, and then again to where is it today, cars 25 years old and older. HPOF judges would rather see imperfect yet original, instead of perfect but non-original. There are some grey areas, such as re-painting, however, that also depends on the vehicle’s age.

Regarding paint, two examples were given: a 1920s car that was repainted once, in the 1940s, probably has so much patina that judges cannot tell with absolute certainly how old the paint is. The car would likely be judged to be “original”. On the other hand, a 1970s car with a complete repaint would not be considered eligible for HPOF.

With “30” a perfect score, note the lower standard for older cars to win HPOF

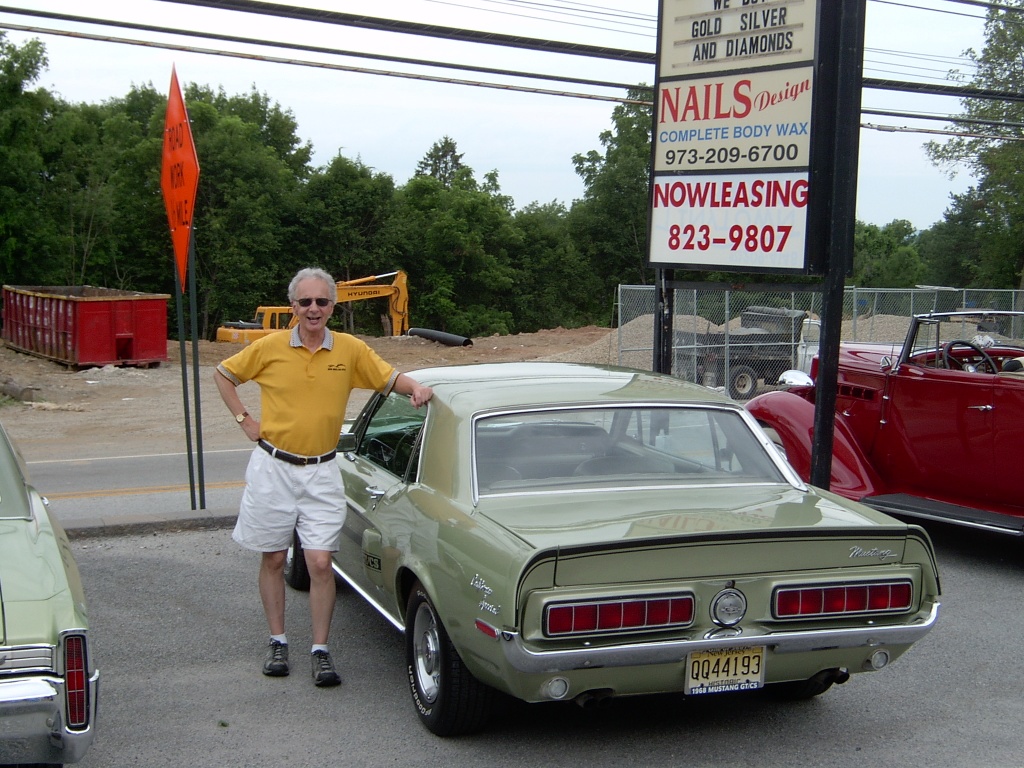
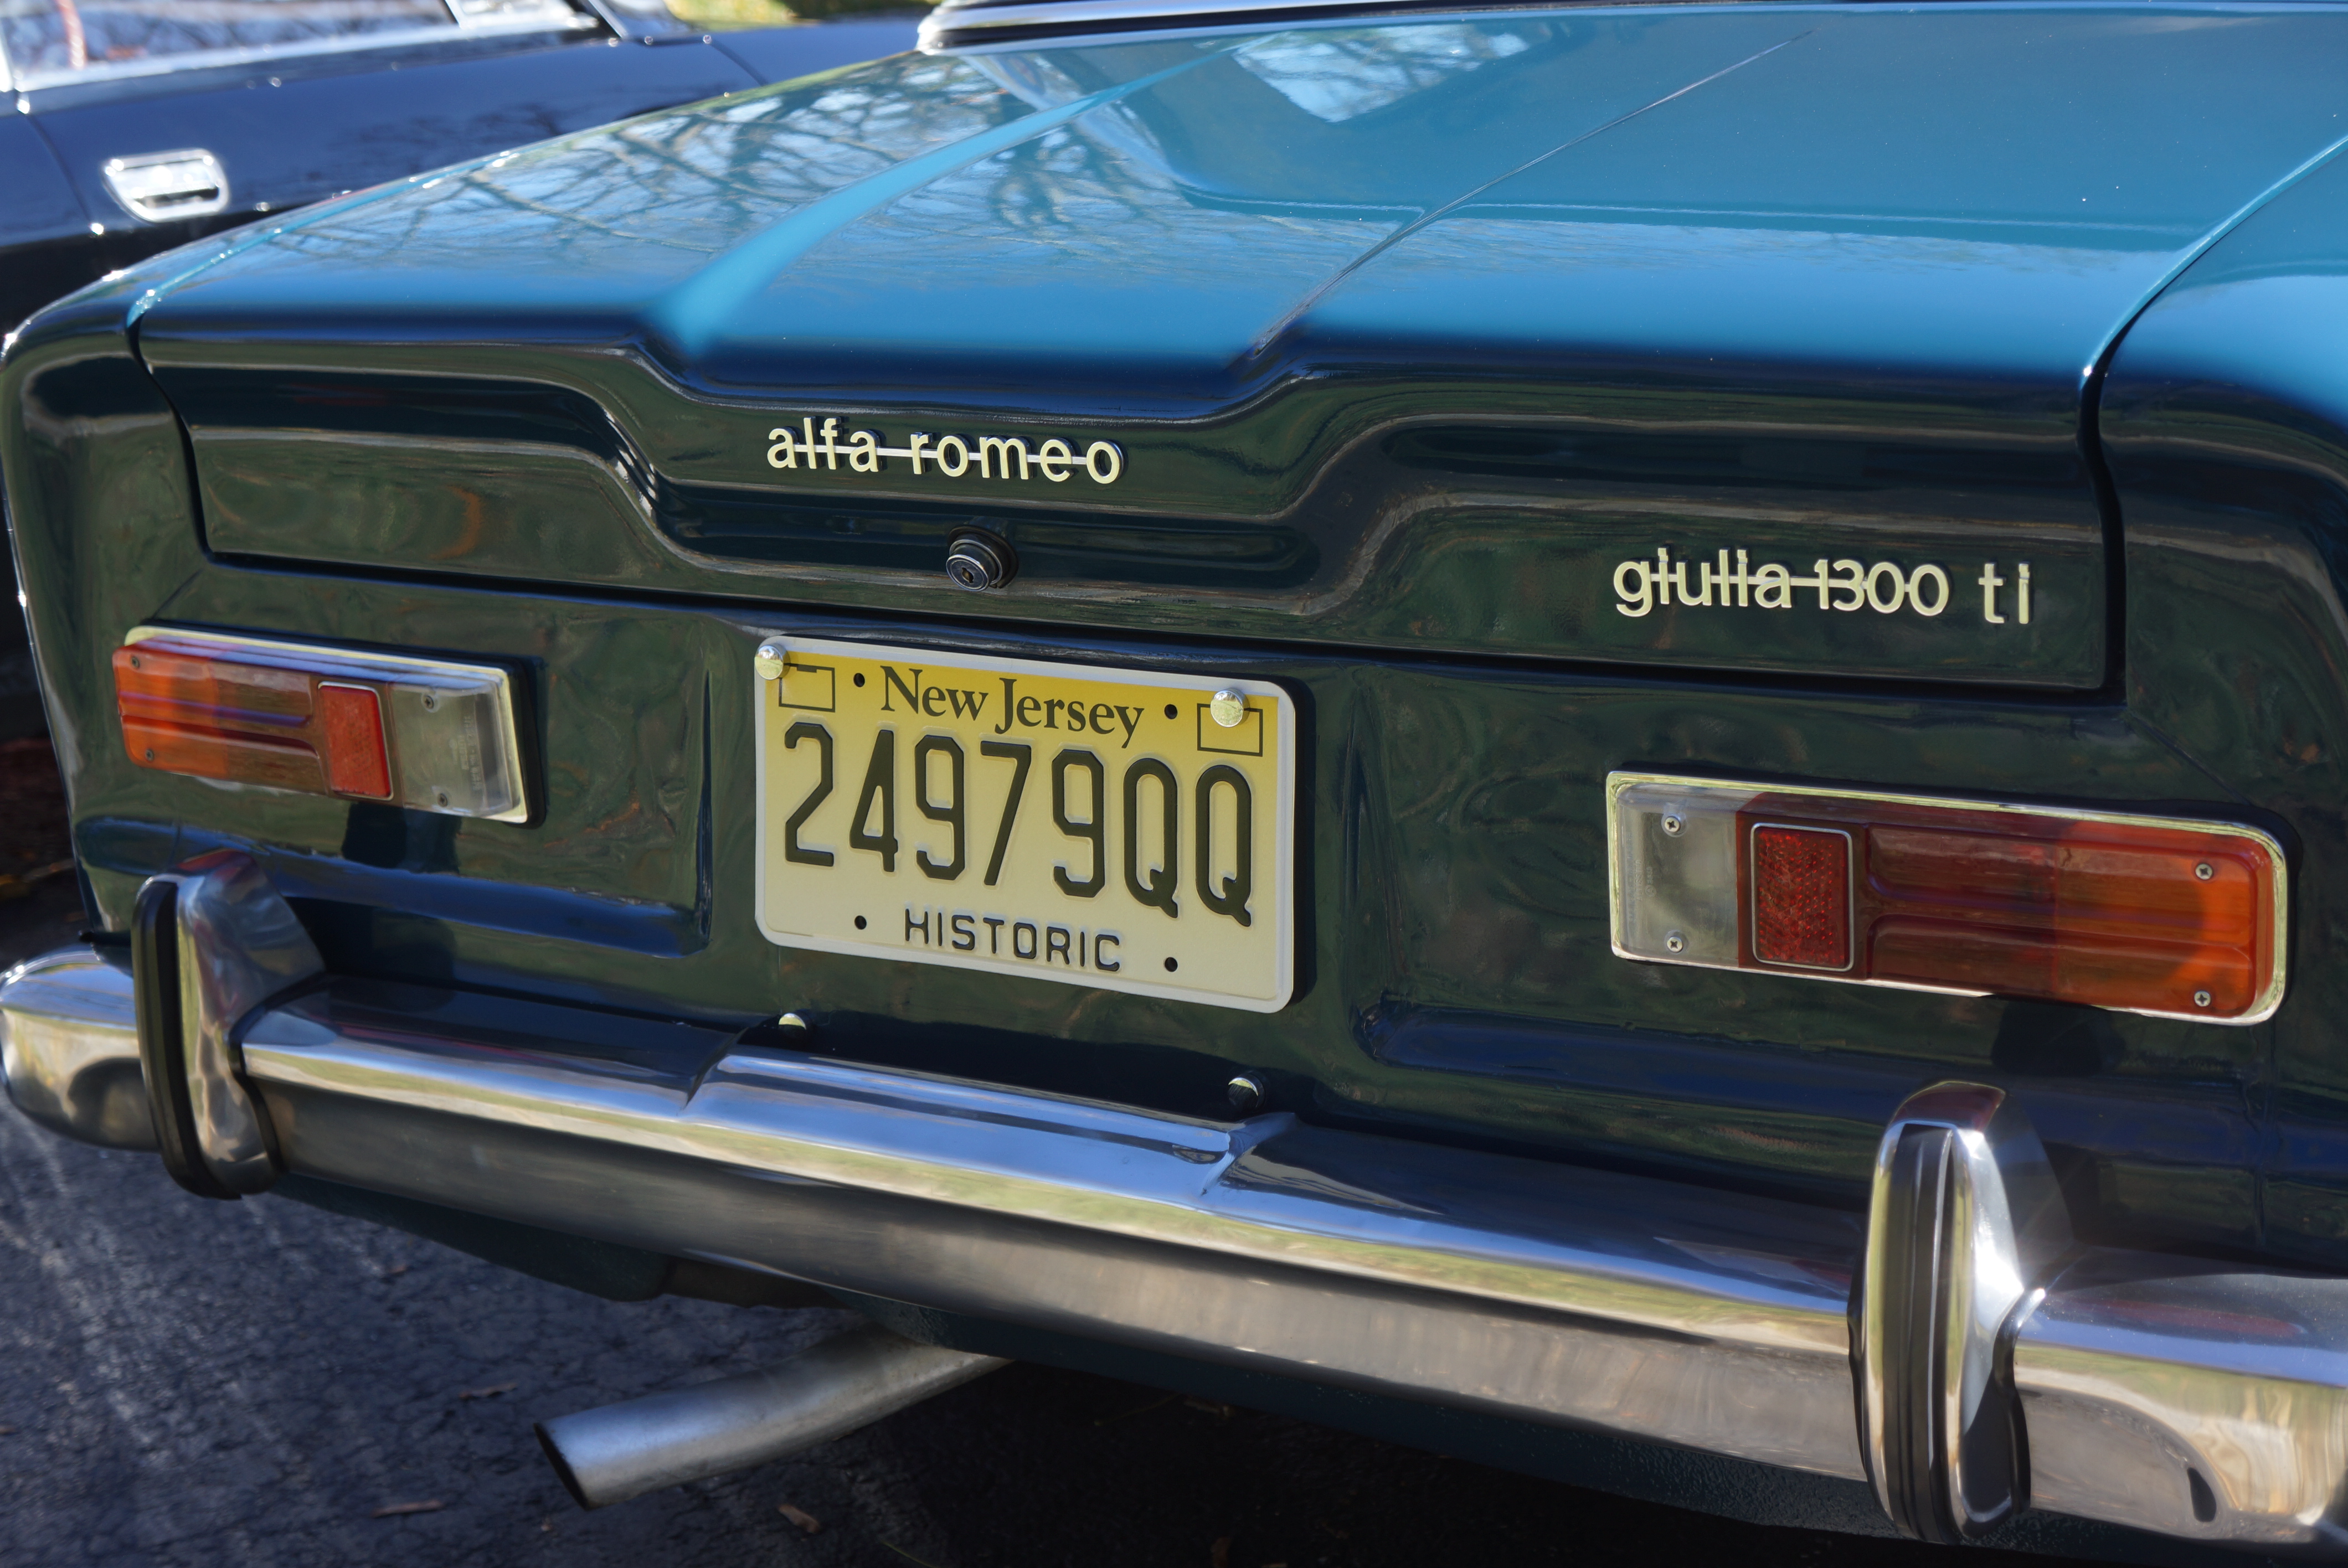
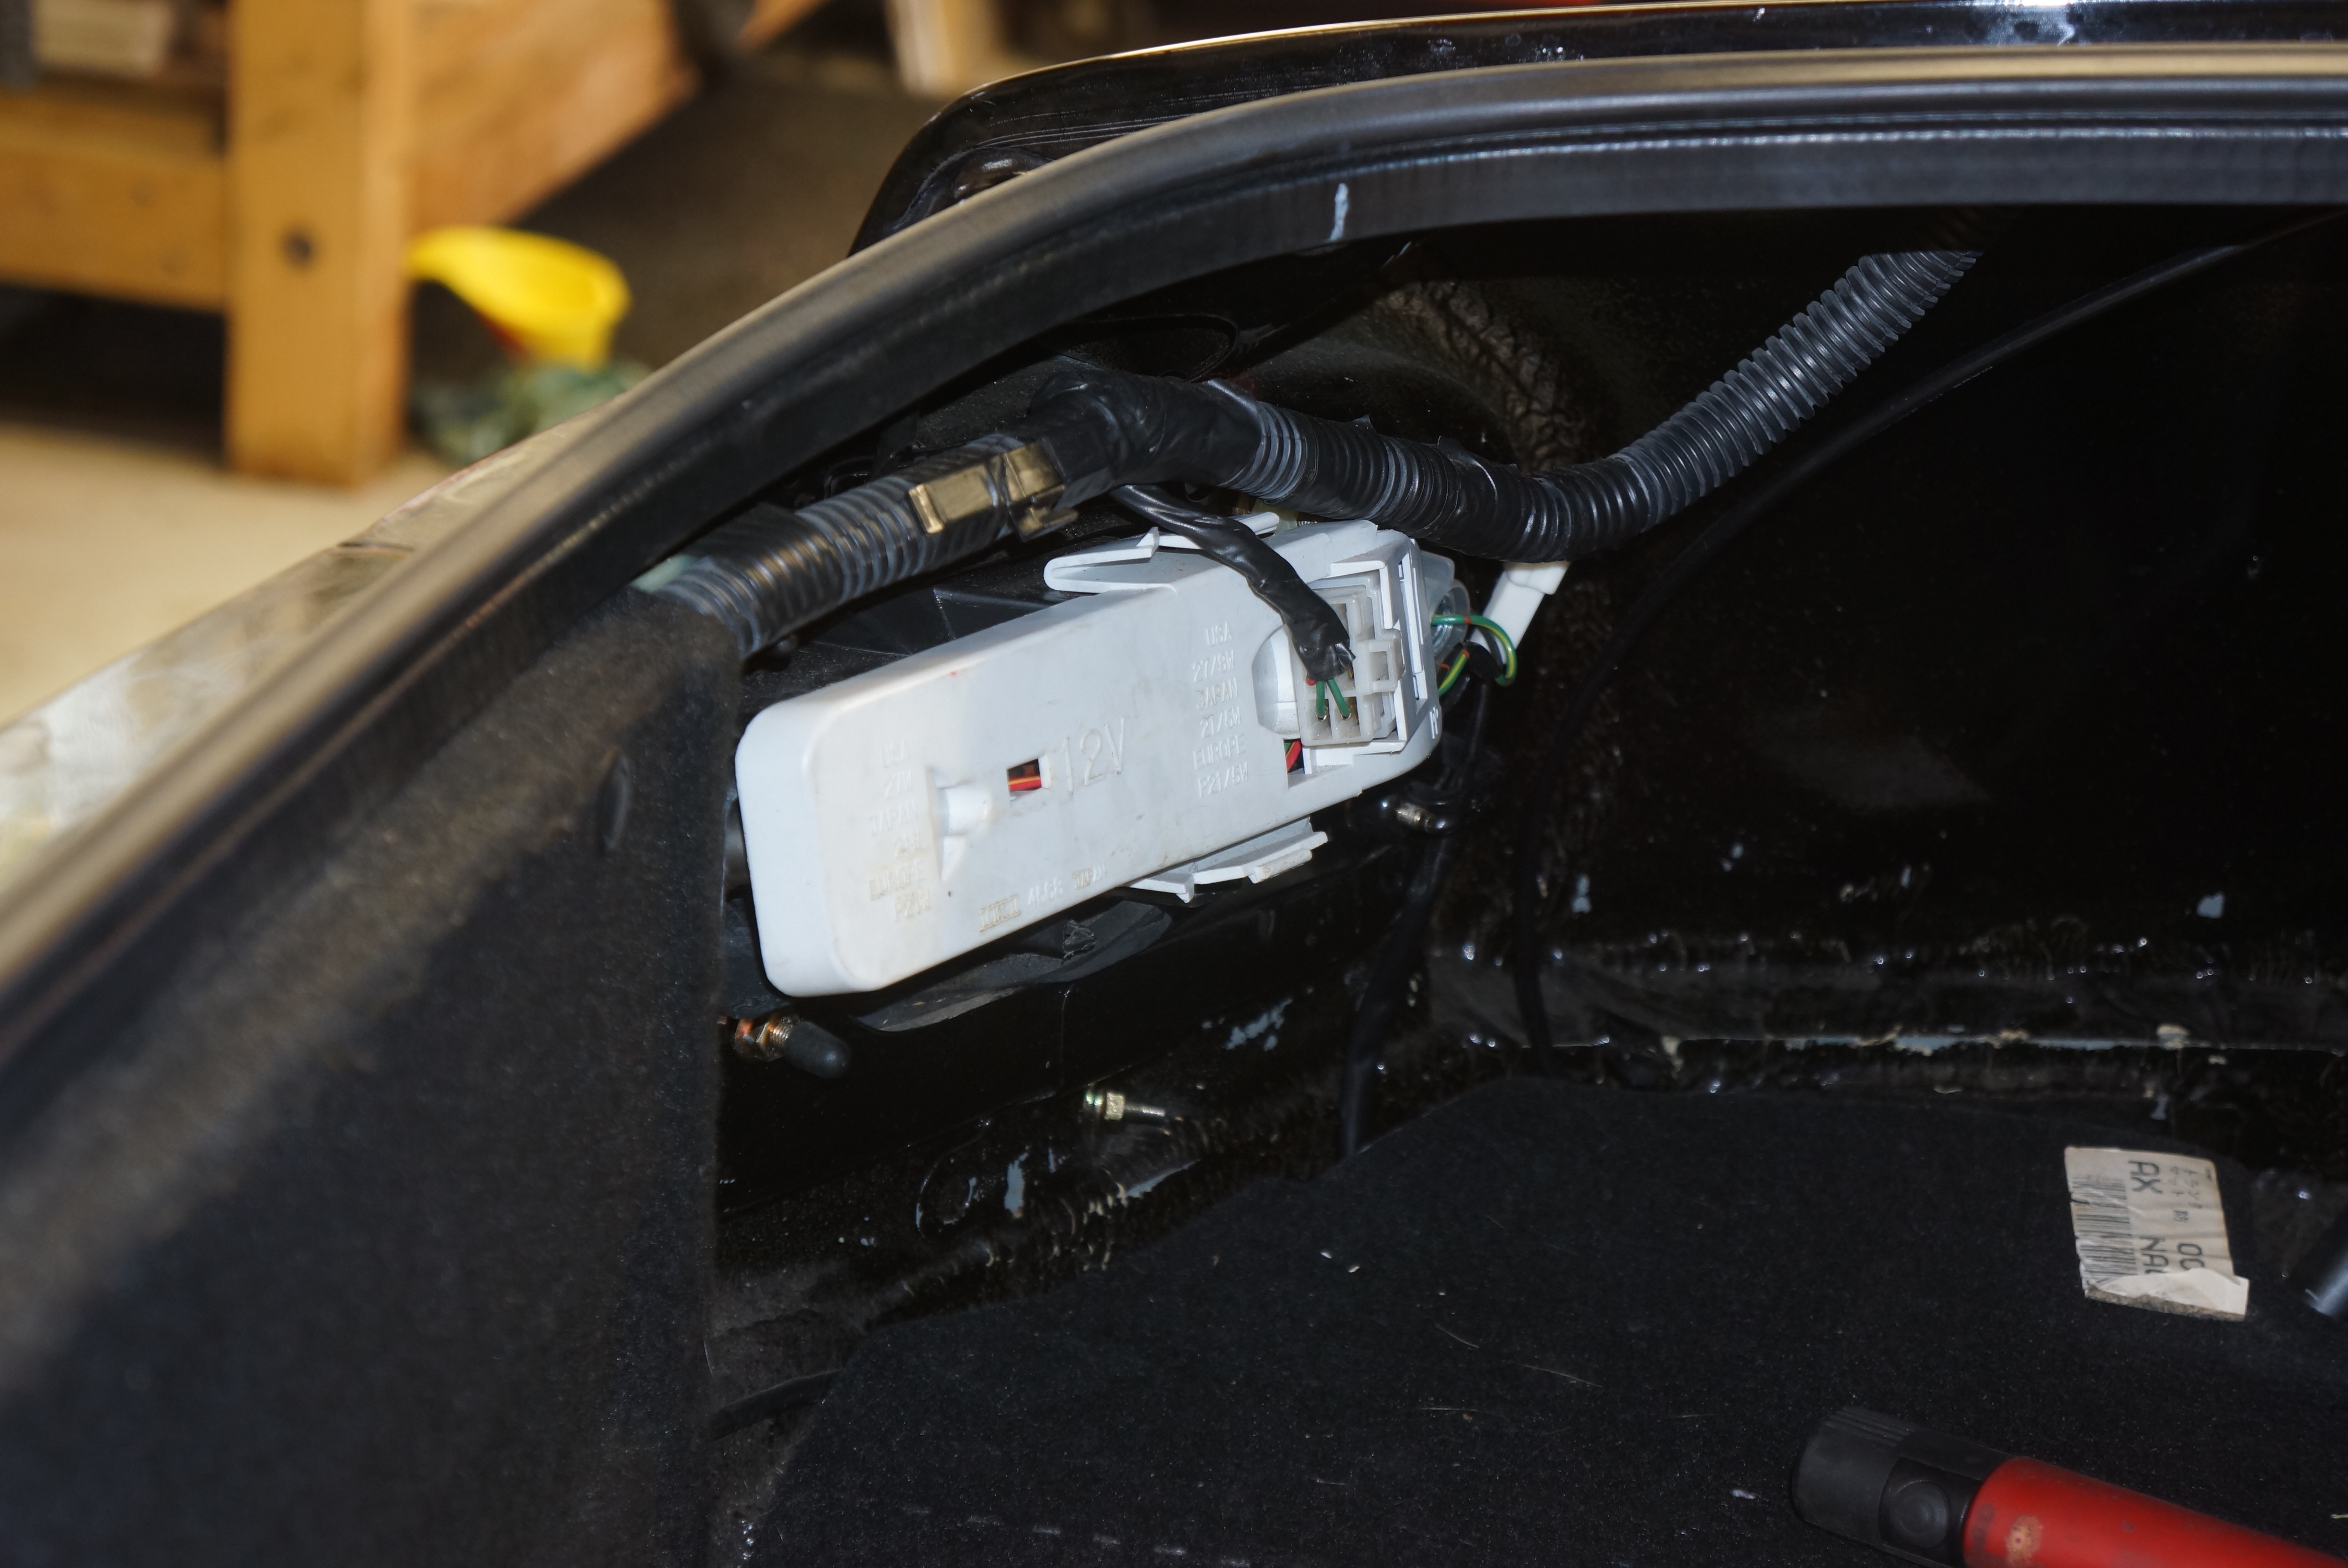
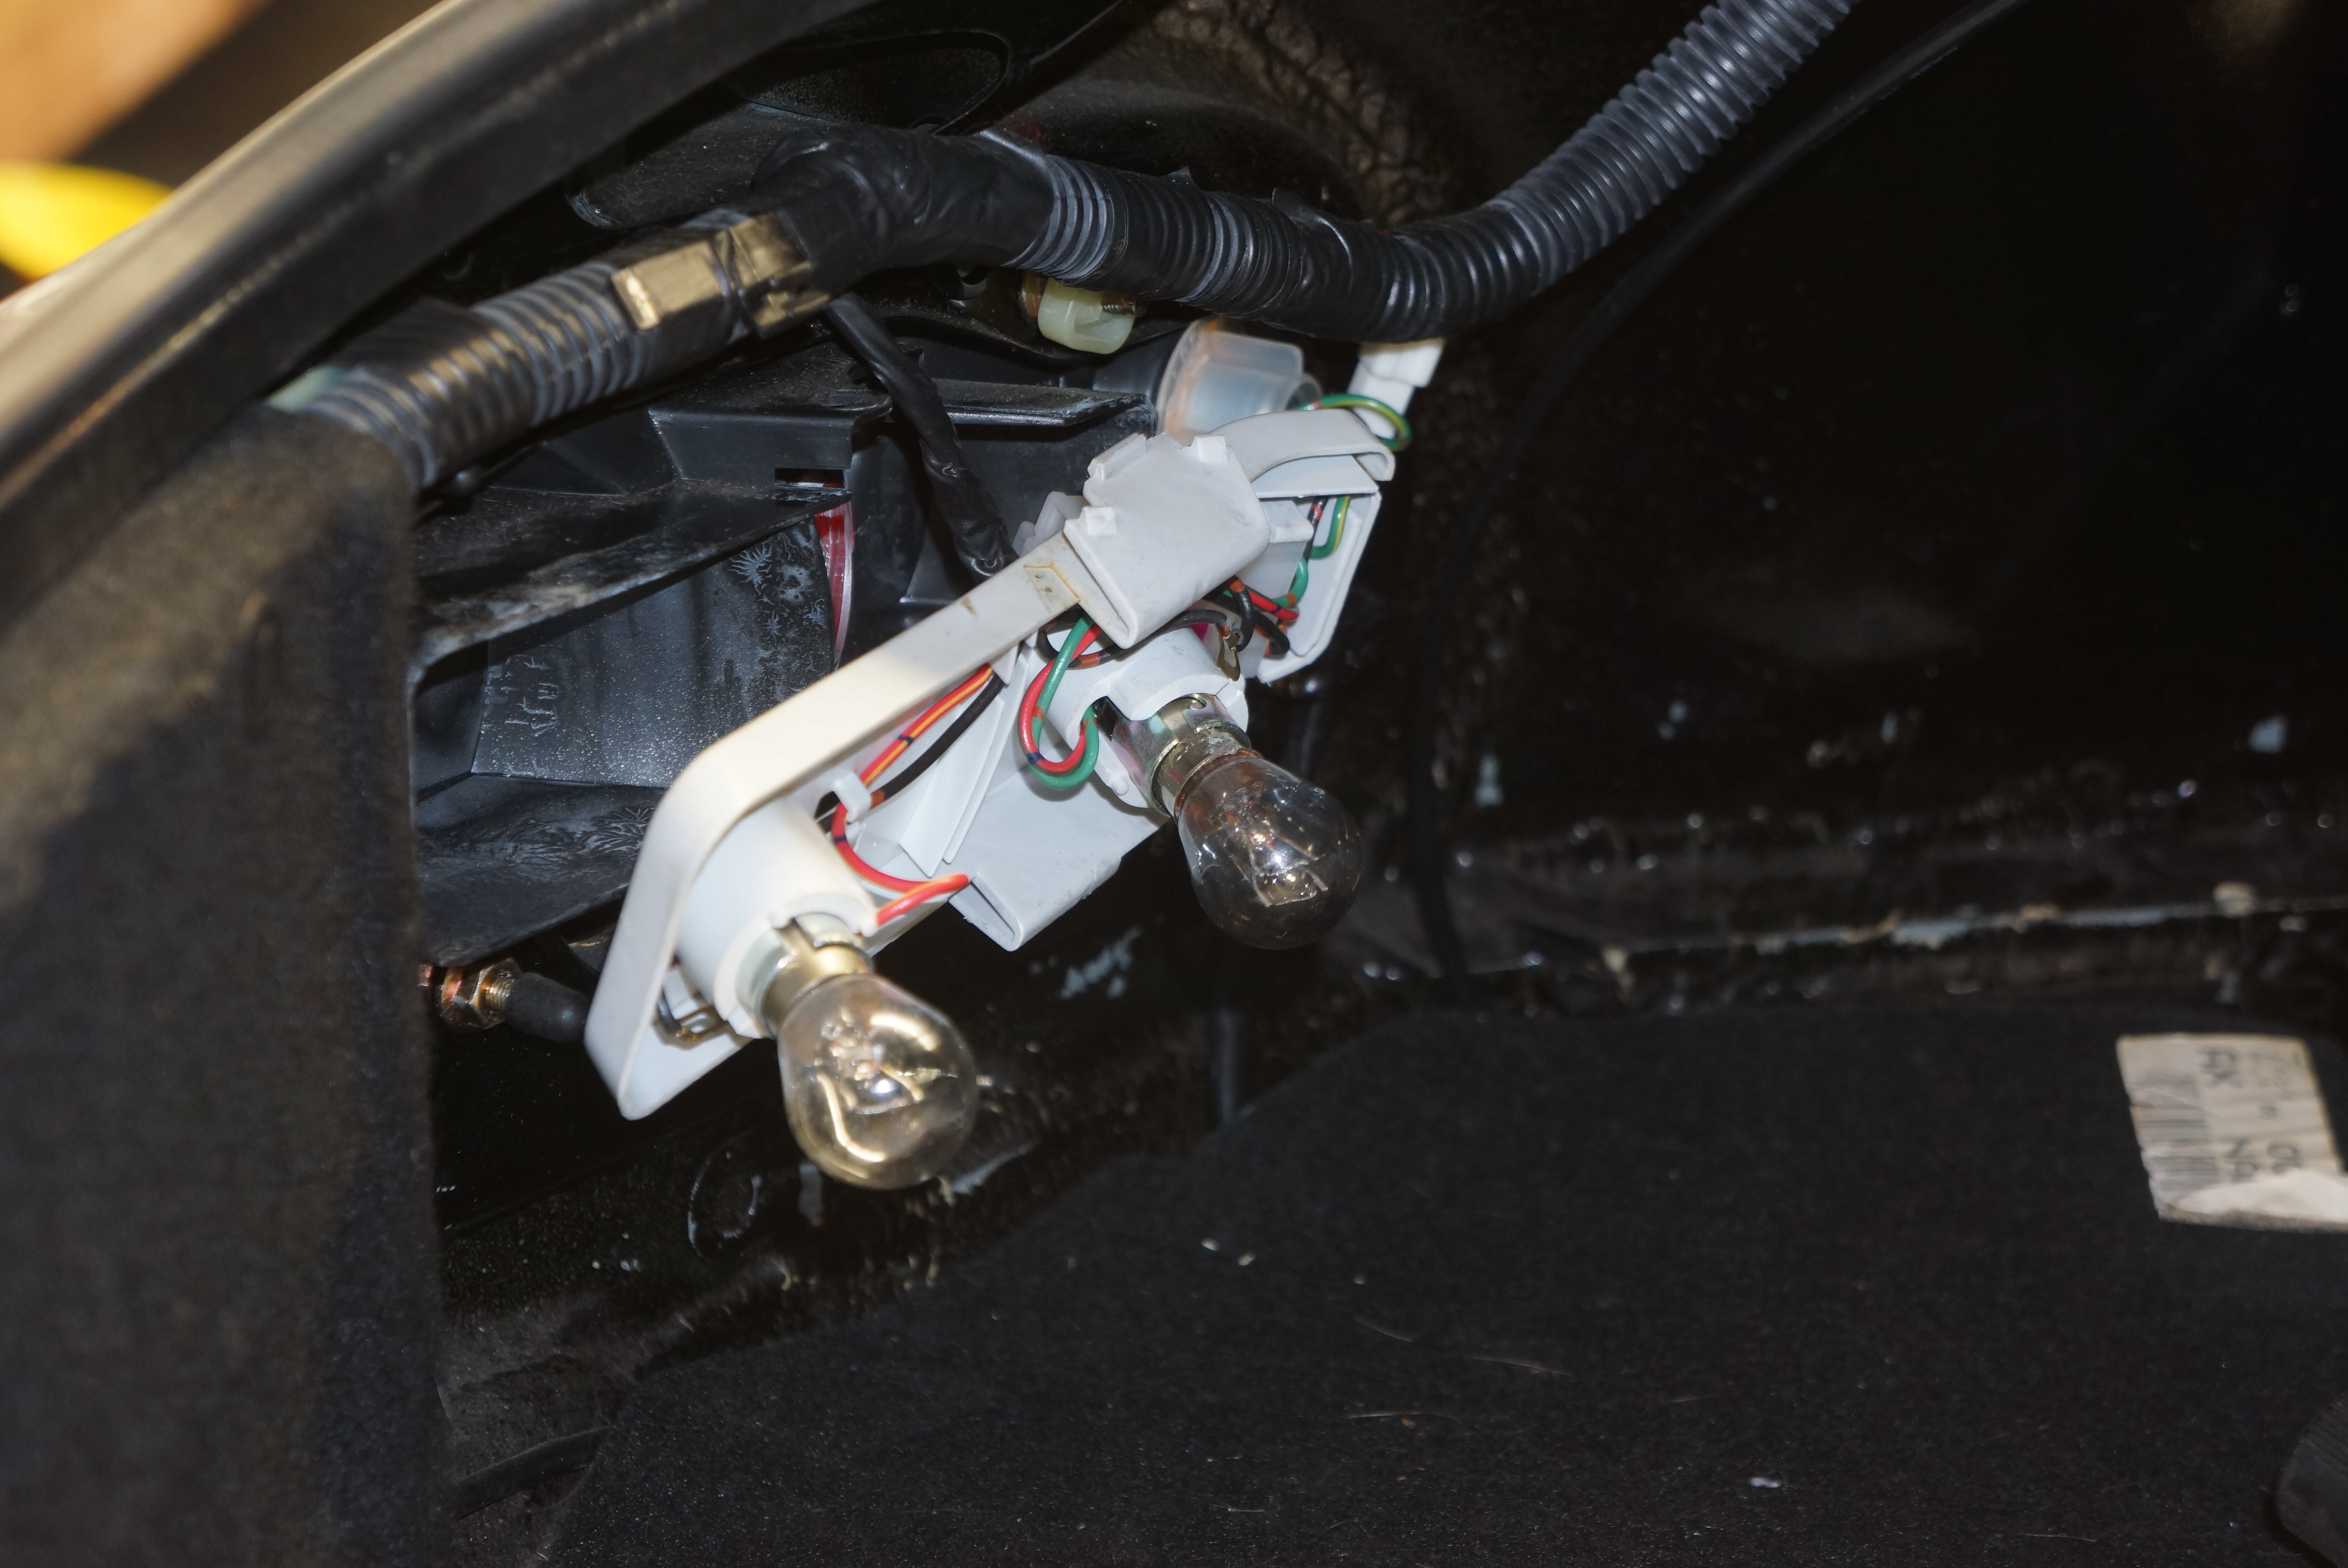
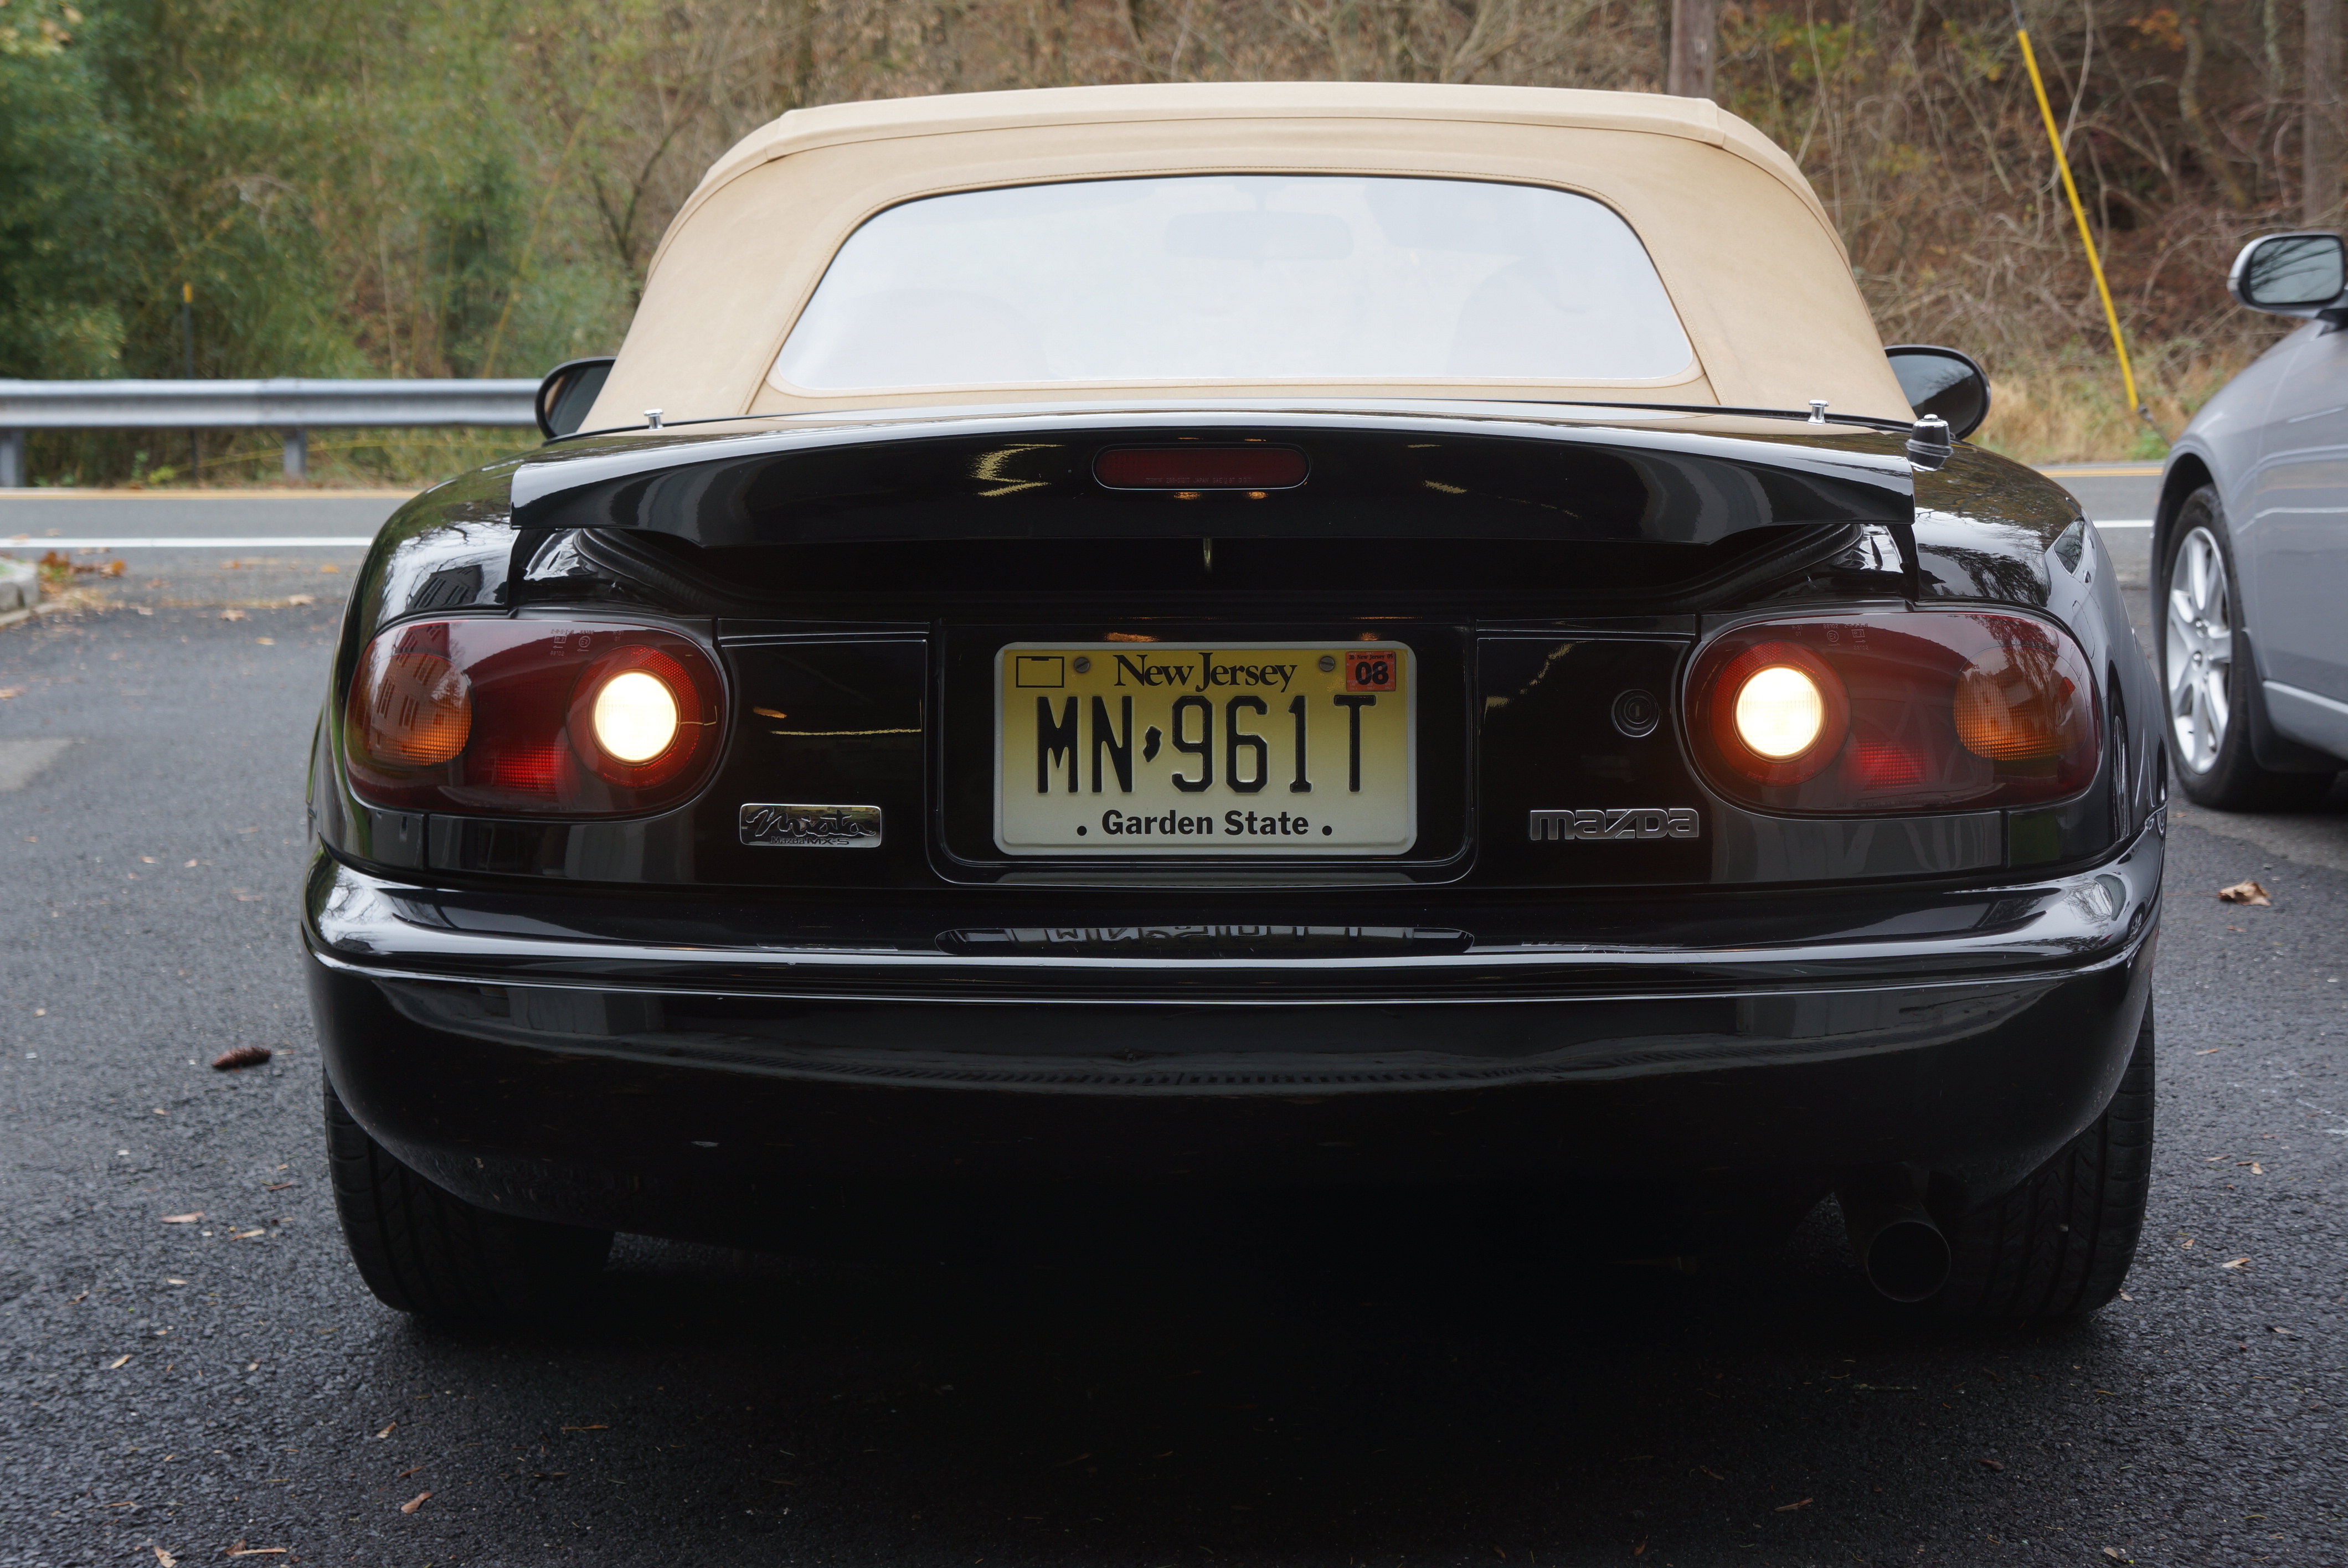
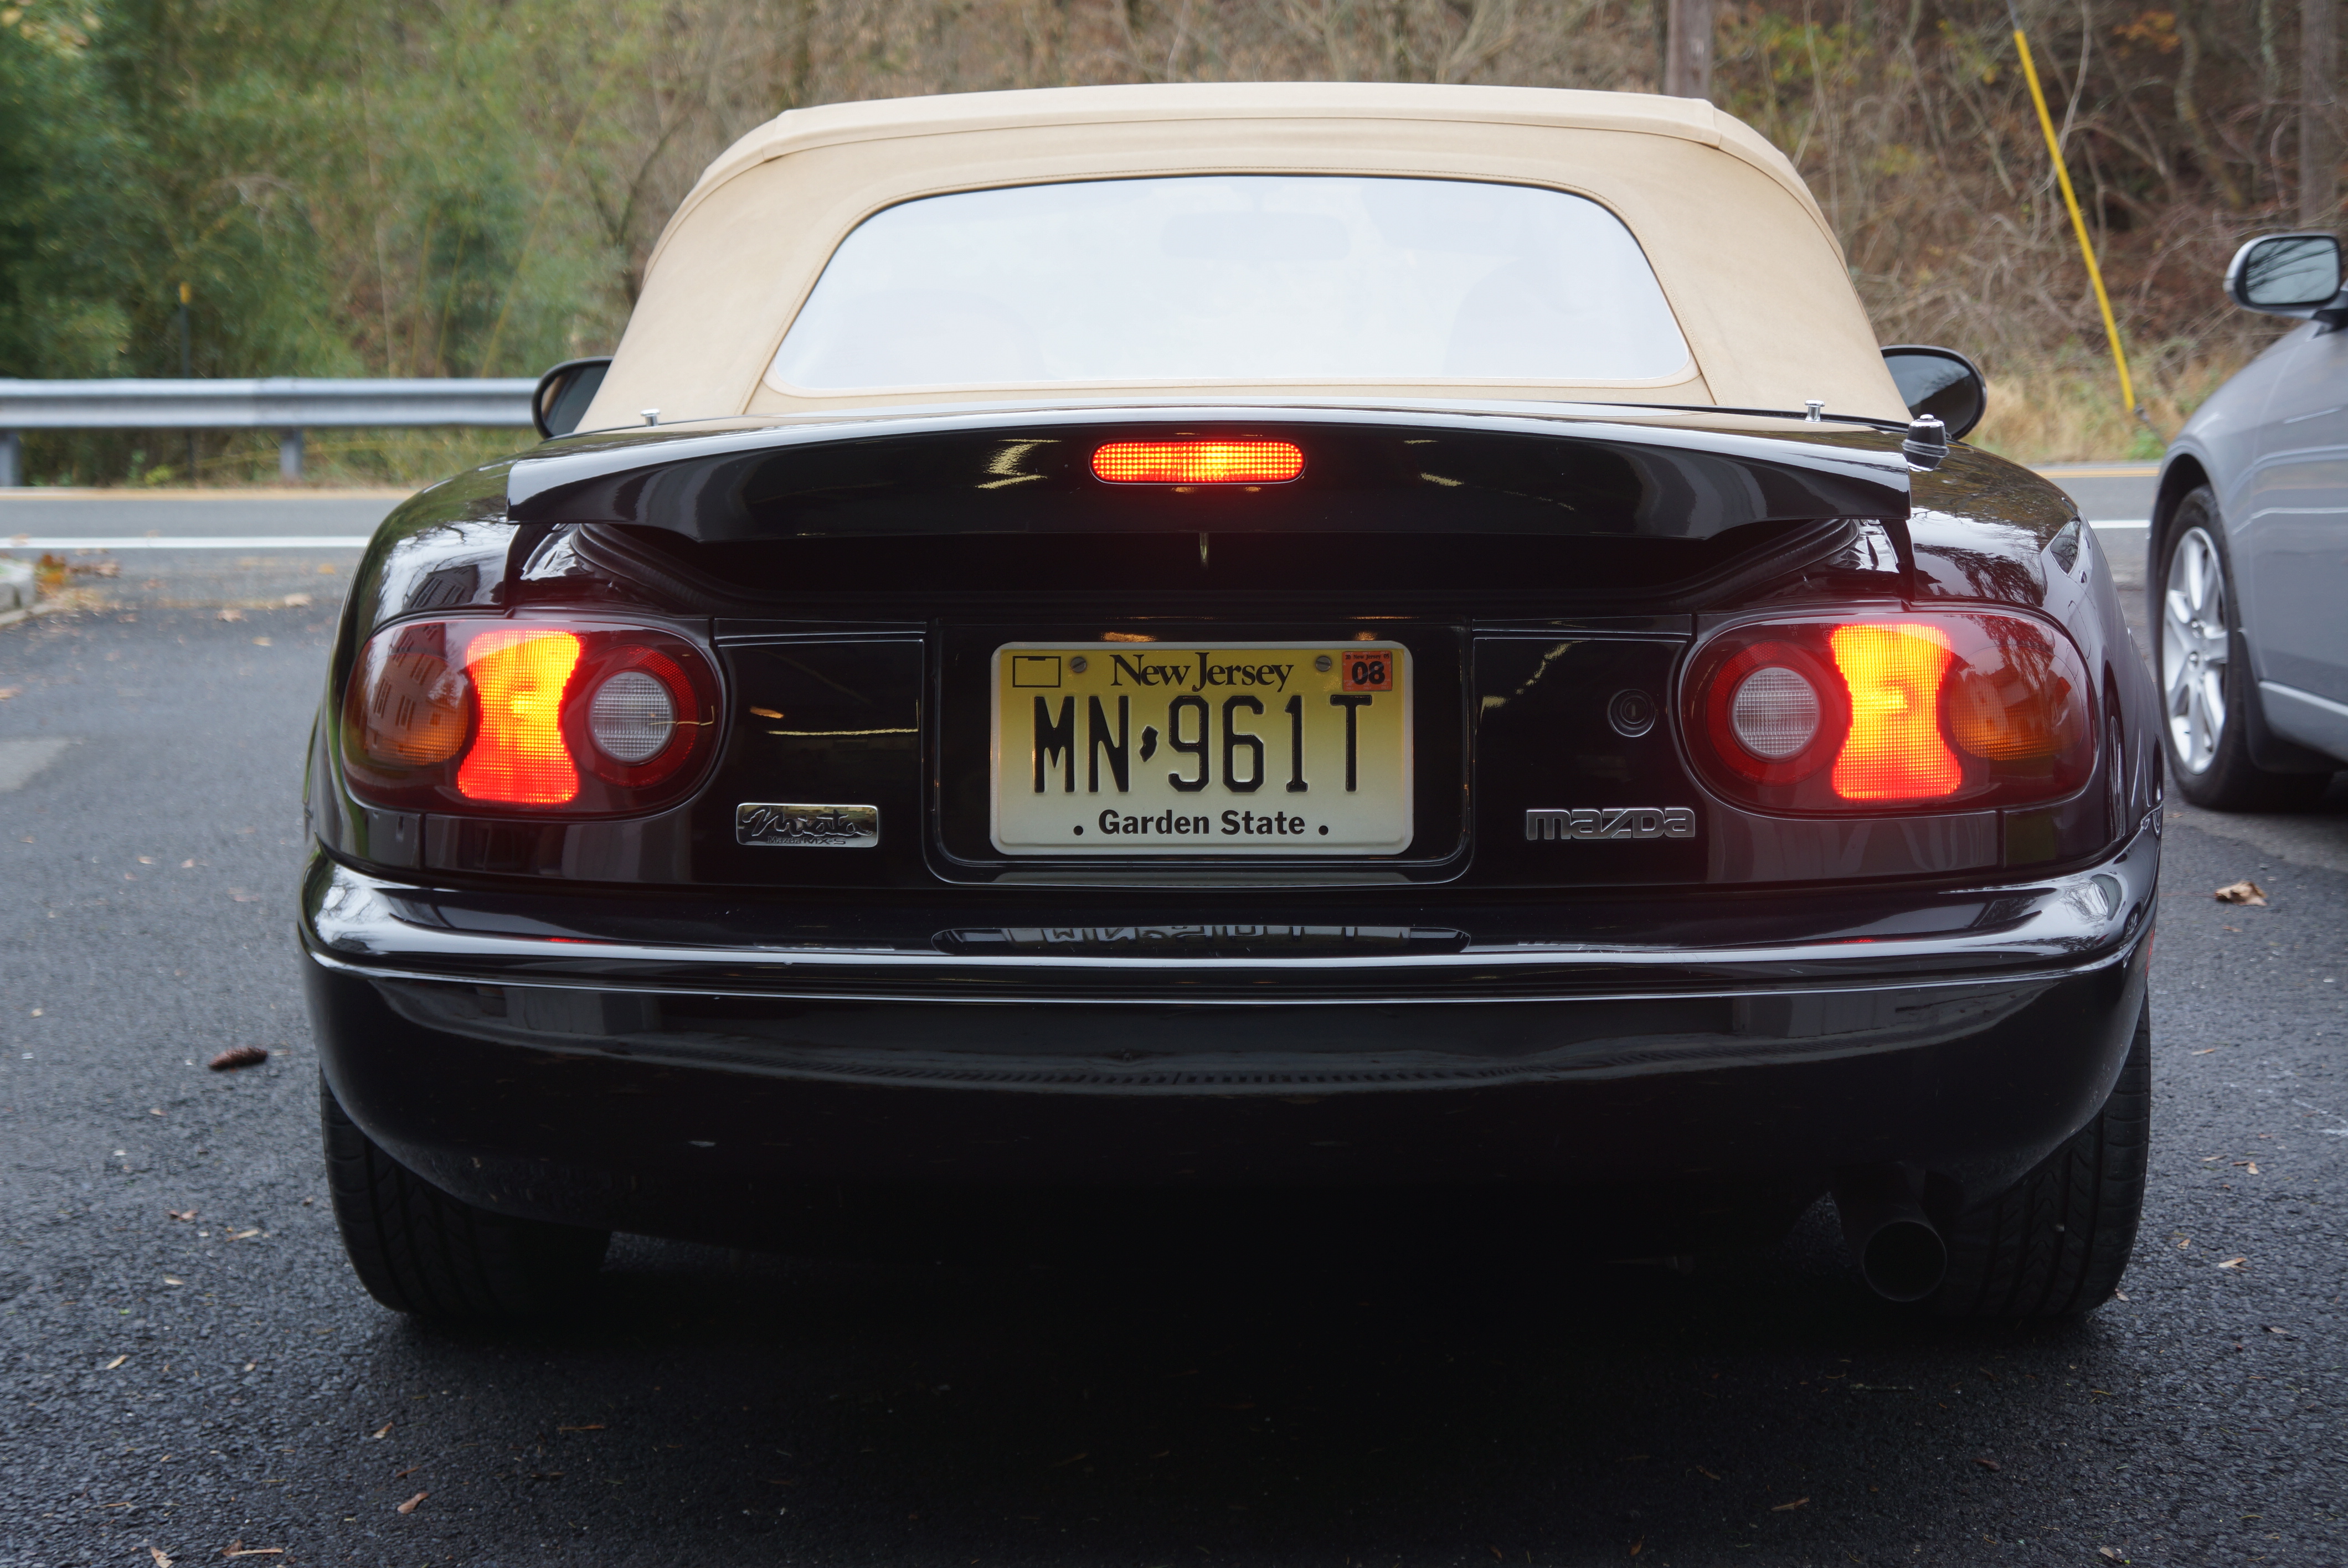
I have a more than passing interest in this class, as my 1967 Alfa Romeo already has its HPOF award, and one of my challenges as its caretaker is to maintain it in as close to original condition as possible, while still driving it about 2,000 miles per year. I also intend to enter my 1993 Mazda Miata (it turns 25 this year) in the HPOF class at Hershey in 2018. I’m anxious to see if it qualifies for an award.

If you are an AACA member and have not attended an Annual Meeting, I highly recommend that you do so. If you are not a member of AACA and are interested in old cars, the history of old cars, and preserving history, I strongly recommend that you join. Ownership of an old car is NOT a prerequisite. For me, the best part about my membership is conversing with like-minded individuals.

A meeting tradition is the hanging of Regional banners in the hotel lobby


An overview of the trade show


One last one of the Trade Show


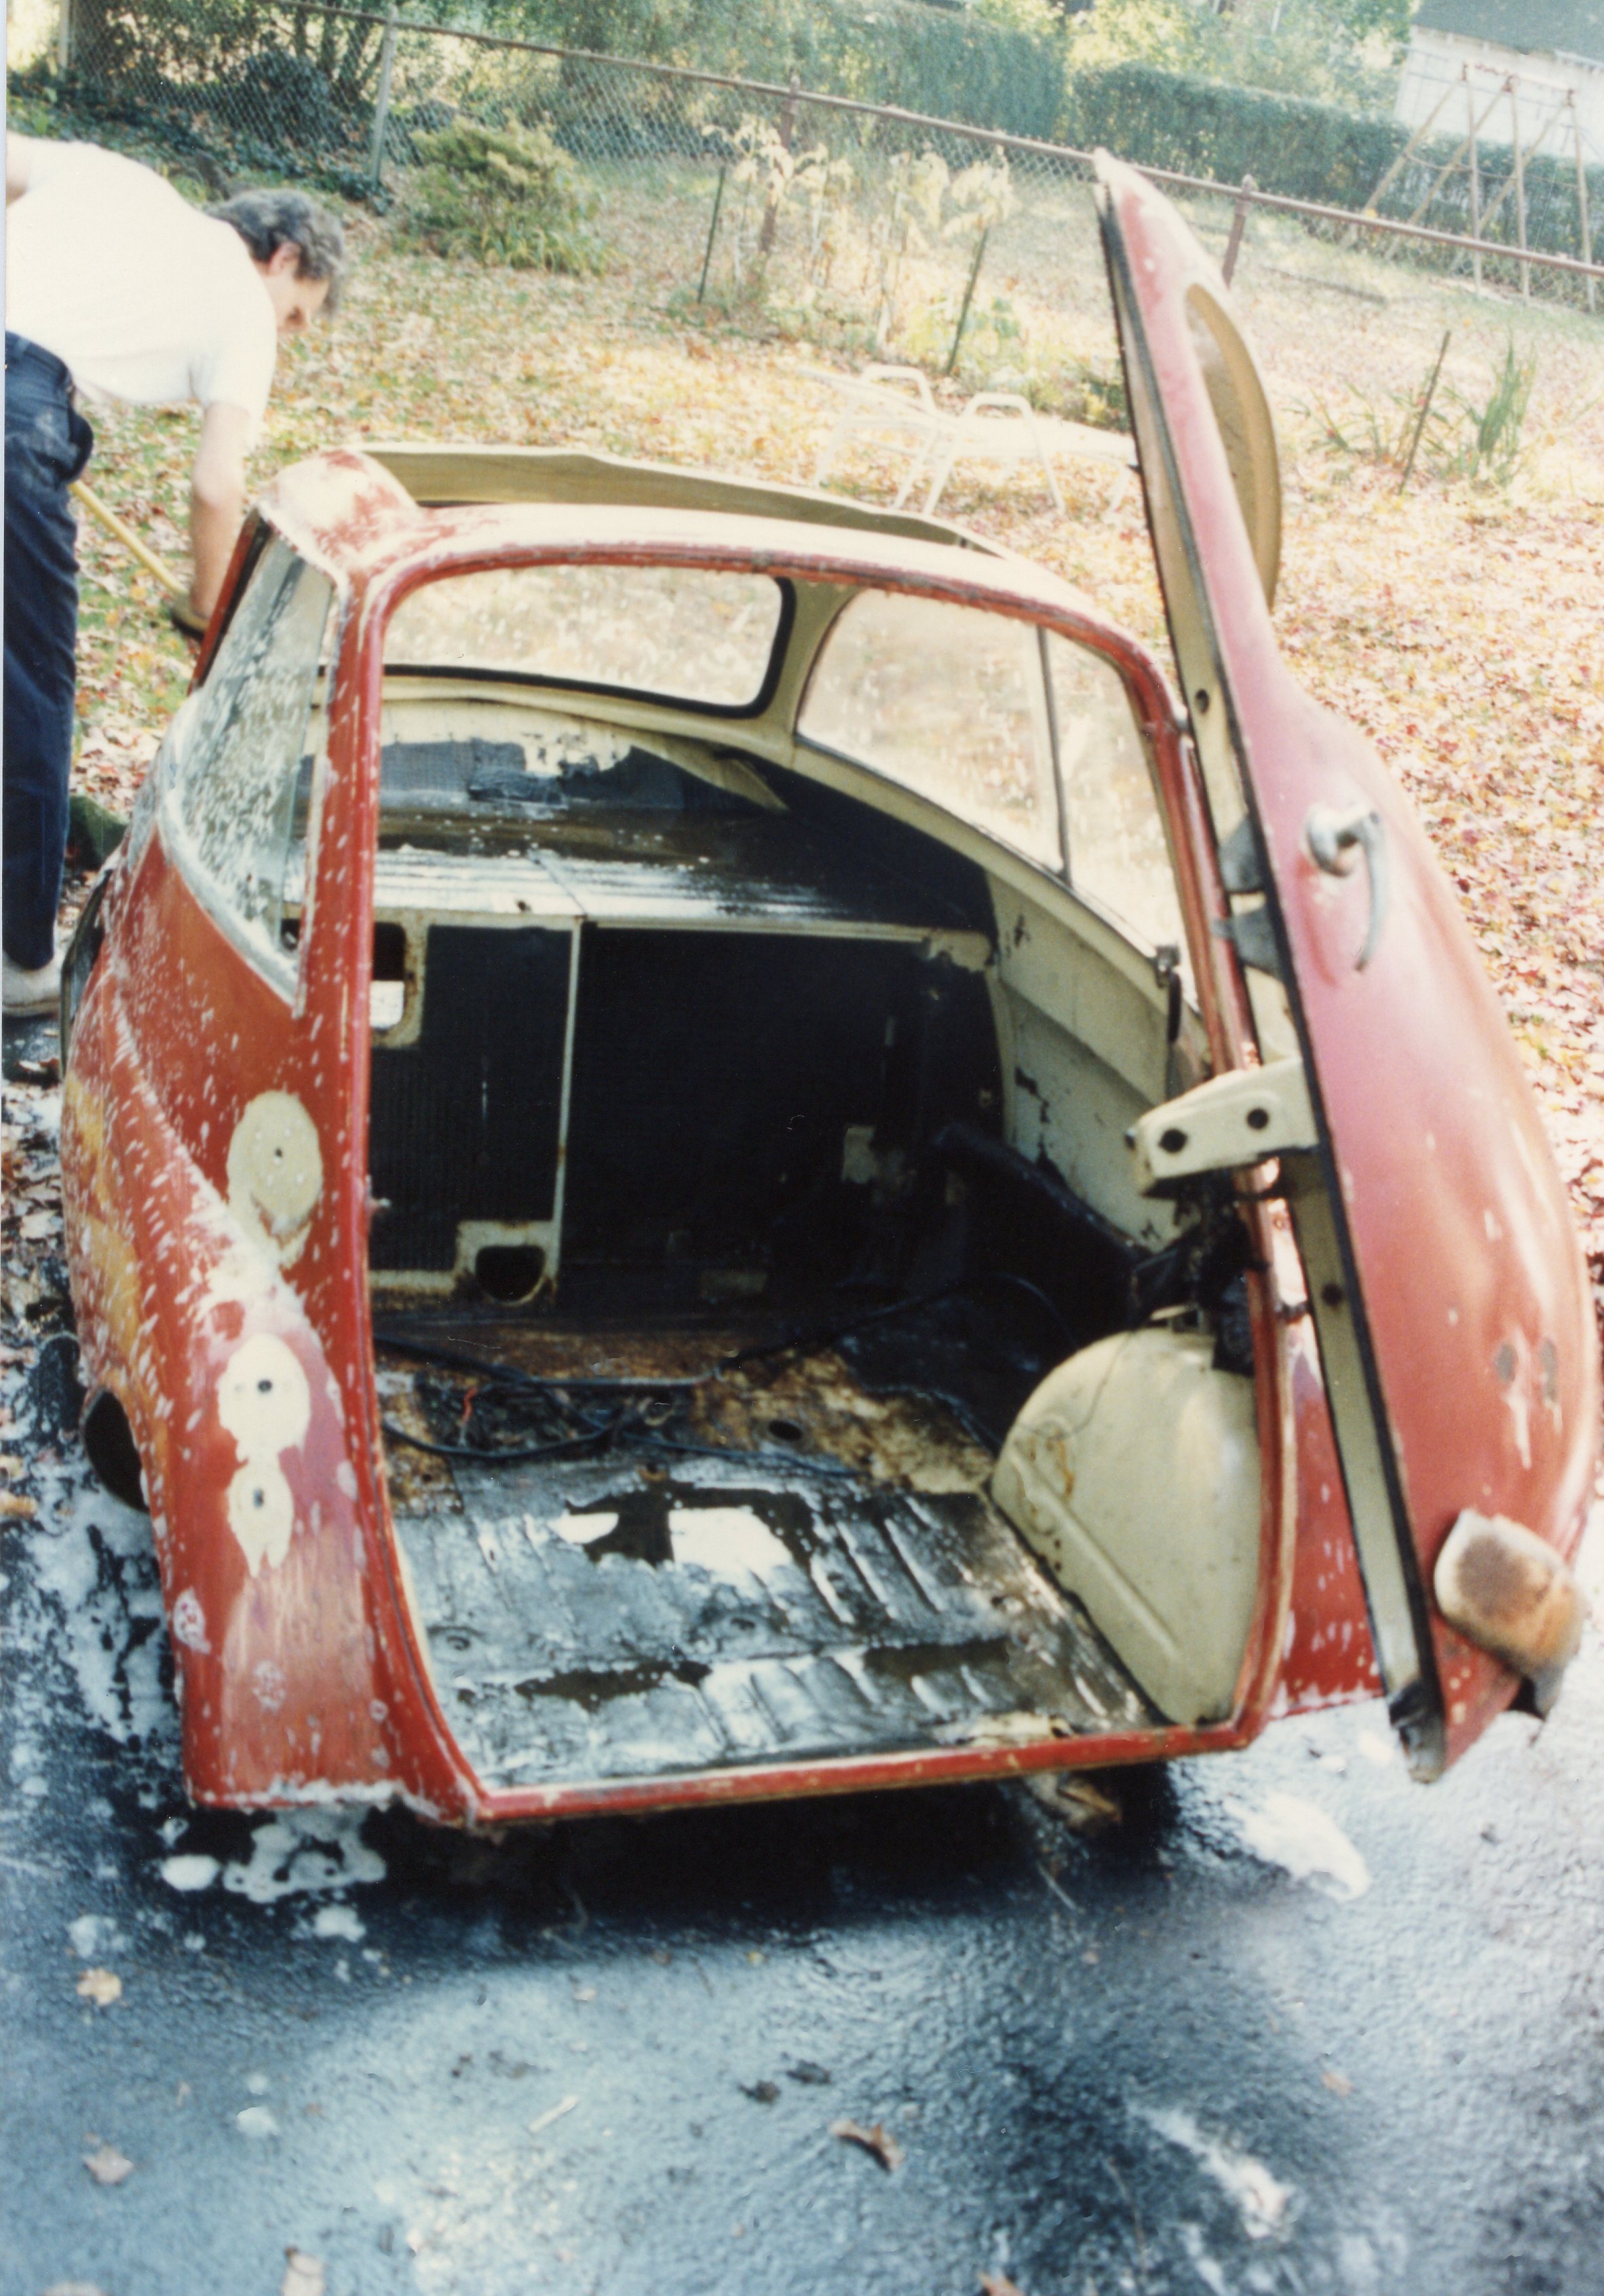
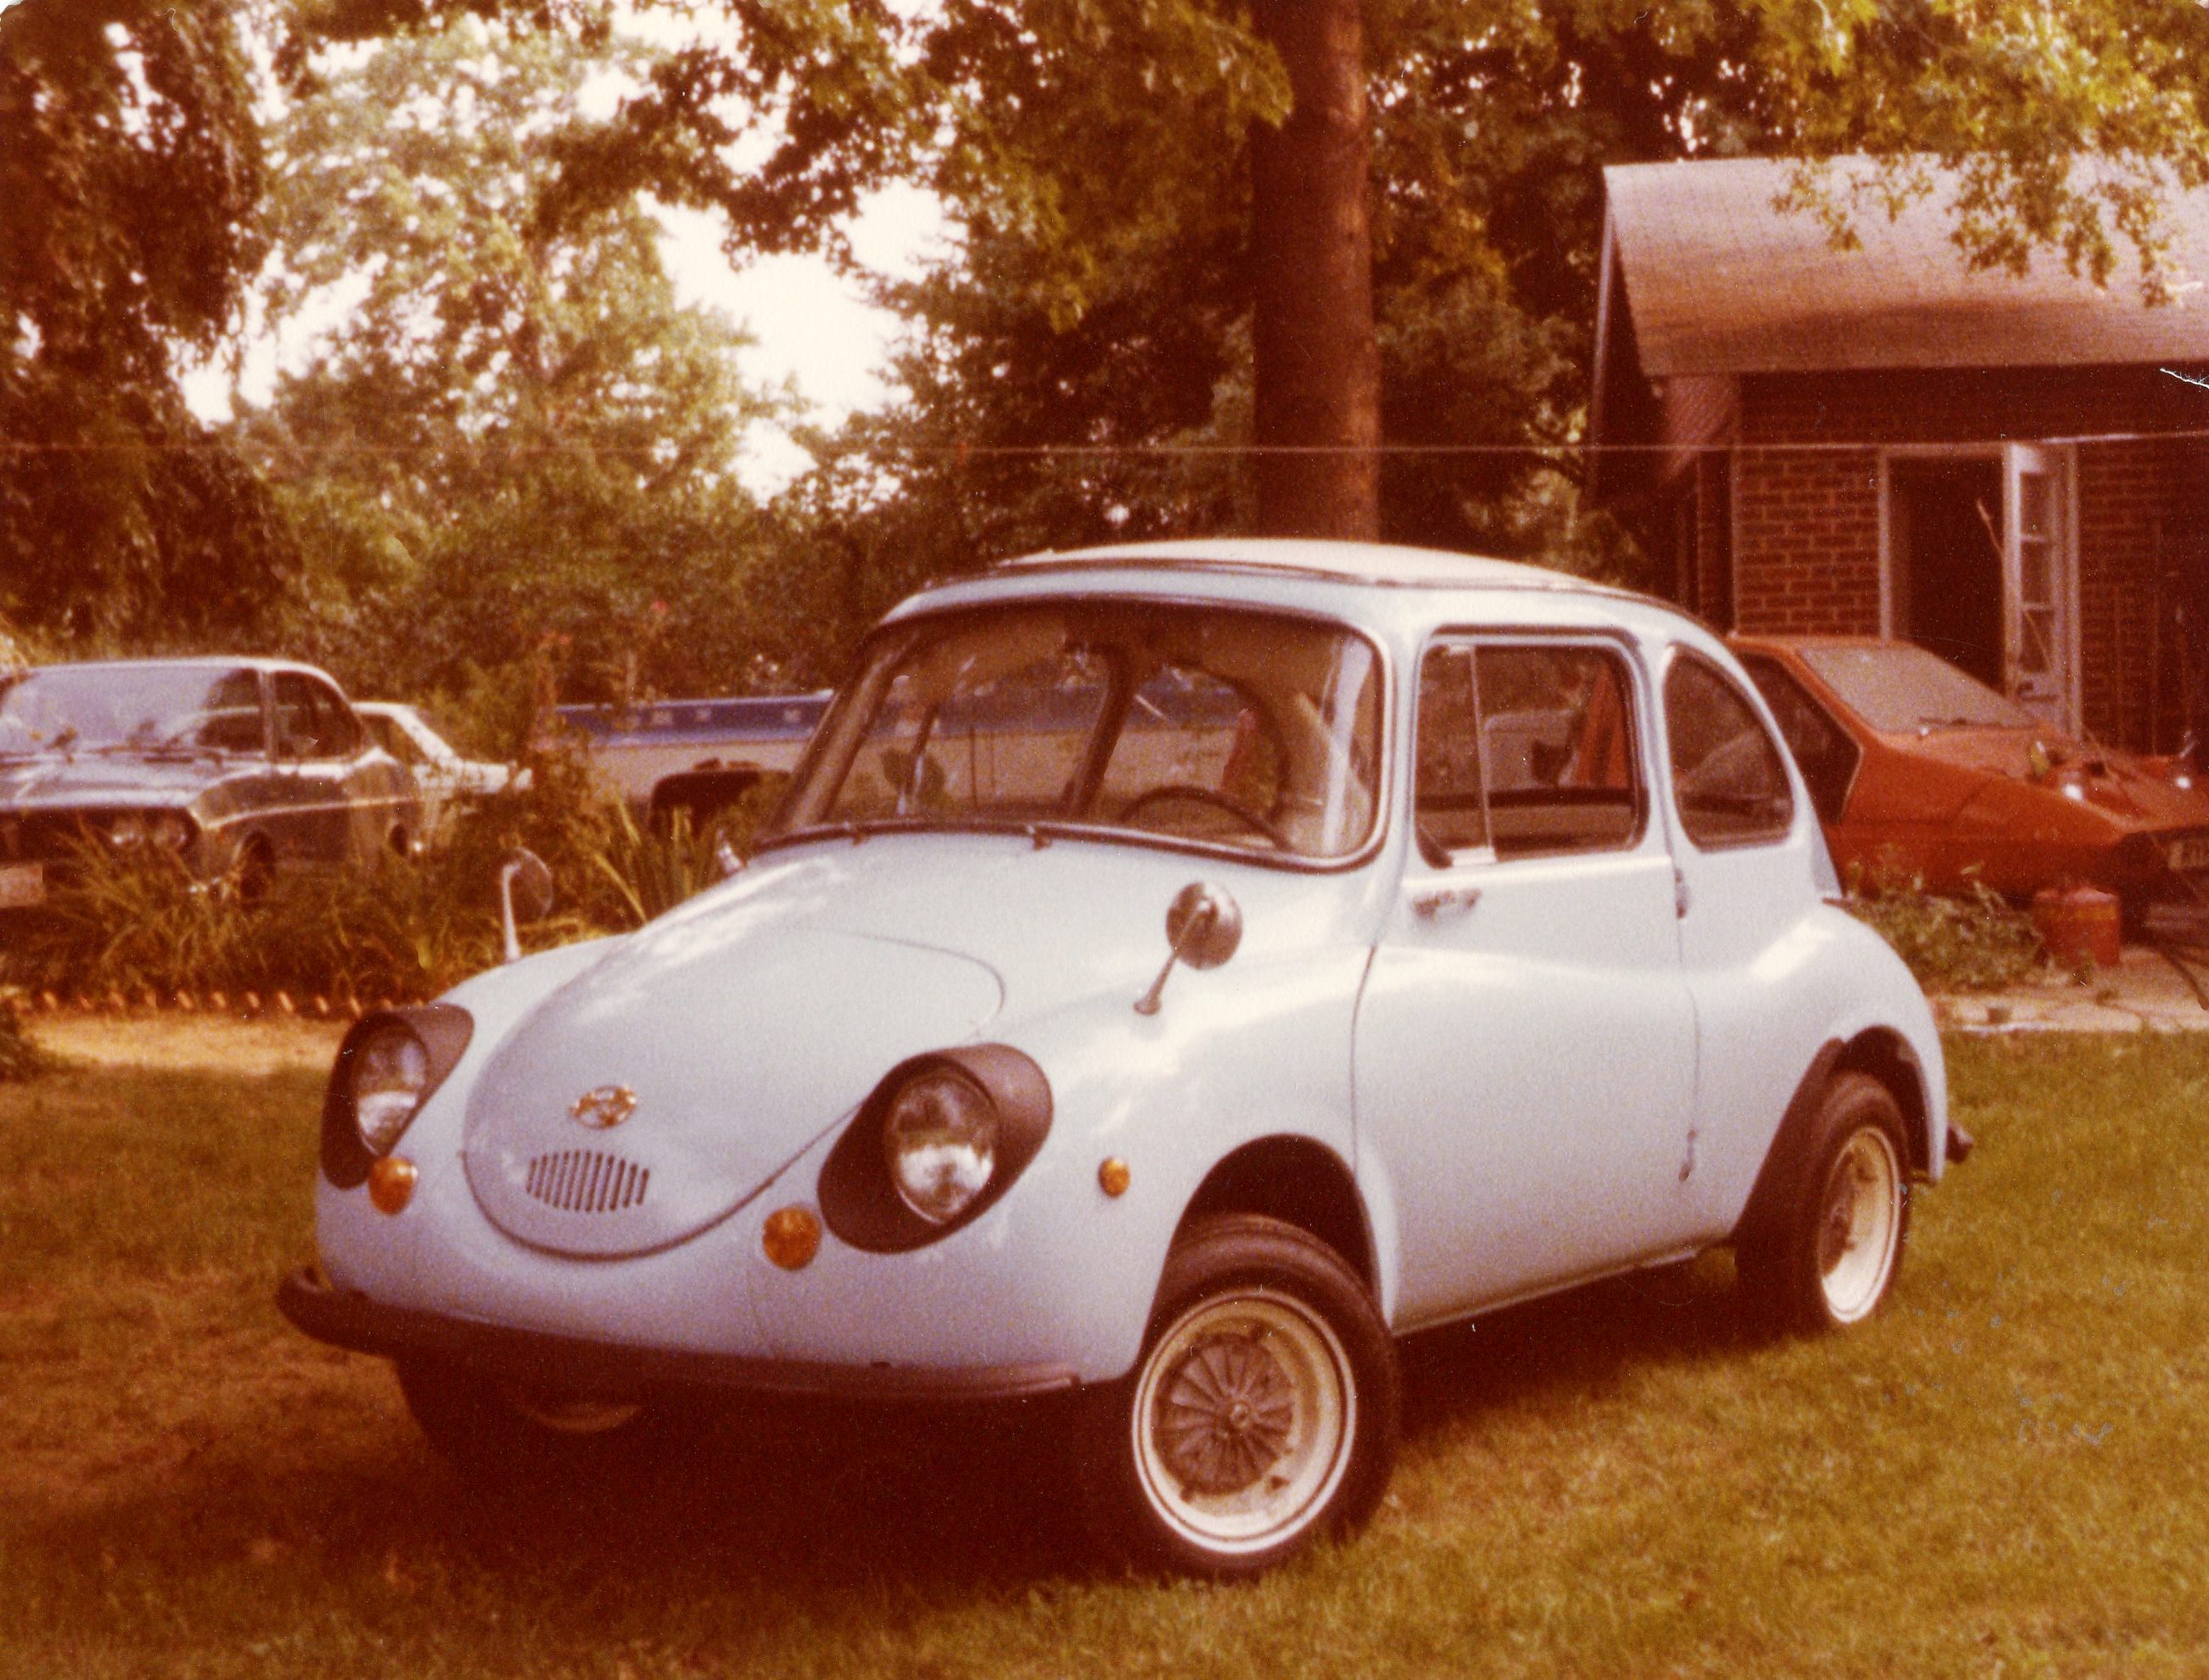
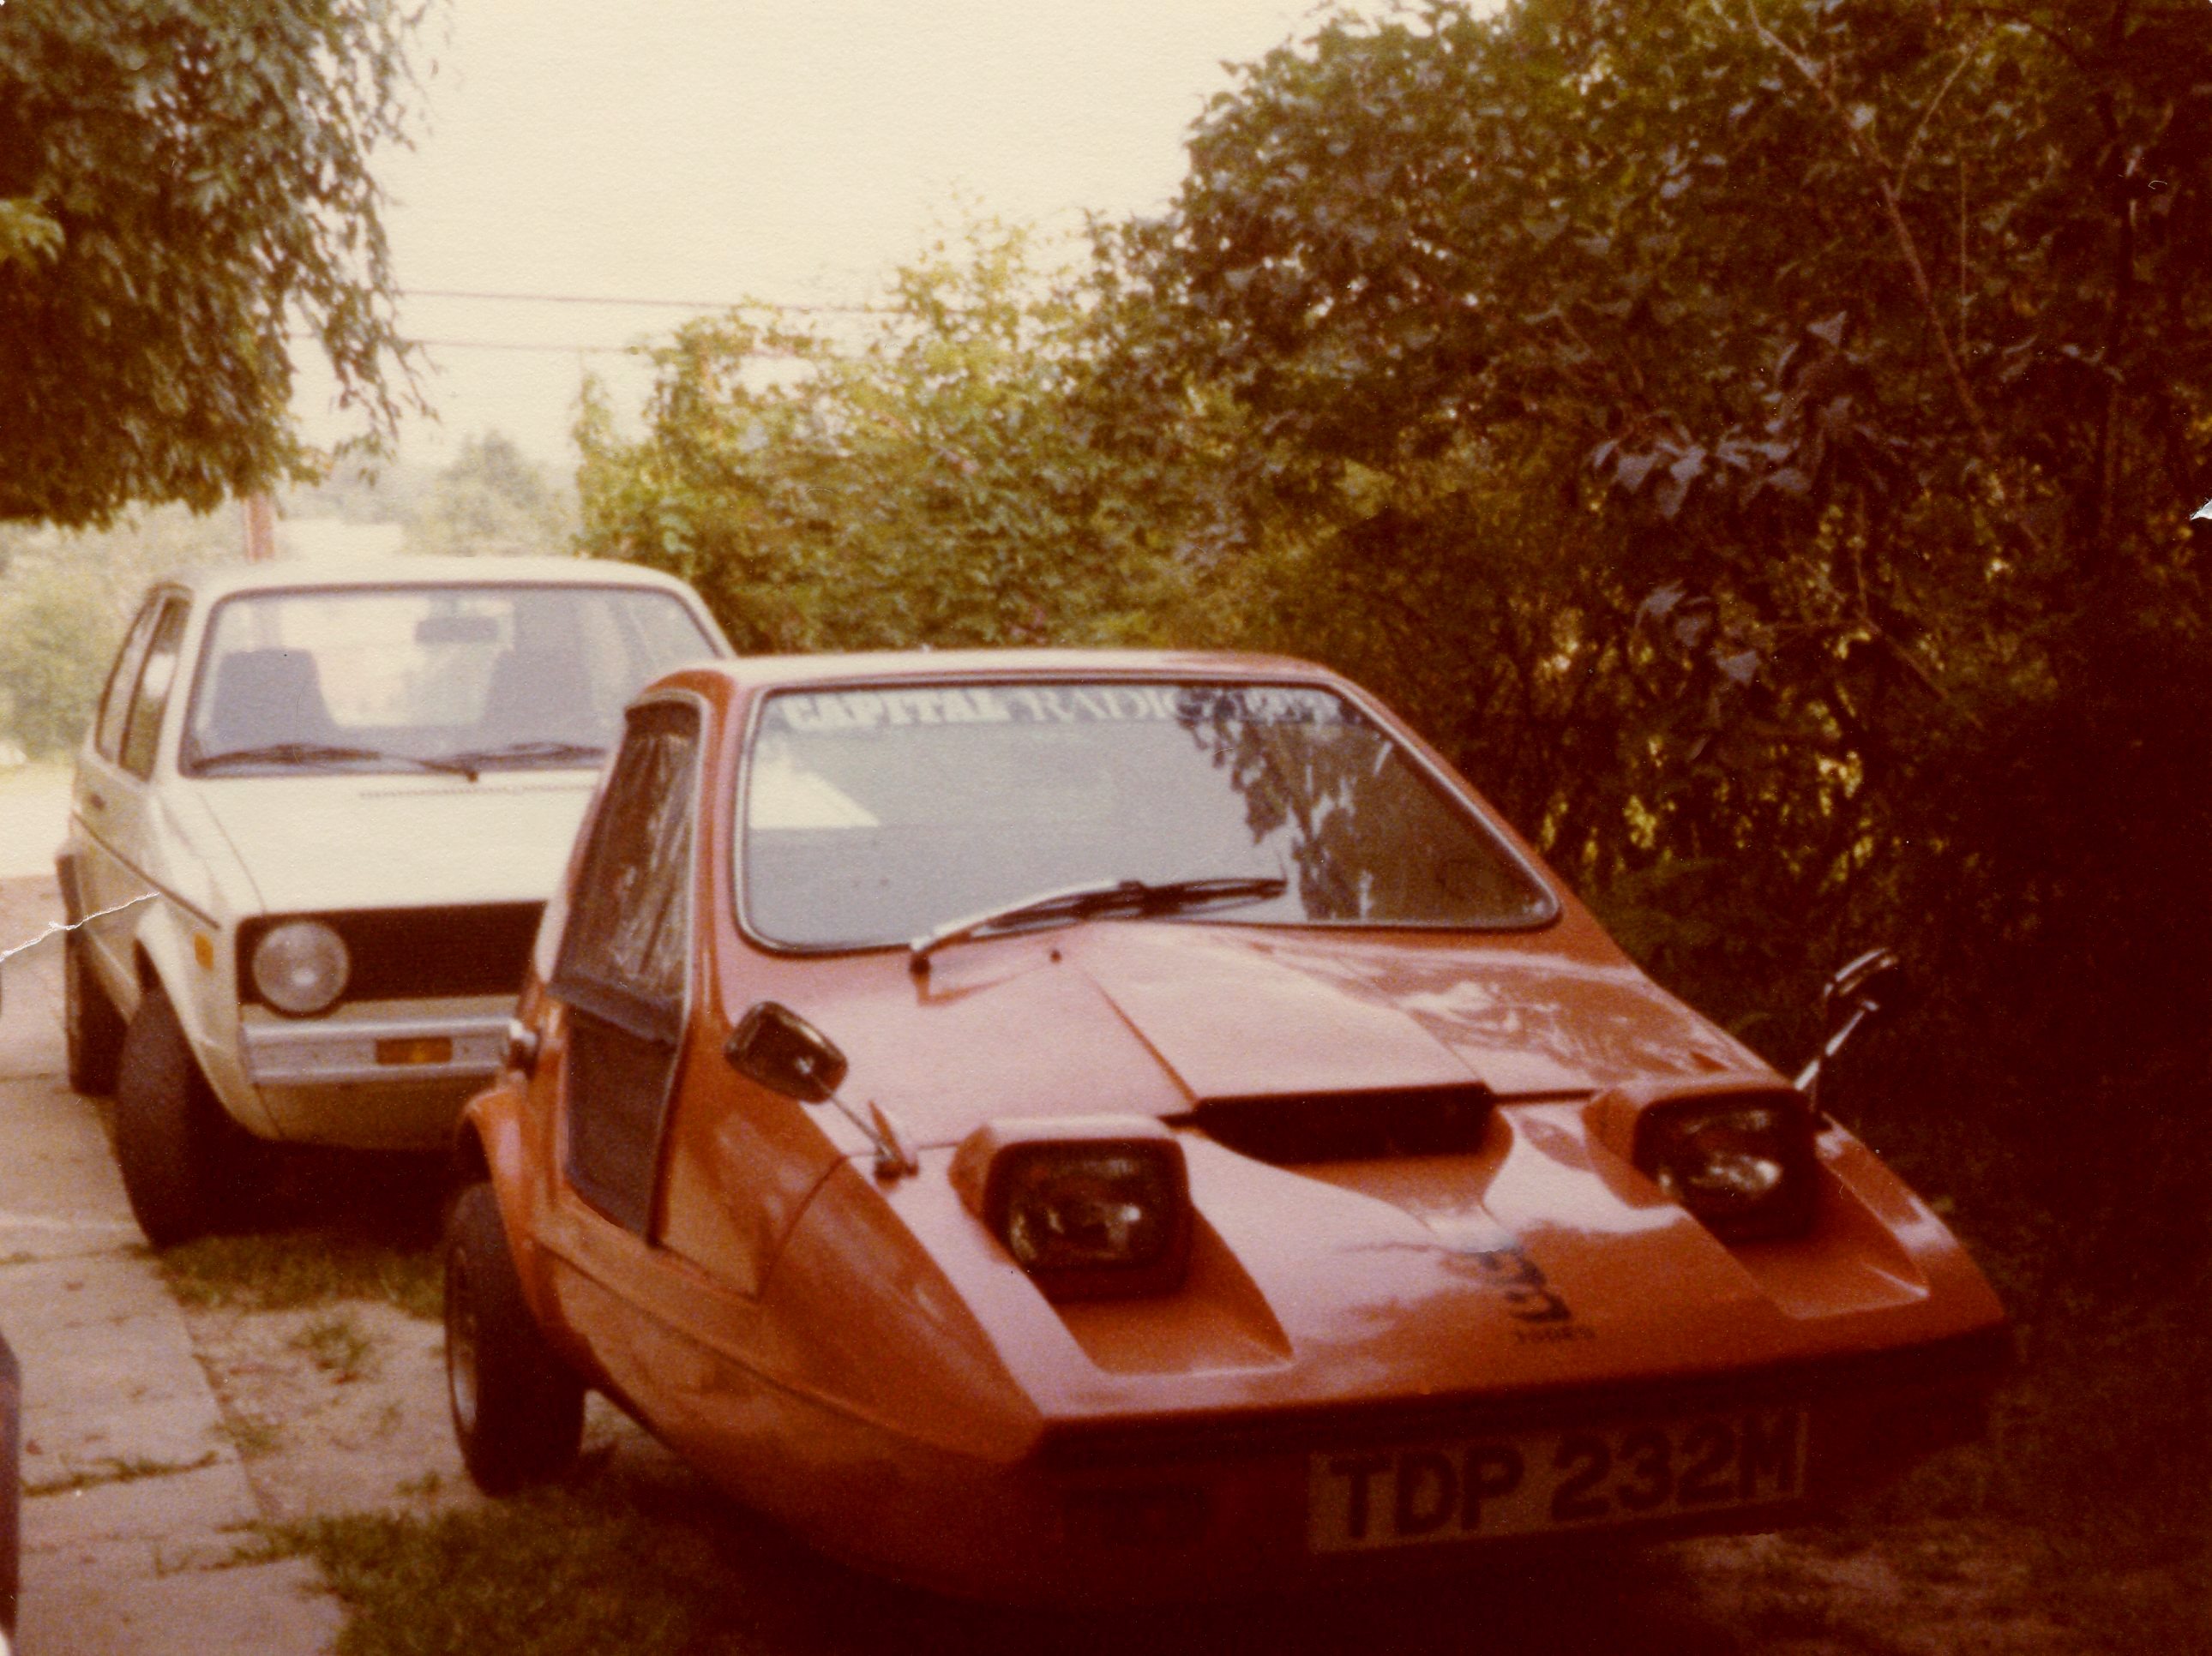
You were maybe expecting Chapter Five of the Isetta Saga? It’s coming along nicely, and you’ll read all about it next week, promise.  

All photographs copyright © 2018 Richard A. Reina. Photos may not be copied or reproduced without express written permission.


FUN FACT OF THE WEEK:

The original Mazda Miata debuted in the summer of 1989 at the Chicago Auto Show. The first vehicles were 1990 models, making them 28 years old this year. At the time of its introduction, the traditional affordable 2-seat roadster had all but disappeared (Austin-Healey, MG, and Triumph were gone). The Miata’s closest competitor was the Alfa Romeo spider, riding on a body/chassis design that had been introduced in 1966.


The Isetta Saga, Chapter 4: A Garage of My Own for the Isettas

In Chapter Three, we empathized with our wanna-be restorer who uncovered copious sources of Isetta parts and technical information, but who was still unable to accomplish any restoration work of significance.

Chapter Four ends happily when a clandestine mission brings all the Isettas to the same home as the author for the first time in a decade.

 CHAPTER 4: A GARAGE OF MY OWN FOR THE ISETTAS

As the decade of the 1980s progressed, my dreams of restoring my Ford and BMWs were constantly beyond my reach. That’s not to say that I wasn’t spending my time productively. Much effort went into advancing my automotive career, as I progressed from Service Writer to Service Manager to a position with Volvo Corporate; I also embraced every opportunity to indulge in the drummer-as-alternate-career role, an activity which consumed a tremendous amount of time and energy.

In 1983, my girlfriend and I took a week’s vacation, traveling to Germany to be with her sister and brother-in-law. The BIL was in the service, stationed in Frankfurt. I insisted that we find our way to Munich so that we could visit the BMW Museum. (This was the same trip during which we visited the Schlumpf Collection in Mulhouse France.) The museum had an Isetta on display, alongside its contemporary 507. The 507 was graced  with a statue of Elvis alongside it, who owned one. The Isetta featured a life-size likeness of Marilyn Monroe alighting from its front door. This is what the Germans thought of ‘50s American culture.

The BMW Museum brochure, 1983


Difficult to believe that these two cars were in BMW showrooms at the same time

Aside from this visit, I paid little heed to anything Isetta-related, as my tiny car collection remained tucked away in its Maplewood garage. I continued to mail garage rental payments to Ms. Stetson, but otherwise had no contact with her. Mike Adams, who was sharing the garage with me to store his Volvo 544, left his employment at Smythe Volvo, and I subsequently lost contact with him.

The HMI Club still published newsletters, but I eventually stopped my subscription. An odd side-effect of having my name and number in the Club Directory was that, about once a year, my phone would ring and I would immediately face a barrage of questions: “I’m calling about the Isettas. Do you still own them? Can I ask you some questions about your Isettas?” These conversations, easily lasting an hour or more, would be pleasant, but did nothing to further any progress with the cars.

After the Ford Retractable burned to the ground in 1984, I was so disgusted with myself that I wanted out of the car hobby altogether. I ran an ad in the Want Ad Press, a weekly classified rag that was published in two editions: Automotive, and Everything Else. The ad read:

“Three BMW Isettas for sale, disassembled. Need complete restoration. Take everything for $500.”

One person responded, someone who drove out from Brooklyn. He met me at the garage. I opened the garage door. He took one look, said “have a nice day”, and headed back to his car. Soon after this, I stopped making rent payments. My secret hope was that Sue Stetson would sell her house and the new owner would take possession of the pile in which I had lost all interest.

A very toasty ’57 Ford Skyliner

As the decade was about to end, about three years into my employment at Volvo Cars of North America, my fiancée and I bought a house with a one-car attached garage. She was very supportive of my desire to be in the car hobby, and it was her son who helped hatch The Recovery Plan. He urged that we should drive to Maplewood under cover of darkness, and without alerting anyone, ascertain if the cars were even still there.

One night in the summer of 1989, we drove to Sue Stetson’s house. I barely remembered the way. We arrived close to 10 p.m. The entire block was eerily quiet. Sneaking down her driveway with flashlight in hand, we reached the detached garage behind the house. On tippy toes, I peered through the garage door window. Turning on the flashlight, and prepared for the reality that the garage might be empty, I saw them for the first time in years: three mournful Isettas stared back at me, seemingly untouched all this time. We did nothing more that night than sneak back to my car and drive home.

The decision was mine, and it was resolute: I would contact Sue Stetson, own up to my obligations to her, drag my bounty back to my garage, and begin the restoration process in earnest. I called Sue. She didn’t seem surprised to hear from me. As soon as I offered to pay her 100% of the back rent (about $1,200), she said that wouldn’t be necessary. I insisted. We compromised: I wrote her a check for $600, and we verbally agreed that this would fulfill all back-owed rent.

On Saturday, October 21, 1989 (eleven years to the day from when Don and I made our first trip to Moscow VT), I rented a box truck from U-Haul which could fit everything in one trip. At the end of a very long day, and for the first time in almost ten years, the Isettas and I again lived at the same address.

The 3 Isettas, in their new garage, about to get baths

The following weekend brought glorious weather, what we usually refer to as Indian summer. Taking advantage of the warmth, I dragged all three cars and all the accumulated parts out of the garage and into the driveway to begin an initial cleaning and sorting. The only tools I needed that day were the garden hose and the garbage can.

The 3 car bodies, getting washed for the first time since who knows when

First, the three bodies: I was happy to learn that my fine German automobiles served as home to many cats and mice during the last ten years: there were dozens of mouse skeletons, and more than a few shovelfuls of cat excrement to be scraped out of all the interiors. The only positive note regarding the clean-up was that much of the smell had dissipated. Using nothing more than car wash soap and water, I hosed down all three cars.

Then there were the mechanical bits. As you may recall, none of these Isettas were assembled in the traditional sense at time of purchase. Nothing had changed from 1978 to 1989: the various engines, transmissions, brakes, body pieces, etc., were still loosely collected in boxes and crates. On Cleanup Day, the best I could manage was to pose the pile on the ground for a picture.

An engine, carb, tires, exhaust, and body parts are some of what’s recognizable


This is what I started with: this is the car that I eventually completely restored


One chassis stayed in garage. Note Volvo 544 door which belonged to Mike Adams


With cleanup done, everything went back into the garage. For once, time was on my side as I plotted a course of action which would bring me into the decade of the 1990s, about to embark on a full-scale restoration of an Isetta.

In Chapter 5 of the Isetta Saga, we begin to disassemble all 3 cars, after which all loose parts are thrown into a pile, and the best of the bunch is selected while wearing blindfolds.

All photographs copyright © 2018 Richard A. Reina. Photos may not be copied or reproduced without express written permission.

FUN FACT OF THE WEEK:

After World War II, the Bavarian Motors Works (BMW) was struggling to survive. Showroom offerings ranged from the $1,098 Isetta microcar, to the $8,988 507, of which only 253 were ever built. (To put that price in relative terms, a ’57 Mercedes Benz 300SL Gullwing was $7,295, and a ’57 Porsche 356 Cabriolet was $5,915.) Collector car values for the 507 languished for years. According to Sports Car Market magazine’s price guide, ten years ago, in 2008, the value of a 507 ranged between $300,000 and $500,000. Today, that same price guide pins its value at $2,077,500. Not a bad ROI.

Tucker Restoration Shop Holds Open House

For a vehicle which reached a production count of only 51, the “Tucker 48” automobile has fascinated auto enthusiasts, historians, collectors, and conspiracy theorists ever since the Tucker Corporation ceased operating in 1949.

On Sunday January 28, 2018, I had an opportunity to visit a shop which is in the process of performing a complete restoration on Tucker #1044. Via my membership in the NJ Region of the Antique Automobile Club of America (AACA), the word went out that Ida Automotive, a shop in Morganville NJ, was hosting an Open House, allowing invitees to see this Tucker in its disassembled state.

Arriving shortly after the announced start time of 11 a.m., the lot surrounding the building was already so crowded that finding a parking spot took a few minutes. By the time I worked my way inside, I would estimate that I was one of at least 100 people in attendance.

This is one of three shop rooms

There is no need to delve into the detailed history of Preston Tucker and his eponymous cars here. If interested, the author invites the reader to visit this Wikipedia page, or this page from the AACA Museum website. Indeed, Richard’s Car Blog briefly highlighted the Tuckers at the Museum when we visited in early 2017.

Back to Ida Automotive: the shop building is set back from busy Texas Rd. by about 100 yards. With no identifying signage out front, those driving by on this busy street would have no idea it existed. Entering the front door, one passes through a small but neatly painted and carpeted front room and then into the shop area itself. There are multiple rooms, and each room is jammed with cars-in-process, tools, supplies, machine equipment, lifts, parts, and most notably, sheet metal, both in ‘stock’ and ‘formed’ shapes. The mob on hand made it so crowded that moving about took time and patience.

Having visited my share of automotive repair shops, there was an immediate sense that this operation is different. The primary work product here is sheet metal fabrication. The car collection within was eclectic, and included a ’50 Mercury convertible, an unidentifiable ‘40s-era pickup truck under cover, a Ferrari 365 GT “Queen Mother”, and a ’58 Cadillac custom (covered and on a lift, exposing its rack-and-pinion steering!).

’50 Mercury convertible, almost done (but I found green over red colors odd)

A FERRARI IN A FABRICATION SHOP?
The question was answered once I spotted the “before” photo: something had crushed its roof, and the skilled metal workers at Ida Automotive had beautifully repaired it:

That brings us to the Tuckers. One was immediately drawn to a brilliant blue Tucker, appearing to be a perfectly restored car – until one noticed the twin-turbo engine out back, sitting in a chassis that looked about 4 inches lower than stock. This Tucker otherwise appeared ‘normal’, but the blank VIN plate caused me to conclude that this was a replicar, albeit an extremely well-done one.

Behind it was a wooden buck (upon which sheet metal is formed into shape), and again, first glances proved deceiving. While the overall form looked Tuckerish (if that’s not a word, it should be), certain shapes on the buck deviated from the blue car next to it.

Moving into the next room, the shiny object in front of me was some sort of car, but what? Again, the word “Tuckerish” came to mind. But there were enough hints lying around in the form of printed images to solve the riddle. Ida Automotive is in the process of recreating the original Tucker Torpedo, the design study shown to the public in two-dimensional form, but never built. It’s an odd-looking thing, especially without glass and doors installed, preventing you from seeing the whole shape. But the more one stared, the more one could see the familial resemblance. Oh, and that buck behind it is for this Torpedo.


THE TUCKER TORPEDO
The “Torpedo” was the name given to the illustration of the prototype. Many mistakenly called the production car the “Torpedo ’48”, but that was not its name. The efforts by Ida Automotive to create a vehicle which never existed is fanatical.
Minus doors and glass, Torpedo looks awkward from this angle
Its most unique feature (so far) is the seating arrangement. There are 3 seats, arranged on an electrically-powered carousel disc. There is one seat in the front for the driver, who sits behind the centrally-mounted wheel; in the rear are two passengers. However, the carousel rotates, which means any one of the 3 seats can be the driver’s seat. This might also assist with ingress and egress. One can only hope that the carousel’s rotational ability is disabled while the Torpedo is in motion.
The Torpedo’s 3 seats, mounted on a carousel (note magazine illustration)

The final room held the star of the show, Tucker #1044 (its serial number). Interestingly, this very car was recently featured in Hemmings’ Classic Car magazine. The gentleman who owns it bought it last year, and must have decided that, although a decent driver, it deserved a complete do-over, and he concluded that Ida Automotive was the best place for it.

Spacious interior looks even more so here


Front suspension detail. Originally car had rubber suspension.
There was always a crowd around #1044 (note wall posters)


It was very generous for the proprietors to open their doors on a Sunday to those of us interested in Tuckers. Our hosts went so far as to provide coffee, water, and breakfast treats. There were no formal presentations, so we were left to figure things out by snooping around the place.  A poster on the wall was a big giveaway: a man named Joseph Ida was the dealer principal of a Tucker dealership in New York, so it’s not a far stretch to conclude that a descendant owns Ida Automotive. Another poster proclaims: “Ida Automotive Est. 1959”, so they’ve been at it for a while.

Wall poster shows Joseph Ida in front of his Tucker dealership in NY

MACHINE  AND SHEET METAL TOOLS


The business’ associated websites offer little in the way of clues as to what actually transpires within these walls. Based on the quality of work I observed, it’s fair to say that Ida Automotive excels at what they do. It’s also refreshing for this collector to see some things still done the old-fashioned way. We in the hobby can only hope that workers with these skill sets continue to be around so that our automotive treasures can continue to be maintained and enjoyed.

Please don’t be alarmed: Chapter Four of the Isetta Saga will return next week, promise.  

All photographs copyright © 2018 Richard A. Reina. Photos may not be copied or reproduced without express written permission.


FUN FACT OF THE WEEK:

Tucker #1029, the car personally owned and driven by Preston Tucker, was sold by RM Sotheby’s at their January 2018 Arizona auction for $1,792,500.


The Isetta Saga, Chapter 3: Discovering You Are Not Alone Among the Bubble Cars

In Chapter Two, we voyaged with our intrepid travelers as they braved all manner of hardships to secure safe passage of their beloved bubble cars back to NJ.

Chapter Three brings us the exciting discovery that there are others who own and collect Isettas, and can even provide much-needed parts and technical knowledge. However, none of that solves the challenges of the need for time, space, and money.

CHAPTER 3: DISCOVERING YOU ARE NOT ALONE AMONG THE BUBBLE CARS

We came back from Vermont with more than just cars and parts.  Wes Turner had also given us a small pile of papers: a spare parts list, exploded diagrams, and other print material. Although we visually scanned the documents before heading home, the significance of what we had took some time to sink in.

The spare parts price list was from the Ludwig Motor Corp., “imported spare parts specialists”. It was also dated June 1962, making it 17 years old. We surmised that it was more than likely that Herr Ludwig und Co. were no longer in operation.


The Ludwig Motor Corp. Isetta Spare Parts Price List


The exploded parts diagrams were fascinating in their detailed precision. (We didn’t know it at the time, but these drawings were from the factory BMW Isetta parts catalog.) In red, at the top of the page was an ink stamp: “Felling Enterprises” of Topanga, CA. We contacted said Enterprises to learn that it consisted of the husband & wife team of Carl and Marilyn Felling. Not only did they have Isetta spare parts to sell; they headed an organization called the HMI Club.


BMW’s official Isetta exploded parts diagrams. These would come in very handy down the road.


HMI stood for “Heinkel / Messerschmitt / Isetta”, the 3 most popular microcars at that time. (The Heinkel was conceptually similar to the Isetta. The ‘schmitt, with its tandem seating, yoke steering, 8″ wheels, 2-stroke engine, and side-hinged canopy, made an Isetta look normal.)

The club was for members interested in restoring, collecting, and showing their bubble cars (so called due to their rounded bubble-like shape). From their home in Topanga, the Fellings published a quarterly magazine, sold replacement parts, restored their own Isettas, and generally made themselves available to fellow bubble-nuts.


Marilyn sent out this letter in response to a recent Motor Trend article about her


It was almost too much for me to take in that right here in the U.S. were others who were equally interested in Isettas, and were available with resources to support my vision of a restored final product. I signed up for HMI Club membership immediately.

My HMI Club membership card

If one looked hard enough, there were other sources to be found. At Carlisle in 1979 (a primarily domestic automotive flea market), I found a literature vendor with four pieces of BMW Isetta sales literature, in both English and German. I bought everything he had, and paid close to $50 for it. When I showed my dad, he thought I had really lost it.

While occupied with research on the Isetta, I still needed to remind myself that I also owned a 1957 Ford Skyliner retractable hardtop. My daily driver continued to be my 1977 VW Rabbit. At the age of 24, I owned 5 cars, never mind that three of them were disassembled microcars which were an unknown oddity to the automotive world at large. Given that the Ford ran and the BMWs didn’t, the Skyliner got some priority.

During the summer of ’79, I committed to rebuilding the very tired and worn Y-block V8 in the Ford. It had 140,000 miles on it, and pulling the valve covers revealed sludge so thick that I couldn’t see the head bolts. Having never rebuilt an engine before, I rented a cherry picker, borrowed an engine stand, disassembled the entire engine, had machine work done to the heads and block, and put it all back together. At one point, I even had the bare block in the back of the Rabbit.


Summer of ’79: engineless Ford, Rabbit, and Isettas all crowd into my folks’ backyard


Later that summer, with a trip to the Washington DC area in the making, I took advantage of the HMI Club directory. I looked up a club member named John Malcolm who lived in Maryland, and invited myself to his house. John was more into Messerschmitts and Subaru 360s than he was Isettas, but he was technically brilliant (he had written several how-to articles for the club newsletter), so I picked his brain as much as possible. In addition to his various project cars strewn across his parents’ yard, he also showed me his ‘modern’ Bond Bug microcar.

The cars of John Malcolm:

As 1979 drew to a close, the Skyliner was running but still needed significant body and interior work. There was no real progress to speak of with the Isettas. I had bought some carburetor parts from the Fellings (and even found some Volvo o-rings that would work), but the main stumbling block was that there was no plan. Access to my cars was about to get worse.


Any Volvo parts guys recognize those part numbers?


On January 1, 1980, I moved from my parents’ house on Staten Island to an apartment sans garage in Somerville NJ, which put me about a mile away from my job at Autosport. All the collector cars stayed with my folks, meaning, there was no regular opportunity to work on them.

In 1981, my father retired, and my parents decided to sell their Staten Island home and move to a retirement village in southern New Jersey. This meant that I could no longer rely on free storage for my rolling pipe dreams. My mechanic’s career was not exactly making me rich, and rather than selling off the collection, which would have been the mature decision, I spent what little extra funds I had on rental storage for all the cars.

The Isettas were moved into one half of a two-car detached garage in Maplewood NJ. Mike Adams, a salesman at Smythe Volvo in Summit NJ, where I went to work in August of 1980, had a Volvo PV 544. He was storing the Volvo in one half of a garage he was renting from a friend of his, Sue Stetson. He told me that the other half was available for $20/month. So I rented a truck, moved the 3 Isettas into this dirt floor garage, and told myself that at least they had a roof over their heads. As noted in greater detail here, the Skyliner was moved to Van’s Storage in western Jersey.

The decade of the 1980s began with me owning four collector cars, none of them stored anywhere within the proximity of my living quarters. Nine long years would pass before any further progress would transpire for my “rolling eggs”, as the Germans called the Isettas.


Stay tuned for Chapter Four, when we’ll discover how a clandestine rescue mission brought the Isettas home to a garage to call their own. 

All photographs copyright © 2018 Richard A. Reina. Photos may not be copied or reproduced without express written permission.


FUN FACT OF THE WEEK:

Ford’s flip-top Skyliner was not the world’s first retractable hardtop/convertible brought to market, but was certainly the first mass-produced one. The engineering was initially intended for the Continental Mark II, but when the bean-counters realized that the projected low volume of the Continental would never amortize the costs, the entire project was moved over to the full-size Ford platform. First introduced in 1957, Skyliner sales reached 20,000. But in 1958, volume dropped to 14,000, and for its third and final year, 1959 sales only hit 12,000 units. While Ford gave up on the retractable hardtop, the decklid and package shelf mechanisms lived on in the soft-top Thunderbird and Lincoln Continental convertibles of the 1960s.


Sunday Morning Breakfast Runs – The Early Years, Pt. I

Our Sunday Morning Breakfast Runs, about which I’ve blogged so much, started well before I joined the fray. I believe I had been told that the initial trio who launched these events began back in 1999 or 2000.

Earlier this year, someone in our group who had joined around the same time as I did asked me, “when did all this start?” Great question, I responded to myself as much to anyone else, and decided to pore through my photos to see how far back I could trace my involvement.

The earliest photographic evidence of my participation takes me to early spring of 2006. Since the trees in the photos have yet to bloom, I would pin the timeframe as late March/early April. The photos were taken in Cold Spring NY, which was a frequent destination for many of the early runs. We parked our cars around a little cul-de-sac, with the Hudson River in the background, and this served as a wonderful photo op (that’s Burton standing on the bench, primed for some excellent shots). Note that there are SEVEN cars, a typical number for our group at that time.

My ’68 Mustang California Special (GT/CS) had been in my possession for only 2 ½ years. The year 2006 would be the year in between driving that car in the ’05 and ’07 New England 1000 rallies.

The next time I photographed a Breakfast Run was June of 2008, and since the pictures reveal that our destination was Granny’s Pancake House in Hamburg NJ, I know that this was one of the, if not THE first time that Larry and I “hosted” the run. Granny’s had been recommended to me by a colleague at Volvo, and it proved to be a tasty breakfast place.

The GT/CS at the start of the run

As we exited the restaurant, I asked each driver (and passenger, if there was one) to pose next to their automobiles. As is always the case, the eclectic mix of vehicles is a big part of the draw. Our NE1000 buddy Ron dared to show up in his 1937 Packard convertible. I can report that he doesn’t baby the car on the road, as I had to keep my foot into my 390 to keep up with him!

Again, there were seven cars, which made it easy to keep everyone together in a caravan. Little could we imagine the size to which our outfit would expand.

In a future post, we’ll continue to look back at some of our older Sunday Breakfast Runs.

Our June 2008 participants (NOT the dude standing up at the left)


Ken and son with Porsche 911


Peter with Porsche 911


Larry with Chevy Monte Carlo


Richard with Mustang GT/CS


Ron with Packard


Rich and son with Mustang


Bill with Corvette


Spotting the Packard over the Mustang’s hood


Summer of ’08: check out those high fuel prices!


All photographs copyright © 2017 Richard A. Reina. Photos may not be copied or reproduced without express written permission.


FUN FACT OF THE WEEK

A 1937 Packard Super Eight convertible coupe, with a 135 hp, 320 c.i. inline-8, cost $2,680 new. Or, one could purchase a 1937 Ford DeLuxe cabriolet, with an 85 hp, 221 c.i. V8, and pay $719 (27% of the Packard’s cost).


The AACA Mileage Award Program (MAP)

It’s been over ten years since I first joined the Antique Automobile Club of America (AACA), even though I have been attending the club’s Hershey events since the late 1970s.

In my opinion, the club sometimes gets undeserved criticism for being set in its ways, an organization whose membership is only focused on perfect show cars. As evidence to the contrary, I cite the introduction of the HPOF (Historical Preservation of Original Features) award, which recognizes vehicles which are in essentially original unrestored condition. Another recent addition was the creation of the Driver’s Participation Class (DPC), which has brought many previously-excluded vehicles onto the showfields. And to battle the image of “old guys and their old cars”, great strides have been made to get our youth into the club and involved in this hobby.

Along these lines, I accidentally stumbled across something called the Mileage Award Program (MAP) on the AACA website. Seemingly started in 2012, its purpose is to reward those who actually drive their antiques. I had not heard of it before discovering it online about a year ago.

Busy front end, what with personalized plate, HPOF award, and Mileage award

I sent in my application, and received an emblem and a mileage-tracking form. Once I pulled my Alfa Romeo out of the AACA Museum earlier this year, I noted the odometer reading, and began driving the car. The year 2017 saw plenty of use for the Alfa, the highlight of which was the almost-900 mile round trip to Montreal for the AROC (Alfa Romeo Owners’ Club) annual convention.

As I was putting the car away for the winter in mid-November, I recorded that the car had been driven just over 2,000 miles. I noted that fact on the MAP form, and mailed it in. Several weeks later, my “2” pin arrived, and today, I fastened it to the MAP plaque above the front license plate.

“2” is for two thousand. Additional holes are for future mileage pins.

The MAP recognition awards are given out at 2,000 and 5,000 mile intervals. (It is not clear to me if the mileage segments are cumulative or not; in other words, when I drive another 3,000 miles, am I then eligible for my 5,000-mile pin? Or must I now drive an additional 5,000 miles? I need to reach out to the club and ask.)

If you’re an AACA member (and if you’re not, please consider joining this wonderful club; old-car ownership is NOT required!), check out this relatively new feature. If you regularly drive your AACA-eligible car, it’s a great badge of honor, as well as a conversation starter if your car has the Mileage Award Program recognition on it.


All photographs copyright © 2017 Richard A. Reina. Photos may not be copied or reproduced without express written permission.


FUN FACT OF THE WEEK

In 2012, the AACA published its first-ever “Membership Album and Roster”. The hardcover book is in two sections: the bulk of the book contains color photos of hundreds of members’ cars. The final third is a phone directory-like alphabetical list of every AACA member. The book runs 919 pages.


Winter Storage, and the Start of the Miata’s Next To-Do List

As happens every winter, the collector cars (loosely defined as the cars that don’t get driven in snow) are put away for the winter. The ritual is one that has evolved over the years and is now consistent: fill the tanks with fresh fuel, add Sta-Bil, pump up the tires at least 10 p.s.i. over normal to avoid flat-spotting, put a trickle charger on the batteries, and cover the cars with a dedicated car cover. It’s easy, takes little time, and doesn’t cost very much.

Before going further, let’s take a moment to say a few words about the brands I use, and have continued to use. (I’m a firm believer in finding good products and sticking with them, even if they cost a trifle more. As the cliché goes, ‘you get what you pay for’.)

The Sta-Bil brand of fuel stabilizer, made by Gold Eagle, has been in use in my garage since I’ve owned powered lawn and garden equipment. Many moons ago, I heard stories about lawn mowers and snow throwers, two examples of gas-engine devices which see seasonal use, failing to run because the old gummed-up gas gummed up the works. As soon as I got my first lawn mower, Sta-Bil went into its tank.  The gumming has never happened to me, and I’ve stuck with the brand ever since.

Sta-Bil STORAGE is your basic fuel additive if fuel is going to sit

Yes, I had my doubts about their ethanol treatment after it seemingly made the Alfa run worse (a conclusion which I now doubt since discovering my carbs are running rich and fouling the plugs a bit), but your basic ‘storage’ version of Sta-Bil is the way to go for any fuel tank in which fuel may sit more than 6 weeks or so.

It’s a similar story with battery chargers. I still have my dad’s Sears charger, which looks like it was made in the 1960s. It works great to jump-start a dead battery, but it ain’t no trickle charger. Long-term battery storage requires both a slow charge (the “trickle”) and a volt-sensing cut-out that won’t overcharge the thing and boil it to death.

You know it’s an old charger when there’s a switch for “6V” and “12V”

The Deltran Battery Tender brand came onto the market several decades ago, and they found their niche for the car collectors whose vehicles are stored in the off-season. While many competing brands have since been introduced, I’ve stayed with what I know works. I think I’m up to 3 of these Battery Tenders in the garage.

Green is good! Battery Tender keeps battery charged without overcharging

Car covers are a relatively new accessory to my winter arsenal. Up until a few years ago, frankly, I didn’t believe in them. It was a combination of fear of paint damage from moisture trapped beneath the cover, and frustration with my inability to find a custom-fit cover for the BMW Isetta (my expectations were a bit high with that one).

Since working at CARiD, I’ve learned a lot about the usefulness of good quality car covers, and one thing I learned is that the Covercraft brand is my favorite. The fit is perfect, and the variety of material choices will satisfy any indoor or outdoor cover needs at any price point.

The indoor-rated Dustop from Covercraft fits the Alfa perfectly

The Alfa has a Covercraft Block-It Dustop (yes, they had the ’67 Alfa pattern in stock), and the Miata wears the Covercraft Evolution indoor-outdoor cover. In the garage, both covers do more than keep dust off the paint; they also protect the interiors from sunlight, and provide some protection from wayward nuts and bolts spinning out of control off my workbench. I would never again think of storing a car without a cover. Even in the nice weather, if it’s going to be more than a week or two before one of the cars gets driven again, the cover goes on.

The Covercraft Evolution cover on the Miata is rated for indoor and outdoor use

All this is a prelude to an announcement about my Mazda Miata: after giving some thought to selling it, I’ve now decided to keep the car. What’s more, next year, in 2018, this 1993 automobile will be 25 years old, making it eligible for AACA events. So I’m going to turn it into a show car.

The plan is to spend the winter tending to some mechanical maintenance, but also attending to some detail work in order to display the car at shows next year as a 25-year-old original unrestored car.

The mechanical list includes new rear brake calipers (one of the parking brake adjusters is stuck), new tires (tread is good, but they’re 10 years old), and a continuation of the LED bulb upgrade. The detail work involves a new convertible top (worn and dirty), an engine compartment detail, Paintless Dent Removal work on some small dings, and a complete polish and wax.

Here’s hoping for a mild winter, which will encourage me to get out to the garage! As long as the temperature is above freezing, I can spend a few hours out there. Watch this blog for updates on my progress with the Miata.


Is it spring yet?


All photographs copyright © 2017 Richard A. Reina. Photos may not be copied or reproduced without express written permission.


Automotive Fuses: A Somewhat Brief Tutorial (with Illustrations)

Have you replaced a fuse on one of your modern daily-driver automobiles recently? It’s likely you have not. Today’s motor vehicles have much more sophisticated electrical systems, and while your typical 2017 four-wheeled 2.5 ton behemoth still uses fuses, the days of fuses just “wearing out” are behind us.

If you have needed to replace a fuse, the first trick may have been to locate the fuse boxes. My wife’s 2017 Honda Odyssey has FIVE fuse boxes: two in the engine compartment, two under the dash, and one at the rear, containing a total of 107 fuses. It makes me pity the shop tech who needs to fault-trace an intermittent electrical problem.

My 1967 Alfa Romeo GT 1300 Junior, by contrast, has one fuse box, located in the engine compartment. Access to it is easy, as it’s mounted high up, on the right-side inner fender. There are a total of 10 fuses: one for ignition, five for exterior lighting, and three which are helpfully marked “other electric devices” (of which there are few; my Alfa lacks the power sliding doors, climate control, and ‘Lane Departure Warning’ of my wife’s minivan).

Ten little fuses, all in a row. Note bi-lingual fuse box cover.

Italian cars get a bad rap for their supposed temperamental electrics. But there’s not been a lick of an issue with mine, save for a battery which died shortly after I got the car (because it was 10 years old at that point). Preventative maintenance goes a long way toward keeping the electrons flowing in the proper direction and in a complete circuit.

With any old car, I will gladly get on my soapbox and preach the ’12-Volt Gospel’: 99% of electrical gremlins are caused by poor connections. Terminals must be clean and tight; ground wires must be securely connected to clean ground; and fuses and their terminals must be clean, tight, and protected with dielectric grease. In no case should an electrical component be replaced without first ensuring that all connections, hold-downs, and crimped or soldered terminals are in the best shape they can be.

Soon after acquiring the Alfa, I removed all 10 of the European-style ceramic fuses, cleaned the spring-tensioned holders with a brass brush, and bent the holders inward to make them tighter. Next, I applied a light coating of dielectric grease. Upon reinstalling the fuses, I ran continuity tests with my multimeter to check that there was minimal (ideally, close to zero) resistance in the connections.

This dielectric grease is magical stuff. It seems counter-intuitive to grease electrical connections, but it prevents corrosion from forming. You still need to have a strong mechanical connection. It should be used on battery terminals and spark plug boots as well as fuses. Don’t waste your $1.99 buying the point-of-purchase 0.001 oz. packet at the retail store checkout counter. I bought a 5-ounce tube about four years ago, and even after multiple applications on multiple cars, I’ve only used about 25% of it.

Dynatex brand dielectric grease – I use it frequently on electrical work

While on the subject of fuses: I recently cleaned out an old shoe box full of automotive miscellany which had belonged to my dad. In it were several tins of glass-style fuses. While none of the cars I own today use this style, my ’68 Mustang did, and I recall how difficult it was to reach the fuse box on that car, as it was mounted above the gas pedal.

Buss brand glass fuses – note old & new style packaging

Some people refer to these as Buss fuses, however, that is a brand name. According to Wikipedia, these fuses were also known as “SFE” fuses because they were developed by the Society of Fuse Engineers.  They varied in ratings between 4 and 30 amps, and in corresponding lengths between 5/8” and 1&7/16”. This was done by design in order to help prevent a fuse of incorrect amperage from being inserted.

Automotive glass fuses


Red Line brand fuses – box states that company is from N.Y.


Opening these is like going on an archeological dig

If you have a newer car, here’s hoping that you never need to replace a fuse (much less find the fuse box). If you have an older car, here’s hoping that you invest in a tube of dielectric grease, and in a half-hour of preventative maintenance. Let me know how it works out.


All photographs copyright © 2017 Richard A. Reina. Photos may not be copied or reproduced without express written permission.

Special photographic note: the 4 photos of the glass fuses were taken with a FILM camera, specifically, my Nikon EM, using Kodak Gold ISO 200 film.


FUN FACT OF THE WEEK

On January 14, 1885, Thomas A. Edison of Menlo Park NJ, applied for a U.S. Patent for his invention of a “fuse-block”, to act as an electrical protection device.


NJ Alfa Club Fall Foliage Driving Tour, November 11, 2017

On Saturday, November 11, 2017, the New Jersey chapter of the Alfa Romeo Owner’s Club (AROC) held its Fall Foliage Driving Tour, starting at Fullerton Alfa Romeo in Bridgewater, and ending at Duke Farms in Hillsborough.

The day dawned sunny but quite cold, with sunrise temps below freezing. The wind, which had been a factor the previous day, was all but nonexistent, which made the cold more tolerable. The thermometer moderated as the day progressed, and it turned out to be a beautiful day for a driving tour.

The dealer did a great job hosting us in the a.m., with plenty of coffee, bagels, and other breakfast treats available. Early arrivals were there before 9:30, and during the subsequent hour, 17 cars and close to 30 attendees streamed in. While there, we enjoyed alternating our gazes between the new Giulia sedans & Stelvio SUVs, and the classic Alfas parked outside.

After a brief driver’s meeting, we were off and running. Our first leg had us heading north/northwest, through Oldwick and Long Valley. After an hour on the road, we arrived at our planned rest stop in Chester NJ. The intent was to give participants a chance to wander the streets of this quaint town, filled with antique shops, bakeries, and the like. But true to the Italian spirit, almost everyone stayed in the parking lot, hovered around our Milanese metal, and swapped stories (mostly lies about horsepower).

The view out our rear window

By 12:30, the second leg of the drive began, and we were on the road again, now headed back south. We briefly doubled back on Lamington Road (Route 523), then turned south/southeast, through Whitehouse Station and Readington. We arrived at Duke Farms exactly at 1:30, which was a good thing, as our catered luncheon was scheduled to start at that time. By complete coincidence, the second leg was also an hour’s length. Both drives were blessed with relatively light traffic, colorful autumnal leaves, lots of sunshine, and no breakdowns.

The view out the front (we were in the lead car)

Duke Farms is the property formerly owned by tobacco heiress Doris Duke, and it has quite the history. As an aside to this driving tour blog post, if you’re ever in the area, it’s worth stopping by.

The café staff, led by Debbie, went overboard with our catered meal. We walked in to find a smorgasbord of sandwiches, wraps, salads, fruit, plus cookies and coffee. A section of the dining room was reserved for us, and we continued to catch up with old friends and/or make new ones, all while stuffing our faces.

We love to drive, we love to talk, we love to eat!

Our chapter president, Enrico, declared the event a success, and there was widespread agreement among the chapter members. Based on today’s turnout, we are all counting on AROC’s NJ Chapter to hold more such events in 2018.

We somehow managed to keep 17 cars (mostly) in a row


Arriving at the Chester rest stop, two new Giulias


A GTV-6 coupe


A ’67 GT 1300 Jr.


A Giulia 1300 Ti sedan


A ’66 Duetto


A police escort protected us from on-the-road citations


The 505-hp engine of the Giulia Quadrifoglio


Alfa 164


GTA-look


Another 164


Chatting in Chester (sorry)


Follow the leader


A rare shot of the driver driving (courtesy of my wife)


Duke Farms


Arriving at Duke Farms, we found plenty of parking


The cafe service was outstanding, with plenty of food and drink for all


Alfa men gather to argue the firing order of the Busso V6

(Special thanks to my wife Margaretanne for accompanying me, and taking all the on-the-road photos.)

All photographs copyright © 2017 Richard A. Reina. Photos may not be copied or reproduced without express written permission.


FUN FACT OF THE WEEK

The original name of the company we know today as “Alfa Romeo” was A.L.F.A., which is an acronym. In Italian, it stands for Anonima Lombarda Fabbrica Automobili, which translates as “Anonymous Lombardy (Region) Manufacturer (of) Automobiles”.

During World War I, an industrialist named Nicola Romeo took over control of A.L.F.A., which was then in liquidation. He immodestly changed the name of the company to Alfa Romeo, with “Alfa” no longer an acronym. A recession during the 1920’s forced Romeo out of the company, but the name change stayed.

None of this stops people from continuing to spell the car name as “Alpha” (as if the car were Greek!).


Installing LED lights in my Miata

In the 21 years since I purchased my 1993 Mazda Miata, and during the 70,000 miles of driving enjoyment I’ve had behind the wheel, there is one peculiarity that has come to my attention.

The car has shrunk.

Not really. However, the automotive landscape has gone through tremendous upheavals since 1996. When I bought the Miata, from a young woman in her 30s who had purchased it new, I asked her “what will you be replacing it with?” She replied “a Chevy Blazer”. At that point in time, the concept of voluntarily moving from a two-seat sports car to a Sport Utility Vehicle was a foreign one. But no longer. In 2017, the majority of daily-driven vehicles are classified as “light trucks”: minivans, SUVs, and pickup trucks.

The Miata is small even next to the Alfa

It is in that sense that my Miata has gotten smaller, as without exaggeration, every four-wheel contraption sharing pavement with me towers over my windshield. Pulling up next to a late-model Accord or Camry at a stop light is a lesson in relativity, as I observe that those mid-sized sedans’ beltlines are higher than my roof.

As the title of this blog post is “Installing LED lights in my Miata”, you may wonder what the foregoing has to do with LEDs. Plenty, in fact, and it’s summed up in the word conspicuity.

There are two aspects to vehicular lighting, as I was taught in Automotive Safety 101: being able to see, and being seen. Other than headlights, and perhaps reversing lights, a vehicle’s exterior illumination is designed to help other drivers see you. A few weeks ago, it occurred to me that there was a super simple way for me to make the Miata more conspicuous to other drivers, and that would be by installing some LED lights.

To the automotive purists, aftermarket LED lighting may have a bad rap. Your first thought may be of glare-producing headlights (more likely caused by HID lighting). Perhaps you’ve seen some tricked-out show cars with blue/green/violet LED lighting in front and rear lamp assemblies, even under the car, pulsing along with a 120-decibel sound system.

The upgrade I pursued is much more straightforward than that. The aftermarket has made LED light bulbs available, in standard sizes, as “plug-and-play” direct replacements for incandescent bulbs. With the Miata, I wanted to start small, and at the rear, by replacing the combo tail/brake light bulbs (#1157) and reverse bulbs (#1156).

I obtained several sets of bulbs from CARiD.com (and in full disclosure, this is the company where I’m employed). The LED bulbs are available in different colors. I got the 1157 bulbs in both white and red, and the 1156 bulbs in white.

When replacing incandescents with LEDs, it is extremely important that the LED bulb is the same length, or shorter than, the bulb it is replacing. LEDs are available from different companies, and most companies offer them in different lengths. An LED bulb which is too long may not fit at all, or may press against the plastic lens, causing that lens to melt, or worse.

New Lumen LED bulb (right) is slightly shorter than incandescent (left) it’s replacing

My bulbs are the Lumen brand, available in 3 different lengths. Generally speaking, the larger the bulb, the more light it emits. It therefore becomes tempting to decide on the largest bulb; again, make sure that it’s going to fit inside the assembly!

Today’s LEDs are direct replacements, emit lots more light and less heat

In my case, to be on the safe side, I selected the shortest bulbs. With pieces in hand, I opened the Miata’s trunk and was pleasantly surprised to see the covers behind the tail lamp assemblies were easily accessed.

(Sidenote: in 21 years of ownership, I have never removed one of these covers before this LED bulb swap. The ONLY exterior bulb I’ve replaced on this car since 1996 is one sealed-beam headlight bulb. Darn those Japanese, not giving the bulb makers a chance to sell their wares!)

Tail lamp assembly cover easily accessed from trunk


Push in two clips, and flip cover (no tools needed)

Once the cover was removed (no need to disconnect the harness plugs), I flipped it over, and both bulbs were right there. I did note that the tail/brake light glass (“envelope” in bulb-speak) was darkened, probably dimming its output; however, the bulbs still worked. Wanting to make changes one step at a time, I swapped out the 1157s first, using the Lumen white LED bulb (the tail lamp housing has a red lens).

To document the changes, I took photos, figuring that the camera doesn’t lie (but it might try to make the car look thinner). I put my Sony digital camera on a tripod, and set the controls to full manual. In this way, the camera’s light sensor would not automatically adjust the exposure, which could artificially make the light look either brighter or darker.

With new tail light bulbs in place, I subjectively thought that the light output was brighter. The big improvement, however, was in the amount of illumination: now, the entire lens assembly was lit, compared to prior, when the upper corners remained dark. So far, so good.

Next to be installed were the reverse lights. This was a great improvement, as the light is not only markedly brighter, the color is a pure white, compared to the hazy yellow of the incandescents.

Lastly, I went back and replaced the 1157 LED white bulbs with the same size in red. My expectations were low, as I had run this same experiment at work several years ago with an older Honda Civic, and the red tail lamp bulbs behind a red lens were not as bright as white bulbs.

The Miata yielded a much better result: the light was slightly brighter, and it was redder too. If conspicuity was my goal, the red 1157s and white 1156s allowed me to achieve it.

(For those who want to make the same upgrades, I would suggest trying both red AND white LED bulbs in the tail lamp assembly – provided that the tail lamp lens is red. Vehicles with WHITE lenses for tail/brake lamps MUST use a red bulb.)

Tail AND brakes lamps both on

What’s next for the Miata’s lighting? I had considered upgrading the front and rear turn signals, but LED bulbs introduce a small hiccup: their low resistance causes the flasher relay in many cars to “hyperflash”, or, flash too rapidly. There is a fix in the way of a resistor, but that costs extra, and must be permanently mounted to the car, a modification that I’m not willing to make.

The front and rear side marker lights would be a likely next step for LEDs. On the interior, the footwell courtesy lighting could really stand to get LEDs (the poor passenger compartment illumination is partly caused by lack of any overhead lights).

Was I surprised by the improvement in the Miata’s rear lighting? Not at all. The biggest surprise may only be that I waited this long to make the upgrades. Oh, and the Alfa will definitely be getting similar LED bulbs. Just don’t tell the AACA judges.


All photographs copyright © 2017 Richard A. Reina. Photos may not be copied or reproduced without express written permission.


FUN FACT OF THE WEEK

“Reverse” lights, also known as “back-up” lamps, are wired to illuminate whenever (and only when) the vehicle’s transmission is in reverse. They are designed to both help light the way for the driver, AND, serve as a signal to others of the driver’s intention to move in that direction.
In the U.S., reverse lights became required by law with the passage of the initial Federal Motor Vehicle Safety Standards (FMVSS) in 1968. Before that, back-up lamps were optional equipment for many vehicles, if they were even available. As a boy, I can recall seeing lower-line American cars with steel “blanking plates” in place of reverse lights.