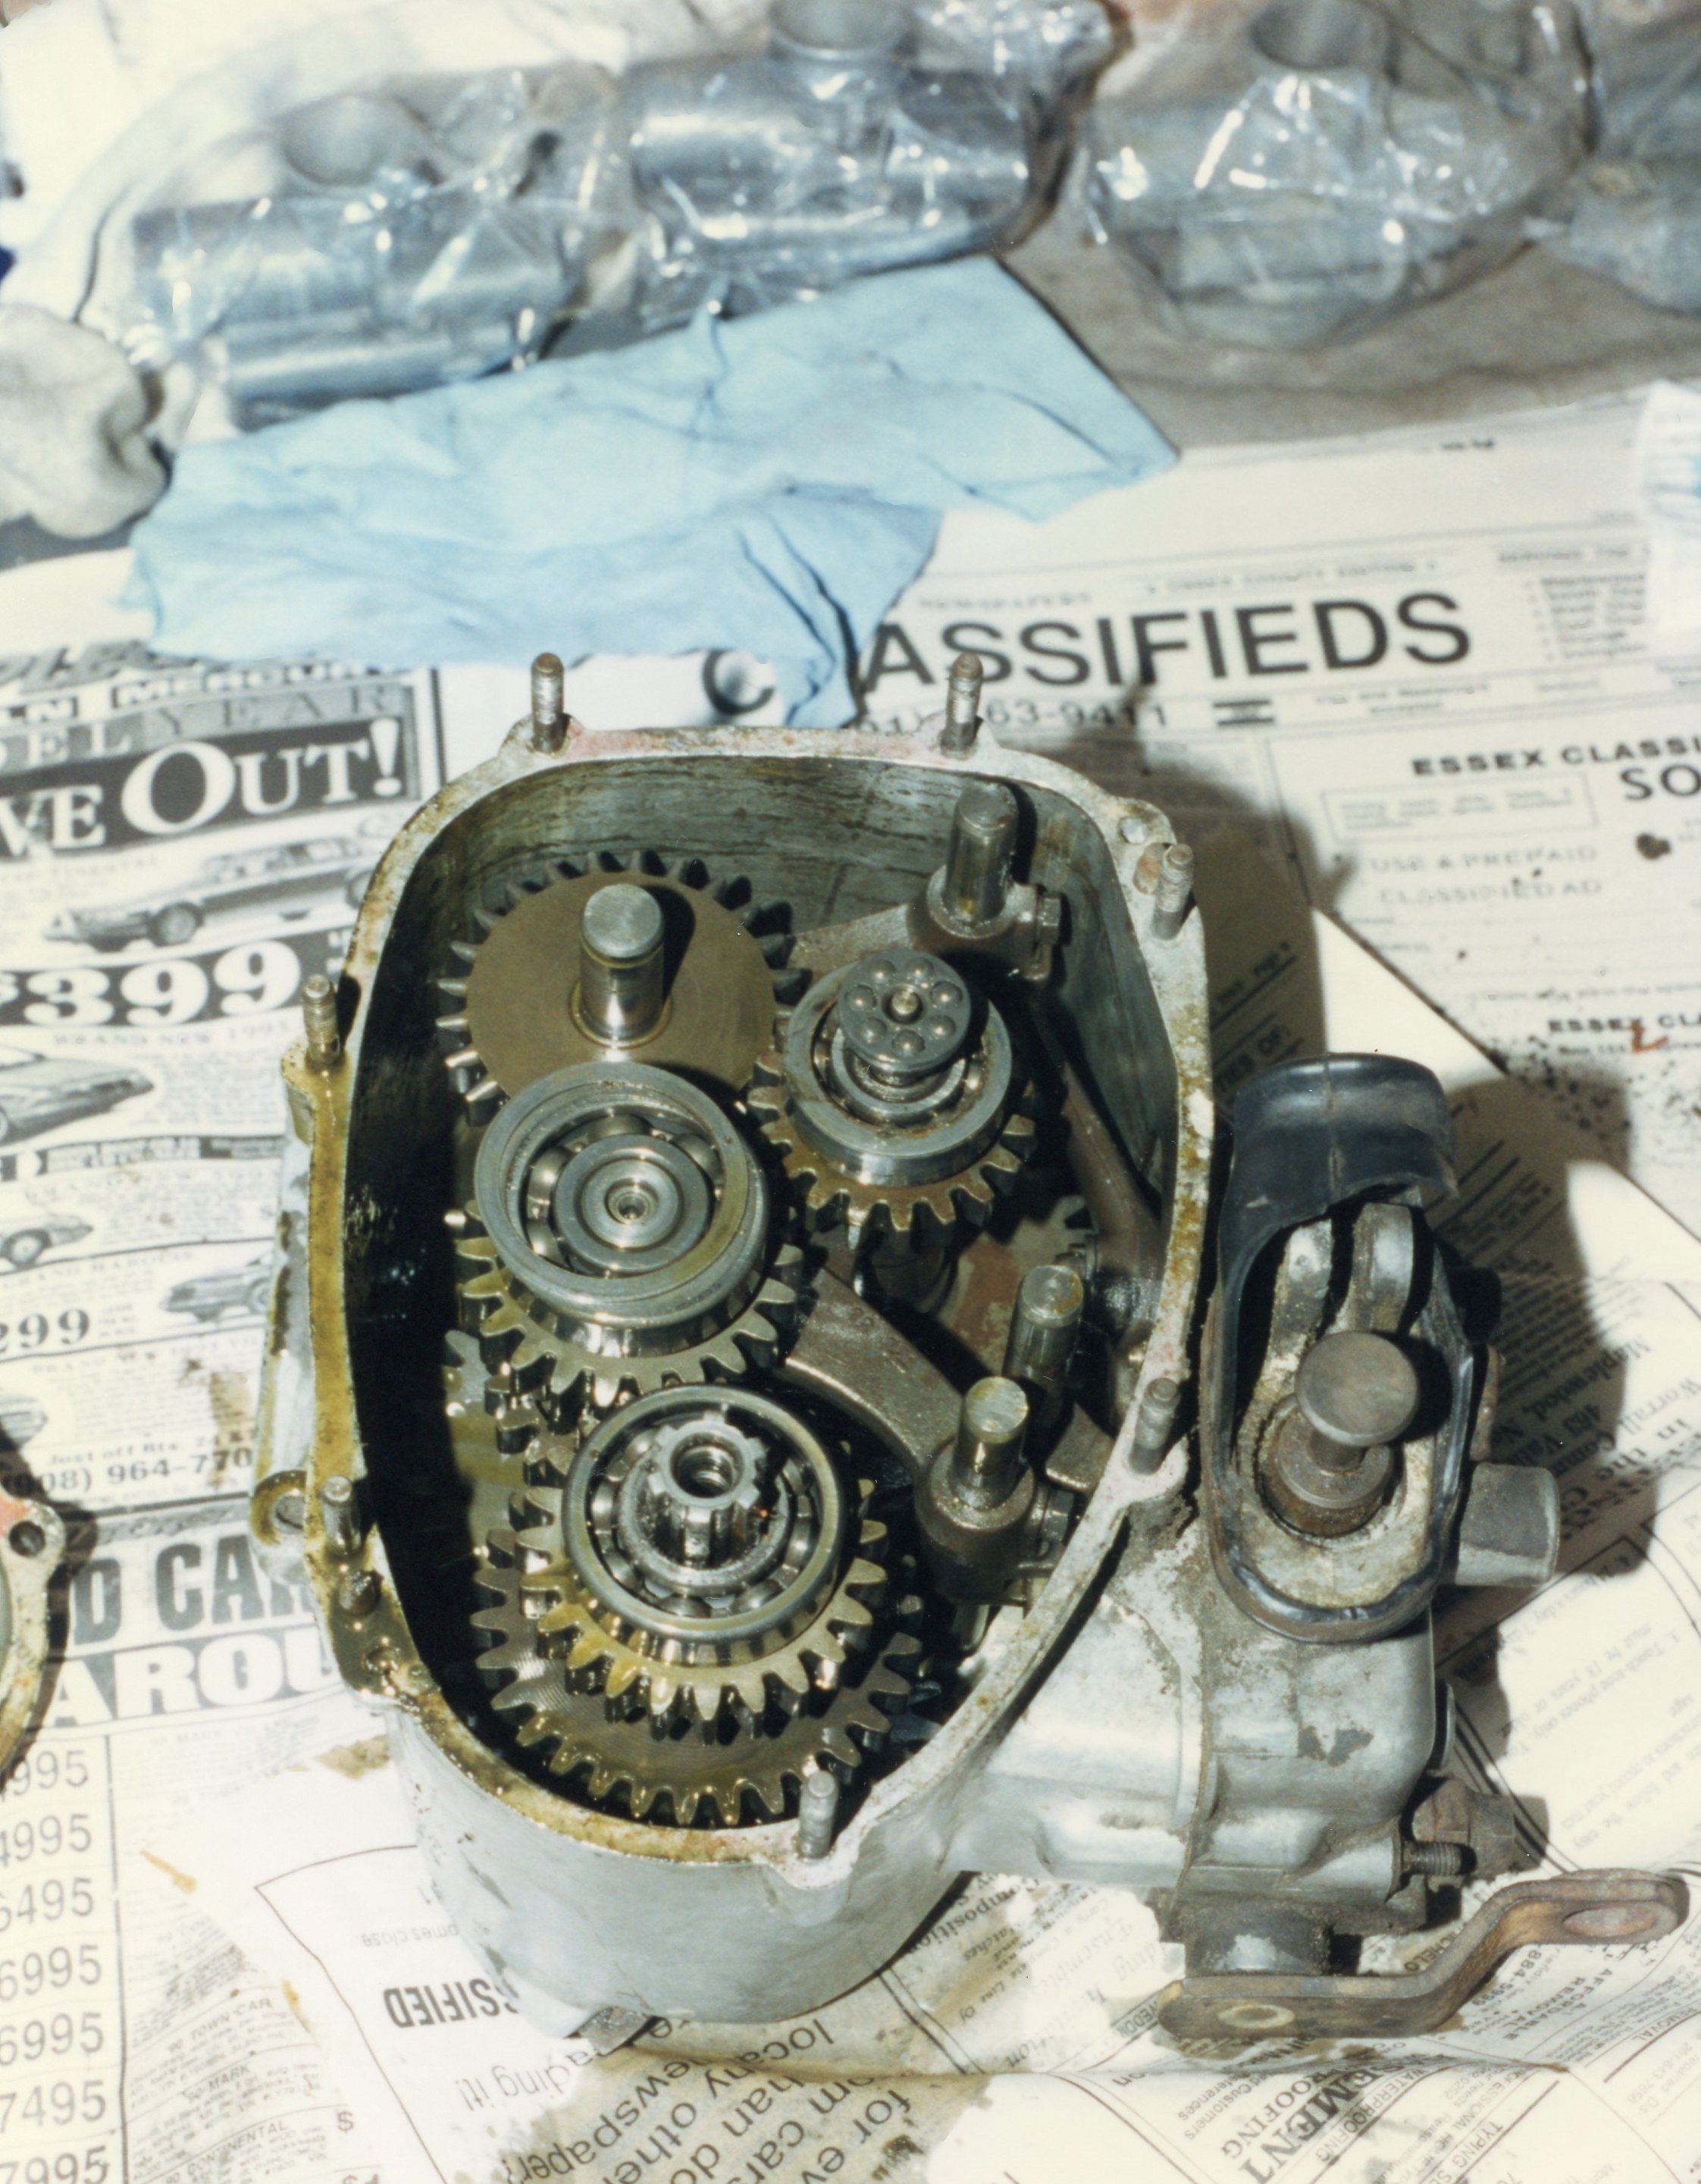
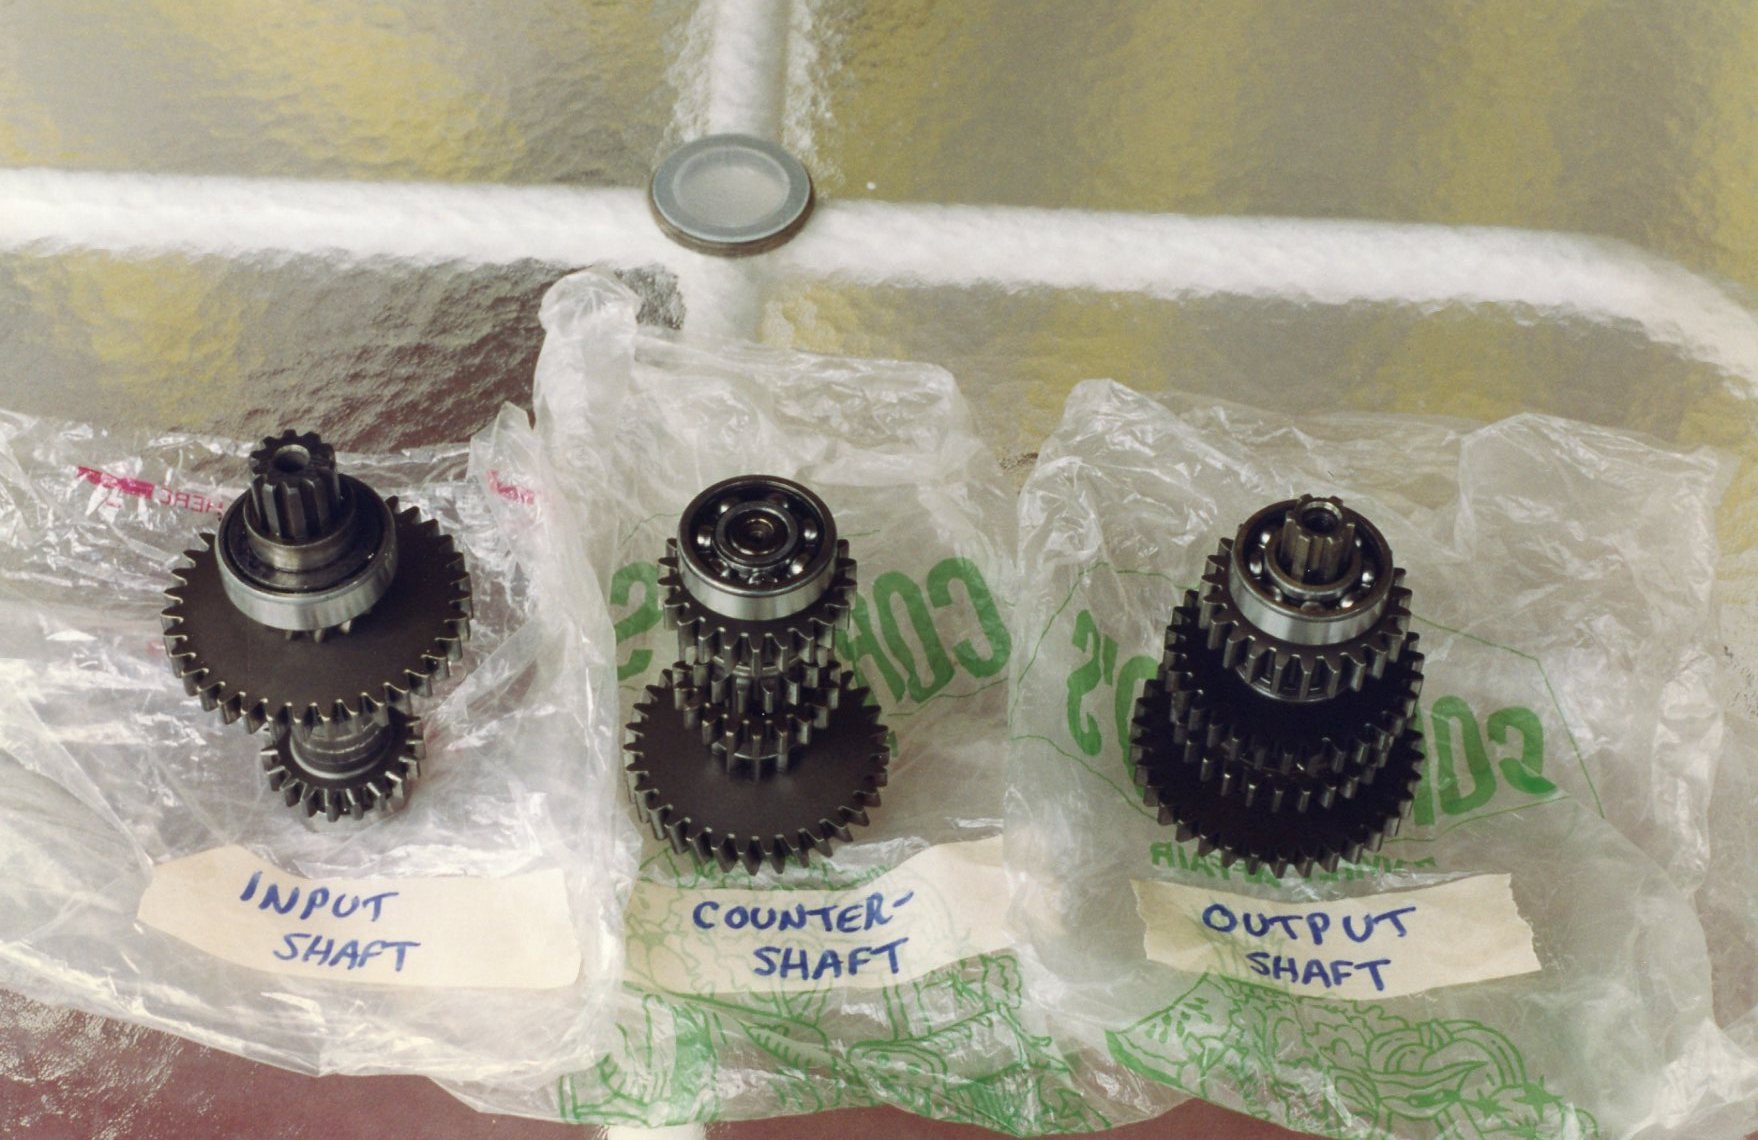
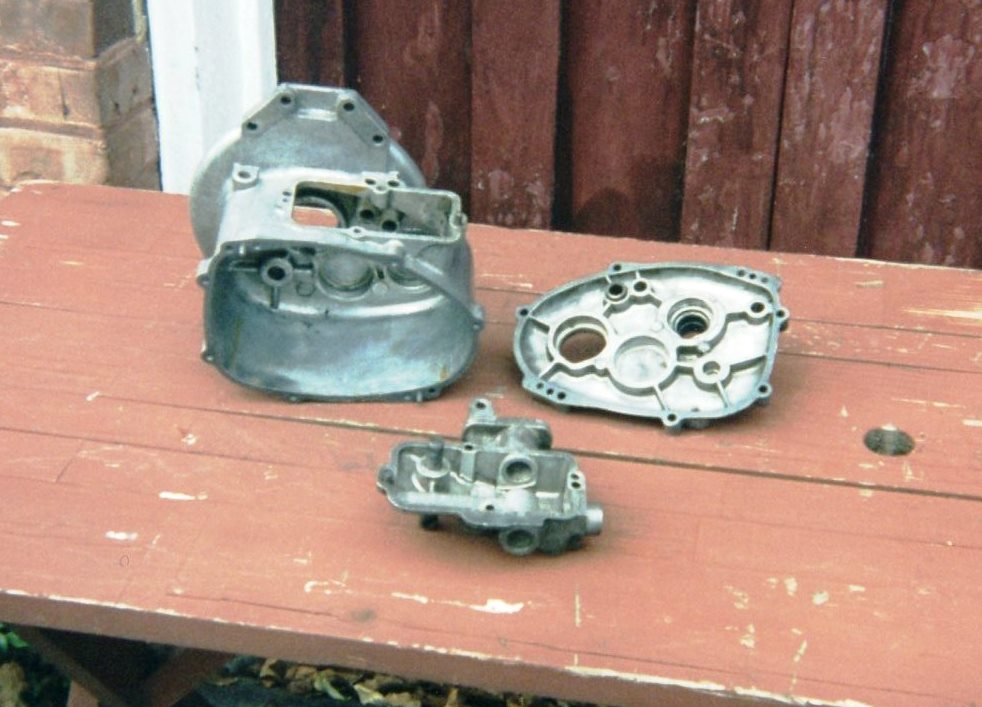
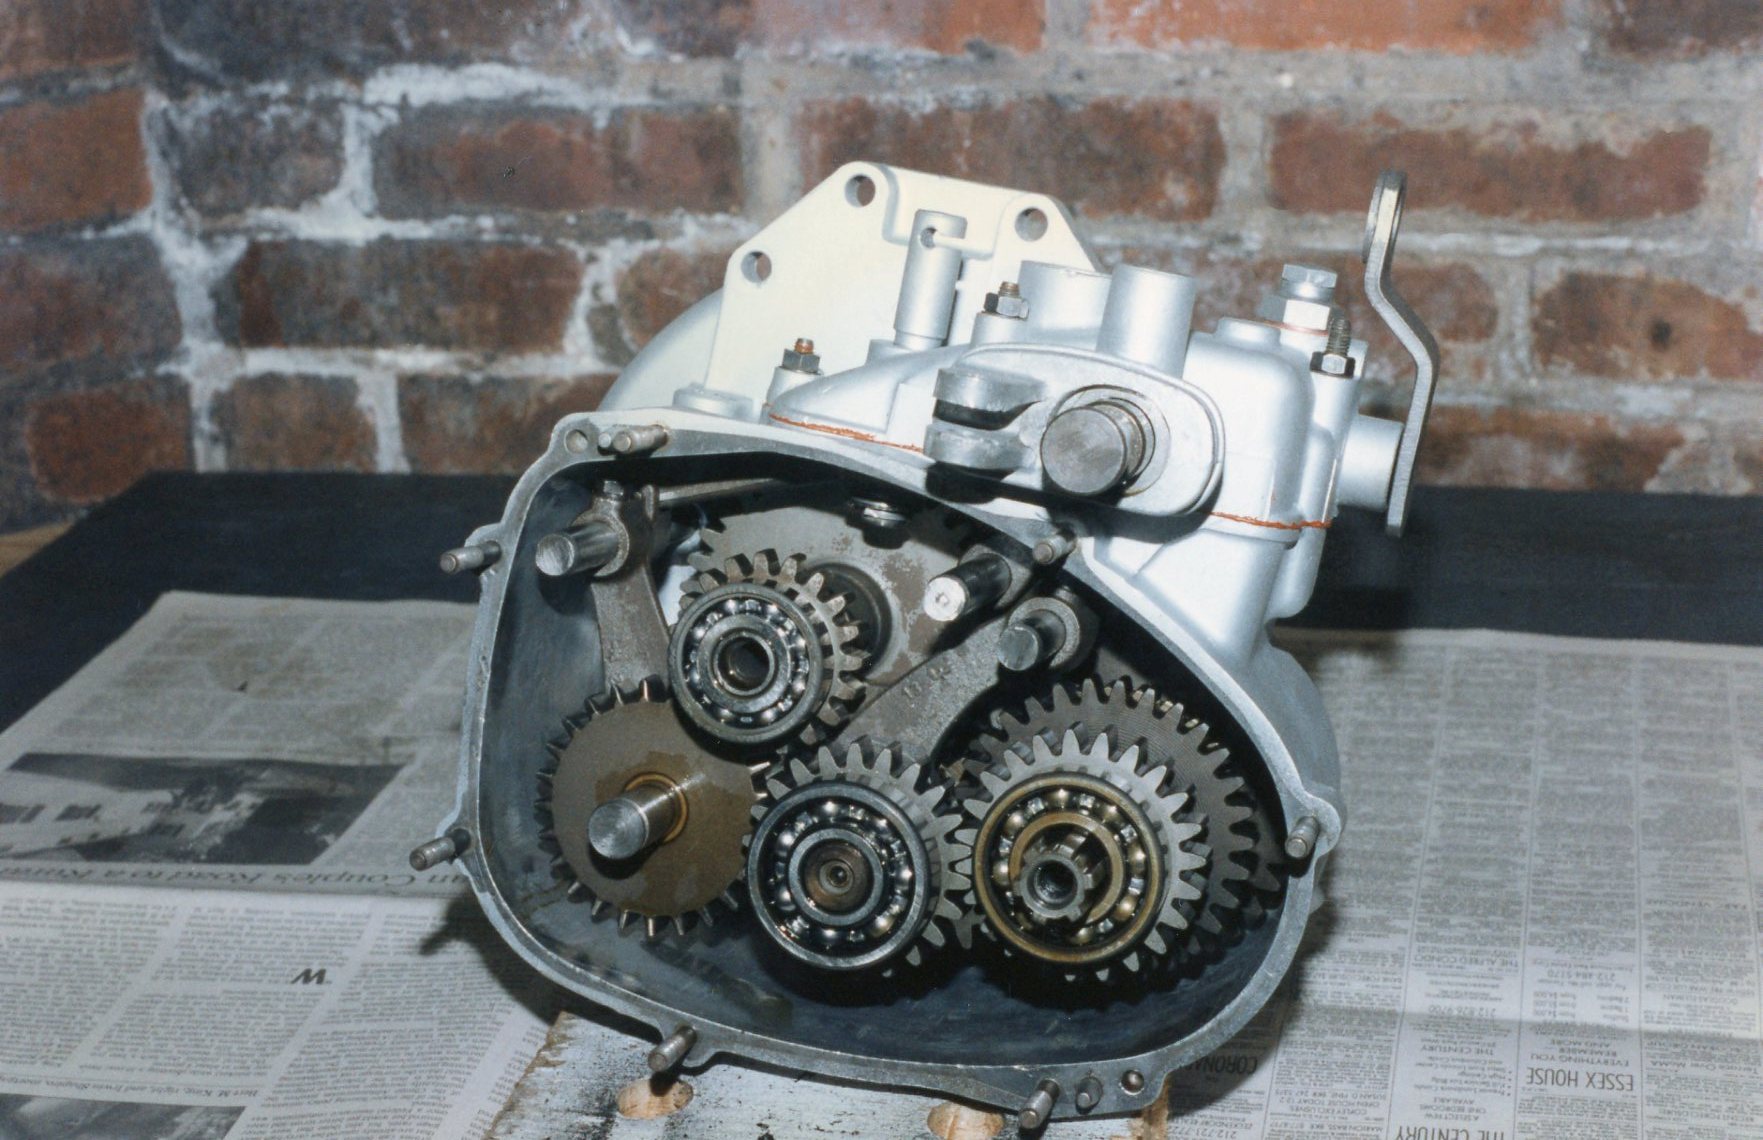
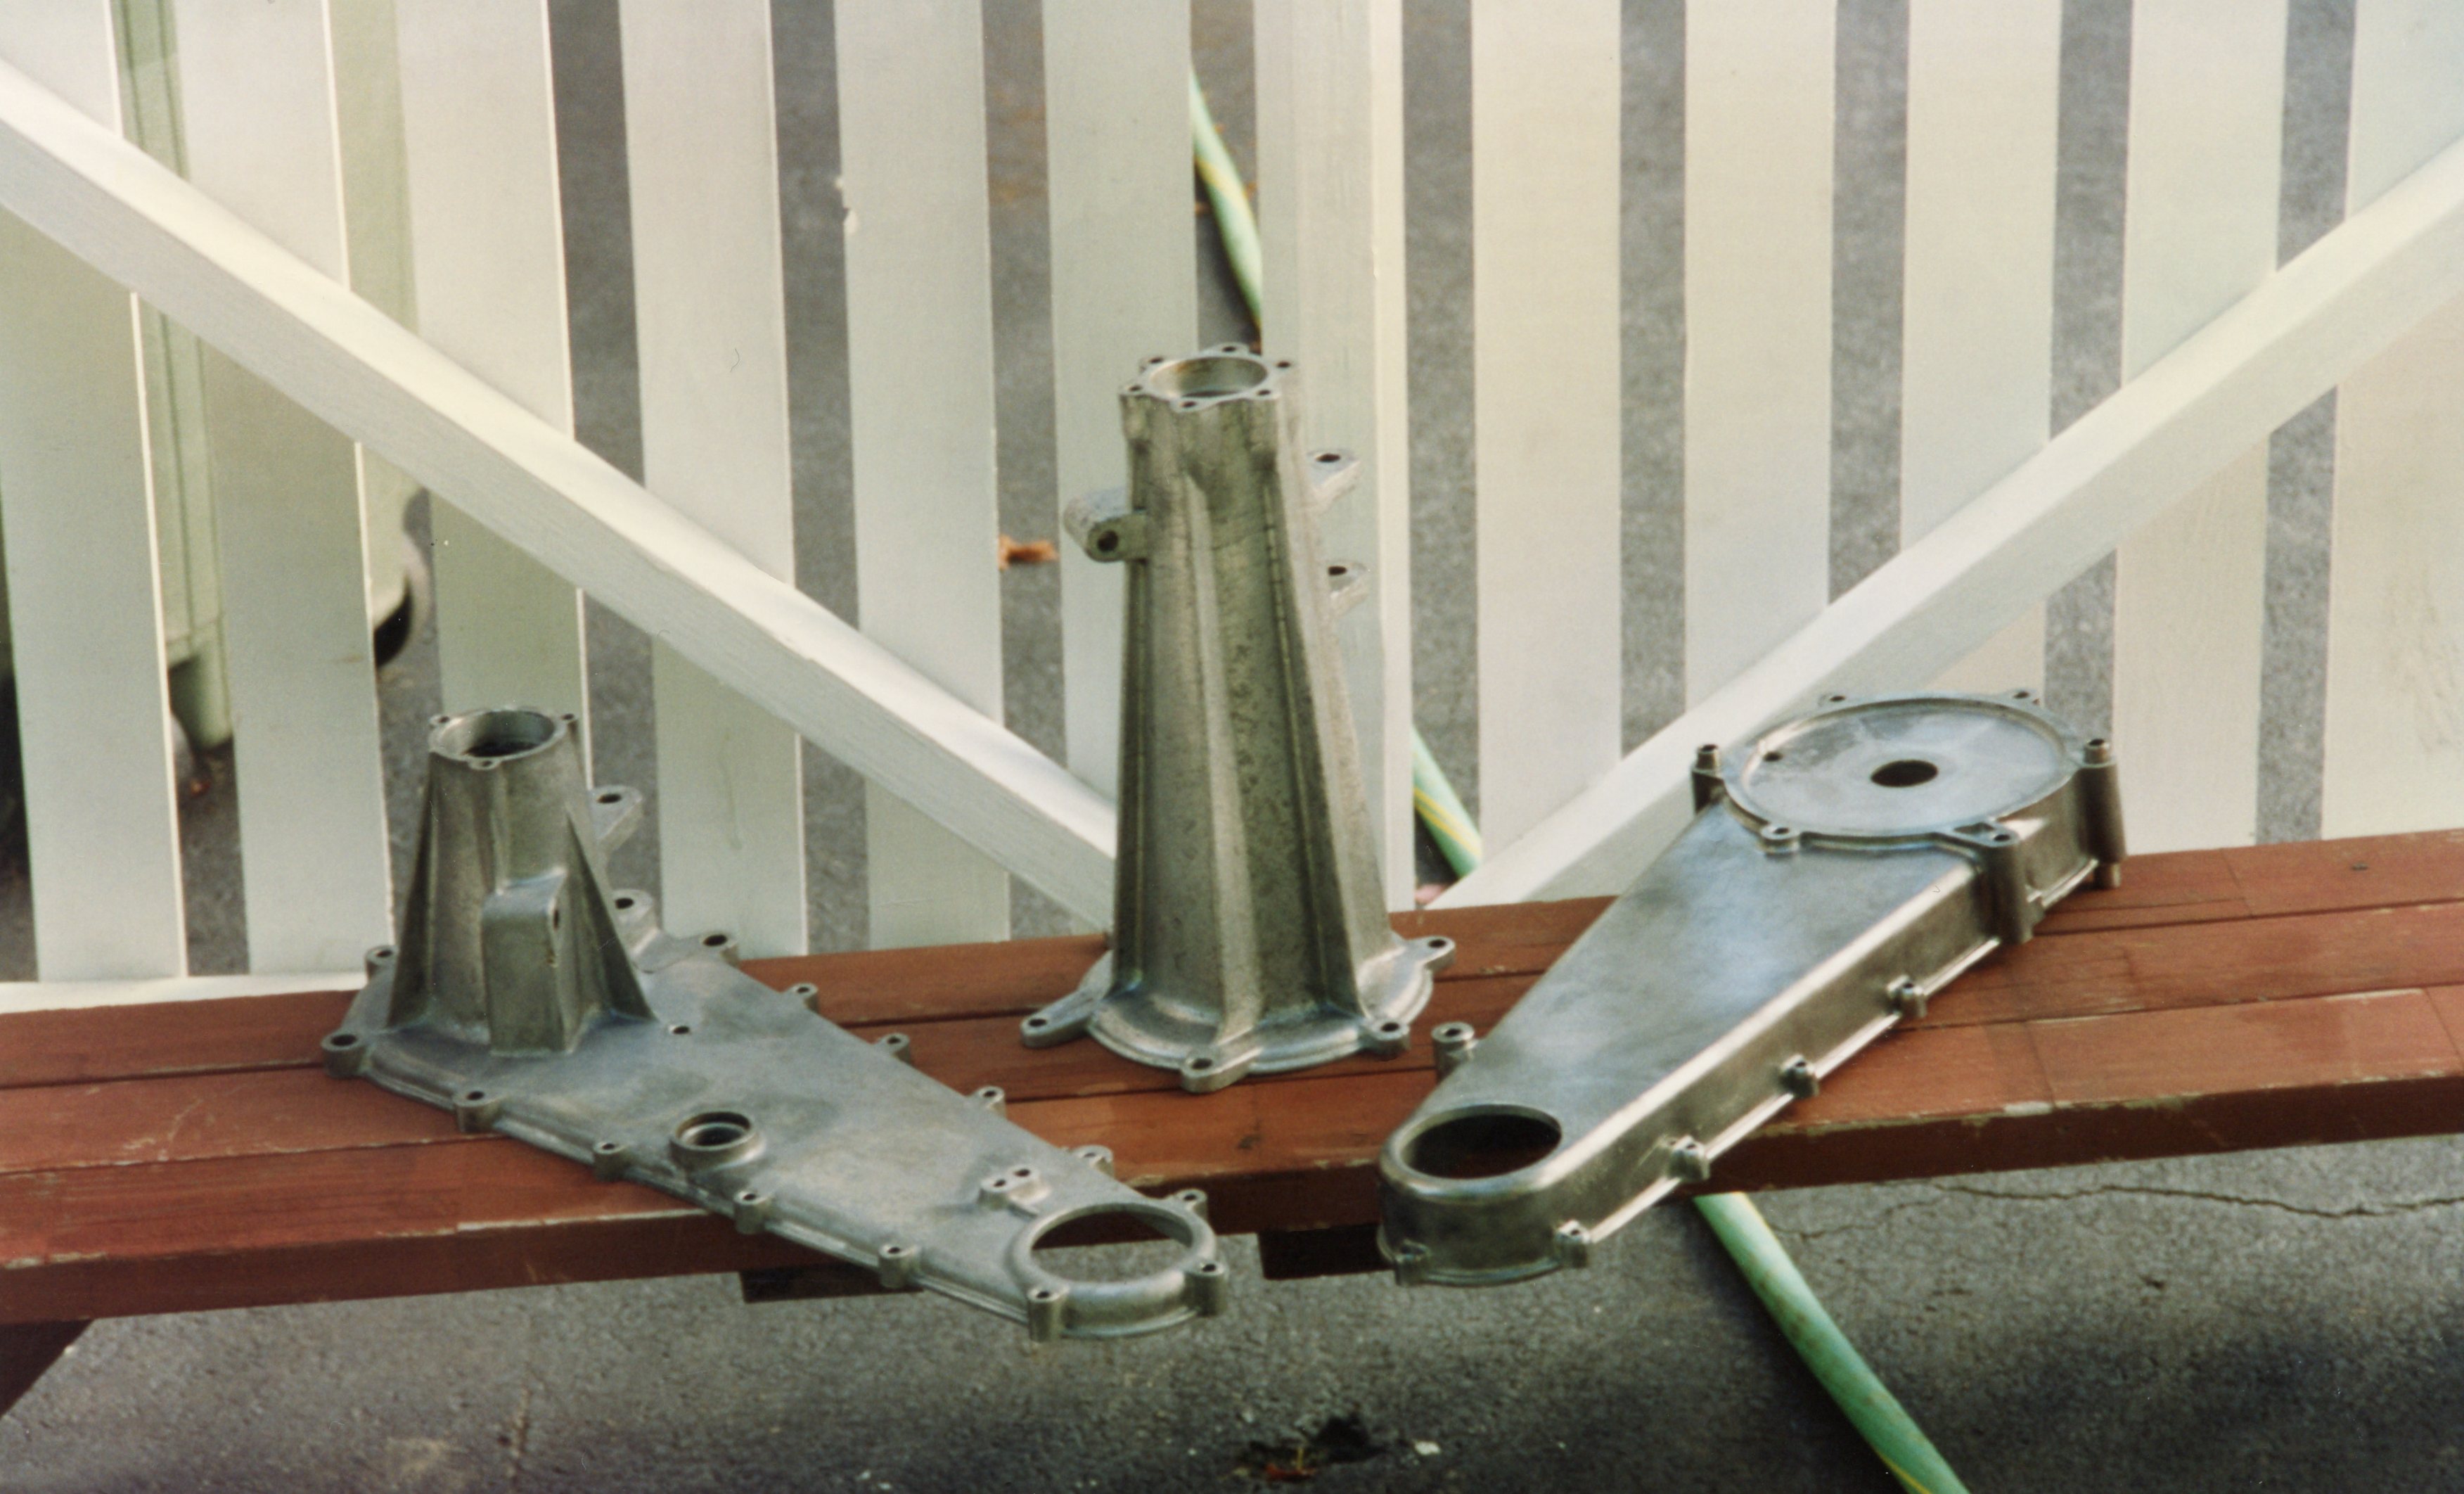
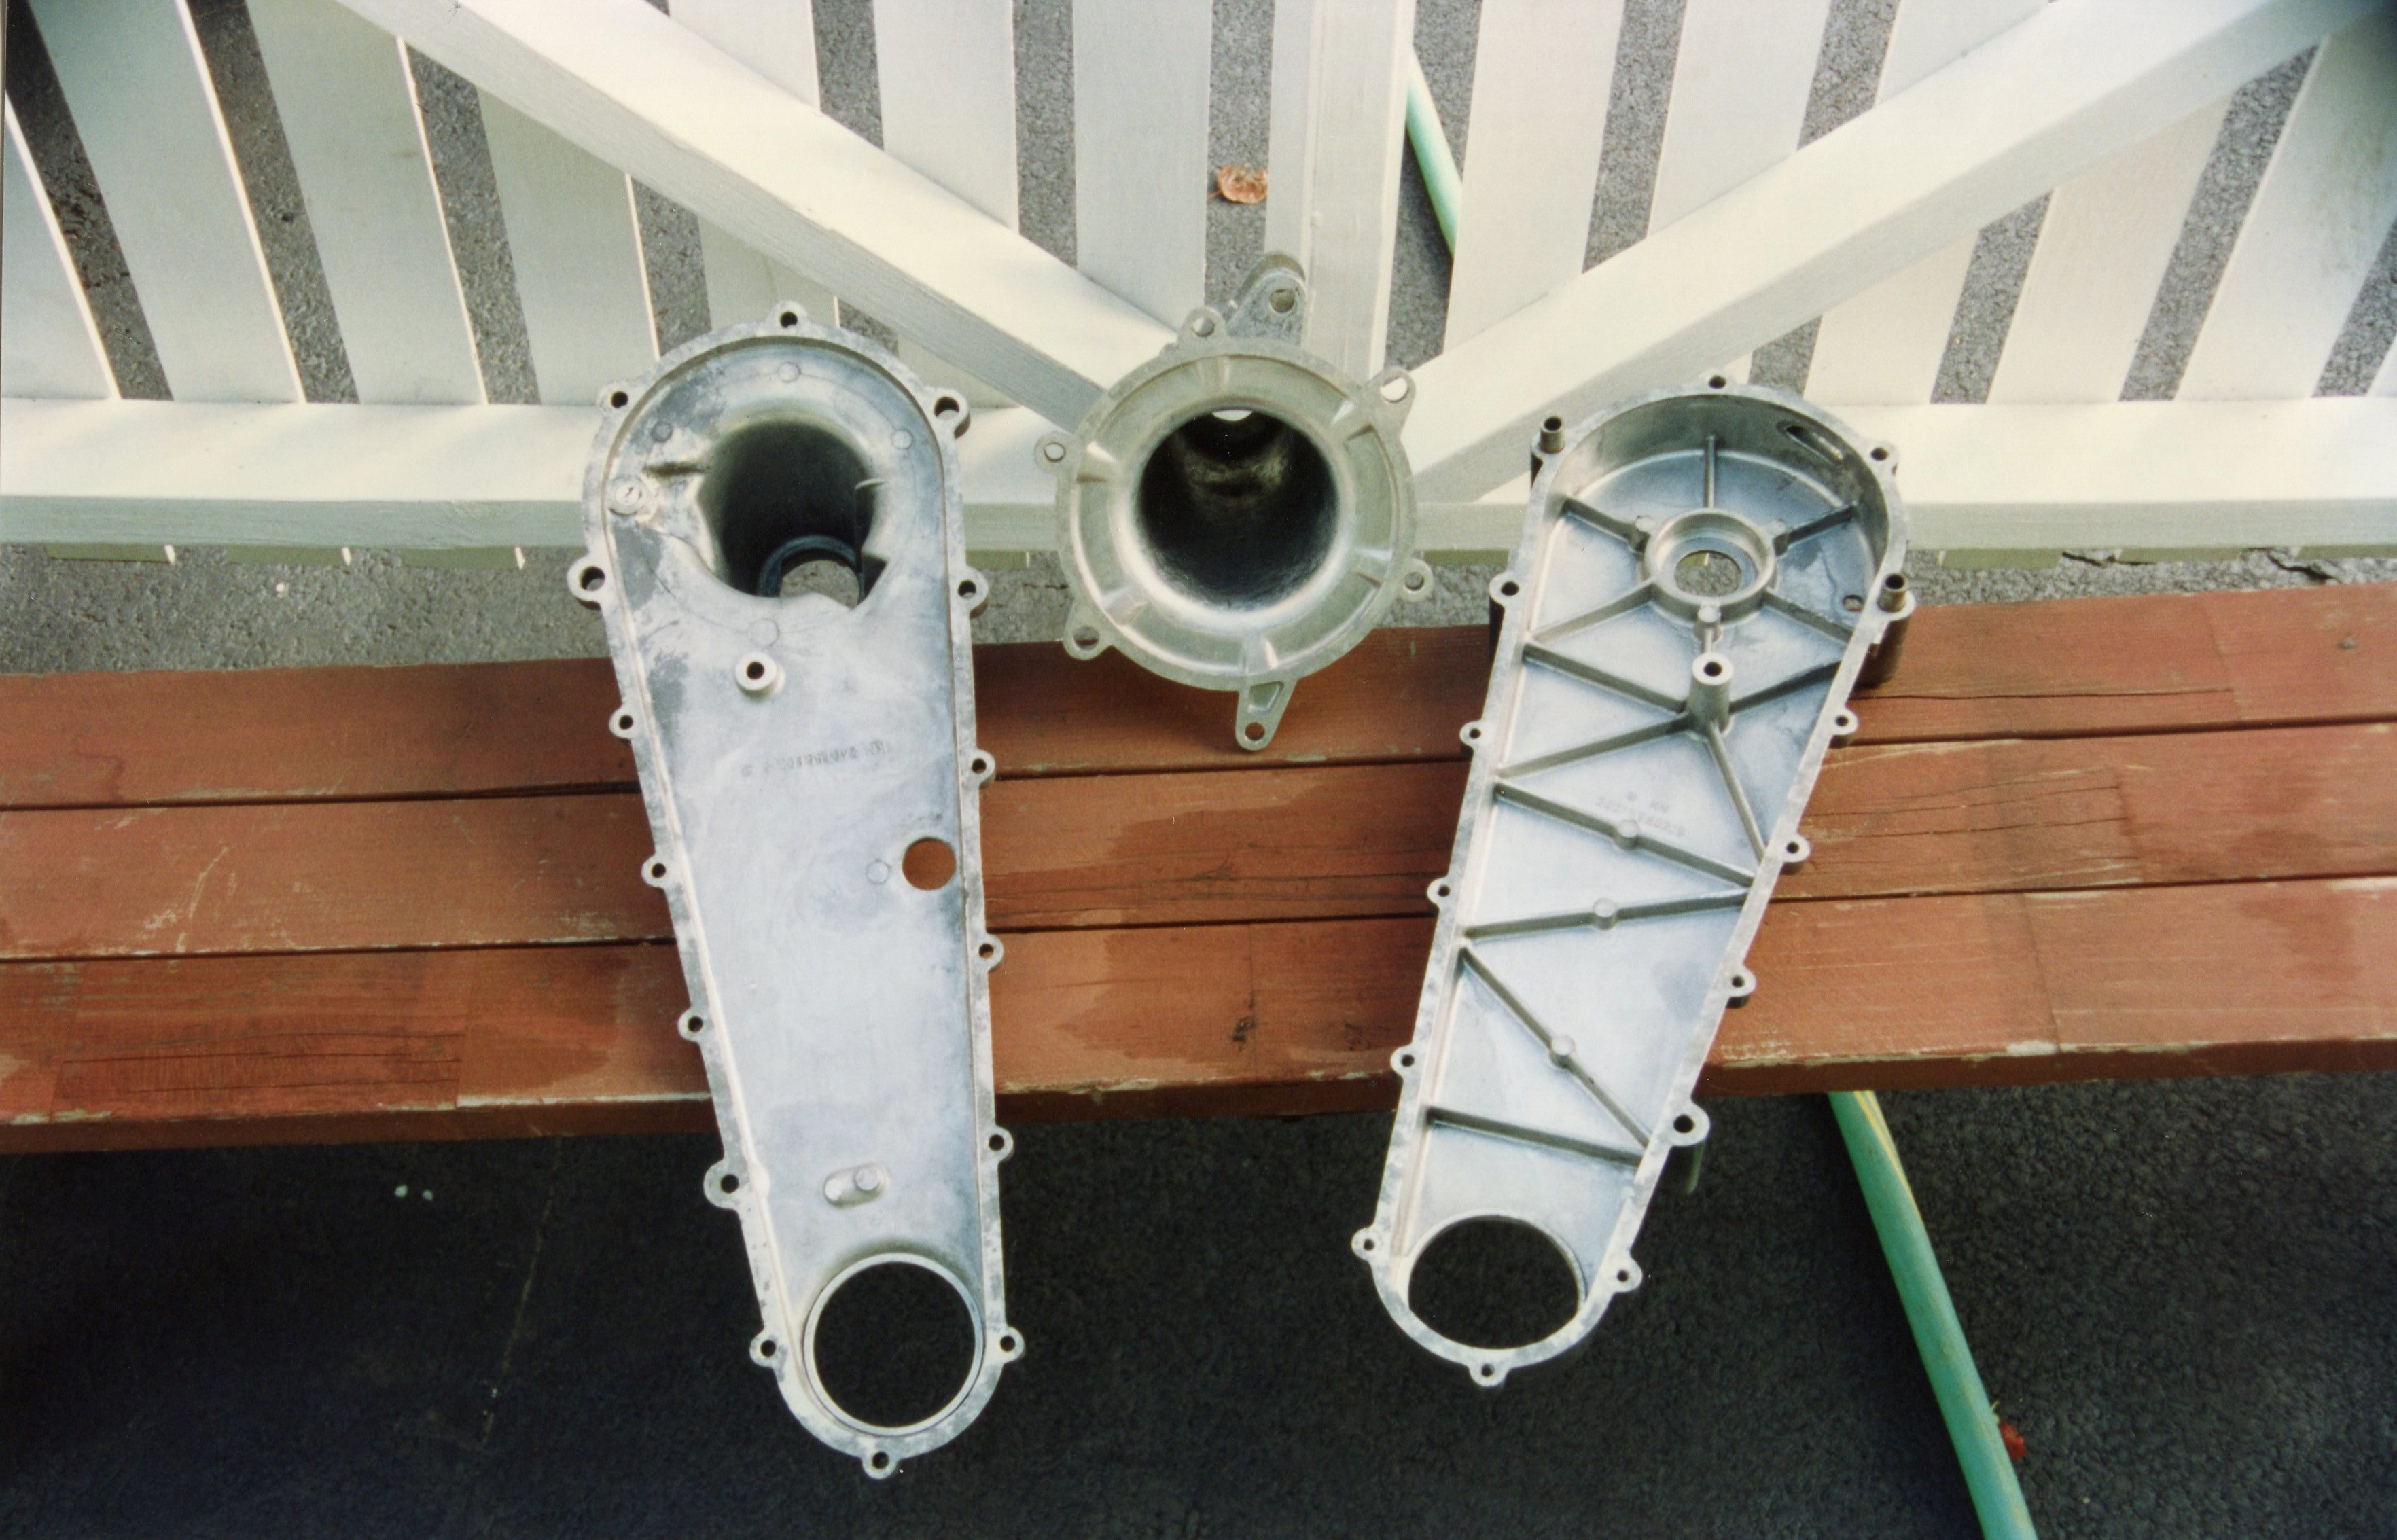
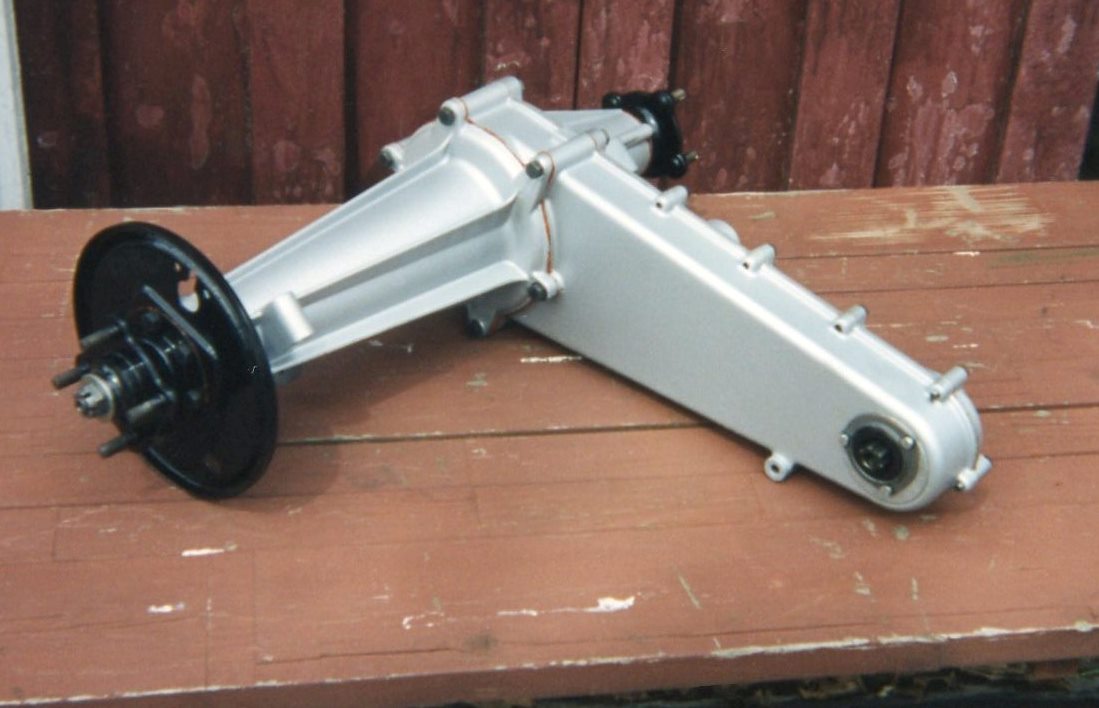
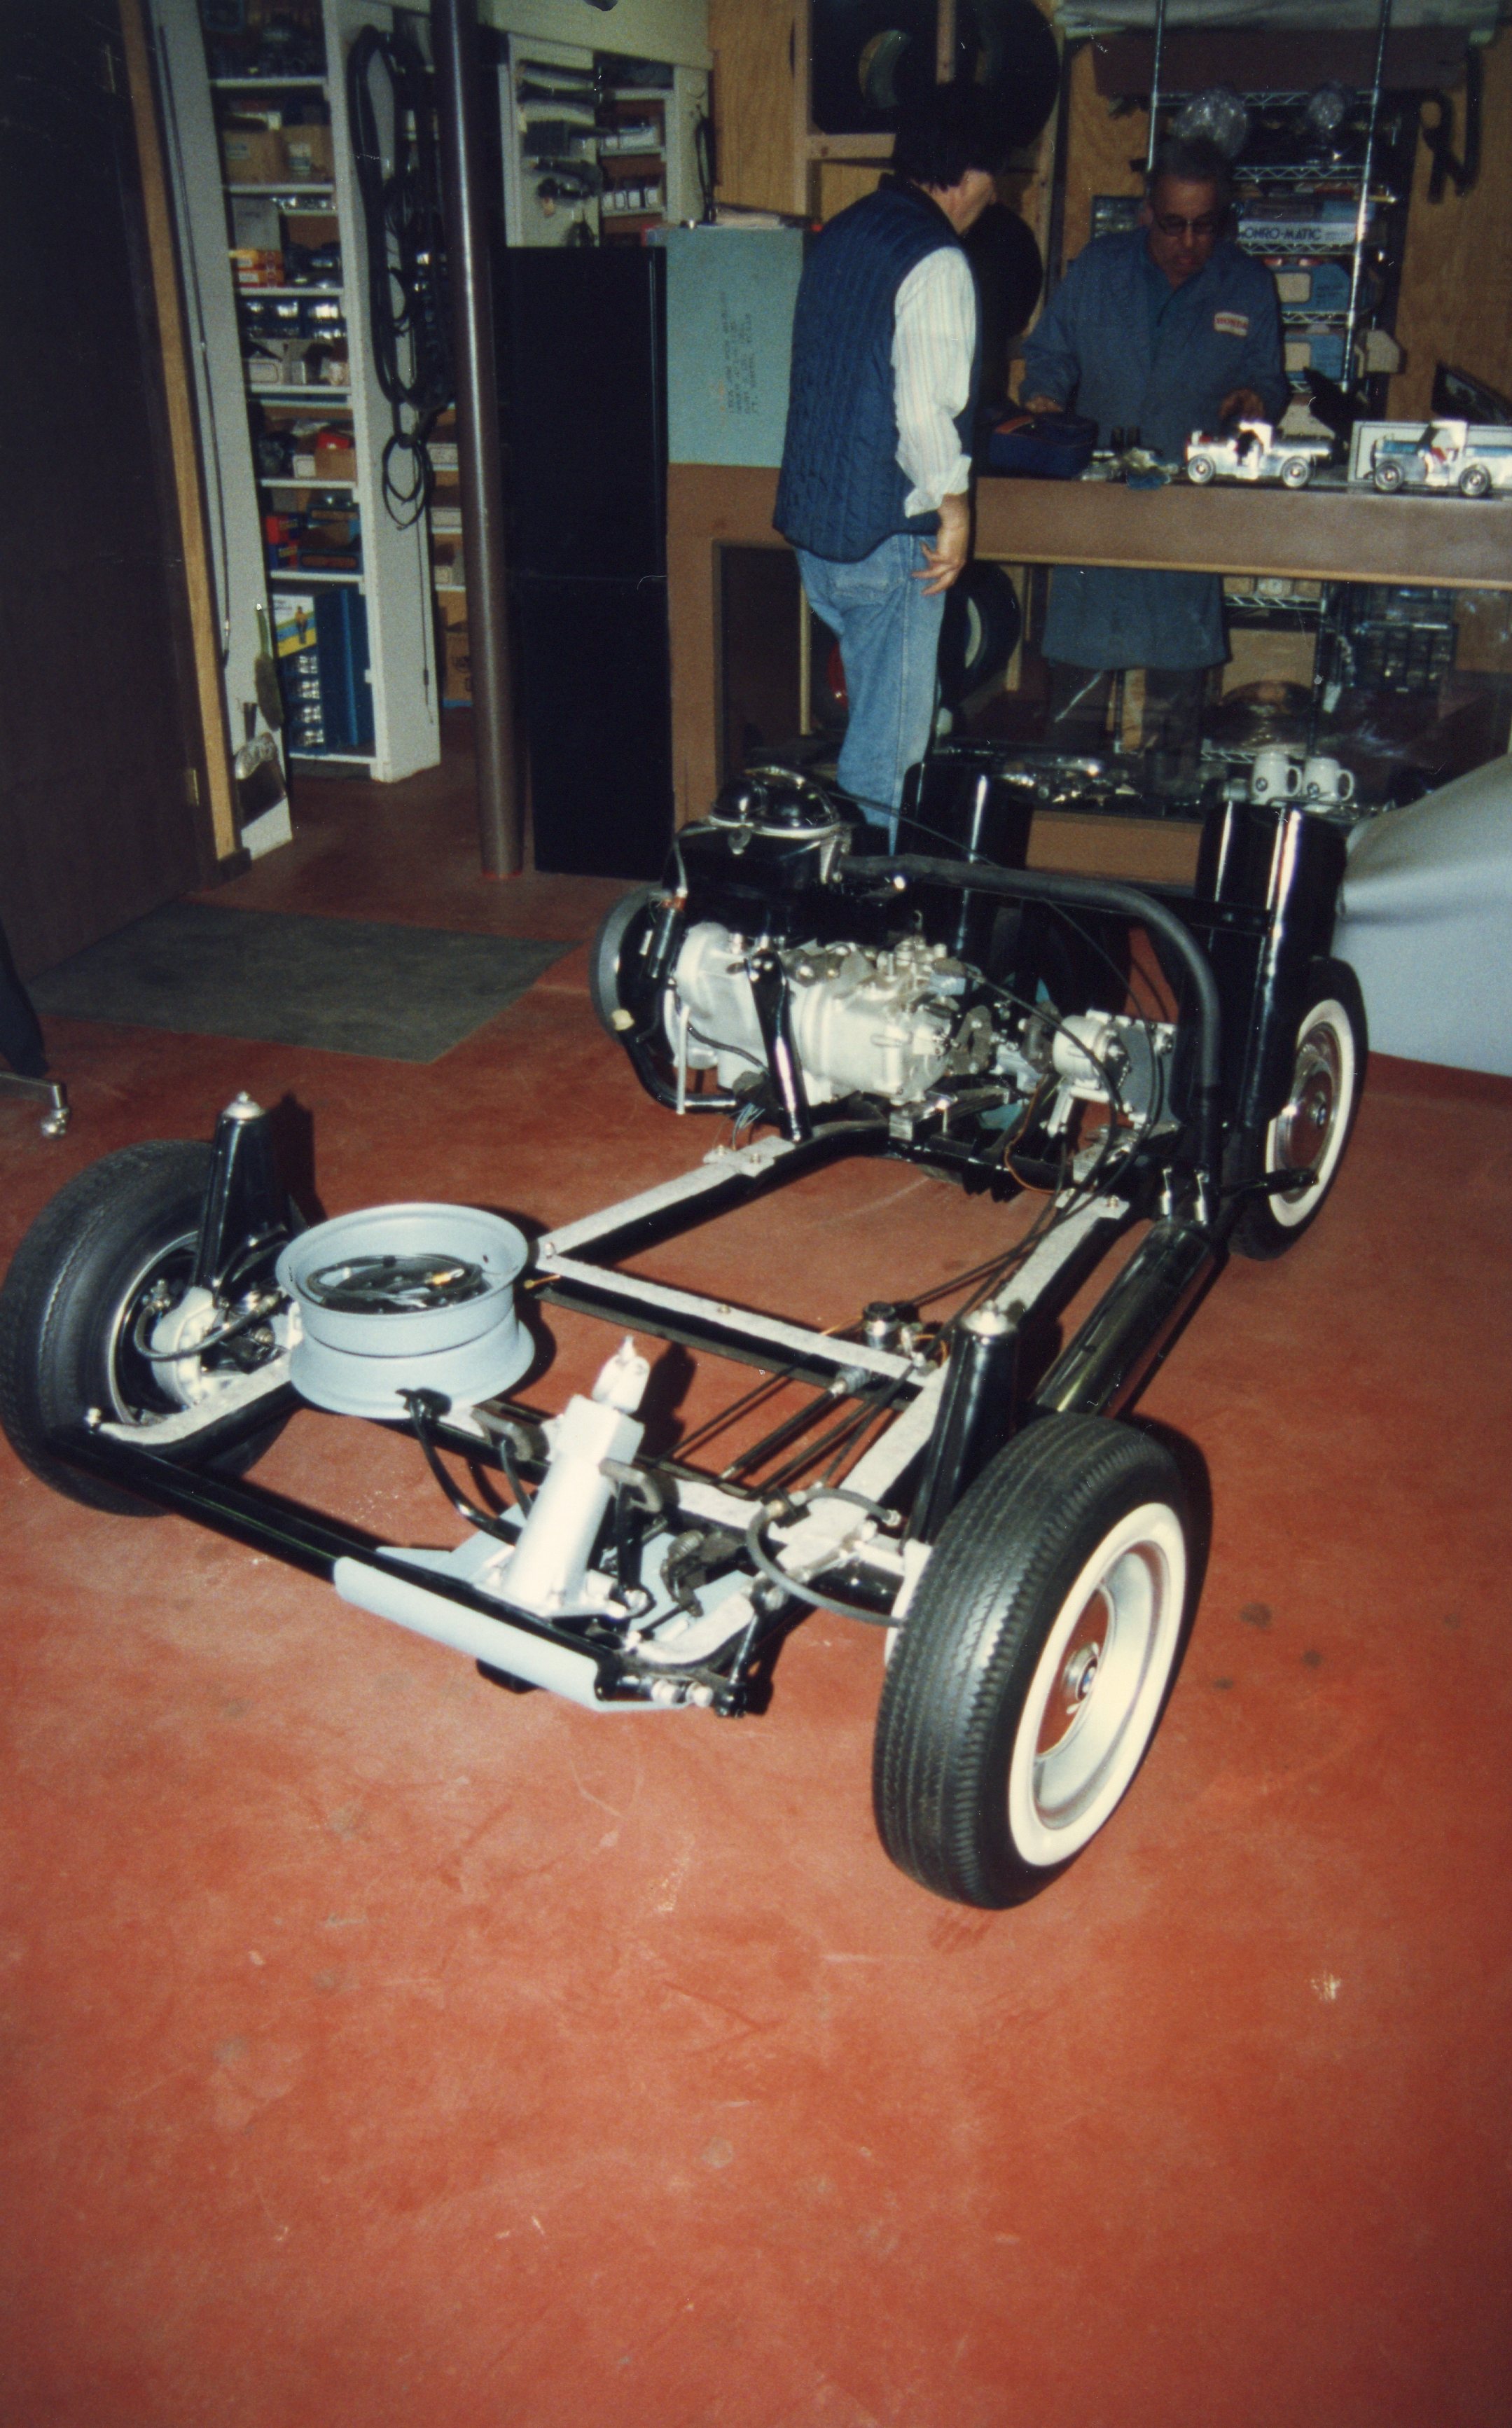
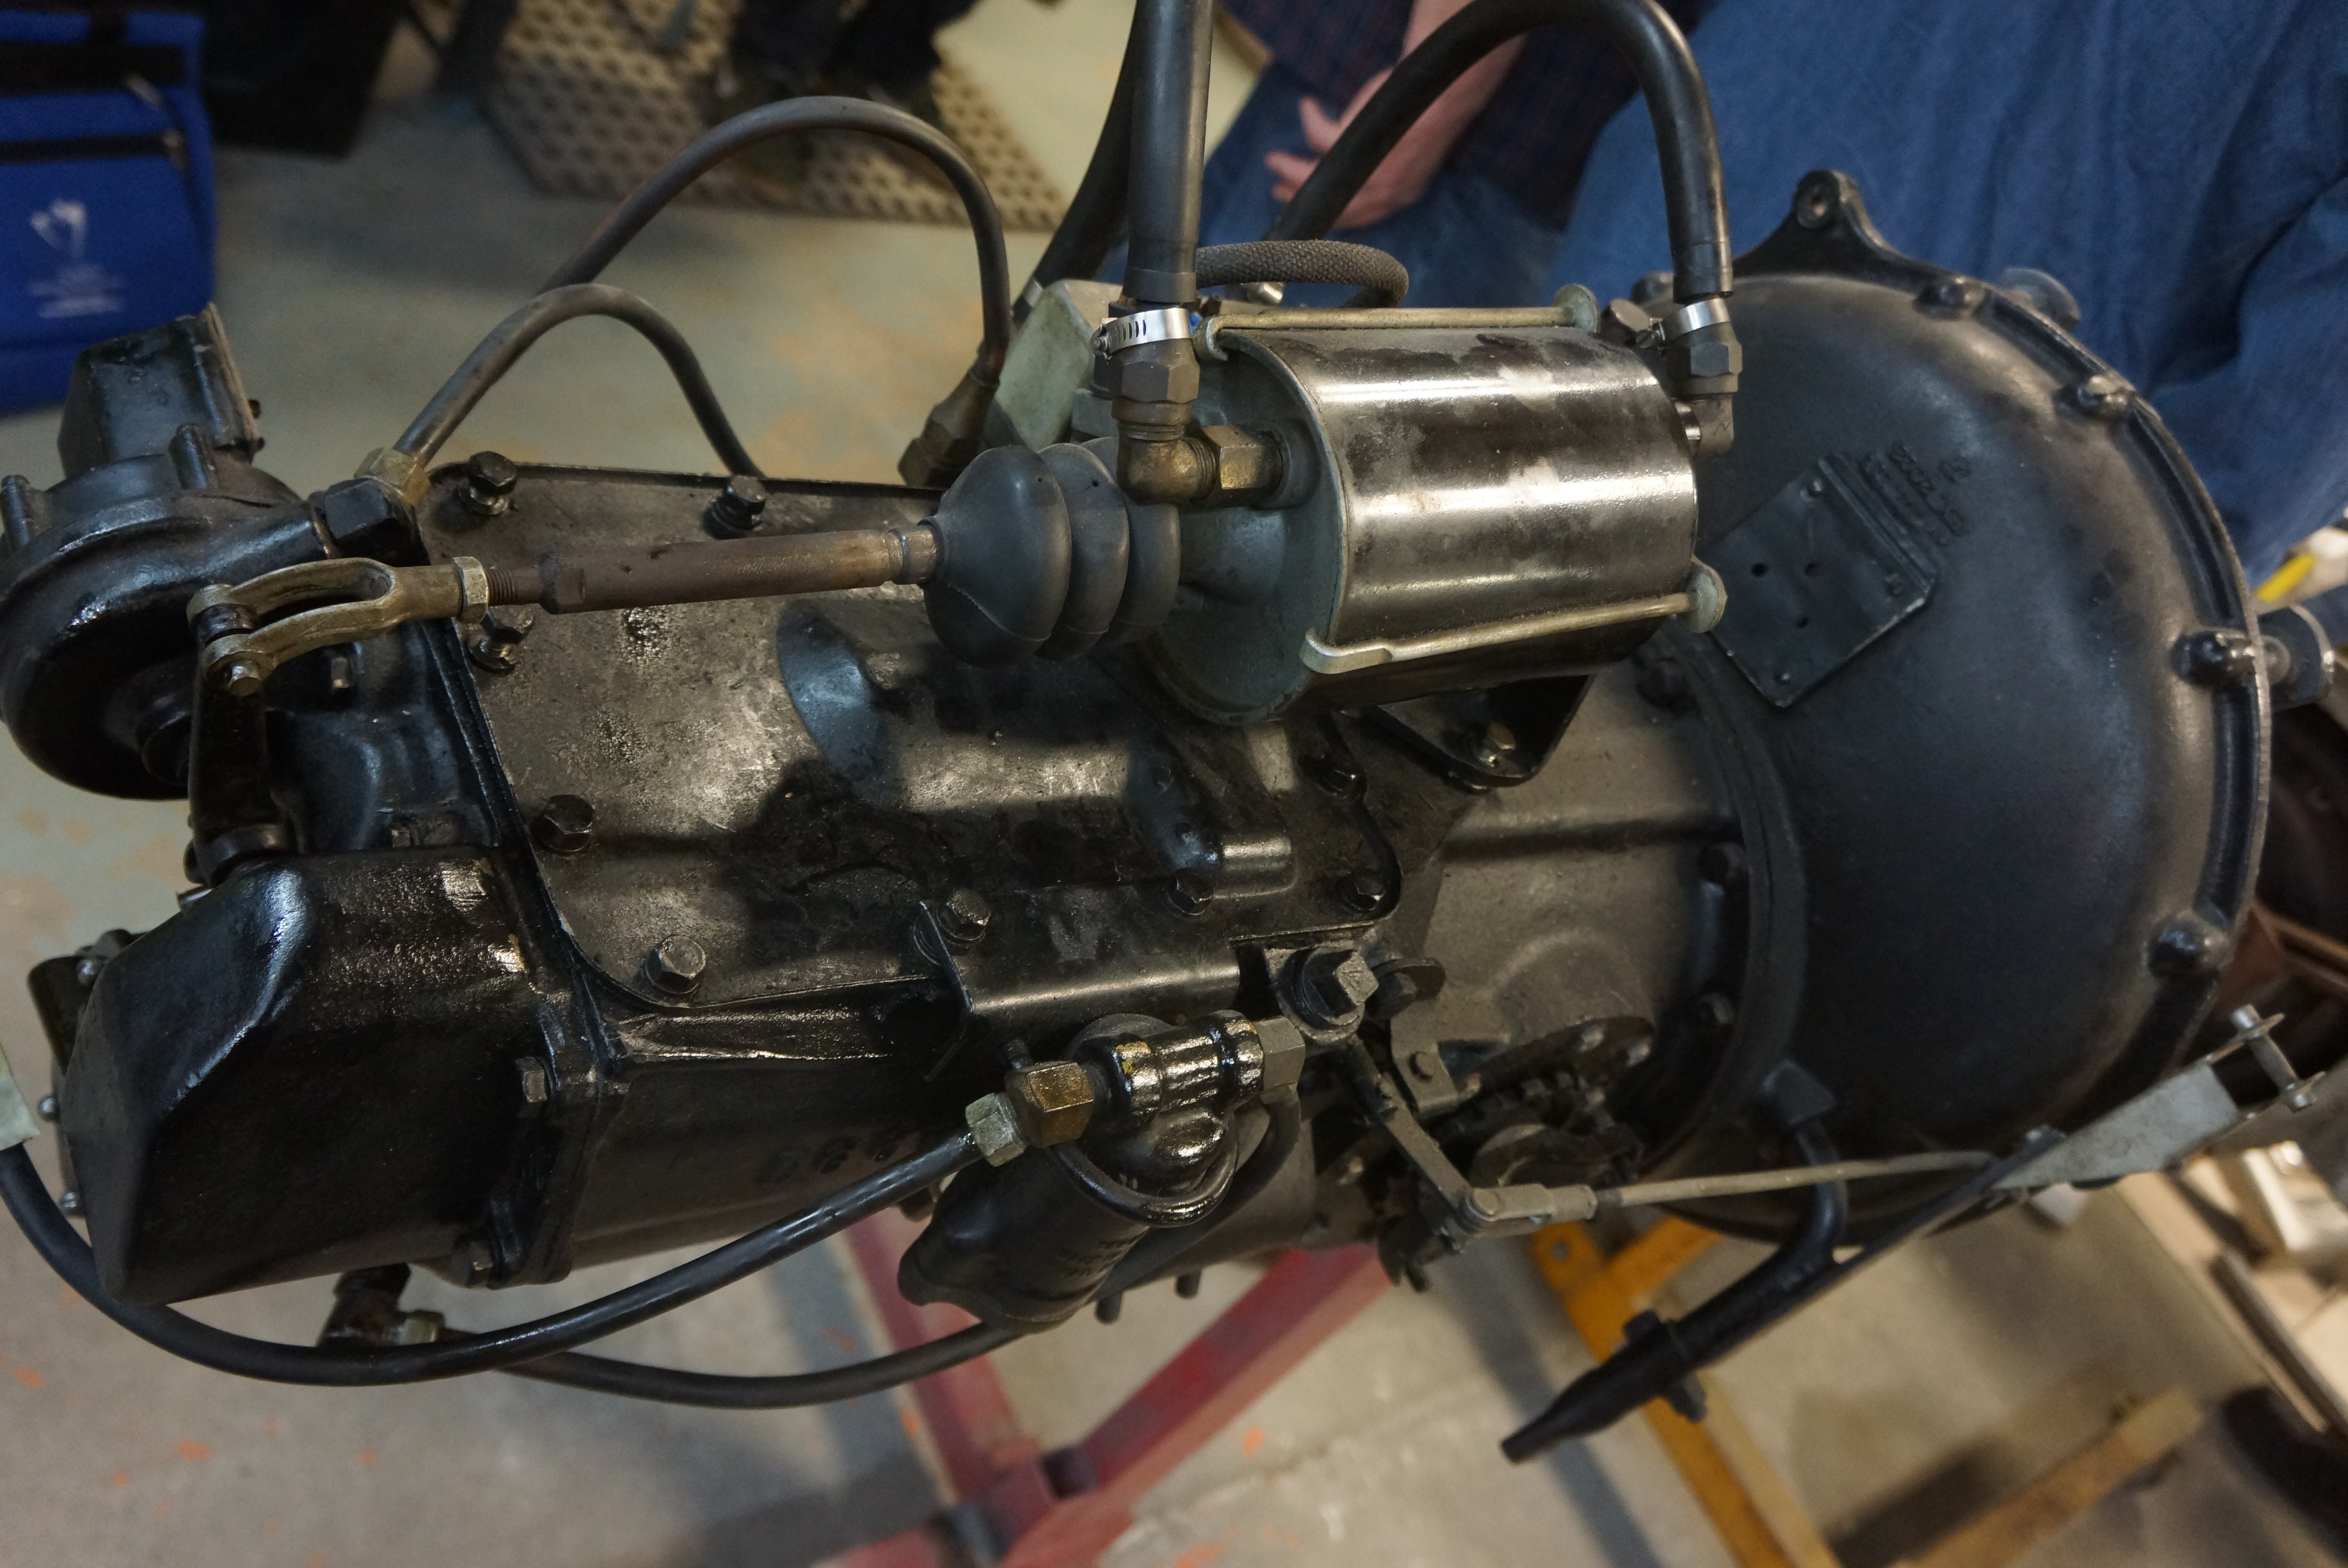
In Chapter 9, the transmission and final drive got overhauled, and the chain-driven axle was ready to be reattached to the chassis. In Chapter 10, the restored rolling chassis finally sees the light of day.
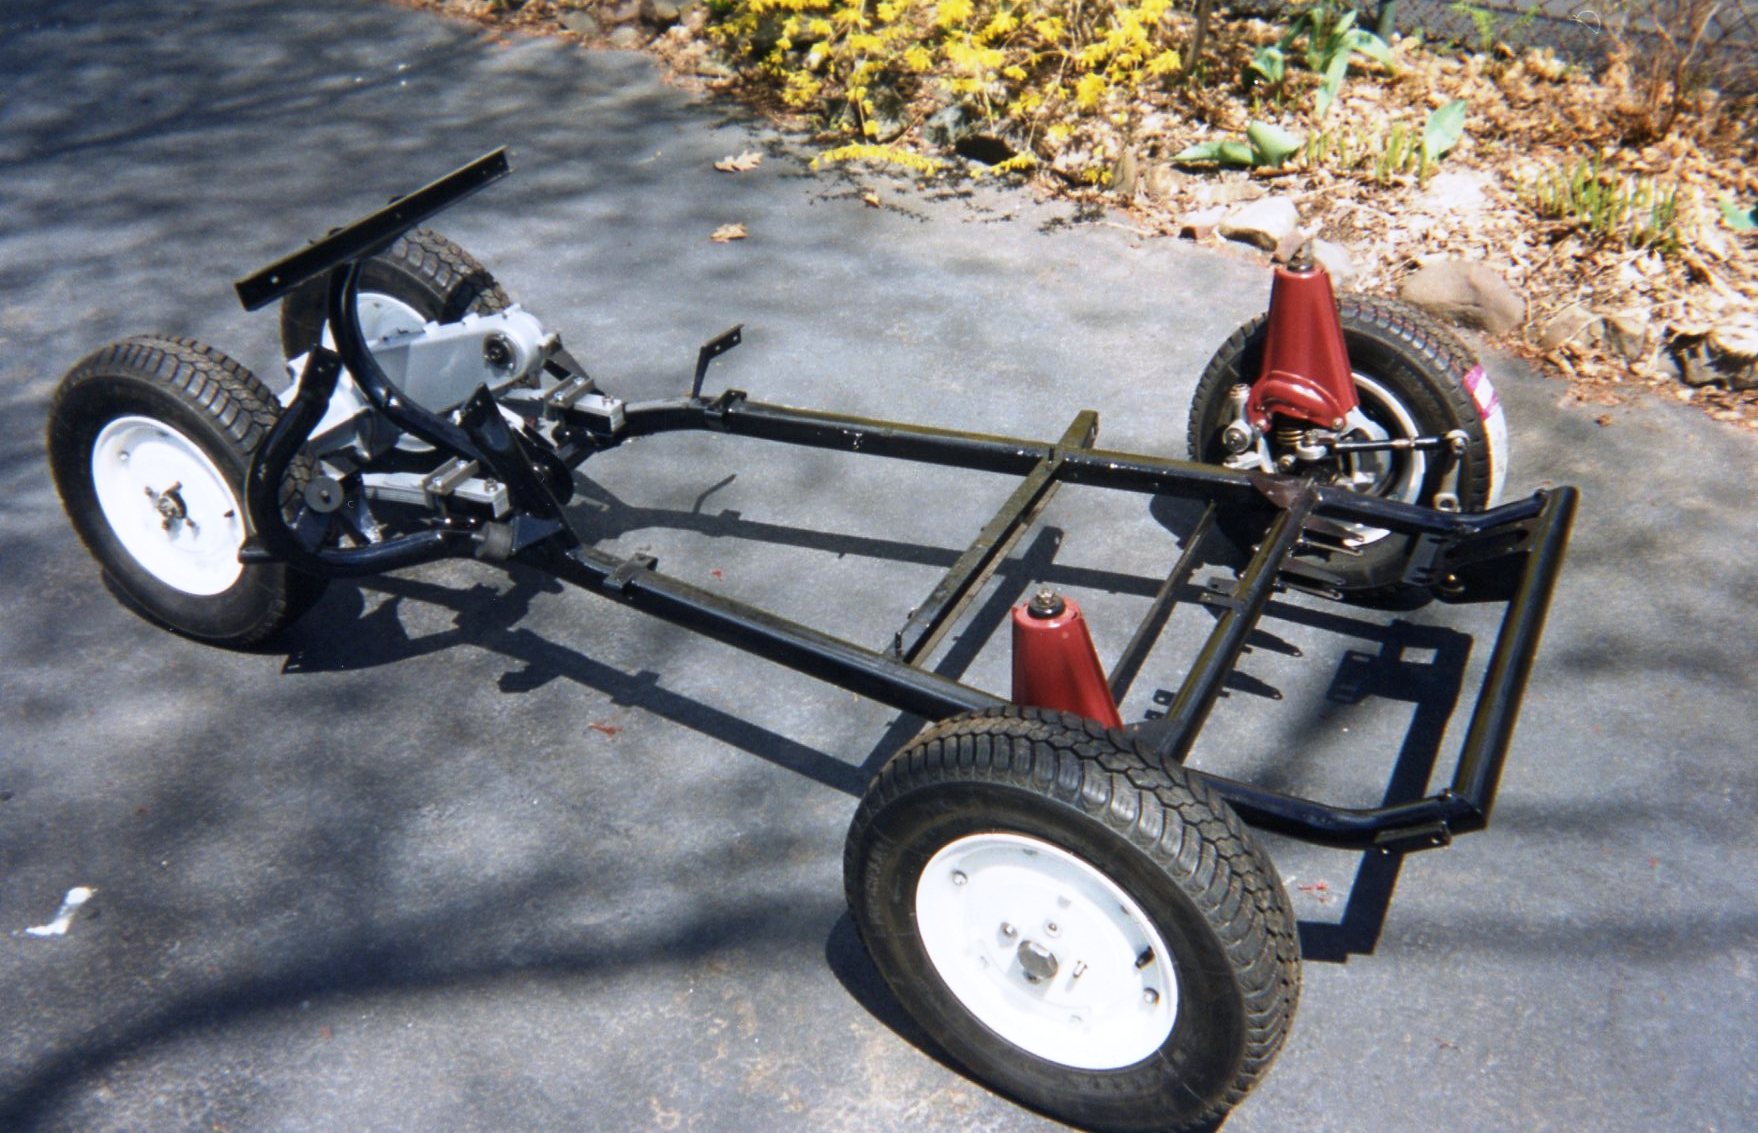
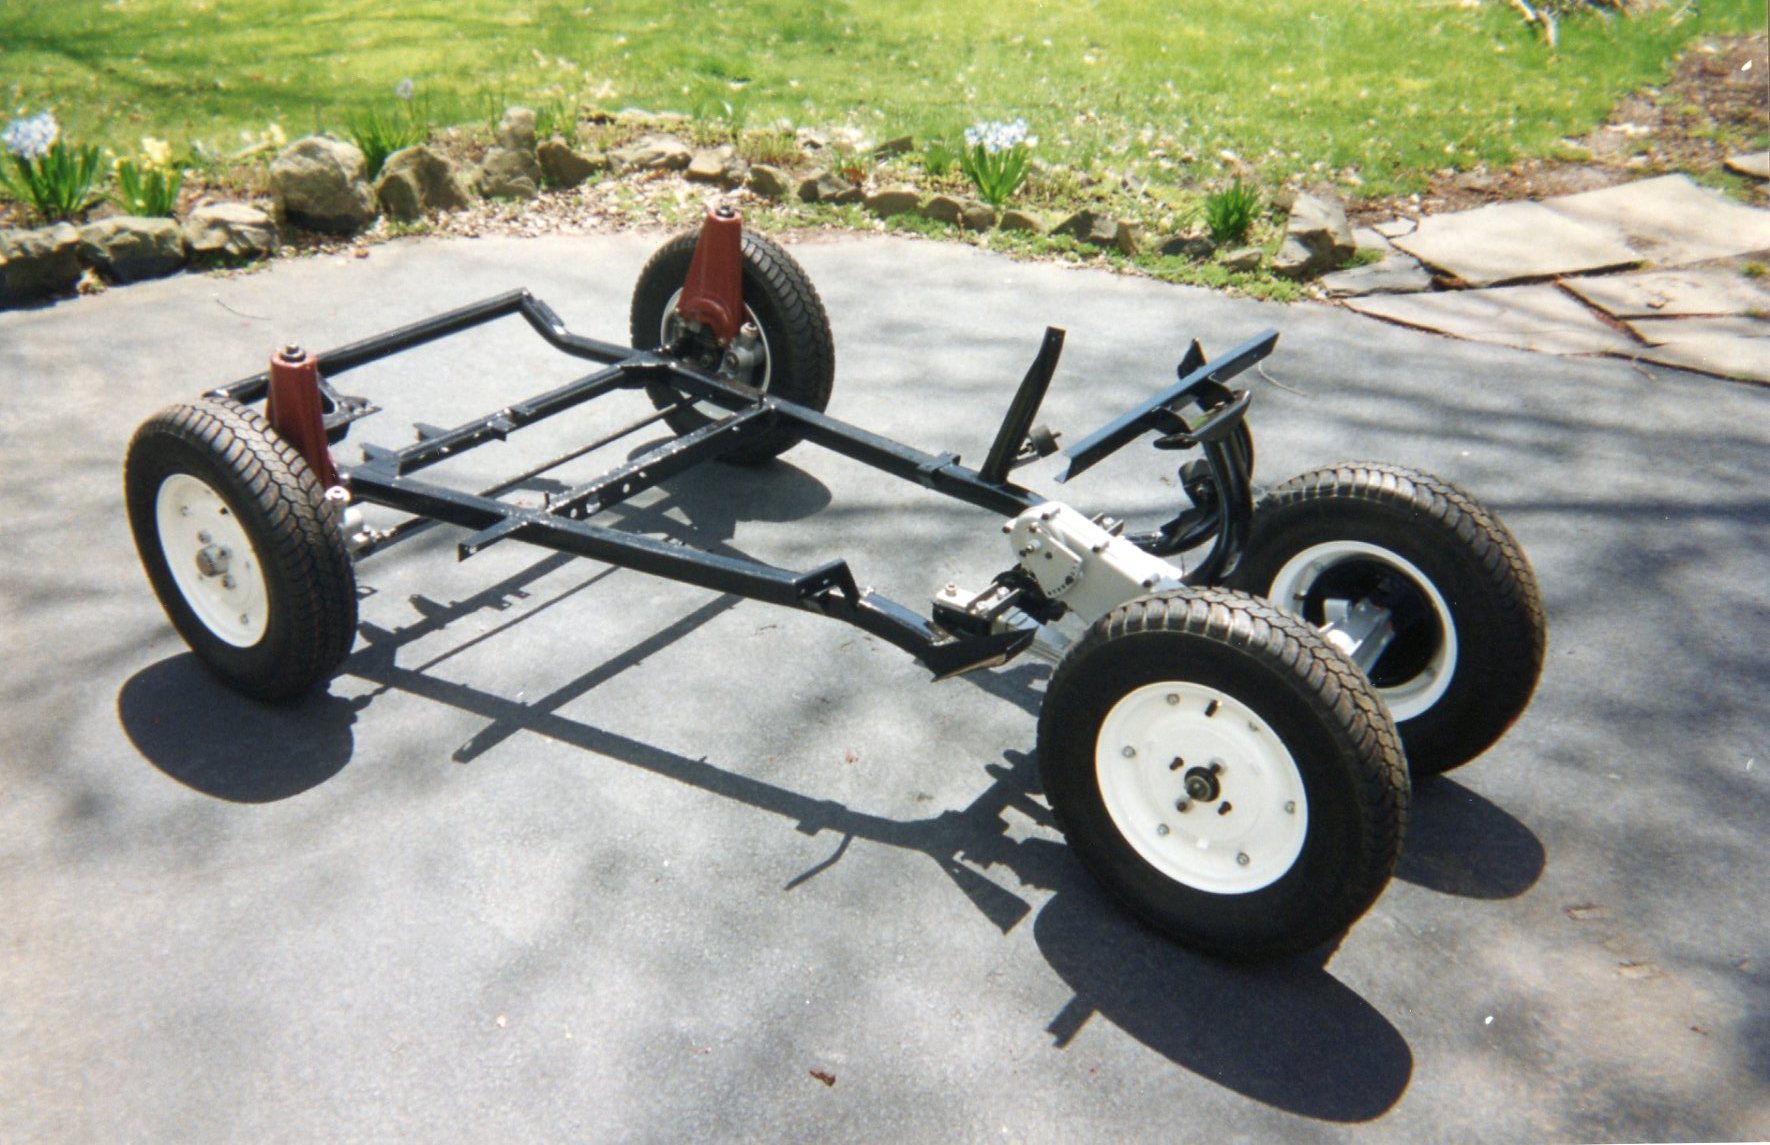
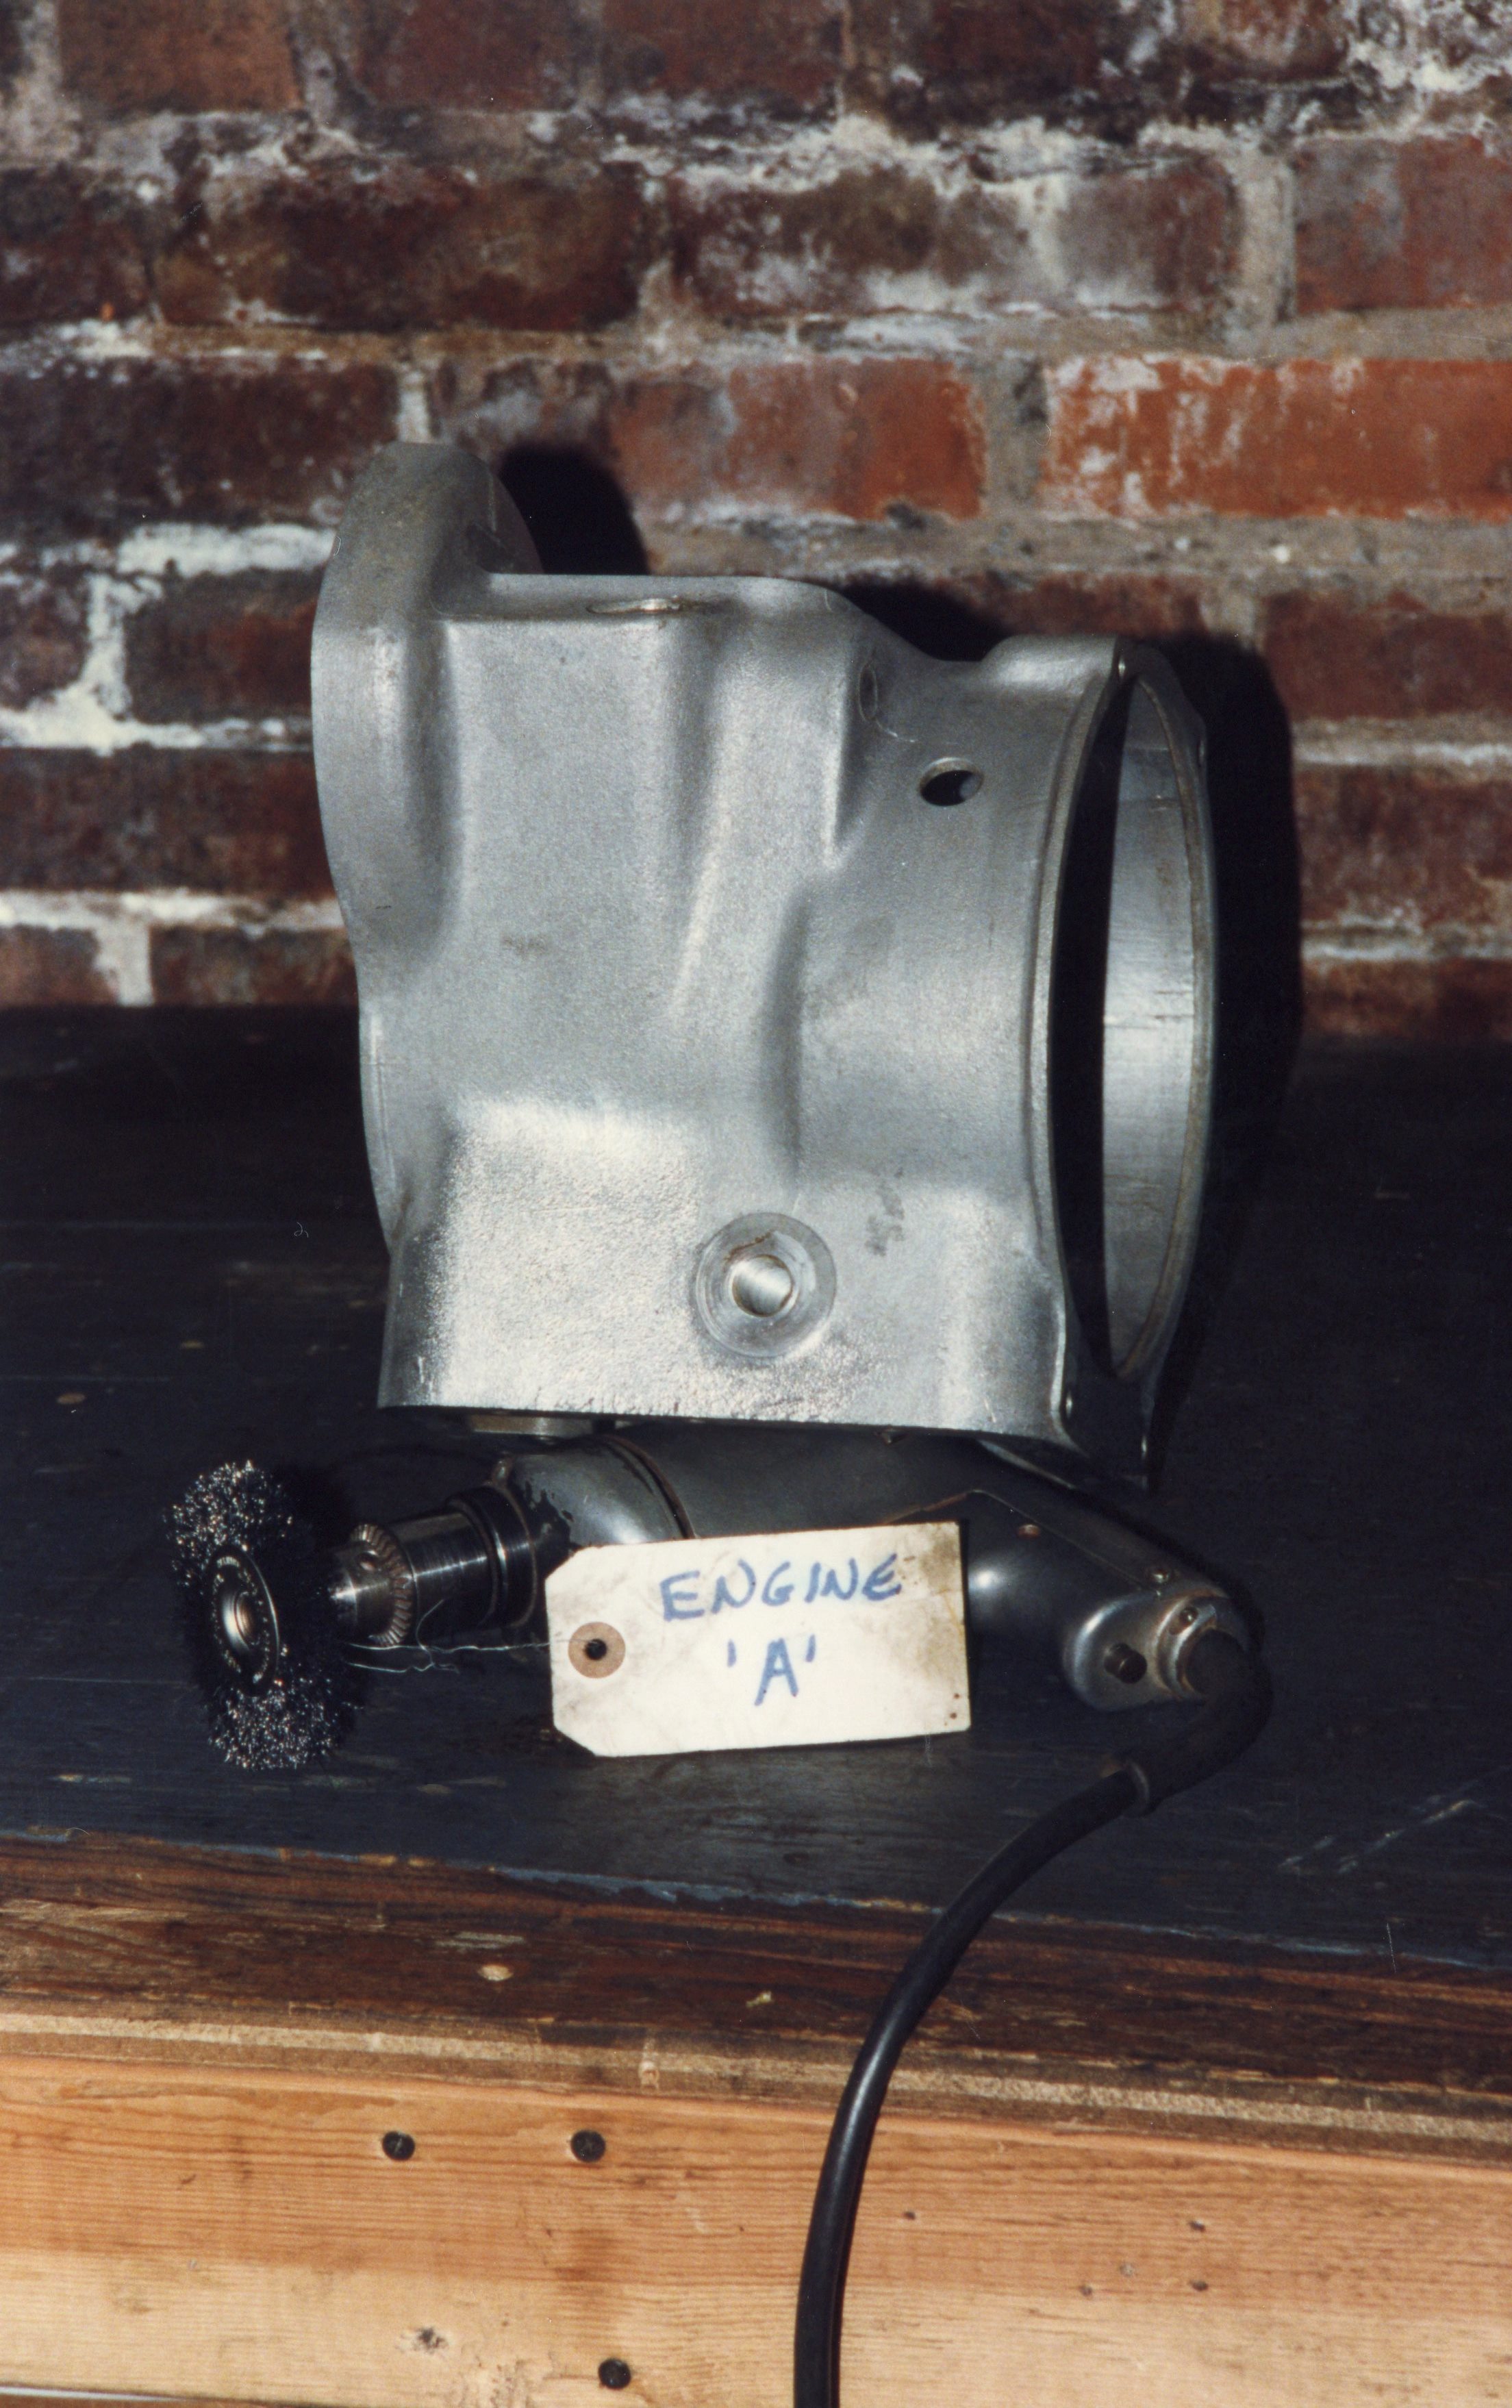
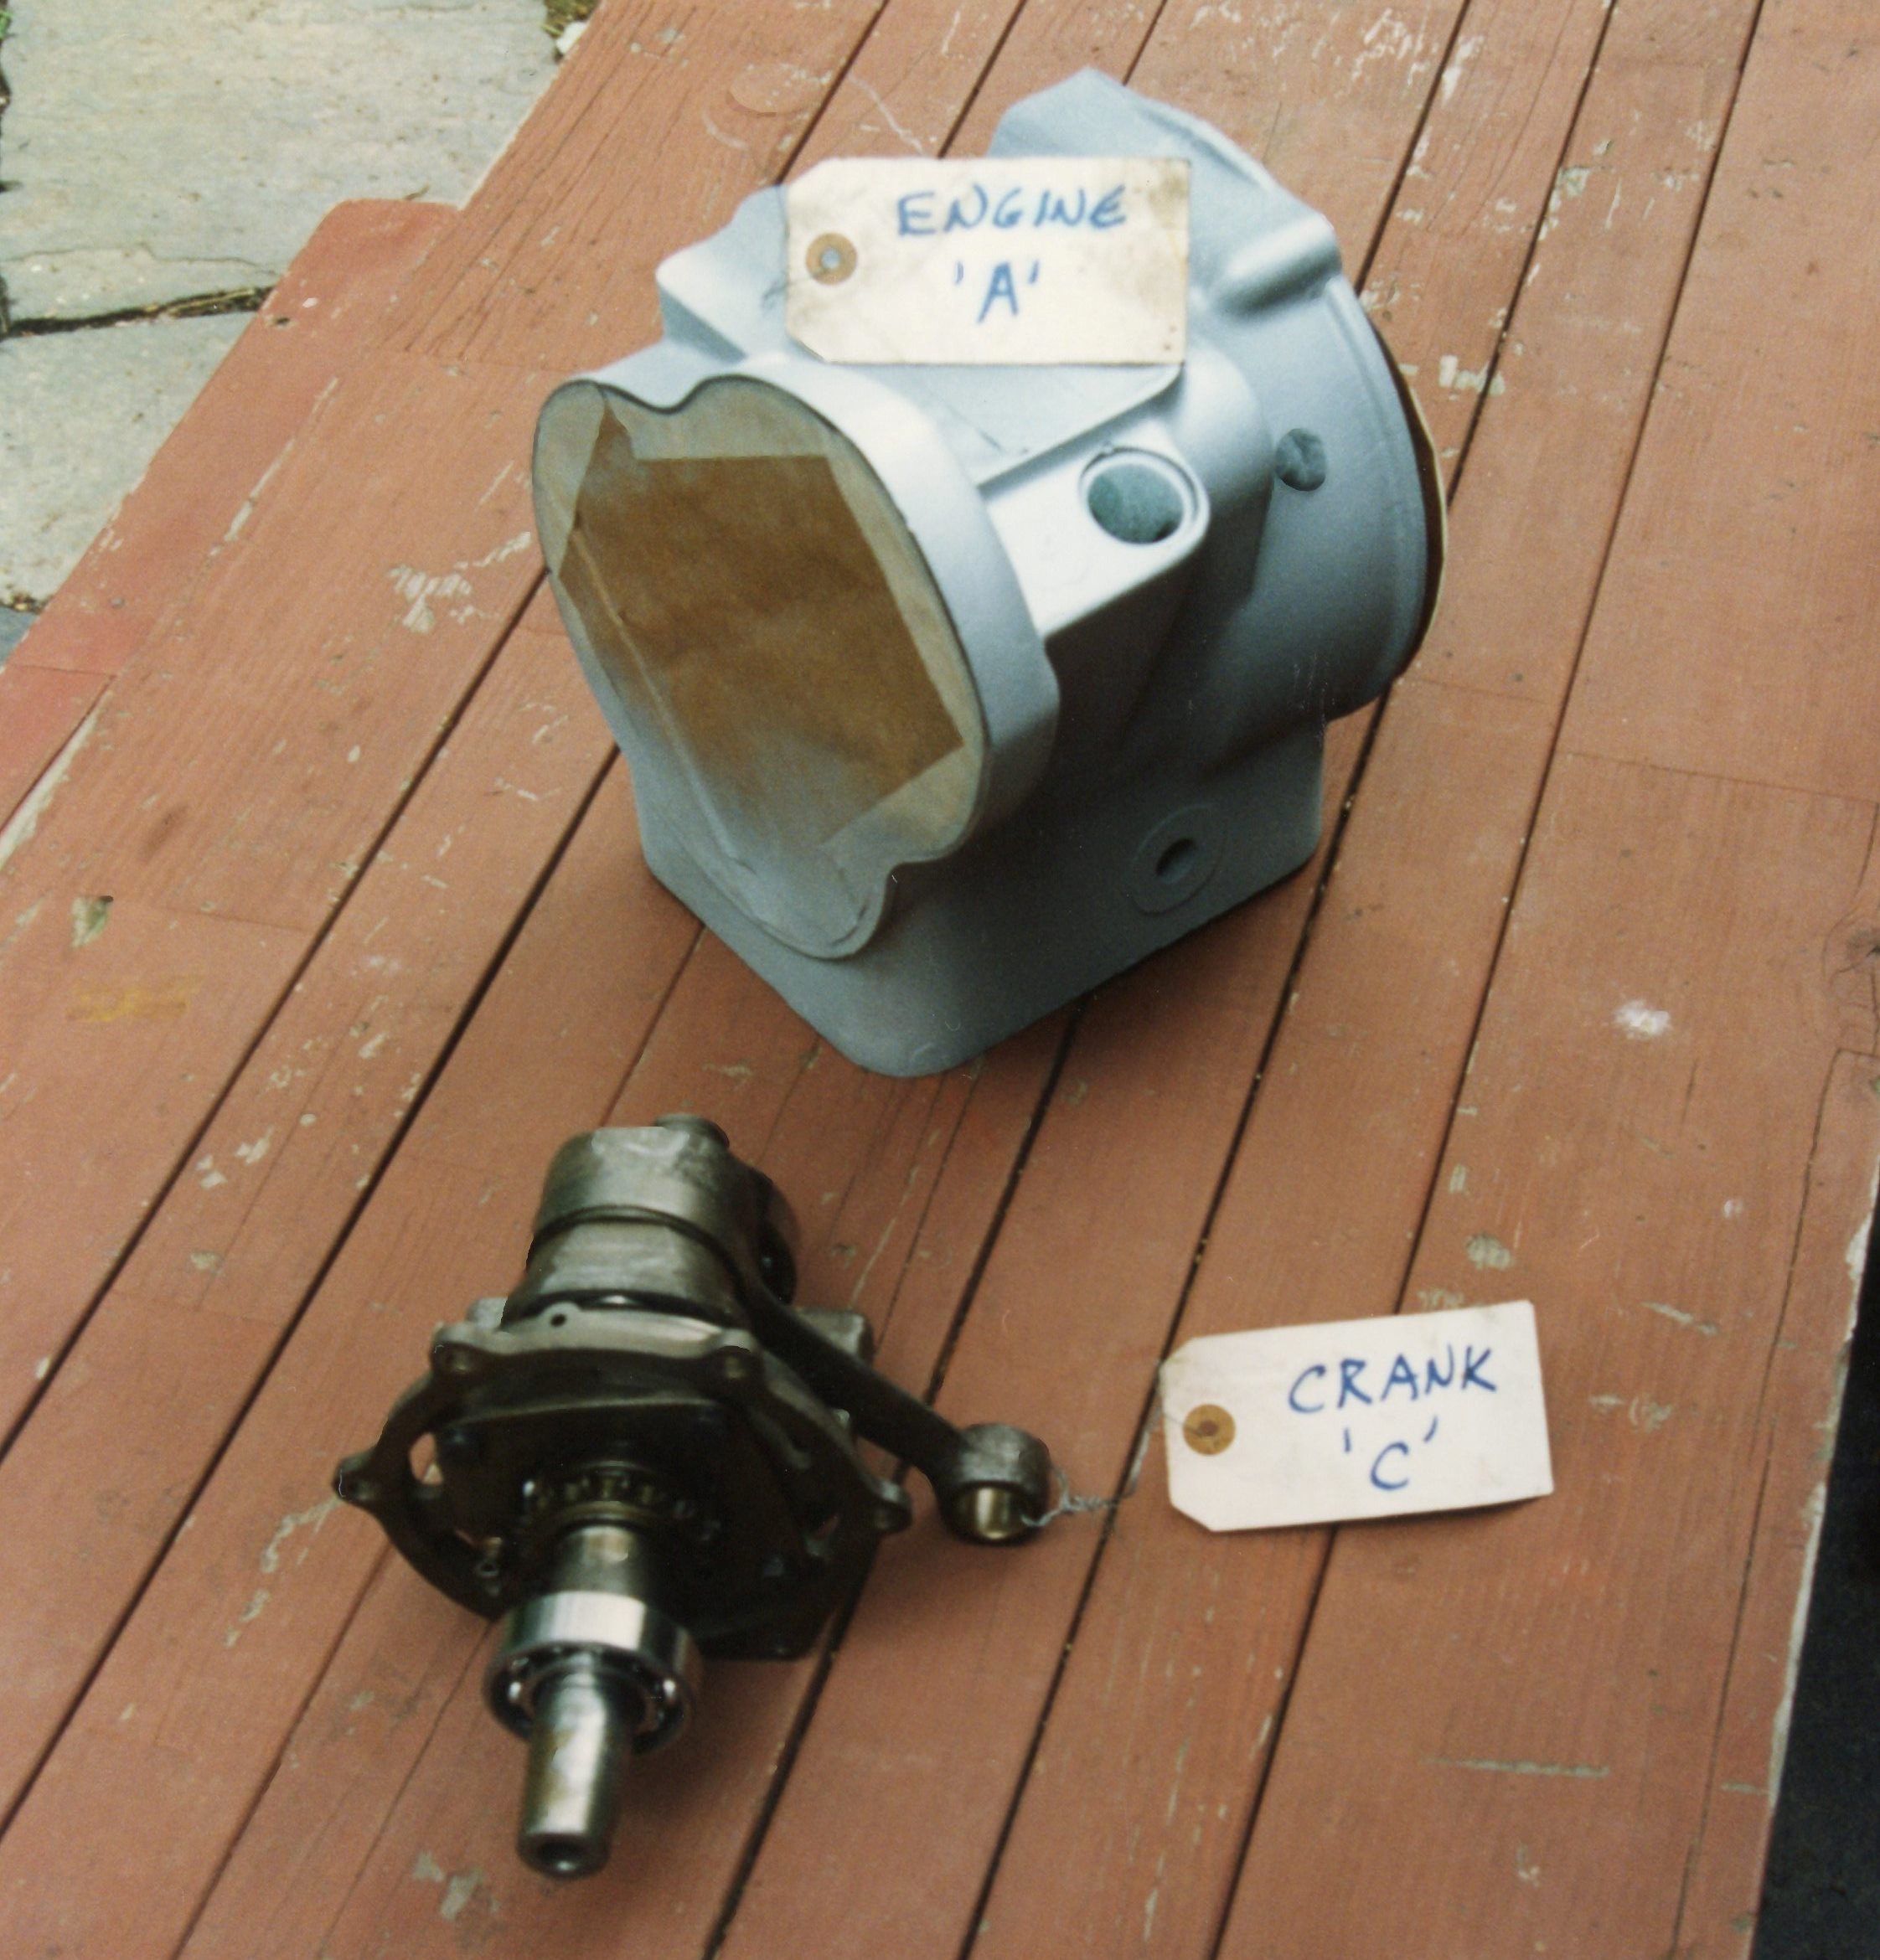
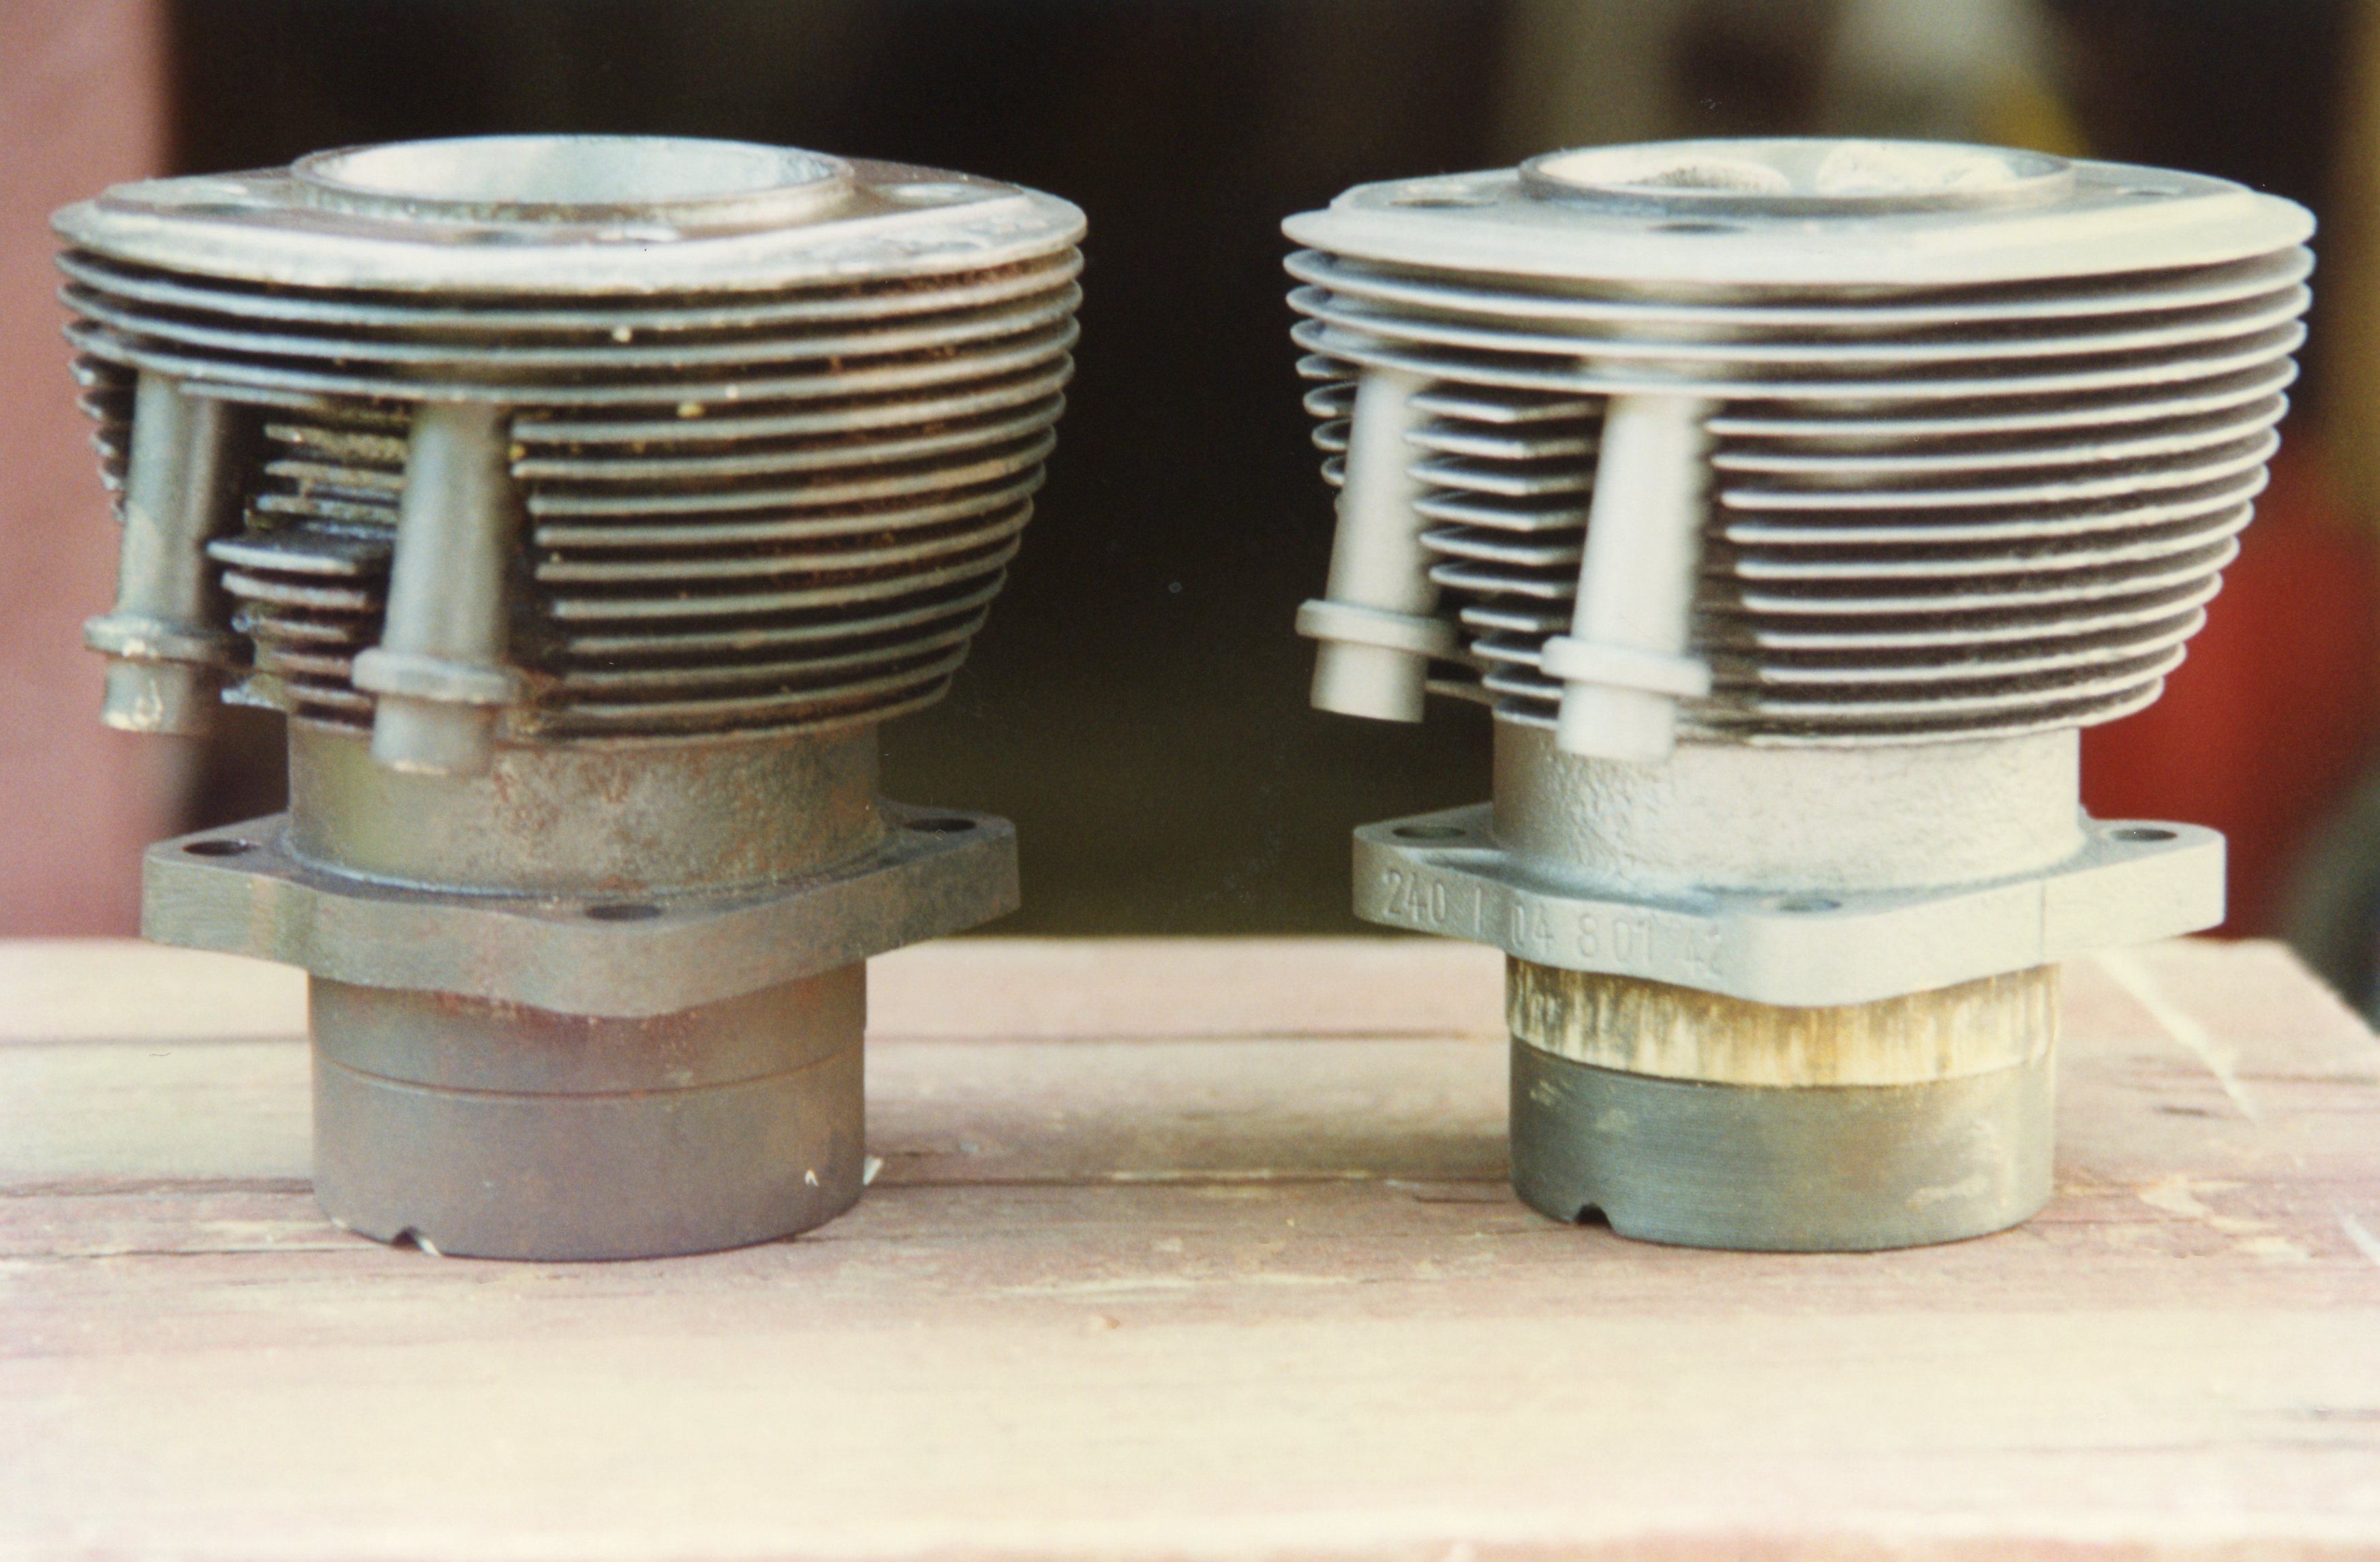
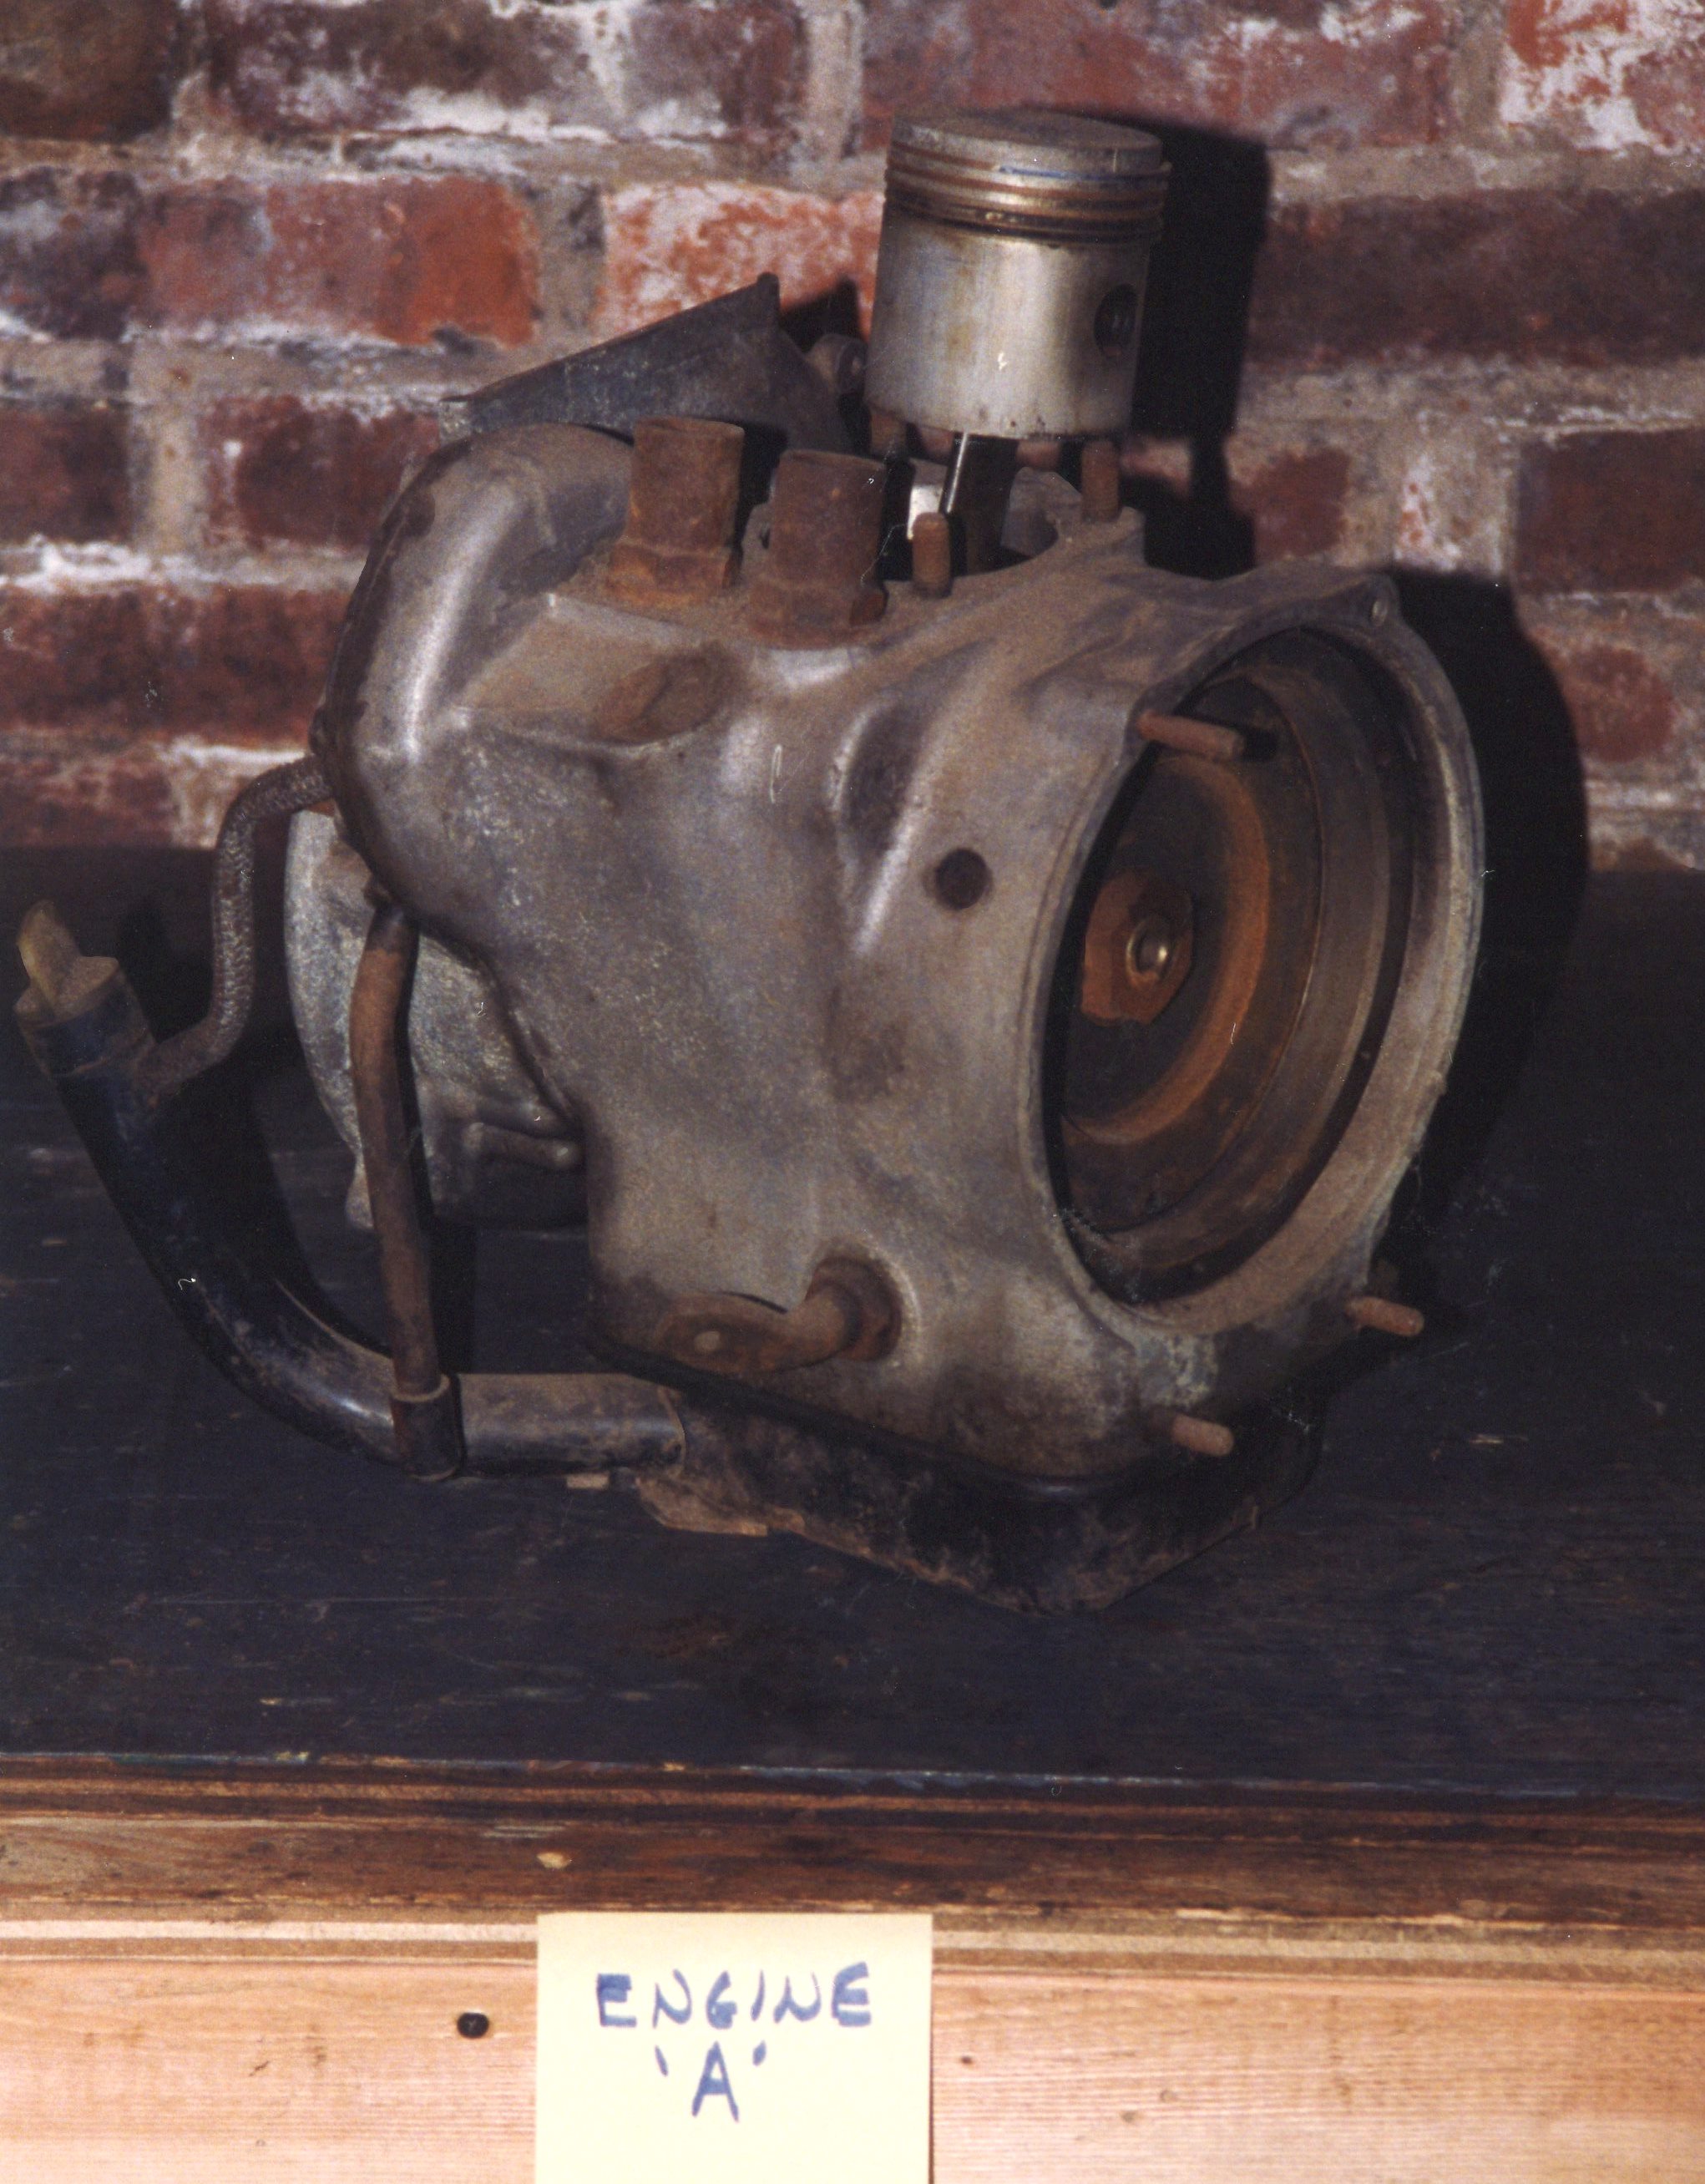
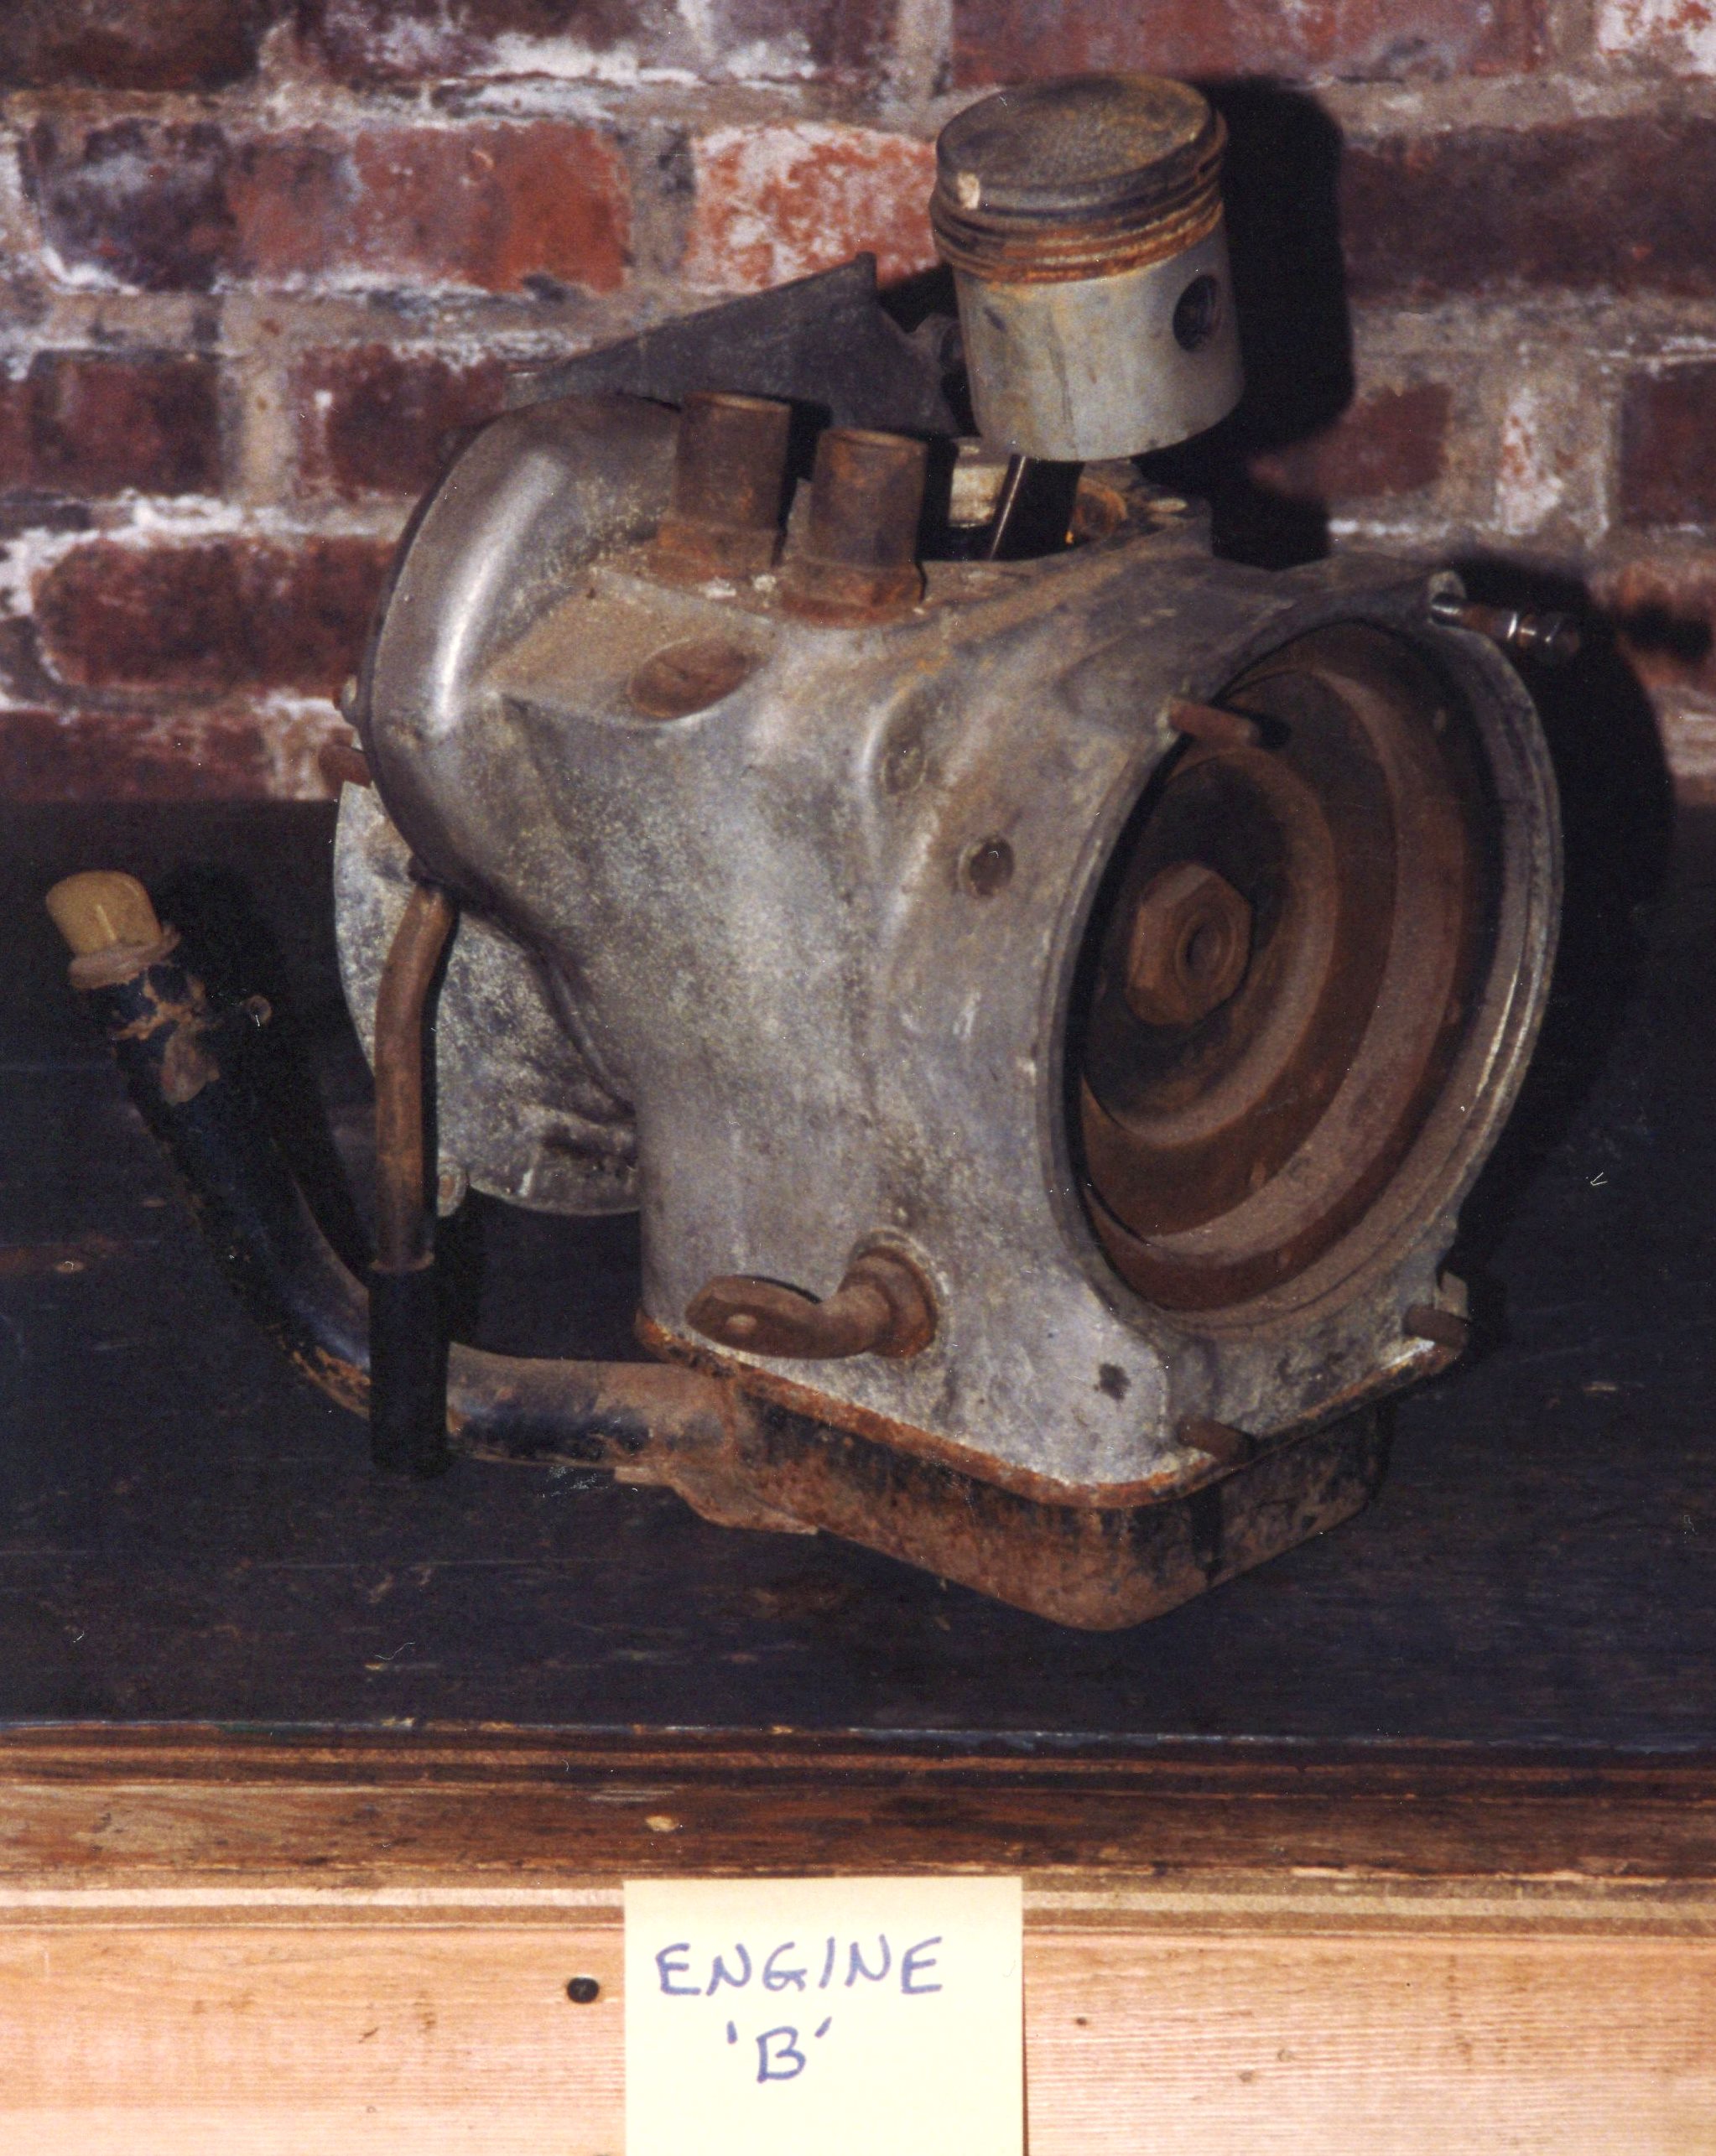
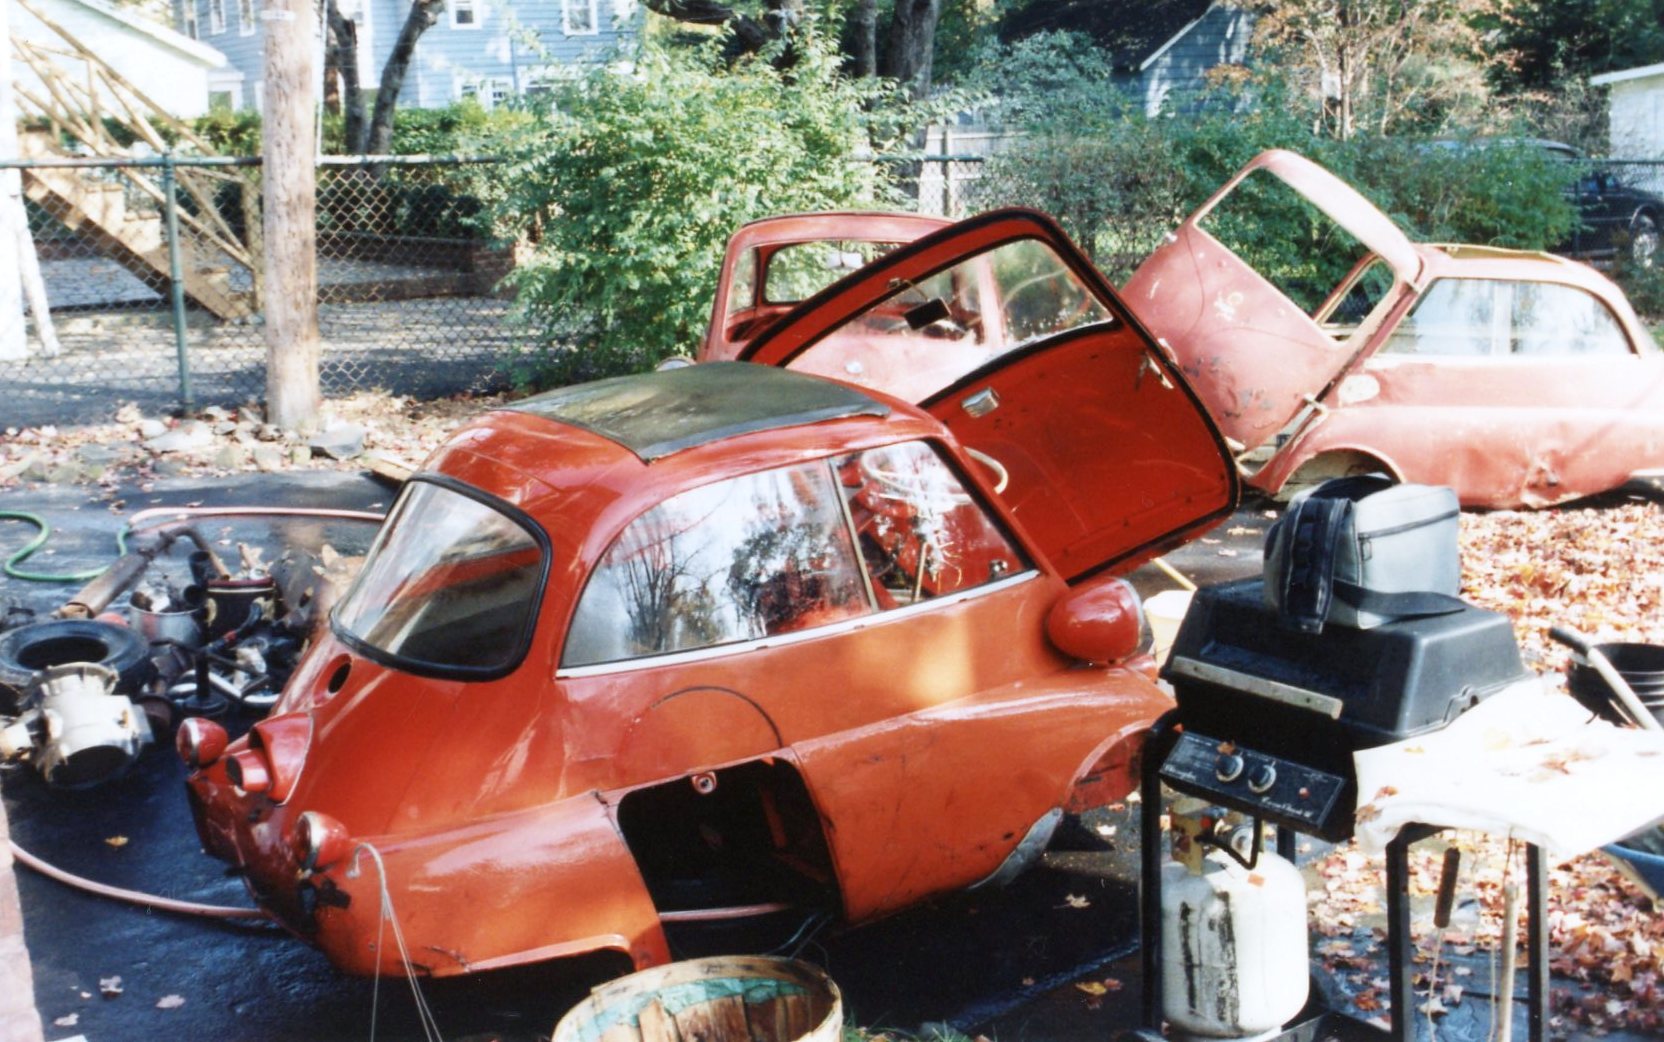
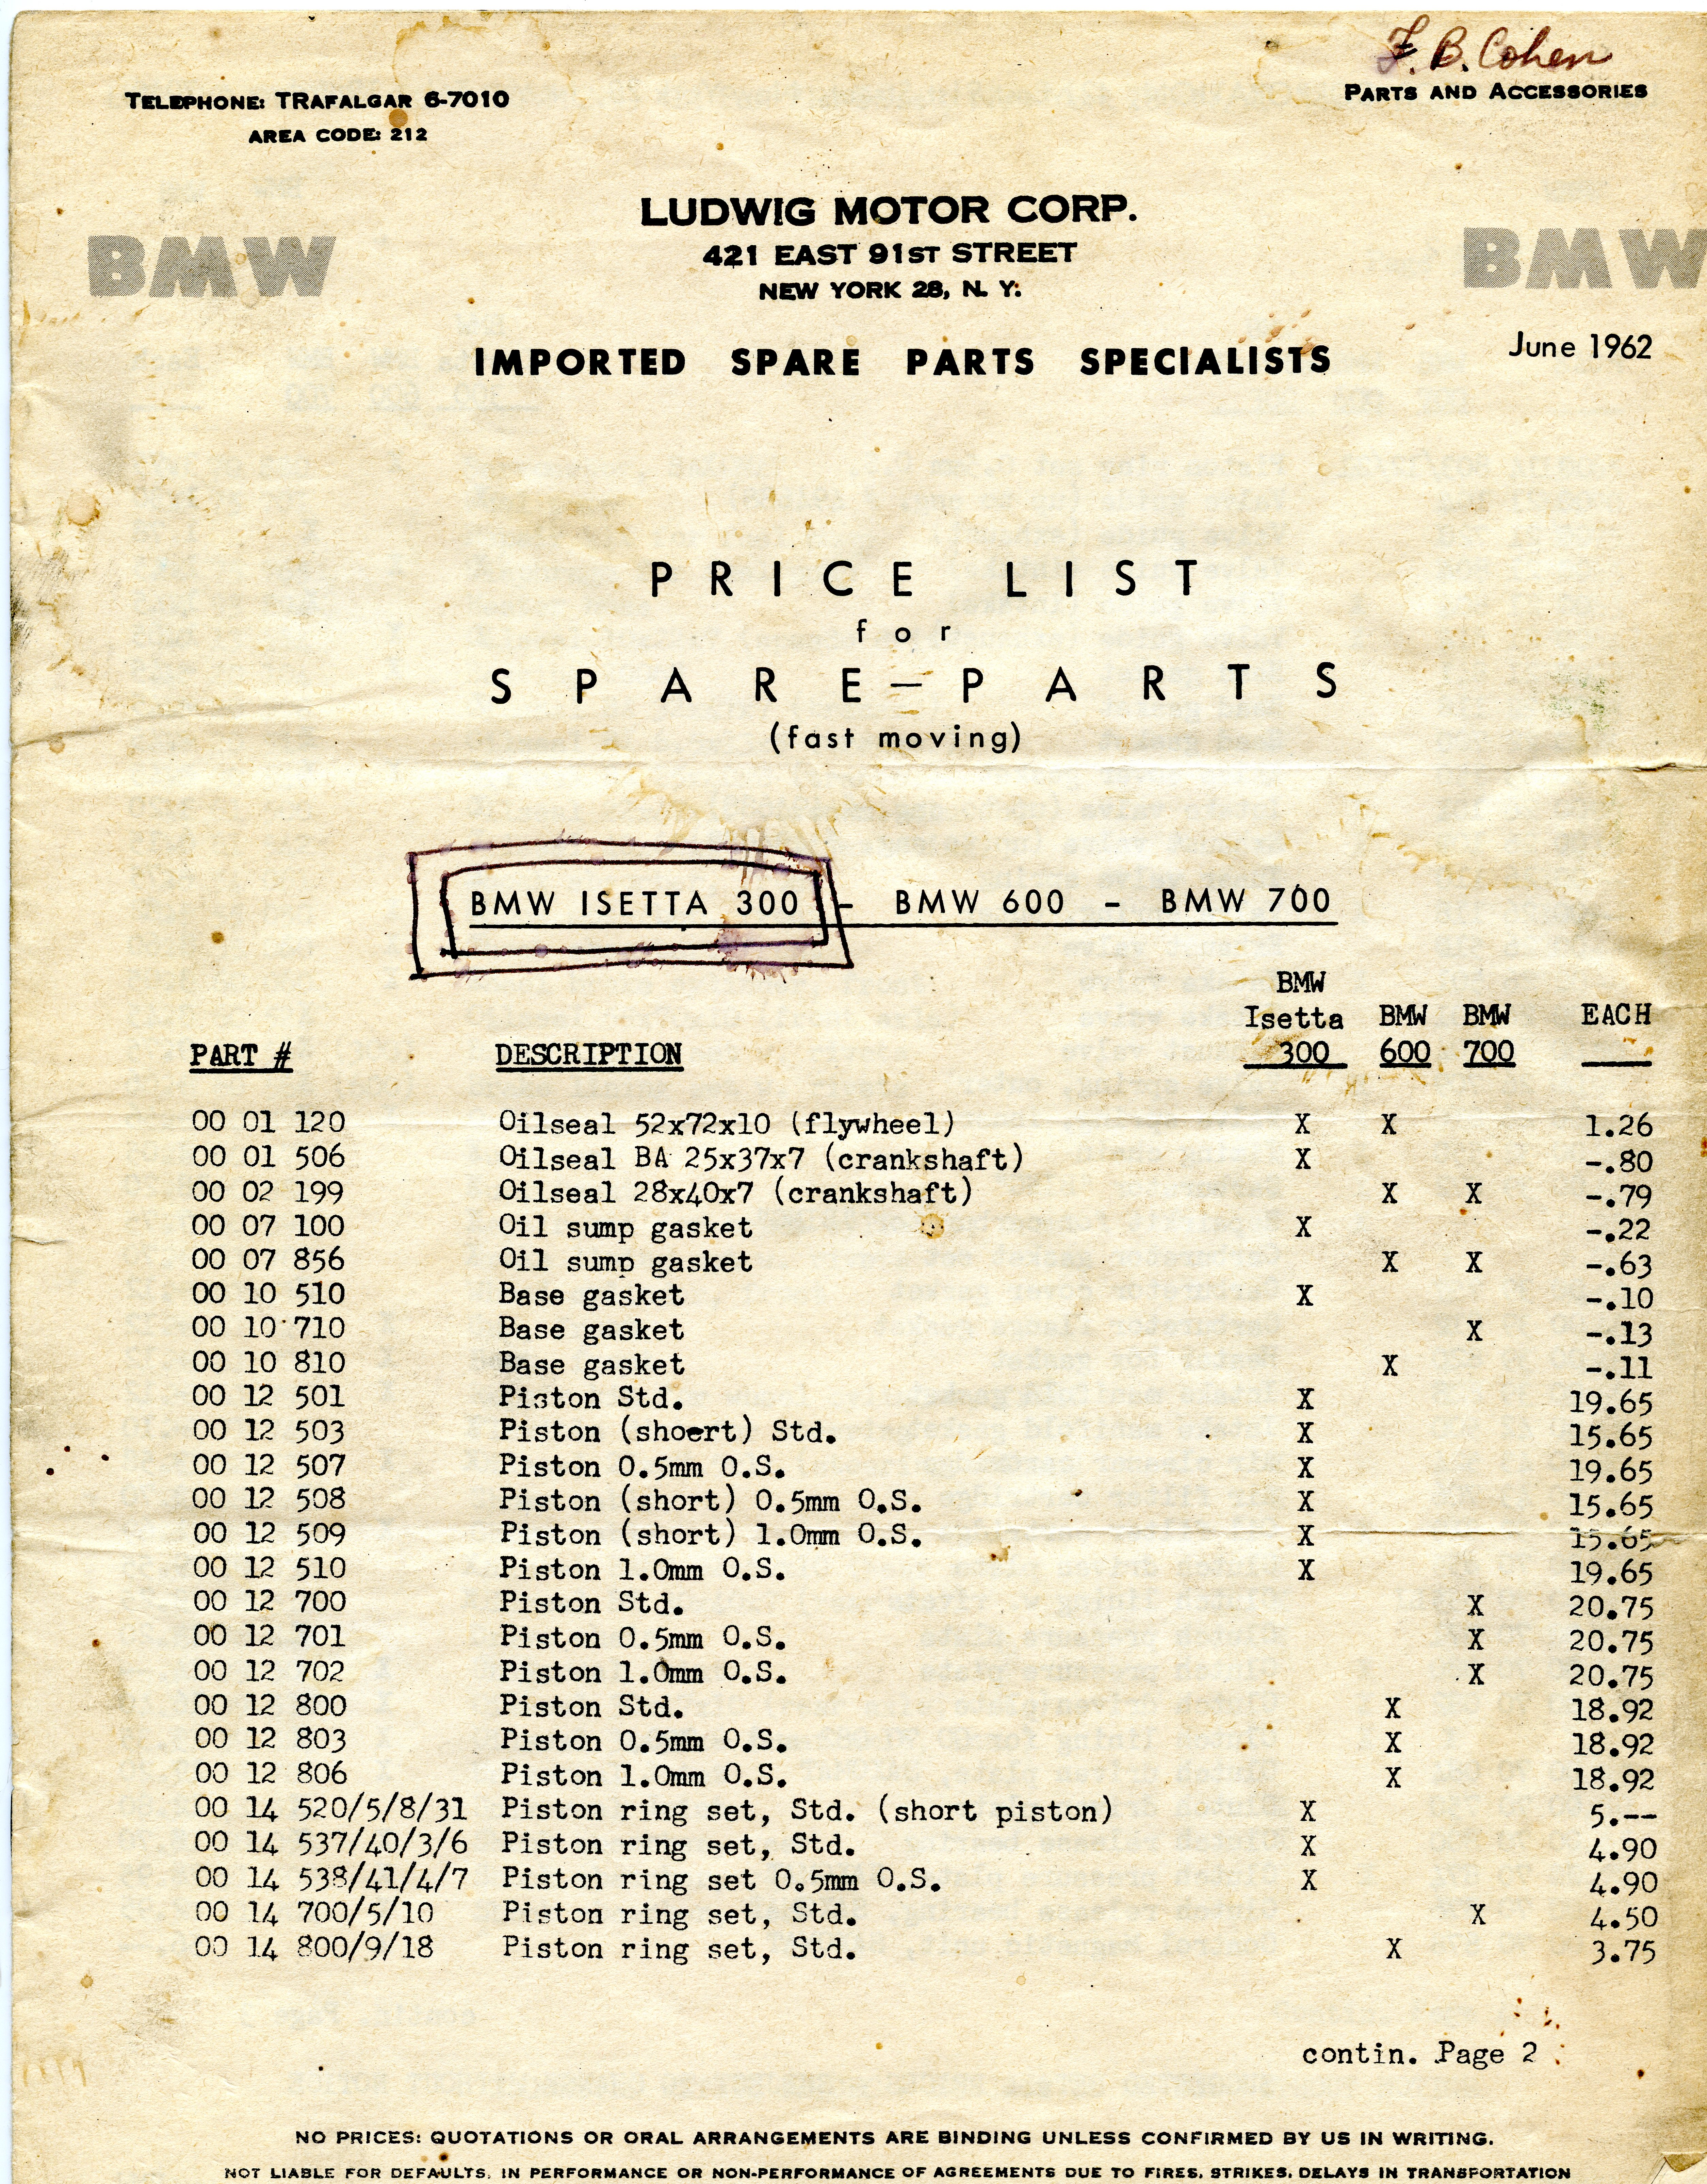
Smack in the middle of calendar year 1994, elbow-deep in my restoration of this fine German bubble car, I was at a “good news / bad news” crossroads. The good news: much mechanical progress had been made. One engine, minus a cylinder head, was complete. With the transmission and enclosed-chain rear axle both restored, the drivetrain was essentially done. The chassis, currently on its front tires only, was very close to rolling on all four wheels and tires.
But the bad news, like a devil on my shoulder, would lean into my ear and whisper: “You’re not going to get this done”. I still had parts procurement issues. In spite of my dealing with multiple parts suppliers, no one vendor had everything I needed, and there were still some parts which no one seemed to have. My commitment to the rebuild of a 2nd engine was detracting me from progress on my own car. Work to be sent out, in this case the cylinder head rebuild, left me stymied, as I was having difficulty finding a machine shop willing to take on an Isetta valve job. I continued to discover that I was missing parts (remember that I did not disassemble these cars), which had me on the hunt for good used ones. I had not even begun looking into a shop for the body and paint work. Yet I continued to brag how “the Isetta will drive in ‘95”, and 1995 was next year.
Let’s pause for a moment and reflect back, with 25 years of hindsight. Why was I doing this? What were the motivating factors? The truth is that there was nothing rational about the time, money, and effort being expended to restore this microcar which most people never heard of, and which had little monetary value in the collector car market. This was a labor of love, driven by these factors:
- Having failed once at an attempt to sell the car, there was little choice but to make something out of the pile of parts.
- Fifteen years after purchasing the car, I felt an obligation to do something with it.
- It was a pipe dream to prove that I could take a non-running car and restore it.
- Having heard horror stories about stalled projects, I was determined to show that it was possible to finish one.
- I had the tools, the space, and the mechanical knowledge, giving me the confidence to tackle the work.
This is not to say my time was otherwise not occupied. My career with Volvo was in full swing, and it included regular domestic and international travel. My home and family life were full of commitments. I continued to perform on the drum kit in various bands, although not to the extent I had during the previous decade.
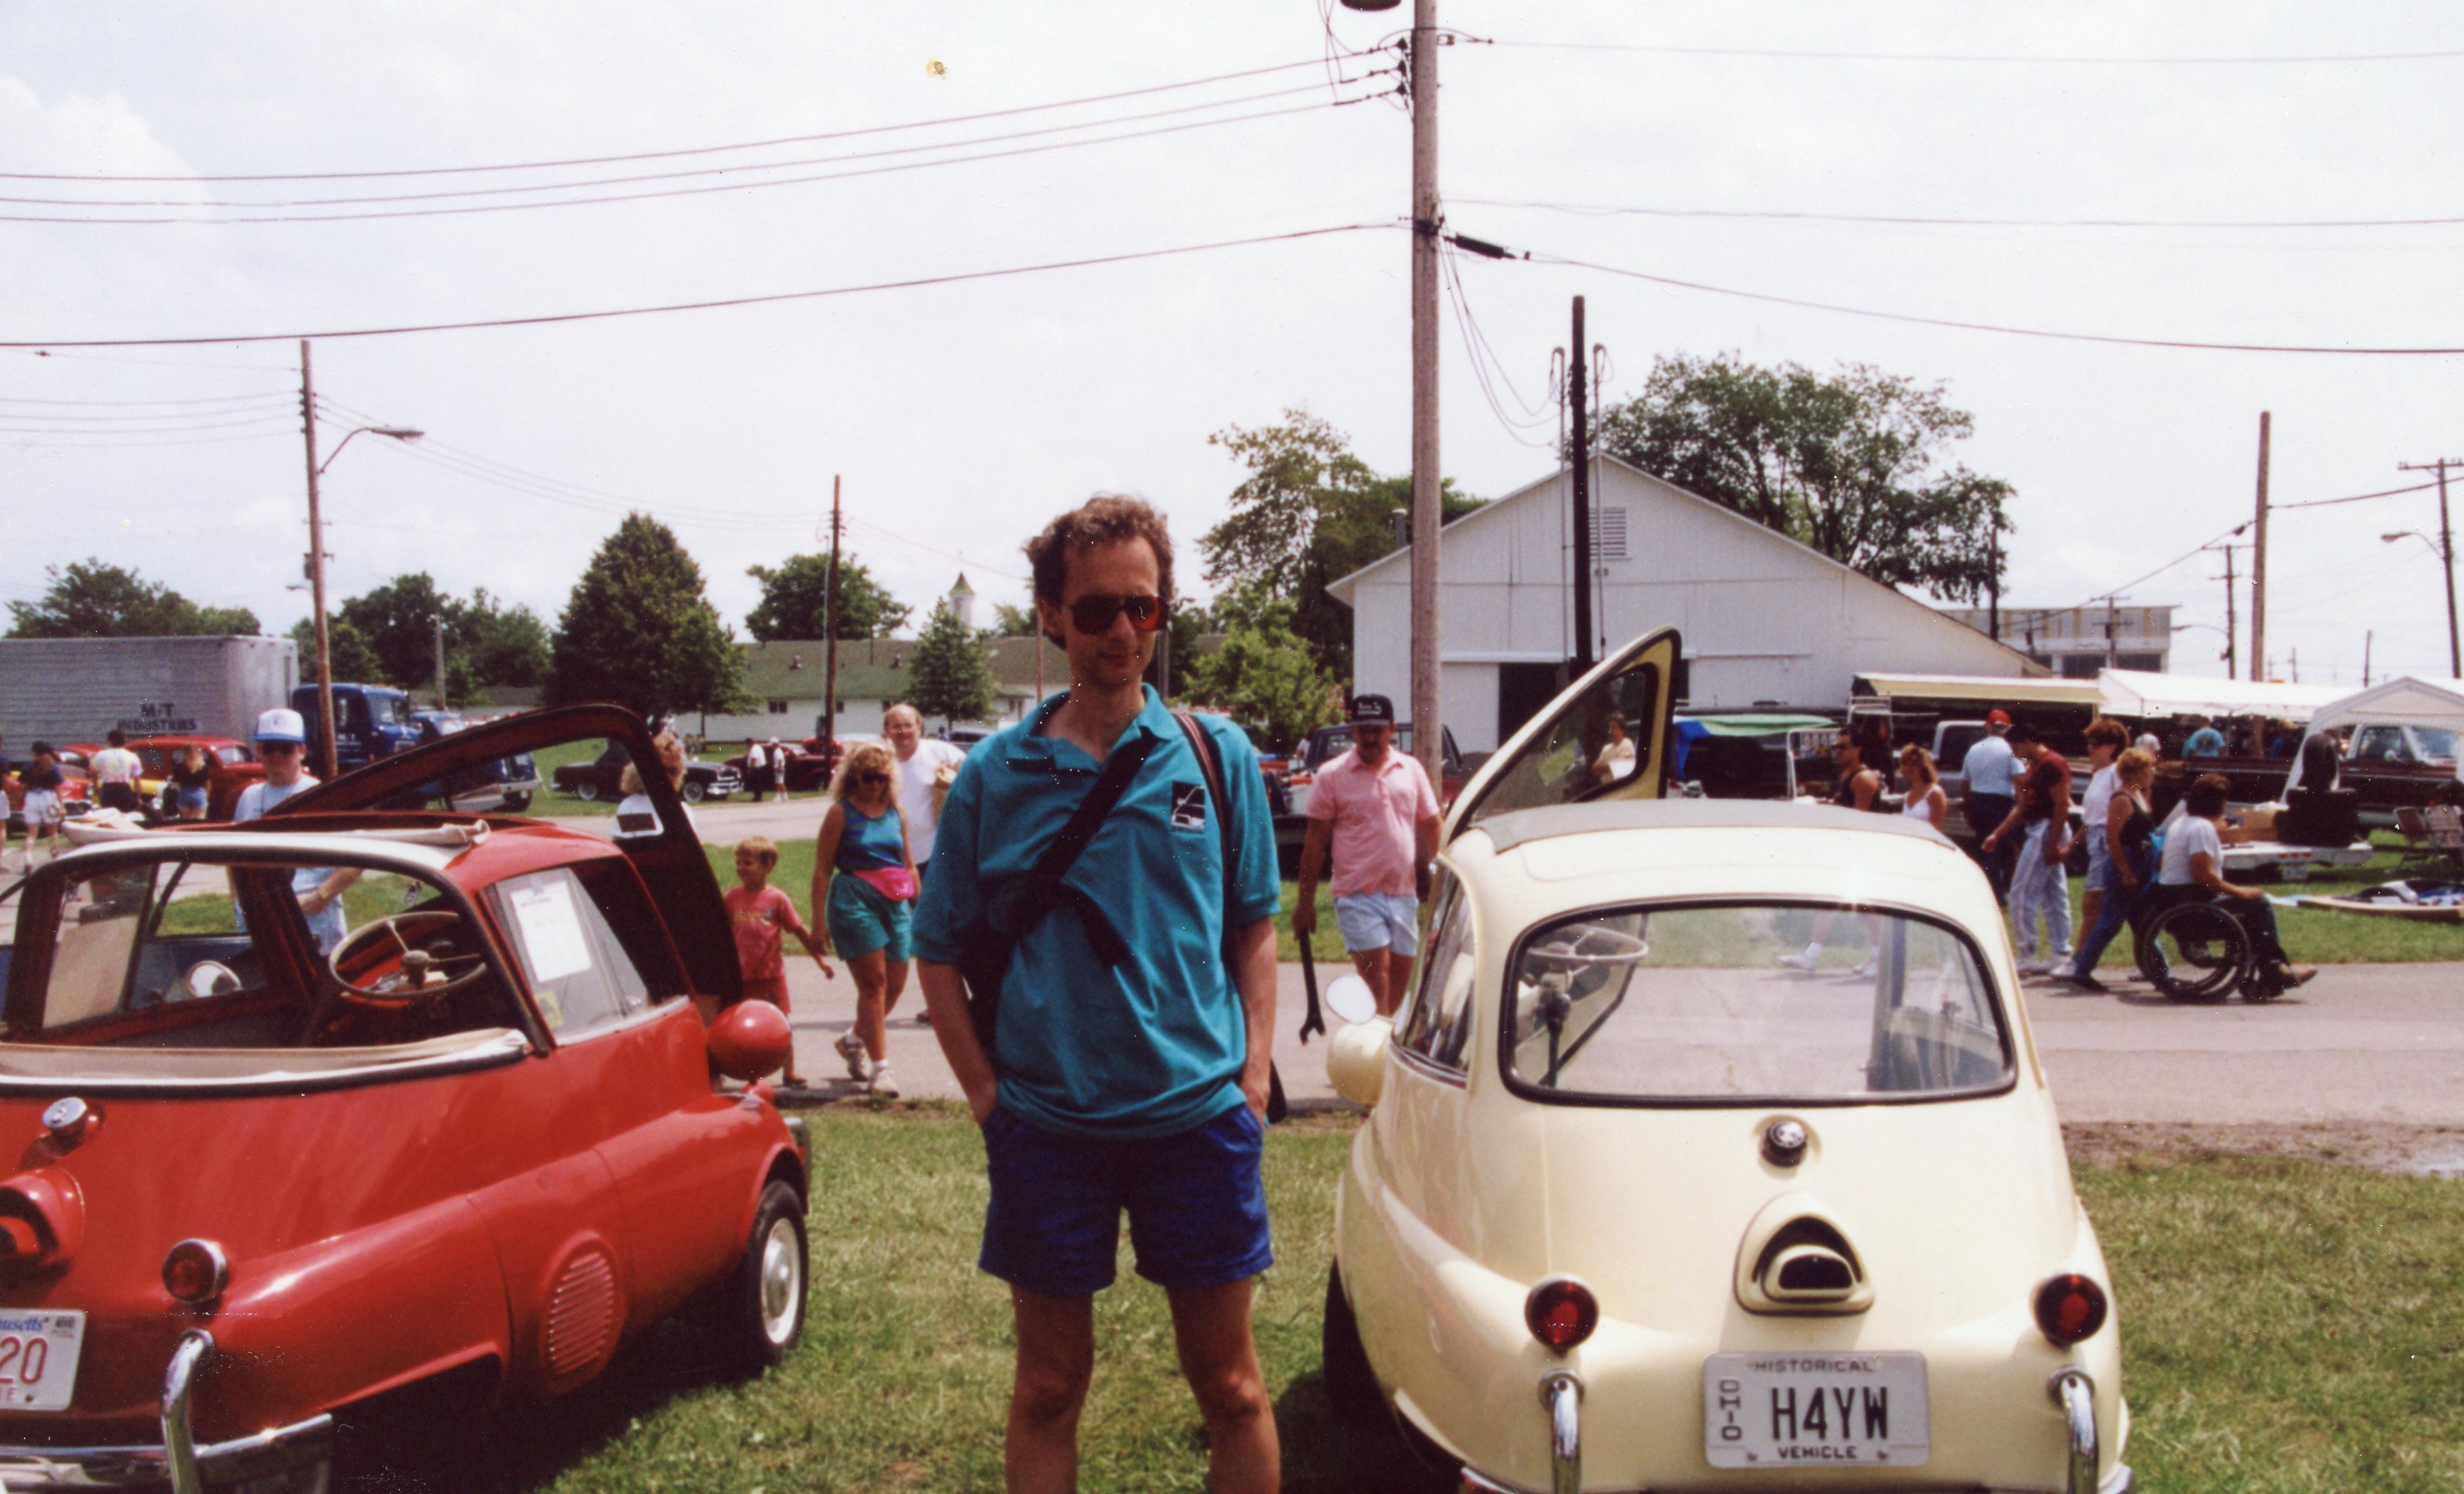
Primarily, the Isetta restoration was my way of immersing myself in the old car hobby. Both the ’57 Ford and ’67 Dart were gone. Aside from the Isetta, my only other car was my daily driver, a company-leased Volvo. There was no room, financially or physically, for another collector car. What drove me? The drive came from the knowledge that a finished, drivable Isetta was my ticket into the world of collector car events.
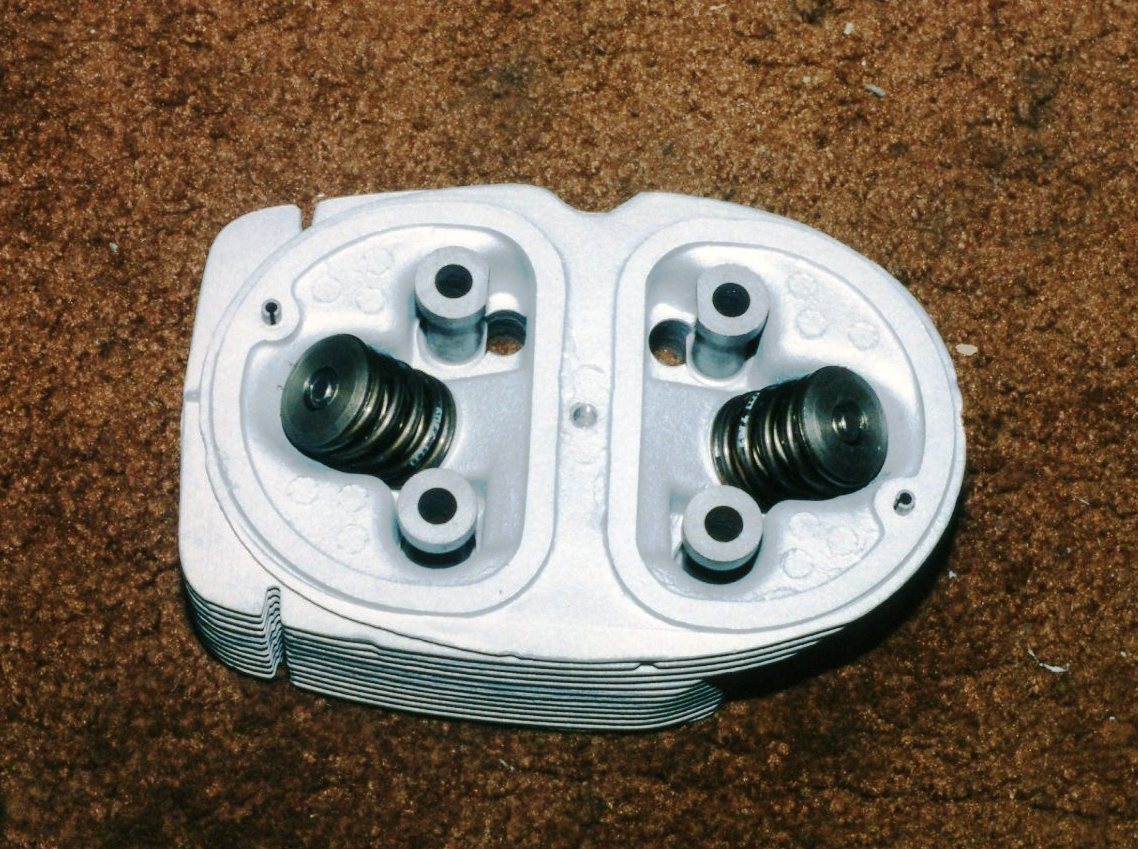
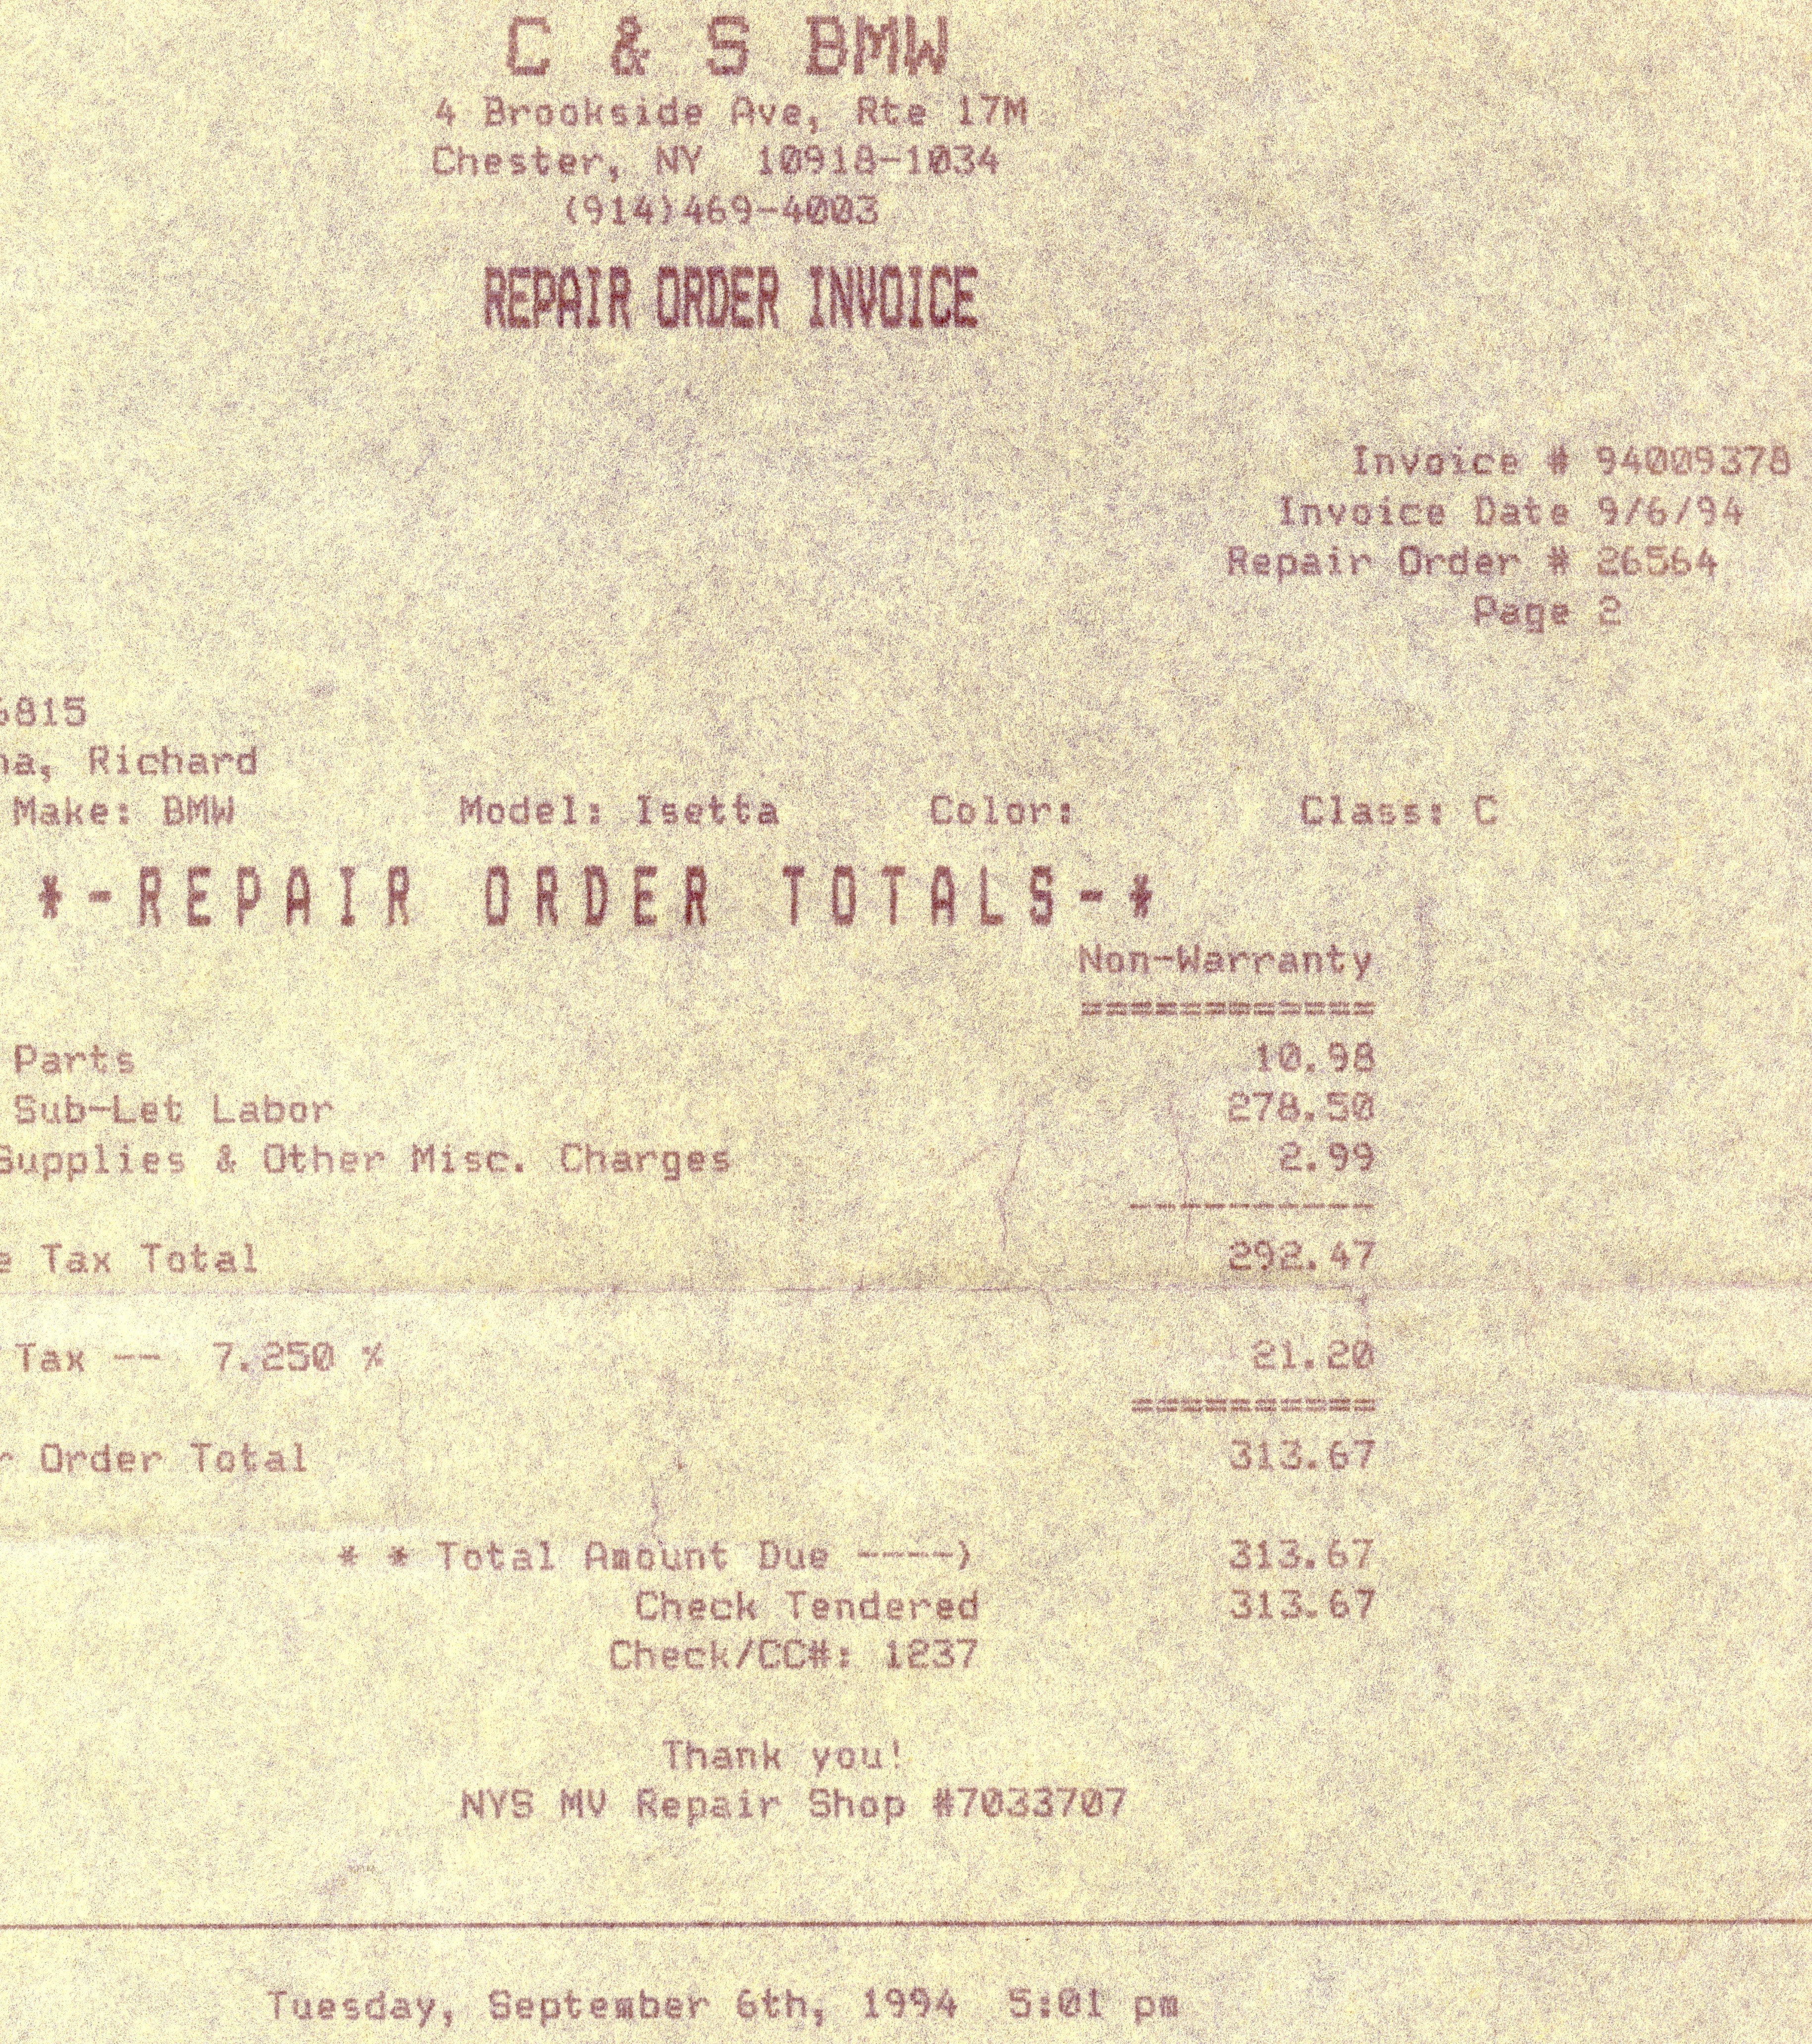
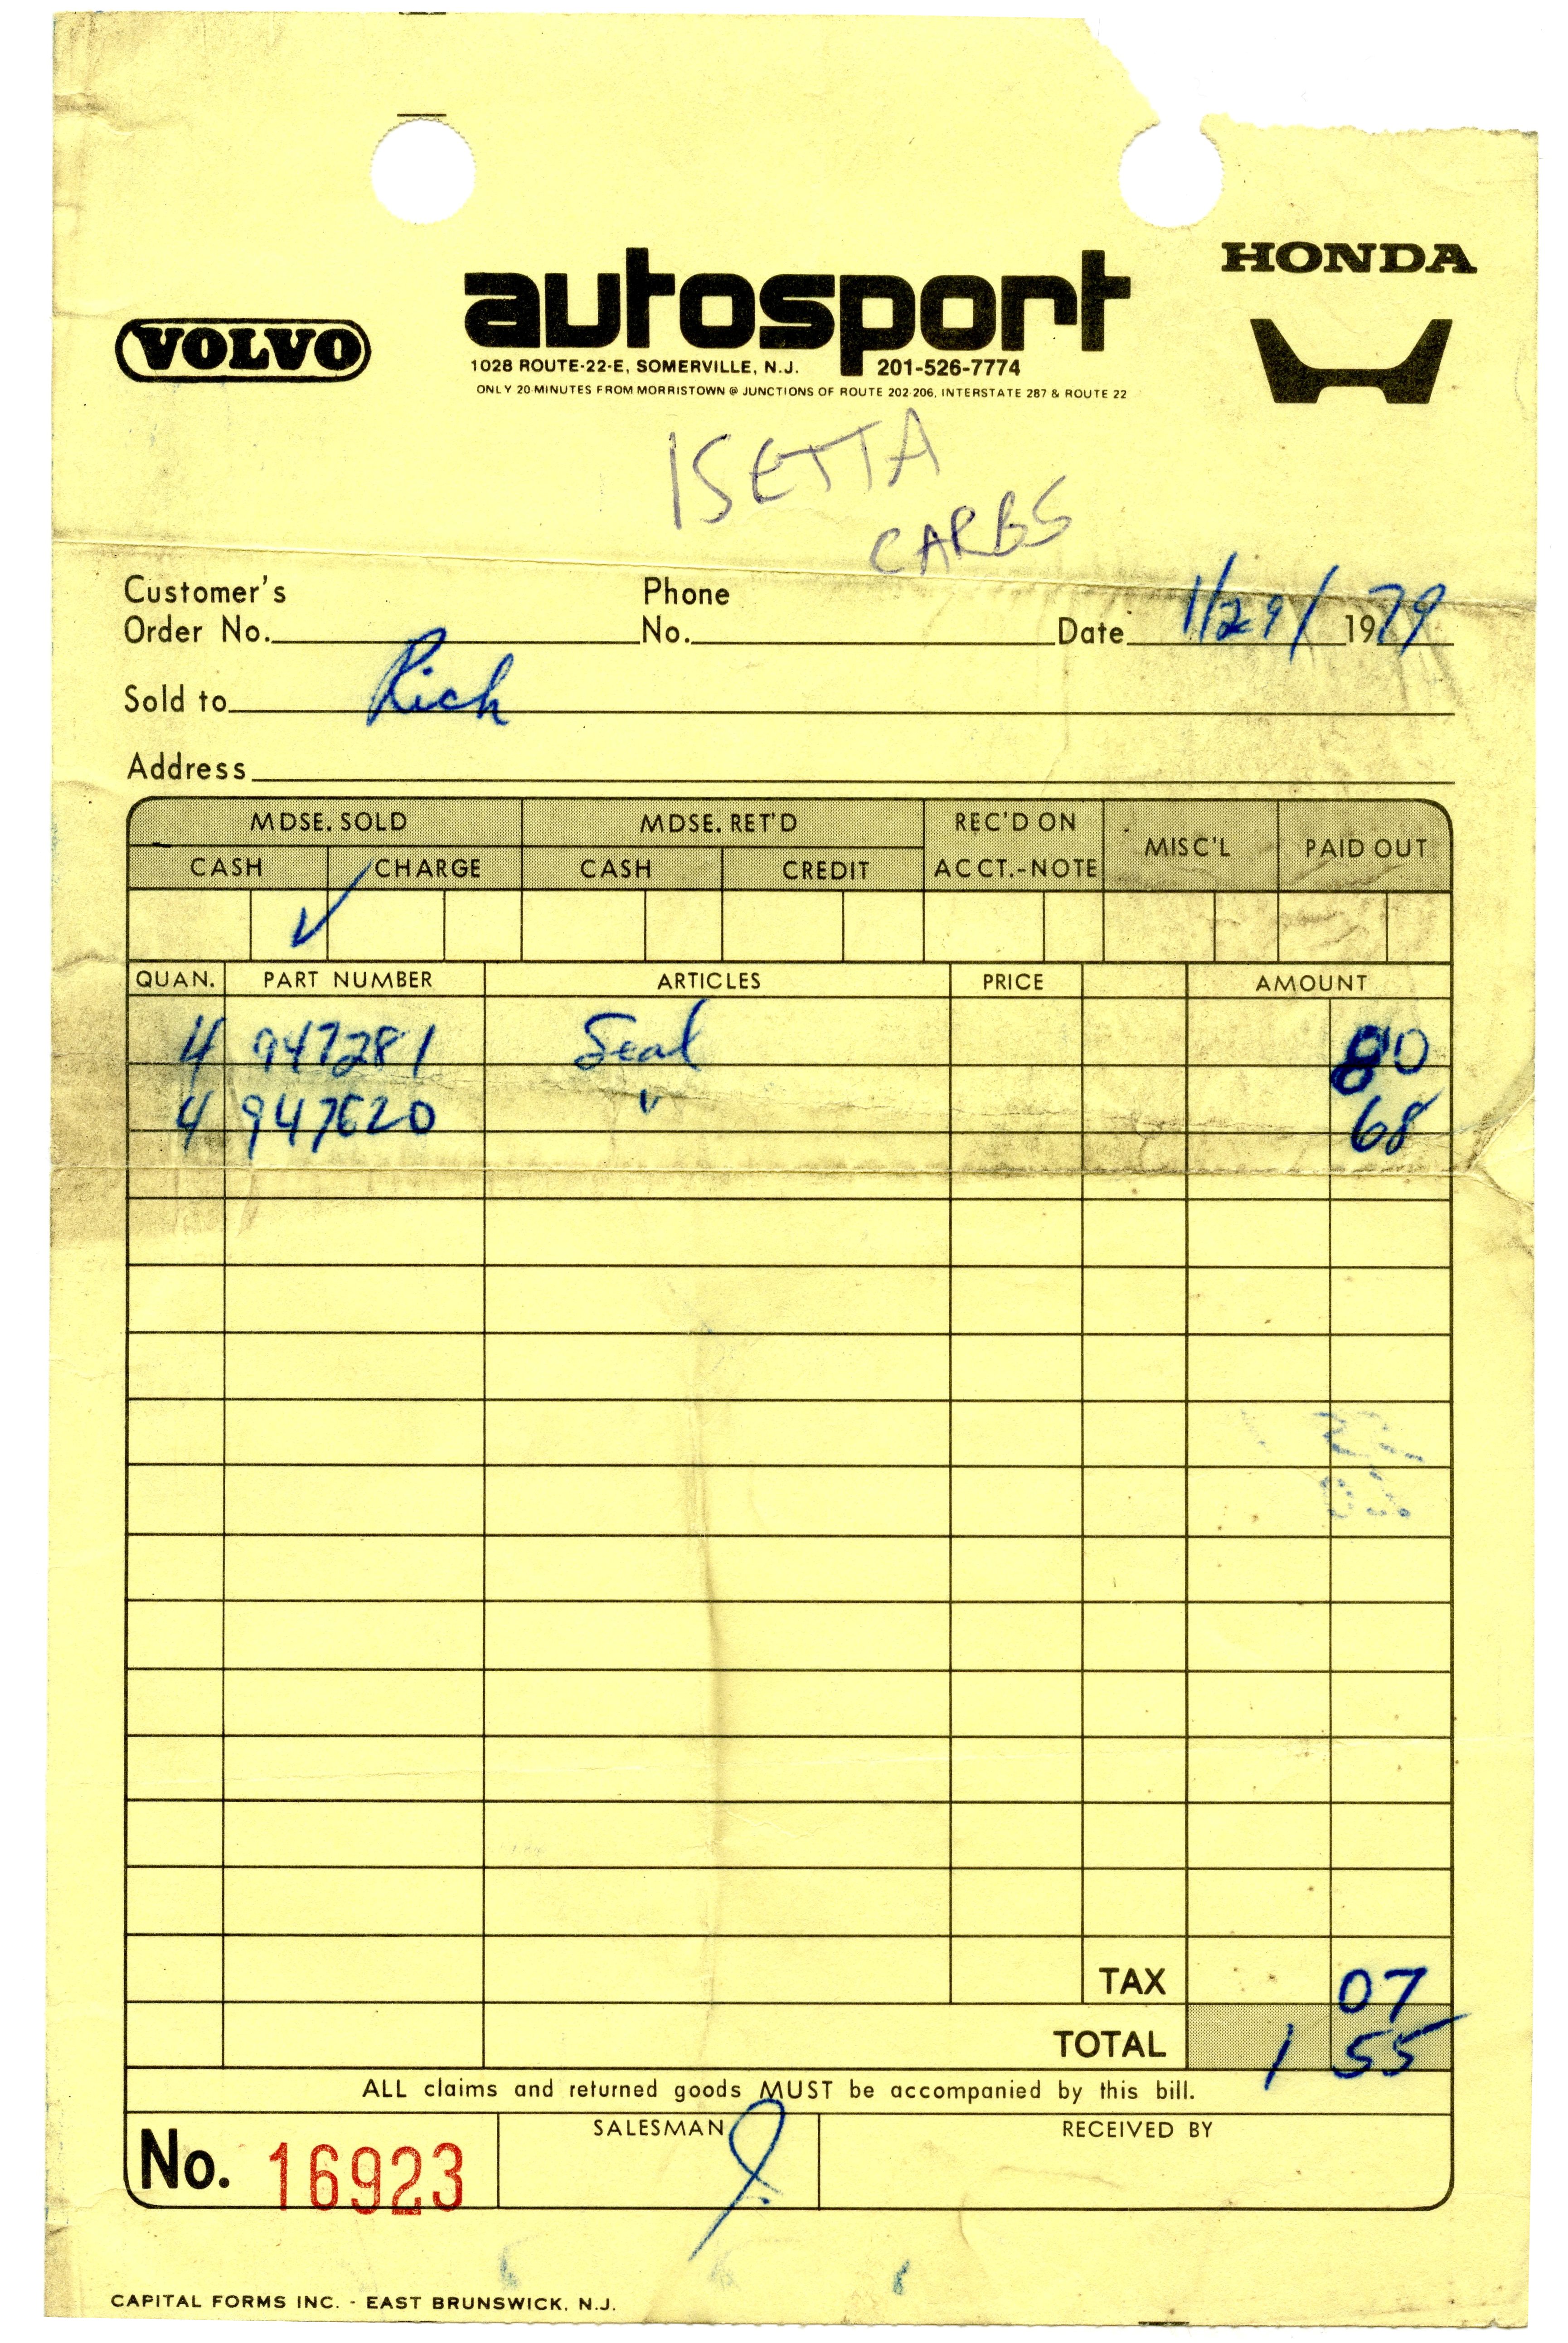
In an earlier post on the Isetta Saga, I mentioned that one cannot embark on these kinds of journeys alone. Working for an automobile company as I did meant that I was surrounded by fellow enthusiasts. In countless ways, they provided advice, assistance, and direction. One of my colleagues, Galen Royer, was a motorcycle guy, which I was not. Speaking to him one day, he mentioned a BMW motorcycle shop near his home. C & S BMW was in Chester NY, in Orange County. Although I had contacted other BMW bike shops (the one-cylinder Isetta engine is motorcycle-based), no one had been willing to take on the head work. From C & S I finally got a positive response. I dropped off one cylinder head with them, and they performed a complete overhaul, including installation of new valve guides, and cutting of valve seats. Finally, I could complete the reassembly of one engine.


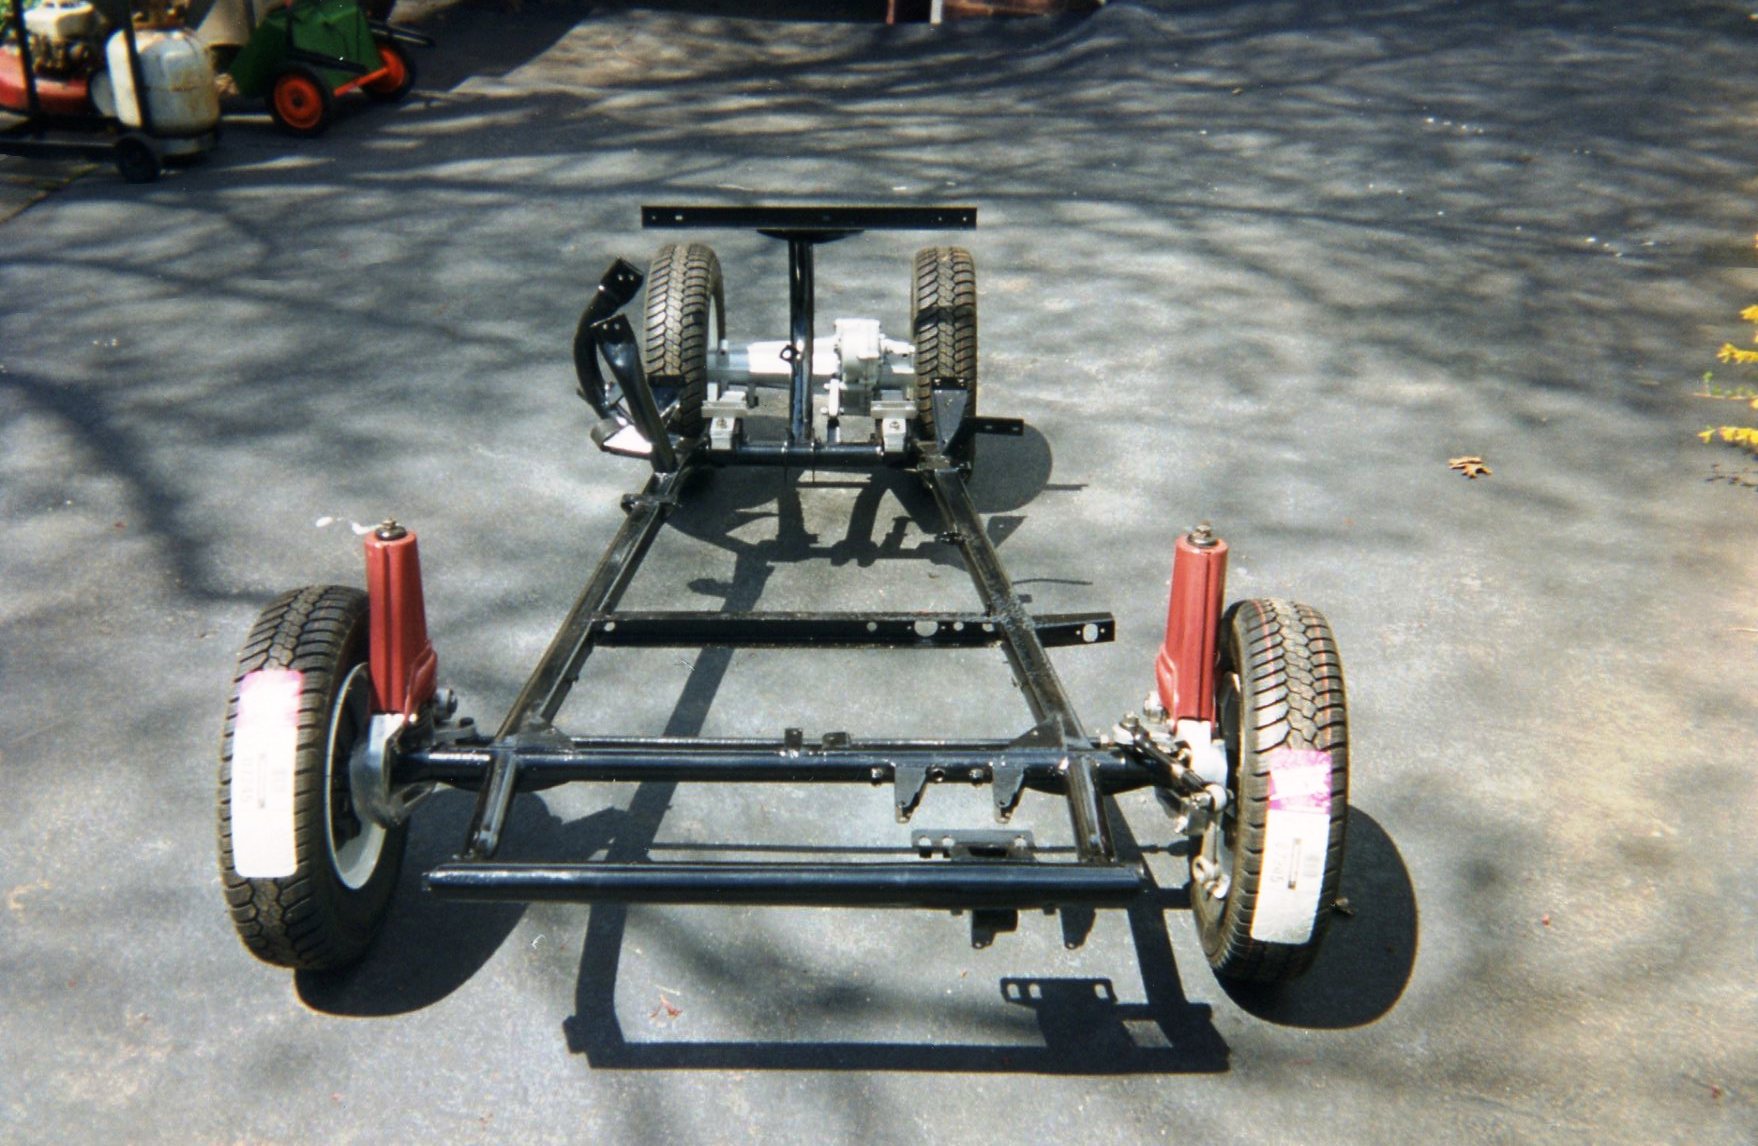
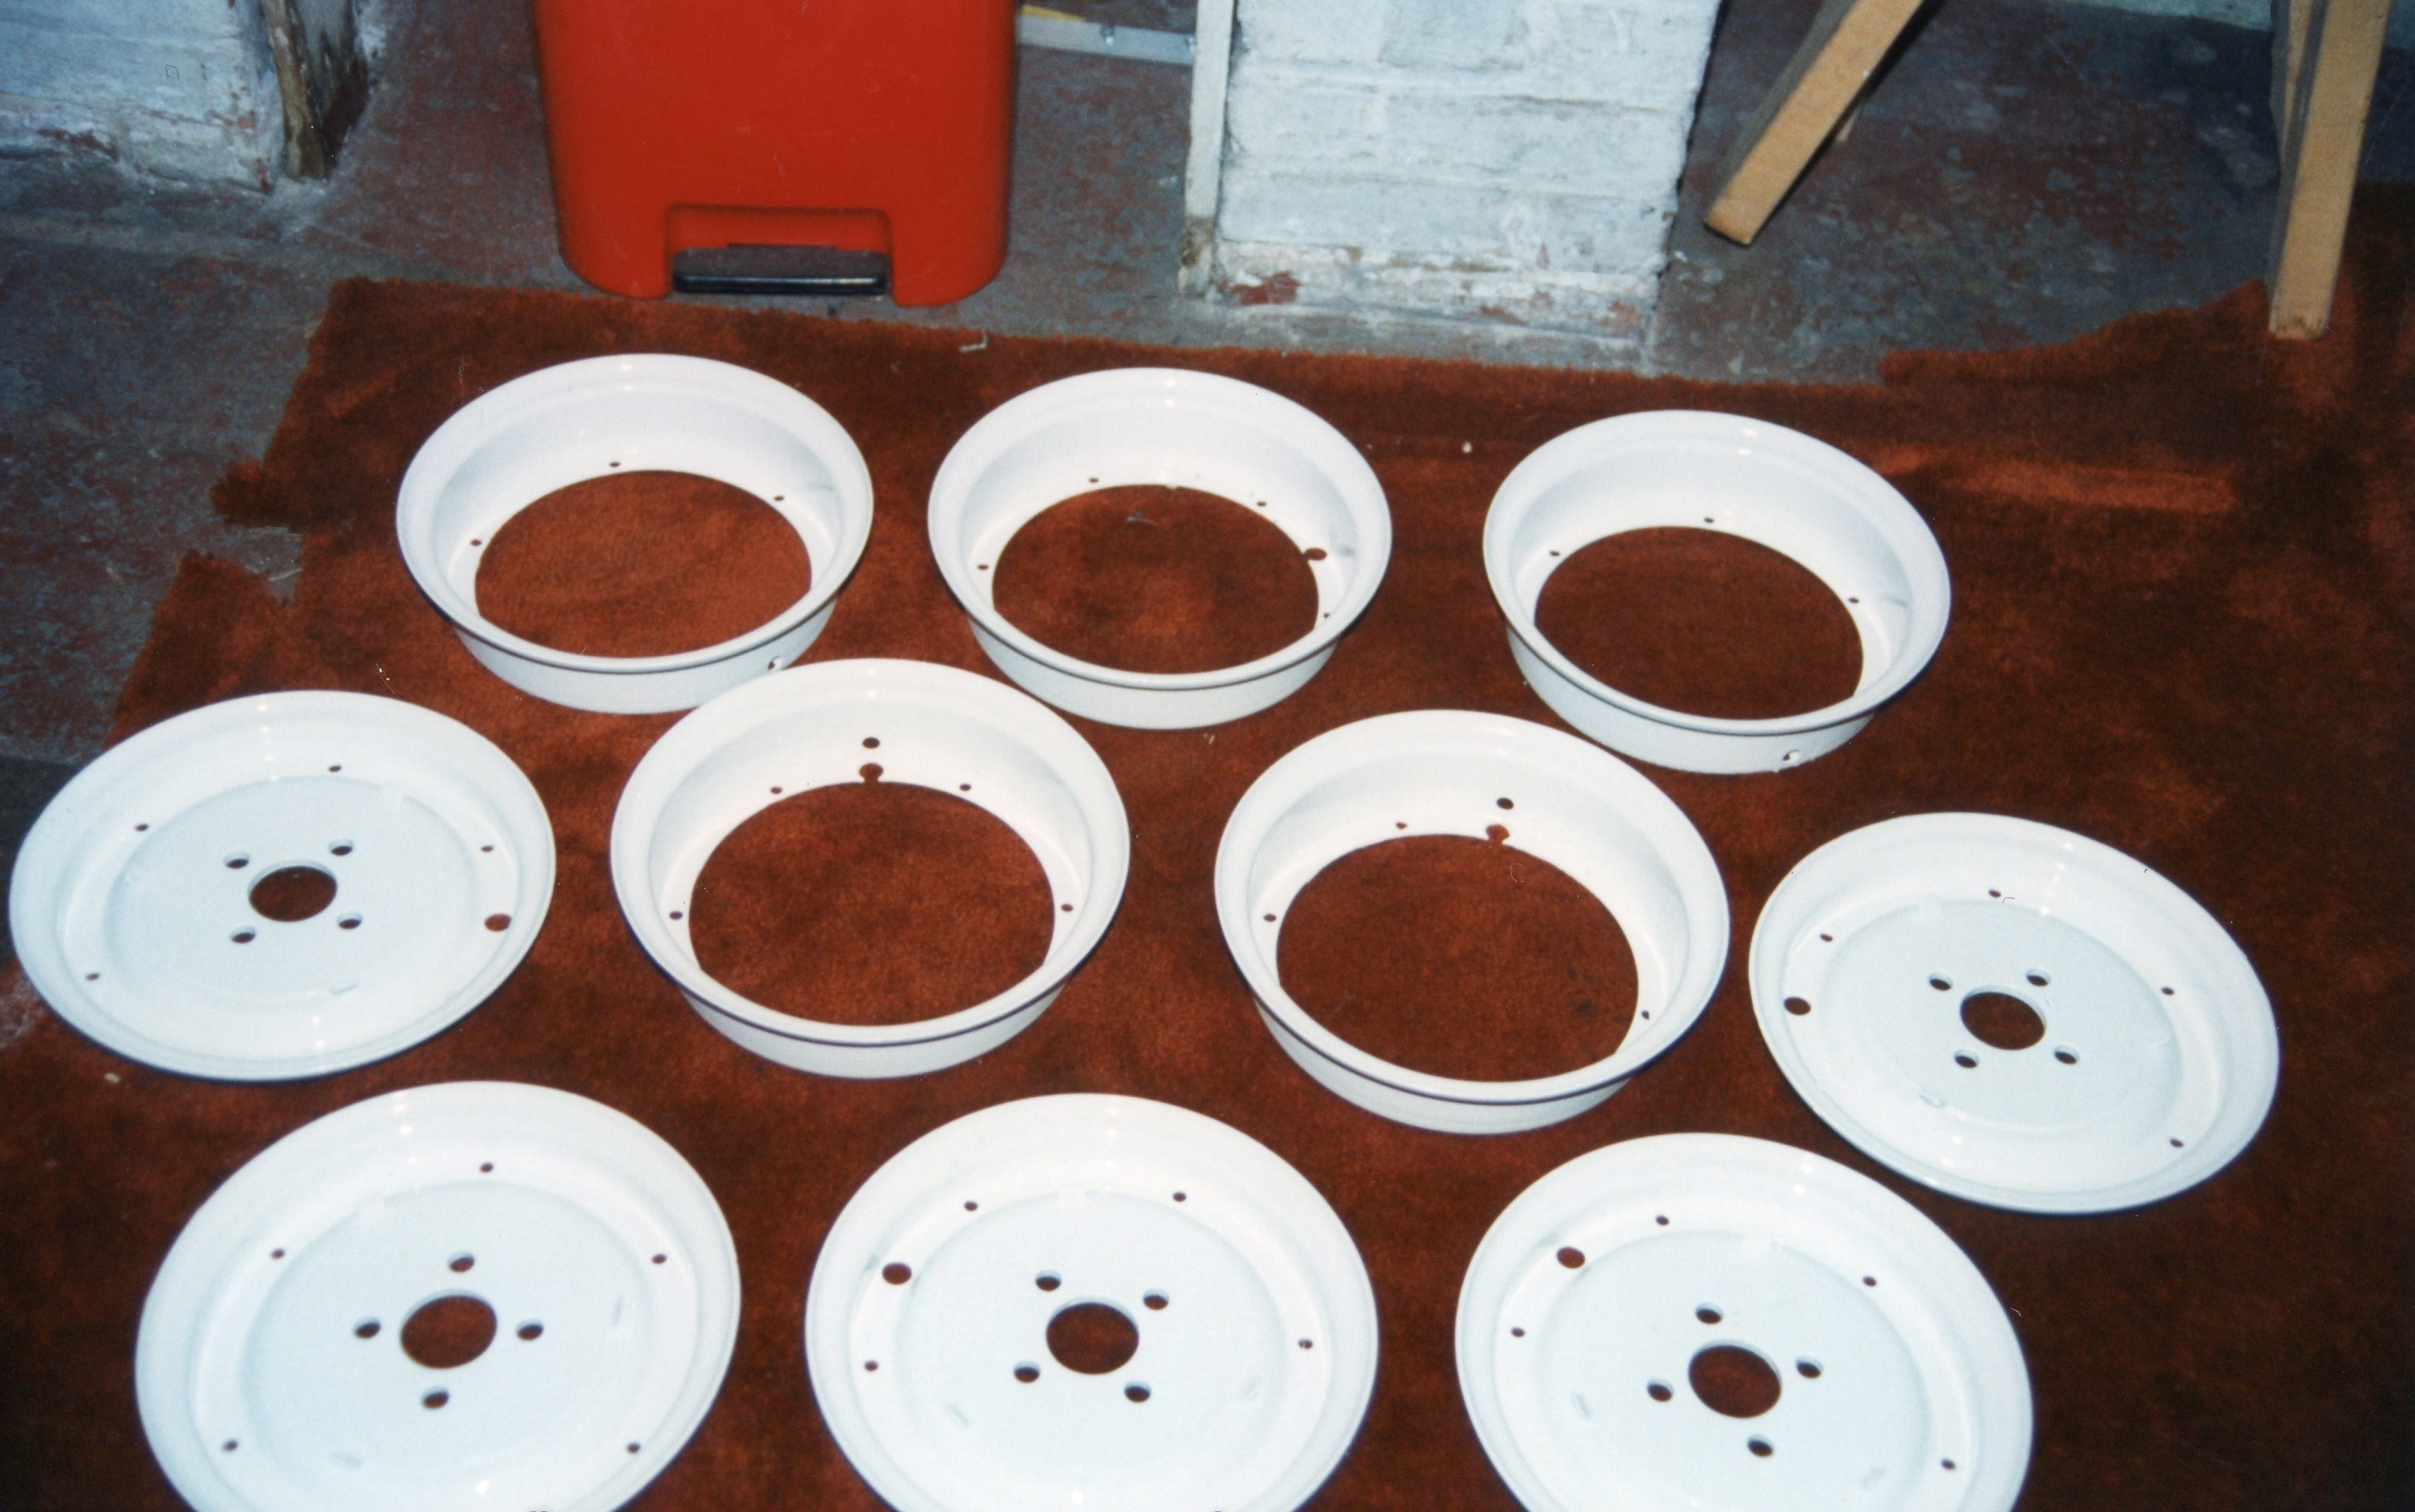
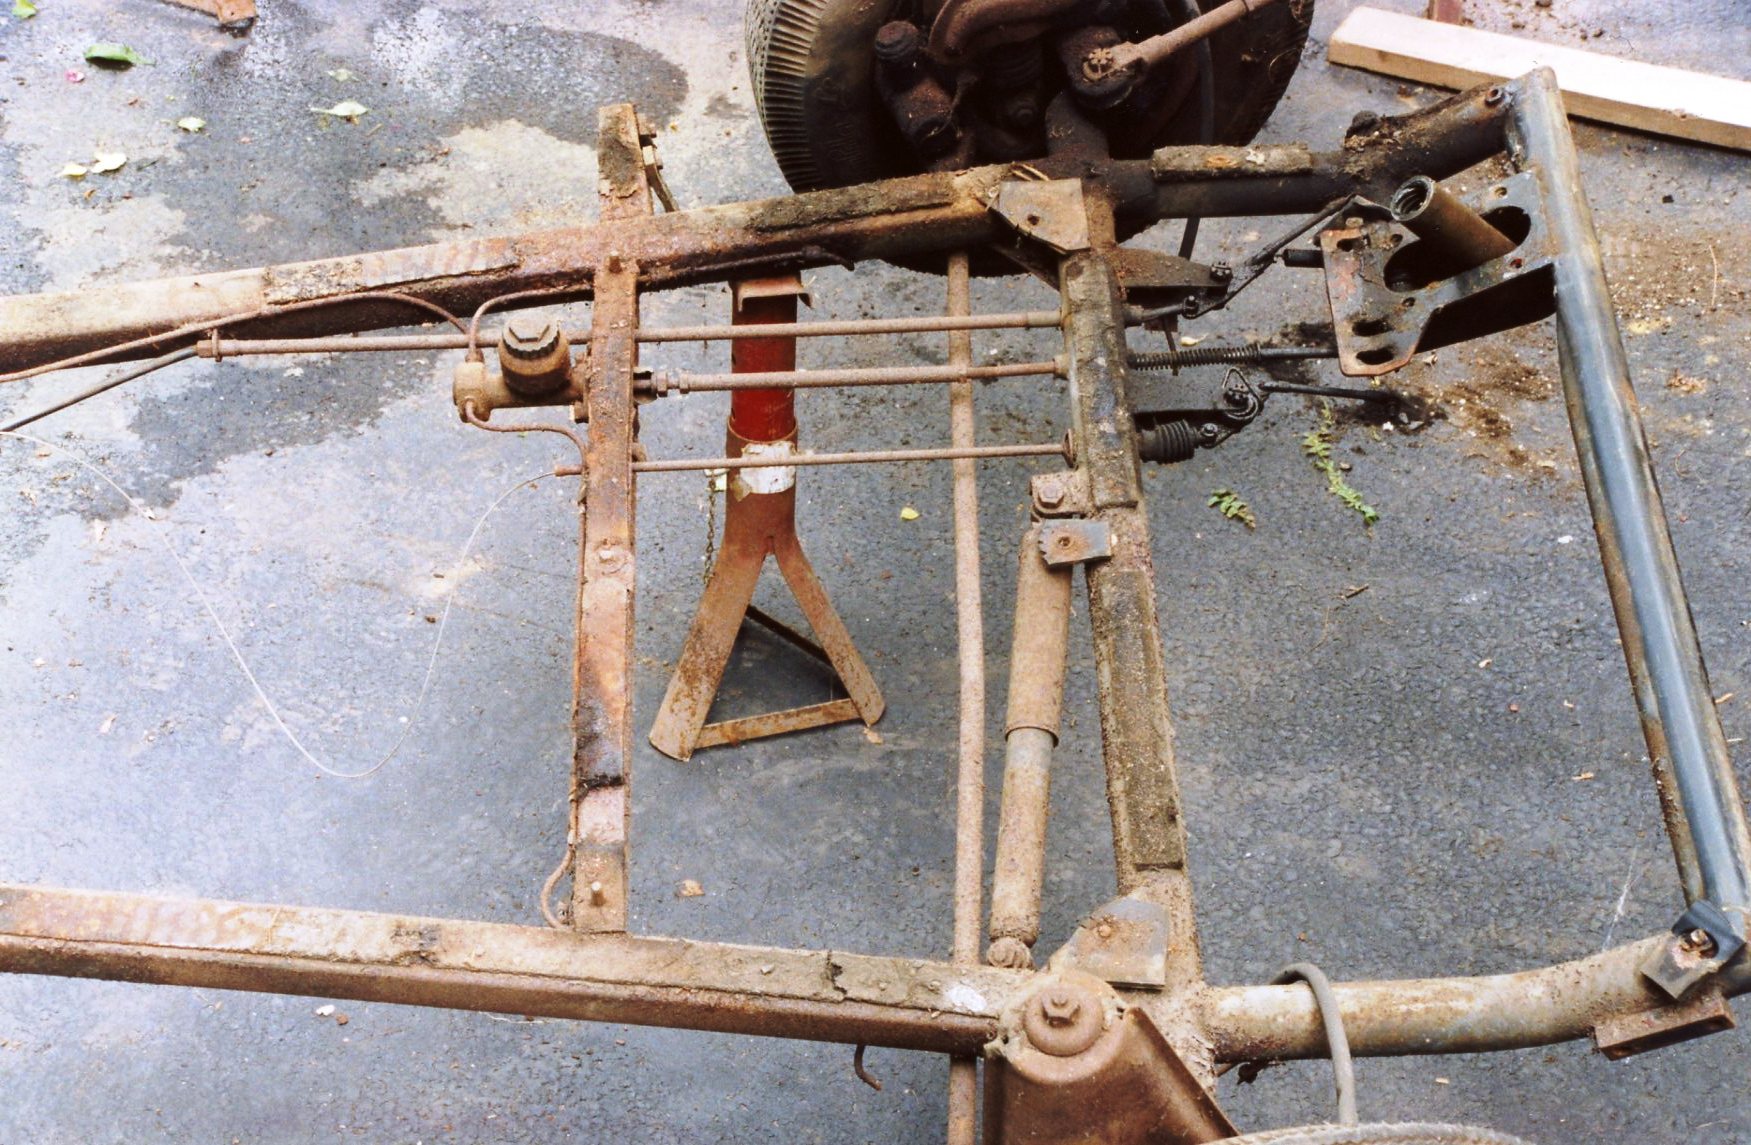
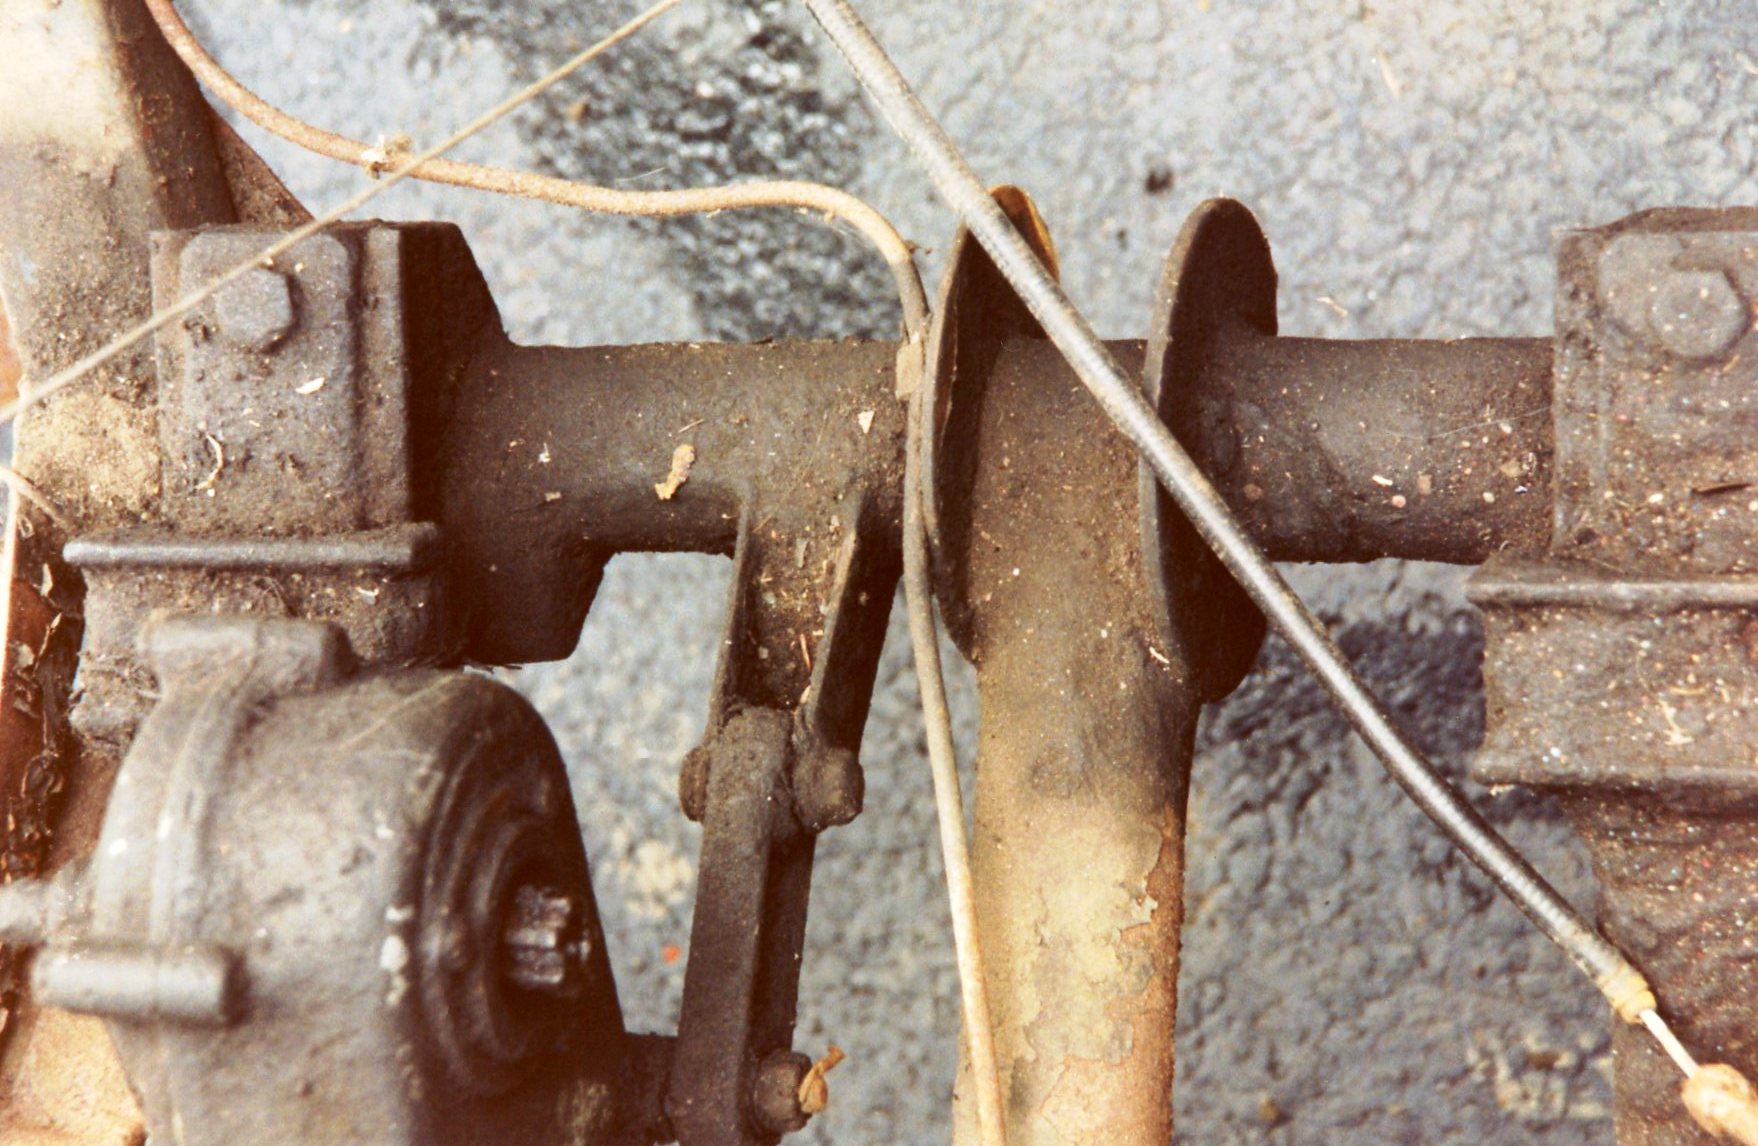
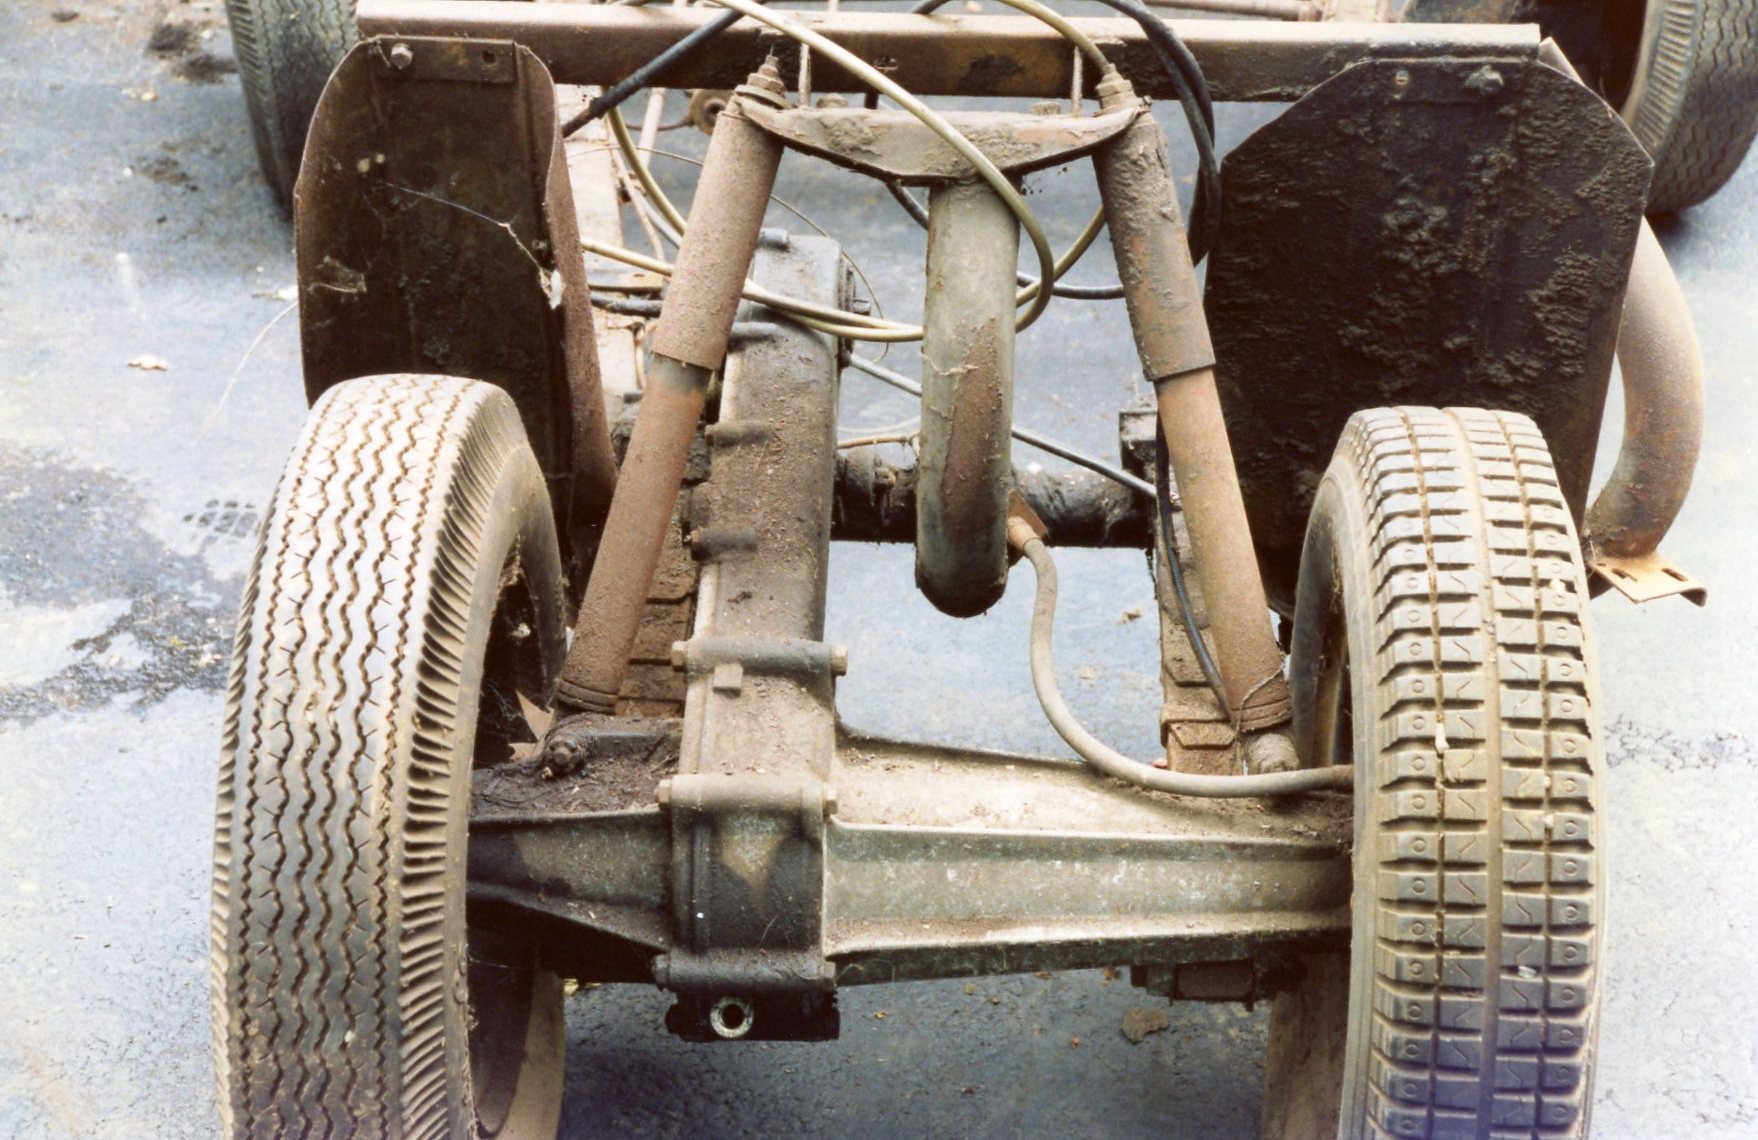
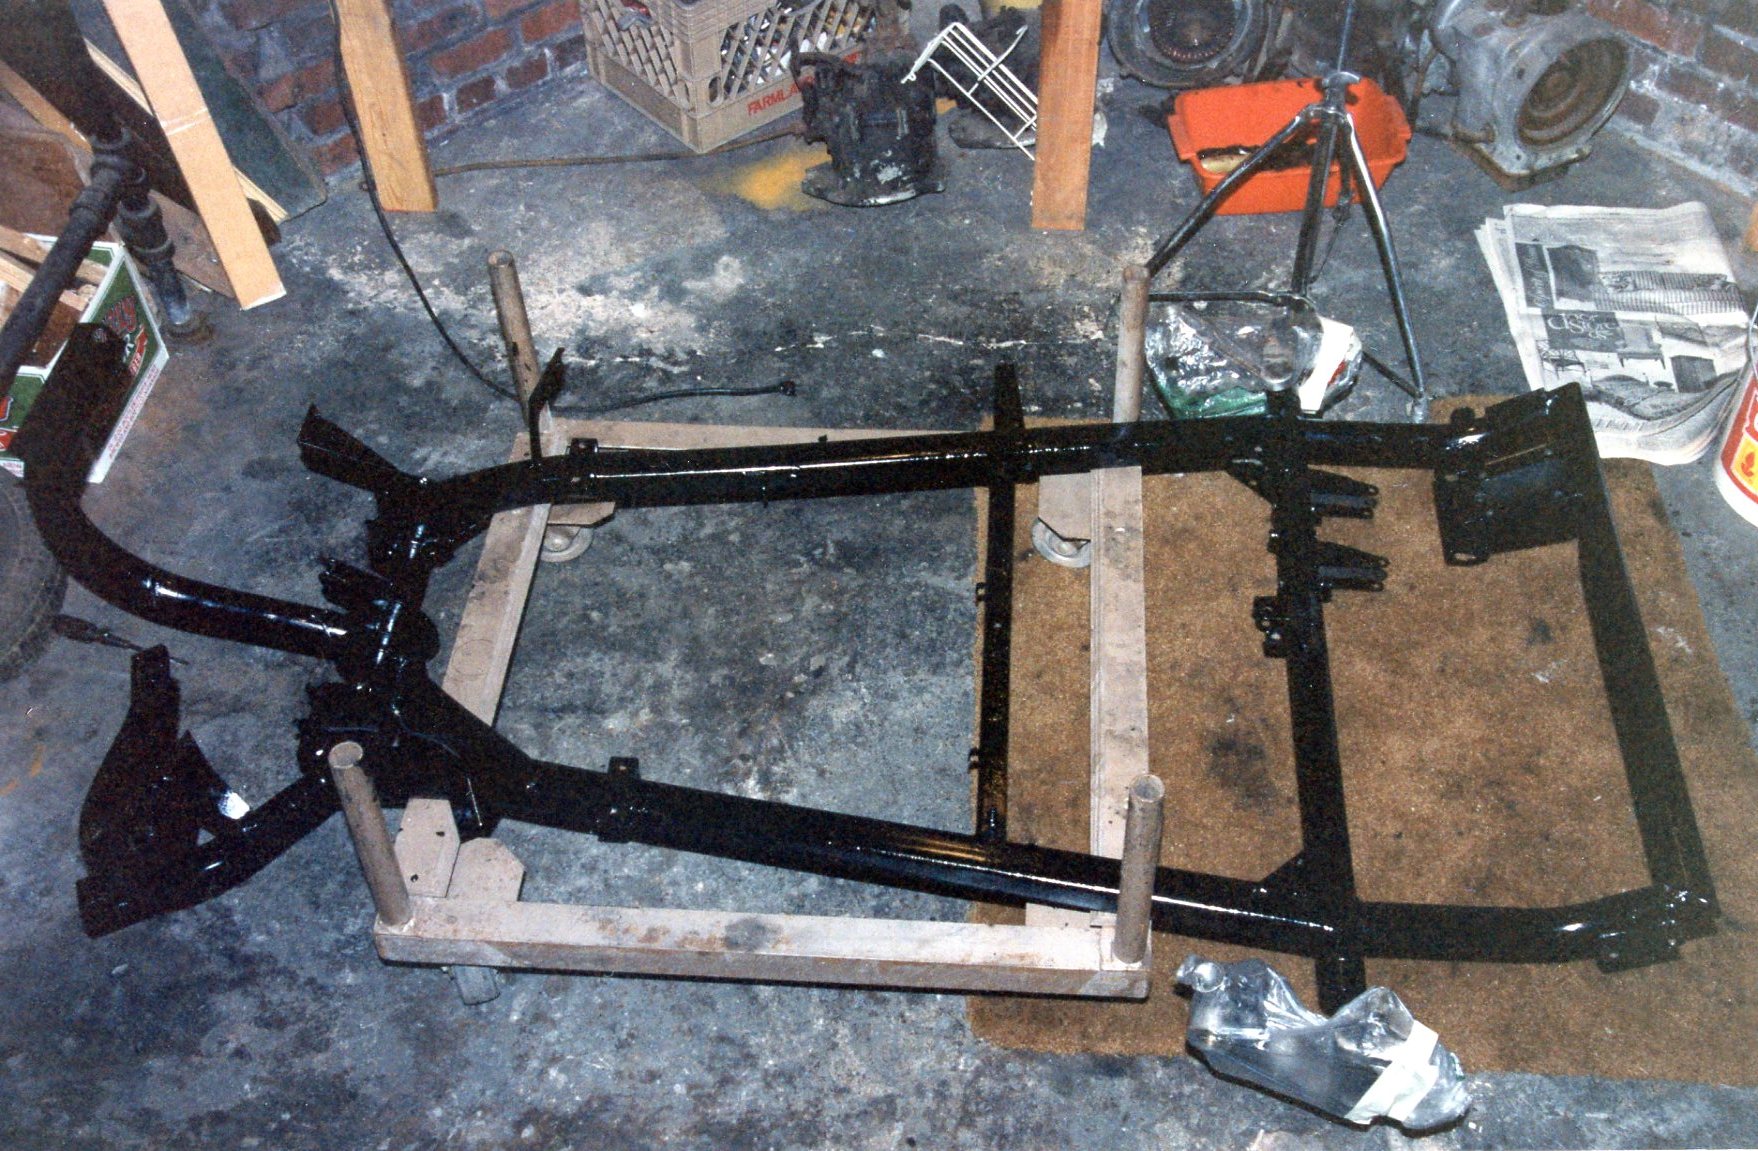
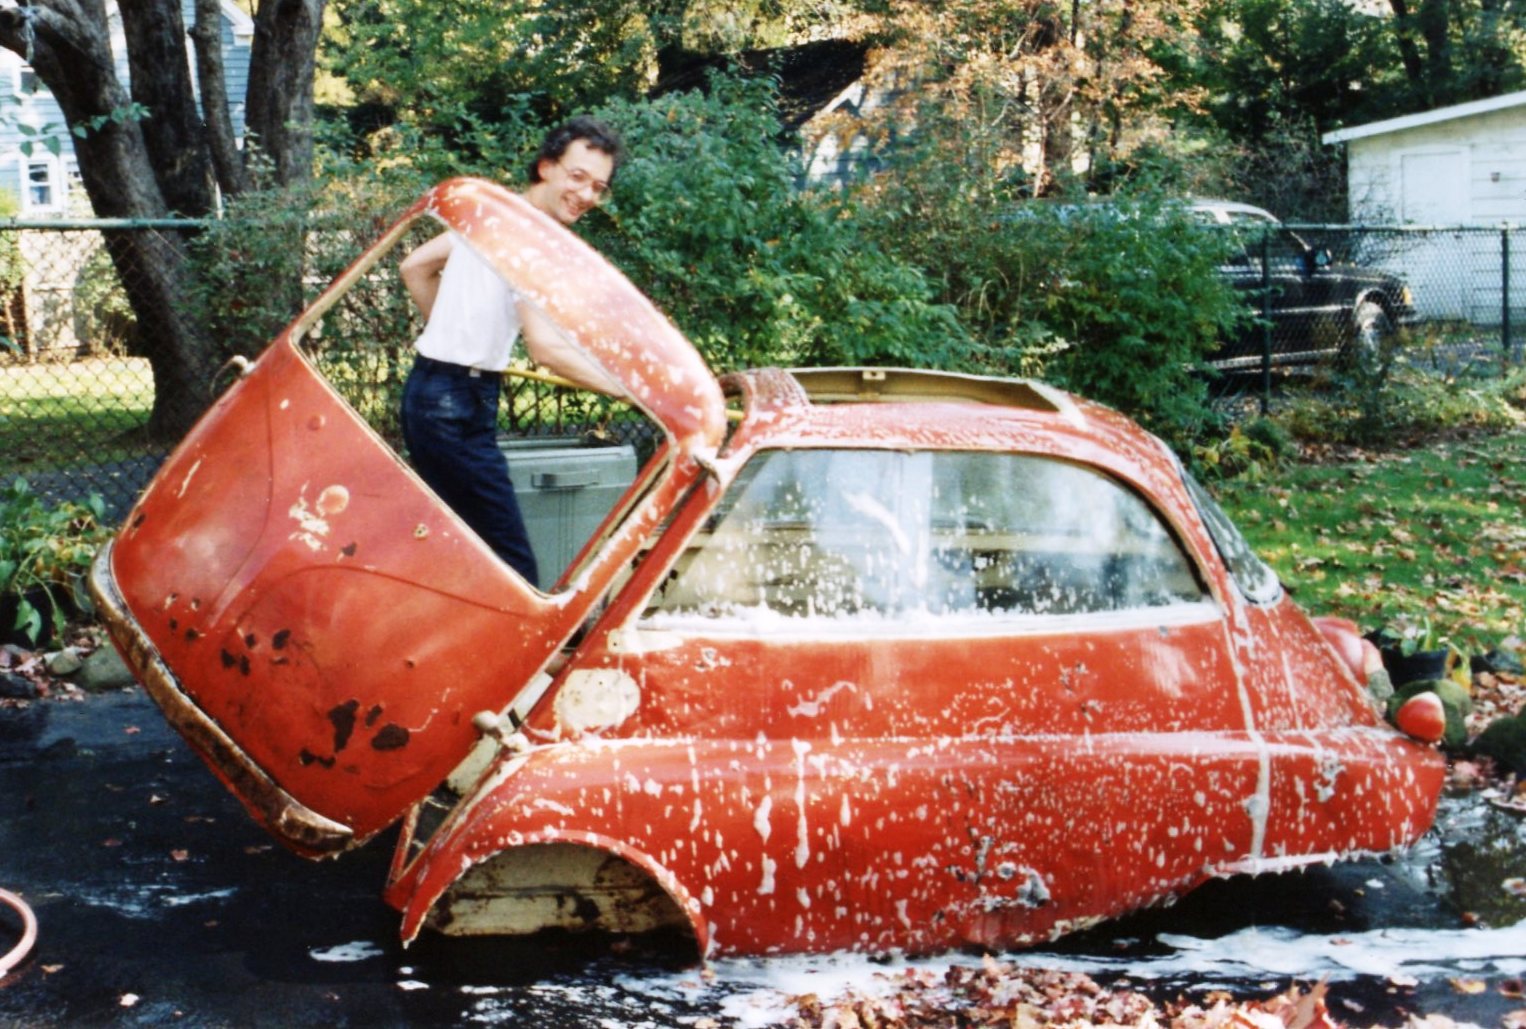
Turning my attention back to the chassis, the restoration of the rear axle along with its various attachment points brought me that much closer to a very important goal: the completion of a chassis rolling on its own four wheels. That goal was reached early in 1994, and I celebrated that accomplishment by throwing a party. Why not?
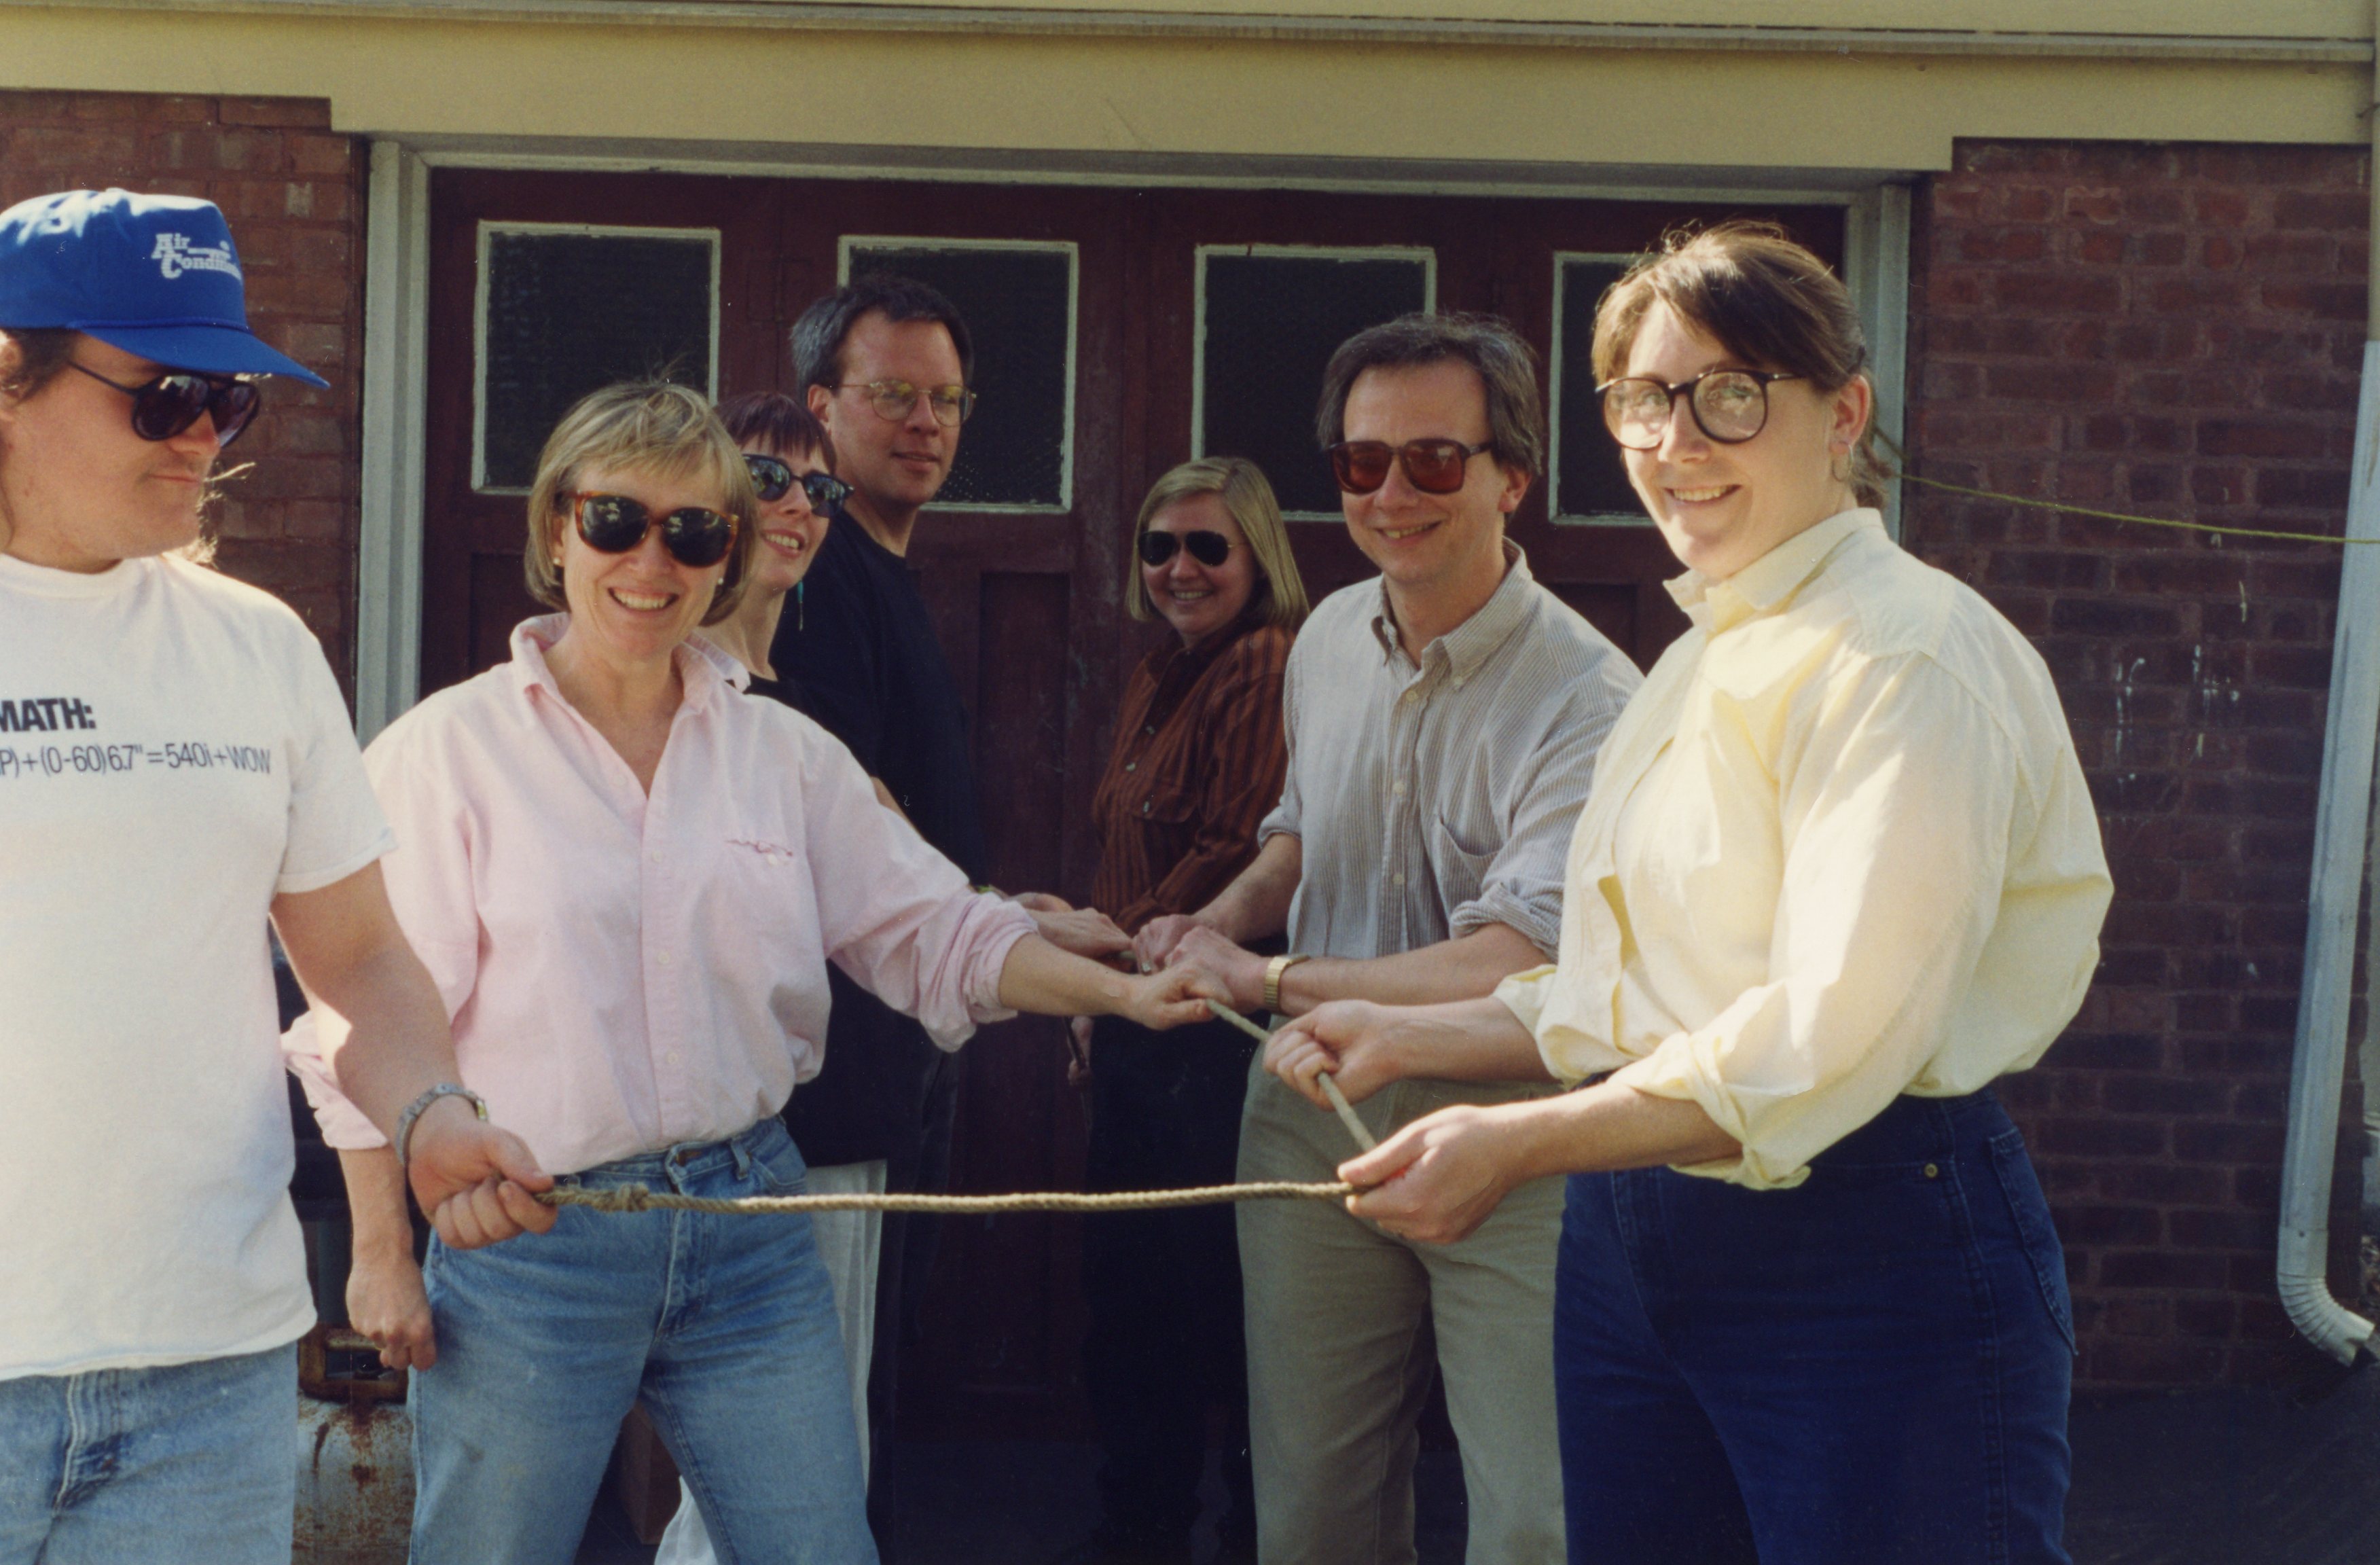
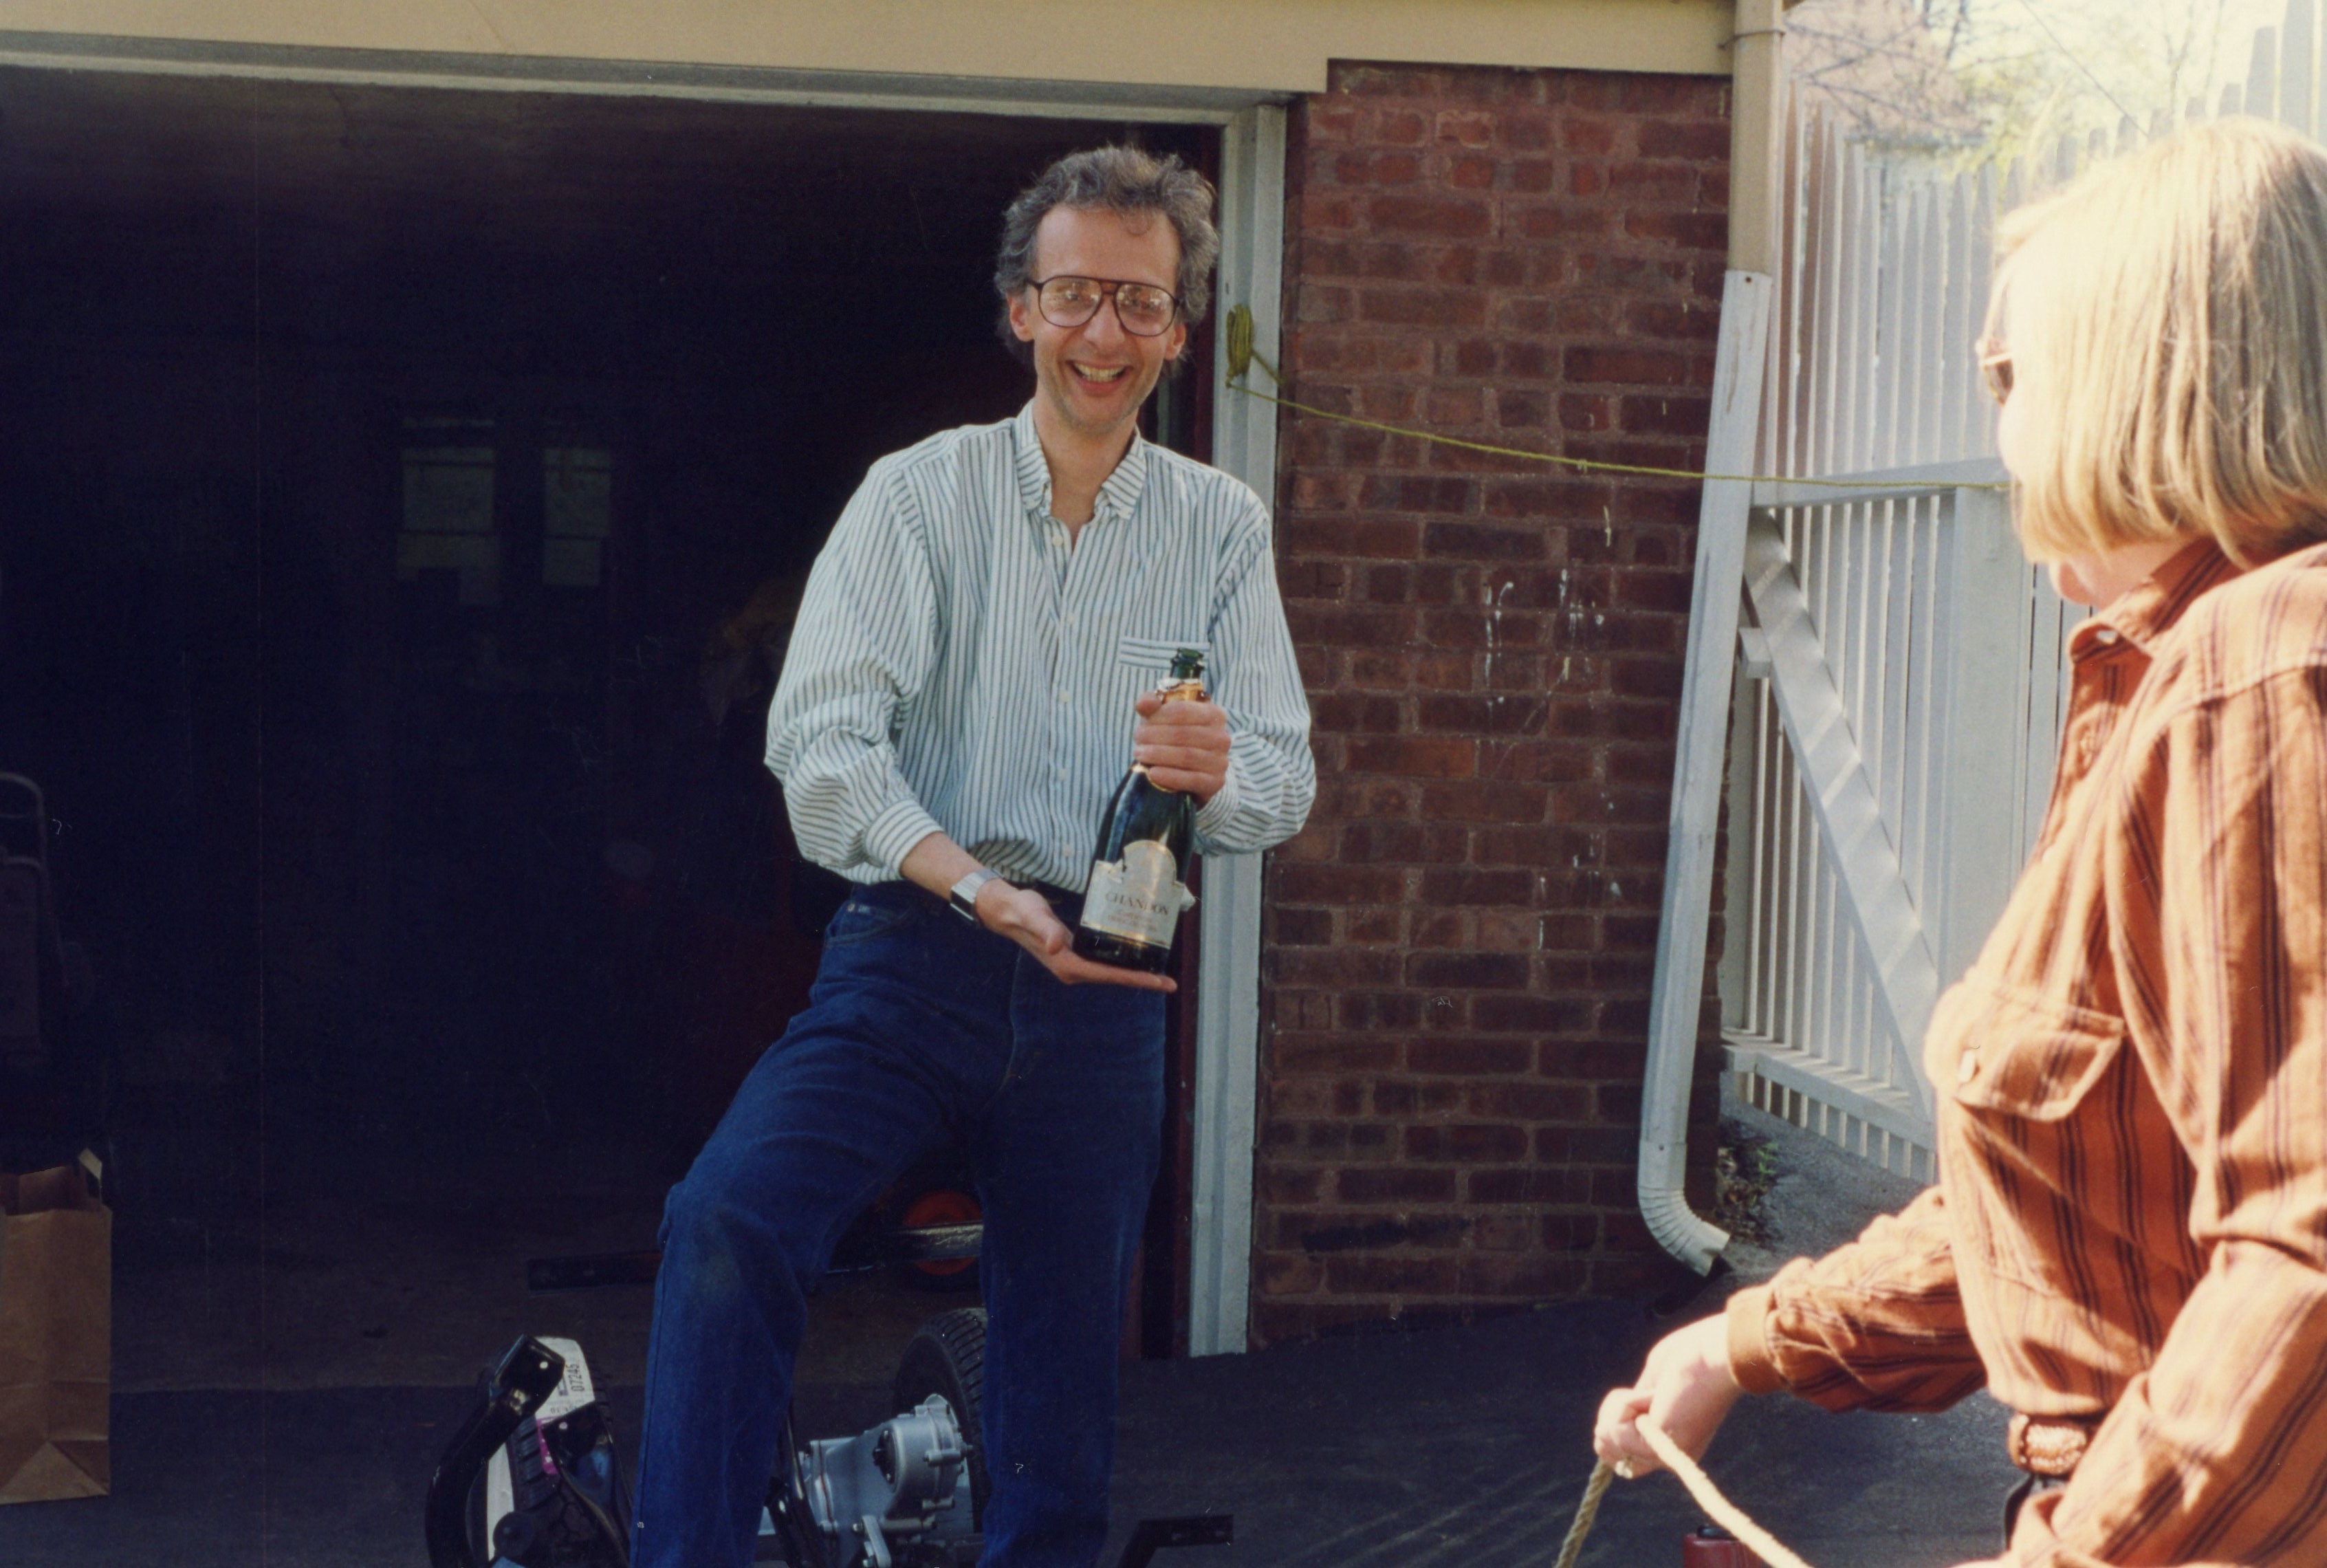
The gathering of friends to raise a glass in toast to a milestone was not intended as an egotistical, “look what I did” exercise in chest-beating. I thought of it as quite the opposite, actually. The small cadre of friends who were invited to the Rolling Chassis Debut all had been playing supporting roles in the restoration. Chris, Steve H, and Linda were of great assistance in procuring parts. Steve M and John had both been to the house multiple times when I needed an extra pair of hands.
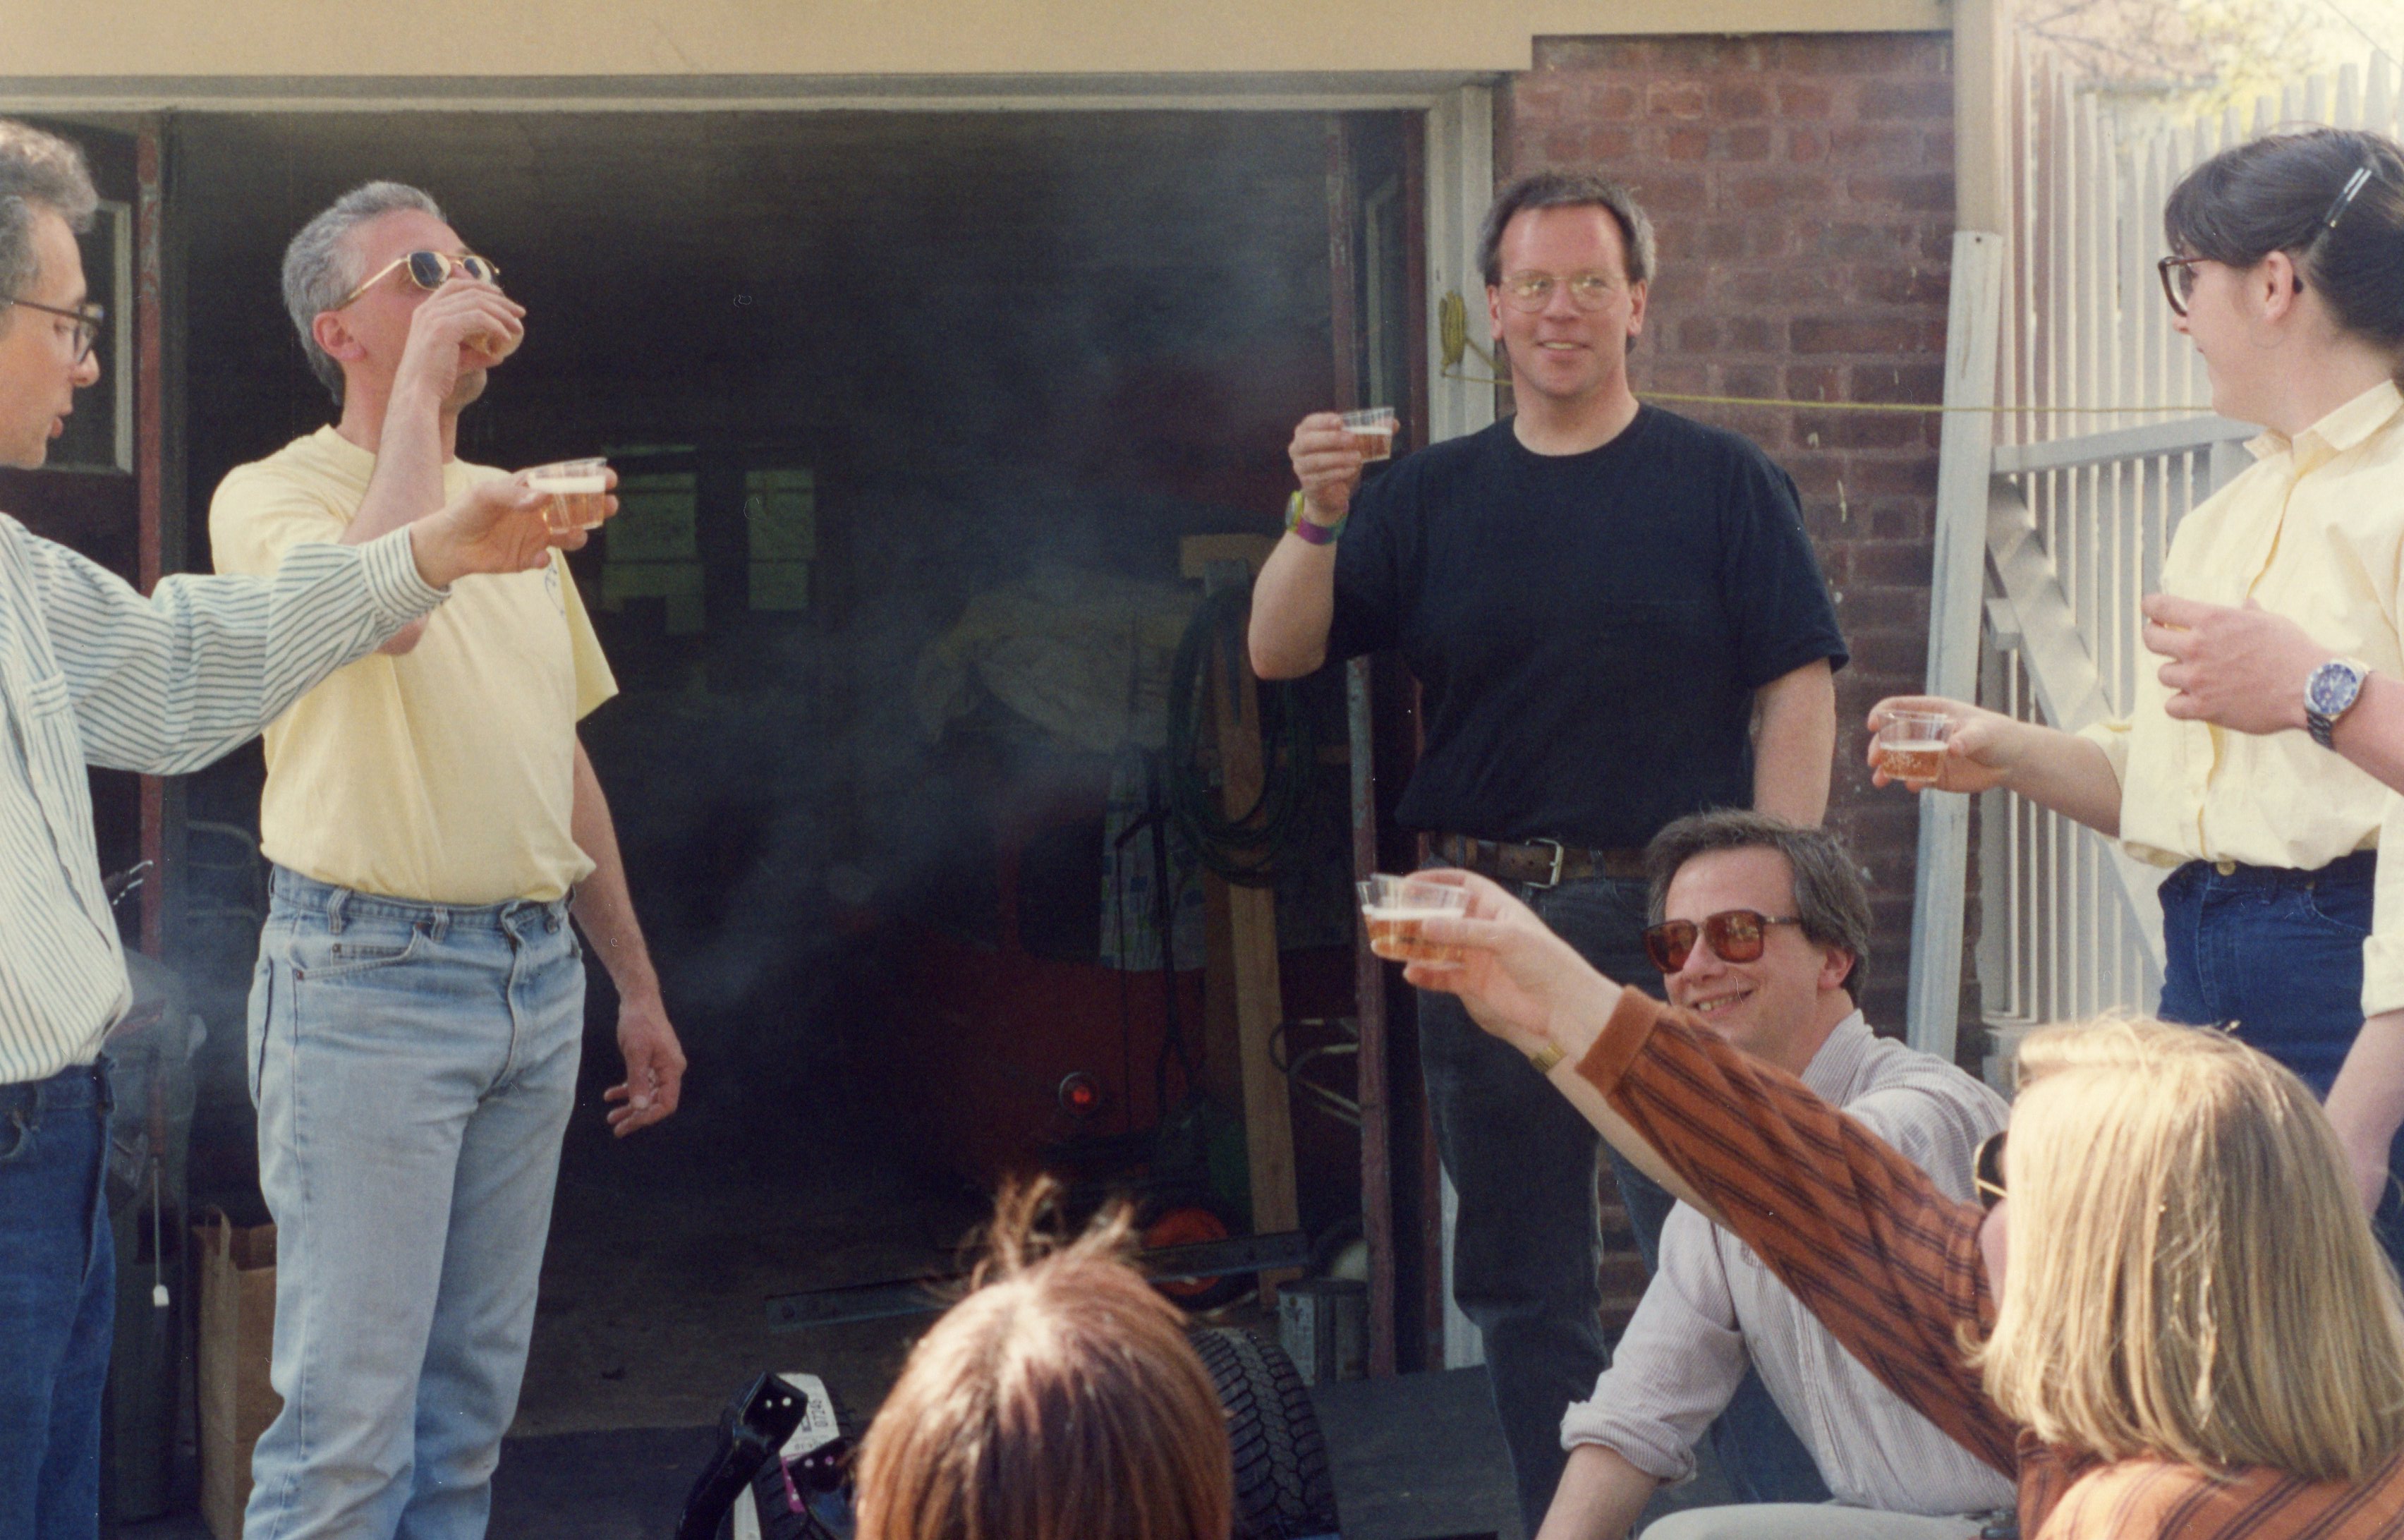
It was also important that I not take myself too seriously, as serious as I was about doing the highest quality work I could, and getting it done in a timely fashion. It was still “just a car”, and this was supposed to be fun. By having a party, I was letting you in on the secret: this was a lark, an Isetta for heaven’s sake! I wanted you to laugh with me. If that also meant laughing AT me, well, that was OK too. Celebrating a turning point held the promise of future celebrations at future turning points. Let’s pop a few corks, tell a few stories, and hope that you’ll keep helping me as I keep pushing myself to finish the darn thing.

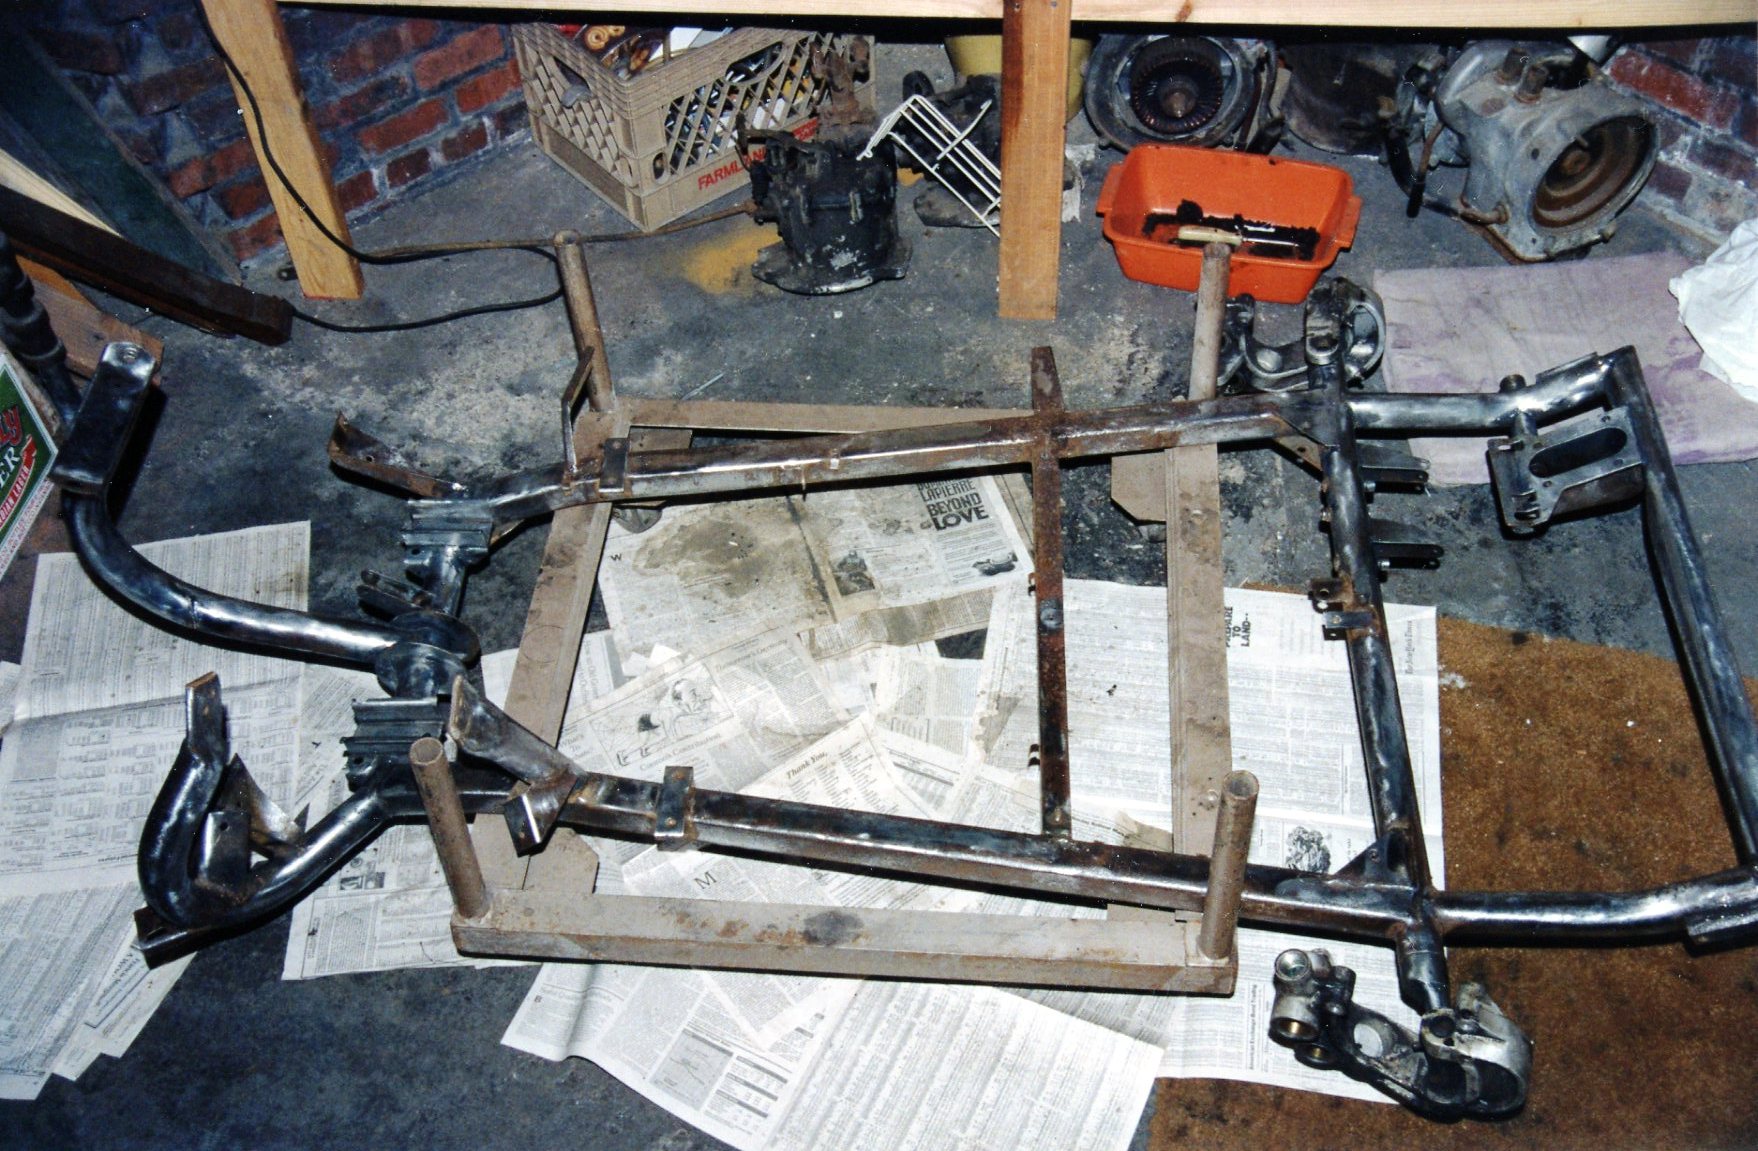
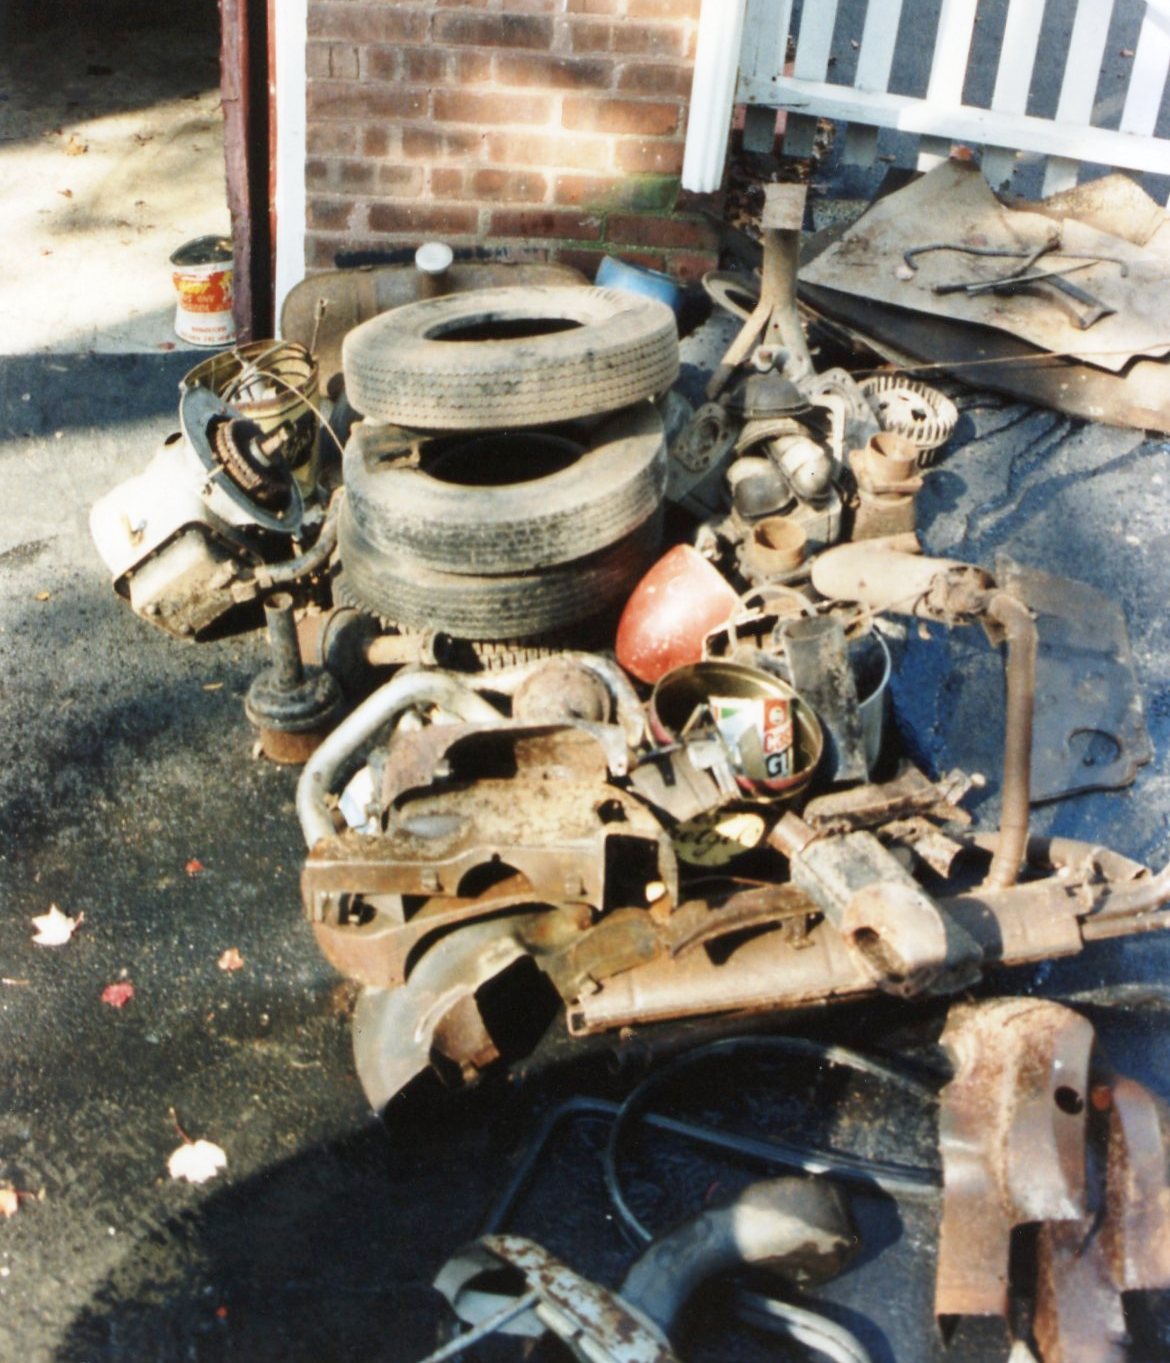
The next big turning point looked like it would be the installation of the engine and transmission onto the chassis. But we were not quite there yet. There were a few subassemblies for the engine, chassis, and interior which needed work:
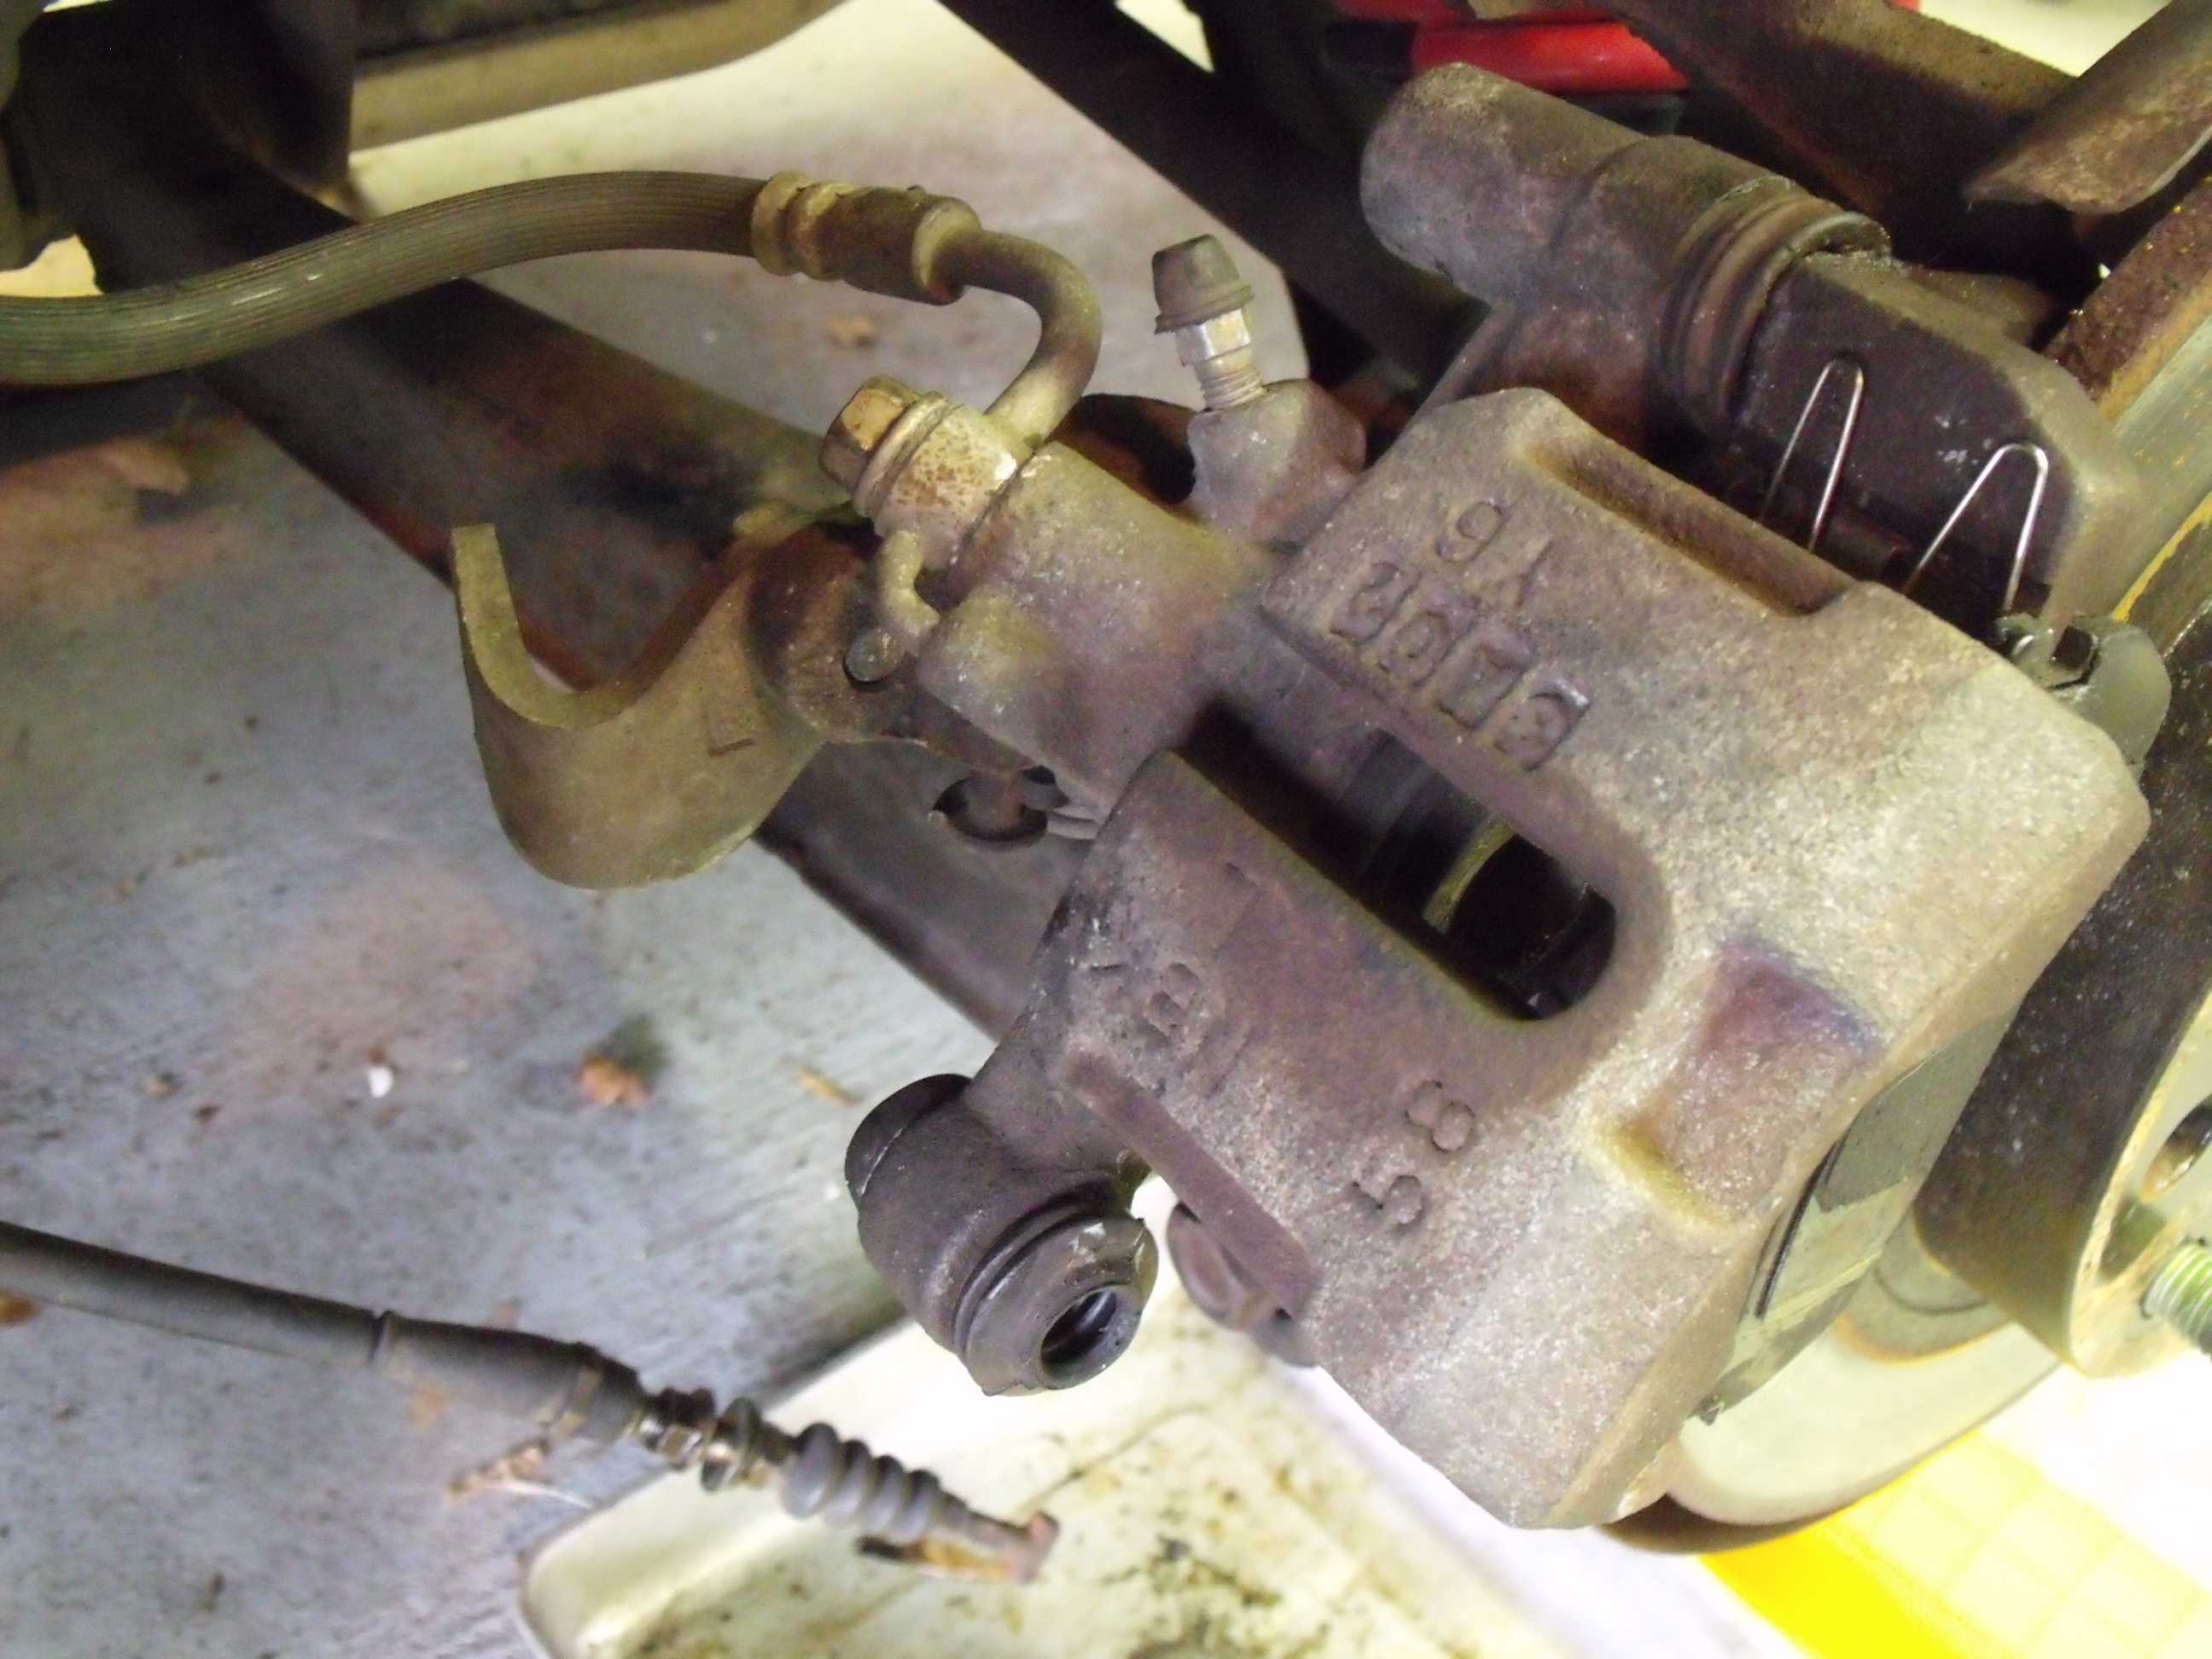
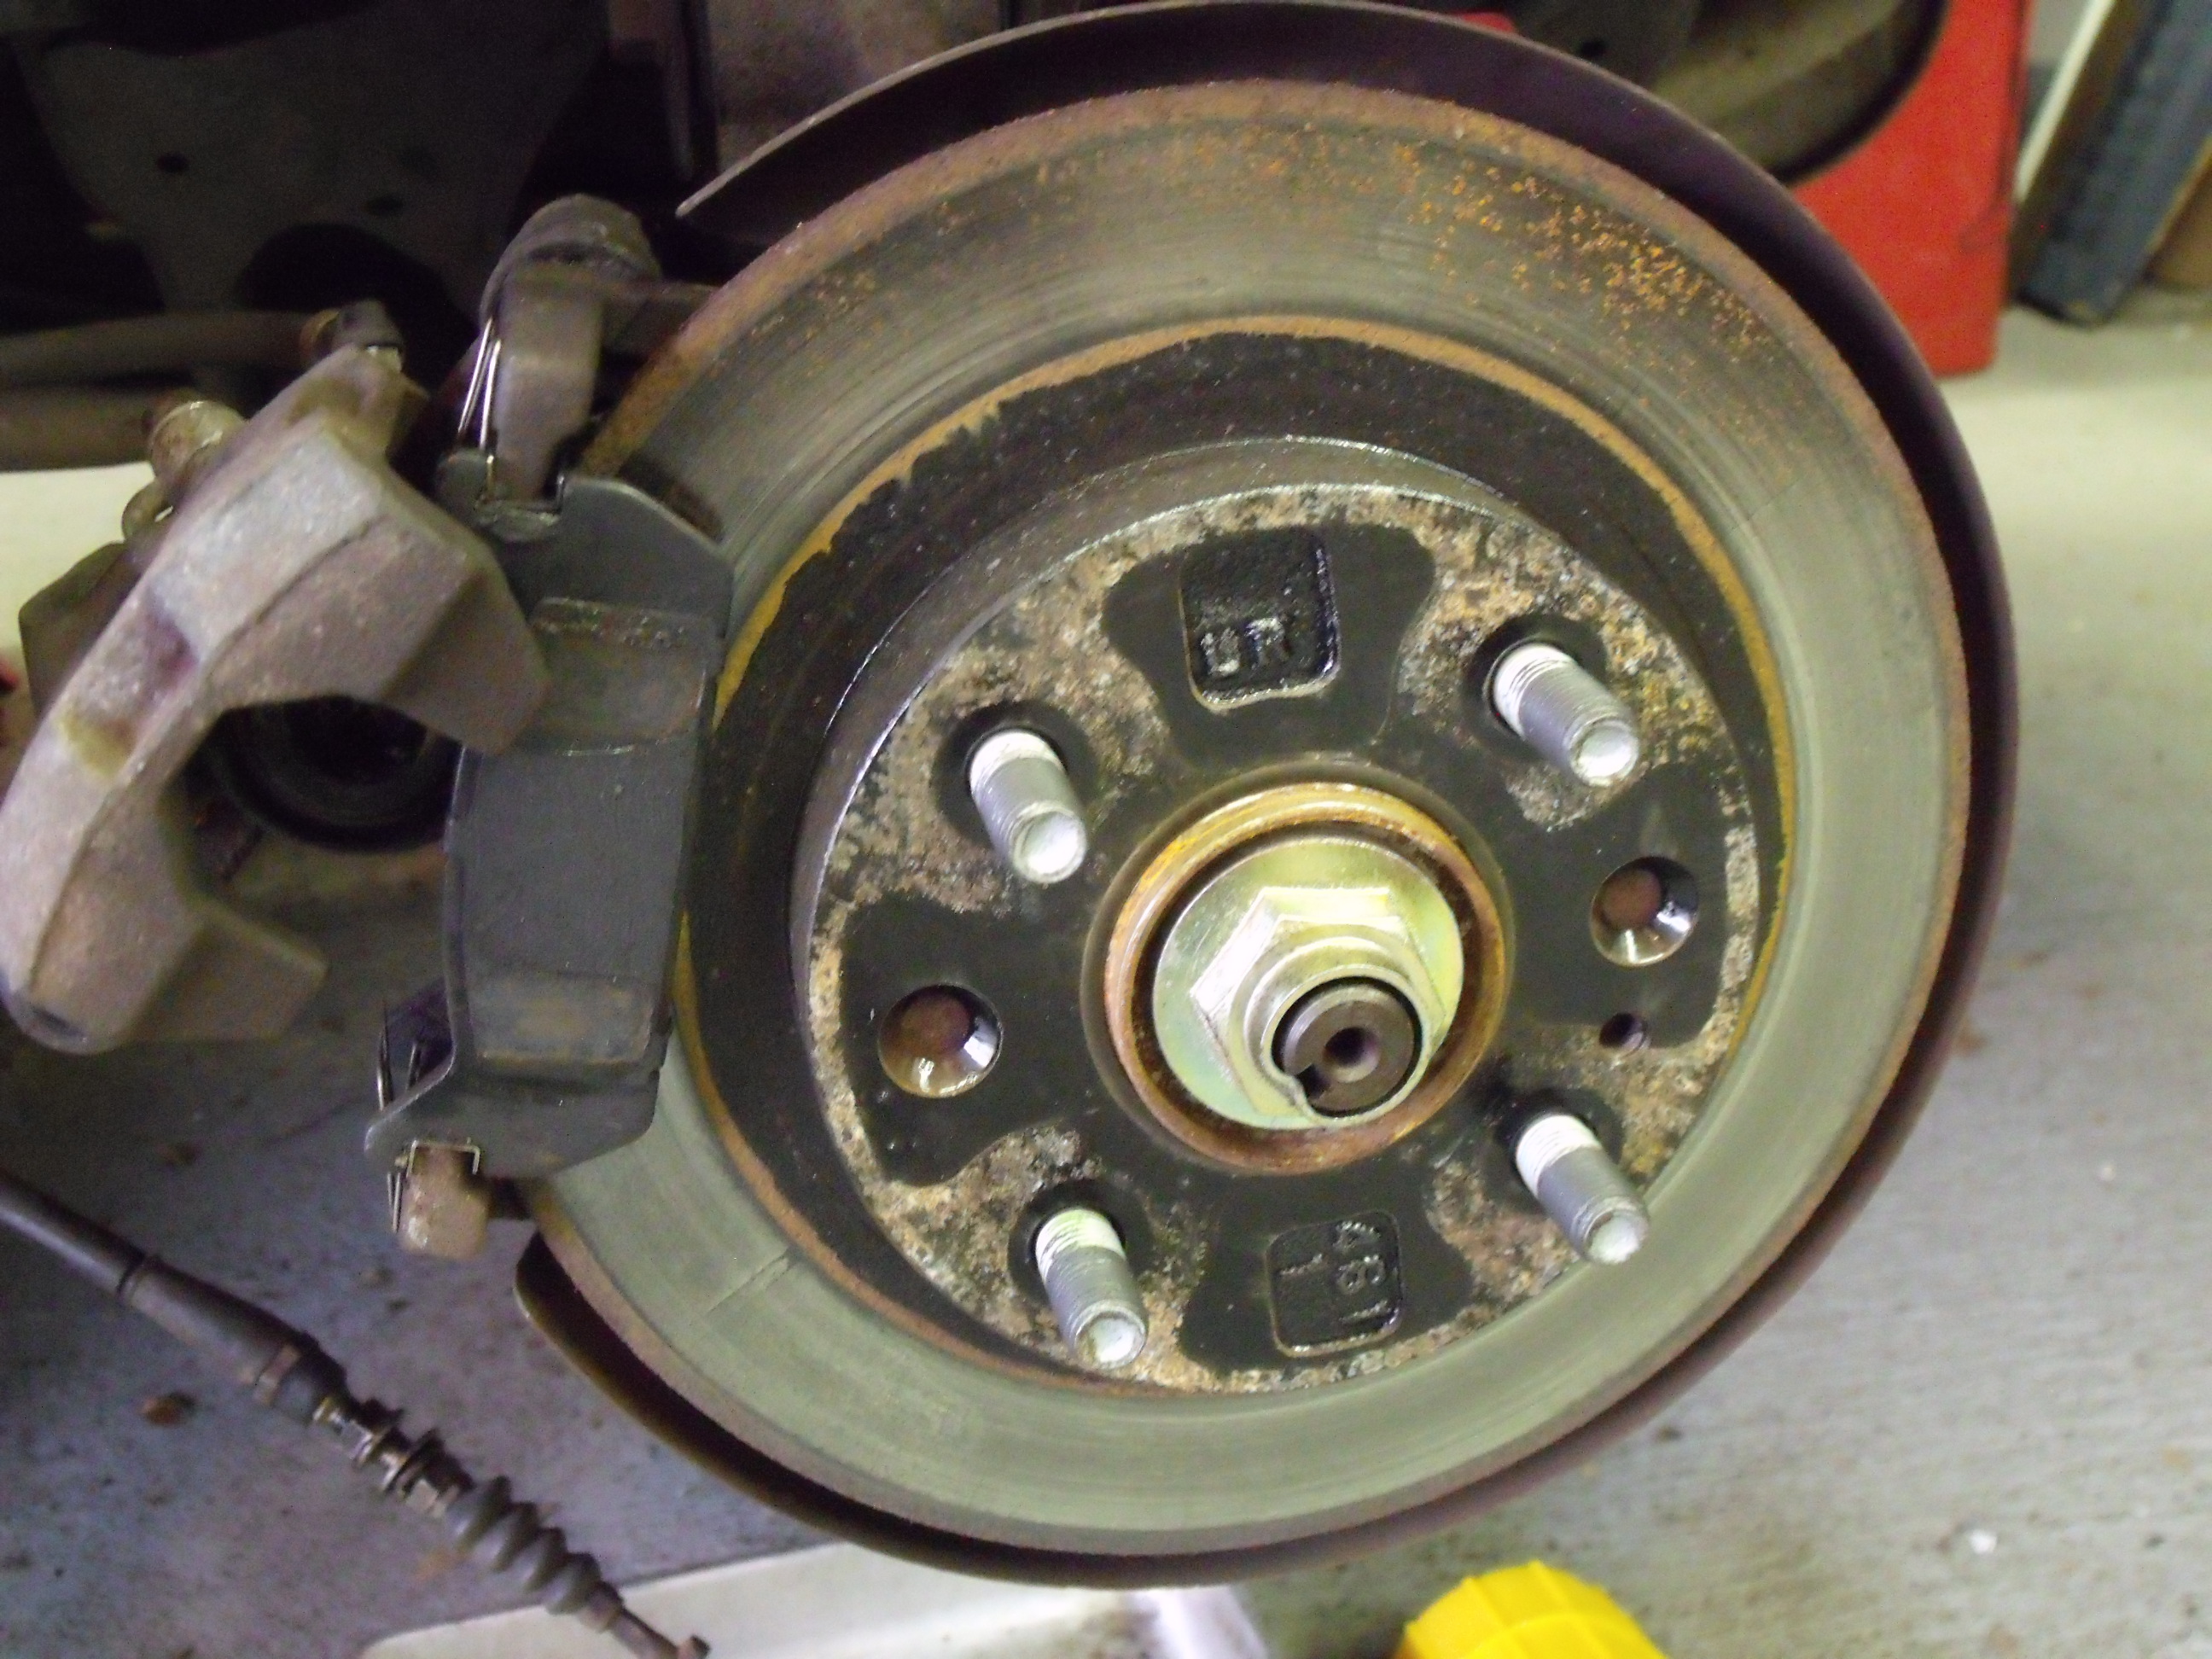
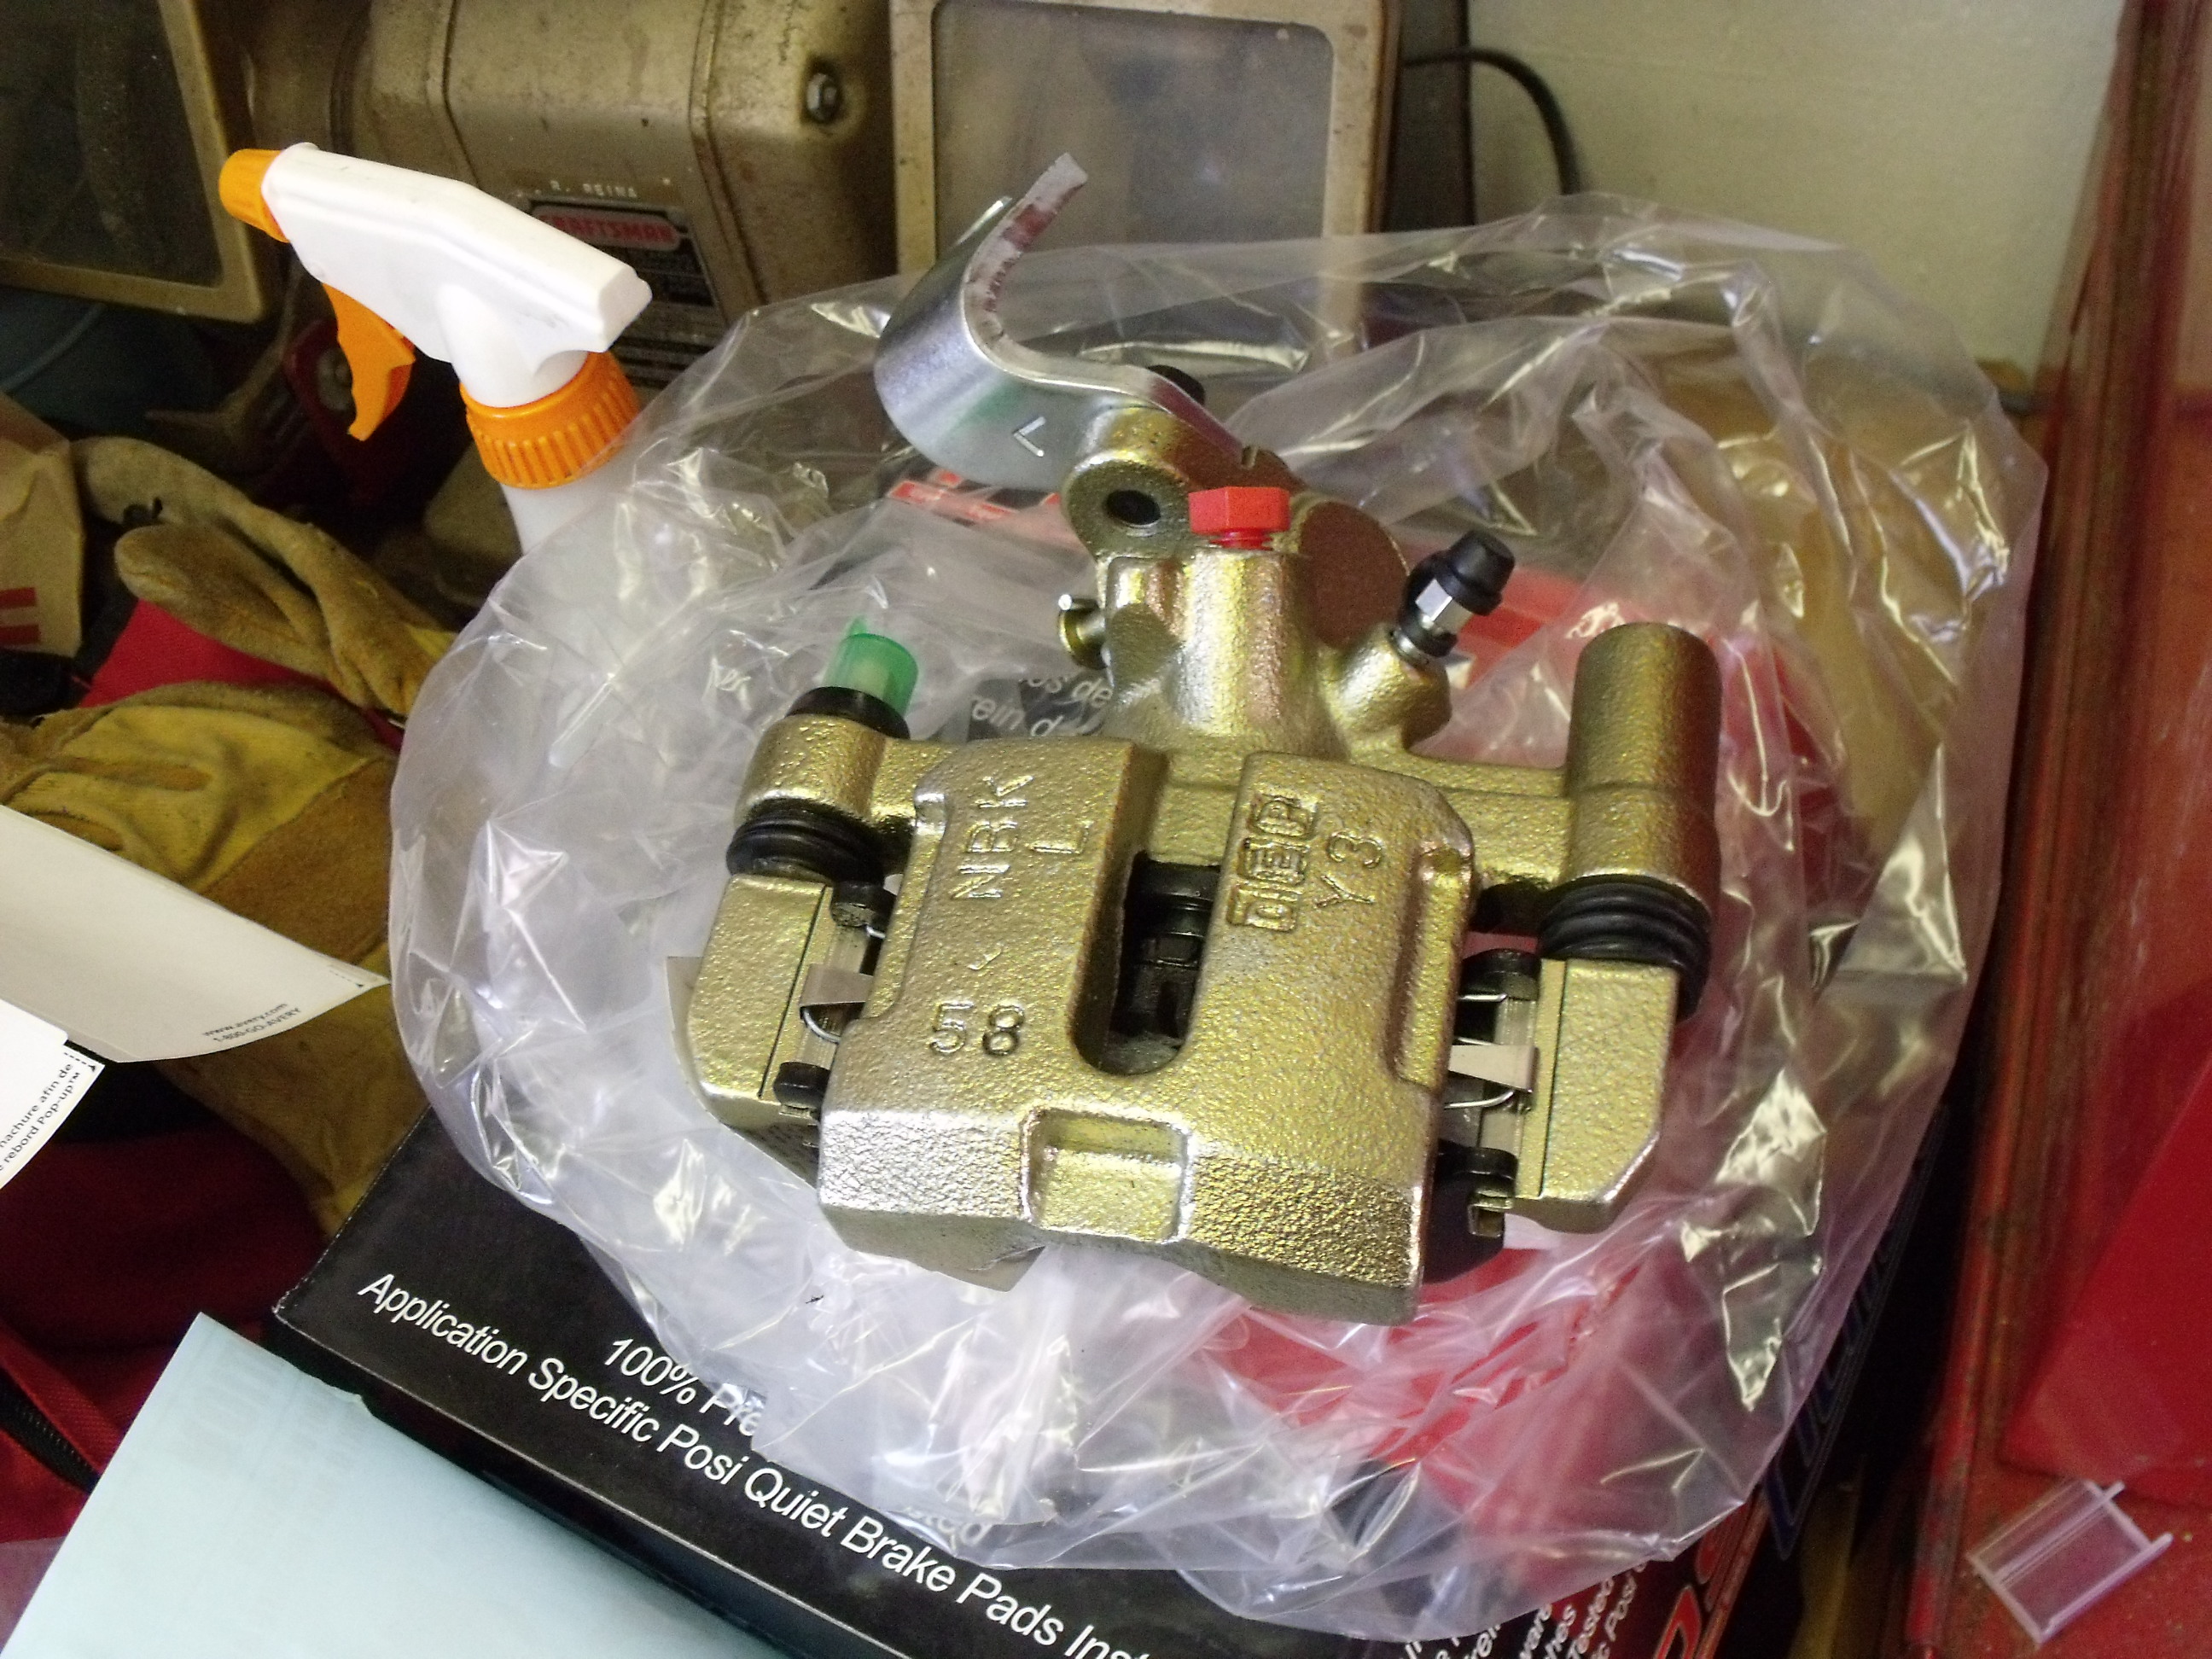
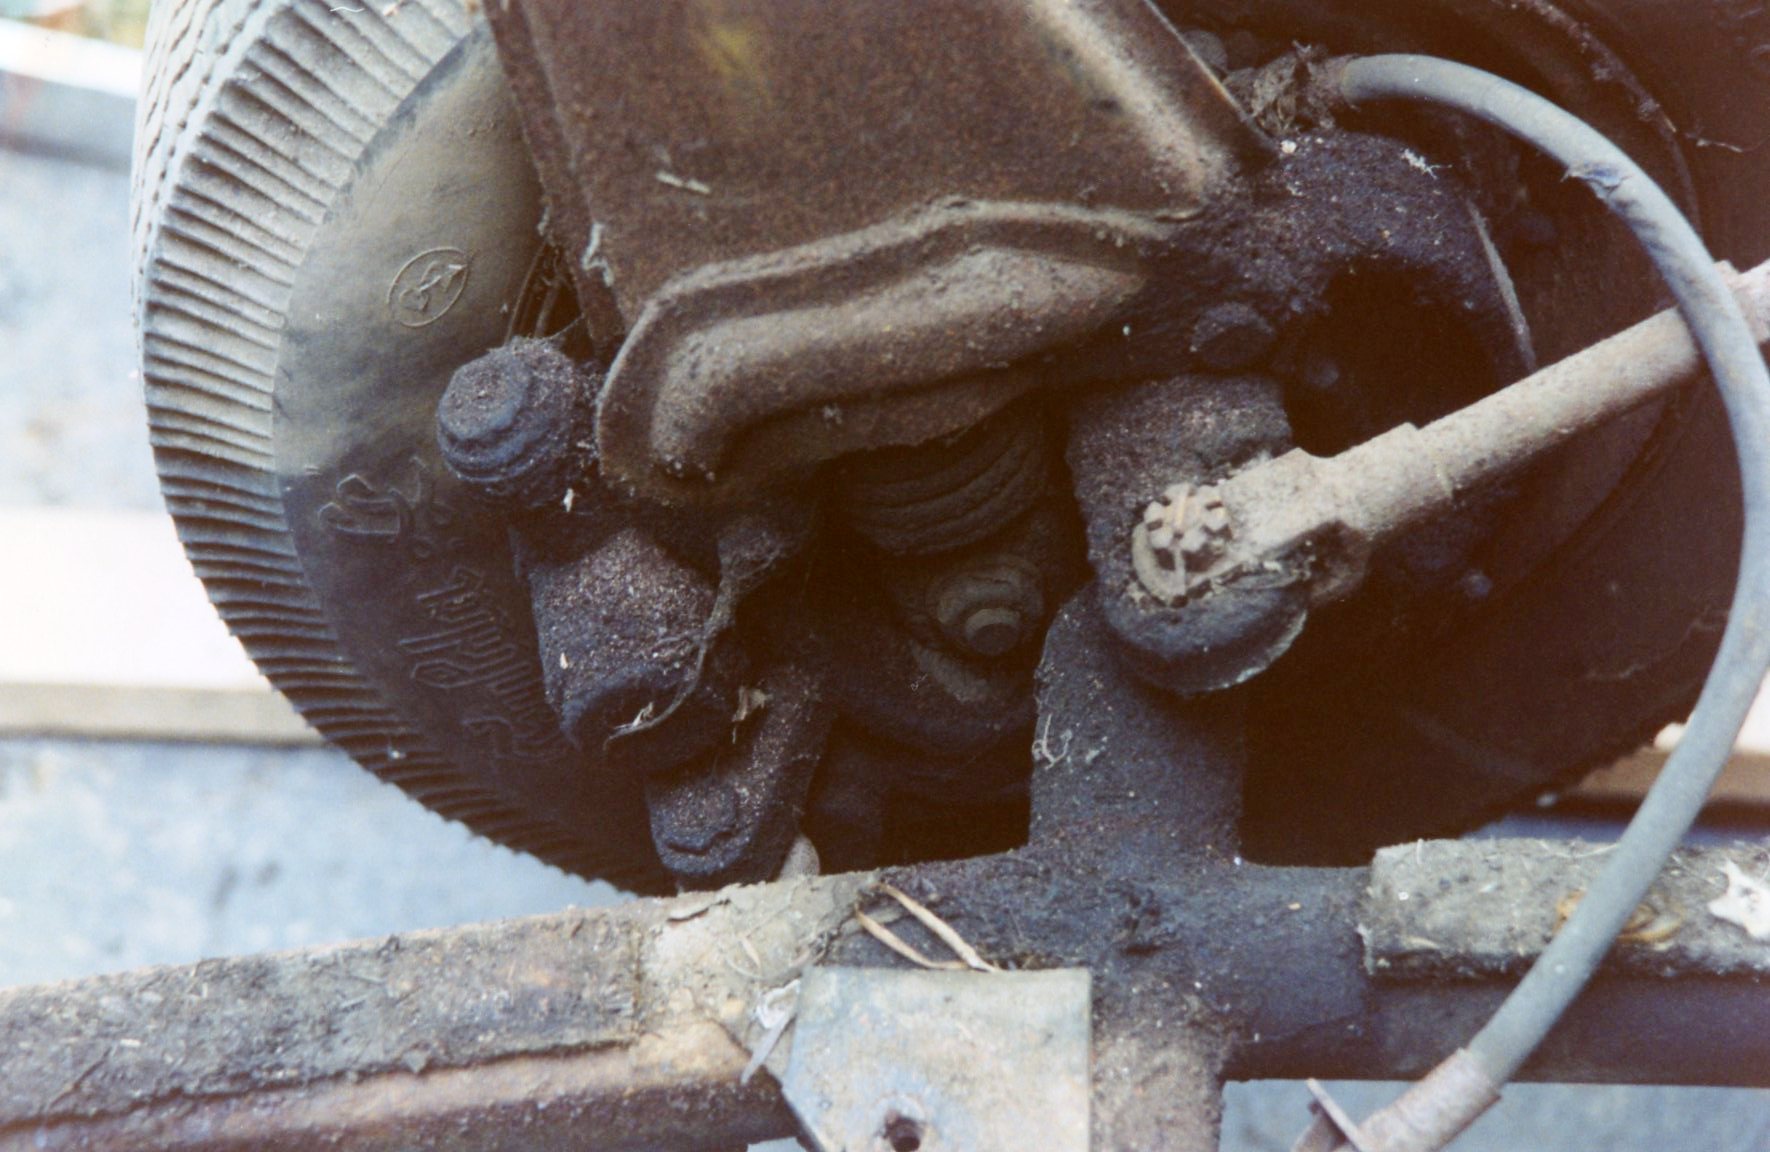
Brakes
Like almost all cars from the 1950s, the Isetta used drum brakes front and rear. Compared to normal cars, there was a difference: the lack of a differential meant that the two rear wheels, mounted on a solid axle, were not free to spin independently of each other. In execution, only one rear brake was needed, so viola, the Isetta had a total of three drum brakes.

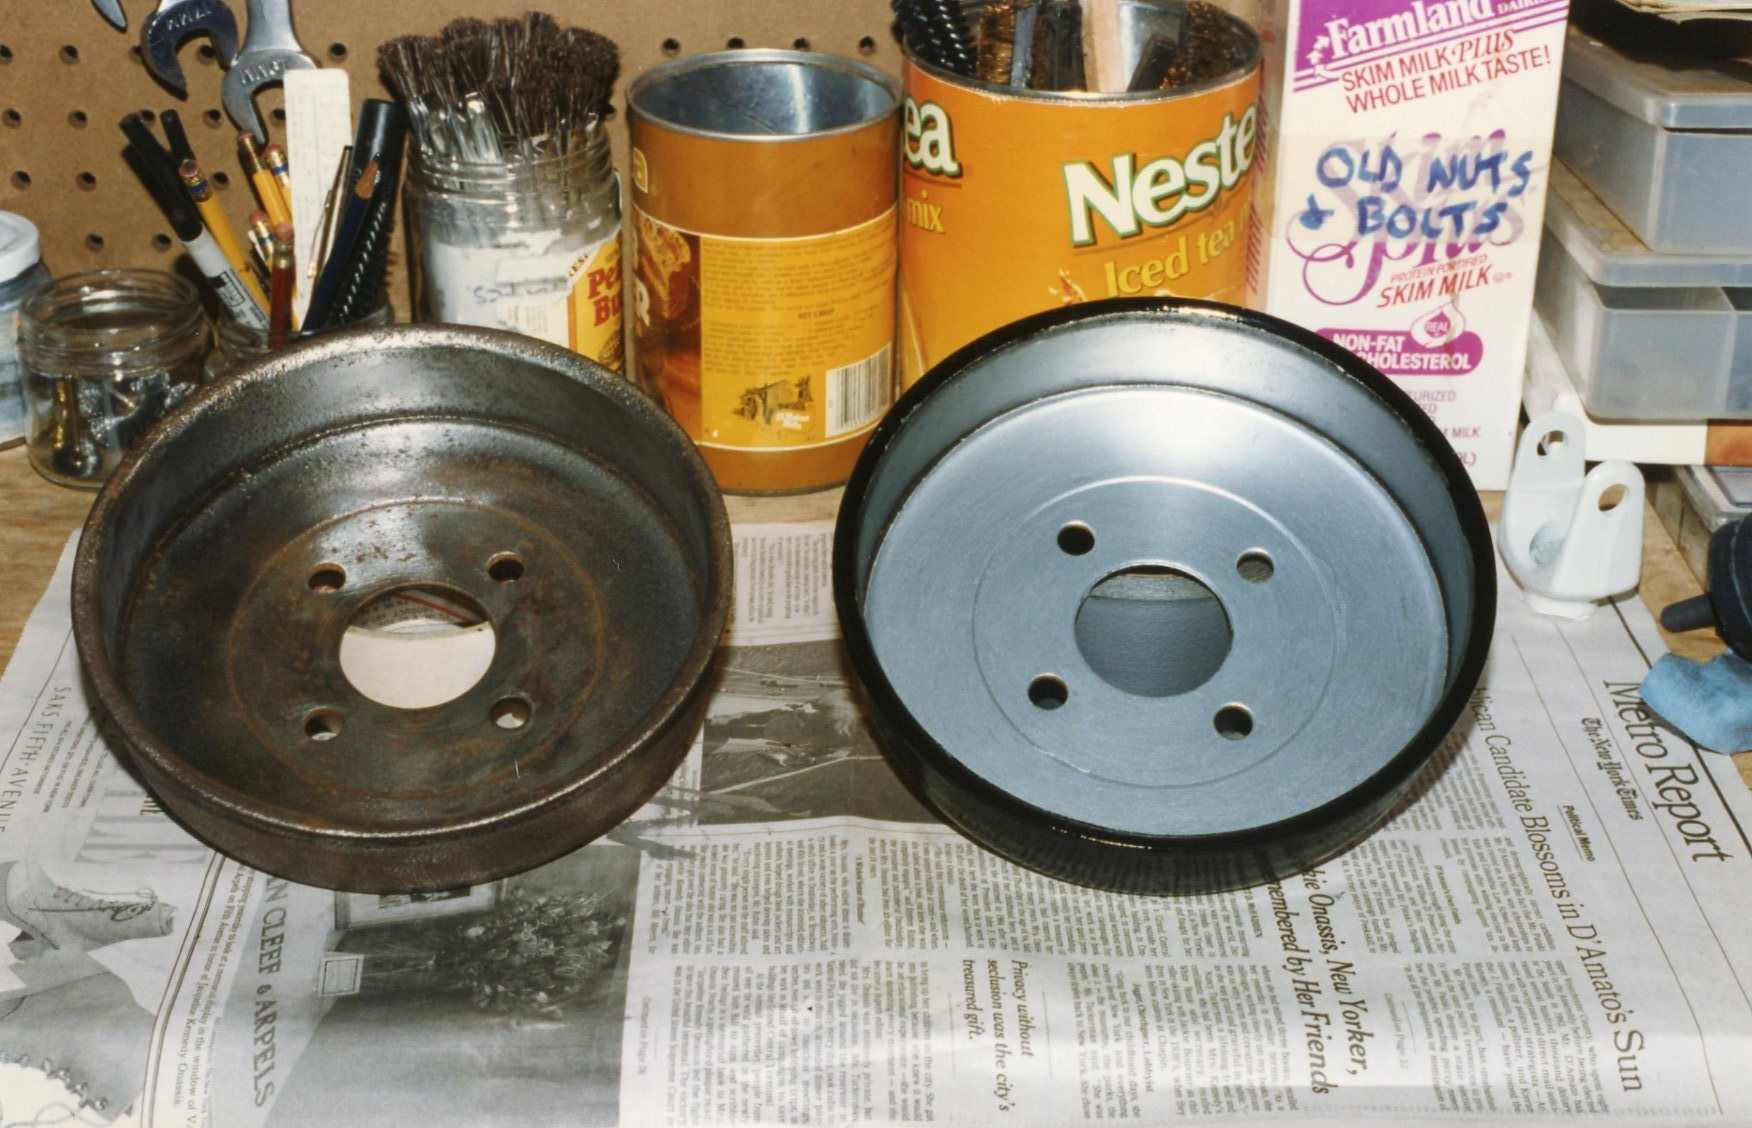
The brake rebuild process was not without its challenge. All the wheel cylinders were frozen solid, and dislodging the pistons meant days of soaking in coffee cans full of Liquid Wrench. Even then, the pistons were still removed via destruction. The cylinders themselves were salvageable, and pistons and shoes were available from several of my local suppliers.
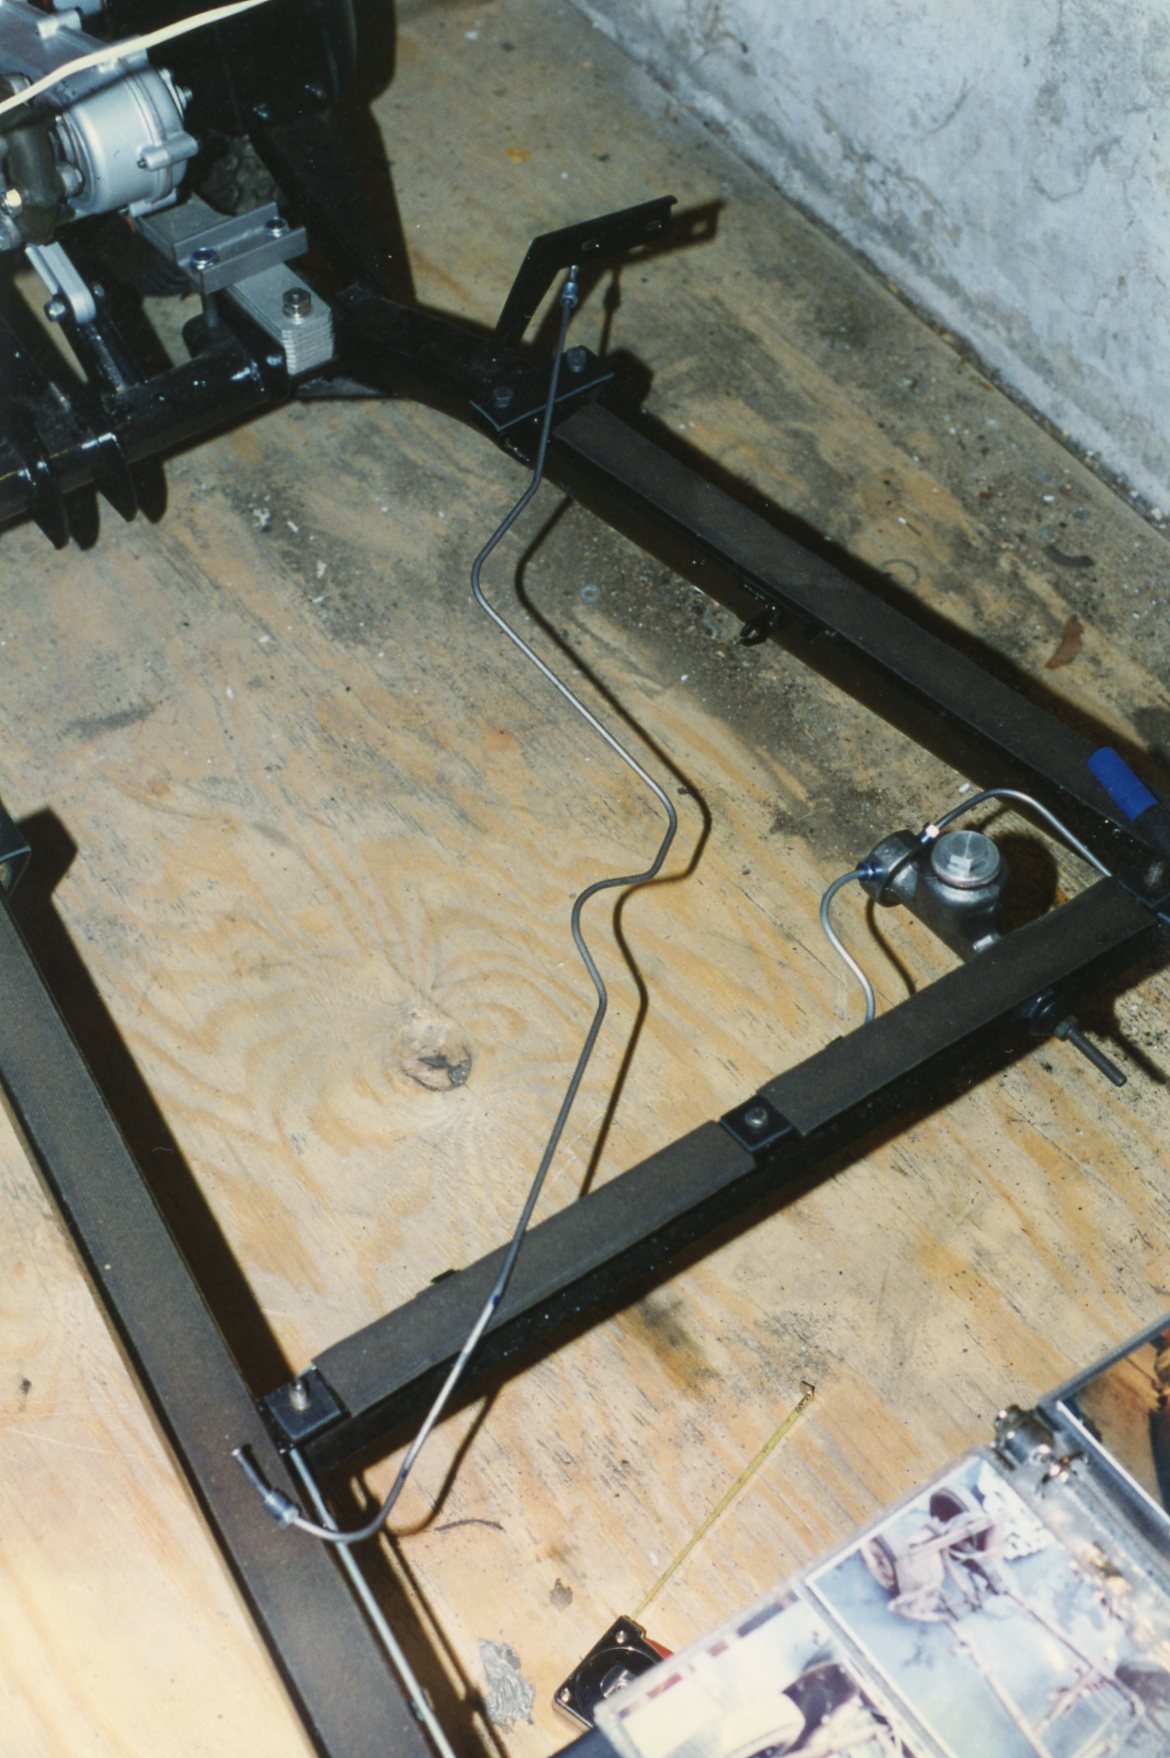
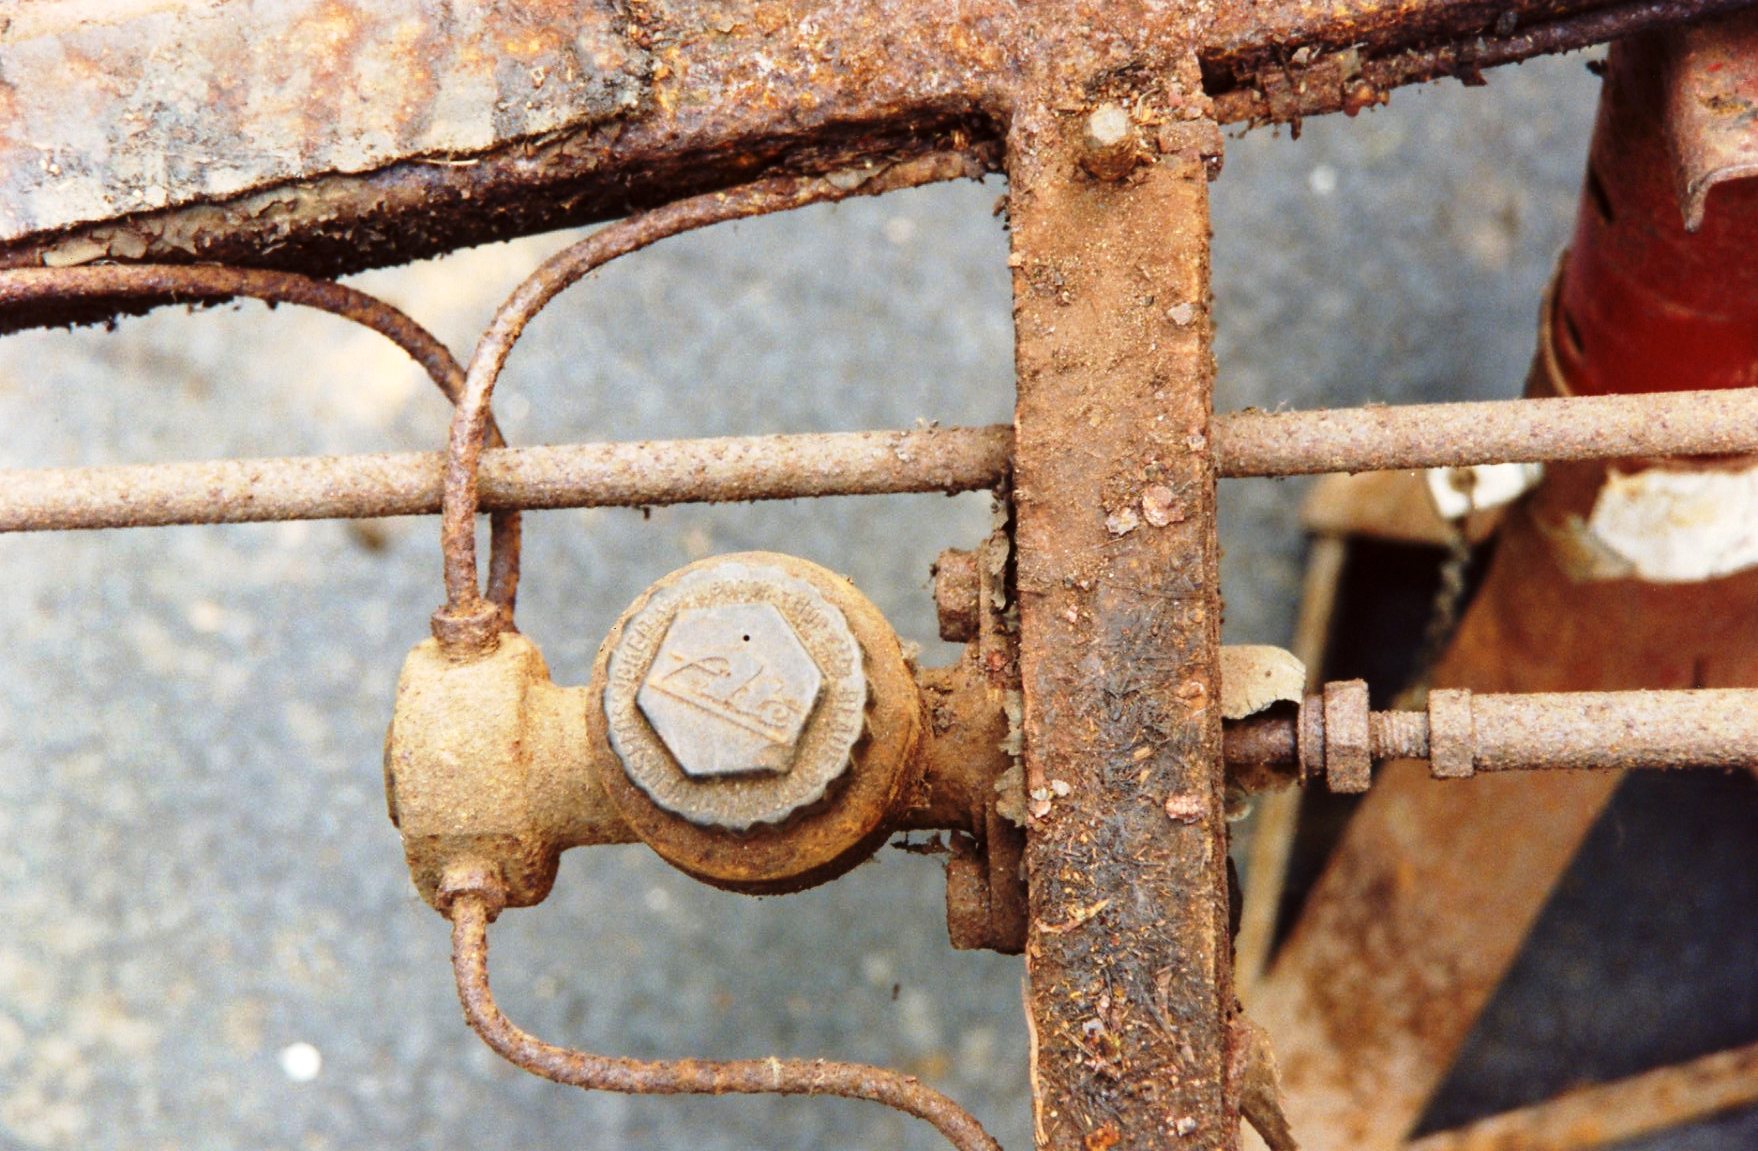
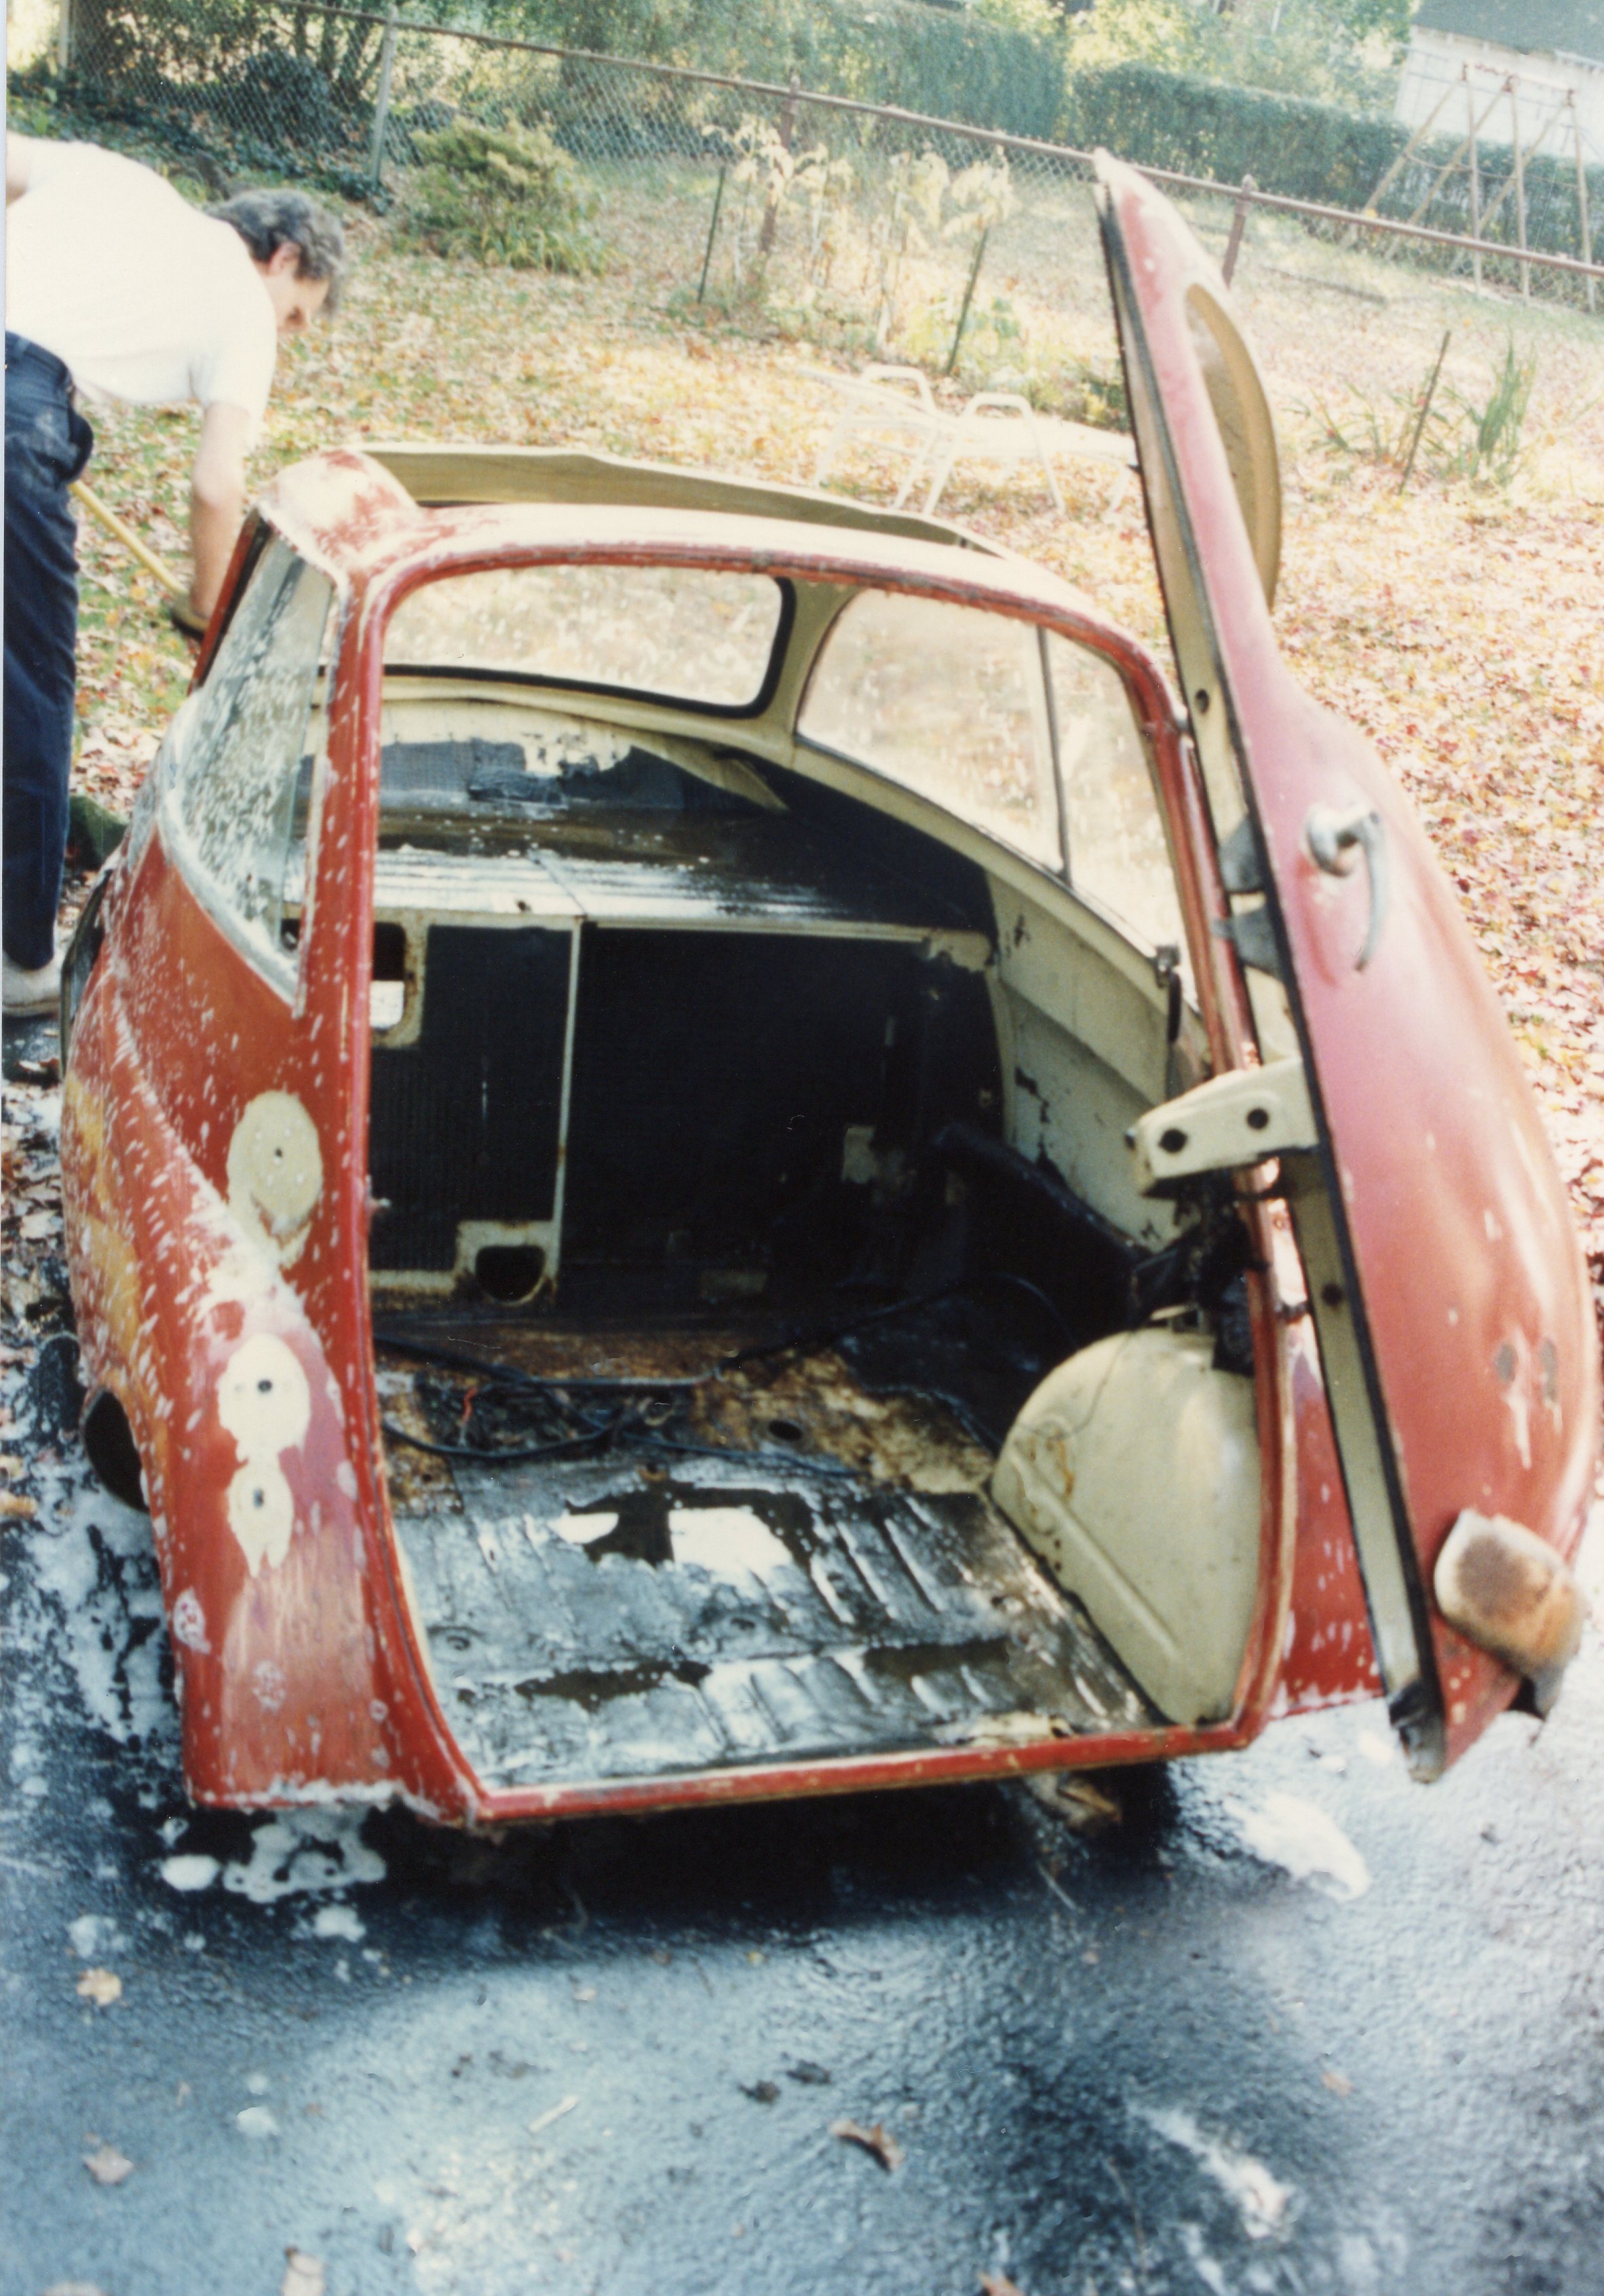
Brake lines, on the other hand, were not. The only solution was to purchase metric brake lines, which I cut to length and bent to form using a tubing bender. The flaring of the ends required borrowing an ISO bubble flare tool. (It was a huge advantage to complete with work on the body-less chassis. I cannot imagine doing this with the body in place.) Various articles recommended using VW brake hoses for the front, and that’s exactly what I did.

Finally, the hunt was on for a new master cylinder, as the ones I had looked like they had been stored in New York Harbor. Mr. Krause in Emmaus delivered on that front, and it was a case of “pay whatever the asking price is”, as at that time, no one else had new Isetta master cylinders for sale.

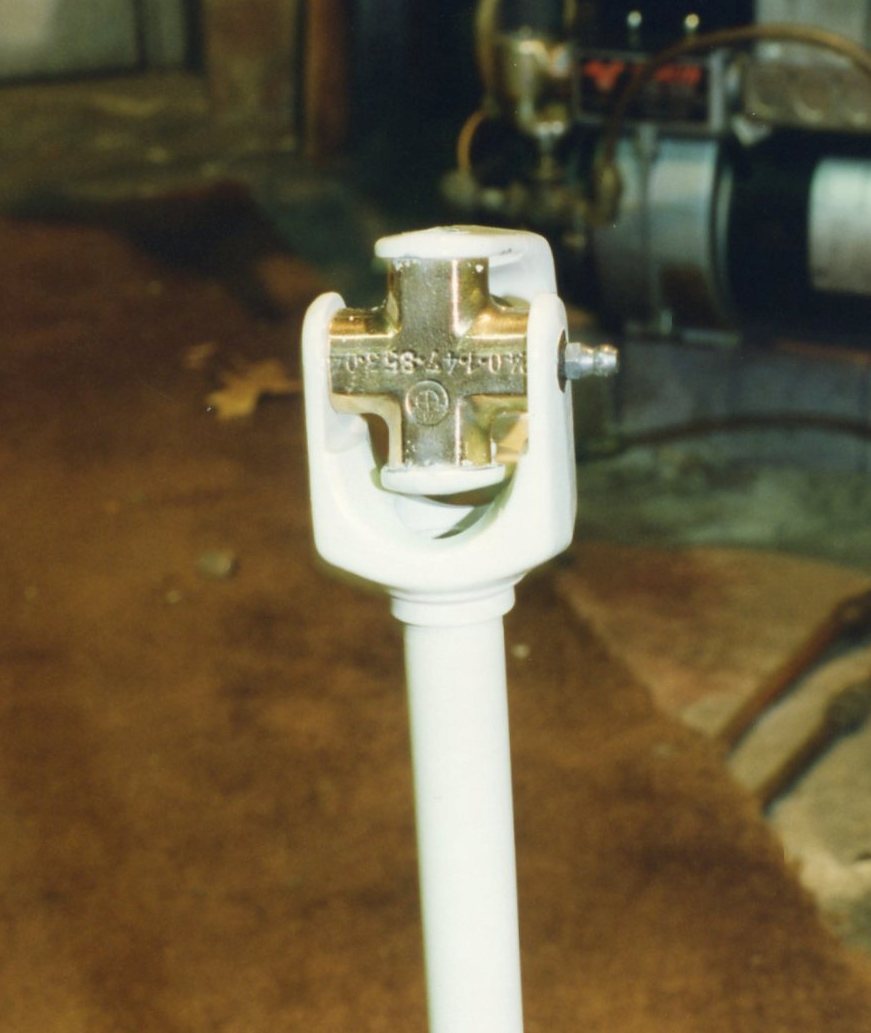
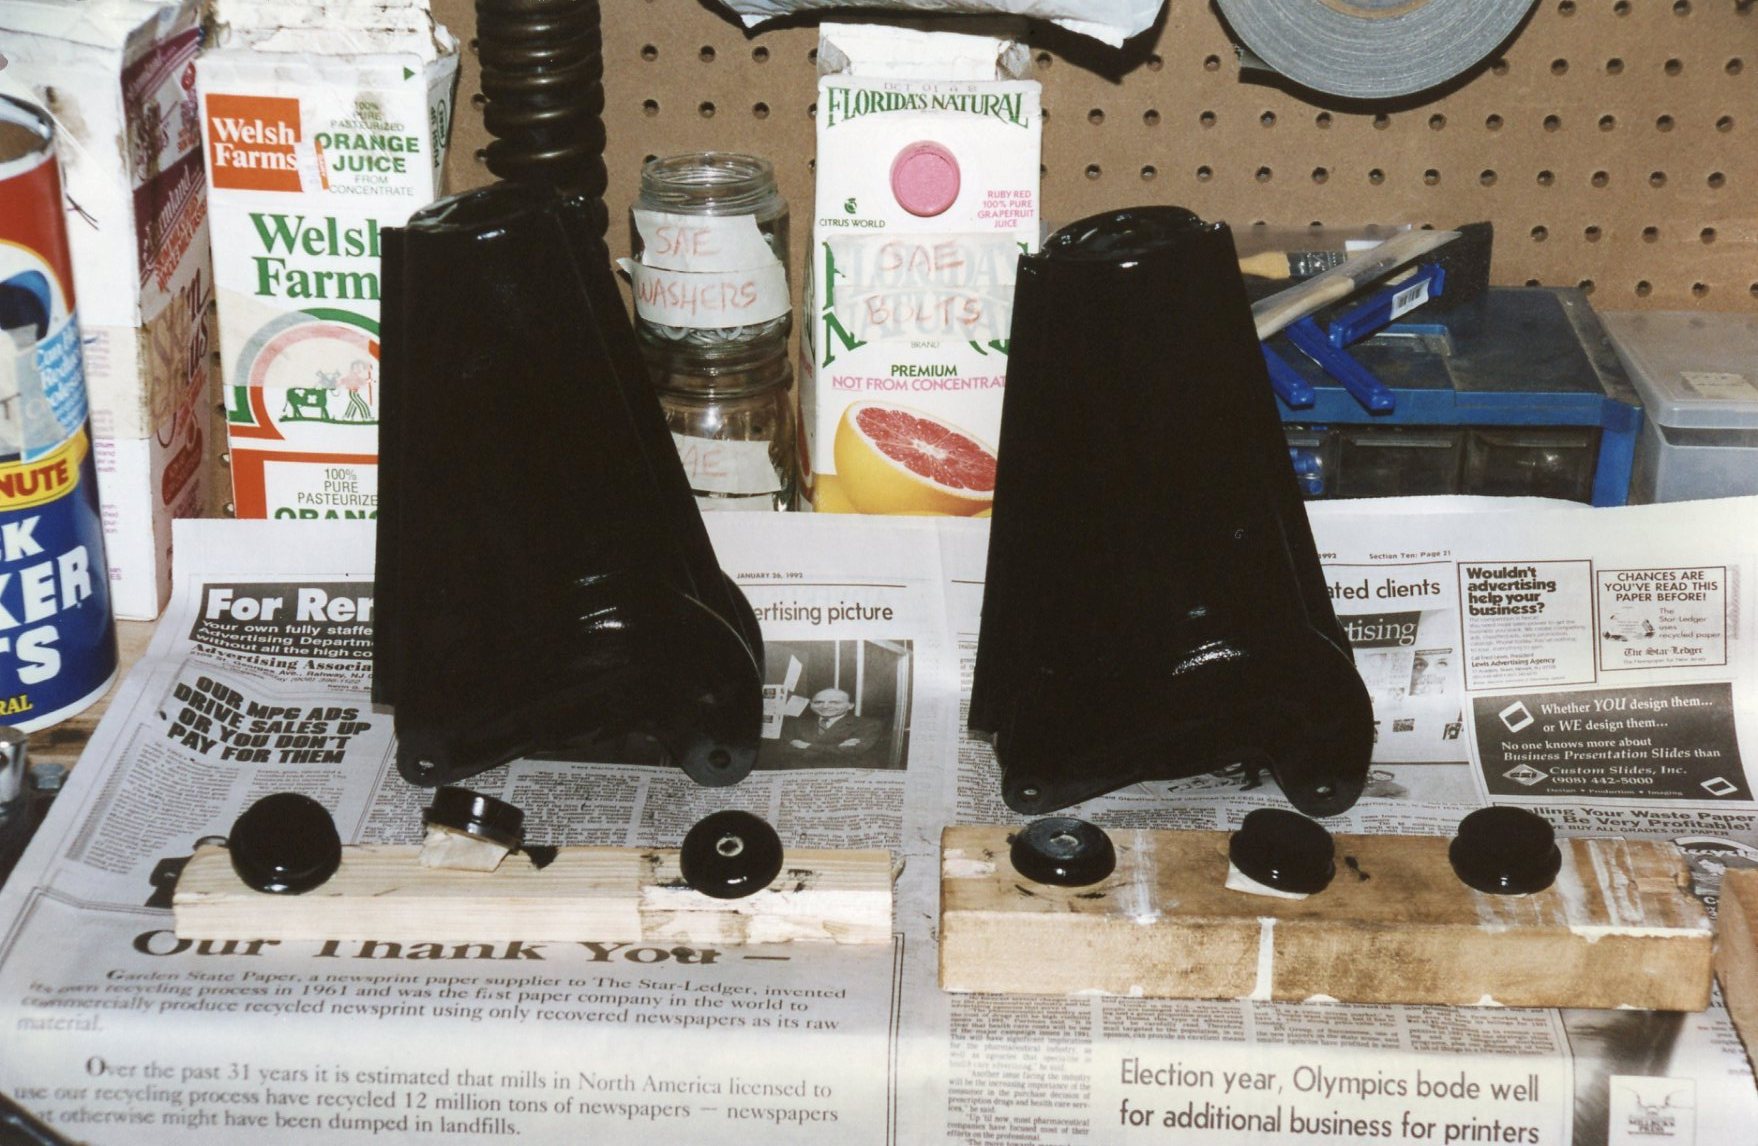
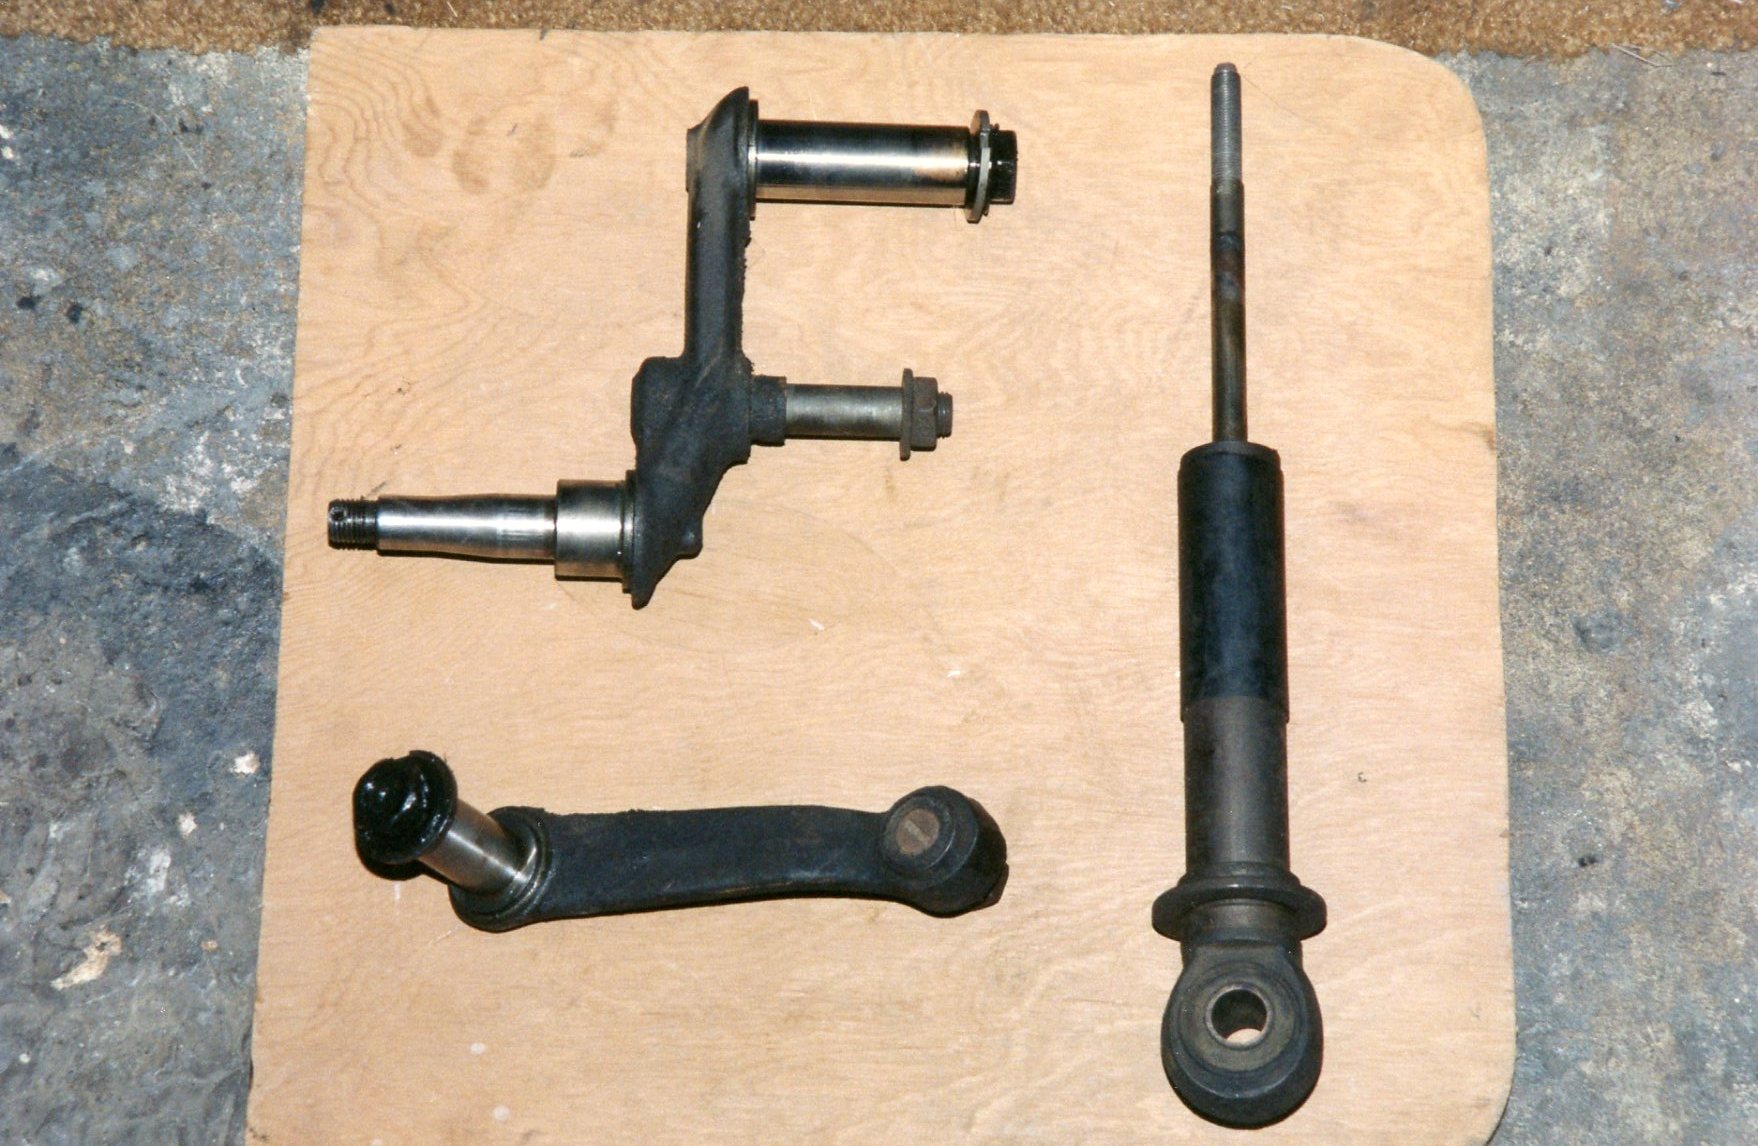
Steering wheel & column
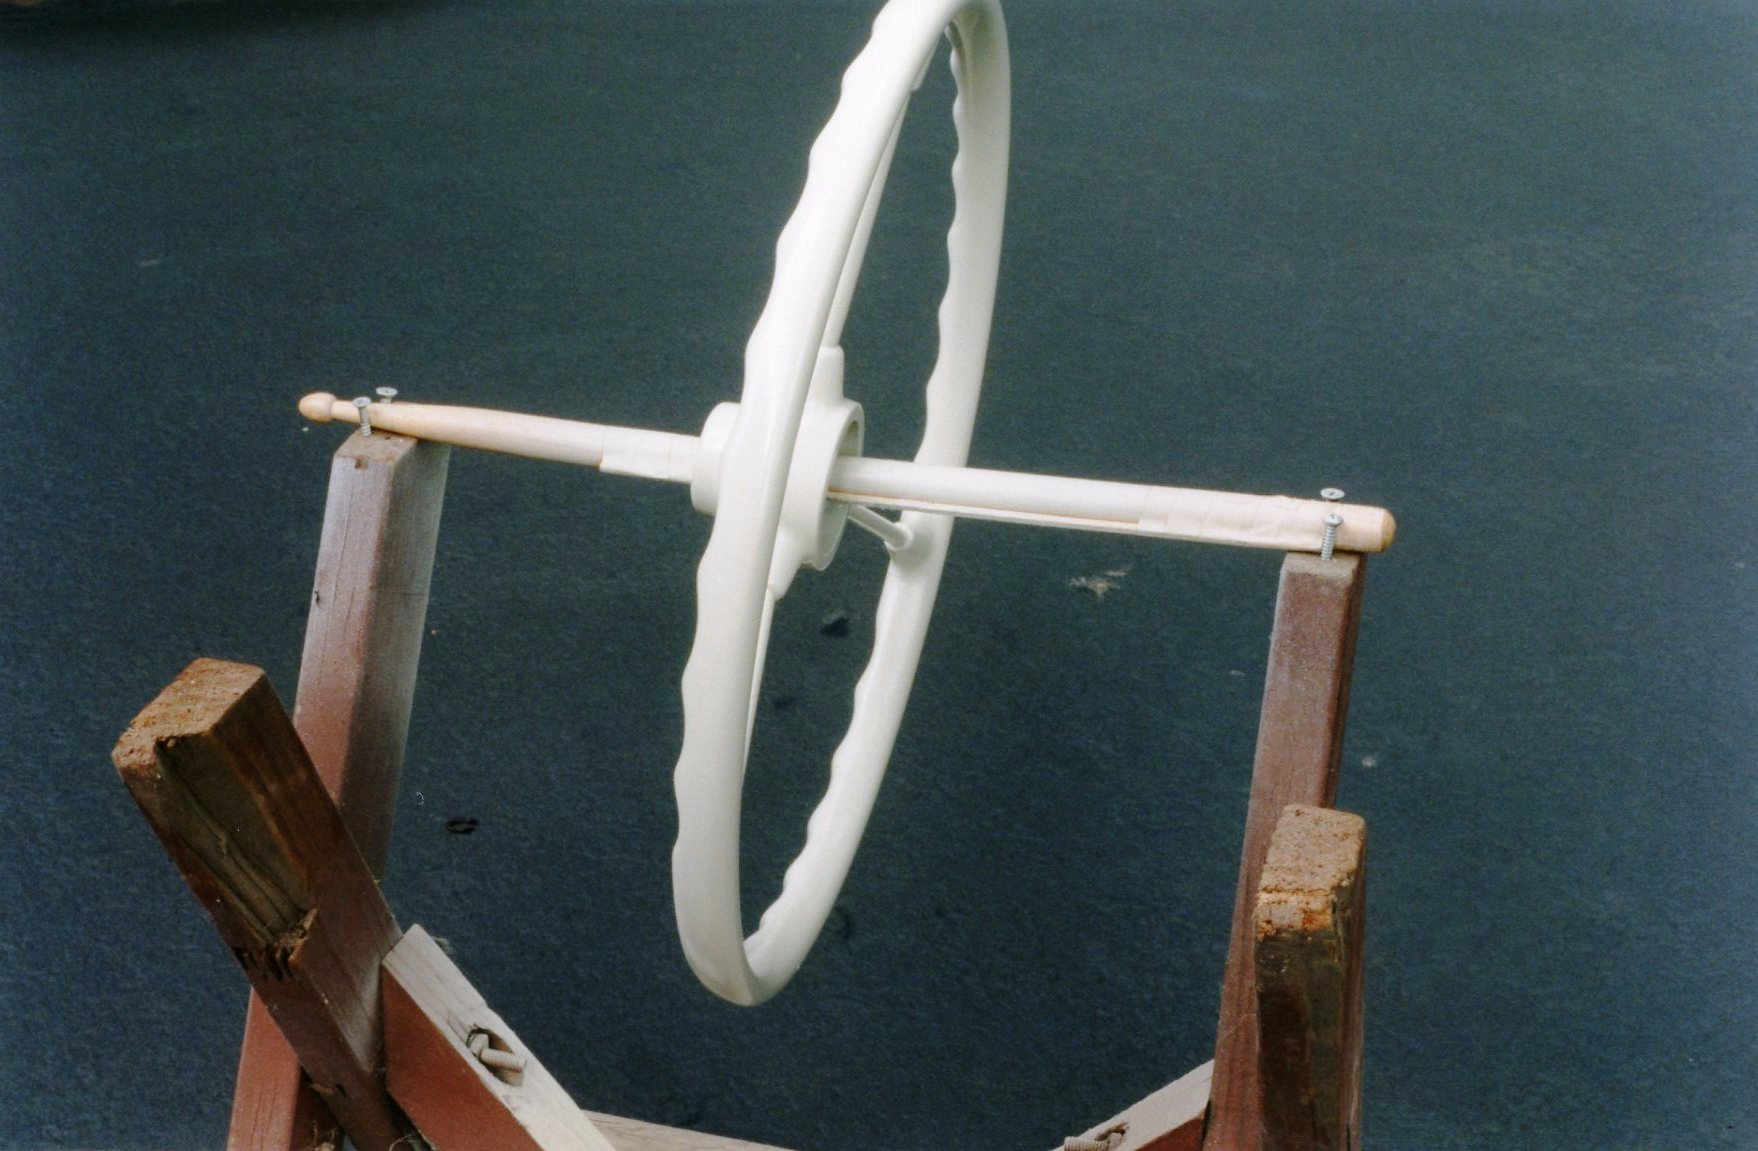
My steering wheel had minimal cracks, and based on some discussions I had with steering wheel restoration companies at Carlisle, I wasn’t about to pay what they wanted to restore a wheel. It looked to me that a complete sanding and recoating of the wheel would get me to where I wanted to be with it.

I had read that store-bought epoxy appliance paint, intended to refinish your kitchen fridge or oven, worked quite well on automotive interior items which are subject to handling and wear. Popping into my local Home Depot, I found spray paint in a nice almond shade, and committed to using it on the steering wheel as well as items like the light switch, shift knob, and interior door handle.

The steering wheel was hand-sanded to remove all traces of existing paint, then given a good cleaning. With the rattle can, the intention was to apply multiple coats as lightly as possible. If I could get the wheel to rotate while spraying it, there would be no chance of runs. Using an old piece of outdoor furniture and a drumstick, I mounted the wheel so that I could spin it and spray it. It probably got four or five coats of paint this way, and to me it looked as good as new.
I was unsure if the steering column from the factory was painted silver or the same off-white as the steering wheel. In the end, I decided that the almond color would look better, so that‘s what it got. The u-joint at the bottom of the column was made of brass, and it polished up so brightly that it would have been a shame to paint it, so I didn’t. Instead, I sprayed it with a clear lacquer for protection.
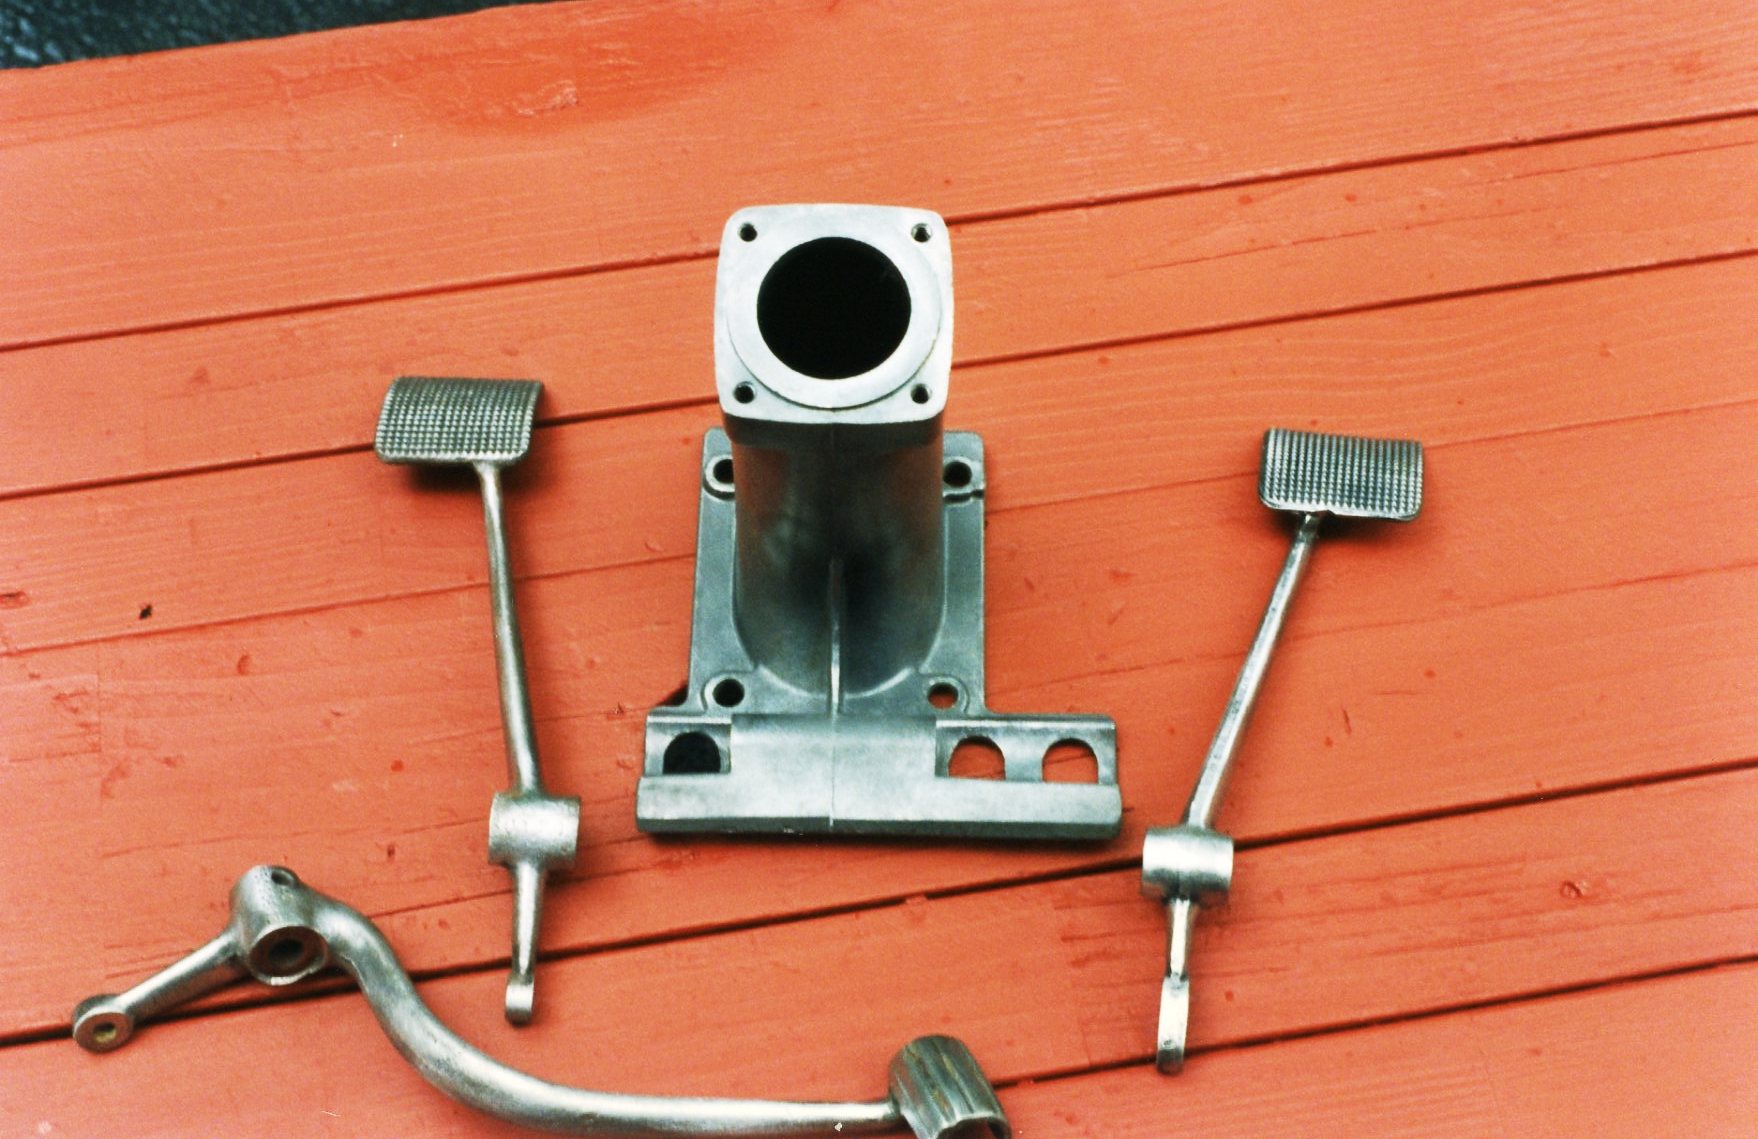
Pedals
The Isetta pedal setup is conventional: from left to right, there are the clutch, brake, and gas pedals. The steering column is located directly between the clutch and brake pedals, though, so any thought of left-foot braking, much less heel-and-toeing, must be dismissed. What do you think, this is a race car?
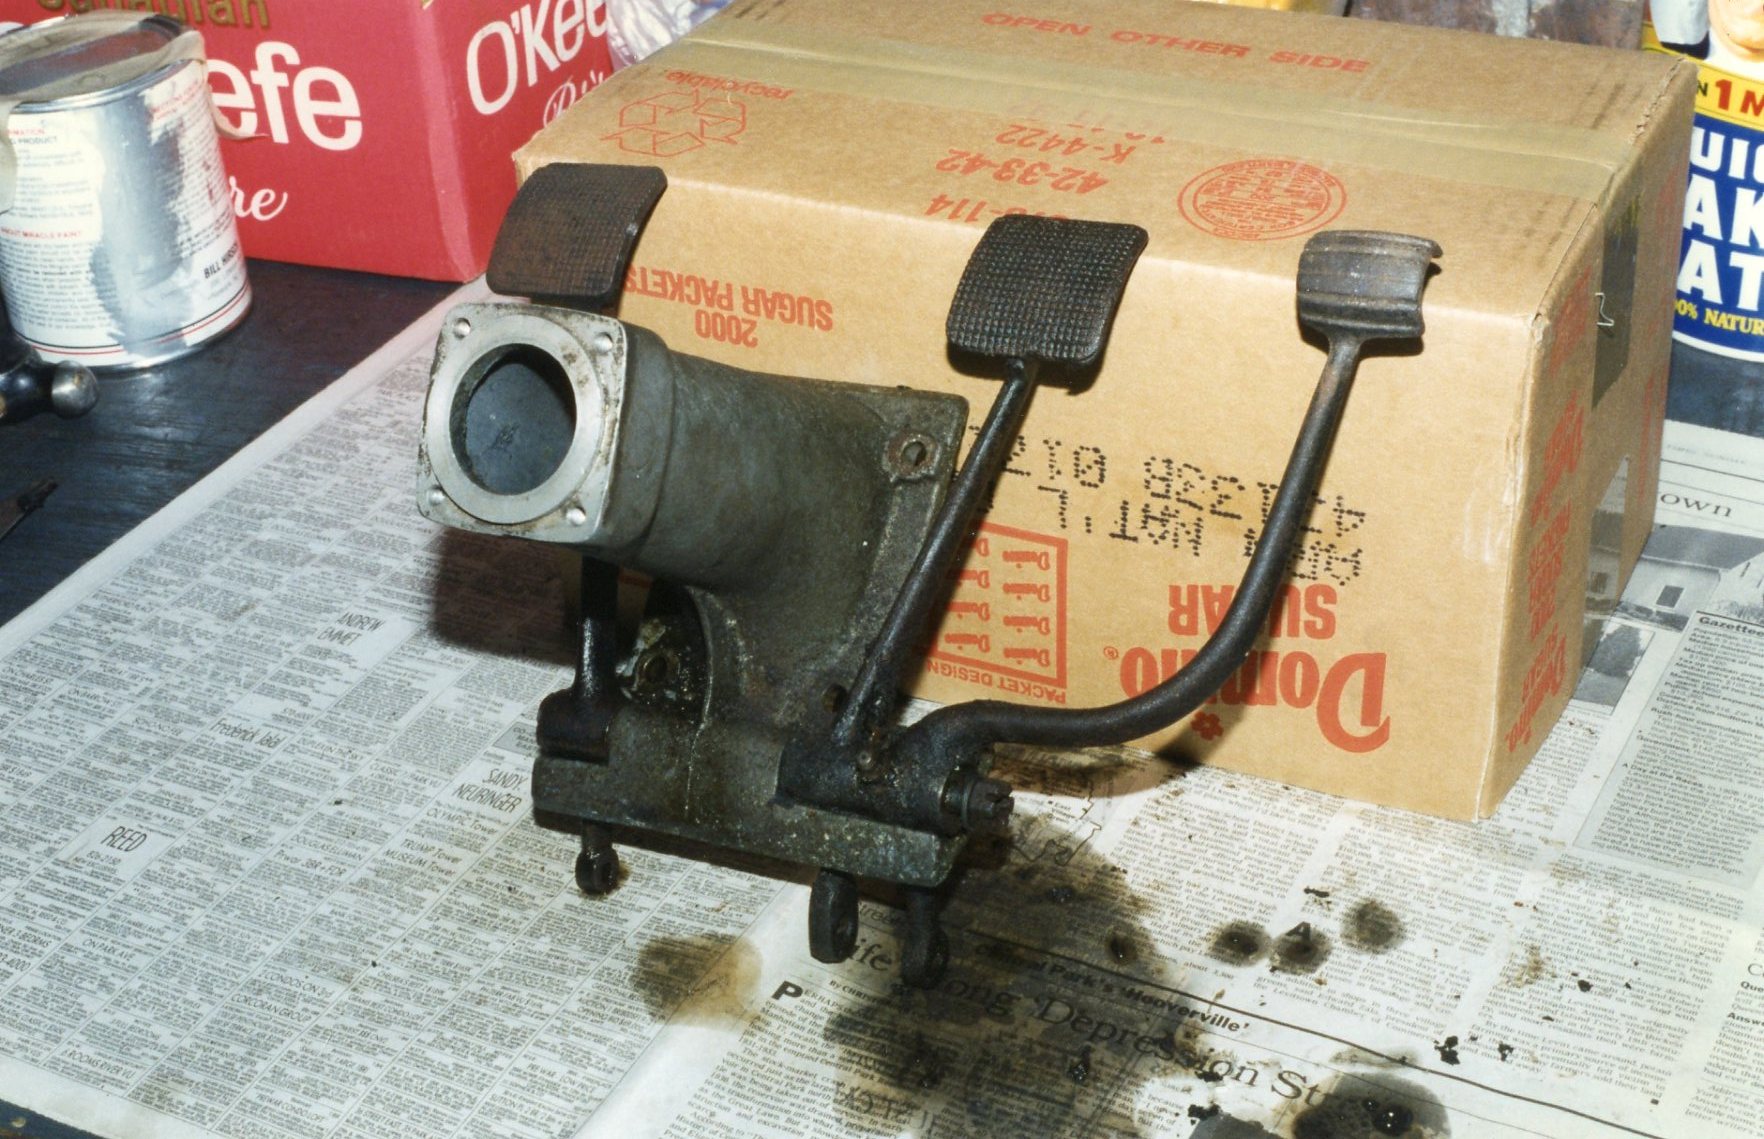
The assembly came apart easily enough, and the metal pedals were cleaned and painted, just like so many other parts. Knowing that the pedal surfaces would eventually show some wear, I applied extra coats of paint to them, and decided that if I drove the car enough to create evidence of use on the pedals, I’d just call it “patina”.
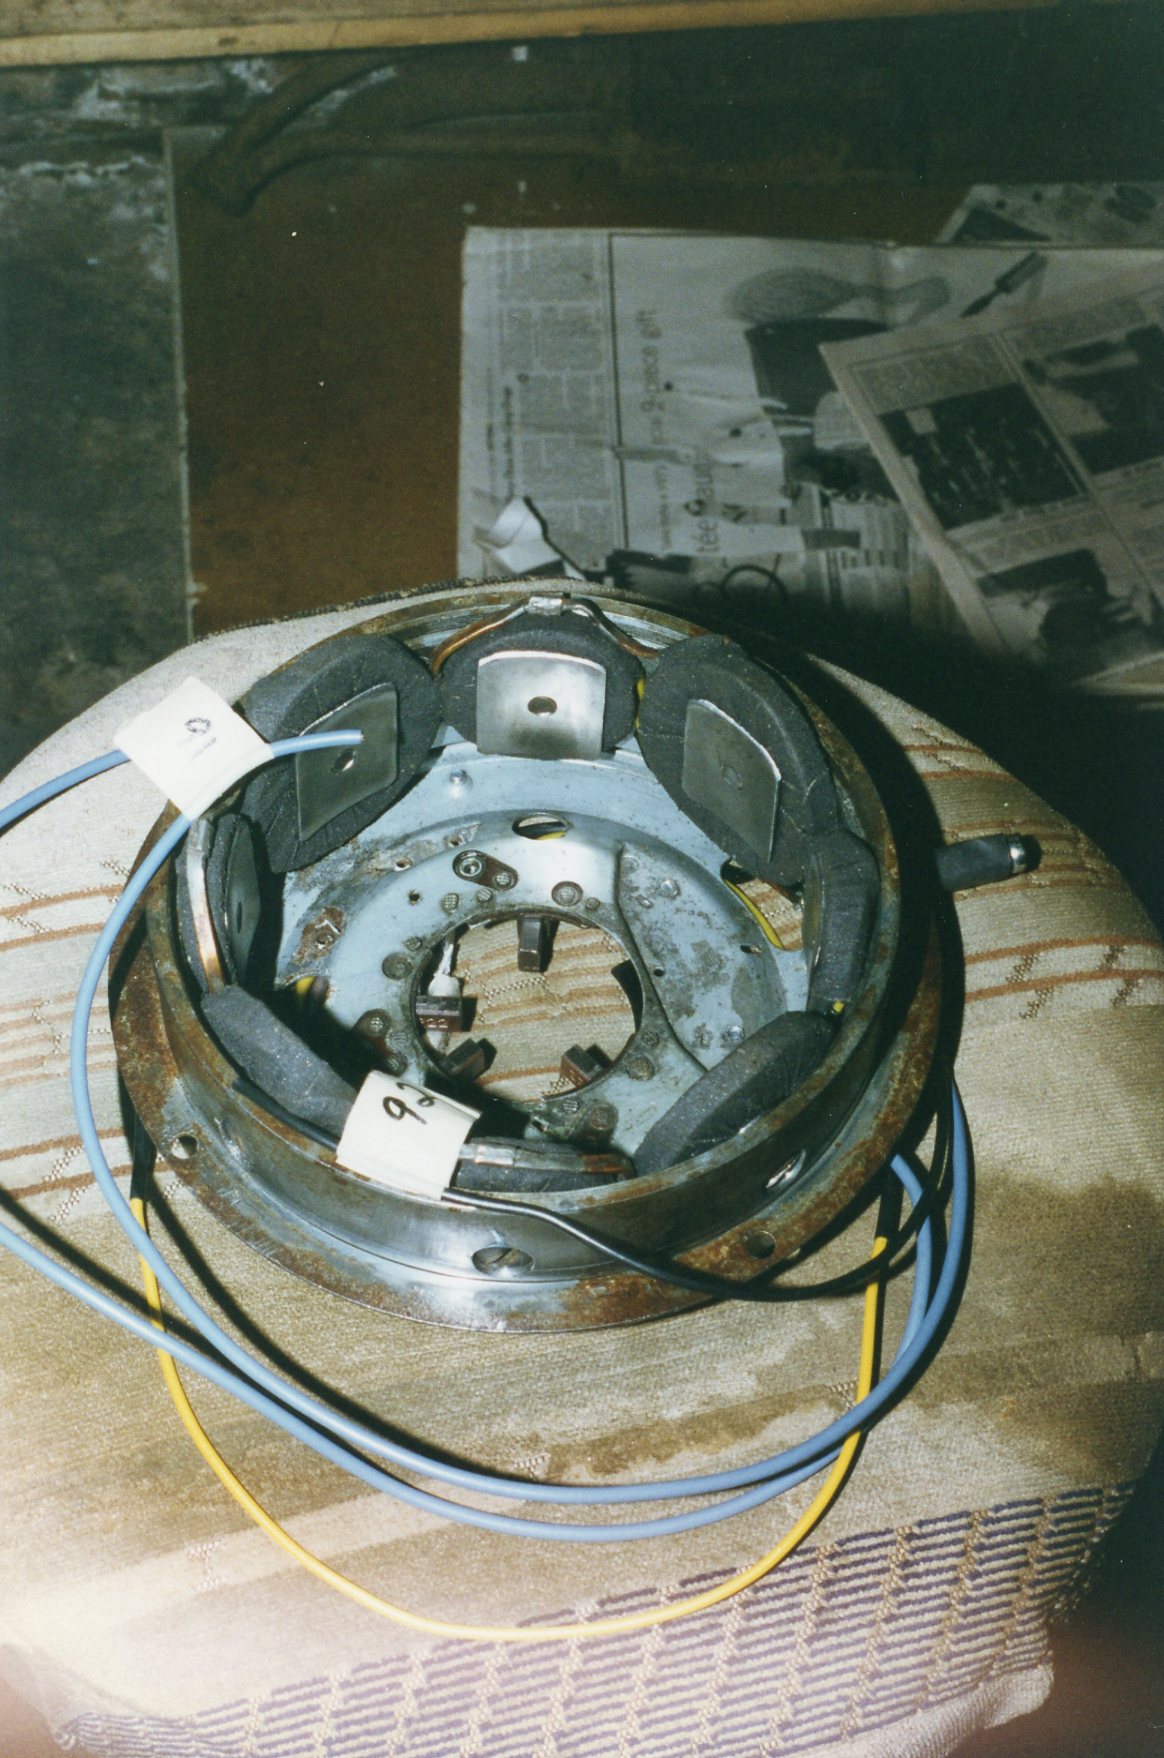
Dynastart
Instead of a separate starter and generator, the Isetta (and other contemporaneous small cars) used a combined starter/generator called a Dynastart. The combo unit mounted directly on the nose of the crankshaft. A heavy B+ lead went from the battery, to the voltage regulator, then to the starter post on the Dynastart. Turning the ignition key to “start” energized the unit to spin the armature. Once the engine started, it switched to charging mode, and along with regulator, fed DC voltage to the battery.

Mine looked like some sparrows had spent several seasons nesting in its confines. The internal magnets, wrapped in electrical tape, showed signs of fraying. Thankfully, John Jensen in his Isetta Restoration book provided explicit instructions for rebuilding the Dynastart. I took on the task, but not until I purchased supplies of various color wiring and cloth-covered tape.
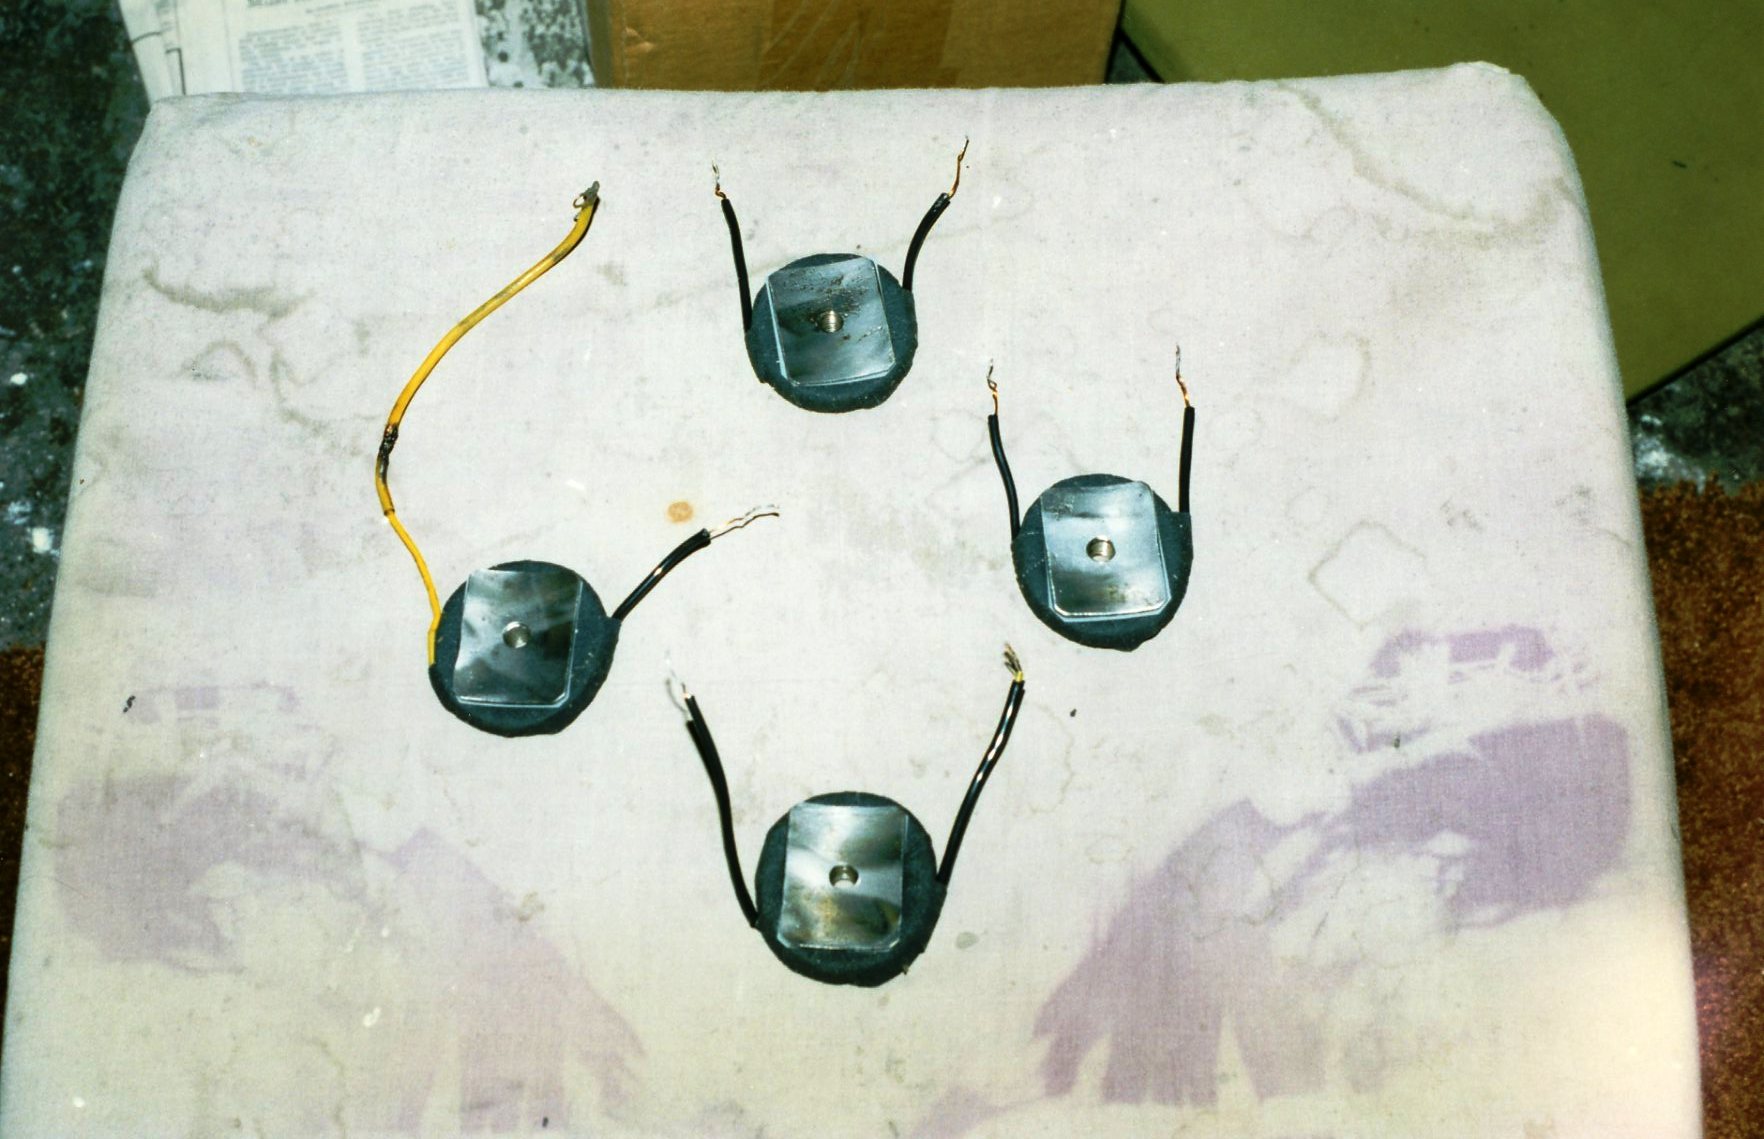
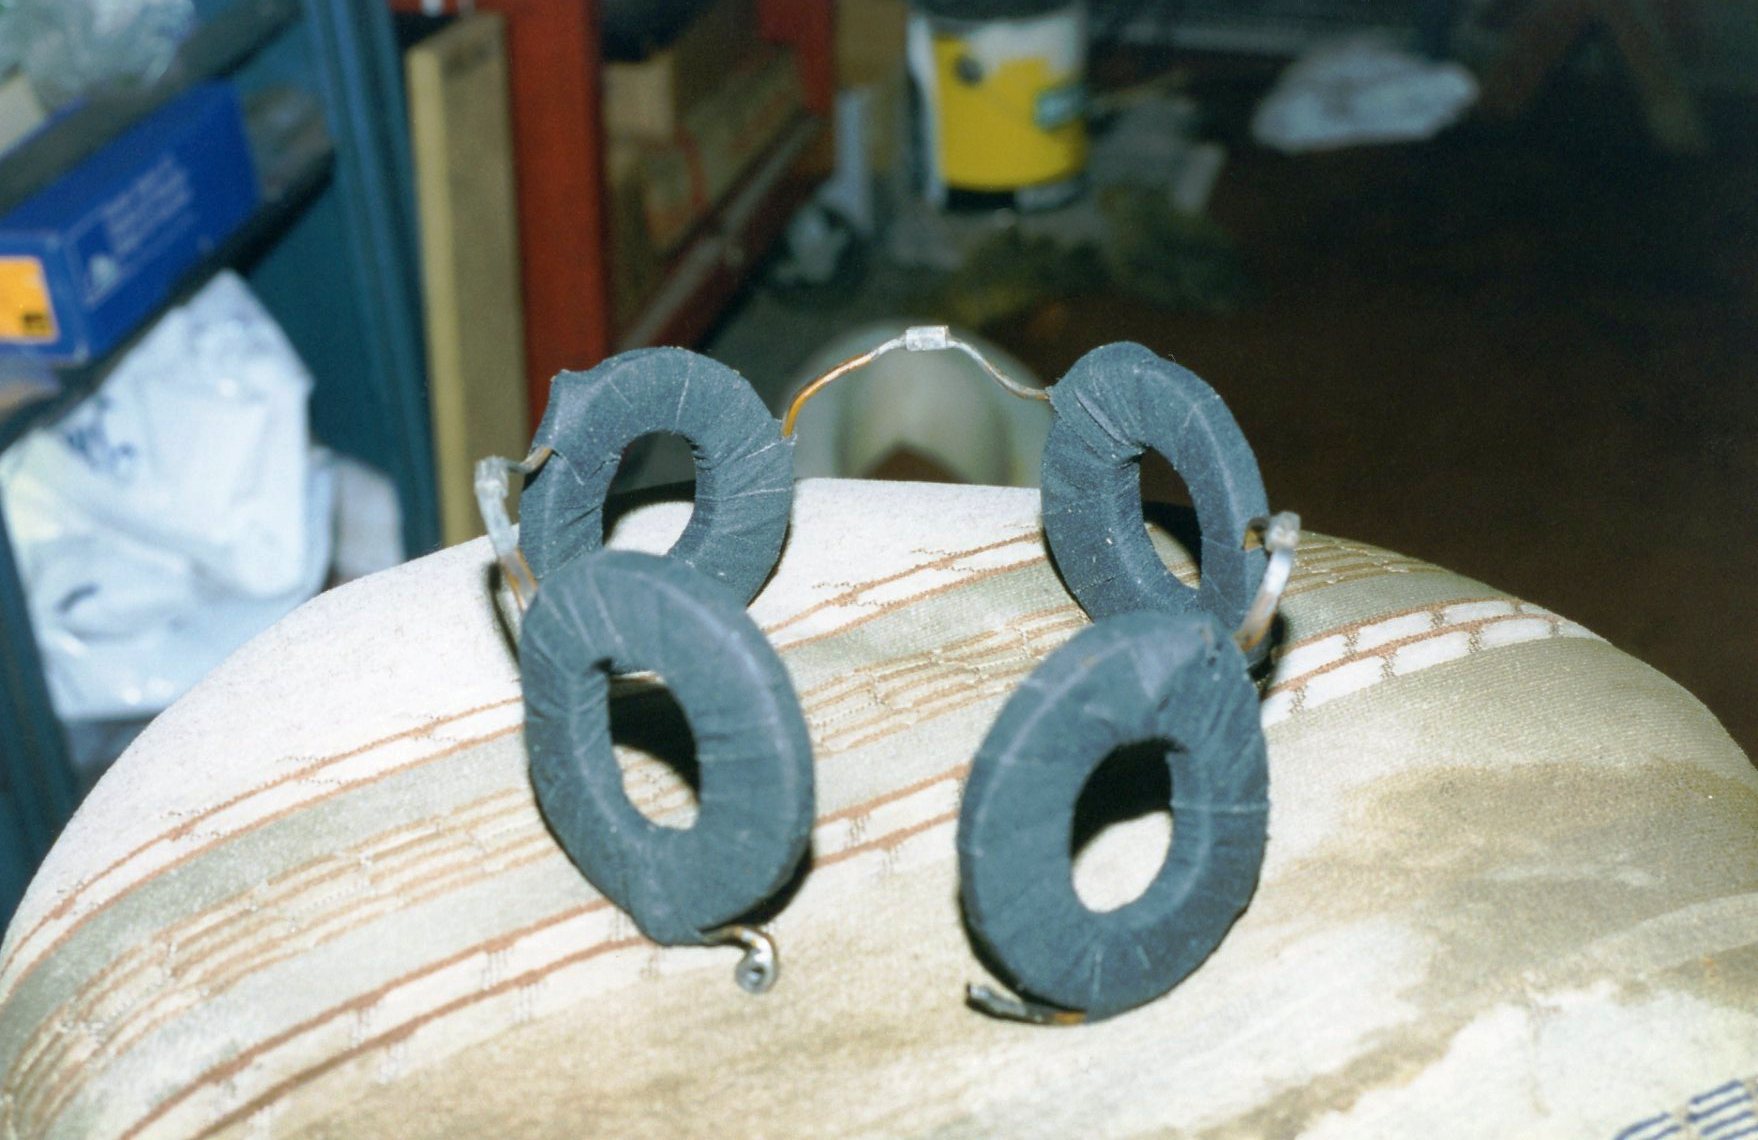
The trickiest part of the job was removing the magnets, and Jensen warned about that. The only way they could be removed was by using a hammer-driven impact tool. Compounding the difficulty, the magnets were held in place with slotted screws, which could be easily stripped. Eventually, it all came apart. All the magnets were retaped, all the wires were replaced, and it all looked visually pleasing. Whether it would start and charge remained to be seen.

The completed Dynastart meant that I could almost hear that thump-thump-thump of that one-cylinder vertical at idle. That moment would need to wait. With 1994 drawing to a close, the year gave me a final chance to take my car, as it was, to a show:
TOY DAY
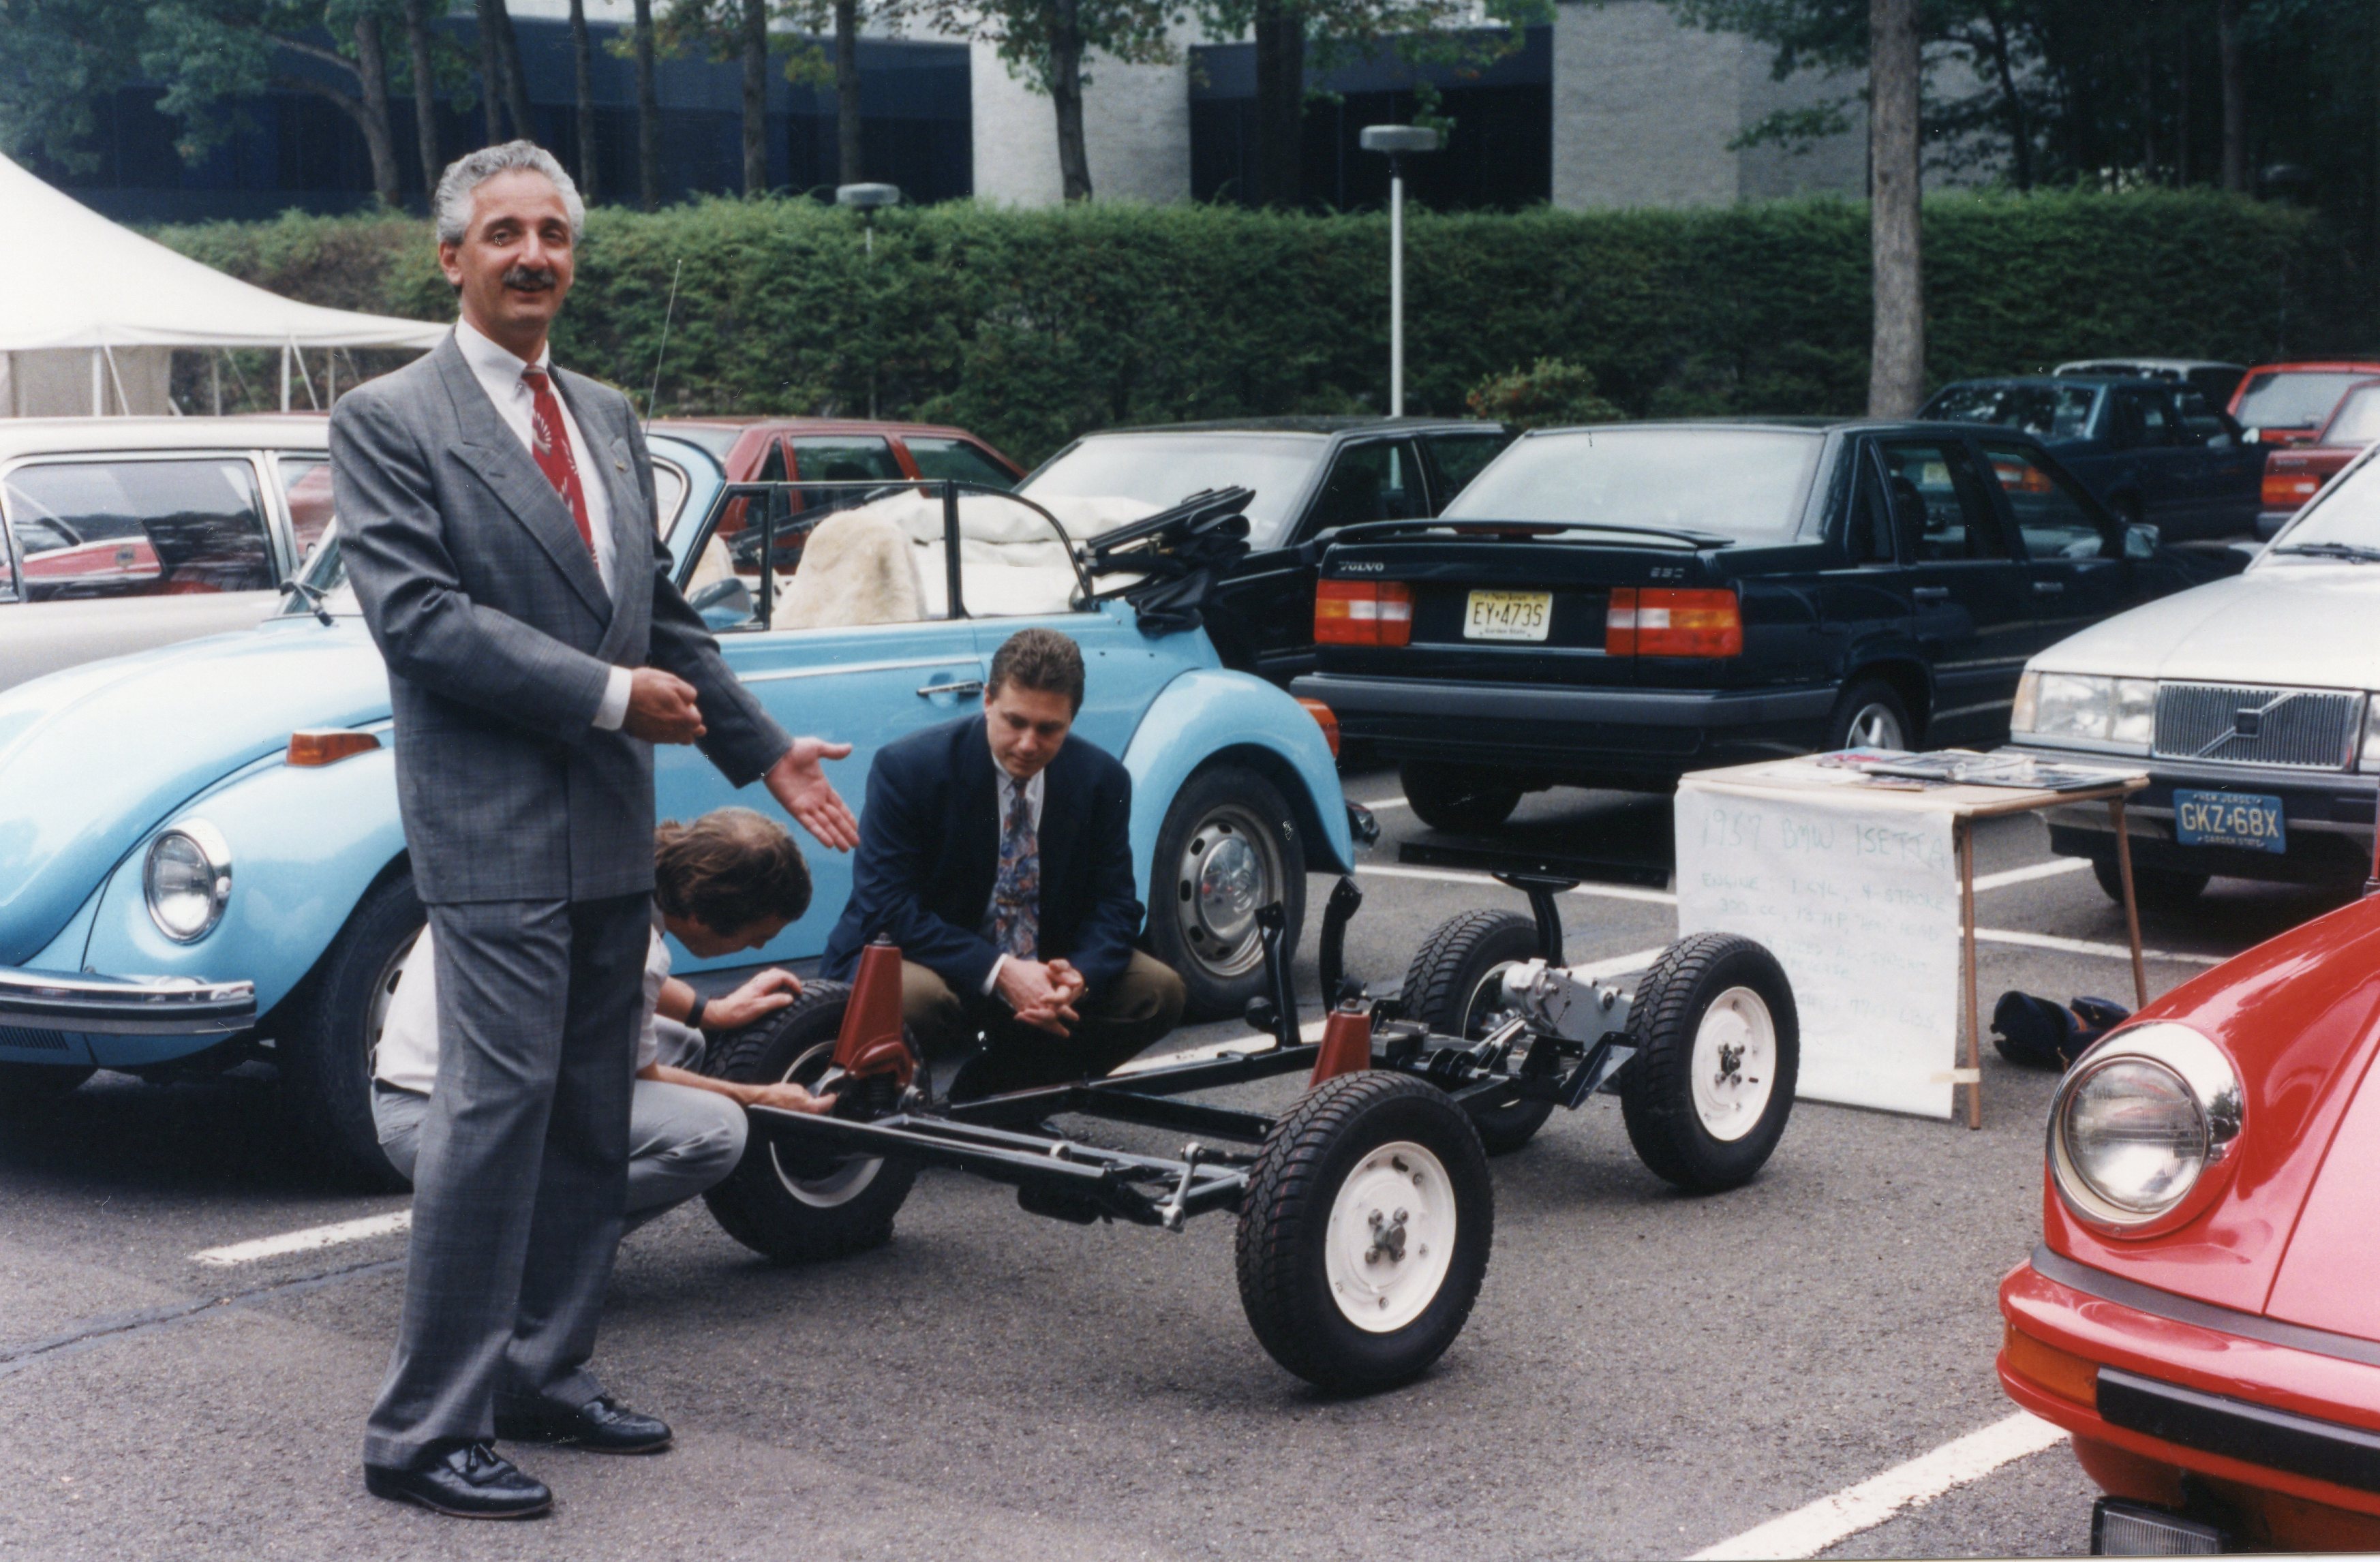
My employer, Volvo Cars of North America, had an irregular annual tradition called Toy Day. It was a chance for employees who were auto buffs to display their toys at work. A Toy Day was held in October of 1994, and I was determined to make a presentation, even if I were the only one who wasn’t going to drive his toy to work.
Measuring the back of my Volvo 245, I saw that the rolling chassis would indeed fit in the rear of Sweden’s finest wagon (2nd row seats folded, of course). I maneuvered the chassis in there, and included a folding card table so that I could display my photo album and some Isetta literature. I managed to procure a parking spot between two other fine German automobiles, a Beetle convertible and a Porsche 911. (Re-read above about “willingness to allow others to laugh at you”.) My good friend John felt it was his obligation to effect his best salesperson pose for this photograph:
Events like this only motivated me to keep going. Next, I would prove that the engine would run. Then, I could turn my attention to the body. Not for the first time, I asked myself, “how difficult could this be?”
Next time in the Isetta Saga: 1995 arrives. I said that “The Isetta Will Drive in ’95”. But will it? The year starts auspiciously, as I explore a risky way to purchase all the parts I’m still missing.
All photographs copyright © 2018 Richard A. Reina. Photos may not be copied or reproduced without express written permission.


